5 minute read
TRANSPORTING THE MACHINE


HANDLING THE HYDRAULIC BREAKER (optional)
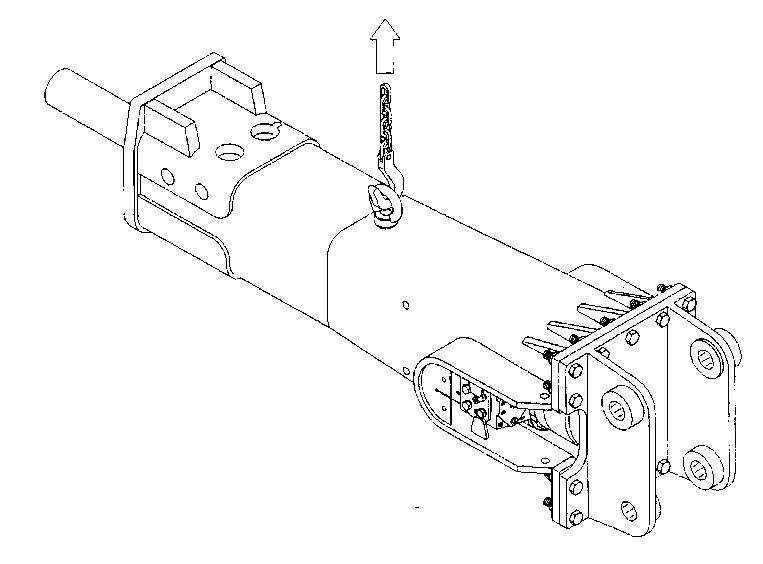
The lifting equipment must be strong enough to take the weight of the hydraulic breaker. See “Hydraulic breaker” in the “Specifications” Section. -Use slings, belts, fittings and chains which are in perfect condition and which are equipped with safety type hooks that will not accidentally open. -Use a means of guidance while handling and use handling equipment which is conformance with regulations. -Do not allow anyone to remain within the working range of the hydraulic breaker while it is being handled. -Attach the slings and chains as shown below.
1
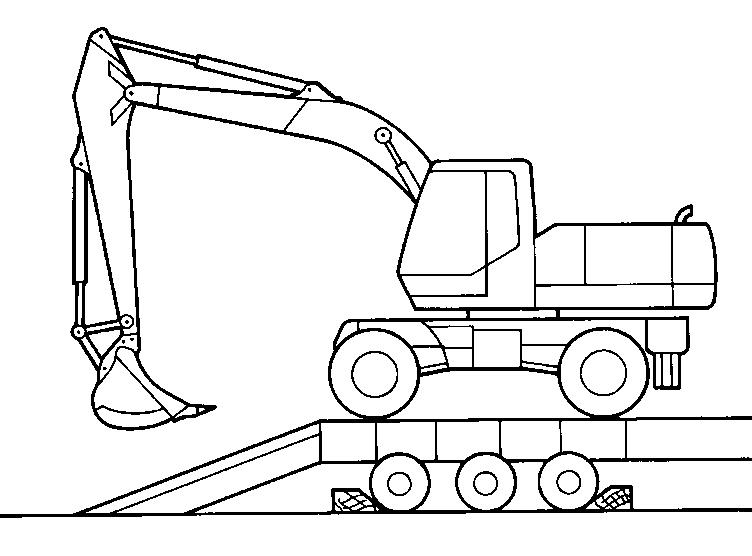
NOTE: It is mandatory for the lifting ring (1) to be removed and the ring hole plugged before using the hydraulic breaker.
CS99C627
To increase the hydraulic breaker’s working life, pay particular attention to correct working methods and to the correct choice of tool for the job. There are essentially two ways of breaking with a hydraulic breaker.
Breaking by penetration (or cutting)
In this form of breaking a moil point or chisel tool is forced inside the material. This method is most effective in soft, layered or plastic, low abrasive material. The high impact rate of the small breakers makes them ideal for penetrative breaking. TRIM THIS EDGE
125
TRIM THIS EDGE RIGHT PAGE
Template Name: OM_1_colTemplate Date: 1994_04_29
Template Date: 1994_04_29Template Name: OM_1_col
TRIM THIS EDGE
Breaking by impact
With impact breaking, the material is broken by transferring very strong mechanical stress waves from the tool into the material. The best possible energy transfer between the tool and the object is achieved with a blunt tool. Impact breaking is most effective in hard, brittle and very abrasive materials. The use of a chisel tool in hard material will cause the sharp edge to wear very quickly. The high impact energy of the big breakers makes them ideal for impact breaking.
CHOICE OF TOOLS (optional)
A selection of standard and special tools to suit each application are available. The correct type of tool must be selected to get the best possible working results and longest life time for the tool. Choosing the best tool type for an application may require some testing. See your CASE Dealer.
Chisel and moil Super blunt
-for sedimentary (e.g. sandstone) and weak metamorphic rock into which the tool penetrates -concrete -trenching and benching
Blunt tool
-for igneous (e.g. granite) and touch metamorphic rock (e.g; gneiss) into which the tool doesn’t penetrate -concrete -breaking boulders -when tool wear is extensive in igneous (e.g. granite) and tough metamorphic rock (e.g. gneiss) into which the tool doesn’t penetrate -breaking boulders (very abrasive rock) -do not use for penetrative work or in non-abrasive rock
It is important to choose a tool, which is suitable for your breaker and for the intended application. The choice of tool depends on the hydraulic breaker model. See ’Tools” in the “Specifications” section.
126
TRIM THIS EDGE LEFT PAGE
SPECIAL CONDITIONS OF USE FOR THE HYDRAULIC BREAKER (optional)
If breaker is to be used in conditions that differ from normal breaking or demolition work conditions, listed below, that may require modifications to attachment, special operating techniques, increased maintenance or special wear items. -Tunnelling -Foundry cleaning -Underwater operations -Operations in extremely low or high temperatures -Use of special hydraulic fluids -Breaker operations with special attachment (extra long boom etc.) -Other special conditions In case of special conditions of use, please consult your CASE Dealer.
TRIM THIS EDGE
127
TRIM THIS EDGE RIGHT PAGE
Template Name: OM_1_colTemplate Date: 1994_04_29
Template Date: 1994_04_29Template Name: OM_1_col
TRIM THIS EDGE
TRANSPORTING THE MACHINE On a railway wagon
Since transport by rail is subject to special regulations, consult an approved organization.
On a trailer
WARNING: The machine can slip and fall from a trailer or ramp and cause serious injury. Make sure the trailer and ramps are clean. The machine must be aligned with the trailer before loading.
You must know the safety rules and regulations before transporting this machine. Make sure both the trailer and the machine are equipped with the proper safety equipment.
Loading
STEP 1
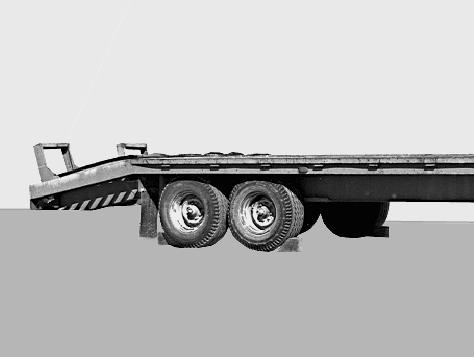
CD95M248 Put a block behind the trailer wheels. Install the trailer side extensions (ifequipped).
STEP 2
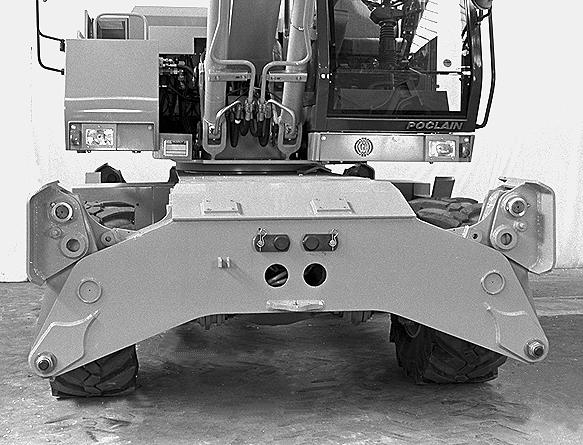
PH08026 Raise the stabilizers and dozer blade (ifequipped) completely.
128
TRIM THIS EDGE LEFT PAGE
STEP 3
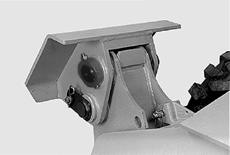
CD99N045 Block the stabilizers, using the lock pins and split pins.
STEP 4
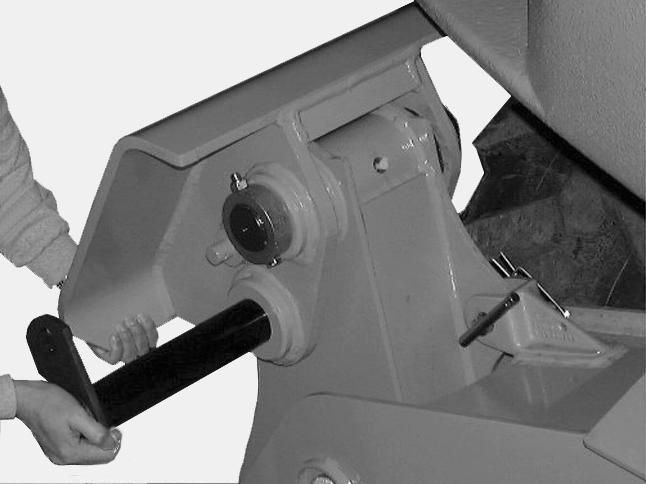
CD99N004 Remove the lock pins and split pins from the stabilizer pads so that they are in the swivel position, then place the lock pins and split pins in the tool box.
STEP 5 (Machine with attachment)
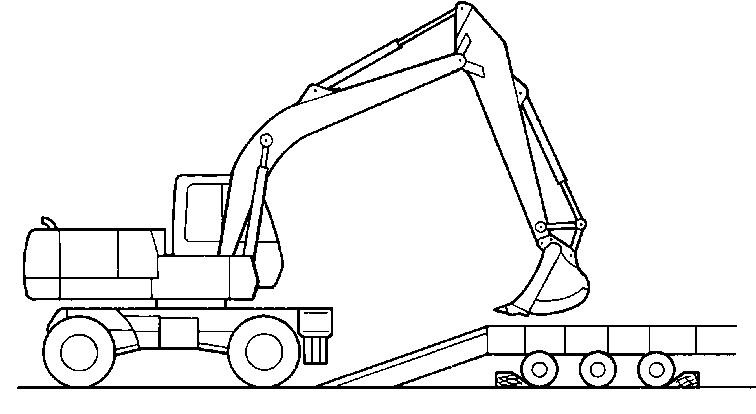
PDH0088 Align the machine with the trailer, with the rear wheels towards the ramps. Raise the attachment and bring it to about 20 cm above the trailer bed. IMPORTANT: In this position, the travel controls and the steering are inverted.
STEP 5 (Machine without attachment)
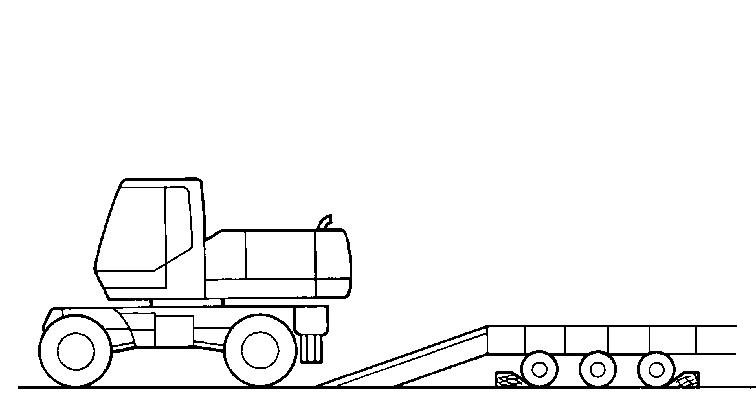
PDH1142 Align the machine with the trailer, with the rear wheels towards the ramps. Swing the upperstructure so that the operators compartment is over the front wheels. TRIM THIS EDGE
129
TRIM THIS EDGE RIGHT PAGE
Template Name: OM_1_colTemplate Date: 1994_04_29
Template Date: 1994_04_29Template Name: OM_1_col

TRIM THIS EDGE
STEP 6
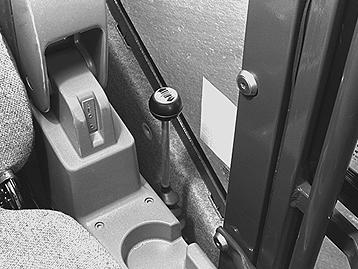
PH07533 Place the front axle locking/unlocking switches in the unlocked position (lamp on instrument panel comes on).
WARNING: The front axle must be unlocked when loading the machine.
STEP 7 (Machine without attachment)
Press down the travel pedal and use the travel control lever to adjust the travel speed. Move the machine slowly backward (job site speed) onto the ramps. IMPORTANT: For machines without attachment it is very important to drive the machine onto the trailer in reverse, otherwise it can overturn.
STEP 8 (Machine with attachment)
PDH0089 When the machine is completely loaded onto the trailer, raise the attachment slightly and swing the upperstructure so as to bring the attachment around towards the ramps.
PH07517
(Machine with attachment)
Press down the travel pedal and use the travel control lever to adjust the travel speed. Move the machine slowly forward (job site speed) onto the ramps, keeping the attachment about twenty centimeters above the trailer bed.
130
TRIM THIS EDGE LEFT PAGE