Steering/Body/Controls The following steering components should be inspected periodically to ensure safe and proper operation. A. Steering wheel secure. B. Steering has equal and complete full-left and full-right turning capability. C. Steering assembly mounting bolts tight. D. Ball joints not worn, cracked, or damaged. E. Tie rods not bent or cracked.
PR226
INSPECTING
F. Knuckles not worn, cracked, or damaged.
1. Inspect the steering wheel for cracks, missing padding, or broken spokes.
G. Cotter pins not damaged or missing.
2. Inspect the splines for wear.
H. Steering wheel tilt locks securely (if equipped).
3. Check that the steering wheel is not bent.
The frame and welds should be checked periodically for damage, bends, cracks, deterioration, broken components, and missing components. SPECIAL TOOL
A special tool must be available to the technician when performing service procedures in this section. Refer to the current Special Tools Catalog for the appropriate tool description. NOTE: When indicated for use, each special tool
will be identified by its specific name, as shown in the chart below, and capitalized. Description Hub Retaining Wrench
p/n 0444-270
NOTE: Special tools are available from the Arctic Cat Service Department.
INSTALLING
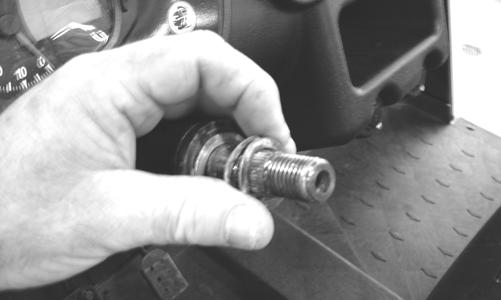
1. Place the flat thrust washer and then the two wave washers onto the steering shaft. 2. Install the steering wheel aligning the two match marks; then apply a drop of red Loctite #271 to the threads of the nut and secure the steering wheel. Tighten to 25 ft-lb. NOTE: If a new steering wheel is being installed, mark the wheel as close as possible to the old wheel mark; then check for proper positioning with the front wheels straight forward.
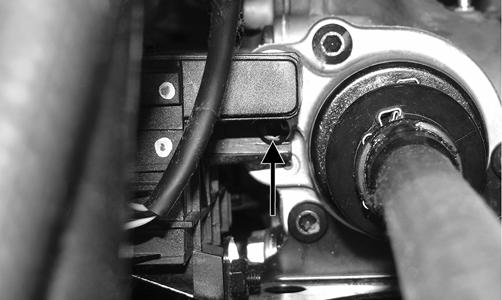
3. Install the hairpin clip on the steering shaft. NOTE: If the hole in the steering shaft does not align with the slots in the castle nut, tighten the nut slightly until the next slot aligns with the hole.
Steering Wheel REMOVING
1. Remove the steering wheel cover; then match mark the steering shaft and steering wheel. NOTE: Any time steering components are disassembled, all connecting components should be marked for proper alignment during assembling.
2. Remove the hairpin clip from the steering shaft; then remove the nut securing the steering wheel and remove the steering wheel. Account for the flat thrust washer and two wave washers.
PR899
4. Check for freedom of movement of the steering system; then install the steering wheel cover.
19
