

FEBRUARY 2025


You may have found your way to this toolkit due to a concern or incident you had while out on the road or trail with your horse There are many scenarios that may impact the ability to use and enjoy trails and roadways It may be that a trail network you ride or drive in is slated to be revamped, parking for trailers may be removed or downsized or you ’ ve had a near miss or worse a road accident The intent of this informative toolkit is to help you navigate the complexities of advocating for a cause and offer suggestions for you to create a case for positive change

Webster’s dictionary defines advocacy as: the act or process of supporting a cause or proposal On a personal level you are working to make a change to improve an area of your life or on another person ’ s behalf
Horse Council BC (HCBC) is a member of the Outdoor Recreation Council of BC (ORC) and we are grateful of the work they do to help establish relationships within the different provincial ministries that are relevant to the outdoor recreation sector. The ORC is a nonprofit organization that supports all outdoor recreation pursuits in BC through advocacy and by promoting safe, enjoyable outdoor experiences for all. HCBC staff and volunteers participate in monthly meetings to work collectively on issues with other trail user groups and are able to take advantage of meetings with government officials.
HCBC works with the BC’s Ministry of Transportation to advocate for equestrians using roadways. In some situations, HCBC will liaise with municipal or regional governments for right of access, signage or safety. But local volunteers have a more impactful presence and a better chance at making change in their community.
Horse Council BC generally advocates at a provincial level and this tool kit will help to enable you to advocate on a local level with your municipality or regional district.

What is the main impact of this issue? How are most trail riders impacted by this issue?
Have your problem summarized in a key message Be clear and concise and try to keep it to 35 words or less
What would solve this issue for trail riders? What positive impact would the solution have?
How can you measure the success of your solutions?
Create a SMART goal. The acronym SMART stands for specific, measurable, achievable, relevant and time-based Check out the resource section to find a SMART goals planning template
What can you do to inspire other people to get involved in your cause?
Letter writing campaign
Signing a petition
Make it personal and tell them who you are and why riding or driving is important to you
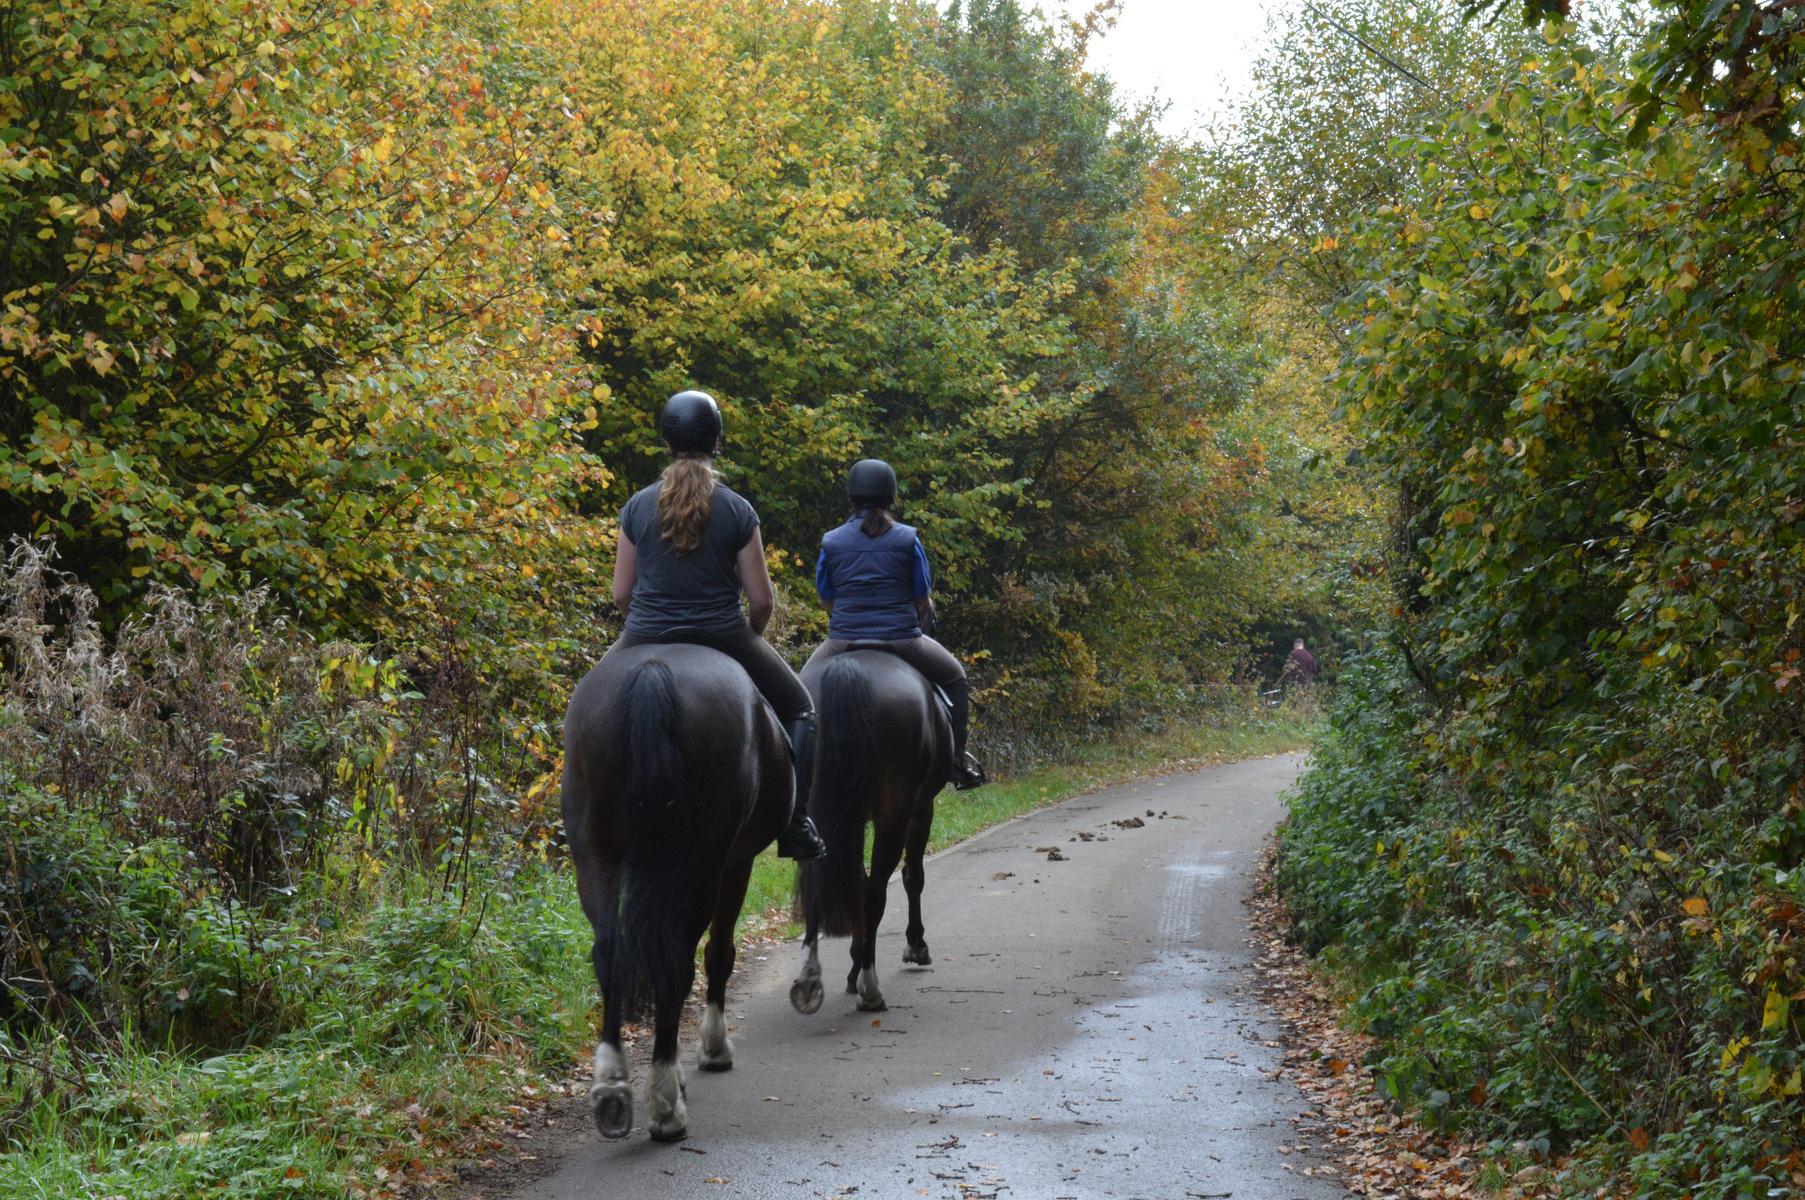

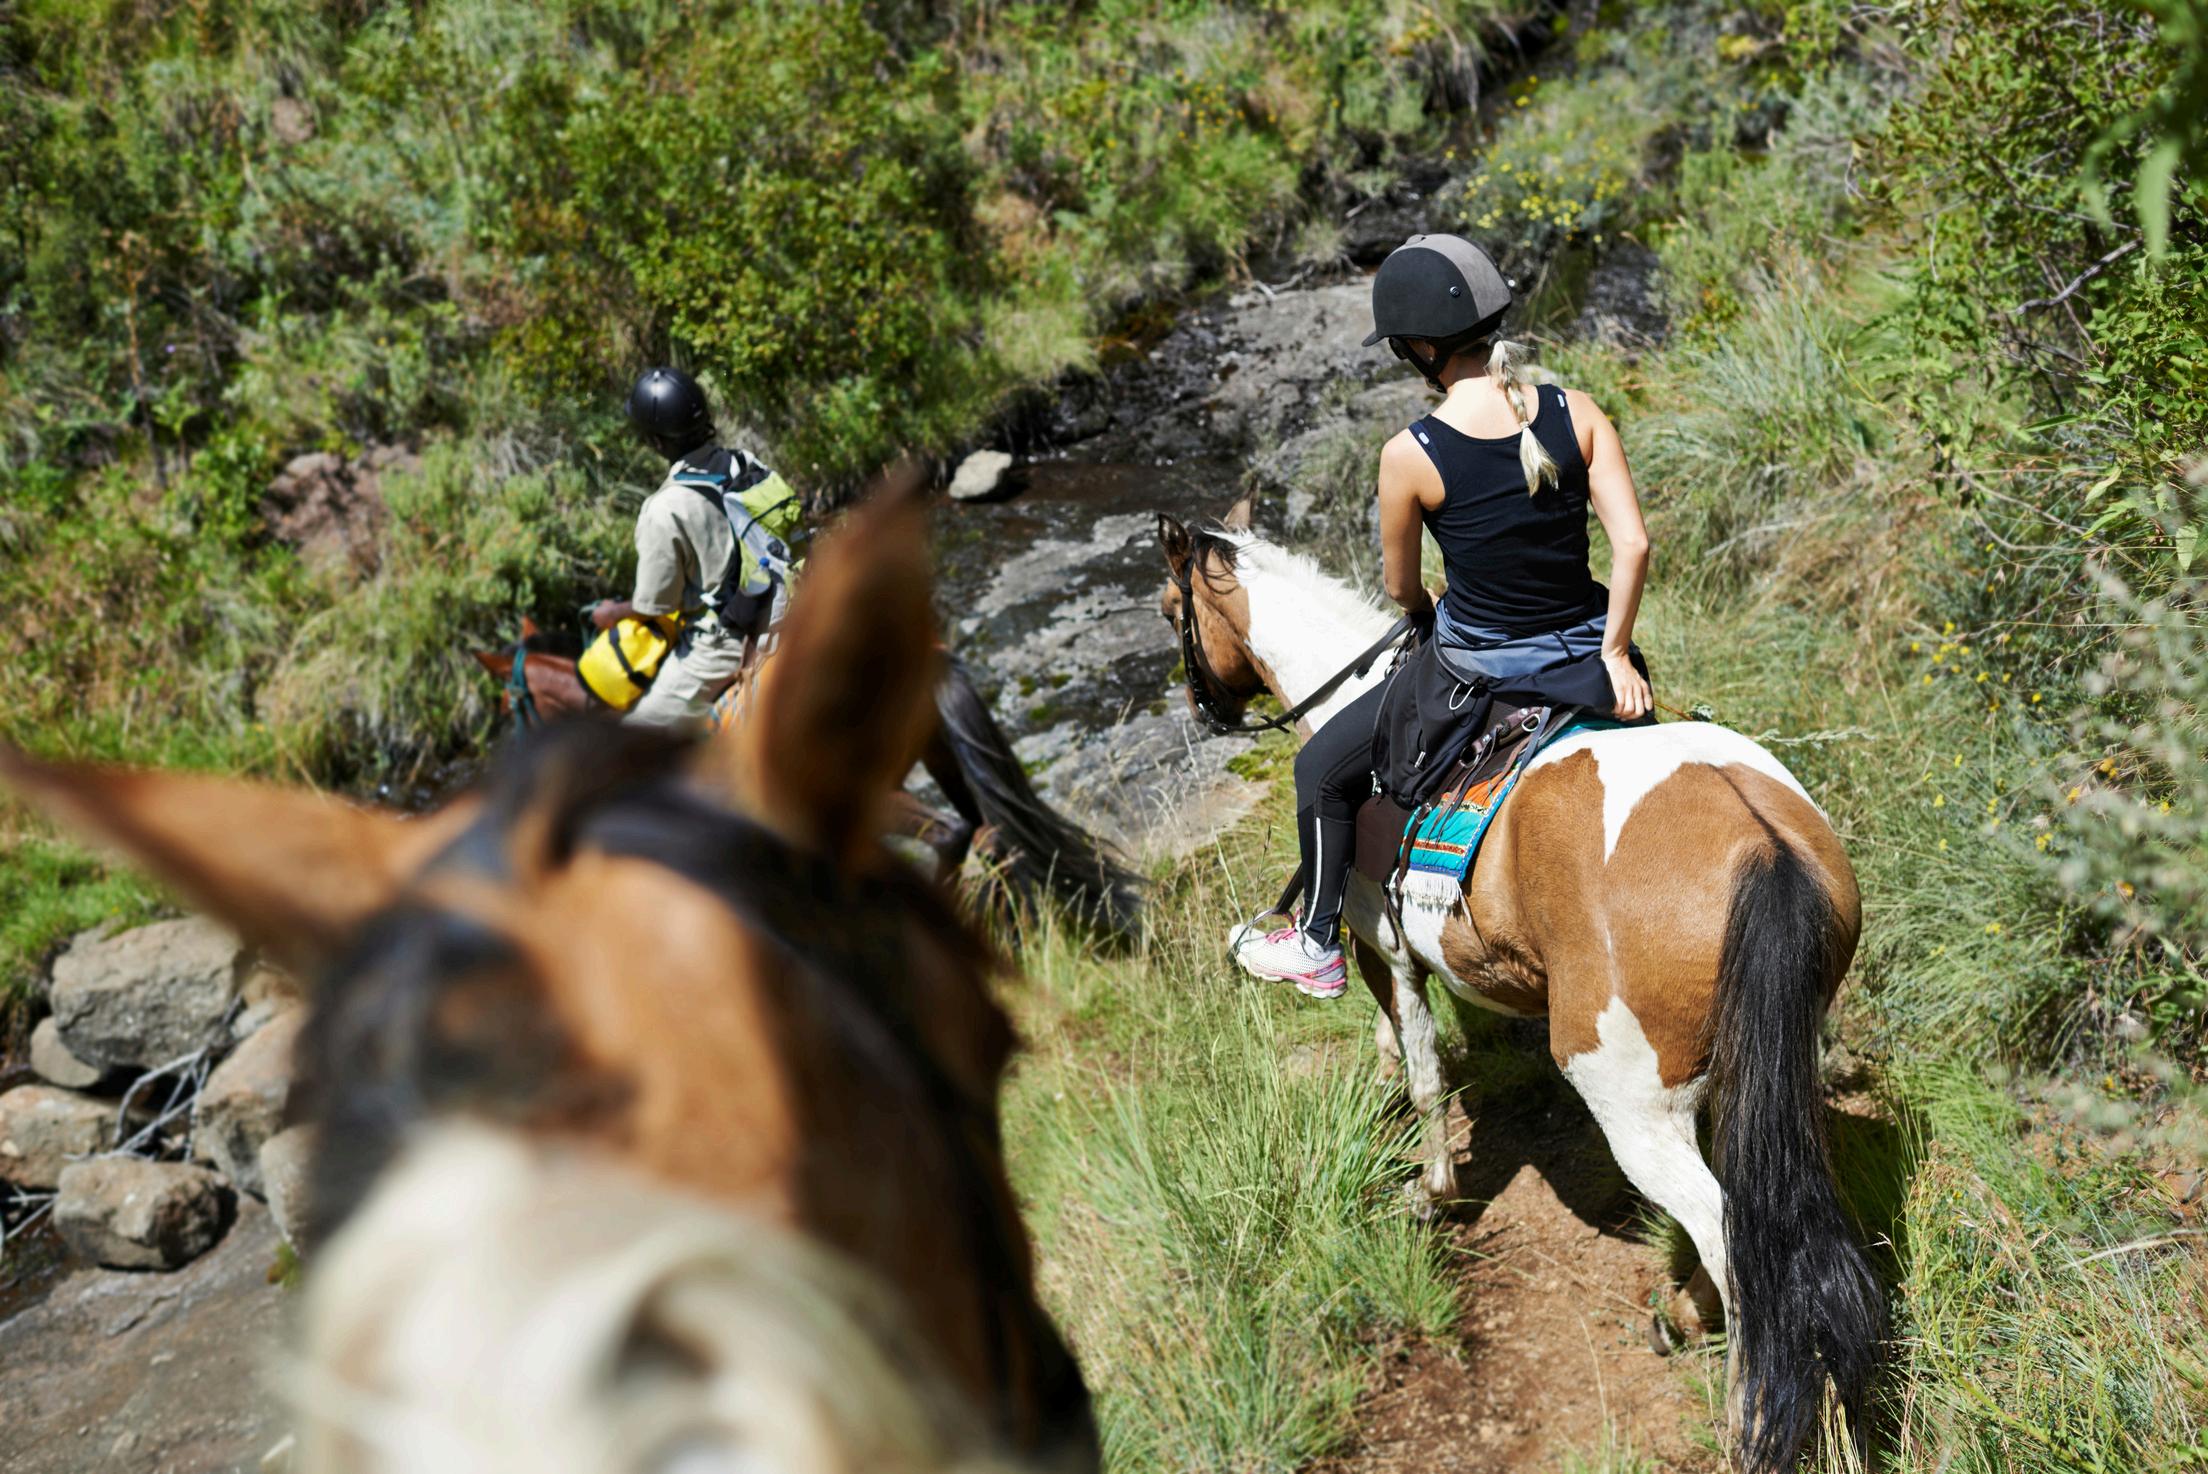
Horse Council BC believes it is important to preserve trail access and enhance trail safety for equestrians Numerous studies show the benefits of mental health with the ability to access nature and equestrians having access to trails and nature are no exception Historically horses have transported us to and from where we needed to go and trail networks and roadways were built for travel by foot, horseback and carriage Today our use of horses has changed but the desire of many riders and carriage drivers is to adventure beyond the arena and hit the trails Trail access is not only beneficial for the riders but also increases horse welfare by providing adequate exercise for their horses Equestrian access to trails is essential as well as ensuring safety of all users
As the population of BC rises and more people see the benefits of recreating outdoors the busier our trail networks have become We all share the same goal and that is to have an enjoyable time while doing our activity out in nature but with more users out on the trail it increases the chance for potential conflict to happen It’s important for multi-user trails to be wide to allow for safe passing distances and for vegetation on the side of the trail not to be overgrown to allow for good sightlines. A suitable trail surface for horses should be considered and should be non-slip. A gravel surface for instance is suitable versus an asphalt surface that horses can easily slip on. The grade and features of the trail should be taken into account especially when sharing with cyclists. The safety of horse and rider and the mountain bike rider is at risk if both are sharing a downhill trail especially if the trail has features such as drops or jumps. Some communities within BC that have mountain bikers and horseback riders who share a trail network and they have done trail planning to develop a trail strategy that helps keep all users safe. Trail networks can be divided into equestrian trails, shared trails and mountain bike trails. A common solution can be to have mountain bike trails in the middle and longer equestrian loops around the outside of the trail network. We hosted a webinar with the City of Maple Ridge and they shared with us the trail master plan they did in their community. You can watch the recording on our YouTube page: https://www.youtube.com/watch?v=1t0O1dDKUag&t=18s. It is very important for you to be involved with your municipality or regional district so that you can have a voice for equestrians when trail network planning is taking place. If your part of a local horse club you may be able to get involved as a stakeholder and at the very least it is important for you to participate in the public engagement sessions as an individual.
Another important aspect of trail network planning can be a staging area for equestrians. A staging area considers a parking area for trucks and trailers and may have other amenities such as a hitching post, mounting block and an area for manure disposal When hauling your horse to a busy trail network one challenge can be the initial problem with finding parking and a secondary issue can be having enough room to access your trailer to load your horses to go home Helping to make your case for trailer parking at a staging area can be to use boat launches as a comparison Although horse trailers need more room then a boat trailer boat launches are a good example of a place where trailer parking is respected at a recreational site Asking for increased signage and being friendly and respectful to your fellow trail users can go along way
If your horse leaves manure on the trail we encourage you to clean up after them when it is safe to do so To the average person manure can have a major ick factor but to a horse person it is a comforting sign If it feels safe to do so dismount and kick the manure into the bush Practicing dismounting and mounting is an important skill to have on the trail Using a log, boulder or moving your horse to the down side of a slope are some strategies to remount If there is no place to dispose of manure at the trail staging area be sure to Moving horse manure off the trail can go a long way to improve relationships with fellow trail users

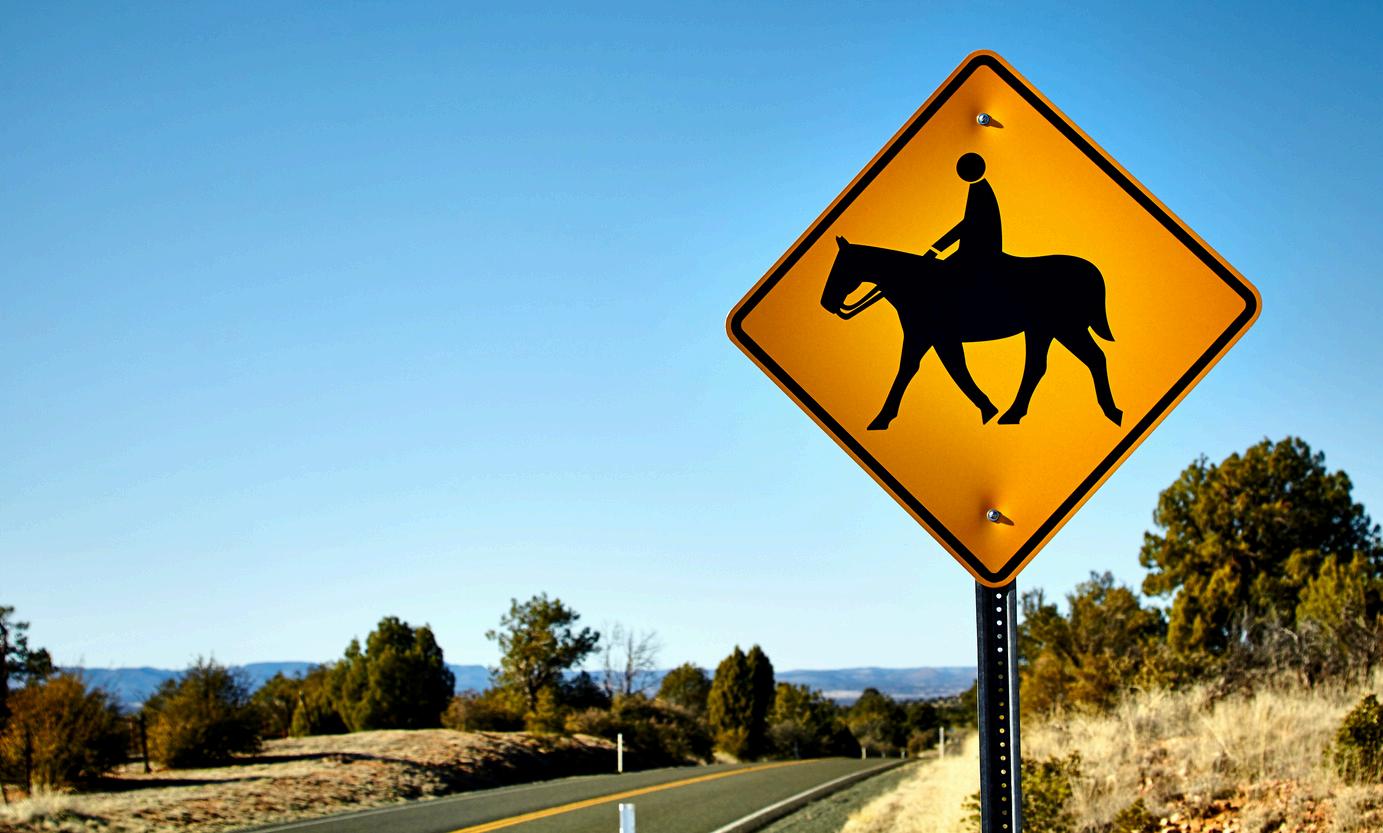
Horse Council of BC believes roadway access for equestrians is important as it prevents barriers for riders and drivers in accessing trail heads or arenas Equitable access increases horse welfare ensuring that equestrians are able to provide adequate exercise for their horses Allowing safe opportunities for equestrians to use roadways cuts down on pollution from riders and drivers trailering their horses to and from riding/ driving areas Preserving road access and enhancing road safety for equestrians is essential
Ideally the safest method to protect vulnerable road users is to separate the user from traffic This can be done with physical barriers as part of the roadway or a separated path off the roadway Gravel surfaces are best for horses to go on as pavement is much easier for horses to slip on
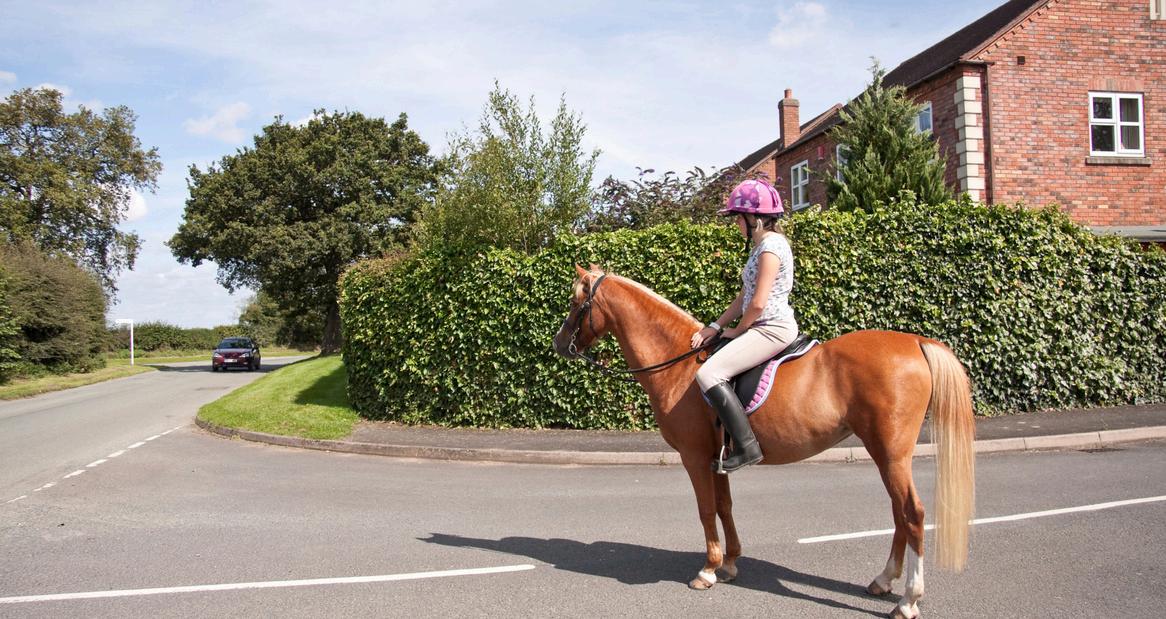
If your horse leaves manure on the road we encourage you to clean up after them when it is safe to do so To the average person manure can have a major ick factor but to a horse person it is a comforting sign. Carry a fork and bucket in the box of your truck and pull over and clean it up when your running errands and driving past. Your safety is of utmost importance but if it feels safe to do so dismount and kick the manure into the bush. Live in integrity and show equestrians in a positive light by being respectful to your neighbors.

There are four different communication styles, and learning about the different styles can help bring awareness to how you communicate with others.
Communicating in a passive manner shows up as being non-confrontational and supportive of the other parties needs It could also be withholding your own viewpoint or not speaking up for your own needs. Your body language may be shown as closed off, crossing your arms and not making eye contact.
An aggressive communication style is the opposite of being passive and can show up as confidently expressing a viewpoint with only the consideration of your own needs You could interject with statements that put other people down and cause people to not want to work with you Your nonverbal communication can show up as having strong eye contact and a dominating stance.
Using a passive-aggressive communication style can happen when you don’t feel comfortable saying what you mean This could show up as using sarcasm, indirect communication or avoiding the conflict entirely There is also a mismatch in your verbal and nonverbal communication like saying that your excited for the other person but presenting with slumped shoulders, avoiding eye contact.
Communicating in an assertive manner you will be able to communicate your needs confidently but in a way that is respectful to the other party You will be able to listen to the feelings, ideas and needs of others and engage in a healthy dialogue that considers your own needs Nonverbally you may use hand gestures, have good posture and have a calm or joyful facial expressions
Cultivating the ability to be assertive will enhance your ability to advocate for your cause Being clear on your needs in a respectful manner will strengthen your relationships and help to build your network
Taking on an advocacy role can make you face adversity over long periods of time You likely took on this role as there was no quick fix that was able to be implemented to address the problem. Being an advocate takes persistence and the ability to be resilient when faced with challenges. It is great to push towards your advocacy goals but also important to take care of yourself to prevent burnout
Telling your story effectively whether that is through a letter or public speaking it is an opportunity to engage your audience in way that will leave an emotional impact The goal of your story is to motivate your audience to bring around positive change

Whether your advocacy efforts are targeted towards riding on the road or the trail it is important to do your research In this section we will cover some exploratory questions you may not have thought of and some tools to help advance your research
The province of BC offers a free online tool that allows you to access digital maps with information that will help in your advocacy work iMapBC takes some time to get used to it but for using it as reference tool it is not overly complicated If you want to dive into the intricacies of using iMapBC there is the training manual in the resources section Otherwise, we will walk you through the steps to determine the designation of the land, trail or road you are riding on. How do I find out who owns the land that I am riding on?
Here is the step by step guide:
1 Use the following link and click on Launch iMapBC https://www2 gov bc ca/gov/content/data/geographic-data-services/web-based-mapping/imapbc
2 Once iMapBC is launched use the map on the right hand side of the screen to zoom in on your riding area Use the plus minus in the left top hand corner of the map to zoom in and out or hover over the map and use the scroll wheel on the mouse to zoom in and out To reposition the map click on the map and drag it to the desired position
3 On the top left hand side of the screen click on the button I want to and the window Add/ Remove Map Information will pop up In the following list click on Land Ownership and Status to expand the group and scroll down and click on ParcelMap BC Parcel Fabric Cadastre – By Owner Type Use the check box beside the PMBC Parcel Cadastre and check off everyone in the list Once finished click OK
4 On the left hand side of the screen there should be side bar that says Home Welcome to iMapBC If you don’t see this click the arrow to the left of the I want to button In the bottom left corner of the sidebar select the layers tab and it will bring up a legend that corresponds to the colours on the map This will give you information if you are riding on crown land, private land, crown agency (such as BC Hydro), untitled provincial land (such as a provincial park), federal land (such as a national park), First Nations, or municipal land.
Is the road I am riding on under the jurisdiction of the municipality or the province?
1 Use the following link and click on Launch iMapBC https://www2 gov bc ca/gov/content/data/geographic-data-services/web-based-mapping/imapbc
2 Once iMapBC is launched use the map on the right hand side of the screen to zoom in on your riding area Use the plus minus in the left top hand corner of the map to zoom in and out or hover over the map and use the scroll wheel on the mouse to zoom in and out To reposition the map click on the map and drag it to the desired position
3 On the top left hand side of the screen click on the button I want to and the window Add/ Remove Map Information will pop up In the following list click on Administrative Boundaries to expand the group and scroll down and click on ABMS – Municipalities Use the check boxes to check off every item listed under ABMS – Municipalities Once finished click OK
4 If the road your riding on falls within the Municipality boundary you will go through the municipal government if not go to step 5 to find what region of the Ministry of Transportation your road would fall under

1 On the top left hand side of the screen click on the button I want to and the window Add/ Remove Map Information will pop up Go back to your initial selection and uncheck the ABMS – Municipalities list Click on Administrative Boundaries again to collapse the group and scroll down the list of the main group Click on Transportation to expand the group and click on District Boundaries – Ministry of Transportation Use the check boxes to check off every item listed under District Boundaries – Ministry of Transportation Once finished click OK
2 If the road you riding falls outside of the municipality boundary you will need to work with the Ministry of Transportation through the provincial government
How do I protect the trails that I ride on? The best way to protect the land you ride on is by developing a relationship with the land manager Sometimes it may seem you have opposing views with these land managers, but many times common ground can be found It is important to be courteous and positive when interacting with your land manager Are your trails registered?
Are your trails recognized with your municipality or regional district? If they are on crown land are they registered with the Forest and Range Practices Act (section 56) Some regional districts or municipalities have a trails masterplan Find out when the trails masterplan was created and if they are looking to update it in the near future If you ’ re using registered trails, do you have a relationship with your land manager?
Speak with your land manager to increase messaging about sharing the trails and using proper trail etiquette Inquire about trail maintenance and brush trails to improve sightlines If sight lines can’t be improved with brushing inquire about widening the trail or rerouting
Unregistered trails on Crown Land? Look to your multi-use trail organization or local Back Country Horsemen Chapter to see how you can get involved to support these trails that you love. Either of these two groups will most likely have a a

Safety is paramount when we are out riding the trails and knowing what other user groups are out there is important We advocate for multi-user trails when it is safe to do so, and we believe in educating other user groups on how to safely interact with horses on the trail For example, having horses and downhill mountain bikers share a black descent trail doesn’t make sense as it would end poorly for both parties if they were to meet on the trail We all have to share the same sandbox, and we must work together to set each other up for safe and enjoyable experiences At the end of the day, we are all out there to enjoy the activity we love and be in nature
Find examples:
What have other communities done to allow for multi-use trails that include the needs of horses.
When your working with government officials it will be important to have data to show the impact that horse riders have on the economy You can gather data from Horse Council BC’s Equine Industry Economic Impact Study and on a smaller scale you can use data that is available from your local horse association or club Some data points might be the number of volunteer hours your club puts in on trail maintenance or the number of events your club puts on
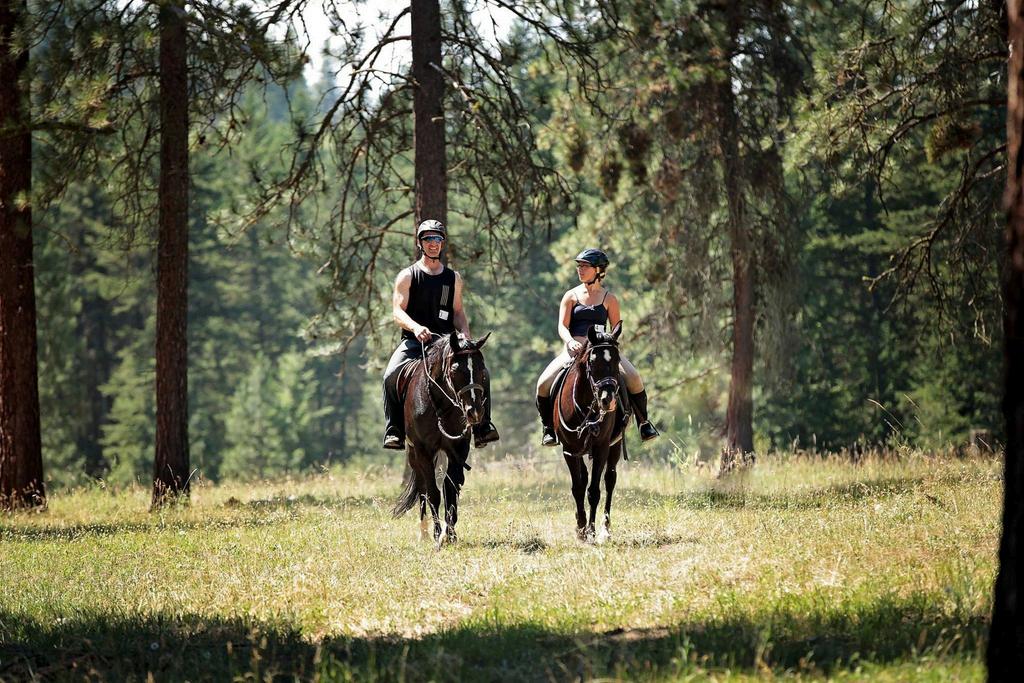

The avenue to tell your story
Who is your land manager?
Land managers come in many different forms and some examples of managers HCBC clubs have worked with in the past are: the province (Rec Sites & Trails BC), Regional Districts, Municipality, First Nations, BC Hydro, Logging companies, mining companies, nature conservancy organizations, private land owner
Municipal, Regional District & First Nation Directories
https://www civicinfo bc ca/directories
Recreation Sites and Trails BC Directory
https://dir.gov.bc.ca/gtds.cgi?
show=Branch&organizationCode=ENV&organi zationalUnitCode=RSTBC
Who has jurisdiction over your roadway?
Ministry of Transportation
https://www2 gov bc ca/gov/content/transp ortation/transportation-reports-andreference/regional-district-contacts
Municipalities
https://www civicinfo bc ca/municipalities
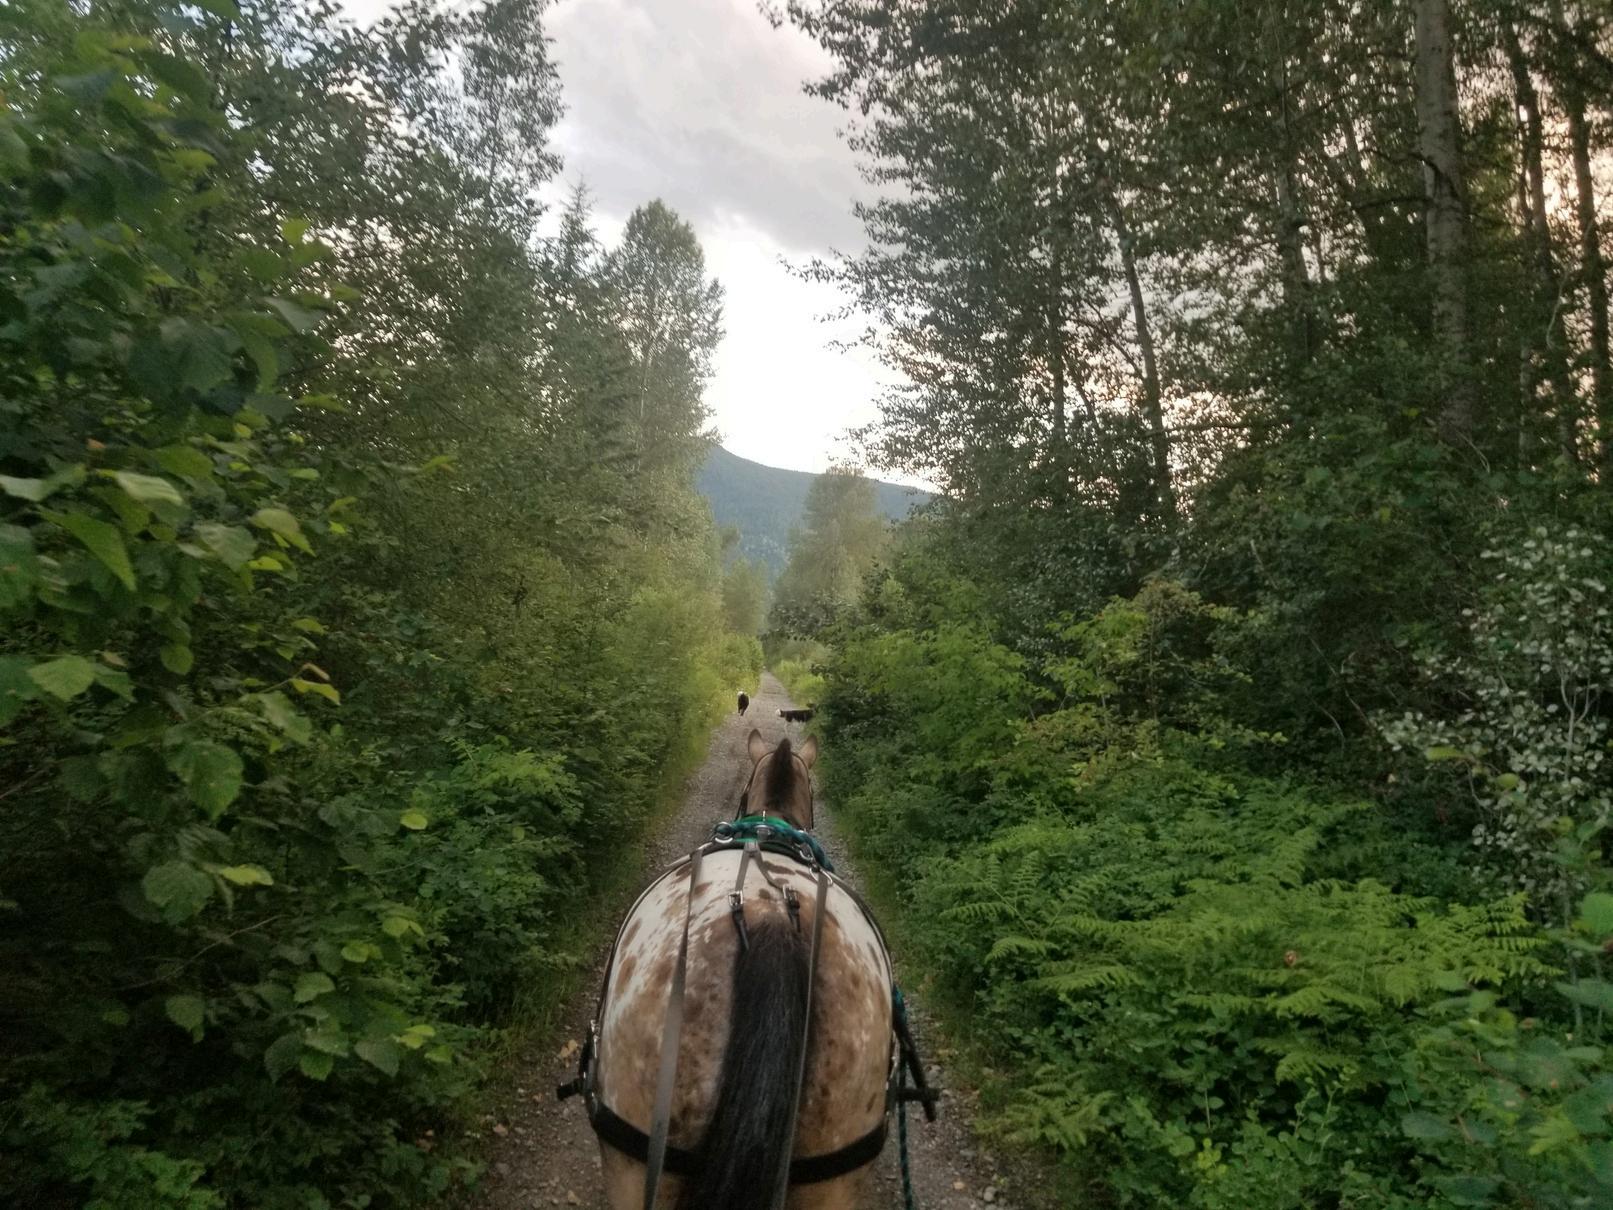

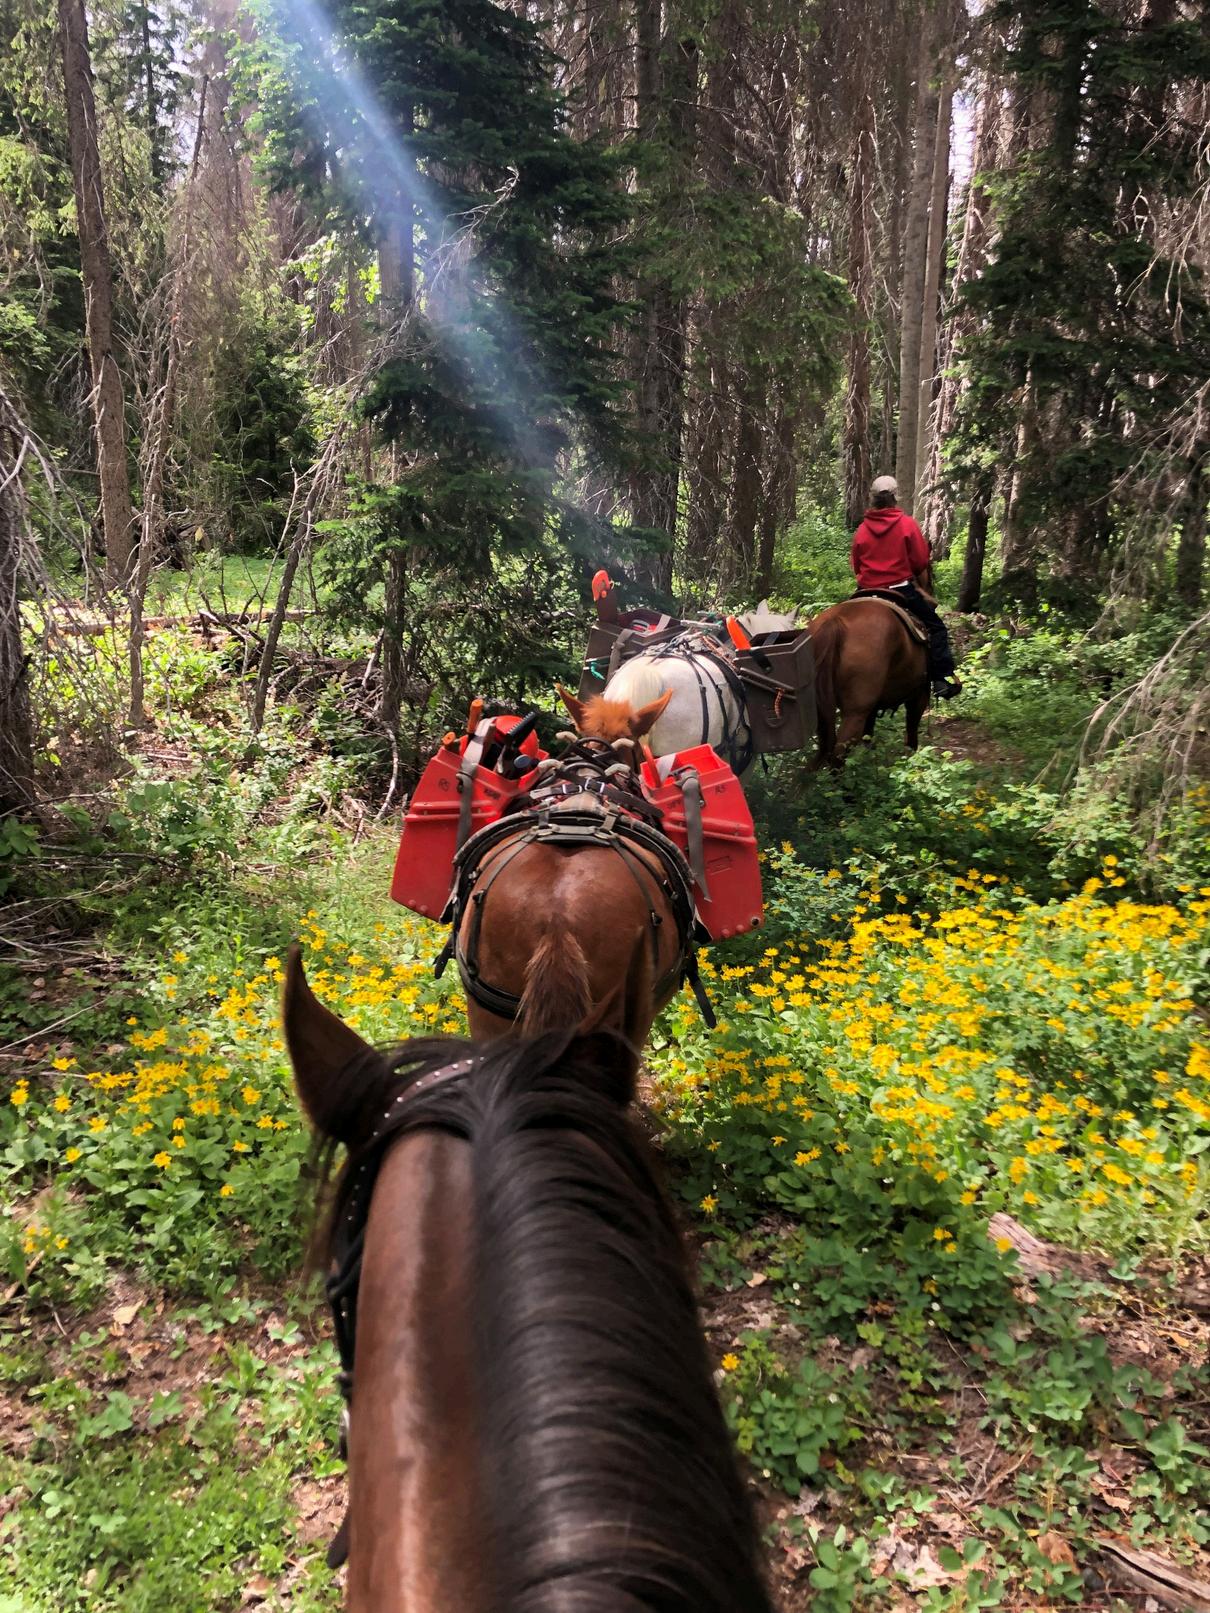
When thinking of advocacy, it’s important to find other groups and individuals that have similar interests and therefor advocating towards a shared goal. The ORC is a great resource for networking with other outdoor recreation groups
Having conversations with other user groups builds relationships and gives you allies to help keep trails in your area open
Once you have completed your research and found your contacts it is a good idea to put together a strategy on how you will do your advocacy work. Using as many of the strategies below as you see fit will facilitate a way for your voice to be heard
Letter Writing Meetings Presentations
Petitions

General Advocacy
Letter Writing Guide
PowerPoint Writing Guide
Speech Planning Worksheet
Smart Goals Worksheet
Equine Industry Economic Impact Study
Multi-User Trail Network Project: A Success Story of the Thornhill Trails in Maple Ridge
https://www youtube com/watch?
v=1t0O1dDKUag&t=47s
Outdoor Recreation Council of BC’s Trail Network Planning Webinar
https://www youtube com/watch?v=o1hrB07Xu4
·Outdoor Recreation Council of BC’s Benefits of Outdoor Recreation - A Literature Review PDF
Livable Roads for Rural Saanich: Advocating for Safe Roads in a Rural Setting Article
The Safe System Approach In Road Safety And Its Relevance To Equestrian Safety Webinar
https://www.youtube.com/watch?
v=aC8UF79PJ38&t=119s
HCBC Webinar Equestrian road safety from a UK perspective
https://www youtube com/watch? v=wTcm5daIv-8&t=52s
LETTER WRITING GUIDE
POWERPOINT WRITING GUIDE
SPEECH PLANNING WORKSHEET
SMART GOALS WORKSHEET

You have done your research, found your contacts and now you’ve selected the strategy of writing a letter to get started on your advocacy campaign. The goal of an advocacy letter is to show your audience the barriers that you’re facing, why it is impacting you and a solution to remove those barriers. You can look at it as presenting the issue and inviting the recipient to collaborate on the issue with you. It is best to look at it through the lens that the recipient of your letter is interested in finding a solution to the problem but doesn’t know how to do so. Viewing it from this perspective will help you keep a respectful tone and willingness to work together toward a solution.
Focusing on the structure of a letter will present a well thought out and professional piece of writing that will be engaging to your audience The following list is a breakdown on how to best structure your letter:
• Salutation
• Introduction
• Issue
• Solution
• Data
• Conclusion
A salutation is the opening greeting of your letter, and it is best to use a formal tone Here is a guide to the forms of address for elected officials:
Municipal:
Mayor
Address: Her Worship Mayor Jane Doe OR Mayor Jane Doe
Salutation: Dear Mayor Doe
Councillor
Address: Councillor John Doe
Salutation: Dear Councillor Doe OR Dear Mr. Doe
Mayor and Council
Address: His Worship Mayor John Doe and Council OR Mayor Doe and Council
Salutation: Dear Mayor Doe and Council
Regional District Chair
Address: Chair John Doe
Salutation: Dear Chair Doe
The introduction for your letter gives you the opportunity to introduce yourself to the recipient and your relation to the recipient. An example could be saying your name and the town you live in. If you are writing on behalf of an organisation such as your local riding club, it is best to say this in the introduction as well. After introductions you will want to provide a snapshot of why you’re writing and give clear and concise explanation of the issue.
Now is the time to get into the details and explain your issue in easy to understand language. Write your letter with the assumption that your recipient does not have any knowledge of horses. If there was a specific situation that led you to want to advocate on this topic go into the details of the event and explain why this issue is creating a barrier for you. If this letter is a follow up to a previous letter or meeting, you can state when you wrote the letter or had the meeting in this section.
Before writing the solution of your letter take some time to brainstorm some realistic and specific solutions for your problem. Taking the time to brainstorm different options will show a willingness to collaborate and problem solve with your recipient and set a tone of cooperation and openness.
Your story is important and will have an impact on your reader, but government officials will also be interested in data markers that give information on social and economic benefits. Some questions you might consider to find your data markers:
• When was your club established?
• How many members are in your club?
• How many volunteer hours does your club contribute?
• Does your club have any MOU’s?
• Does your club run any community events?
You can also refer to the Equine Economic Impact study to find data on how many members are in your region and economic value horses bring to BC.
Conclude your letter with reiterating the importance of your issue and connecting it to the broader community. Include action items such as an upcoming engagement session or council meeting you are planning to attend. Thank your recipient for taking the time to listen to your concerns and sign off your letter including your contact details such as a phone number and email address.
• Try to keep your letter to one page
• Keep a respectful tone throughout your letter
• Use easy to understand language (ie. no jargon)
• Have someone read over your document before sending
• Email your letter as an attachment
• Mail your letter as backup and if time isn’t an issue
• Checkout our letter writing template on the next page
(Add or delete as many spacings at the top to centre your letter)
[Date]
[Recipient's name]
[Recipient's contact information]
[Subject: ]
Dear [Mr/Mrs/Ms/Miss recipient's last name]:
[First body paragraph for your introduction/ random text generated for visual effect]. Video provides a powerful way to help you prove your point. When you click Online Video, you can paste in the embed code for the video you want to add. You can also type a keyword to search online for the video that best fits your document.
[Paragraph for the issue]. To make your document look professionally produced, Word provides header, footer, cover page, and text box designs that complement each other. For example, you can add a matching cover page, header, and sidebar. Click Insert and then choose the elements you want from the different galleries.
[Paragraph for the solution]. Themes and styles also help keep your document coordinated. When you click Design and choose a new Theme, the pictures, charts, and SmartArt graphics change to match your new theme. When you apply styles, your headings change to match the new theme.
[Paragraph for data]. Save time in Word with new buttons that show up where you need them. To change the way a picture fits in your document, click it and a button for layout options appears next to it. When you work on a table, click where you want to add a row or a column, and then click the plus sign.
[Paragraph for the conclusion]. Reading is easier, too, in the new Reading view. You can collapse parts of the document and focus on the text you want. If you need to stop reading before you reach the end, Word remembers where you left off - even on another device.
Sincerely, [Your name]
Enclosure: [List enclosed attachments if applicable] (Optional)

You have setup a meeting with your local officials, and you are ready to create your PowerPoint presentation to discuss your advocacy issue. We have created this guide to show some basic tips on a well thought out PowerPoint that will help engage your audience.
Here is a breakdown of how to structure your PowerPoint presentation:
• Title
• Introduction
• Issue
• Solution
• Data
• Conclusion
• Contact Information
Title Slide
Create a title slide that will be visible when you initially open your PowerPoint.
Introduction
Your introductory slide will give you a chance to introduce yourself and/ or the club you are doing the presentation on their behalf. You can use this slide to show a photo of you and your horse. If presenting on your club’s behalf include a slide that shows a group photo of your club members, a photo of a club event or a facility your club manages.
Issue
Sharing about your issue can be done through bullet points and images and is an opportunity to get into the specific details of your issue Assume when writing your slides that the audience does not have prior horse knowledge and avoid using any jargon. If you are advocating on a specific issue such as to increase signage on a roadway or to fix an unsafe bridge on your favourite trail it would be a good idea to take photos of these places to include in your presentation. Here you can explain the specific situation and why it is creating a barrier for you. Keep your slides clear and concise and aim to elaborate through your verbal presentation.
Create a slide that has bullet points going over potential solutions for your issue. Be sure to emphasize that your open to possibilities and willing collaborate to find a solution. Taking the time to brainstorm different options will show a willingness to collaborate and problem solve with your audience and set a tone of cooperation and openness.
Your story is important and will have an impact on your reader but government officials will also be interested in data markers that give information on social and economic benefits. Some questions you might consider to find your data markers:
•When was your club established?
•How many members are in your club?
• How many volunteer hours does your club contribute?
• Does your club have any MOU’s?
• Does your club run any community events?
You can also refer to the Equine Economic Impact study to find data on how many members are in your region and economic value horses bring to BC.
Conclude your slides with reiterating the importance of your issue and connecting it to the broader community. Invite your audience to ask any questions and thank them for taking the time to listen to your concerns.
Finish off your presentation with a slide that gives your contact details and thanking your audience for listening to your presentation.
• Seven x Seven Rule
This rule refers to the number of bullet points on a slide and the number of words per bullet point. The slideshow is to offer support for your presentation but not to take away from you as the speaker. Keeping to seven bullet points per slide and seven words per bullet point prevents overwhelming your audience with information. As the speaker you have the opportunity to elaborate on each bullet point as you see fit.
• 10-20-30 Rule
The guidelines for this rule is to have your slideshow be no more than 10 slides, no longer than 20 minutes in length and the font on your slides no larger than 30 points. Use your discretion on the number of slides you need for your presentation but remember the slideshow is there to support what you have to say. Keeping the time to 20 minutes will allow you to present your information in a tight time frame of 30 minutes and still allow time for questions.
• Pictures
We have all heard the saying that pictures tell a thousand words and using photos in your PowerPoint is essential. It will create visual interest for your audience and gives you a talking point to further explain your advocacy goals.
• Tone
When writing your bullet points ensure you use a respectful tone throughout the slides.
• Templates
Using an already existing PowerPoint template will give consistency to your slides and give placeholders for images and text.
• Software
You can use Microsoft PowerPoint for free via there website if you don’t have a version available on your computer. There are also many other software programs that will allow you to create a slide deck for free such as Canva or Google Slides.

1. Start by writing your main idea at the top
2. Use the worksheet below to fill in your ideas for your speech.
3. Practice your speech by reading out loud and/ or with a friend.
Main Idea: Capture the intent of your speech in one sentence to start off your planning.
Introduction Who you are/ who you are advocating on behalf of.
Summary of your main idea
Body
Use the point boxes to breakdown the issues, suggest some solutions and provide some interestingl stats.. Point 1 Point 2 Point 3 Point 4
Conclusion Summary of your main points
Call to action: What are the next steps you would like your audience to take

Use this worksheet to get clear on want you want to achieve with your advocacy goals or to get specific with the solutions you have brainstormed to achieve your goals.
My SMART goal is:
Specific
Clear and easy to understand for all
Measurable
Ability to track progress
Attainable
Realistic and achievable
Relevant
In alignment with the overall change you are wanting to create
Time-bound
Have a specified start and end date

