

A Growing and Seed Saving Guide

In partnership with

About These Seeds
Colorful, old fashioned sweet corn flavor. This variety (Astronomy Domine) is specially selected to mature early under challenging conditions.
Save seeds from your favorite plants that produce more than one good sized cob.
Plant in blocks of at least four rows to ensure good pollination and full cobs.
Days to Harvest: 90 days (early maturing)
Average Planting Date: April 15-May 15 (after last frost date).
Light: Plant in full sun
Days to germination: 3-10
Please return your cleaned seeds in the fall to:
Planting Corn
PollinationNotes:This variety is part of the Zea mays species, which includes Sweet Corn, Flour Corn, Pop Corn, and Dent Corn. These typesreadilycross-pollinate; therefore, grow only one to ensure you will have offspring that aren’t chewy or starchy. Due to the complexity of modern corn genetics, only allow cross pollination with other heirloom sweet corns (avoid modern hybrid varieties).
To ensure best pollination, plant them in a square or circle. If your corn block isn’t very big (for example less than 4 rows wide), shake your plants at the pollination stage to ensure pollen gets around. The main thing is, don’t plant them in a row!
IdealPlantingDate:April 15 - May 15. Corn is more tolerantof cool soil temperatures than squash, melons, runner beansand cucumbers. Plantseeds directly into the garden when soil temperatures are consistently above 45°F, typically a couple of weeks after the last spring frost. Plant three inches apart so that you end up with plants that are at least 1-3 feet apart after culling the plants that do not thrive. Grow plants as normal, without using any kind of insecticides or fungicides.
Thinning Your Corn Seedlings
Keep soil moist until seedlings emerge. Once corn reaches 3-4 inches tall, it's time to thin!
For rows: Thin to one plant every 12 inches, with rows 30-36 inches apart.
For traditional mounds: Keep 3 strong plants per mound, with mounds spaced 3-4 feet apart.
When thinning, look for differences between plants - some may be taller, have thicker stems, or different colored leaves. This diversity is good! Keep a mix of healthy plants rather than just the tallest ones. Plants with reddish stems often produce more colorful and nutritious corn.
Cut unwanted seedlings at soil level rather than pulling them out to avoid disturbing roots. Save some of the thinned plants to fill any gaps.
Some plants will naturally resist pests, handle poor soil, or thrive in your local conditions better than others. By keeping a diverse mix when thinning, you're helping develop corn that's adapting to your garden.
Harvesting Corn to Eat
Your corn is ready to eat when the silks turn brown and brittle, and the ear feels plump with a blunt tip.
The best test? Peel back a bit of husk and pierce a kernel with your fingernail. You want the liquid to be milky butsee-through - like skim milk. If it's clear and watery, wait a few days. If it's thick and pastel or doughy, you've waited too long.
Move quickly once corn is ready - it can go from perfect to past-prime in just a few days. For the sweetest flavor, harvest in the morning and eat soon after picking.
Remember: Eatthesmallercobs,fromthesmallerplants,and

Smaller cobs harvested for eating.
Harvesting and Saving Seeds
Let the best ears mature fully on the plant until stalks and husks turn brown. Seeds keep developing nutrients from the plant, so wait as long as you can! If your husks are dry and rain is in the forecast, harvest to avoid mold. If corn is getting eaten by pests, you can harvest it, as seed is mature enough after the edible stage.
Todry:Lay ears on screens or racks in a shady, dry spot or hang them in bunches to dry. Never dry in direct sun. Seeds are ready to remove and store when a kernel shatters (not squishes) when hit with a hammer. Select the best cobs that are fully pollinated, and colors that you enjoy. First remove the kernels from the tip and base of each ear– discard (or eat) these, they aren’t ideal for

Cleaning and Drying for Seed
Remove and keep the remainder of the seeds from the middle of the cob. Twist kernels off with gloved hands into a bucket.
Remove chaff by pouring corn in front of a fan into a different container (seeds will fall), or on a windy day.
Store seeds in an airtight container kept cool and dark. Freeze for 48 hours first to prevent weevils, then let container warm to room temperature before opening to prevent condensation.
You can also add a tablespoon of sifted wood ash to keep out

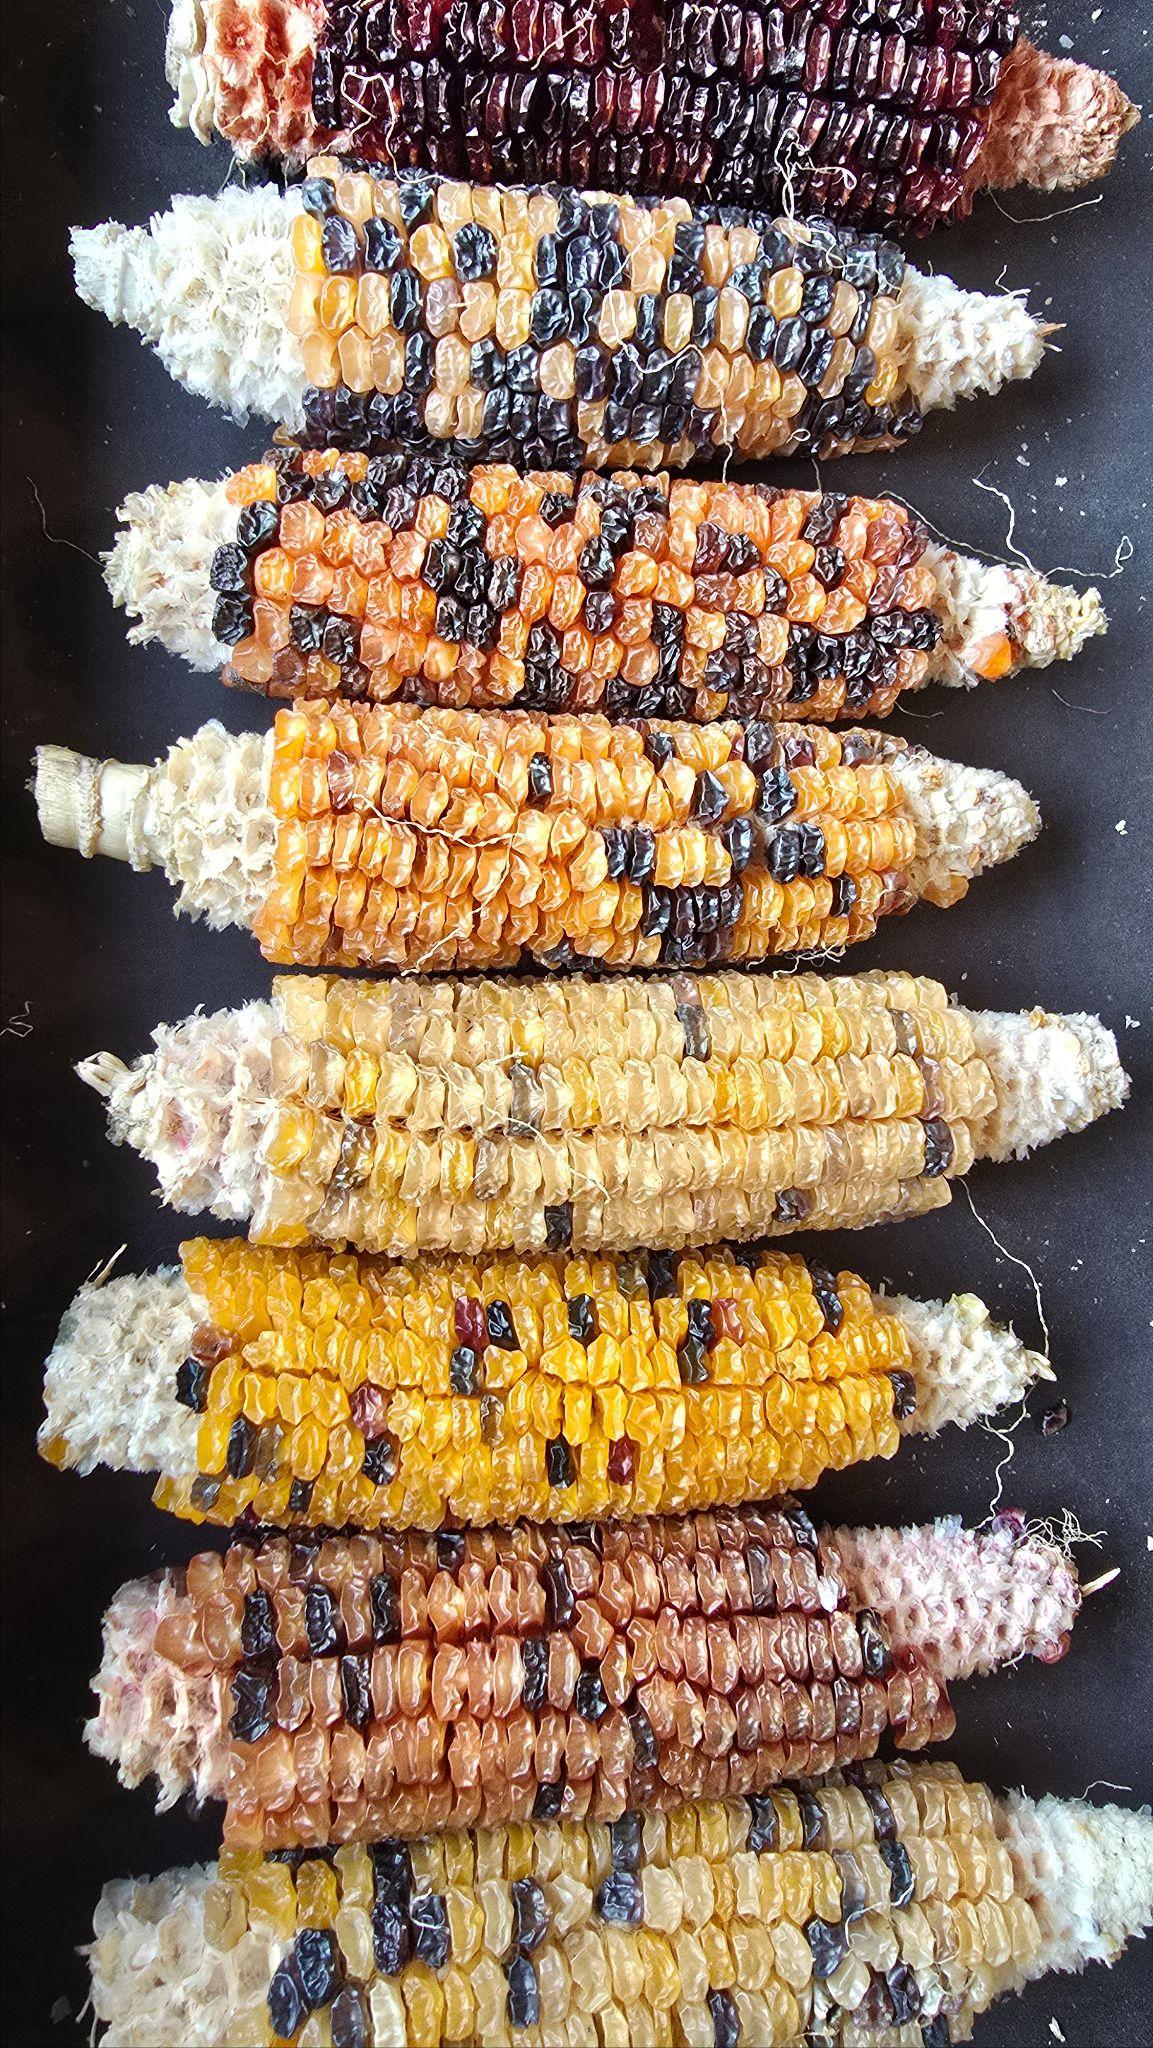
Whendried,sweetcorn(left)seedlooksshriveledwhen
Where is corn from originally?
At least 9,000 years ago, Indigenous farmers in Southern Mexico transformed a wild grass called teosinte into the crop we know as corn, or maize. Through careful selection over thousands of years, skilled farmers turned the tiny grass seeds of teosinte into the large, nutritious ears of corn that became one of the world's most important foods.
About 1,000 years ago, Haudenosaunee (also known as the Iroquois Confederacy) farmers in what is now called New York and Pennsylvania, noticed some corn plants produced especially sweet, tender kernels when eaten fresh. They maintained these sweet varieties separately from their other types of corn, preserving this delicious food that would later be shared with European settlers and eventually spread worldwide.
About These Seeds


These sweet corn seeds comes from Nye Ranch Farm, in coastal Fort Bragg, where (non-adapted) commercial sweet corn would be crop failure. Over a few years, these seeds are learning to thrive in cool summers, sandy soil, and salty ocean winds. Originally grown by Joseph Lofthouse in Utah (the variety known as Astronomy Domine), then by Nourishing Seeds in Caspar, the seeds were then adapted by Blair and Shea Burns at Nye Ranch Farm in Fort Bragg, supported by agrant from Going to Seed.
Locally Adapted, Community Selected
Year by Year Guide
How do crops adapt a crop to our local environment?
Year1: Lots of gardeners plant lots of seeds. Some plants will do better than others, and that’s OK, celebrate the strong ones. Save seeds from any plants that produce seeds, despite challenges.
Year2: Repeat the first year, but this time we can be more selective and saves seeds from the most delicious plants or fruits.
Year3andbeyond:Save seeds from plants with the traits that you love. This may include best flavor, dark colors or a preferred sizeand shape or early ripening. Keep the population diverse to allow it to keep adapting and evolving (always save seeds from multiple plants).
TheKey: Save your seeds and share then with the community through your seed library. Your seeds will be mixed with everyone's and shared back out through the seed libraries.


Please fill out this sticker or form and return with your seeds
Plant/species name:_________________________________
Variety (or parent varieties) ____________________________
Garden Location:_____________________________________
Year: _______________________________________
Grower name: ____________________________________
Email or phone: ___________________________________
Notes: ___________________________________________
● Make sure seeds are completely dry and clean.
● Bring them to your local seed library in any clean container
● Fill out a quick check-in slip (found near the seed cabinet, or use the tear-off page here.
● Note any special traits or reasons you saved the seeds.
Our five Mendocino County Library (MCL) Seed Libraries are your spot for gardening information and free vegetable, herb, and flower seeds. Branches are located in Round Valley, PointArena, Fort Bragg, Willits and Ukiah, our goal is to nurture a thriving community of gardeners and seed savers and introduce the joy of gardening to members of our community who are not already gardeners.
Seeds at the MCLSeed Libraries are free to our library patrons. Each library has resources on gardening and seed saving available for check out as well as programs on gardening.
Visit mendolibrary.org, the seed libraries tab, for an event calendar, resources, and how to request seeds from your seed library.
Why Save Local Seeds?
In this guide, you'll learn how to grow and save seeds that get stronger and more delicious with each generation. Along the way, you'll join an ancient tradition of seed stewards, helping to heal our food system from the ground up.
Localization - Over time, seeds learn your soil, local pests, climate, and your habits, and will thrive with less effort from you.
Strengththroughcommunity - Share seeds, stories and knowledge. Every gardener adds to our local food security.
Selectforwhatyoulove- Grow food that matches what matters to you—flavor, sustainability, resilience, or all three.
Seed Pledge: I commit to saving seeds from the earliest and best plants and sharing them with my community.
