1 minute read
The JavaScript Blocks Editor

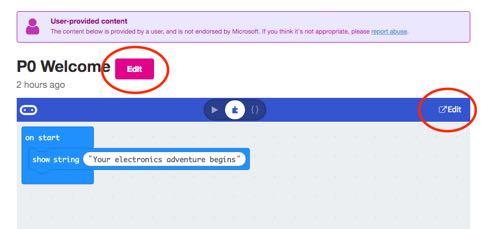
If you want to modify one of the Block programs for the kit, you can do so by clicking on the either of the two Edit buttons.
Clicking on the Edit button will then open the project in the Blocks Editor.
Advertisement
Page 28
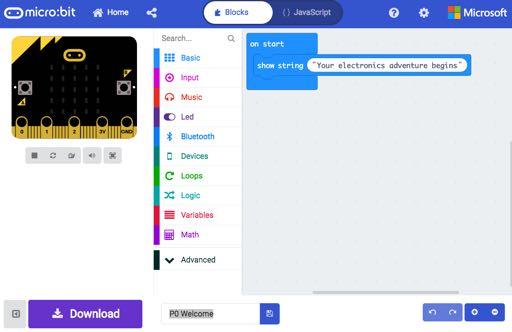
One really nice feature of the Blocks editor is that the image of a micro:bit on the left of the screen is a virtual micro:bit that you can run your programs on before flashing them onto the micro:bit. You can press its buttons with your mouse, it will display things and if you used the GPIO pins as digital outputs, it will even highlight them when you write to them. You can also click on GPIO pins to simulate digital and analog inputs. The middle section of the screen has different categories of blocks: Basic, Input, Music etc. where you can find blocks to put onto the right-hand ‘canvas’ area. You can also use the Search box just above the list of block categories if you are not sure where to find the block that you want. The Blocks editor actually generates code in the JavaScript programming language and if you click on the button “{} JavaScript” you can see the code that has been generated. Clicking on “Blocks” takes you back to the blocks view of things, which is much easier to follow.
Events
The JavaScript language that underpins the Block editor uses something called “events”. The “on start” block that our welcome message appears in is an example of an “event”. The event being that the micro:bit started up, because it was plugged in or its reset button was pressed. Start a new project (by clicking on Projects and then New Project) and delete both the on start and forever blocks. Add an on button pressed (another event) block (in the Input category) and then place a show string block inside it and change the text that the show string block is to display so that it looks like this.
Now, when you use your mouse to click on button A in the virtual micro:bit it will scroll the message. You could also now try this on a real micro:bit.

Page 29