
1
Creating a Badge
Quick Start Guide
Motivate your students and celebrate their achievements by creating virtual badges.
2
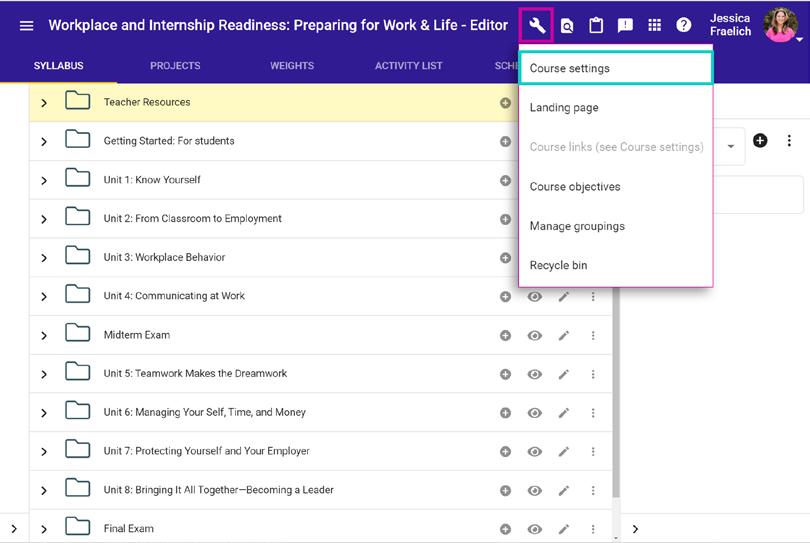
Once logged in to your teacher app, click the Editor icon located within your course Activity Stream.

3
4
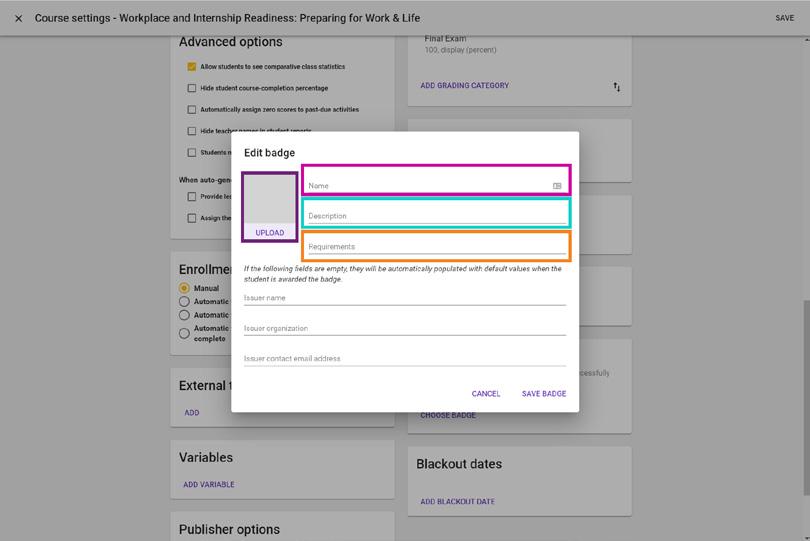
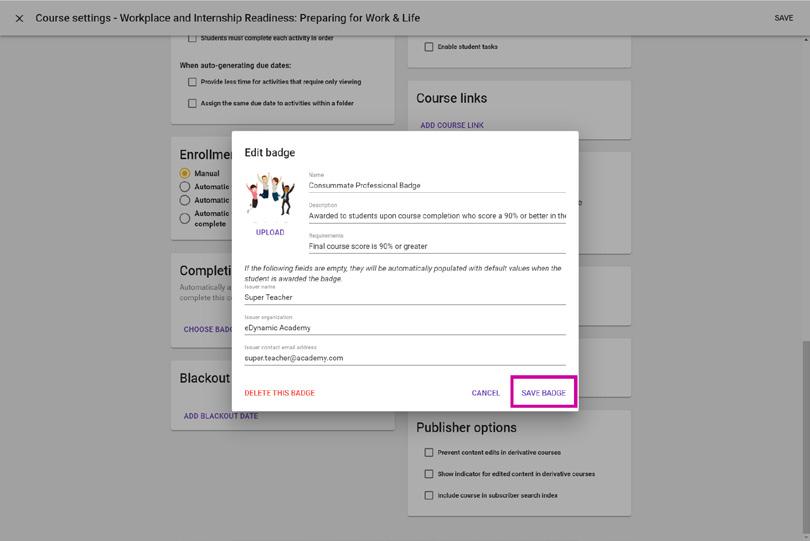
Establish badge.
Name: enter a title for your badge. *required*
Description: describe what this badge indicates/ what it is for. *optional*
Requirements: note what your students must do in order to receive this badge. *optional*
Upload: upload an image that represents the meaning of your badge.
Note: this image will be visible to students.
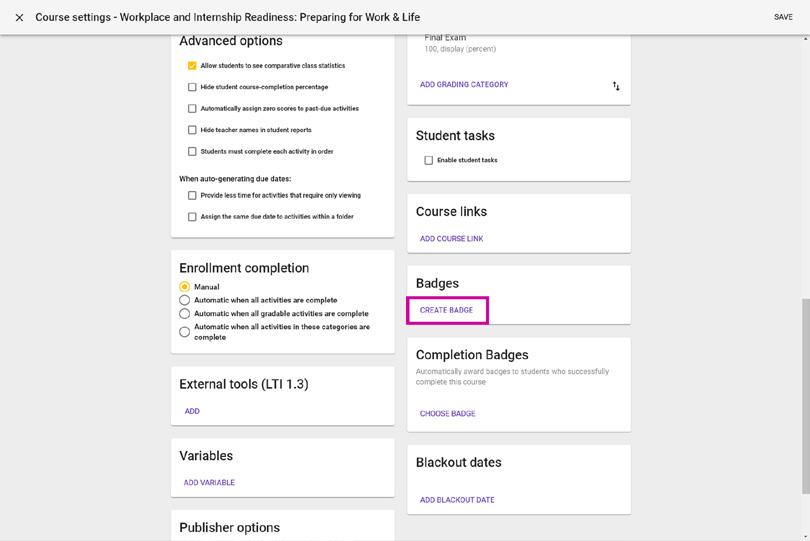
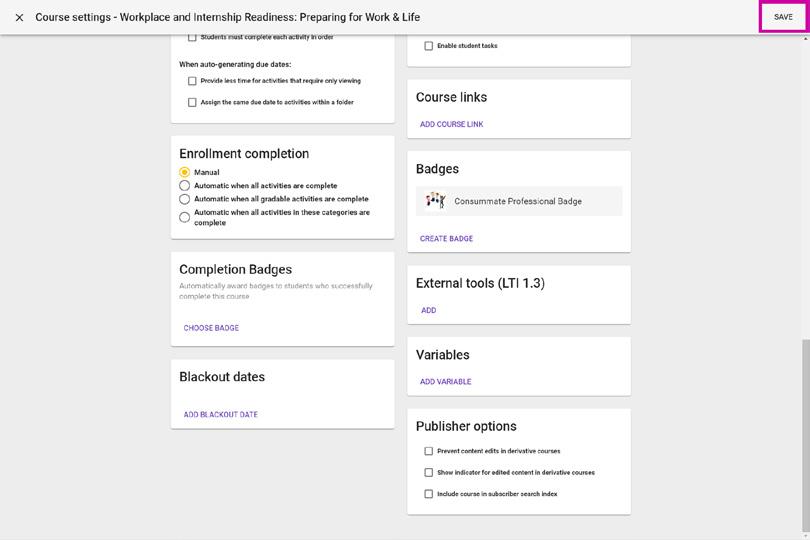
Click the Tools icon found in the purple navigation bar, then select Course settings Scroll down the Course Settings page until you see the Badges box. Click the Create Badge button.Add Issuer name, Issuer organization, & Issuer contact email address, if desired.
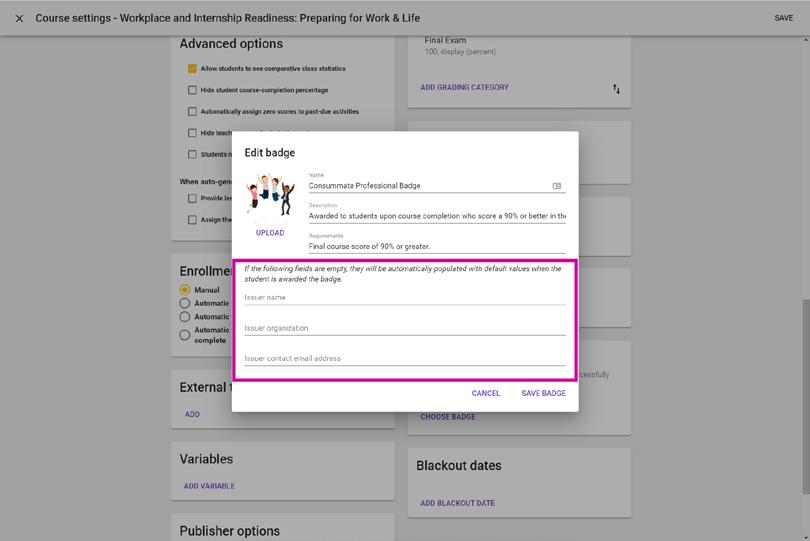
Note: if these fields are left blank, they will automatically be filled in with default values once the badge is awarded to the student.
Guide Passion to Purpose www.edynamiclearning.com | 877.585.2029 | hello@edynamiclearning.com
additional Quick Start Guides and helpful tutorials visit: www.edynamiclearning.com/support
For
Click Save Badge Click Save 7 6 5