Blender TM is a free Open-Source 3D Computer Modeling and Animation Suite incorporating Character Rigging, Particles, Real World Physics Simulation, Sculpting, Video Editing with Motion Tracking and 2D Animation within the 3D Environment.
Blender is FREE to download and use by anyone for anything.
The Complete Guide to Blender Graphics: Computer Modeling and Animation, Eighth Edition is a unified manual describing the operation of the program, updated with reference to the Graphical User Interface for Blender Version 3.2.2, including additional material covering Blender Assets, Geometry Nodes, and Non-Linear Animation.
Divided into a two-volume set, the book introduces the program’s Graphical User Interface and shows how to implement tools for modeling and animating characters and created scenes with the application of color, texture, and special lighting effects.
Key Features:
• The book provides instruction for New Users starting at the very beginning.
• Instruction is presented in a series of chapters incorporating visual reference to the program’s interface.
• The initial chapters are designed to instruct the user in the operation of the program while introducing and demonstrating interesting features of the program.
• Chapters are developed in a building block fashion providing forward and reverse reference to relevant material.
Both volumes are available in a discounted set, which can also be purchased together with Blender 2D Animation: The Complete Guide to the Grease Pencil.
Abut the author
John M. Blain has become a recognised expert in Blender having seven successful prior editions of this book to date. John became enthused with Blender on retirement from a career in Mechanical Engineering. The Complete Guide to Blender Graphics originated from personal notes compiled in the course of self-learning. The notes were recognized as an ideal instruction source by Neal Hirsig, Senior Lecturer (Retired) at Tufts University. Neal encouraged publication of the First Edition and in doing so is deserving of the author’s gratitude. Gratitude must also be extended to the author’s wife Helen for her continuing encouragement and patience as new editions of the book are compiled.
The Complete Guide to Computer Modeling & Animation Blender Graphics
JOHN M. BLAIN
Eight edition published 2024 by CRC Press
2385 Executive Center Drive, Suite 320, Boca Raton, FL 33431
and by CRC Press
4 Park Square, Milton Park, Abingdon, Oxon, OX14 4RN
CRC Press is an imprint of Taylor & Francis Group, LLC
Reasonable efforts have been made to publish reliable data and information, but the author and publisher cannot assume responsibility for the validity of all materials or the consequences of their use. The authors and publishers have attempted to trace the copyright holders of all material reproduced in this publication and apologize to copyright holders if permission to publish in this form has not been obtained. If any copyright material has not been acknowledged, please write and let us know so we may rectify in any future reprint.
Except as permitted under U.S. Copyright Law, no part of this book may be reprinted, reproduced, transmitted, or utilized in any form by any electronic, mechanical, or other means, now known or hereafter invented, including photocopying, microfilming, and recording, or in any information storage or retrieval system, without written permission from the publishers.
For permission to photocopy or use material electronically from this work, access www.copyright.com or contact the Copyright Clearance Center, Inc. (CCC), 222 Rosewood Drive, Danvers, MA 01923, 978-750-8400. For works that are not available on CCC please contact mpkbookspermissions@tandf.co.uk
Trademark notice: Product or corporate names may be trademarks or registered trademarks and are used only for identification and explanation without intent to infringe.
ISBN: 978-1-032-51056-9 (hbk)
ISBN: 978-1-032-51055-2 (pbk)
ISBN: 978-1-003-40431-6 (ebk)
DOI: 10.1201/9781003404316
Publisher’s note: This book has been prepared from camera-ready copy provided by the authors.
CH04 Editing with Deform Modifiers
4.1
4.6 Displace
4.8
4.9 Lattice
4.10
4.12
4.13
5.1
5.4
5.5
5.8
6.6
6.8
6.9
CH07 Constraints
7.1
7.2
7.3 Constraint
7.4
7.5 The
7.6 Tracking Constraints
7.7 Relationship
7.8 The
7.9
7.10 Follow
CH08 Shape Keys & Action Editors
8.1
8.2
8.3
8.4
8.5
8.6
8.7
CH09 Particle Systems
9.1
9.2
9.4
9.5
9.6
9.7
9.8
9.9
Simulation
Introduction
The Complete Guide to Blender Graphics - 8th Edition provides instruction in the use of the Computer Graphics 3D Program Blender. The book has been compiled in two separate volumes with Volume 1 being inclusive of all material which will allow a new user to obtain, install and operate the program. Volume 2 is complimentary to Volume 1 encompassing some of the more advanced aspects of the program. The books are an operation manual for those who wish to undertake a learning experience and discover a wonderful creative new world of computer graphics. The books also serves as a reference for established operators.
Instructions throughout the book demonstrate Blender with examples and diagrams referenced to the Graphical User Interface (GUI).
In selecting Volume 2 of The Complete guide to Blender Graphics it is assumed you are conversant with Blender and its interface and the fundamentals of operating the Blender Program as described in Volume 1.
Volume 2 provides an introduction to Blenders features which expand on the basics of Modeling and Animation. Knowing that these features exist and where to find them will significantly improve the working experience and enhance your ability to produce fantastic effects.
The Complete Guide to Blender Graphics originated when Blender's Graphical User Interface was transformed with the release of Blender version 2.50. Subsequent editions of the book have kept pace with developments to the program and have included new material.
The 8th Edition of The Complete Guide to Blender Graphics is applicable to: Blender Version 3.2.2
The Blender program is maintained by the Blender Foundation and released as Open Source Software which is available for download and FREE to be used for any purpose.
The program may be downloaded from: www.blender.org
The Complete Guide to Blender Graphics provides a fantastic learning experience in Computer Graphics using Blender, by introducing the operation of the Blender program through the use of its' Graphical user Interface. The book is intended to be read in conjunction with having the program in operation, with the interface displayed.
Instruction is presented using the tools displayed in the Graphical User Interface, with basic examples demonstrating results. Understanding where features are located, their uses and how they are implemented will allow the reader to more easily follow detailed instruction in the many written and video tutorials available on the Internet.
Instruction provided on the internet in the form of written and video tutorials is integral to the compendium of Blender learning material. Although comprehensive, The Complete Guide to Blender Graphics is limited by the number of pages in a volume. The internet vastly expands the knowledge base of learning material.
Important: The Blender Program is continually being developed with new features being added and improvements to the interface and operation procedures being amended. When reading instructions or viewing video tutorials the version of the Blender program for which the instruction is written should be considered.
Program Evolution
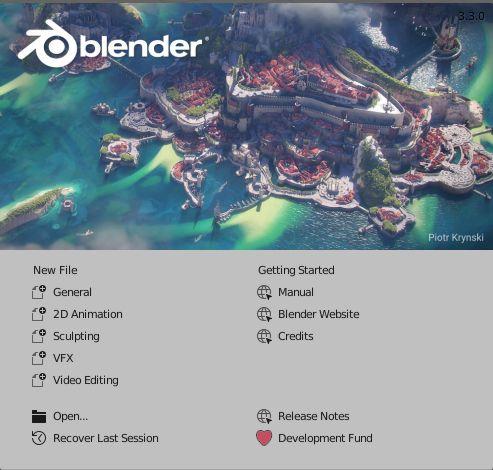
Blender is continually evolving. New versions of the program are released as additions and changes are incorporated, therefore, it is advisable to check the Blender website, from time to time for the latest version.
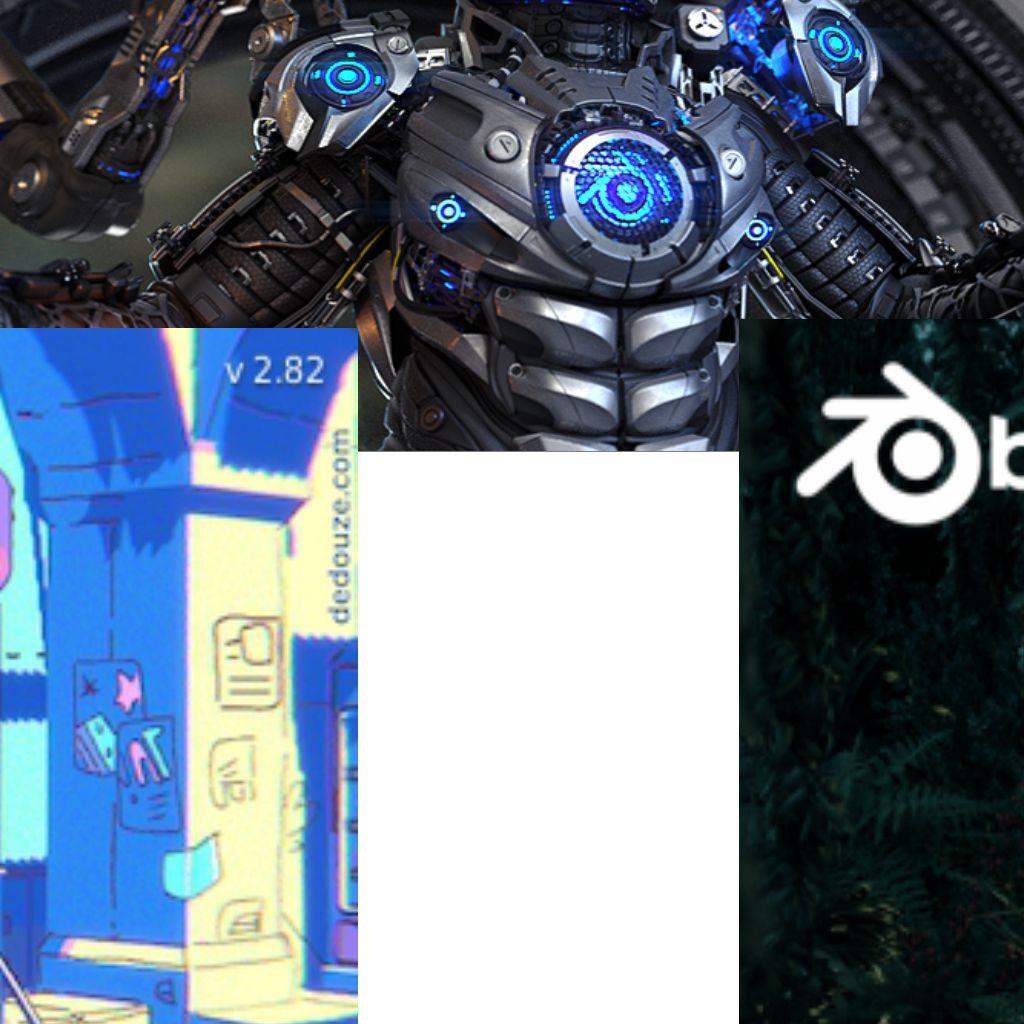
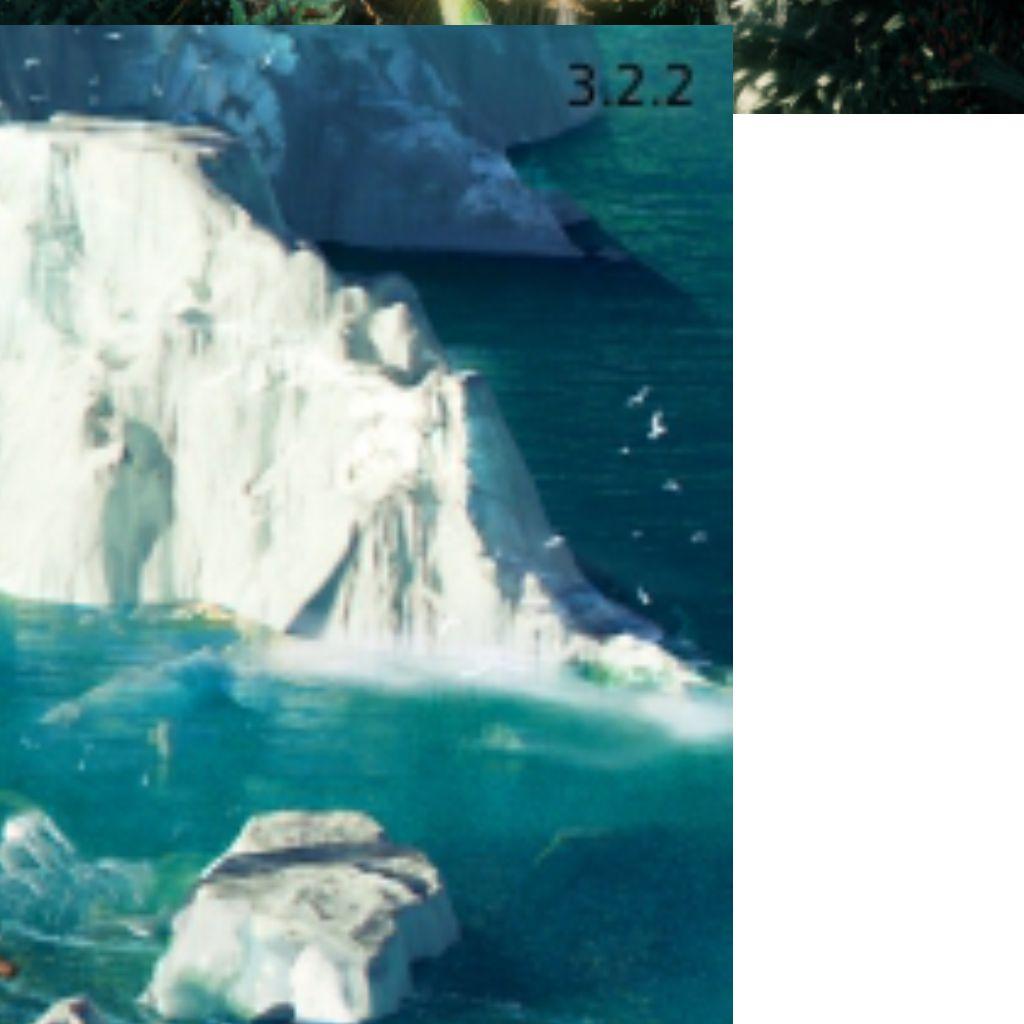
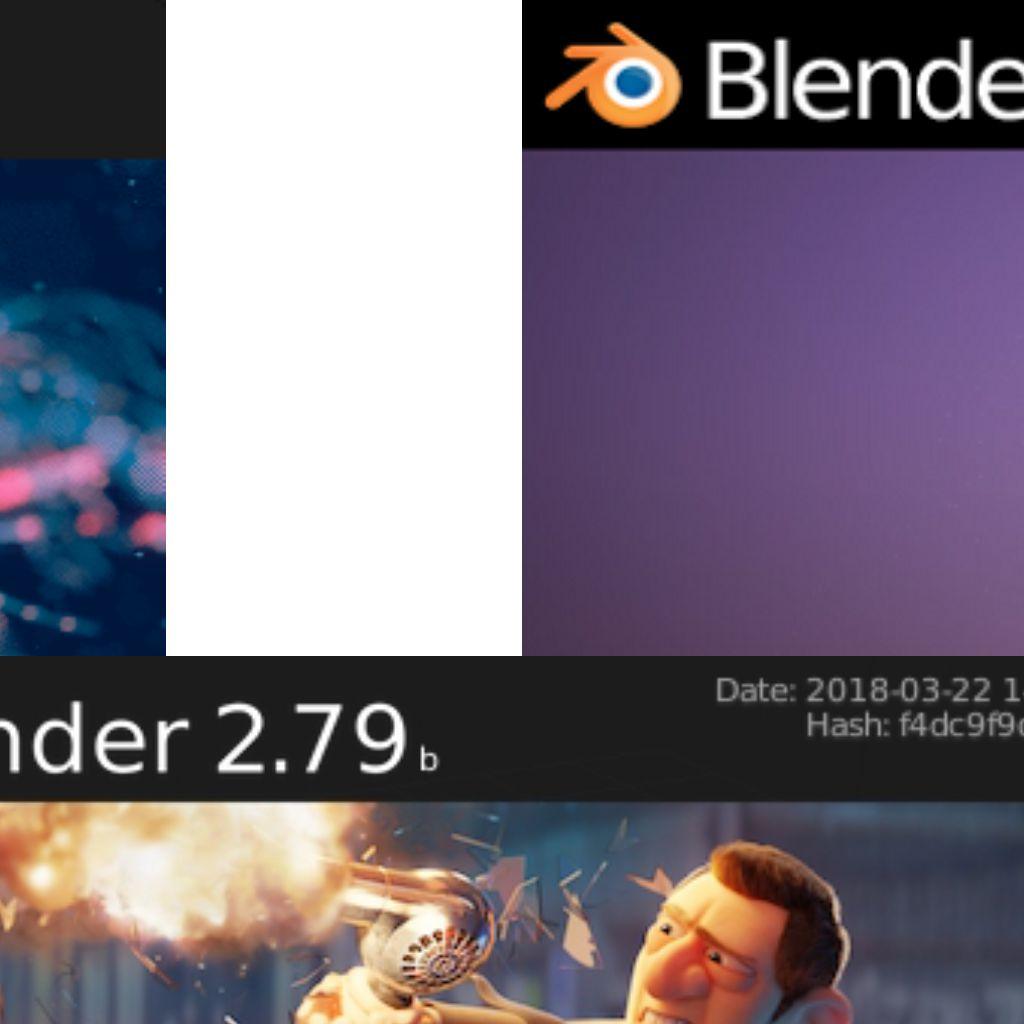
At each release of Blender a different Splash Screen Image is displayed in the interface.
Blender Version 3.2.2
Earlier versions of the program and documentation may be obtained which provide valuable information when you are conversant with the current release of the program. Video tutorials available on the internet may not strictly adhere to the current user interface or work flow. Major transformations occurred when the program changed from version 2.49 to 2.50 and again at the change from version 2.79 to version 2.82. Since 2.82 development has continued.
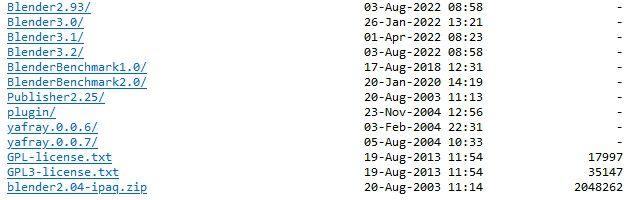
Previous Versions of Blender
As previously stated, Blender is continually evolving with new versions being released. To fully utilise internet material you may find it advantageous to study older tutorials by installing previous Blender versions. Previous versions of the program can be obtained at:
https://download.blender.org/release/
Installation
Note: You may install multiple versions of Blender on you PC.
Blender Features
A comprehensive display of the Blender features is available at: www.blender.org/features?
The Author
John M. Blain
John was born in Swindon, Wiltshire in England in 1942. At the time of writing this makes him a pretty old dude. He emigrated to Canada with his family in 1952 and now lives in Coffs Harbour, New South Wales in Australia.
Drawing and painting were skills John developed from an early age and while attending school on Vancouver Island he became interested in wood sculpture inspired by the work of the indigenous west coast people. Artistic pursuits were curtailed on graduating from high school when he returned to England to undertake a technical engineering apprenticeship. Following his apprenticeship, he worked for a short period in England and then made the decision to return to Vancouver, Canada. On the voyage between Southampton and Vancouver, he met his wife to be and Vancouver became a stopover for a journey to Sydney Australia. In this new country, he began work as an engineering draughtsman, married, had children and studied engineering. The magic milestone of seven years saw John with his young family move out of the city to the coastal town of Coffs Harbour, New South Wales.
Coffs Harbour was a center for sawmill machinery and John became engaged in machinery design and manufacture. He acquired a sound knowledge of this industry acting as installation engineer then progressing to sales. This work afforded travel throughout Australia, Canada, the United States and New Zealand.
On retirement, artistic pursuits returned with additional interests in writing and computing. Writing notes whilst learning computer animation using Blender resulted in The Complete Guide to Blender Graphics. The first edition, published in 2012, was well received and encouraged John to compile a second edition inline with the latest version of the Blender program. This afforded the opportunity to include new material. Subsequent editions have followed until this newly reformatted eighth edition.
Preamble
The Preamble will walk you through the method of reading this book in conjunction with operating the Blender program. It is assumed that you are conversant with the Blender program and its Graphical User Interface as described in Volume 1 of The Complete Guide to Blender graphics.
Formats Conventions and Commands
In writing this book the following formatting conventions have been adopted:
Paragraphs are separated by an empty line and have not been indented.
Key words and phrases are printed in bold text with the first letter of a component name specific to Blender capitalised.
Headings are printed in Bold Olive Green.
The following conventions will be used when giving instructions.
When using a Mouse connected to a computer, the commands will be:
Click or Click LMB – In either case this means make a single click with the left mouse button with the Mouse Cursor positioned over a control on the computer Screen.
In some instances it is explicit that the left mouse button should be used.
Note: Computer Screen and Monitor are synonymous.
Mouse Over: Place the Mouse Cursor over a control.
A Control is a specific area of the Computer Screen.
Mouse Cursor
Command Example
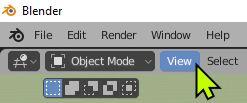
Mouse Over on View (Highlights Blue). Click LMB to display the View Menu.
The View Menu contains a selection of text annotations which are button controls for selecting functions affecting the 3D Viewport.
A Control: Is a designated area on the computer Screen represented by an icon in the form of a button or bar, with or without text annotation.
Double Click – Make two clicks in quick succession with LMB (the left mouse button).
Click, Hold and Drag – Click the left mouse button, hold it depressed while moving the mouse. Release the button at the end of the movement.
Click RMB – Click the right mouse button.
Click MMB – Click the middle mouse button (the middle mouse button may be the scroll wheel).
Scroll MMB – Scroll (rotate) the scroll wheel (MMB).
The Graphical User Interface (GUI)
Clicking is used in conjunction with placing the Mouse Cursor over a button, icon or a slider which is displayed on the Screen.
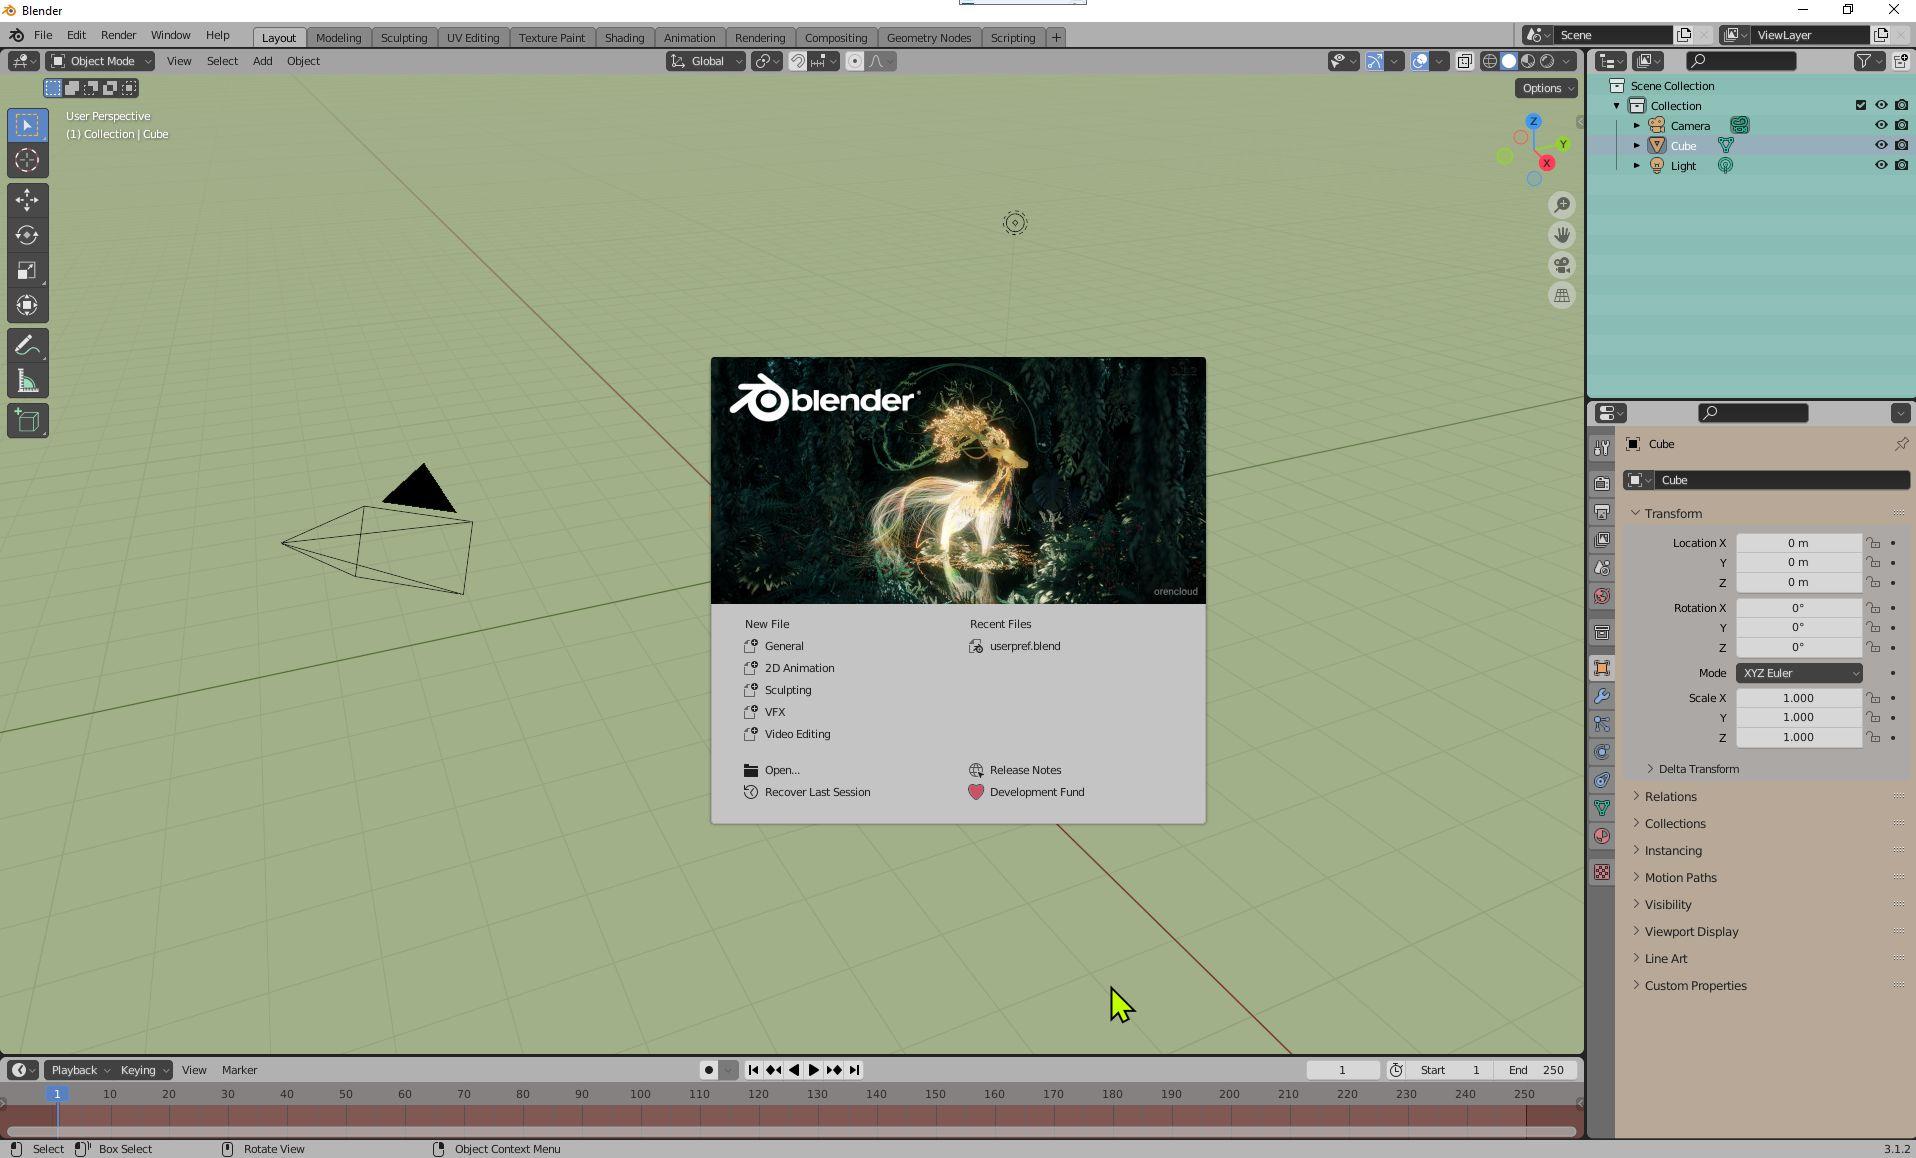
When Blender is first opened what you see on the computer Screen is the Graphical User Interface (GUI) for the program. This arrangement of panels is the interface which allows you to communicate with the program by entering commands (data) using the Keyboard and Mouse previously described. The panels that you see are called Editors or Headers with one exception, the Splash Screen
3D Viewport Editor
Note: In the preceding diagram the different Editors have been colored to distinguish one from the other. Changing Editor background colors, in affect, modifies the color scheme or Theme of the GUI. The Theme of the GUI in the diagram is not what you see when you first run Blender.
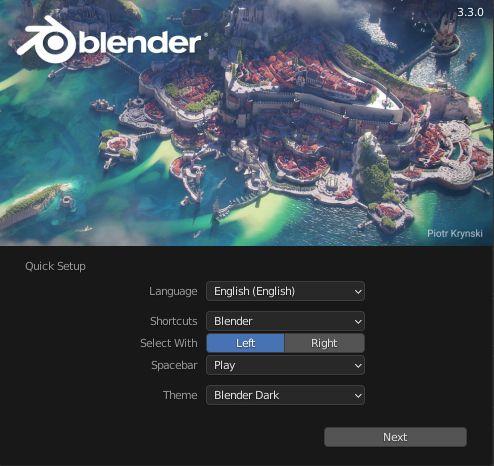
The very first time Blender runs the Graphical User Interface displays on the computer Screen with a default Theme or color scheme named Blender Dark. You will see this as one of the Quick Setup options in the Splash Screen
Clicking the Theme button displays a menu with alternative Theme Options. You may select any option depending on your preference. Having made a selection click the Next button to apply your Theme. The color scheme changes and the Splash Screen is replaced.
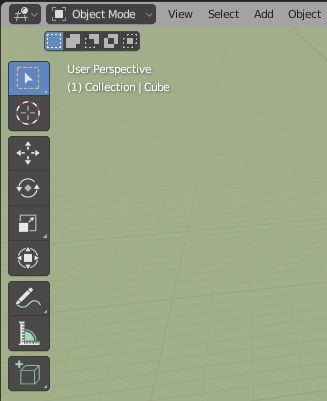
The Graphical User Interface with Theme: Blender Light selected.
What! You want to try a different Theme!
Logically, you would think, reinstating the Splash Screen would provide the Quick Setup controls previously employed.
Splash Screen
Theme: Blender Dark
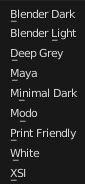
Theme Options
Click to display Options
Quick Setup
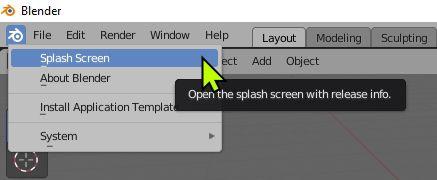
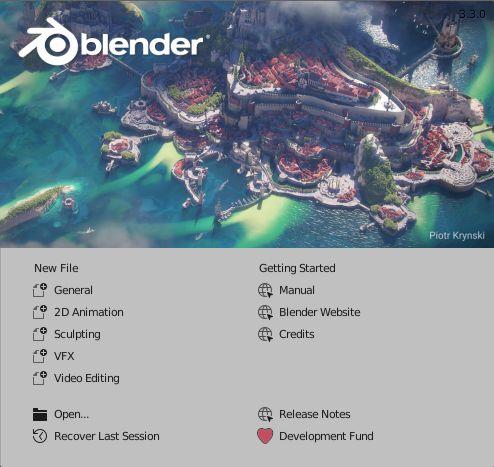
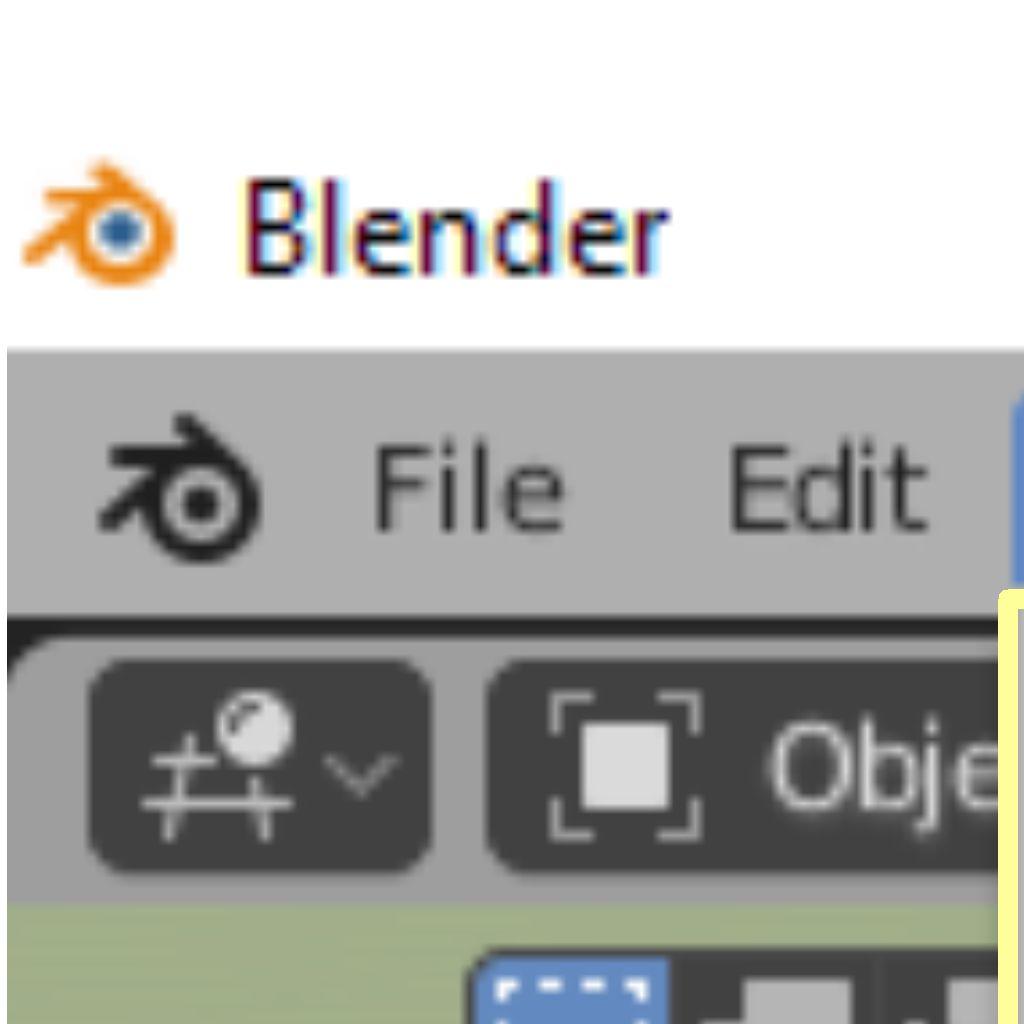
To reinstate the Splash Screen click the little Blender Logo in the Screen Header and select Splash Screen in the menu that displays.
Click the Blender Logo
The Splash Screen is reinstated but it is different from the initial display containing the Quick Setup options.
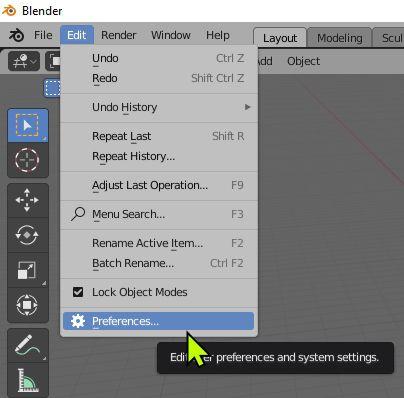
To try a different Theme, in fact, to customise Blender to your personal choice you go to the Preferences Editor by clicking Edit, Preferences in the Screen Header..
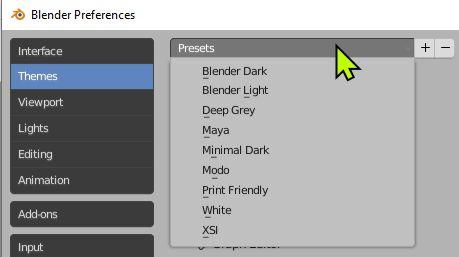
In the Preferences Editor, select Themes in the left hand column and click on Presets to display the list of color schemes.
Click Presets
The assumption has been made that you are conversant with the Blender GUI, therefore, you may be aware of the Preferences Editor and the procedure for selecting Themes. The forgoing instruction is provided to familiarise you with the method of presenting instruction in the book which incorporate references to Editors, Headers, Panels and Tabs.
The following diagram will recap on these terminologies when viewing the interface.
Editors
There are four Editors displayed when Blender is first opened. The Editors are; the 3D Viewport Editor, the Outliner Editor, the Properties Editor and the Timeline Editor. In the center of the display you see the Splash Screen showing you which version of Blender you have opened and containing buttons for selecting a variety of functions.
Traditionally the Splash Screen image is changed at each new release of the Blender Program.
At the top and bottom of the Screen you see Screen Headers. At the top of each Editor Panel there is also an Editor Header. Headers contain Button Controls for selecting functions pertaining to the Screen or the Editor as the case may be.
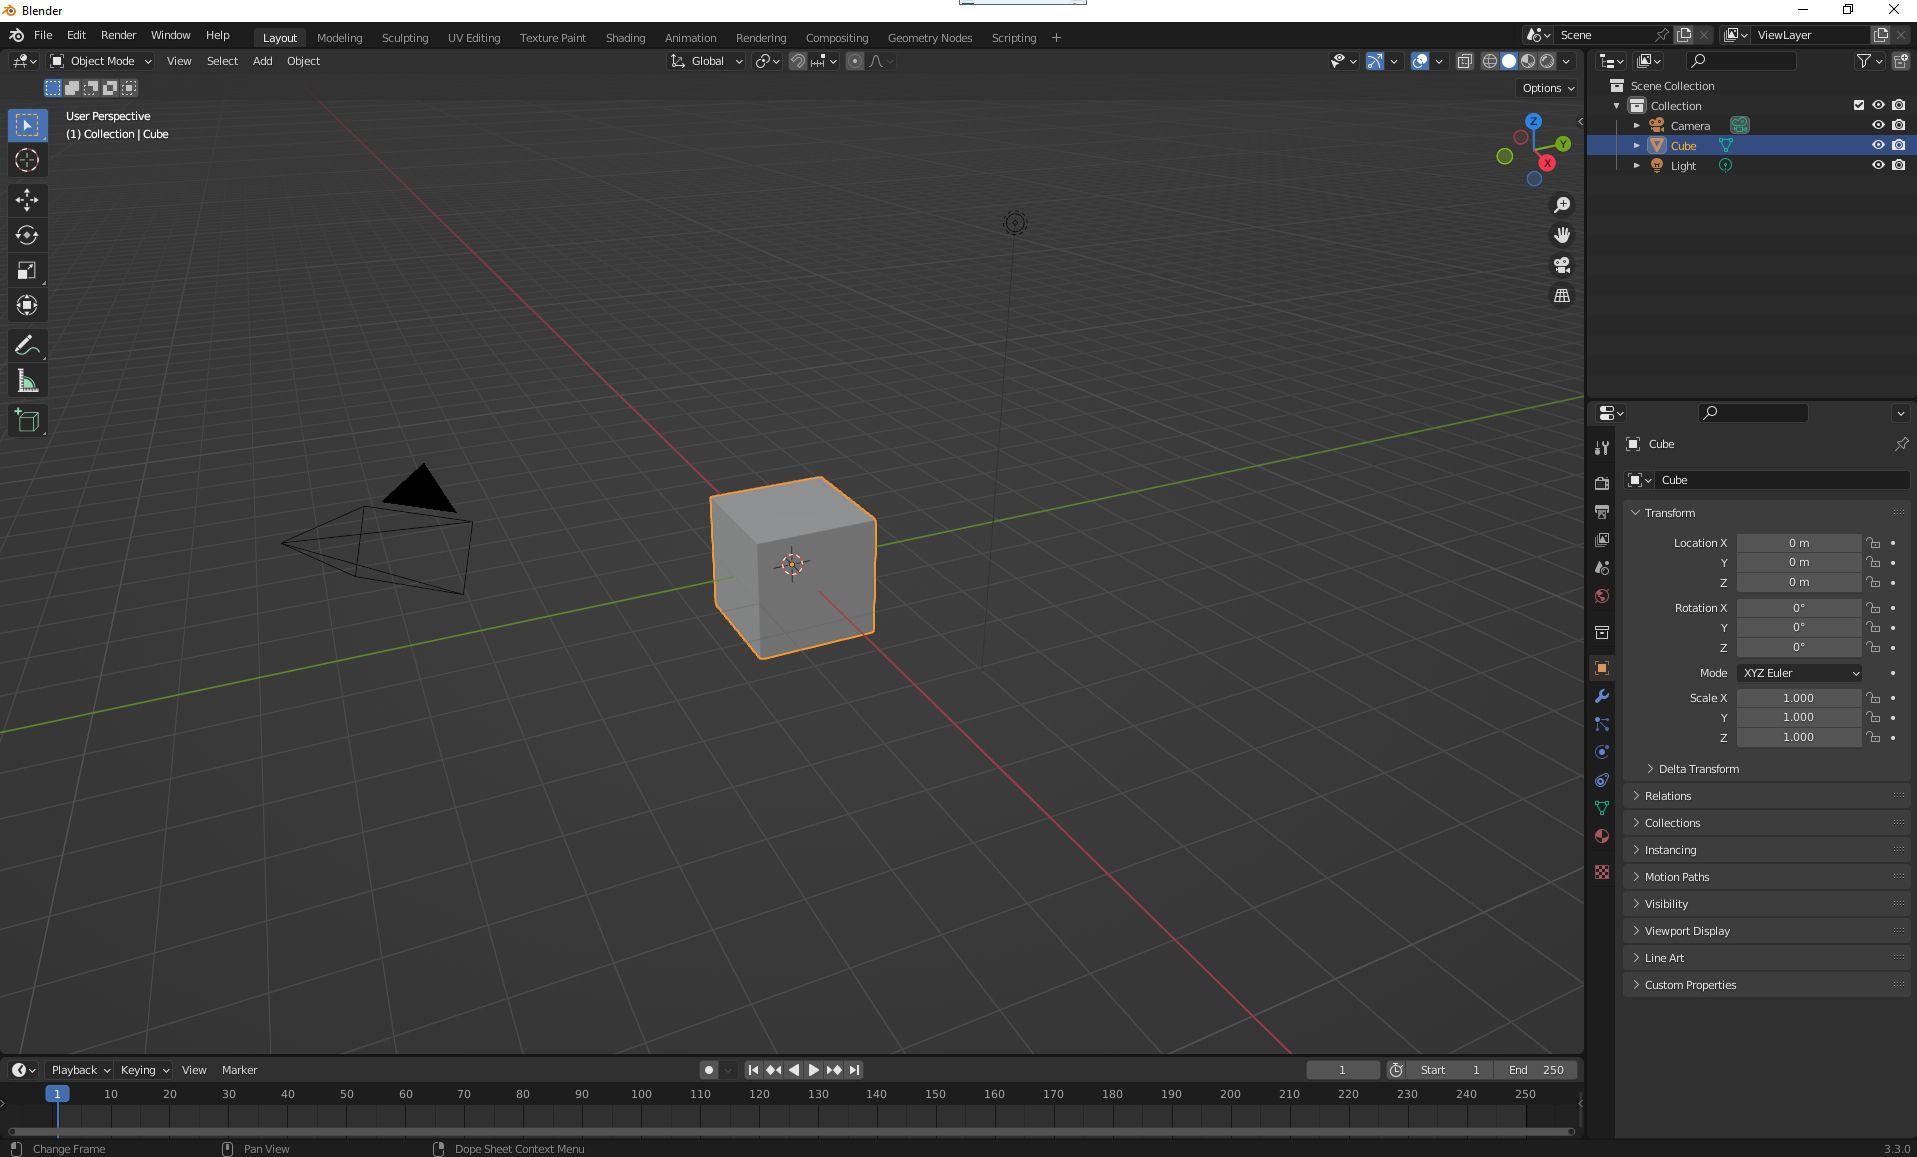
Note: Clicking the Left Mouse Button with the Mouse Cursor in the 3D Viewport Editor cancels the display of the Splash Screen (Reinstate as previously described).
Note: In the preceding diagram the default background colors of the different Editors have been altered to distinguish the panels.
Controls - Buttons, Icons and Sliders
Each Editor in the GUI is a separate panel with a Header at the top of the panel. The Headers contain buttons which activate functions or display sub menus with buttons for activating functions.
3D Viewport Editor
Outliner Editor
Timeline Editor
Splash Screen
Lower Screen Header
Mouse Cursor
Upper Screen Headers
Editor Header
A button may be a text annotation which highlights blue on Mouse Over or an icon representing a function or a bar with text annotation. Clicking a button relays data to the program to perform an action.
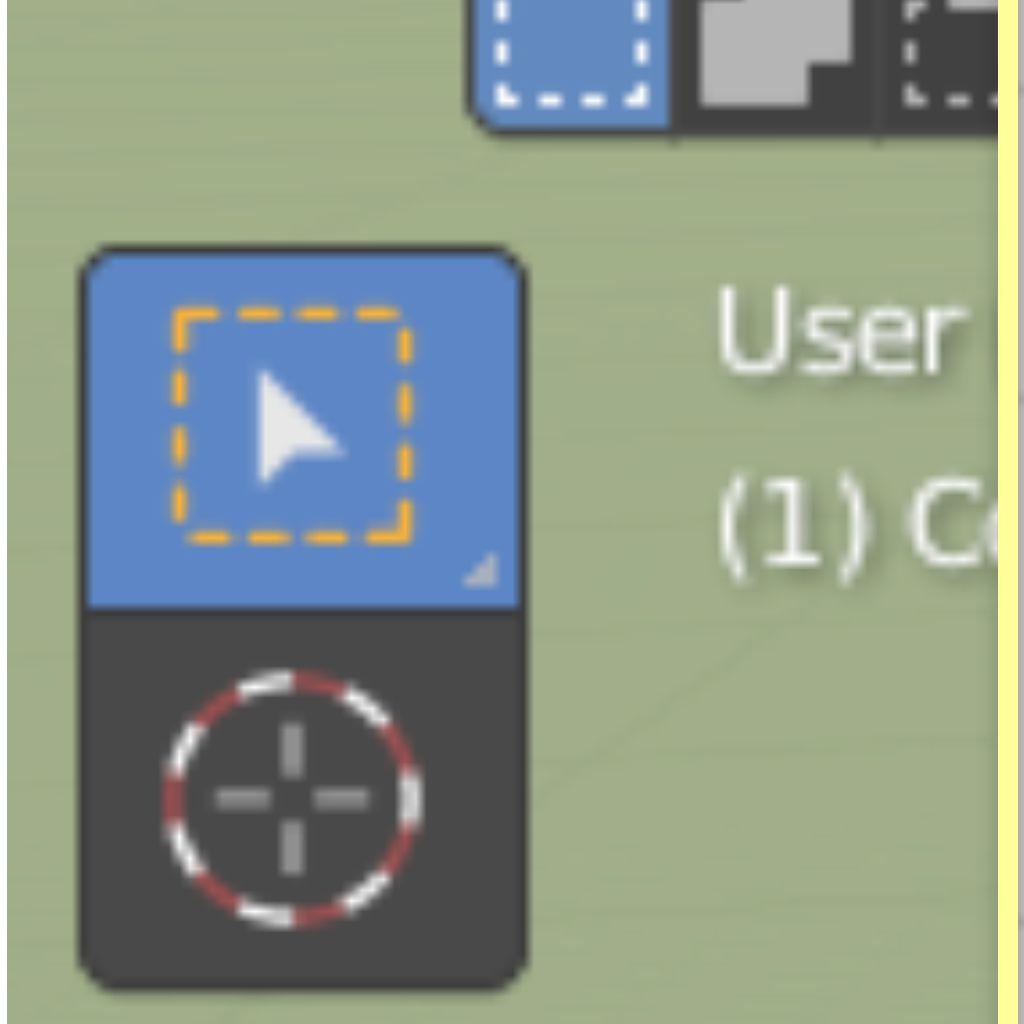
Example 1 : The 3D Viewport Editor (the default Screen display – Upper LH Side)
Editor Type Selection Button
Editor Type Icon
Mode Buttons
Tool Panel (sub panel)
Button In the Tool Panel
Editor Mode Selection Button
3D Viewport Editor (Upper LH Corner)
withText Anotation
Editor Header
Note: The buttons shown in the diagram can be seen in the panel at the upper left hand side of the default Blender Screen arrangement.
Note: In giving instructions, Default means, that which is displayed on the computer Screen before any action is taken.
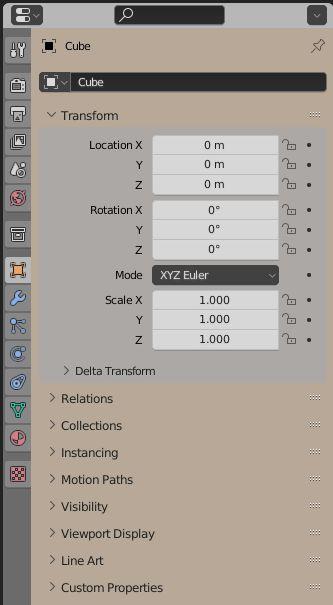
Example 2 : The Properties Editor (the default Screen display – Lower RH Side)
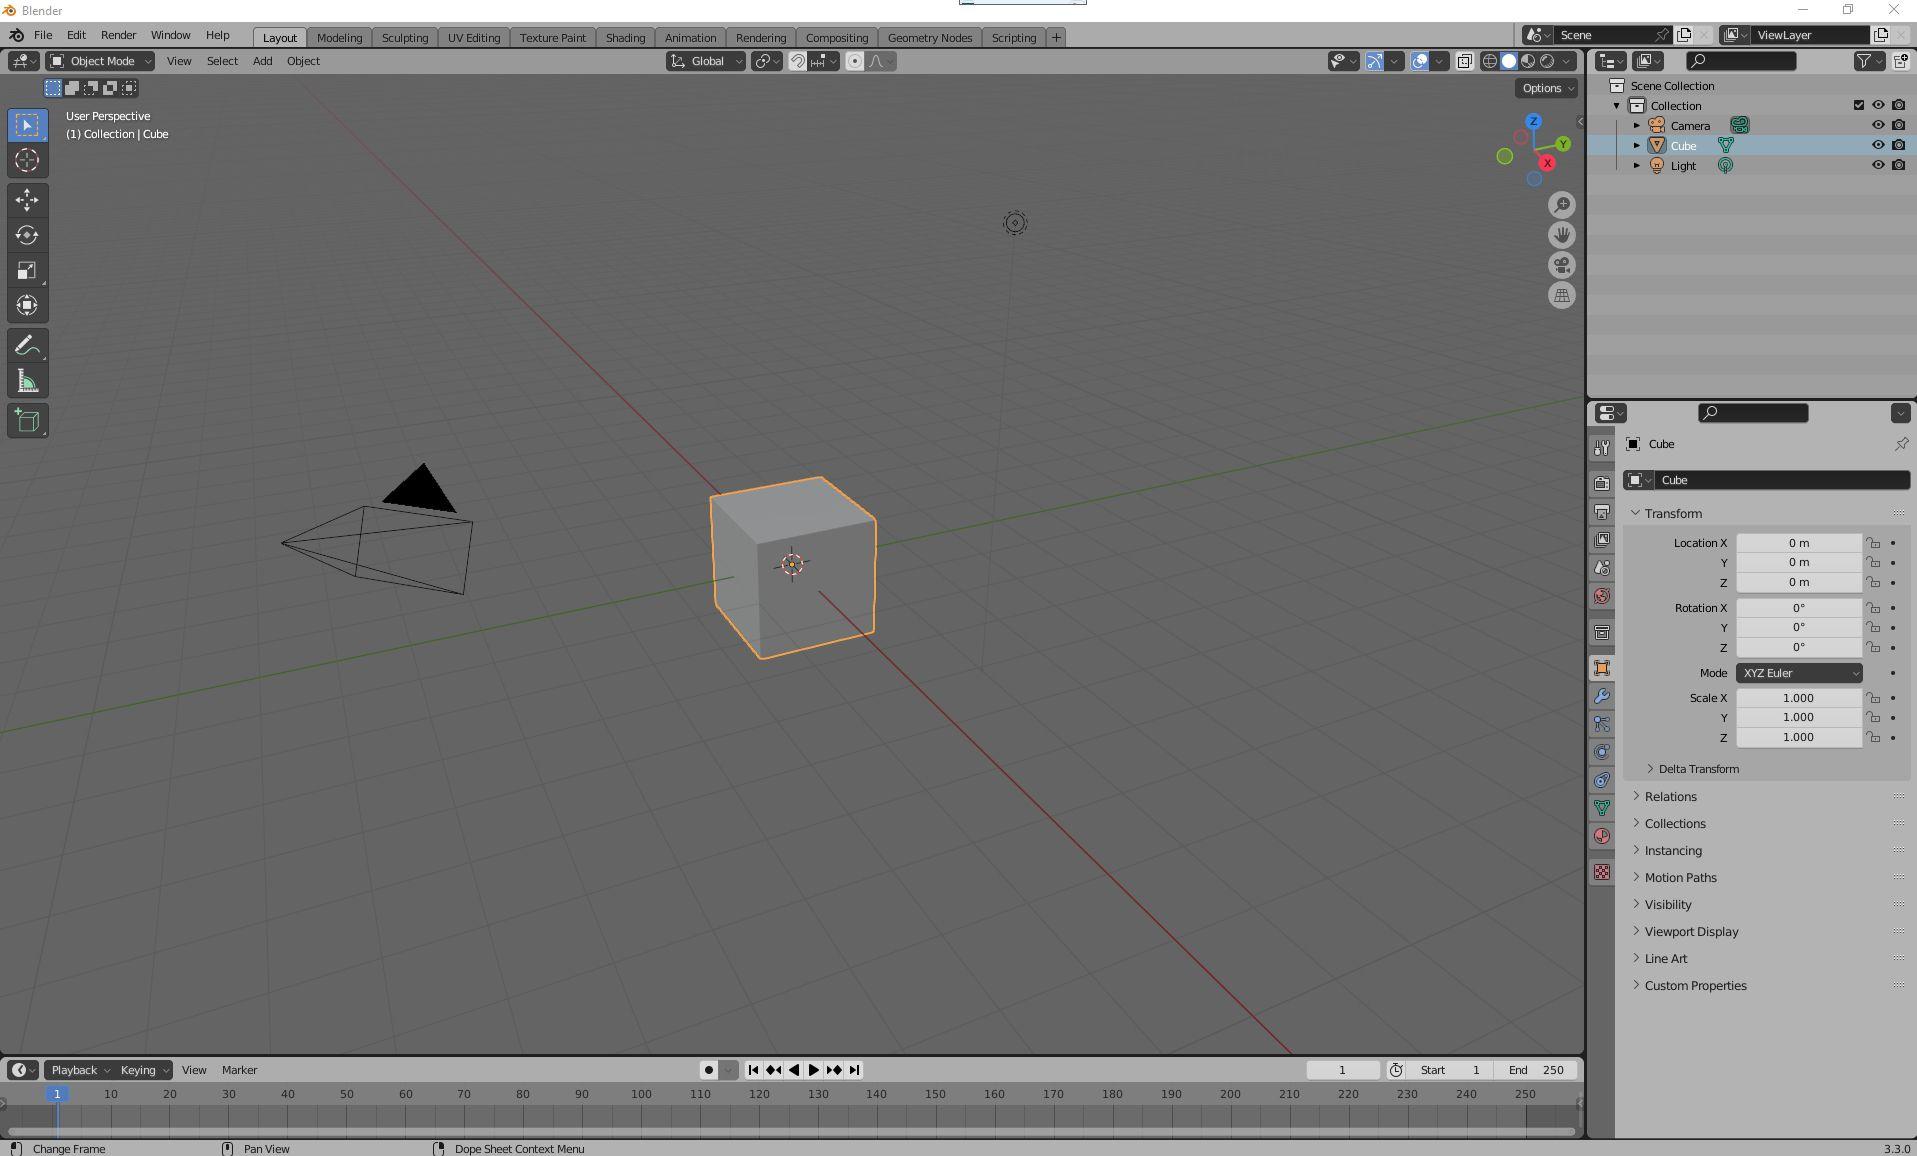
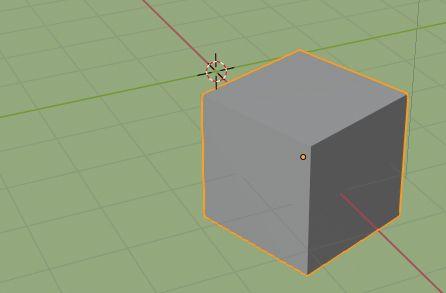
The default display shows the content of the Properties Editor with the Object Properties active. In this state the controls affect the default Cube Object in the 3D Viewport Editor.
Note: In this instance the Editor Header is extended to the vertical array of buttons at the left hand side of the Editor.)
Properties Editor Icon
Editor Display Selection buttons. The display in the Editor panel depends on which button is clicked.
Object Properties
(Content of the Editor Panel with the active Property – see Note)
Tabs
(Click to open a Panel)
Tab Open
Tab Closed Panel Opened
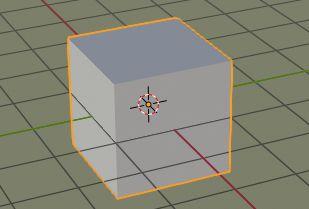
Cube Object (in the 3D Viewport Editor)
Slider Controls (Adjust Numeric Value)
(see details following)
Editor Panel showing the Object Properties
Button (Click to display a Selection Menu)
Note: The Editor display indicated by the broken yellow line shows controls for the active Property. In the diagram the Object Properties is active.
A Button in Blender can be a small square or rectangular area on the screen or an elongated rectangle in which case it may be referred to as a bar. Some buttons display with icons.
An Icon is a pictorial representation of a function. In the diagram the icon in the upper left hand corner indicates that the Properties Editor is displayed.
A Slider is an elongated area, usually containing a numeric value, which is modified by clicking, deleting and retyping the value, or clicking, holding and dragging the Mouse Cursor that displays on Mouse Over, left or right to decrease or increase the value. Some sliders have a small arrow at either end which display when the Mouse Cursor is positioned over the Slider (Mouse Over).
Click on an arrow to incrementally alter the value. Some sliders directly alter the display on the computer Screen.
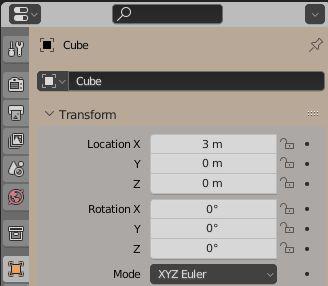
Slider Control Detail
Slider Controls in the TransformTab affect the position of the Cube (the selected Object) in the 3D Viewport Editor.
Properties Editor
Object Properties Button Transform tab
Object Properties
Mouse over to display double headed arrow. Click to show Typing Cursor (blue line).
Cursor displays on Mouse Over Click, Hold and Drag Left or Right
Typing Cursor
Delete, Backspace and retype a value. Press Enter.
Click Arrow to Increment the value.
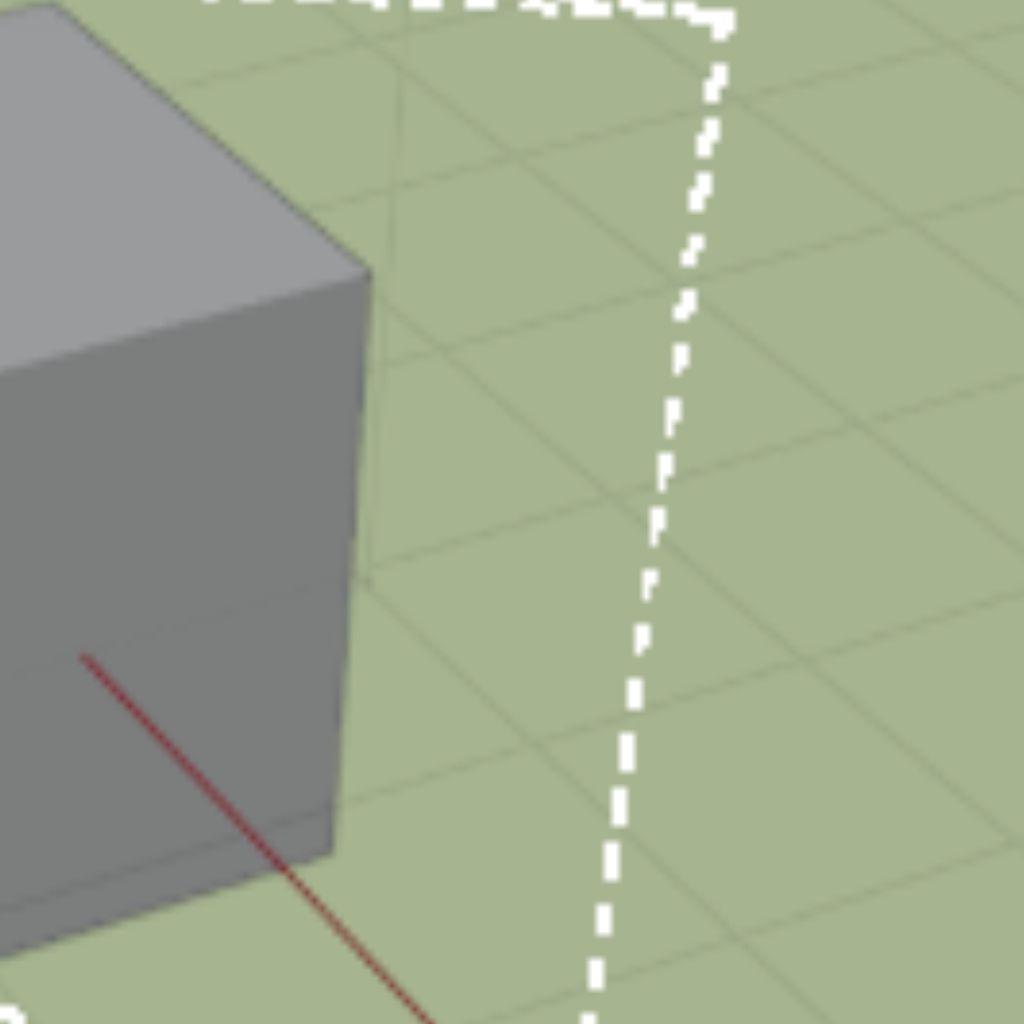
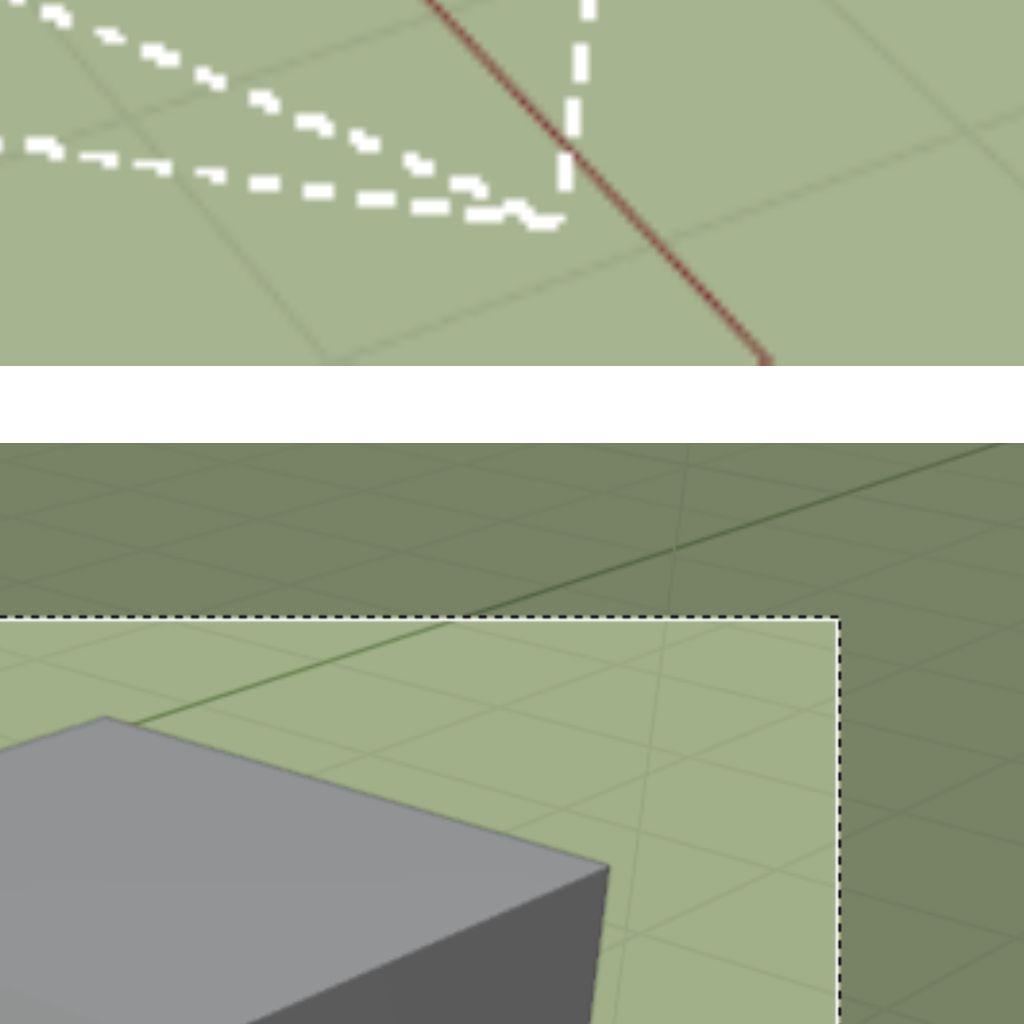
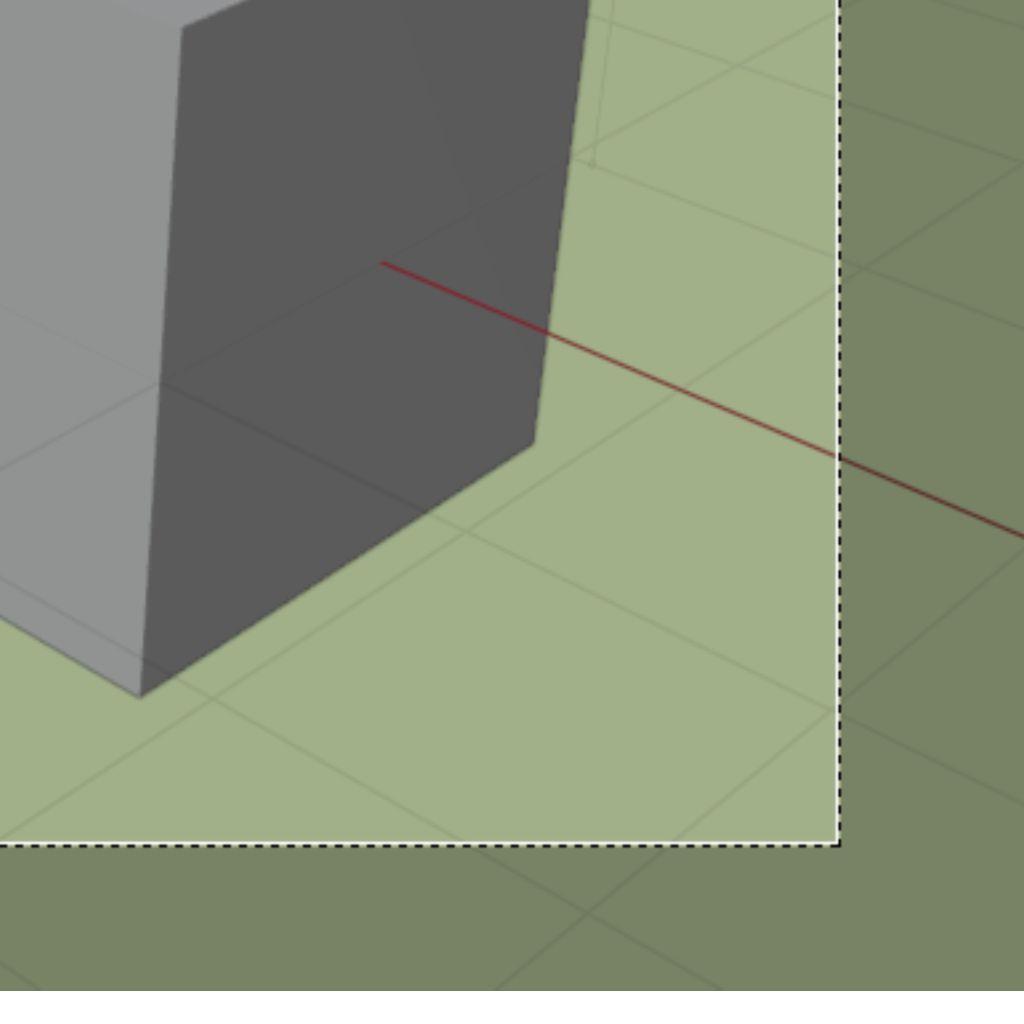
With the Cube Object selected in the 3D Viewport Editor, altering the X Location Slider value to 3m and the Z Axis Rotation Slider to 19.8° moves the Cube forward along the X Axis (Red Line) and rotates the Cube about the vertical Z Axis.
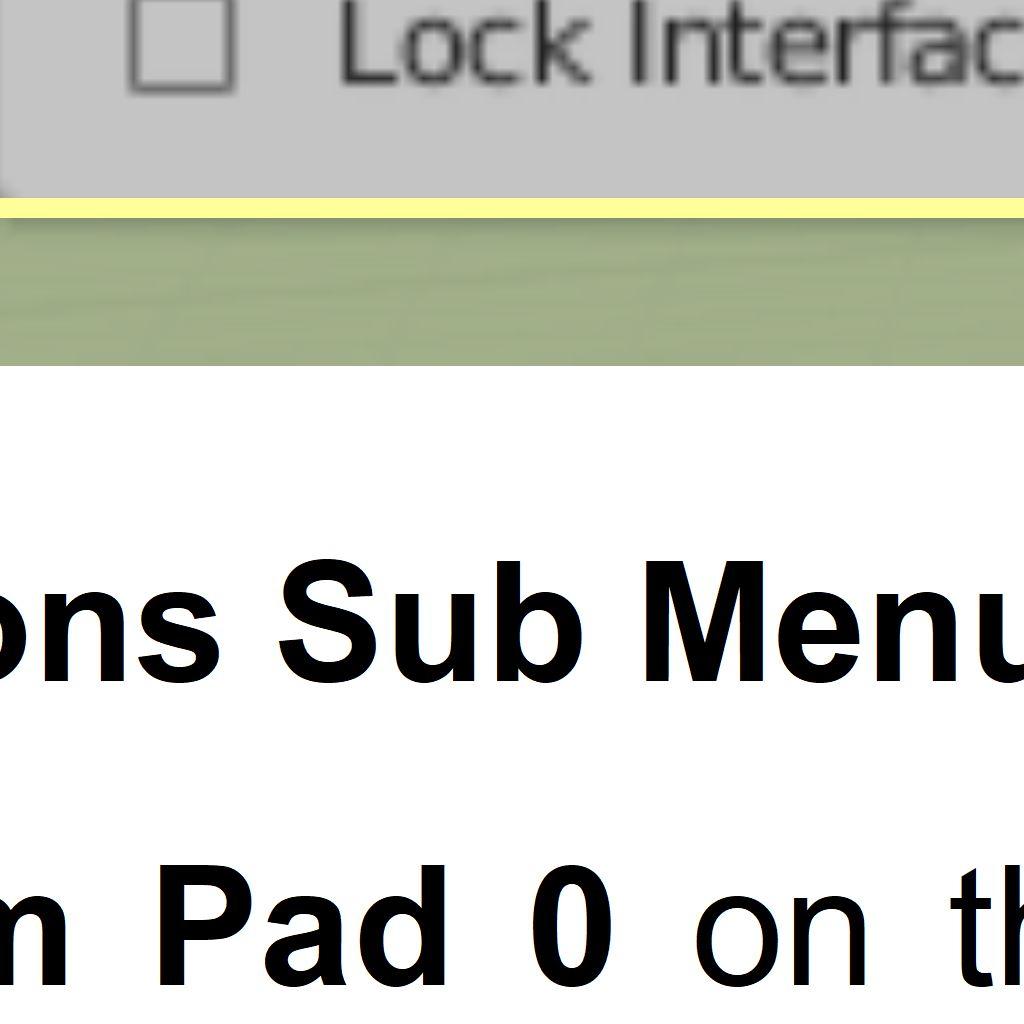
For Keyboard input, a command is; to press a specific Key or a series of Keys. Press Shift + Ctrl + T Key means, press and hold both the Shift and Ctrl Keys simultaneously and tap the T Key. Num Pad (Number Pad) Keys are also used in which case the command is Press Num Pad 0 to 9 or Plus and Minus
Slider Controls
Command Instruction Example:
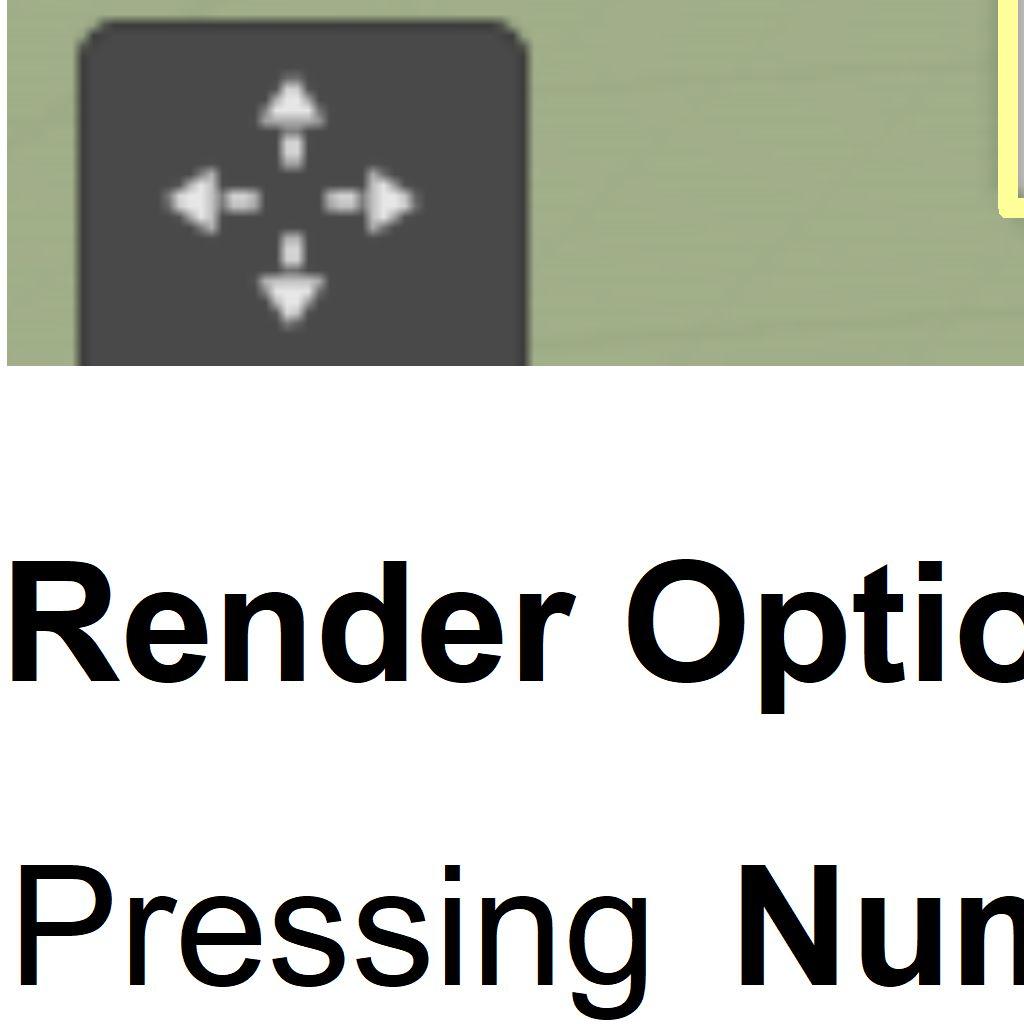
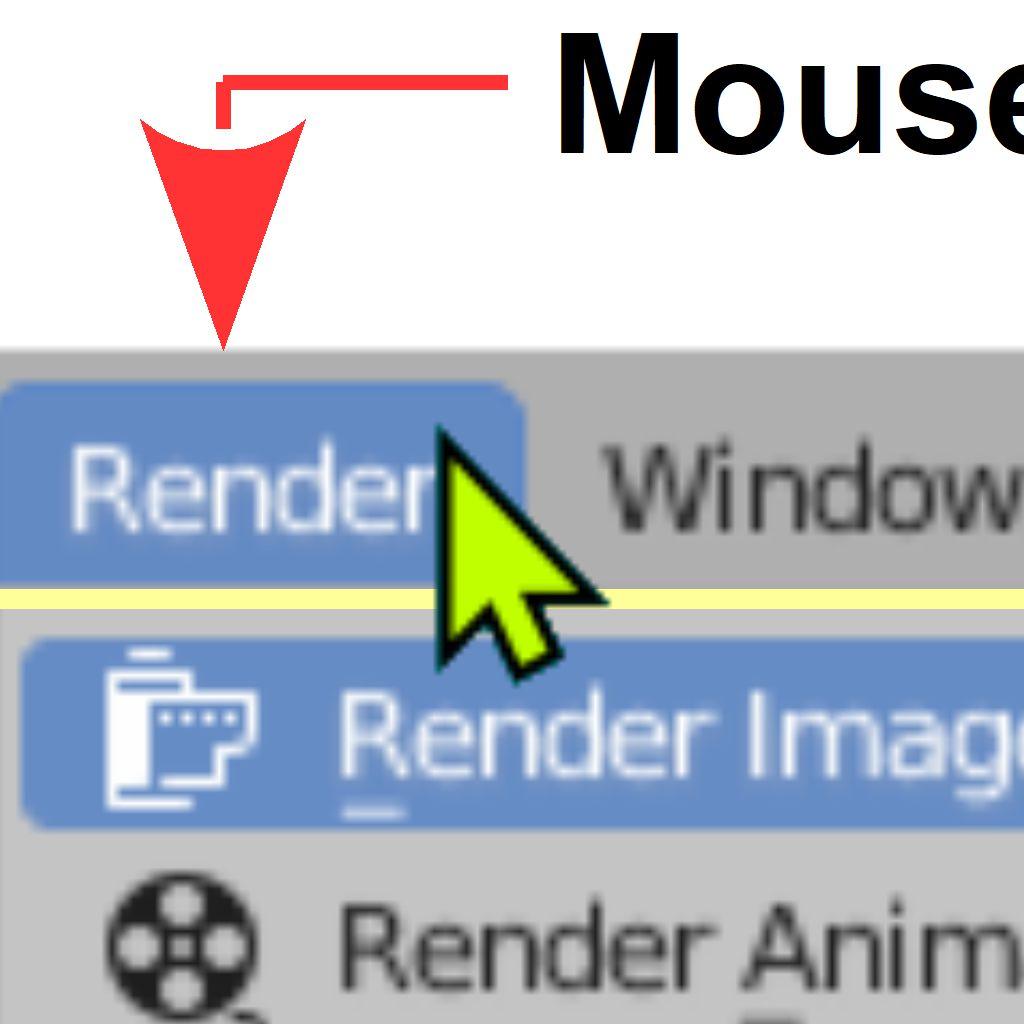
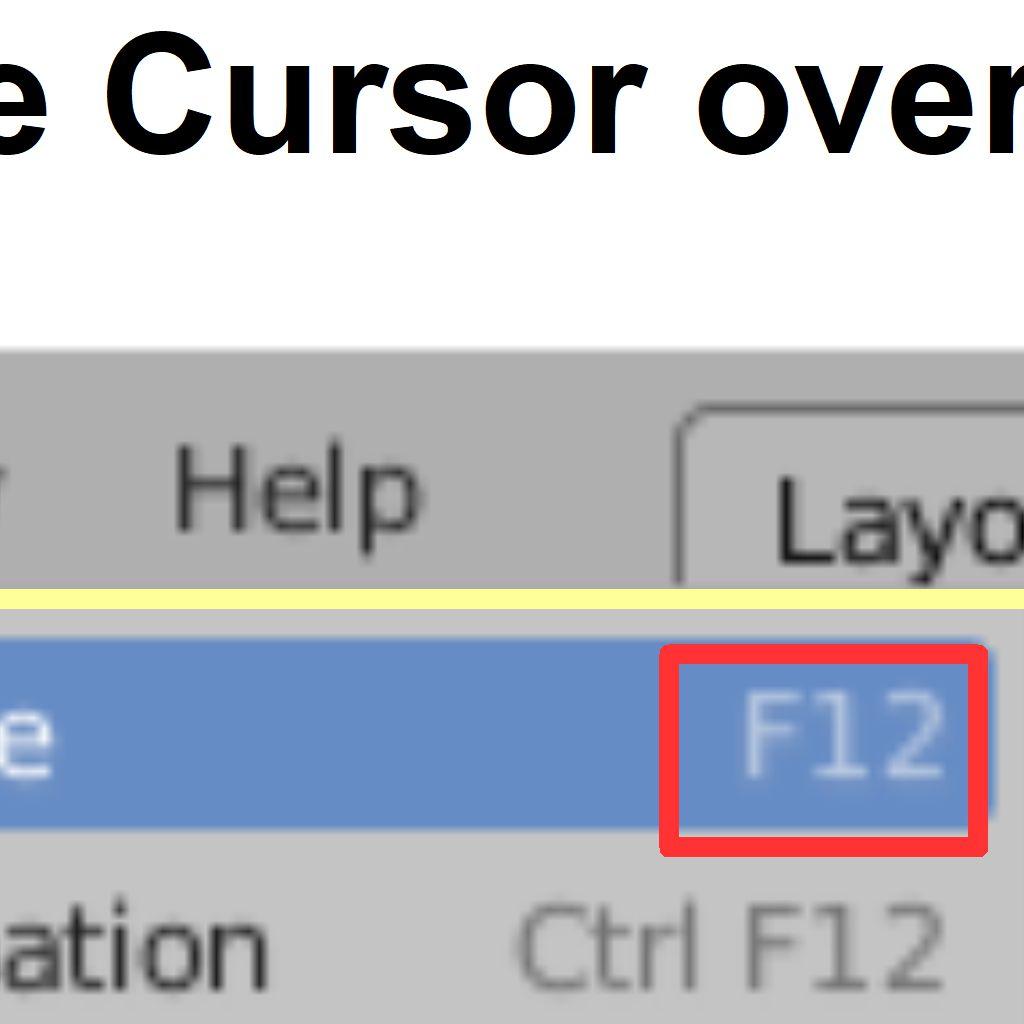
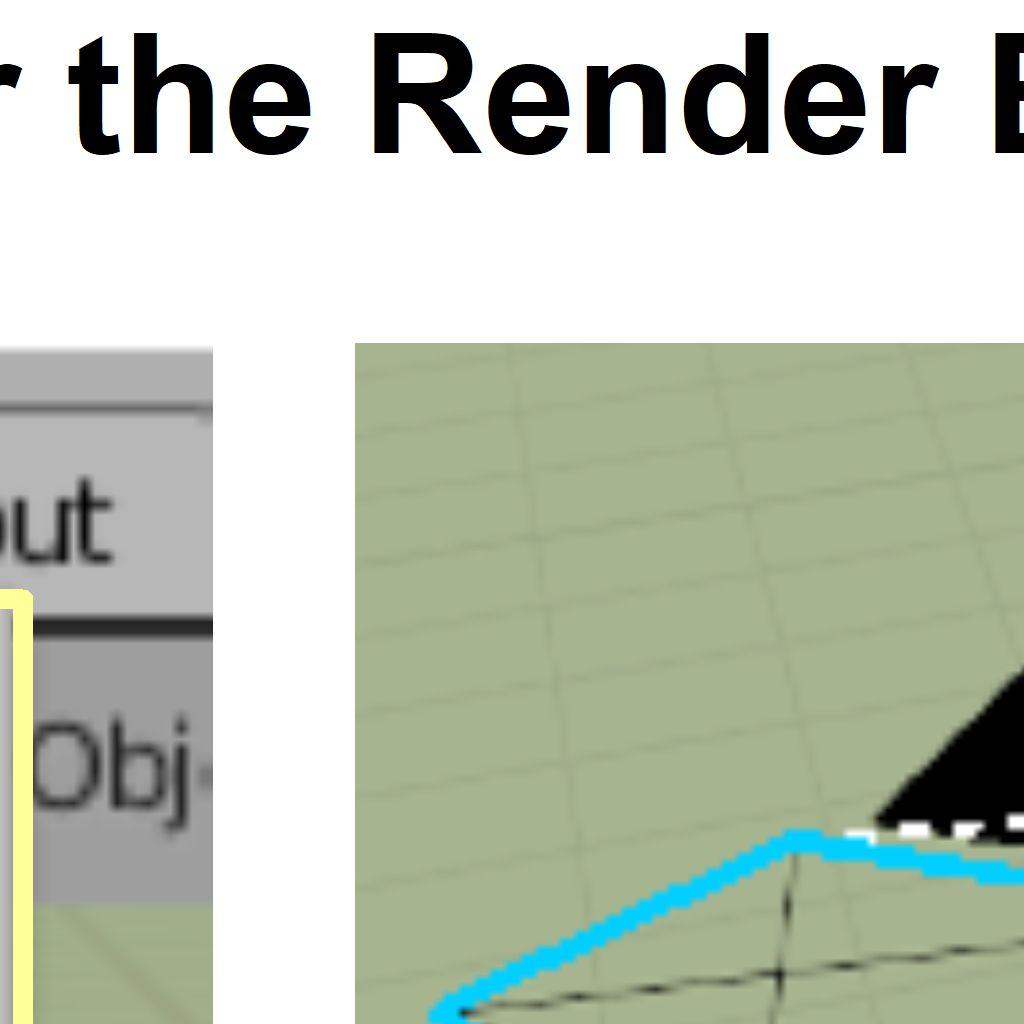
Go to the Blender Screen Header, Render Properties, click Render Image:
Remember: A control button, icon or slider which is displayed, indicates a specific location on the computer Screen. Positioning the Mouse Cursor at this location and clicking the Mouse button or depressing a keyboard button, inputs a signal to the computer. The interpretation , made by by the computer is; signal received at specific location = perform explicit computation and export result.
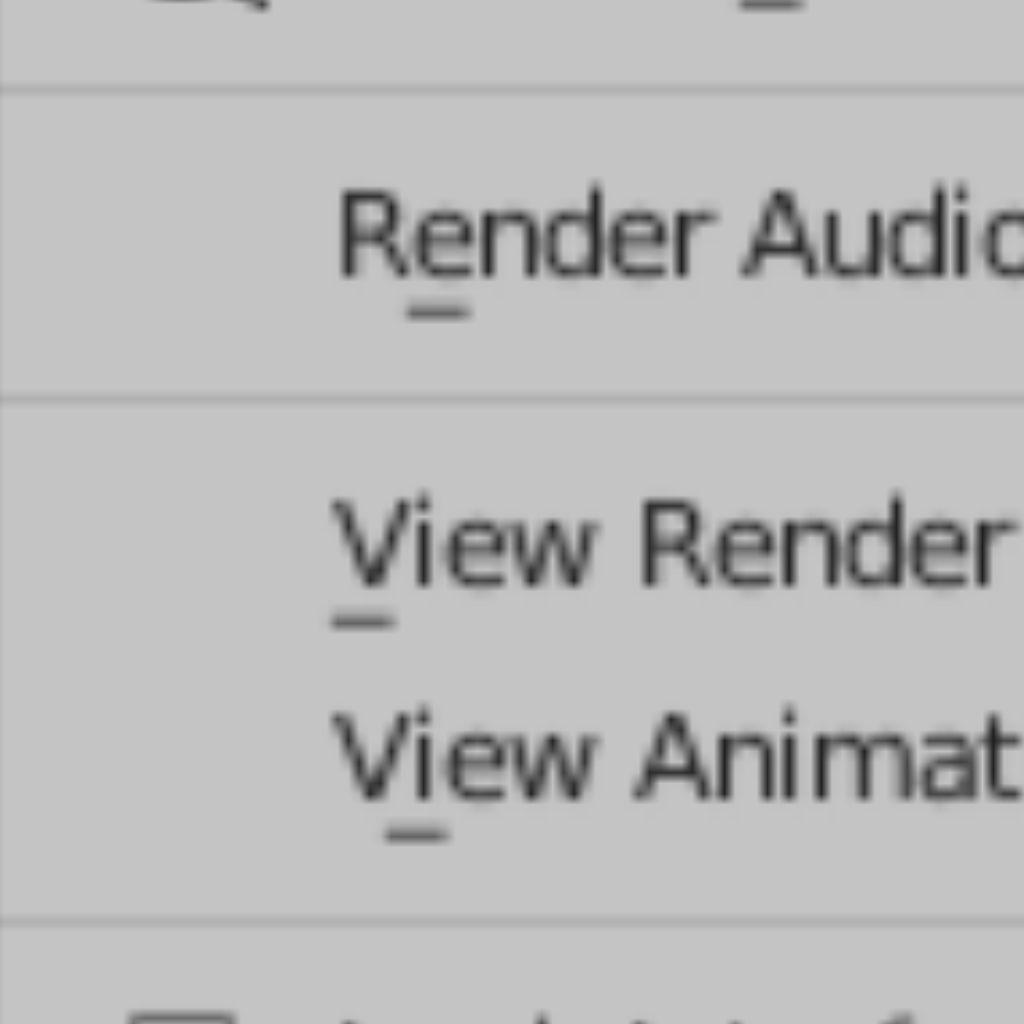
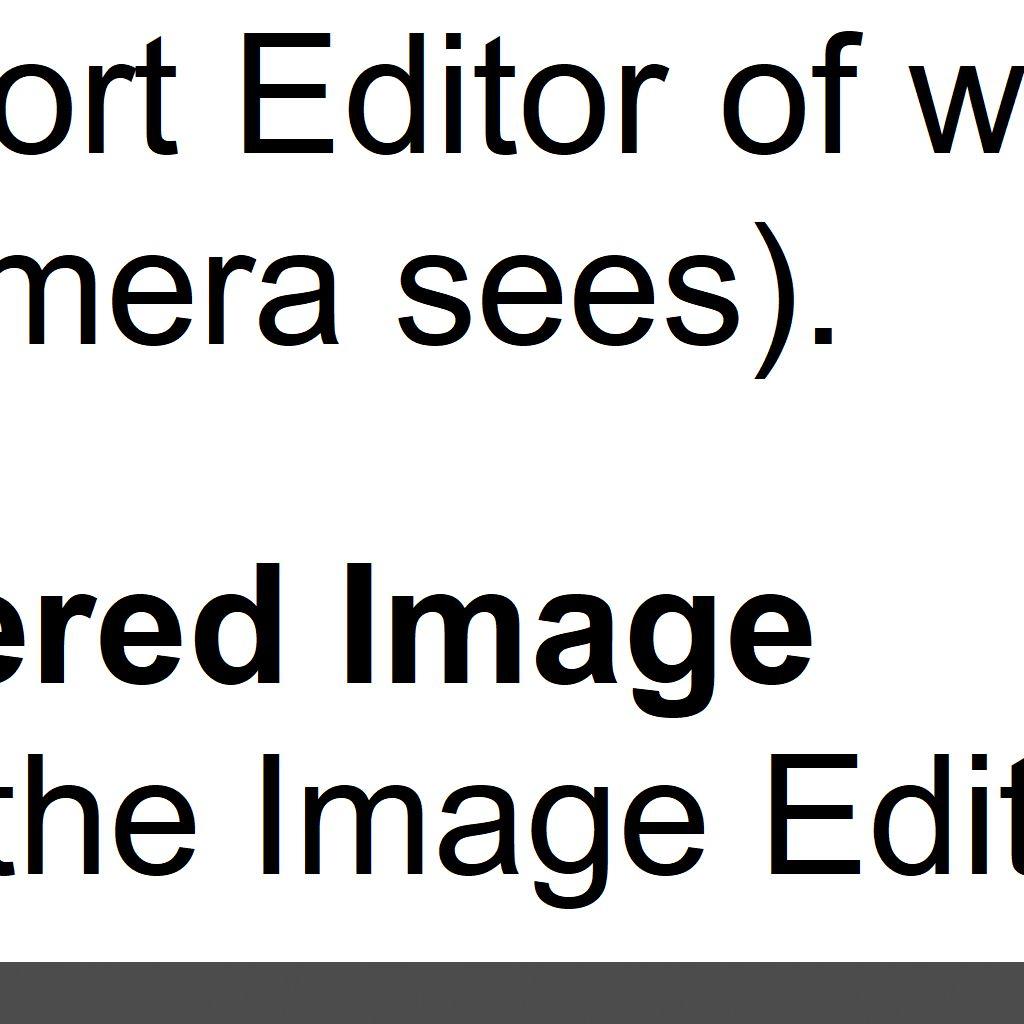
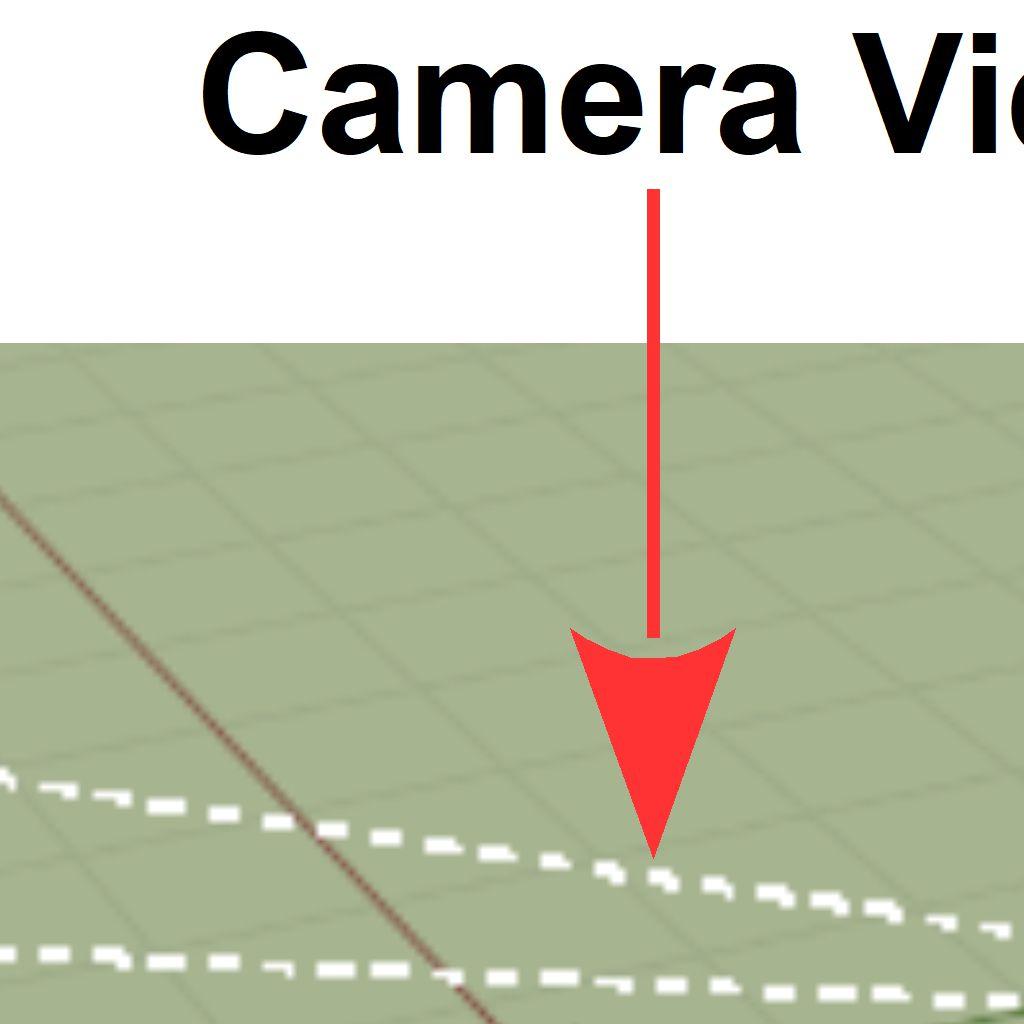
The example above means; in the Blender Screen Header, position the Mouse Cursor over the Render Properties button and click the left mouse button, clicking once. In this case the signal received by the computer with the Mouse Cursor at the position of the Render Properties button tells the computer to display the Render Options Sub Menu. Positioning the Mouse Cursor over Render Image in the sub menu and clicking once renders an image of Camera View (what the camera sees). The Rendered Image is displayed in a new Editor panel, the Image Editor. The image may be saved from this location but for the time being press Esc on the Keyboard to cancel the render and return to the 3D Viewport Editor.