CRC Press is an imprint of Taylor & Francis Group, LLC
Reasonable efforts have been made to publish reliable data and information, but the author and publisher cannot assume responsibility for the validity of all materials or the consequences of their use. The authors and publishers have attempted to trace the copyright holders of all material reproduced in this publication and apologize to copyright holders if permission to publish in this form has not been obtained. If any copyright material has not been acknowledged please write and let us know so we may rectify in any future reprint.
Except as permitted under U.S. Copyright Law, no part of this book may be reprinted, reproduced, transmitted, or utilized in any form by any electronic, mechanical, or other means, now known or hereafter invented, including photocopying, microfilming, and recording, or in any information storage or retrieval system, without written permission from the publishers.
For permission to photocopy or use material electronically from this work, access www.copyright.com or contact the Copyright Clearance Center, Inc. (CCC), 222 Rosewood Drive, Danvers, MA 01923, 978-750-8400. For works that are not available on CCC please contact mpkbookspermissions@tandf.co.uk
Trademark notice: Product or corporate names may be trademarks or registered trademarks and are used only for identification and explanation without intent to infringe.
ISBN: 978-1-032-11034-9 (hbk)
ISBN: 978-1-032-11032-5 (pbk)
ISBN: 978-1-003-21813-5 (ebk)
DOI: 10.1201/9781003218135
Access the companion website: www.tamarindcreativegraphics.com
Grease Pencil 2D Animation
Introduction
Blender Grease Pencil 2D Animation
This book describes how to access the Grease Pencil component in Blender and create 2D Animation within the Blender 3D environment. It is assumed that the reader has no previous knowledge of the Blender program and treats 2D Animation using the Grease Pencil as a stand alone application.
The Grease Pencil is a component of the 3D Modeling and Animation Program -Blender.
Blender is a free open-source 3D Computer Graphics software toolset used for creating animated films, visual effects, art, 3D printed models, motion graphics, interactive 3D applications, virtual reality and computer games.
Blender supports the entirety of the 3D pipeline—modeling, rigging, animation, simulation, rendering, compositing and motion tracking, video editing and the 2D Animation Pipeline
The Blender program is maintained by the Blender Foundation and released as Open Source Software which is available for download and FREE to be used for any purpose.
The first step in using the Grease Pencil, is to download, install and open Blender. These operations are described in separate sections.
The second step is accessing the Grease Pencil when Blender is running. This step is often overlooked in many tutorials and requires clarification.
When Blender is opened, it opens in 3D Modeling Mode. The instruction in this book will, therefore, briefly describe the 3D Interface to establish the basic concept of operation through an introduction to a Tool (The Annotation Tool) which is the origin of the Grease Pencil.
The Grease Pencil was originally a Tool for drawing construction notes during the 3D Modeling and Animation process. This Tool still exists but has been developed to facilitate 2D Drawing and Animation. 3D Modelling and Animation in Blender takes place in a 3D Workspace which is the arrangement of panels or windows in the programs interface. For 2D Animation a separate Workspace (arrangement of panels) has been developed which resides within the 3D environment.
Program Development
This book has been compiled using Blender Version 2.92.0.
Be aware, Blender is continually evolving as developments which expand and improve functionality are added. Developments are introduced frequently which often incur subtle changes and modifications to operational procedures and to the program's display. When this occurs Blender is released with a New Version Number.
When attempting Blender for the first time by following a tutorial, whether it is a book, a written tutorial or a video tutorial, always consider the Blender version for which the tutorial is written and work through examples using that version of Blender. It is tempting to grab the latest Blender release but consider the information given, in the tutorial, as a training exercise then step up to the latest developments in the current version. Blender maintains a download page containing all earlier releases of the program (see Download and Installation).
2D Animation Concept
One example of 2D Animation is depicted in the Walk Cycle where drawings of a character in different poses are displayed in quick succession creating the illusion of the character walking.
Grease Pencil Animation Example
To see an example of 2D Animation created using Blender's Grease Pencil see: HERO – Blender Grease Pencil Showcase at
https://www.youtube.com/watch?v=pKmSdY56VtY
Why Grease Pencil?
Grease Pencil Definition from Wikipedia
The grease pencil, is a wax writing tool also known as a wax pencil, china marker, or chinagraph pencil , which is a writing implement made of hardened colored wax and is useful for marking on hard, glossy non-porous surfaces. Marks made by grease pencils are resistant to moisture and can usually be removed by rubbing the marked surface with a paper towel.
So why Blender Grease Pencil?
When using Blender to construct 3D Scenes and generate animations it has been useful for artists to sketch notes on the computer screen. This does not mean that a crayon, as described above, was employed but that a digital marking was superimposed on the work being created. This marking is drawn on a separate digital layer which is easily modified or removed when the work is finished.
Sketching freehand notes is accomplished by drawing Strokes (lines), therefore, the concept has been developed to drawing sketches of characters and scenery as depicted in a cartoon drawing. Further development has seen the lines forming the sketch animated thus creating full 2D Animation. This 2D Animation, in Blender, is constructed within the Blender 3D environment providing a flexible animation tool. The tool has been termed, the Grease Pencil and is applied within a dedicated 2D Animation Workspace
A Workspace is the arrangement of panels and windows containing controls as seen on the computer screen when the program is run.
To understand this concept, begin by downloading and installing Blender.
To follow the instructions provided in this book it is suggested that you employ Blender 2.92.0
Philosophy of the Book
The philosophy employed in this publication is to introduce Blender by describing the program's Graphical User Interface (GUI) and give short descriptions and examples of the controls and their function. The Controls constitute the Tools for performing the different operations which produce specific results. Knowing what Tools are available and where they are located is the key to understanding Blender.
Blender Platforms
A computing platform or digital platform is the environment in which a piece of software is executed. It may be the hardware or the operating system (OS)
Blender is a cross platform application for Windows Vista and above, Linux and Mac OSX 10.6 and above operating systems.
The operation of Blender in this book is applicable to all operating platforms but operations ancillary to the program, such as, saving work to the computers hard drive, have been described exclusively using a Windows operating system.
System Requirements
Graphics
Blender 2.82 and later requires OpenGL 3.3 or above, with recent graphics drivers from your graphics card manufacturer.
Hardware
Minimum (basic usage) hardware
• 64-bit dual core 2Ghz CPU with SSE2 support.
• 4 GB RAM
• 1280×768 display
• Mouse, Trackpad or Pen + Tablet
• Graphics Card with 1 GB RAM, OpenGL 3.3
• Less than 10 years old.
Recommended hardware
• 64-bit quad core CPU
• 16 GB RAM
• Full HD display
• Three button mouse or pen+tablet
• Graphics card with 4 GB RAM
Optimal (production-grade) hardware
• 64-bit eight core CPU
• 32 GB RAM
• Full HD displays
• Three button mouse and pen+tablet
• Graphics card with +12 GB RAM
• Supported Graphics Cards
. NVIDIA: GeForce 400 and newer, Quadro Tesla GPU architecture and newer, including RTX-based cards, with NVIDIA drivers (list of all GeForce and Quadro GPUs)
• AMD: GCN 1st gen and newer. Since Blender 2.91, Terascale 2 architecture is fully depreciated, try using 2.90 (albeit not supported, it might still work) [list of all AMD GPUs]
• Intel: Haswell and newer (list of all Intel GPUs)
• macOS: Version 10.13 or newer with supported hardware.
Preamble
Formats Conventions and Commands
In writing this book the following format conventions have been adopted:
Paragraphs are separated by an empty line and have not been indented.
Key words and phrases are printed in bold text with the first letter of a component name specific to Blender capitalised. Bold text, therefore, replaces the use of inverted commas.
Headings are printed in Bold Olive Green.
The following conventions will be used when giving instructions.
When using a Mouse connected to a computer, the commands will be:
Click or Click LMB – In either case this means make a single click with the left mouse button with the Mouse Cursor positioned over a control displayed on the computer Screen. In some instances it is explicit that the left mouse button should be used.
A Control: Is a designated area on the computer Screen represented by an icon in the form of a button or bar, with or without text annotation.
Double Click – Make two clicks in quick succession with LMB (the left mouse button).
Click, Hold and Drag – Click the left mouse button, hold it depressed while moving the mouse. Release the button at the end of the movement.
Click RMB – Click the right mouse button.
Click MMB – Click the middle mouse button (the middle mouse button may be the scroll wheel).
Scroll MMB – Scroll (rotate) the scroll wheel (MMB).
Clicking is used in conjunction with placing the Mouse Cursor over a button, icon or a slider which is displayed on the Screen.
Drawing Strokes (Lines) – The initial introduction to drawing Strokes will be demonstrated using a Mouse. How to use a Drawing Tablet with a Stylus will follow.
Download & Installation
Download Blender
When using instructions provided in this book it is recommended that you use Blender Version 2.92.0 At the time of writing Blender 2.92.0 is the current version.
Download Blender from: www.blender.org/download/ Click to Download
Clicking the download link downloads the MSI installer for Windows. Alternatively select the current Blender version which is applicable to your operating system. Blender is available for Windows, Mac OS and Linux.
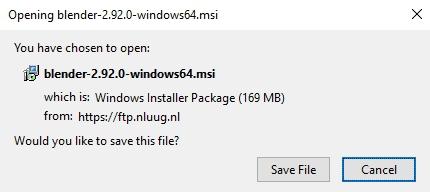
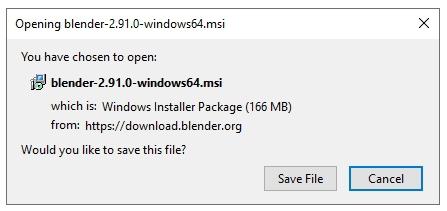
Downloading from the main download link presents the option to download the msi installation file.
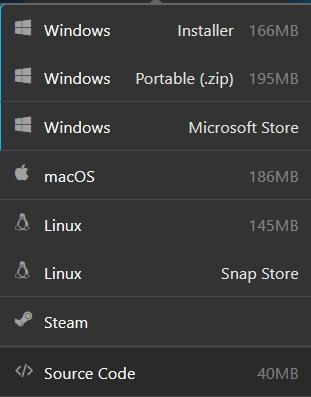
Selecting the Windows Installer from the download options menu also presents the same msi installer option. Clicking Save File will download the installer to your hard drive which on a Windows system is usually to the Downloads Folder
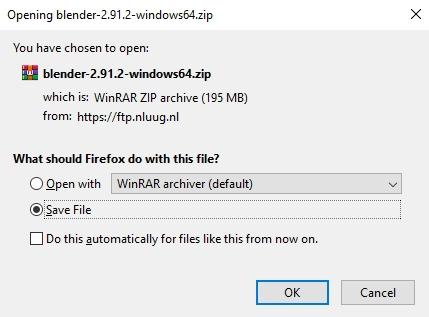
Also in the menu you have the option to download Widows Portable (.zip) which is a compressed ZIP file.
Alternative download options in the menu are for macOS, Linux and Steam operating systems.
Installation on a Windows Operating System
Installing with the Installer(.msi) Option
Double click on the file name in the Downloads folder, follow the prompts and Blender will be automatically installed to the Program Files folder on your computer and a shortcut icon will be placed on your Desktop
Installing with the ZIP Option
With a ZIP file you have to unzip the file. You first create a New Folder on your computer's hard drive (see Chapter 15 – 15.2) then use a program like 7-Zip or Win-Zip to unzip (decompress) the zip file into the new folder.
When the file is unzipped into the new folder and the folder opened, you will see blender.exe as one of the entries. You double click on this to run Blender or you create a shortcut which places a shortcut icon on your desktop.
When using either installation option you double click the blender.exe file to run the program. Shortcuts on the Desktop are shortcuts to the blender.exe file.
Note: By having one version of Blender installed via the Installer(.msi) option and another version using the ZIP method you can have more than one Blender version installed on your computer at the same time. This is useful for version comparison or for development purposes.
When attempting Blender for the first time by following a tutorial, whether it is a book, a written tutorial or a video tutorial, always look at the Blender version for which it is written and work through examples using that version. It is tempting to grab the latest Blender version but consider the information given in the tutorial, as a training exercise then step up to the latest developments in the current release (purposely repeated).
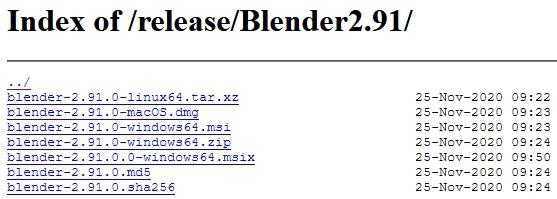
A full download listing of all Blender versions is found at: https://download.blender.org/release/
Note:The latest release of Blender is at: https://www,blender.org/downlod/
The Earlier Release Index contains both the MSI Installer and the ZIP options. Installation as previously described.
Running (Opening) Blender.
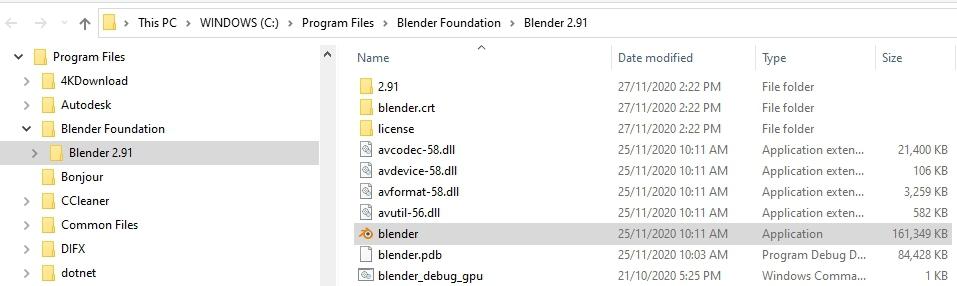
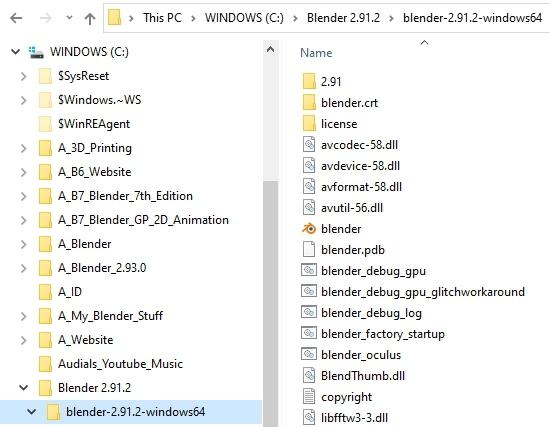
To run Blender, double click the shortcut icon on your desktop or navigate to the folder on your hard drive (see over) to find the blender.exe file and double click the file.
Windows File Explorer
The file path to the blender.exe file when the program is installed using the MSI Installer.
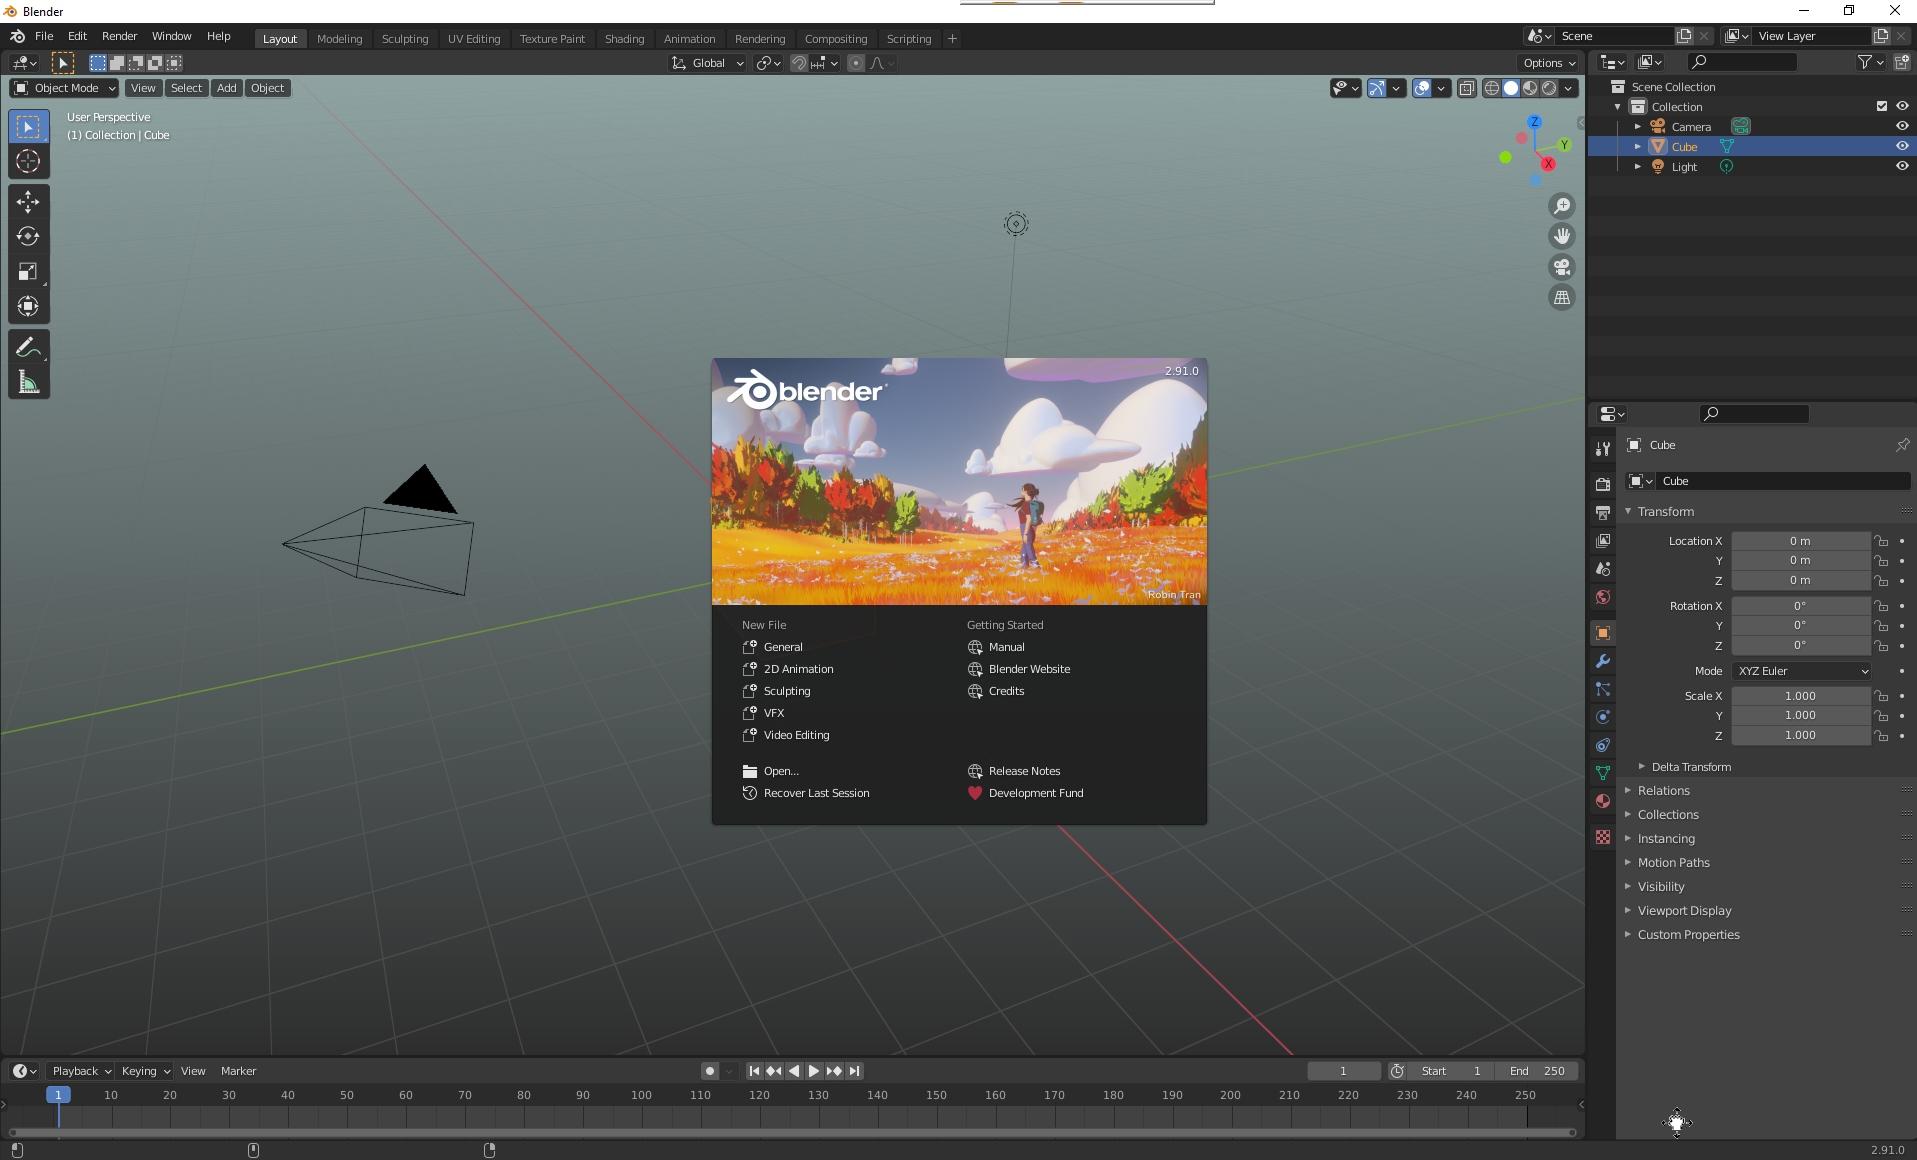
The Blender 3D Interface – Version 2.91.0
Note: The appearance of the Interface in the diagram has been slightly modified. The Blender interface may be modified or reconfigured to suit a User's Preferences.
Double click to run Blender
Starting the Program
Starting the Blender Program
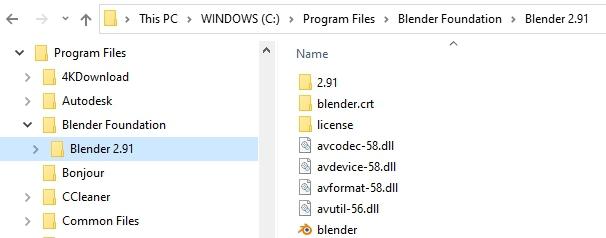
How you start Blender depends on how you have installed the program (see; Download & Installation). If you have used the MSI installer option for Windows, Blender will be in the Program Files directory on your C: Drive and a shortcut icon will have been placed on your desktop. If you have installed to a Window 10 operating system, Blender will be listed in the File Explorer under, Program Files\ Blender Foundation\ Blender 2.92 .0
Desktop Shortcut Windows 10 File Explorer
To start the program double click the desktop icon or double click the Blender Application file in File Explorer.
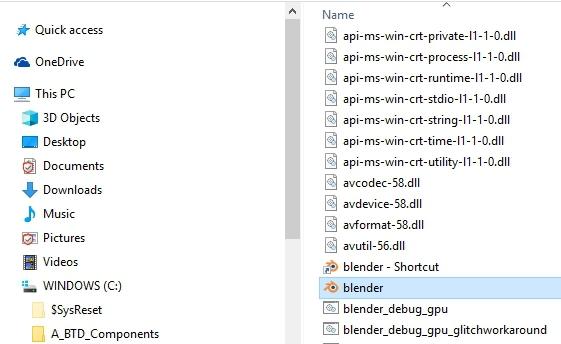
If you have downloaded and unzipped the compressed (ZIP) file for Blender the blender.exe application file will be located in the folder where you unzipped the compressed file. Open the folder and sub folder, and double click or right click and select Open. The blender icon is the blender.exe file,
To make life easier you may create a shortcut Desktop Icon associated with the blender.exe file.
Blender
Creating a Shortcut Windows 10 File Explorer
In this example a folder named Blender_2.92.0 has been created in the C: Drive on the computer and the compressed version of Blender Version 2.92.0 has been unzipped to the folder.
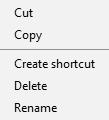
In the directory containing the blender.exe file create a shortcut and place it on the desktop.
Blender 2.92.0
blender-2.92.0-windows64
Right click on blender.exe and select Create Shortcut
Click, hold, drag and drop to the Desktop.
2.92.0 blender-2.92.0-windows64
Right click on blender and select Create Shortcut.
Created
To start the program simply double click the left mouse button on the Desktop shortcut icon.
Shortcut
When you run Blender you are presented with Blender's Graphical User Interface (GUI) which, by default, displays an arrangement of panels (windows) for working in 3D Modeling and Animation.
This arrangement constitutes what is termed the General Workspace. To work with the Grease Pencil for 2D Animation you change this arrangement to the 2D Animation Workspace. Before making this change it is advantageous to explore the Grease Pencil as it presents in the default General 3D Workspace.
To explore the Grease Pencil you must have an understanding of the arrangement of controls in the General screen arrangement (see Chapter 1).