


Activity 1: Nature Walk/Nature Journals
Activity 2: Outdoor Scavenger Hunt
Activity 3: Gardening Class
Activity 4: Bird Feeders
Activity 5: Recycled Magazine Vision Boards
Activity 6: Storytelling Jar
Activity 7: Decorating Re-Usable Totes
Activity 8: Water Bottle Spinners
Activity 9: Reusable Sponge Water Bombs
Activity 10: Sponge Water Bombs Relay
Activity 11: Making Boats Out of Recycled Materials
Activity 12: Water Bottle Mobiles
Activity 13: Rainbow Wind Chimes
Activity 14: Decorate Your Own Hats
Activity 15: Rock Bugs
Activity 16: Recycled Robots Competition
Activity 17: Solar Oven Activity with Smores
Activity 18: T-Shirt Bracelets
Activity 19: Seed Bombs
Activity 20: Leaf Luminaries
Activity 21: Plant Bookmarks
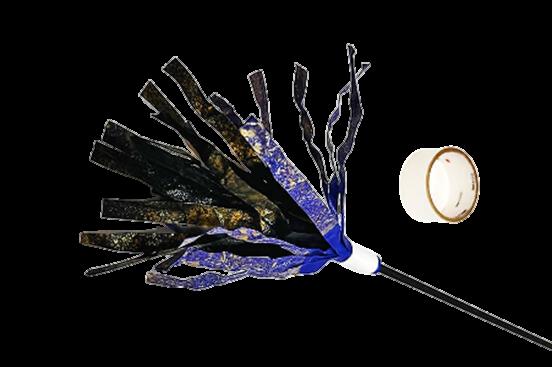
Activity 22: Friendly Paper Sparkle
Directions: Take the campers on a nature walk outside to explore the different parts of our parks. This activity can be pre-planned to discuss the different species of plants/animals that you might see in the park. This can also be a weekly activity where participants keep a nature journal that has nature-based prompts.
Here are some ideas for nature journal prompts from the website - Journaling with Nature:
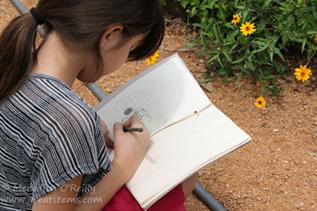
Explore Tree Shapes – Investigate the various shapes of the trees around you. How are they different? Try to capture their differences in your nature journal.
Notice Something New – Investigate something familiar in your environment and see if you can notice something new about it. Are you able to look at something familiar with fresh eyes?
Compare Two Things – Find two things in the same category – for example, two leaves, two flowers, or two plants. Explore their differences side by side in your nature journal.
Scribble Sketch – Avoid “pretty picture” anxiety by scribbling! Find an object in the park that interests you and capture it with a scribble. Use more lines in certain areas to create shadows, and fewer lines in lighter areas.
Describing Color – Find a natural object and try to describe and color match all the colors that you see. You might be surprised to notice that an object you first saw as ‘green’ has many different types/shades of green or even other colors as well.
Let’s Count – Adding numbers to a journal page helps us to think and observe in new and different ways. This week we will focus on counting things we see in nature. Count the number of petals on a flower or birds in the park – whatever you like!
Look High, Look Low – Stand in one place and see if you can nature journal at different levels. What’s happening in the sky? How about in the upper branches of a tree? What can you see at eye level? What’s on the ground?
References:
https://www.journalingwithnature.com/
https://www.journalingwithnature.com/blog/nature-journal-prompts
Materials: Nature Scavenger Hunt Card
Directions: This sustainable and eco-friendly scavenger hunt includes looking for items found in nature. The included Scavenger Hunt checklist can be given to teams of a set number to try and locate items. This can be a fun race to see which team can find all the scavenger hunt items first. Please create your own scavenger hunt card for your local park or use the one linked below.
Whenyouseeorhearsomethingintheboxes,youcan"x"thatbox.Tryto findfourinarow.Remember, leave all natural stuff behind and only remove litter that doesn't belong!
Wildflower:
Hidingcritter:Lookunder leavesandrocksforbugsand worms.
Didyou taketime ?tosmellit
Amphibianorreptile:Frog, turtle,orsnake
Animalsigns:Afeather, tracks,ordroppings
Snailsorslugs:Canyoufind atleast2kinds?

Waterfowl:Agoose,duck,or swan
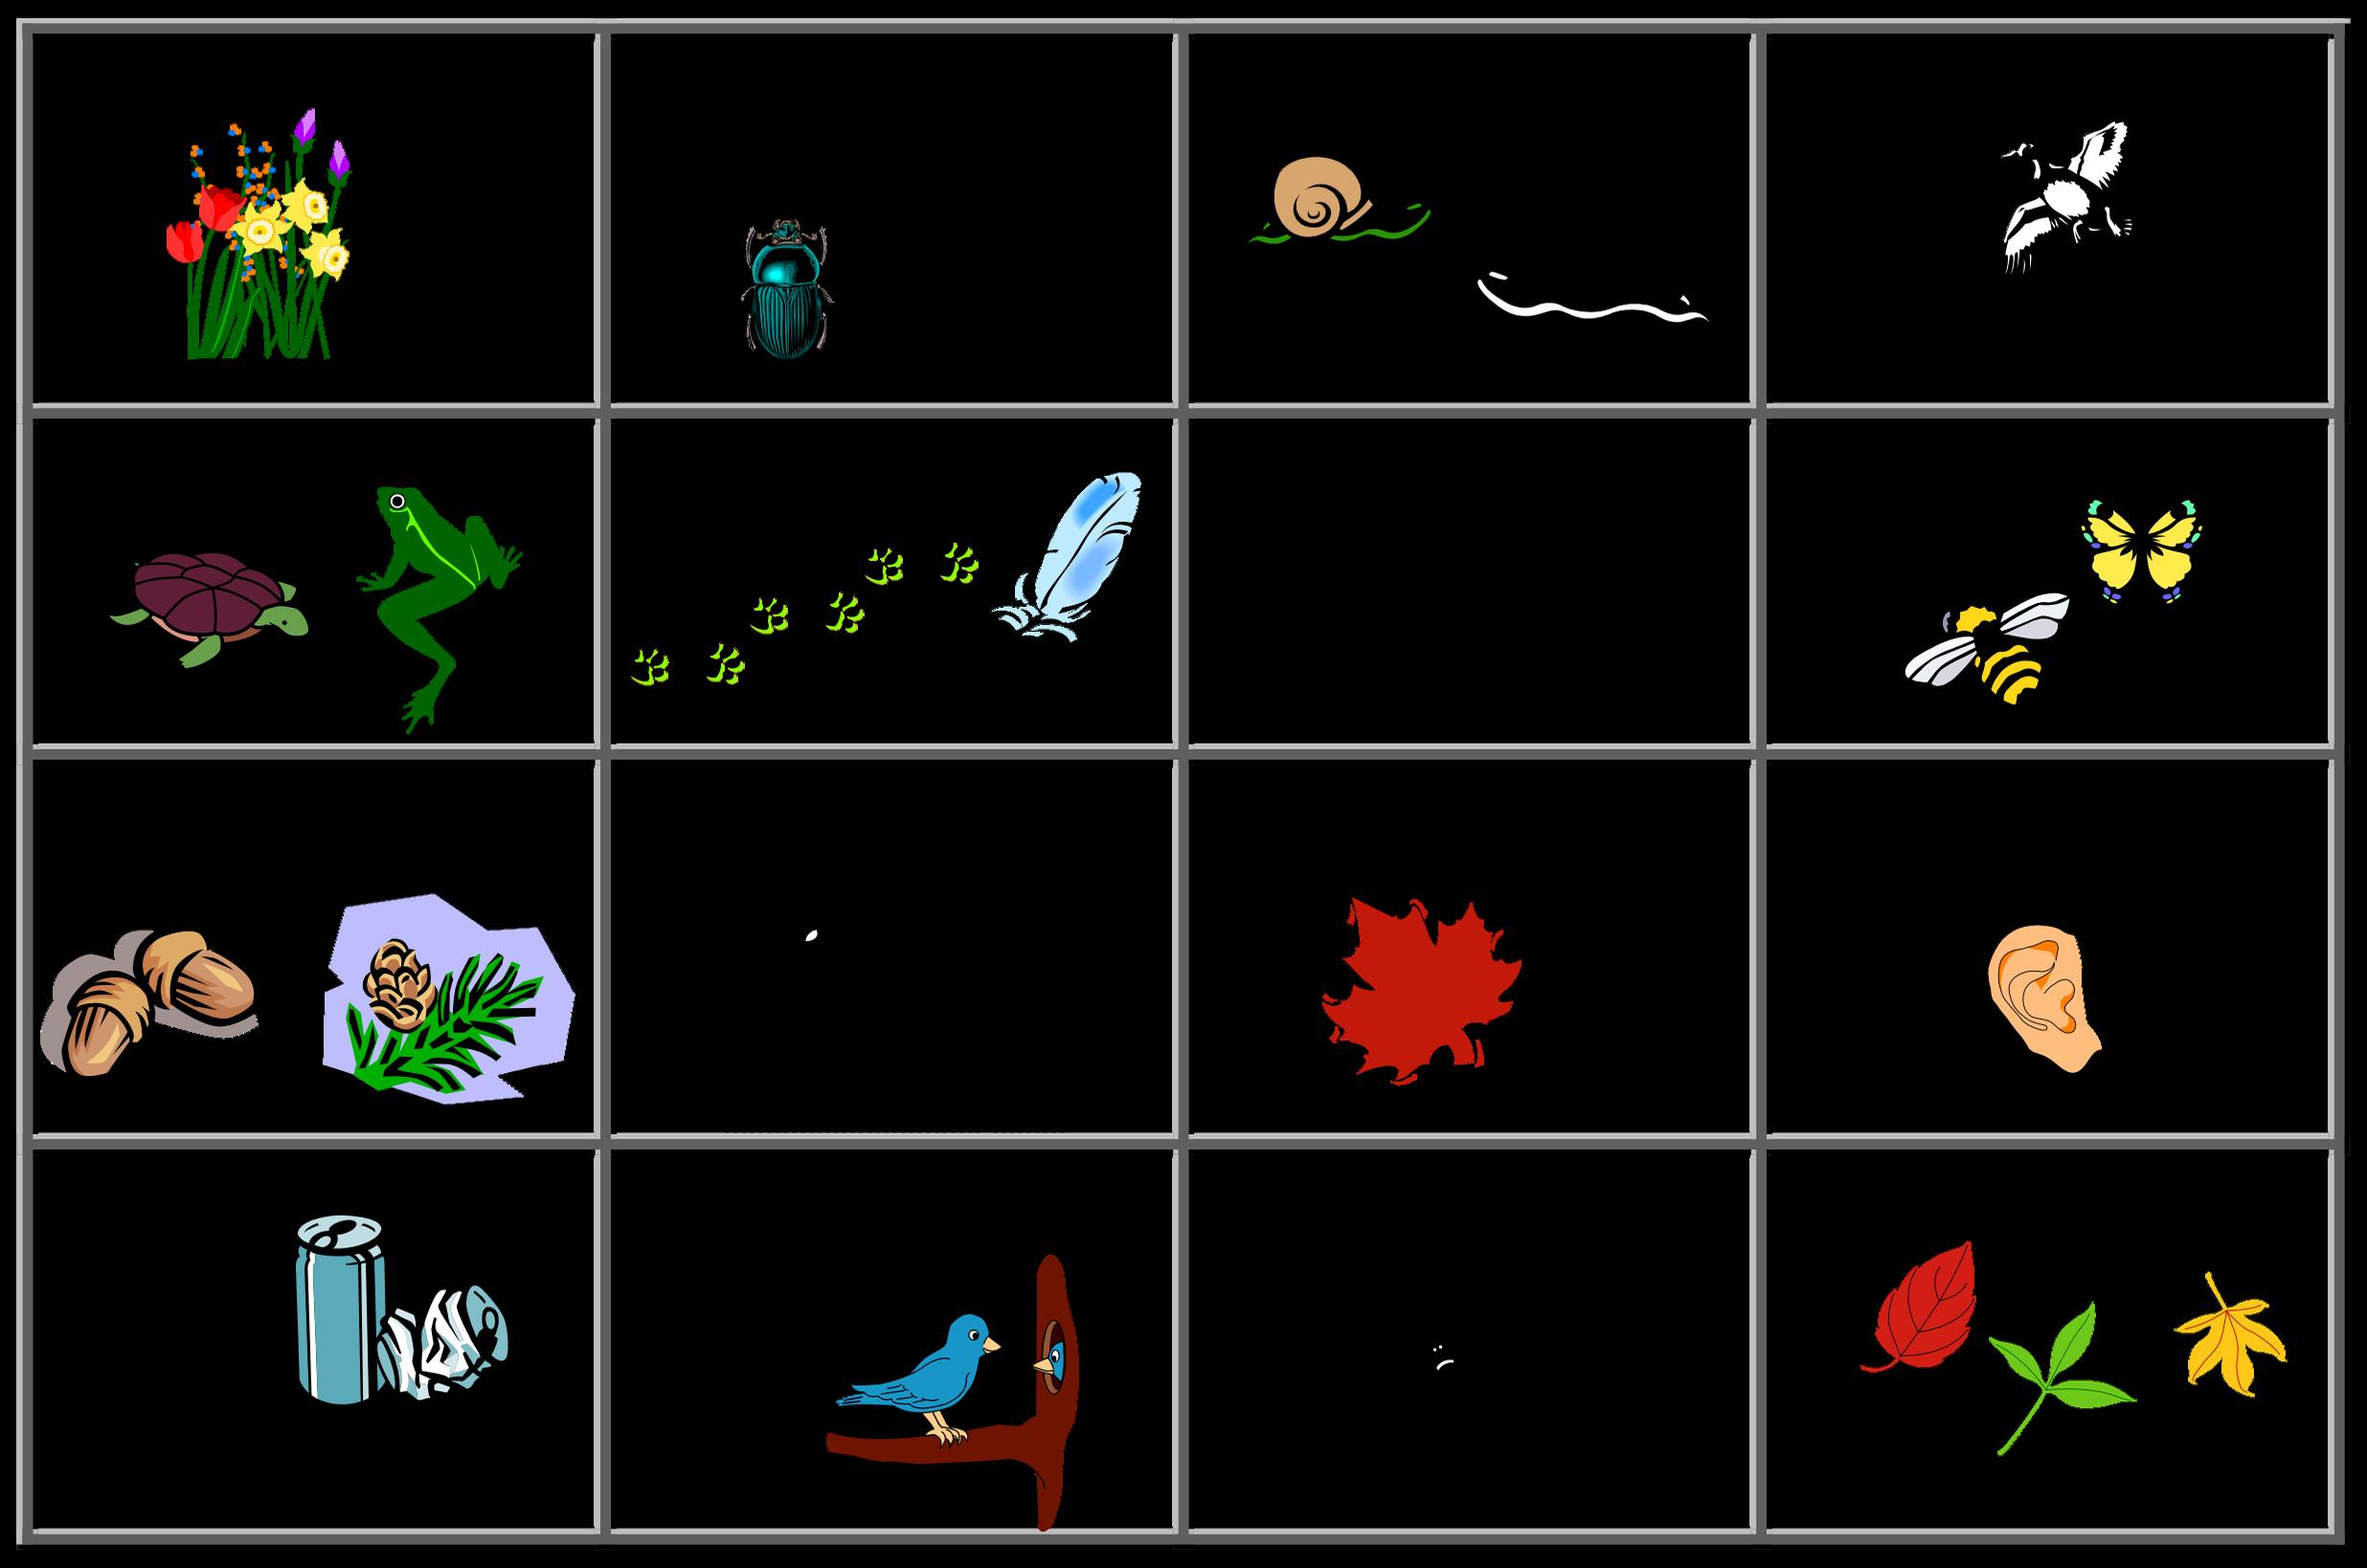
Seed:Anacorn,pinecone, thistledown,orpod
Asourceofwaterforanimals.Nectarcollector:Abutterfly, moth,orbee.


Minibeast:Foreachoneofus,Suncatcher:Leavesuse thereare200millionbugs! energyfromthesuntomake food
Listen!Canyouhearatleast3 differentnaturalsounds?
Findsomethingthatdoesn't belonghere
Insectshavesixlegs
Ananimalhome:Inatree,in theground,orunderastump orstone. Itsy,bitsy,8-leggedspider. Threedifferenttreespecies.
Littershouldberecycledor disposedofintrashcans
References:
https://www.plt.org/ee-resource/schoolyard-safari-bingo-card/
Required Materials: Potting Soil, Pots, Seeds
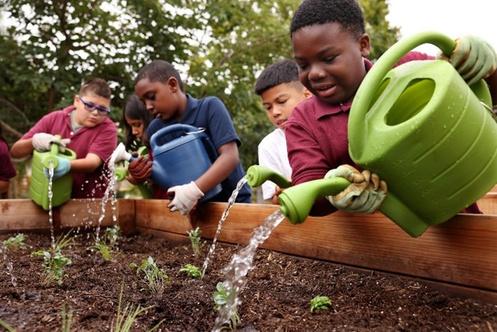
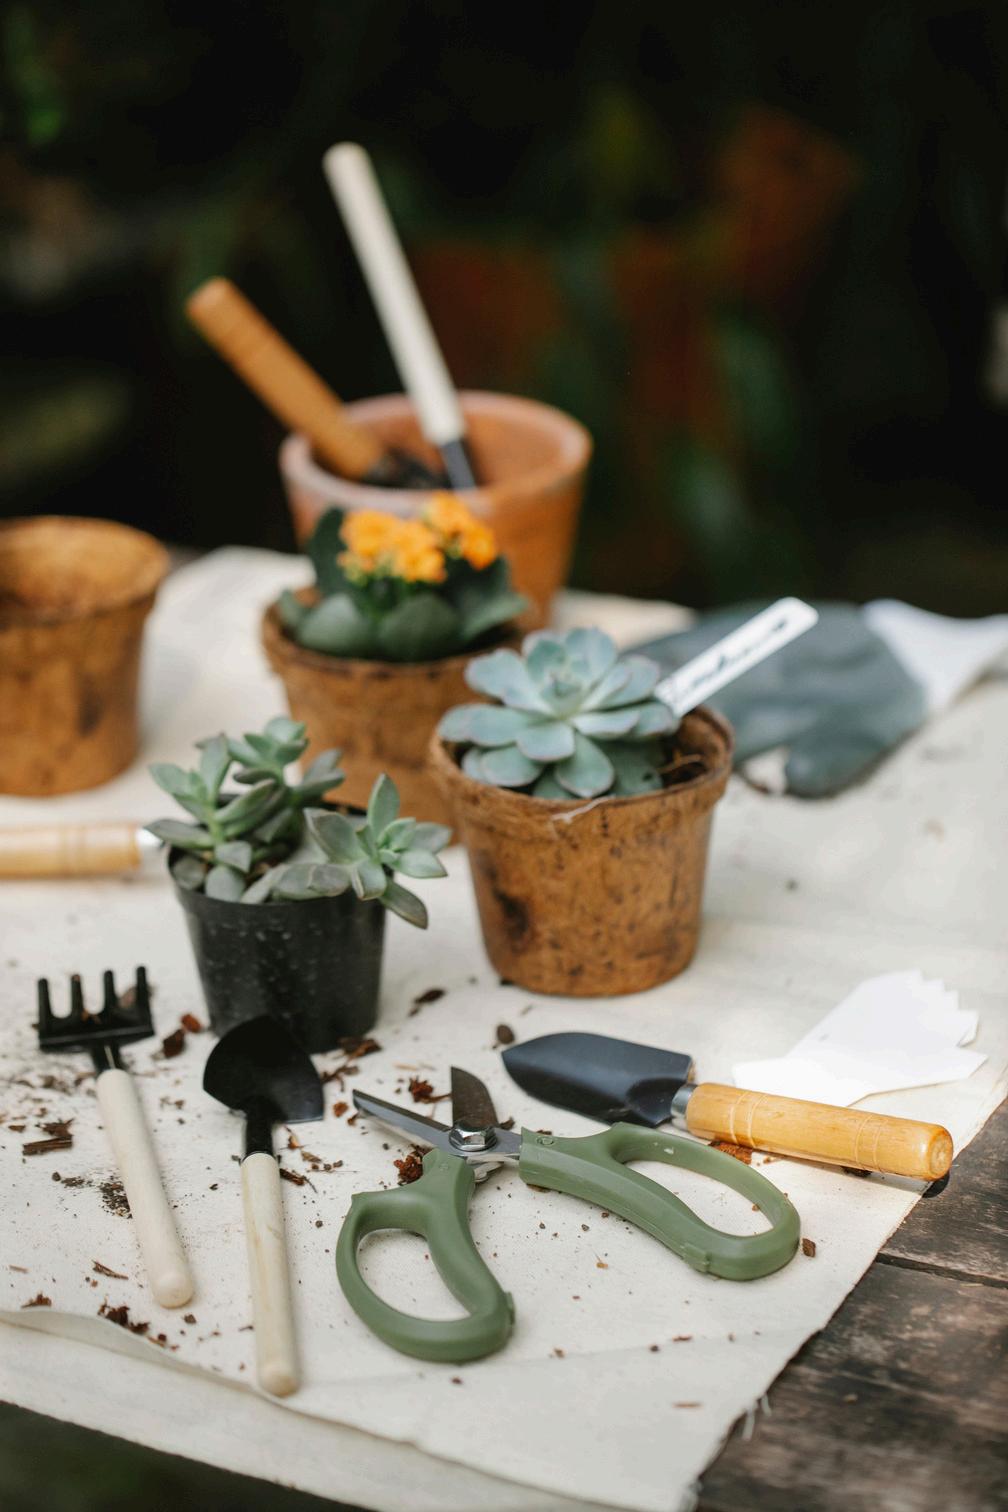
Directions: Have the campers plant their own garden to grow over the camp weeks. You can give a class teaching them how to care for their plants and what being a sustainable gardener looks like. Then as a group you can plant your seeds. Do research and make sure to plant your seeds during the best season, calculate when they will sprout, and how much water they will need.
References:
https://kidsgardening.org/

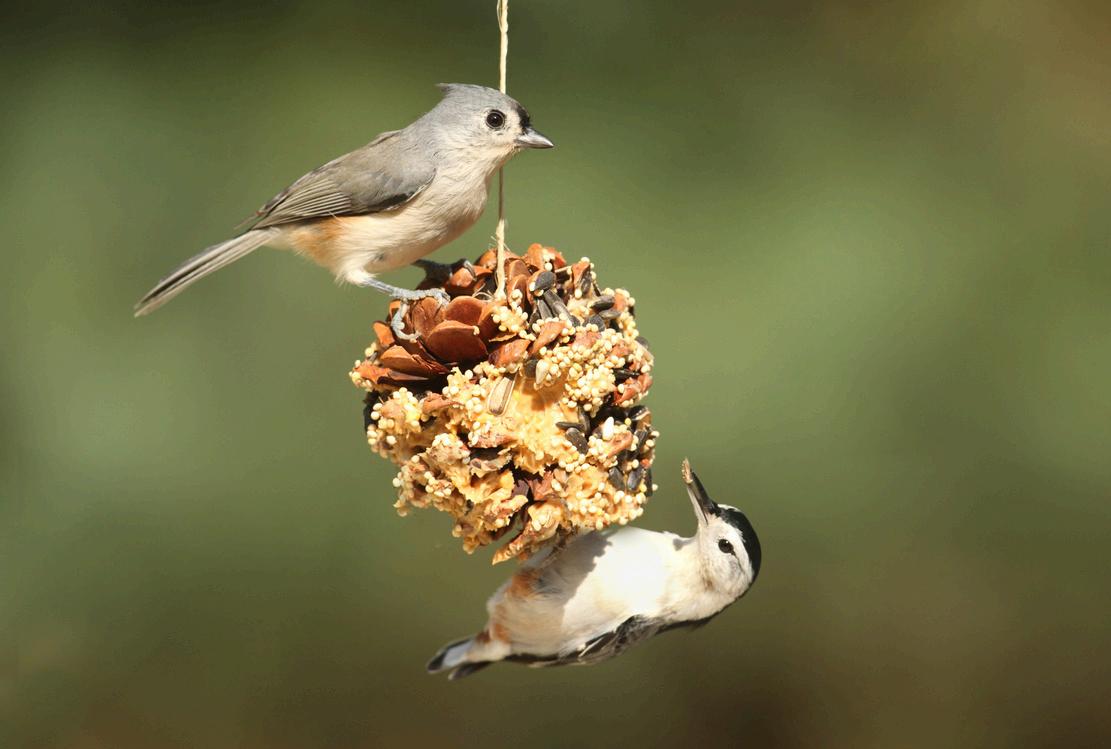
Required Materials: Bird Seed, Peanut Butter, String, Pinecones
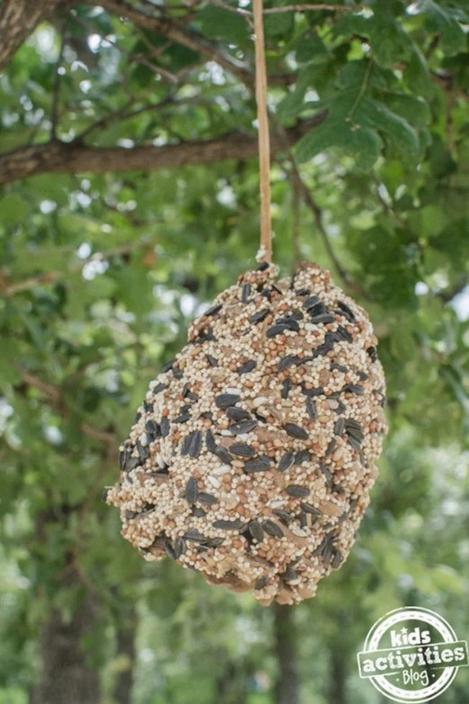
Directions: You can make a homemade bird feeder in many different ways. The above items are just a recommendation. You can also use other items such as toilet paper tubes, popsicle sticks, plastic bottles, milk jugs, etc. For this activity you can take the pinecones and tie a string around the top part of the cone. Next, coat the cone in peanut butter and roll it in seeds. You can place them aside to allow them time to dry or hang them up the same day for the birds to enjoy.
References:
https://www.123homeschool4me.com/12homemade-bird-feeders_71/
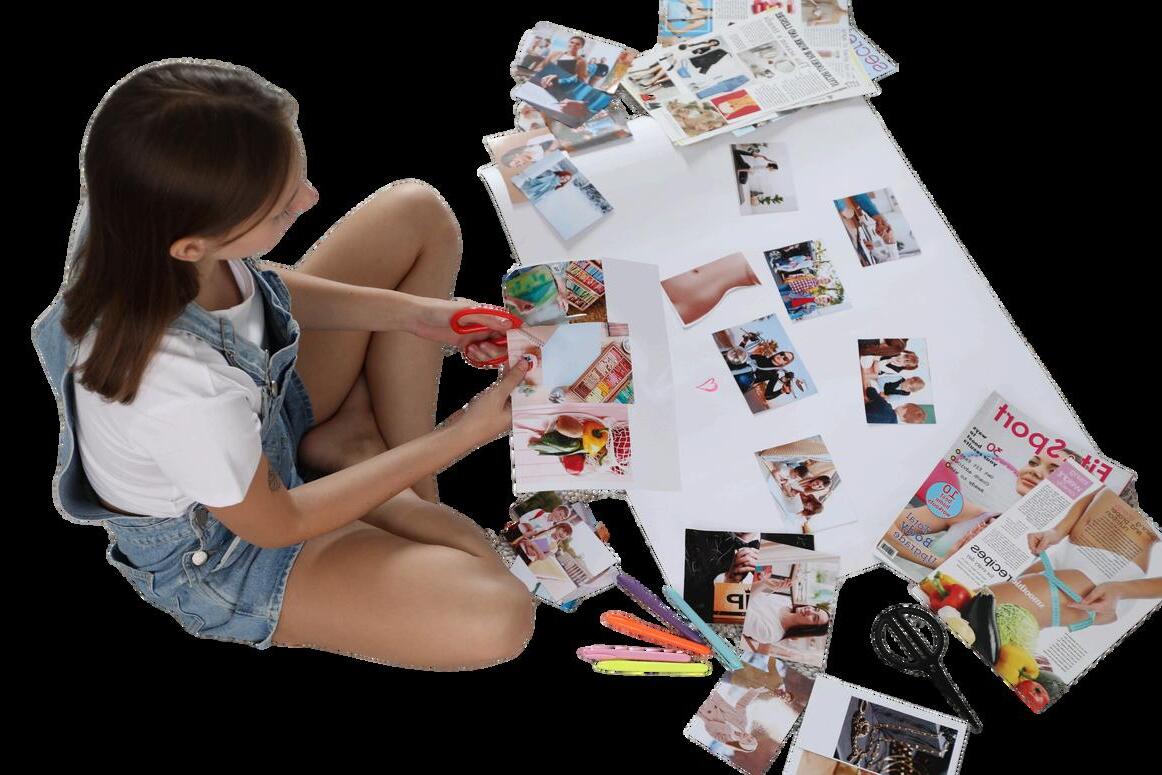
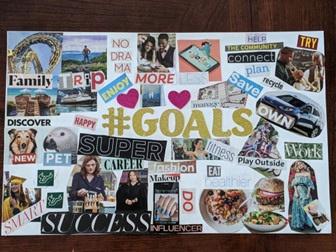
Required Materials: Paper, Recycled Magazines, Scissors, Glue, Markers/Crayons and Poster Board
Directions: A vision board is usually a collage of images that represent goals and dreams. Recycled magazines can be collected from recreation center patrons, staff, or kids that want to bring their own (please check to make sure they are all kid friendly). Give kids a prompt to decorate their paper with. An example could be “Things you find in nature”, “My favorite thing to do in Summer”, or “Your dreams/future goals”. They can now cut out images or words and glue them to their vision board. They can use crayons/markers to fill in spaces with pops of color or draw their own images.
References:
https://blog.gratefulness.me/vision-board-for-kids/
Required Materials: Jar/Bucket, Recycled Paper, Pencils
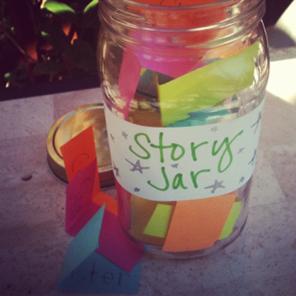
Directions: This activity is an eco-friendly way to tell stories to the campers. Write words about nature/nature activities on pieces of paper. Examples include parks, trees, flowers, squirrels, ponds, biking, etc. Now, have campers come up one at a time and draw a word out of the jar. Once they get their word, they can tell a real or fictional story using the nature word they draw.
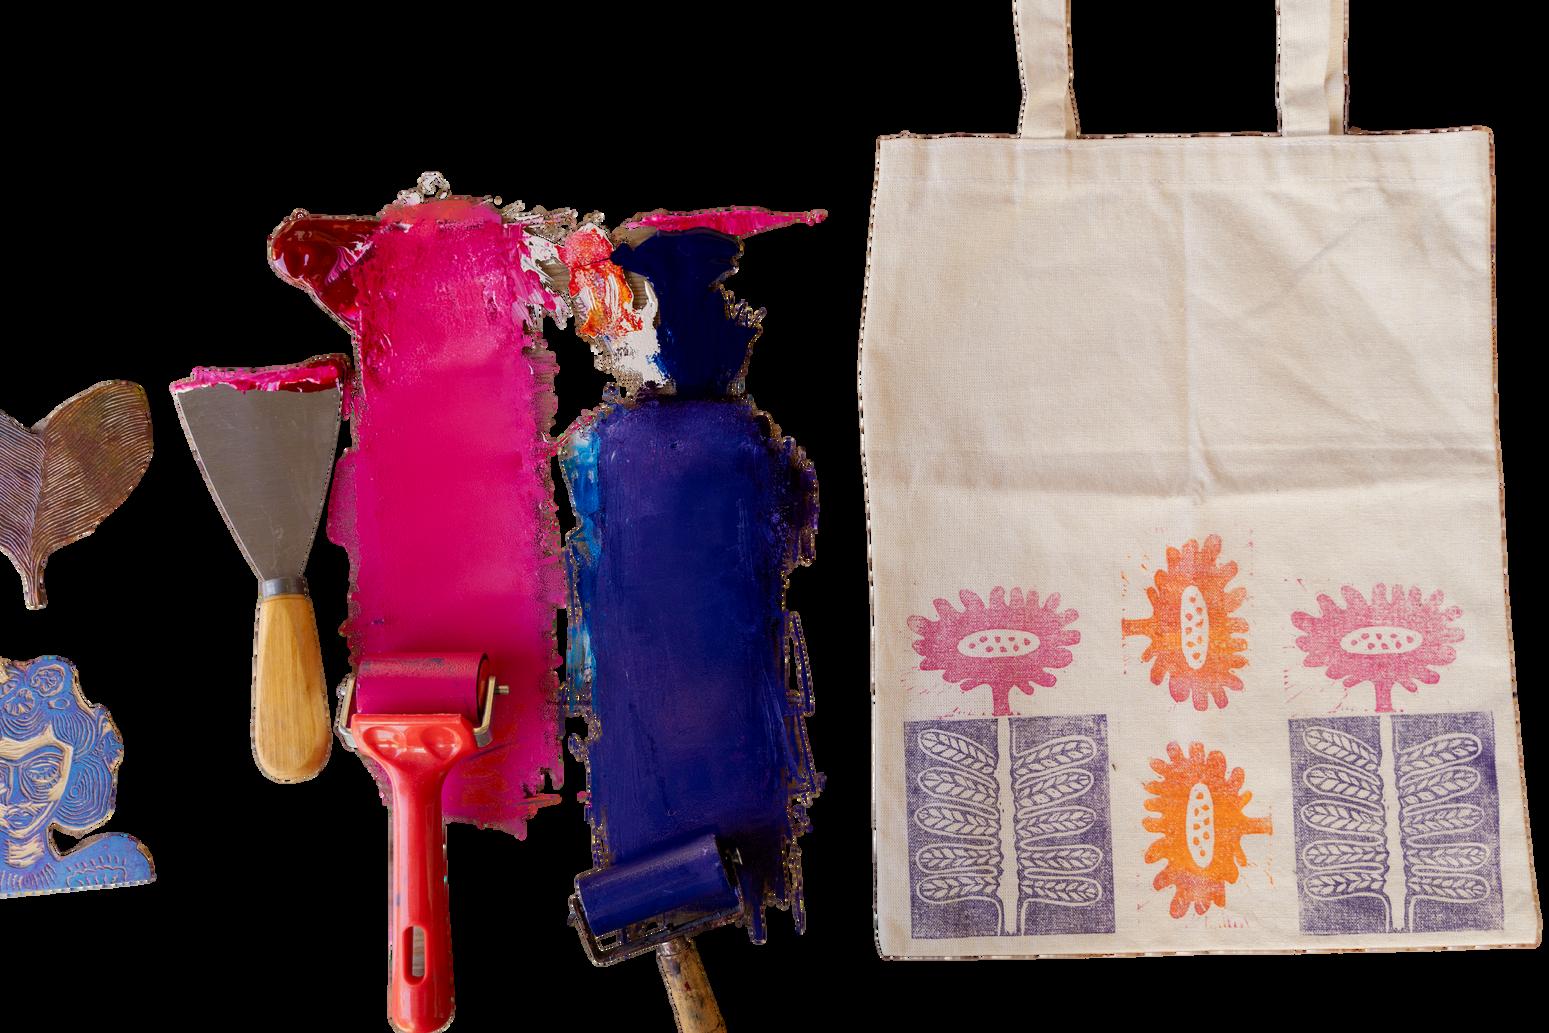
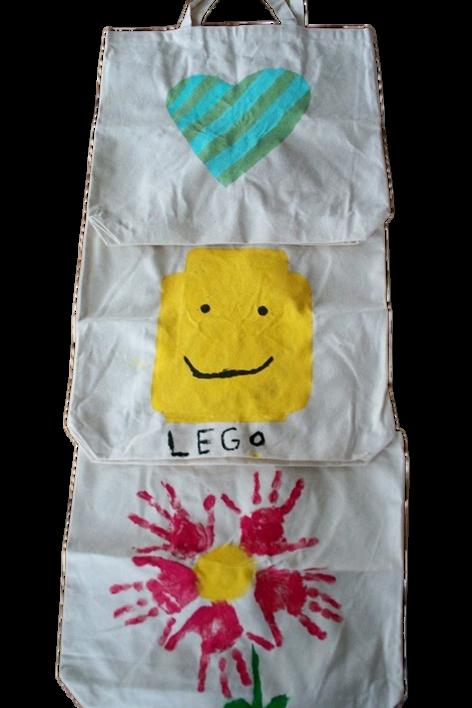
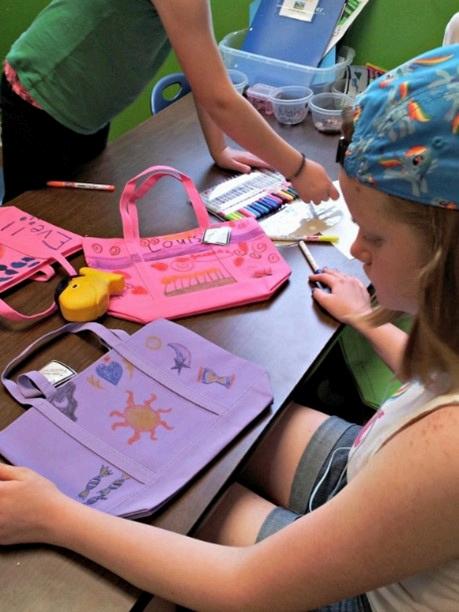
Directions: Use tote bags that are white/beige and can be decorated easily. Allow the campers to decorate their own tote bags using markers, glue, stickers or whatever materials you have that will stick to the tote. Totes can be used to carry snacks, water, or other items instead of using plastic bags that pollute our waterways.
Required Materials: Plastic Water Bottles, Markers, Scissors
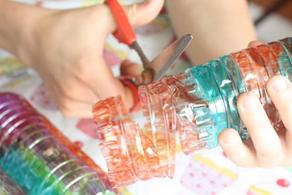
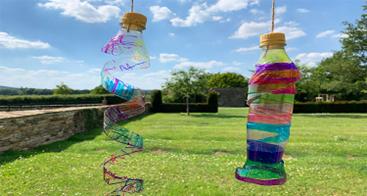
Directions: This is a great way to reuse single-use plastic water bottles! In this activity collect plastic water bottles to use. The campers can color their water bottles using markers. Now, leave the neck and bottom of the water bottle whole and begin cutting around the body of the bottle to create a spiral shape. Create a hole in the lid and knot a piece of string inside, so the water bottle can be hung up.
References:
https://www.mybaba.com/plastic-bottle-wind-spinner/
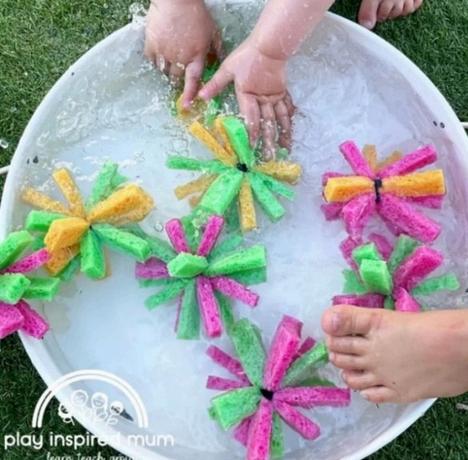
Even though latex balloons are considered biodegradable, they can take up to four years to decompose. In the meantime, they wreak havoc on the environment. When pieces of balloon end up on land, birds and other animals can mistake them as food. What if there was a more sustainable option that was just as fun as water balloons? There is! Sponge water bombs.
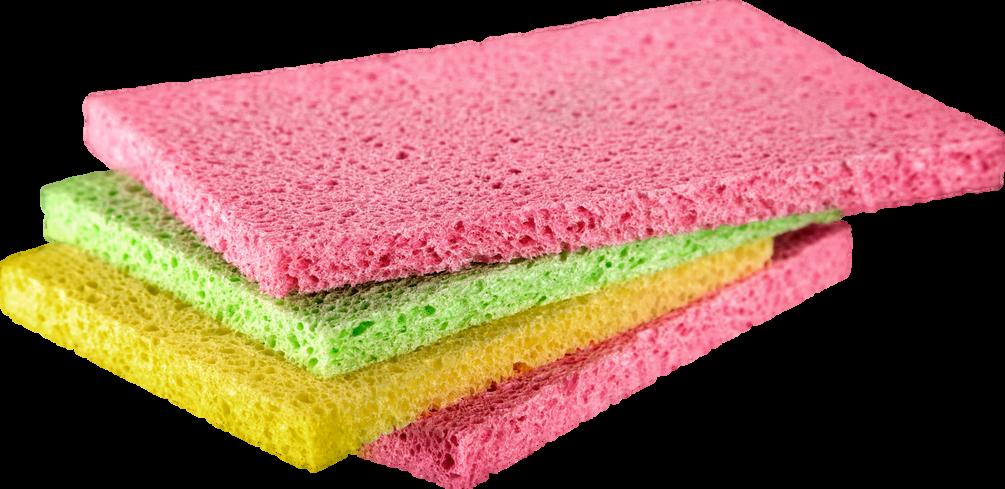
Directions: Cut each sponge into three equal strips. Each strip will be about an inch wide. Stack a total of nine strips three strips high by three strips long. You can either make the sponge water bombs all the same color or mix the strips for different colors. Wrap the twine around the middle of the sponge strips and tie tightly. Tie a double knot or triple knot for extra security. Trim away the excess twine. Pull the sponge strips out so they form a ball.
References:

https://earthfriendlytips.com/how-to-make-sponge-water-bombs/

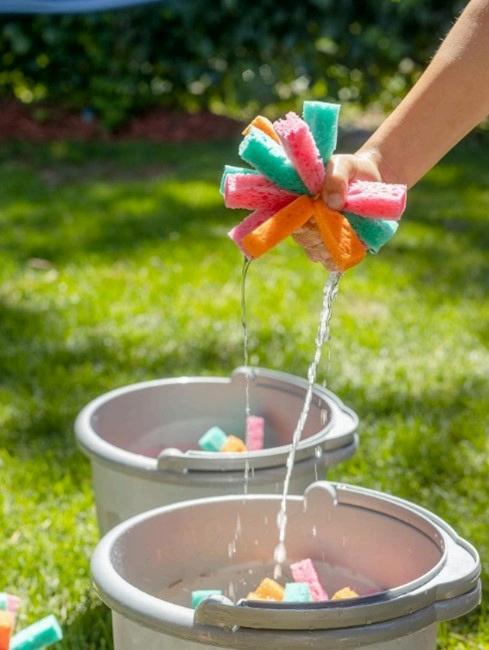
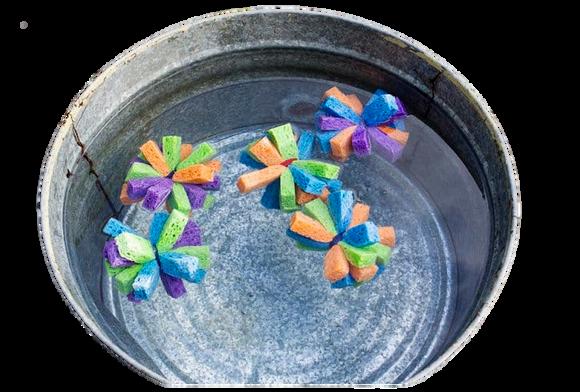
Required Materials: Sponge Water Bombs (Made in Activity 9), Buckets, and Water
Directions: Sponge Water Bombs can be used in safe eco-friendly water fights and water relays. For the relay, have two teams sit down in two separate lines on a paved surface. Have a bucket filled with water at the front and an empty bucket at the end of the line. Participants will take the filled sponge of water and pass it back over other campers to fill the empty bucket at the back. The team that finishes with the most water in bucket at the end wins.

References:
https://bigfamilyblessings.com/7-great-games-to-play-with-sponge-bombs/
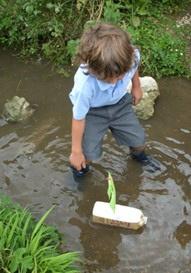
Required Materials: Carton, Straws, Clay/Tape, Paper
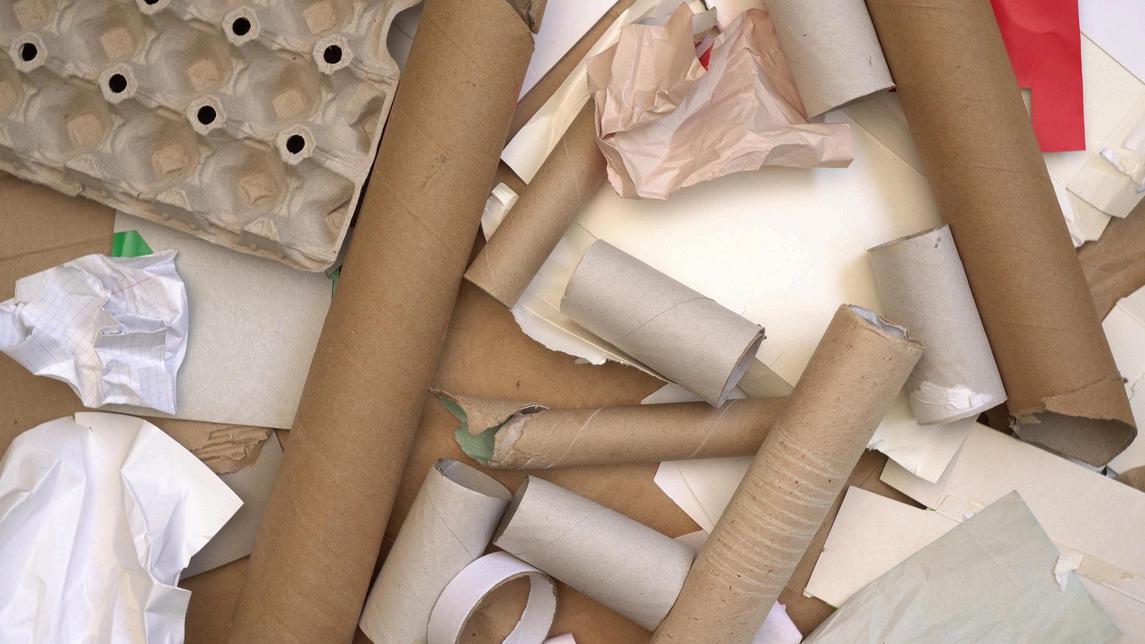
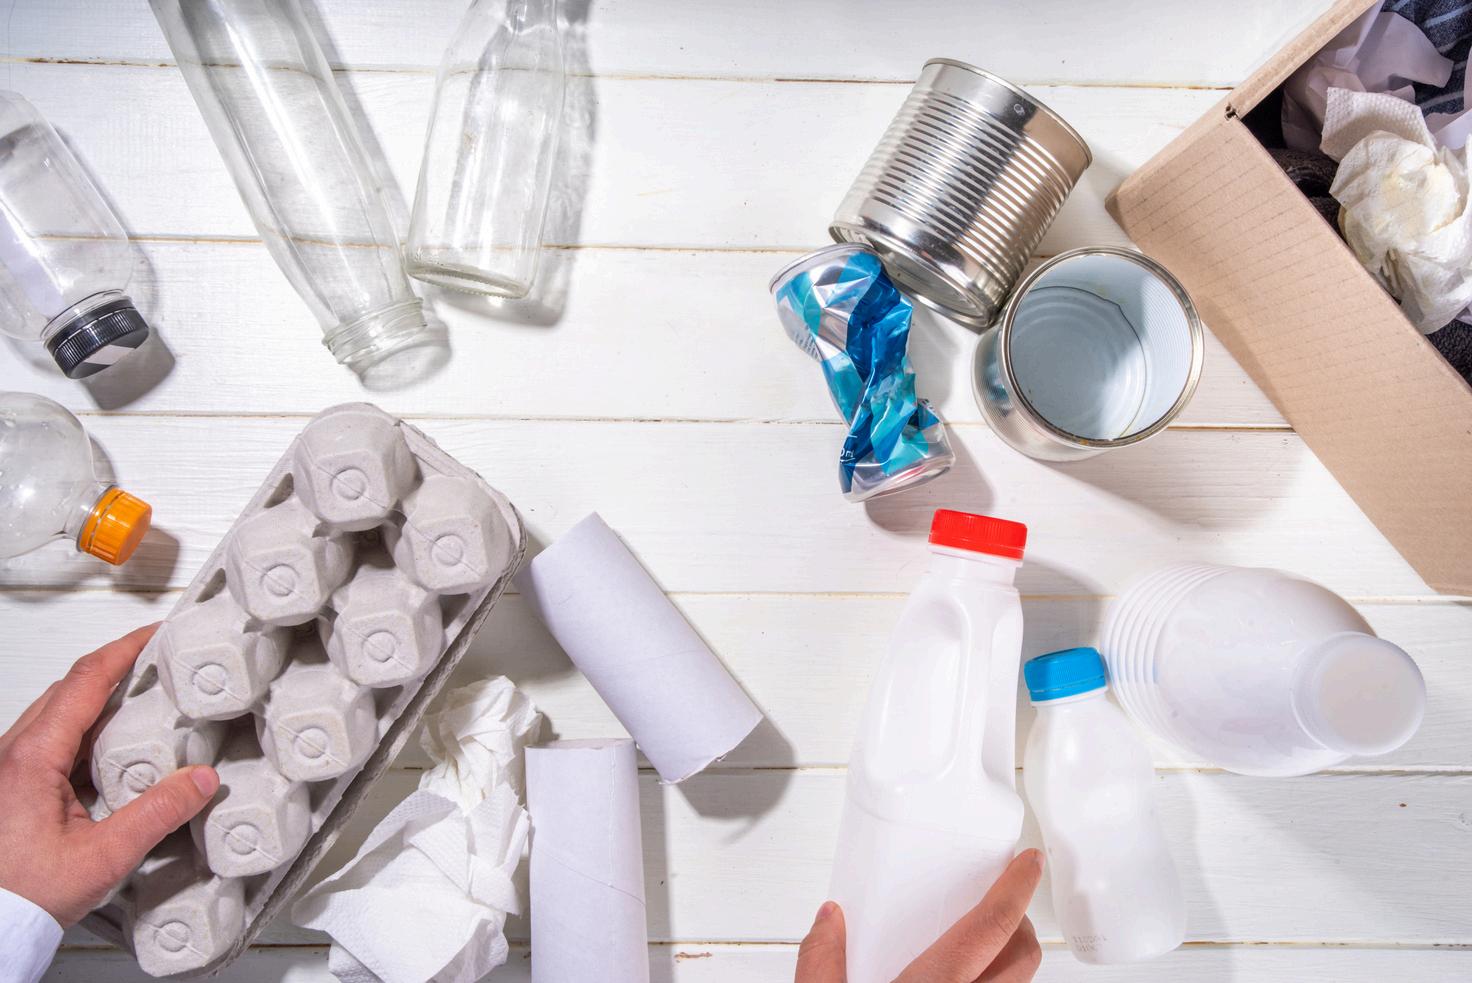
Directions: By re-using the materials above we can create a boat. Cut the edge off a carton. If you cut the carton in half, it could be used for two kids. Cut out a sail or two from heavy paper (fabric could also be used). Decorate the sails and put a hole in the middle at the top and bottom of the sail. Next slip a lightweight stick or long straw through the holes and push the stick into a lump of clay. Push the clay to the bottom of the carton and launch your boat.

References:
https://ninimakes.typepad.com/nini_makes/2009/07/sailing-away.html
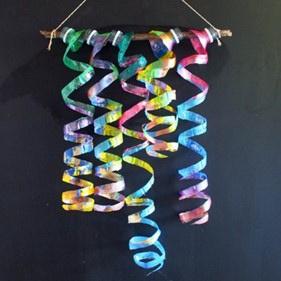
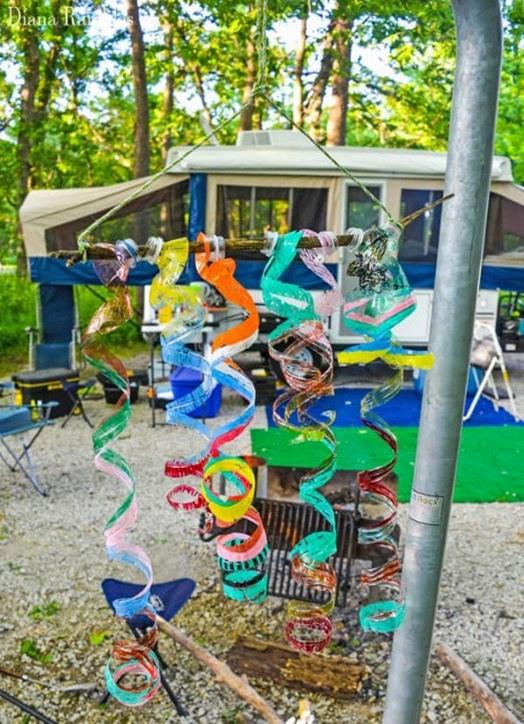
Required Materials: Water bottles, Sticks, String, Markers or Paint
Directions: Like Activity 8, the campers can color their water bottles using markers or paint. Now, leave the neck and bottom of the water bottle whole and begin cutting around the body of the bottle to create a spiral shape. Put the mouth of the water bottles through the stick so the water bottles will be hanging down. Tie a string on each side of the stick, so the mobile can be hung up.
References:
https://www.muminthemadhouse.com/pl-bottle-wind-spiral-mobile/
Required Materials: Sticks, Paint, String, Sanding block, Small Screw Eyes, Varnish (optional)
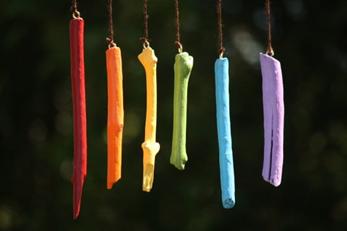
Directions: Collect sticks around 8-10 inches in length. Sticks can be varying lengths for this project. Now, use a sand block to sand down the sticks outer bark. Next, paint each stick with two coats of paint. The participants can paint their sticks however they want. Once the paint has dried, now they can be coated in varnish if you have it. This is an optional step that would make the paint last longer on the sticks. Now, the screw eyes can be screwed on to the top of each stick and use a string to tie them together.
References:
https://happyhooligans.ca/homemade-wind-chimes/
Required Materials: White/Beige Hats, Markers, Fabric Decorating Materials
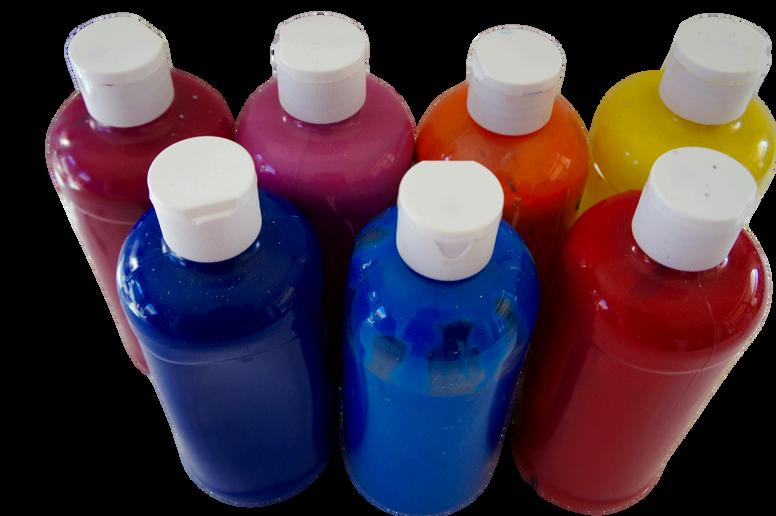
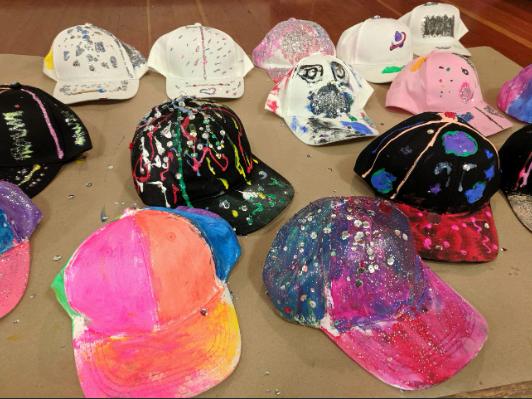
Directions: The kids will be spending a lot of time outside during summer camp. What better way to keep them safe in the sun than to order hats for them to decorate! They can use markers and other fabric decoration materials to decorate their hats.


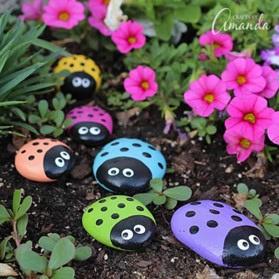
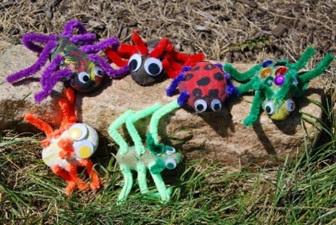
Directions: Collect smooth rocks from outside. Now, have the campers use their imagination to make the rock into a creepy crawly bug using paint or other materials. Have the kids name their rock bug and name some special characteristics about them.


References: https://craftsbyamanda.com/ladybugpainted-rocks/
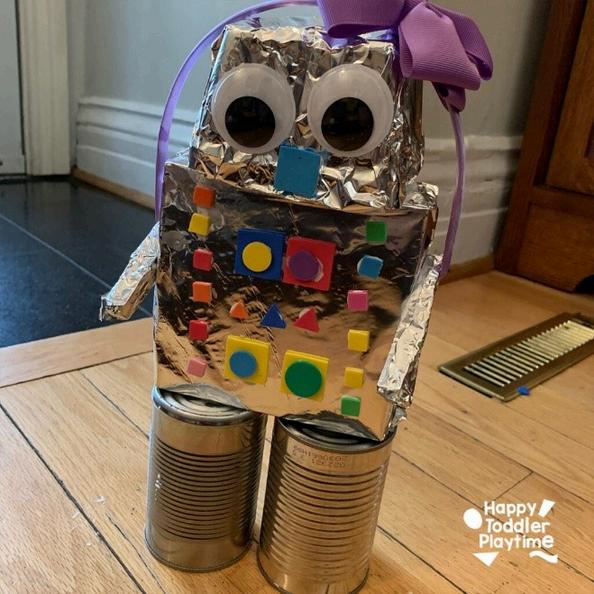
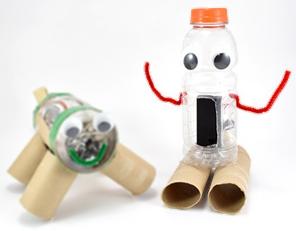
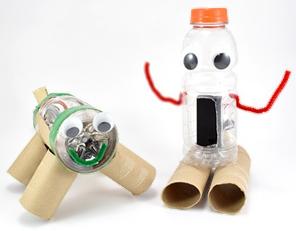
Required Materials: Recycled Objects such as cardboard boxes, cardboard rolls from toilet paper/paper towels, plastic straws, plastic bottles, aluminum foil/cans, labels from bottles, ribbon, paper, etc., materials to decorate with such as markers, crayons, paint, etc., scissors, glue, and tape
Directions: Split campers into groups of even numbers around 4-5 kids in each group. Split up the recycled materials between each group. The competition begins between campers to see who can create the coolest robot. Staff can create an example robot or show pictures of examples of what can be created. Afterwards, teams can vote on whose robot is best.
References:
https://www.sciencebuddies.org/stem-activities/build-a-recycled-robot
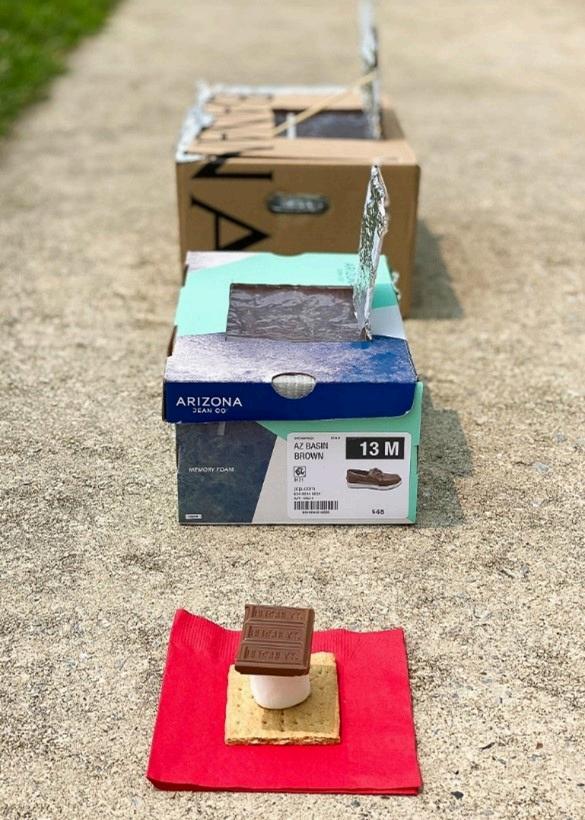
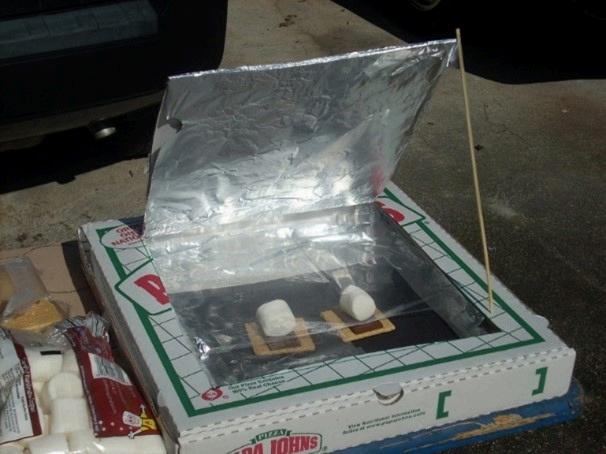
Required Materials: A cardboard box with a lid that can be opened and closed, such as a shoe box or pizza box, Aluminum foil, Clear plastic wrap or plastic bag, Tape, Box Cutter or scissors
Materials For Solar Oven Heat Energy Science Experiment: Crayon or marker, Toothpick or small stick, Thermometers
Materials To Make S'mores in A Solar Oven: Plates or napkins, Marshmallows, Graham crackers, Chocolate
Instructions to Build a Solar Oven
1.
Draw a large, horizontal rectangle on t the box lid.
Cut out three of the four sides of the r the two short vertical sides and one b horizontal side - using a box cutter or 2. Fold the rectangle up along the horizo that was not cut to create a flap.
3. Tape aluminum foil to the underside o This will serve as a reflective surface f to enter the box.
5.
4. Open the box lid and tape a piece of c wrap or plastic bag on the underside o rectangular opening. This creates a wi sunlight to enter the box while trappin inside.
Line the inside of the box with aluminu may need to tape the foil to the sides to keep it in place.
6. Place a thermometer inside the box so can observe it through the window. 7. Close the lid of the box and use a toot small stick to adjust the angle of the a foil-covered flap to reflect sunlight th window of the oven. 8.
Make a sketch of your solar oven, usin represent how heat energy will enter y 9.
Instructions to Assemble and Bake the S’mores
Obtain two small plates or napkins.
2.
1. On each plate/napkin, stack the following in order, from bottom to top - graham cracker square, marshmallow, piece of chocolate bar.
3.
Place one s’more plate inside of the solar oven and one s’more plate outside of the oven.
4.
Put a second thermometer next to the plate located outside of the oven.
6.
5. Every ten minutes, record the temperature displayed on each thermometer and observe the s’more. The s’more is done cooking when the marshmallow has approximately doubled in size.
Observe and record the initial temperatures inside and outside of the oven. Observe the temperature inside the solar oven without opening the box to avoid heat escaping.
References:
https://www.raisingglobalkidizens.com/how-to-build-a-solar-oven/
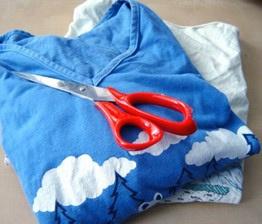
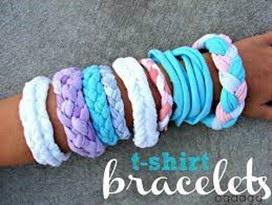
Required Materials: Old T-shirts, Scissors, Hot Glue (Optional)
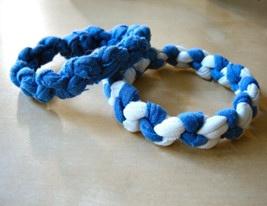
Directions: Cut the old t-shirts into strips using scissors. Braid the strips into a bracelet that will fit the camper. Several bracelets can be made using different strips of cloth. Hot Glue can be used to bind the ends of the bracelet together, or it can be tied in a knot.
References:
https://www.instructables.com/How-to-Make-T-shirt-Bracelets/
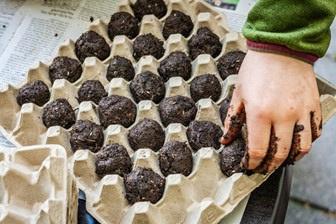
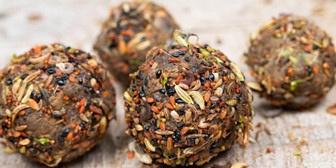
Required Material: Wildflower Seed (compatible with location), Soil, Water
Directions: Each camper can mix their wildflower seed with the right amount of soil and water. The mud will help the seeds stick; and at this point the campers can roll the mud into a ball. Now, set these out to dry. Once the seed bombs are ready, they can be thrown out in a lawn or grassy patch and rain will break up the seeds to spread and grow into wildflowers.

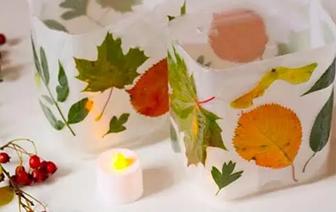
Required Material: Leaves, Plastic Milk Jugs/Water Bottles, Contact Paper, Scissors, No Flame Tea Lights
Directions: Campers collect a variety of leaves from color to shape that they find in the park. Next, cut the top of milk jugs off below the handle. Now, you can peel the contact paper and campers can arrange their leaves on the sticky side of the contact paper. Once finished, wrap the contact paper around the milk jug and make sure it sticks. The tea lights can now be placed in the center of the plastic jug.
References:

https://kidscraftroom.com/diy-leaf-luminaries/
Required Materials: Various Leaves and Flowers, Cardstock, Scissors, Glue, Contact Paper or Laminator, Single Hole Puncher, Yarn, String, or Raffia Ribbon
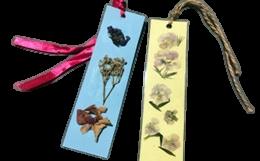
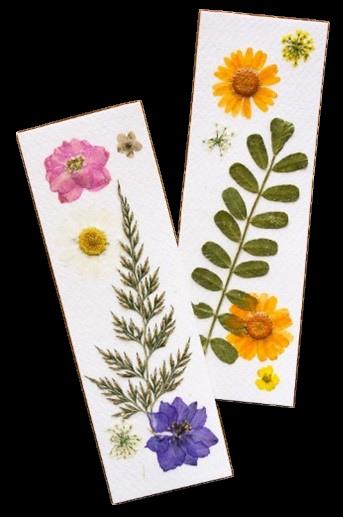
Directions: Have campers collect a variety of wild plants. Please make sure to discuss what plants in parks could be dangerous such as poison ivy and how it is identified. After they have collected their plant pieces, place them under a heavy book or between two cardboard pieces pressed firmly for 3-4 days. This will dry out the plants and make them flat. Now, the campers can begin making their bookmarks. Cut out cardstock into 6 x 2-inch shapes. Use your pressed plants to make a design and use a glue stick to stick them to the cardstock. Now, clear contact paper or a laminator can be used to laminate the bookmarks. Trim any excess material and punch holes on the outside of the bookmarks. The last step is wrapping the bookmark with yarn or string through the holes.
References:
https://buggyandbuddy.com/bookmark-craft-for-kids-using-pressed-flowersand-leaves/
Required Materials: Colored Paper, Sticks (craft stick, popsicle stick, or straw), Paint, Scissors, and Tape
While traditional sparklers and fireworks are a standard part of the 4th of July celebrations, they are not environmentally friendly and can be dangerous for children and animals. The debris from fireworks and sparklers can pollute the environment and increase the risk of wildfires and burns. Luckily, there’s a fun and eco-friendly alternative: paper sparklers! They can help keep festivities bright without the danger!
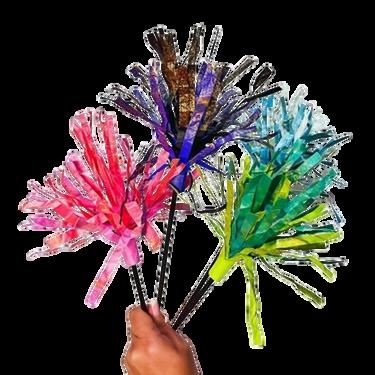
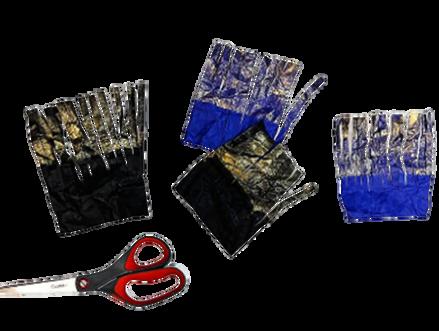
Directions: Cut your cardstock in half horizontally (hamburger style). Stack the two paper halves, leaving 2-3 inches of space at the top. Spray with glitter paint and let dry. Once dry, crumple the paper to create a crinkled paper effect, then smooth it out. Cut each piece of paper in half again (vertically). Cut thin strips into the paper halves to create fringe, stopping 1 to 1.5 inches from the bottom. Attach one end of the paper fringe to the end of your stick with sticky tape or hot glue and wrap it tightly until you reach the other end. Secure it with another piece of tape or hot glue. Continue adding and wrapping the remaining paper layers with tape or hot glue until all four pieces are attached. Finish the sparkler by securing the last piece with clear or electrical tape. Link below has a video of how to make the paper sparklers.
References:
https://barleyandbirch.com/make-kid-friendly-diy-paper-sparklers-summercraft/
Reference and Additional Information:
https://www.journalingwithnature.com1.
https://www.journalingwithnature.com/blog/nature-journal-prompts2.
https://www.plt.org/ee-resource/schoolyard-safari-bingo-card/3.
https://kidsgardening.org/4.
https://www.123homeschool4me.com/12-homemade-bird-feeders 71/ 5.
https://blog.gratefulness.me/vision-board-for-kids/6.
https://www.mybaba.com/plastic-bottle-wind-spinner/7.
https://earthfriendlytips.com/how-to-make-sponge-water-bombs/8.
https://bigfamilyblessings.com/7-great-games-to-play-with-spongebombs/ 9.
https://ninimakes.typepad.com/nini makes/2009/07/sailing-away.html 10.
https://www.muminthemadhouse.com/pl-bottle-wind-spiral-mobile/11.
https://happyhooligans.ca/homemade-wind-chimes/12.
https://craftsbyamanda.com/ladybug-painted-rocks/13.
https://www.raisingglobalkidizens.com/how-to-build-a-solar-oven/14.
https://www.sciencebuddies.org/stem-activities/build-a-recycled-robot15. https://www.instructables.com/How-to-Make-T-shirt-Bracelets/16.
https://kidscraftroom.com/diy-leaf-luminaries/17.
https://buggyandbuddy.com/bookmark-craft-for-kids-using-pressedflowers-and-leaves/ 18.
https://barleyandbirch.com/make-kid-friendly-diy-paper-sparklerssummer-craft/ 19.
