


System Operations Dash+, Meter E-hail, Dispatch 2024
www.gocurb.com

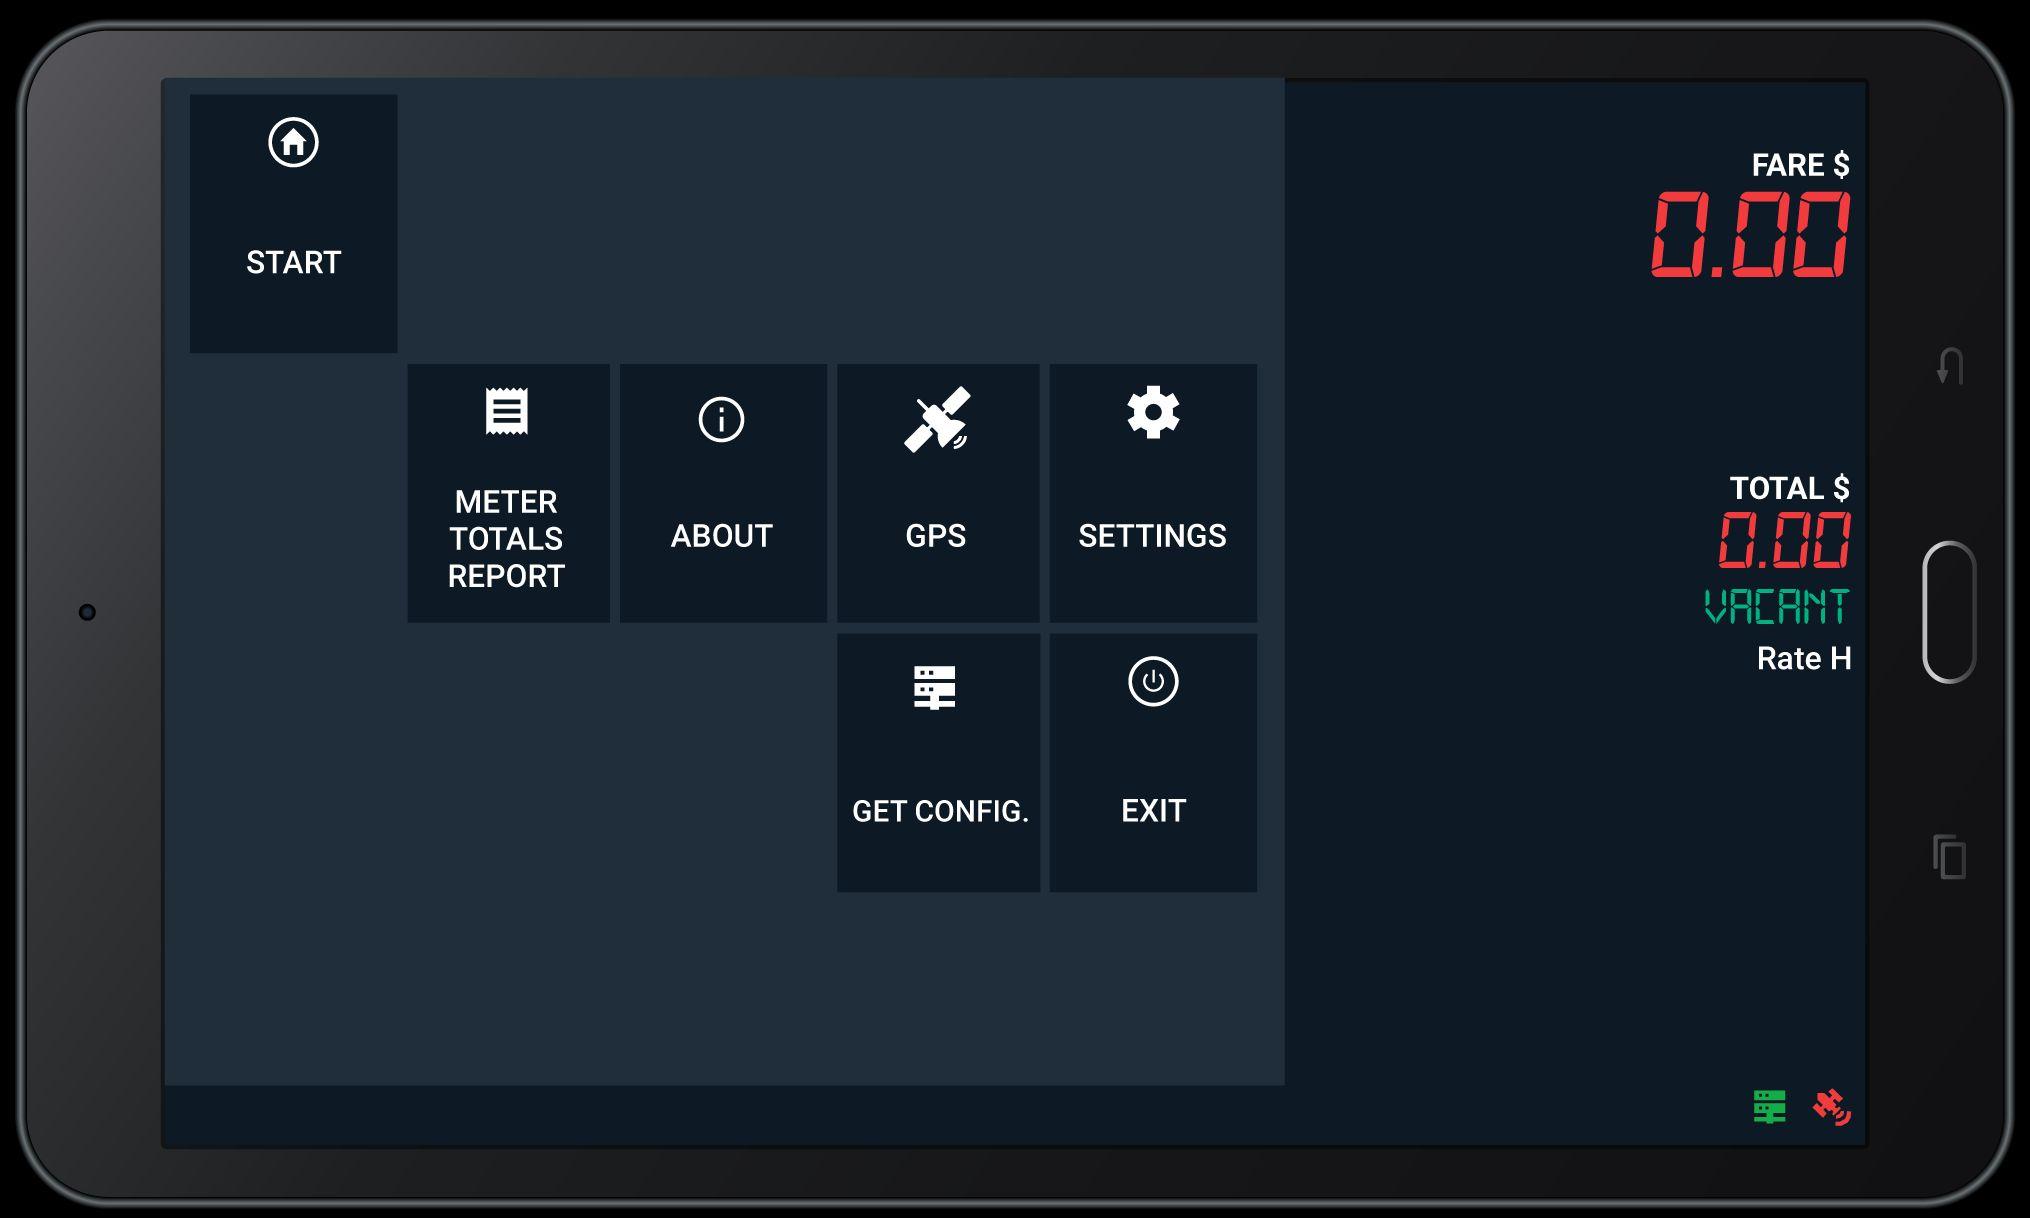
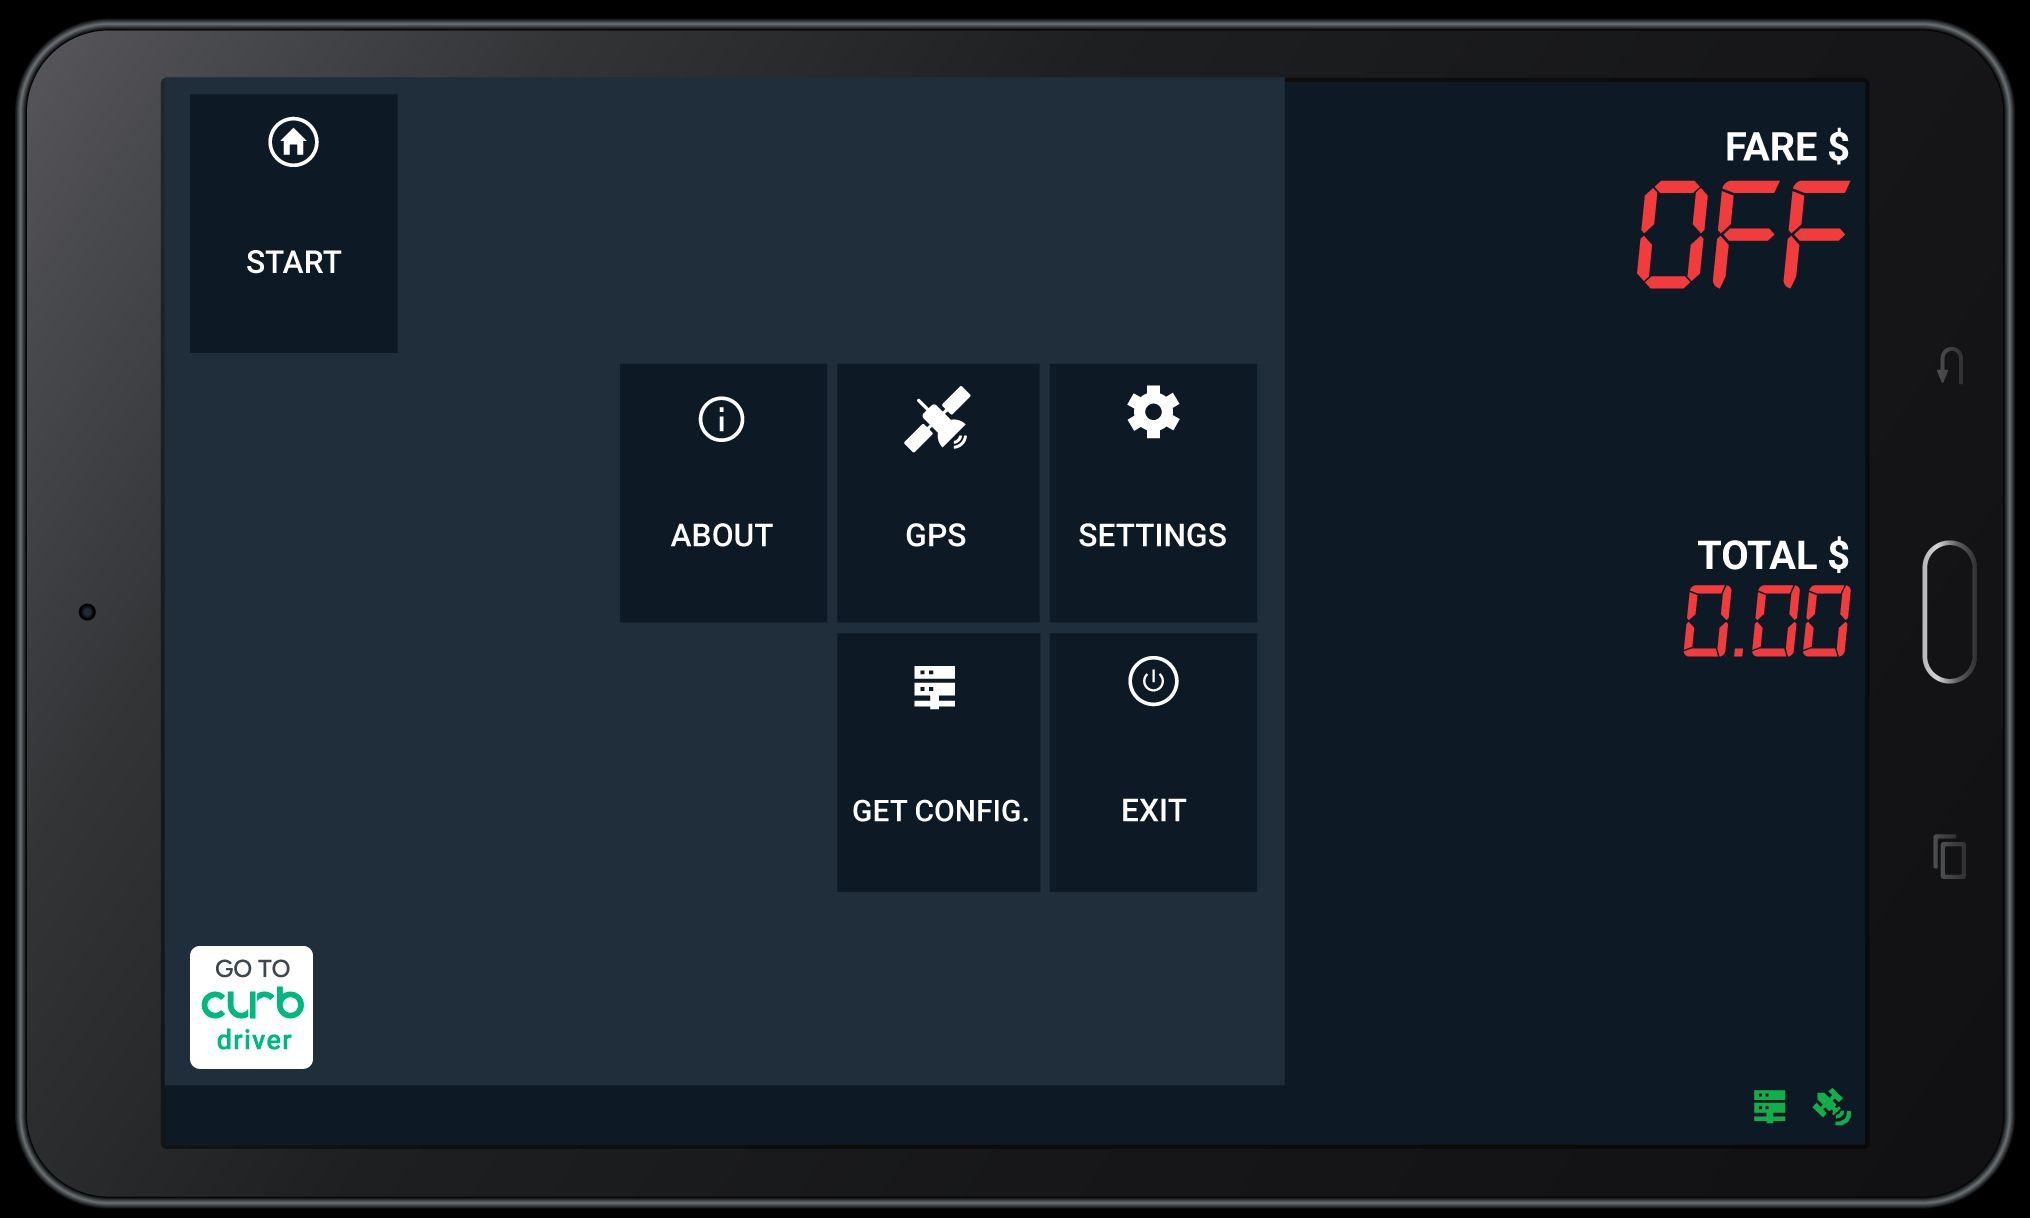
Tap the START button to enter your Driver ID and Password.

Tap DRIVER NUMBER to enter your number.
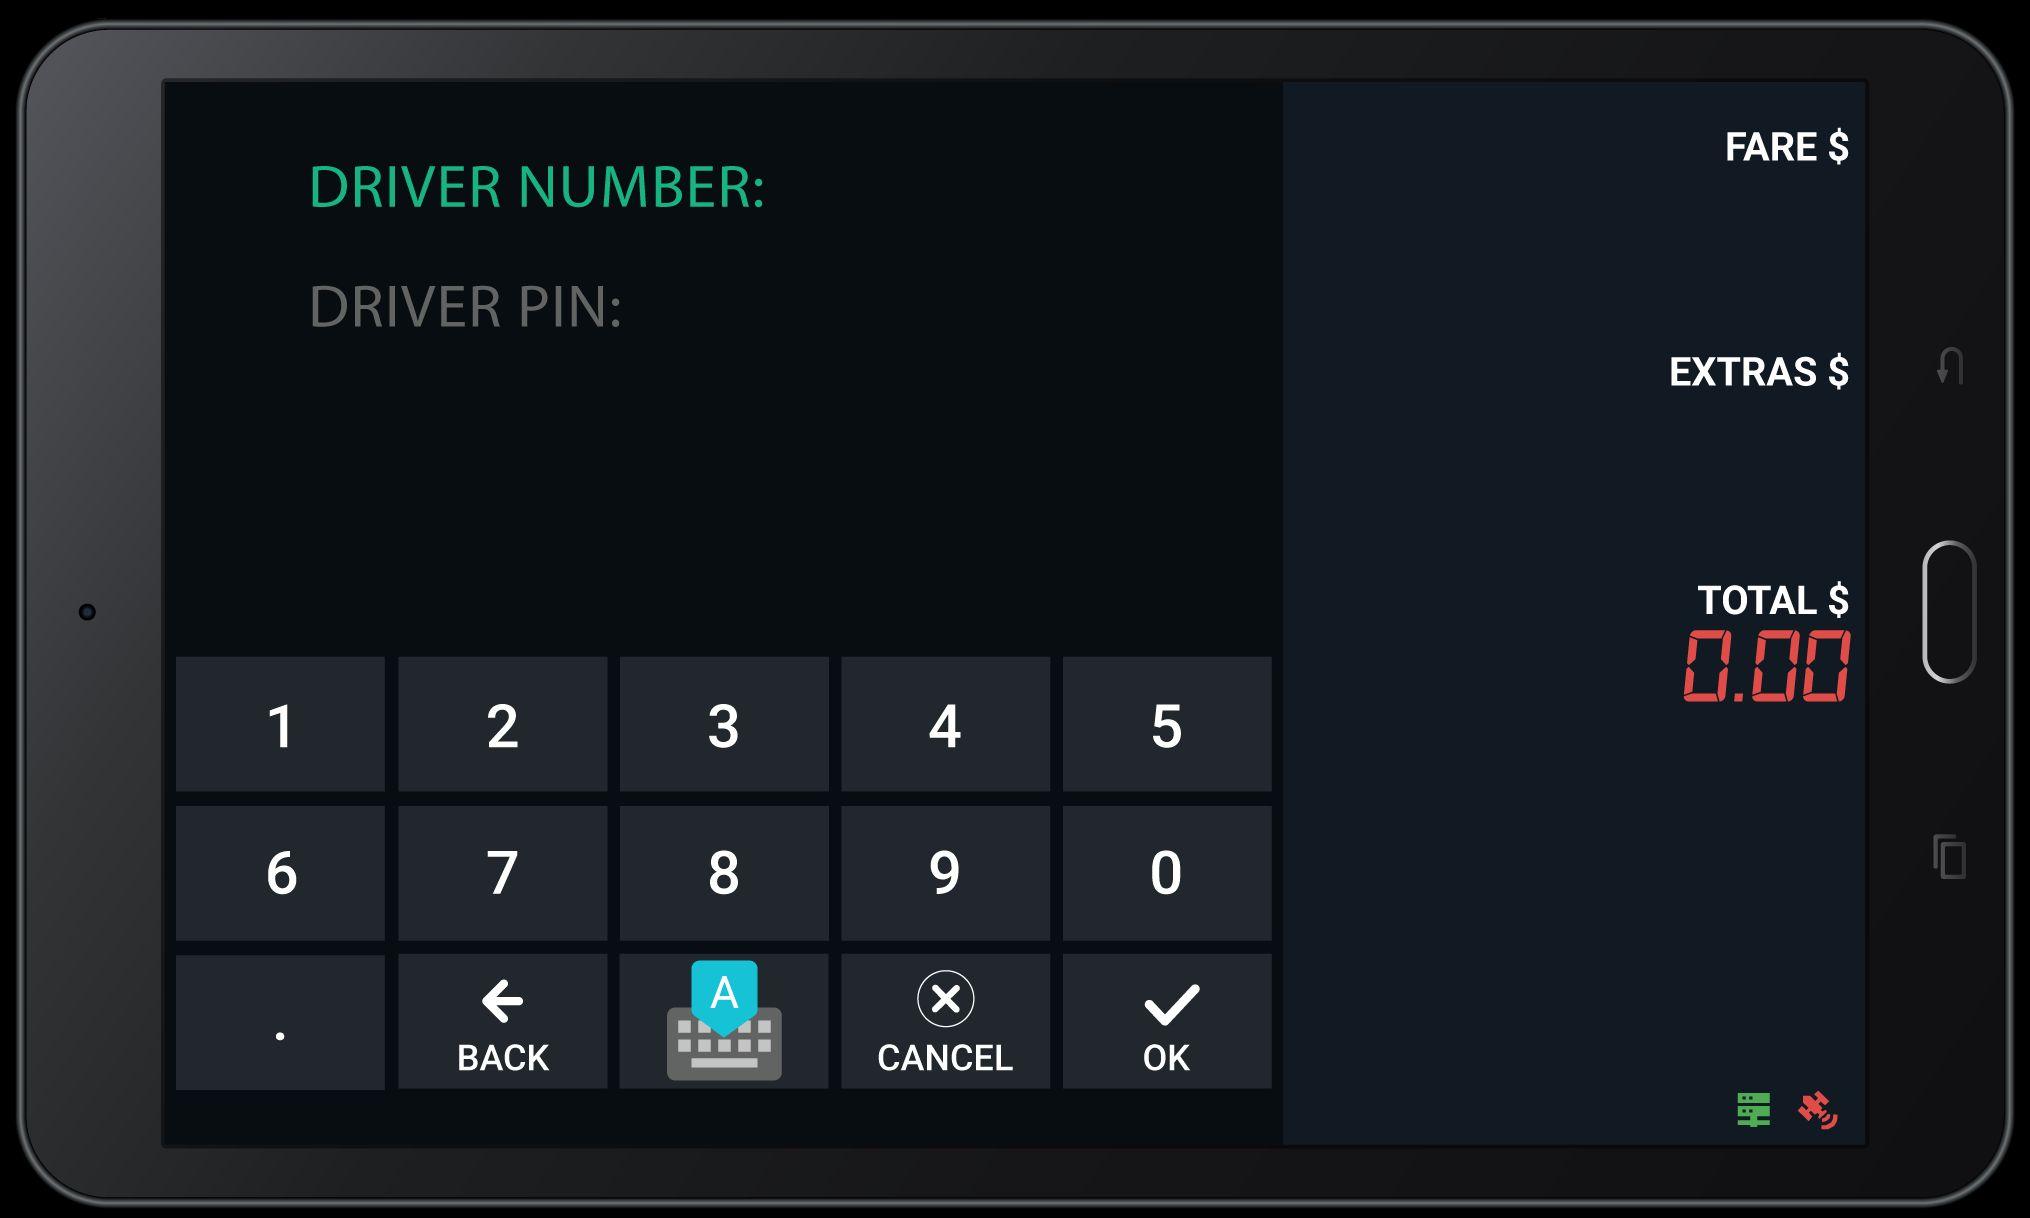
To enter letters from your drivers license, tap the keyboard icon to expand.
Tap DRIVER PIN to enter your PIN number.
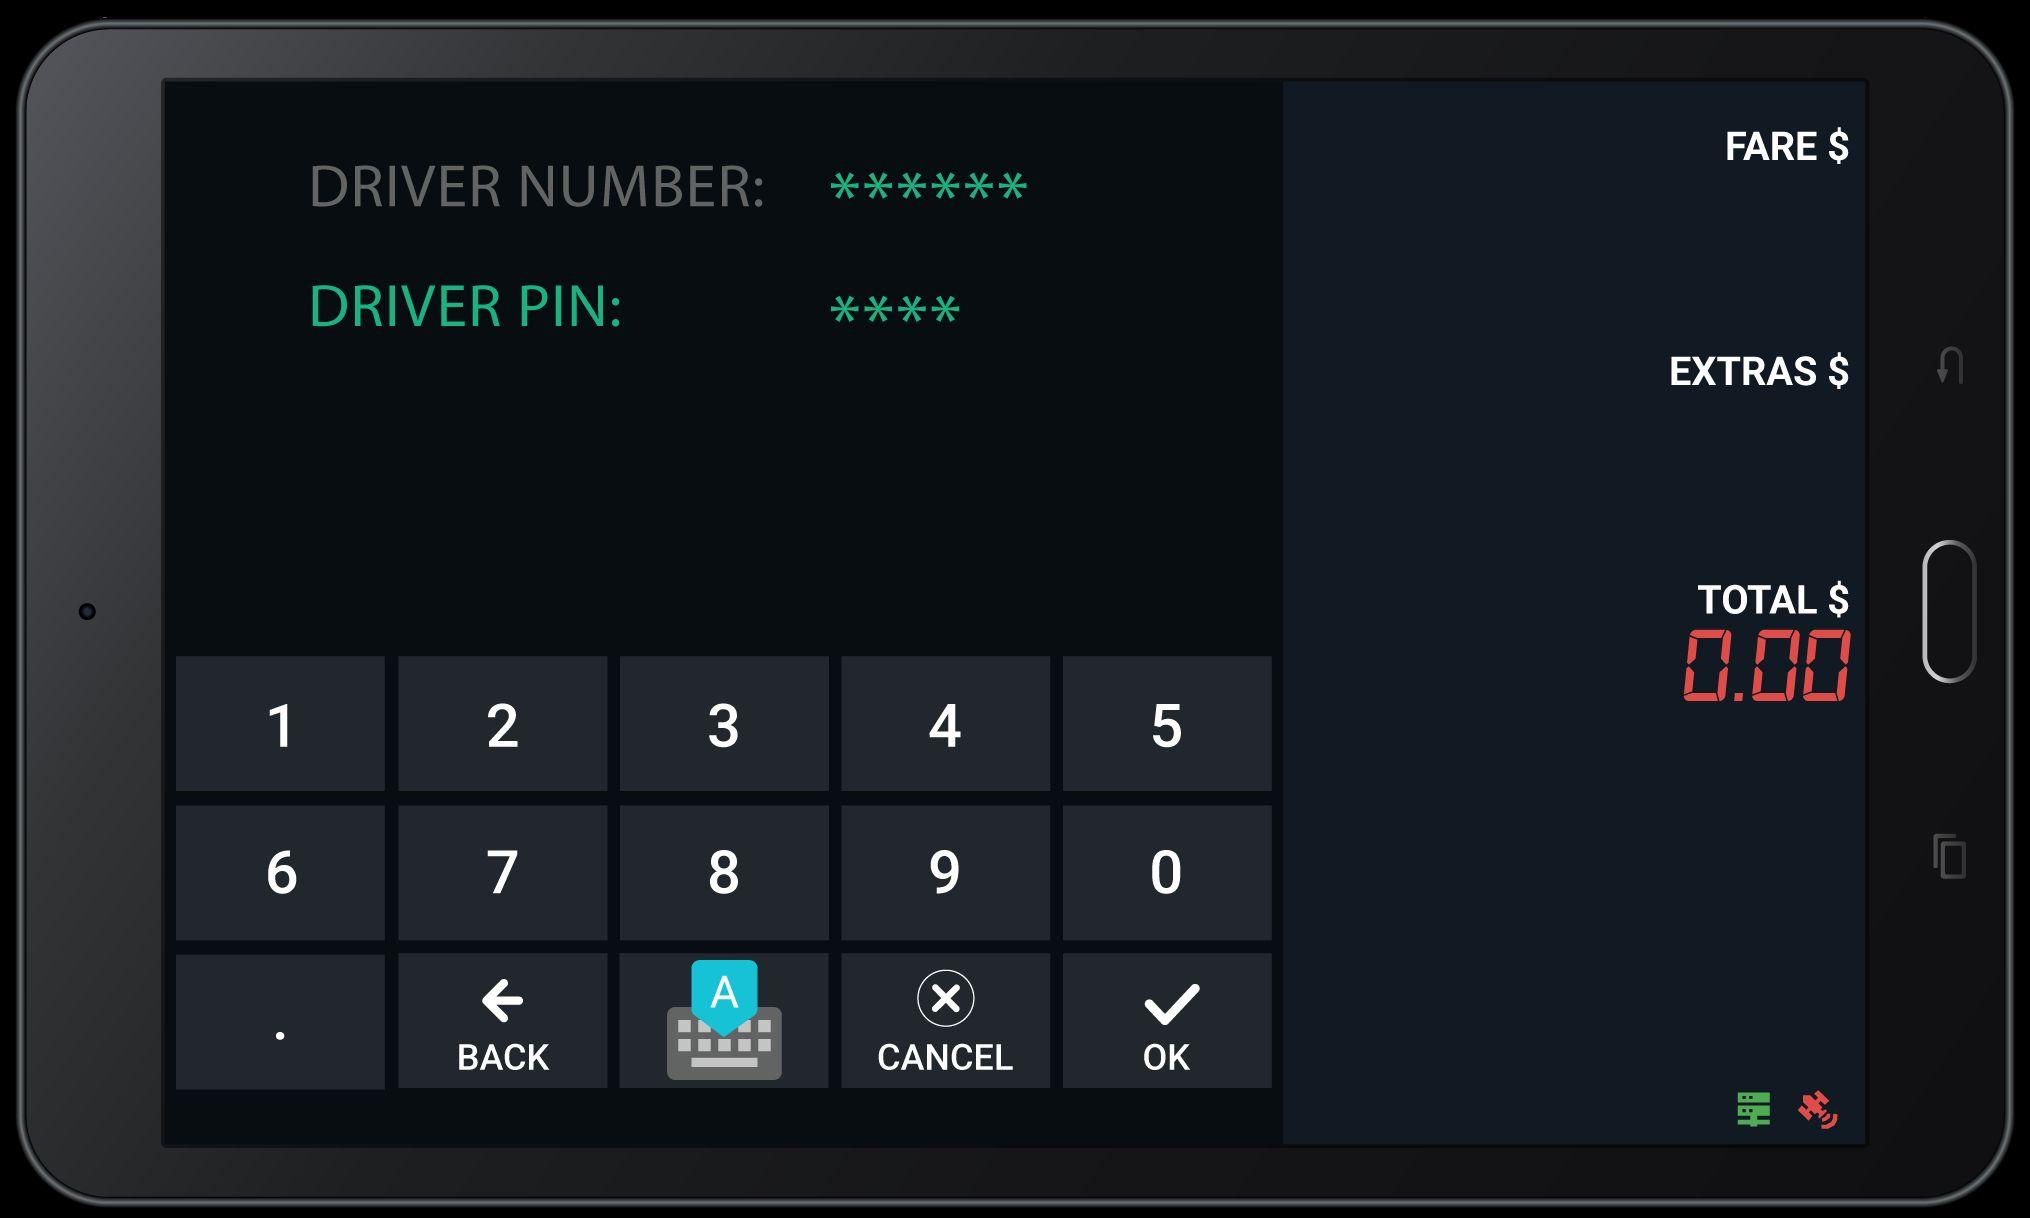
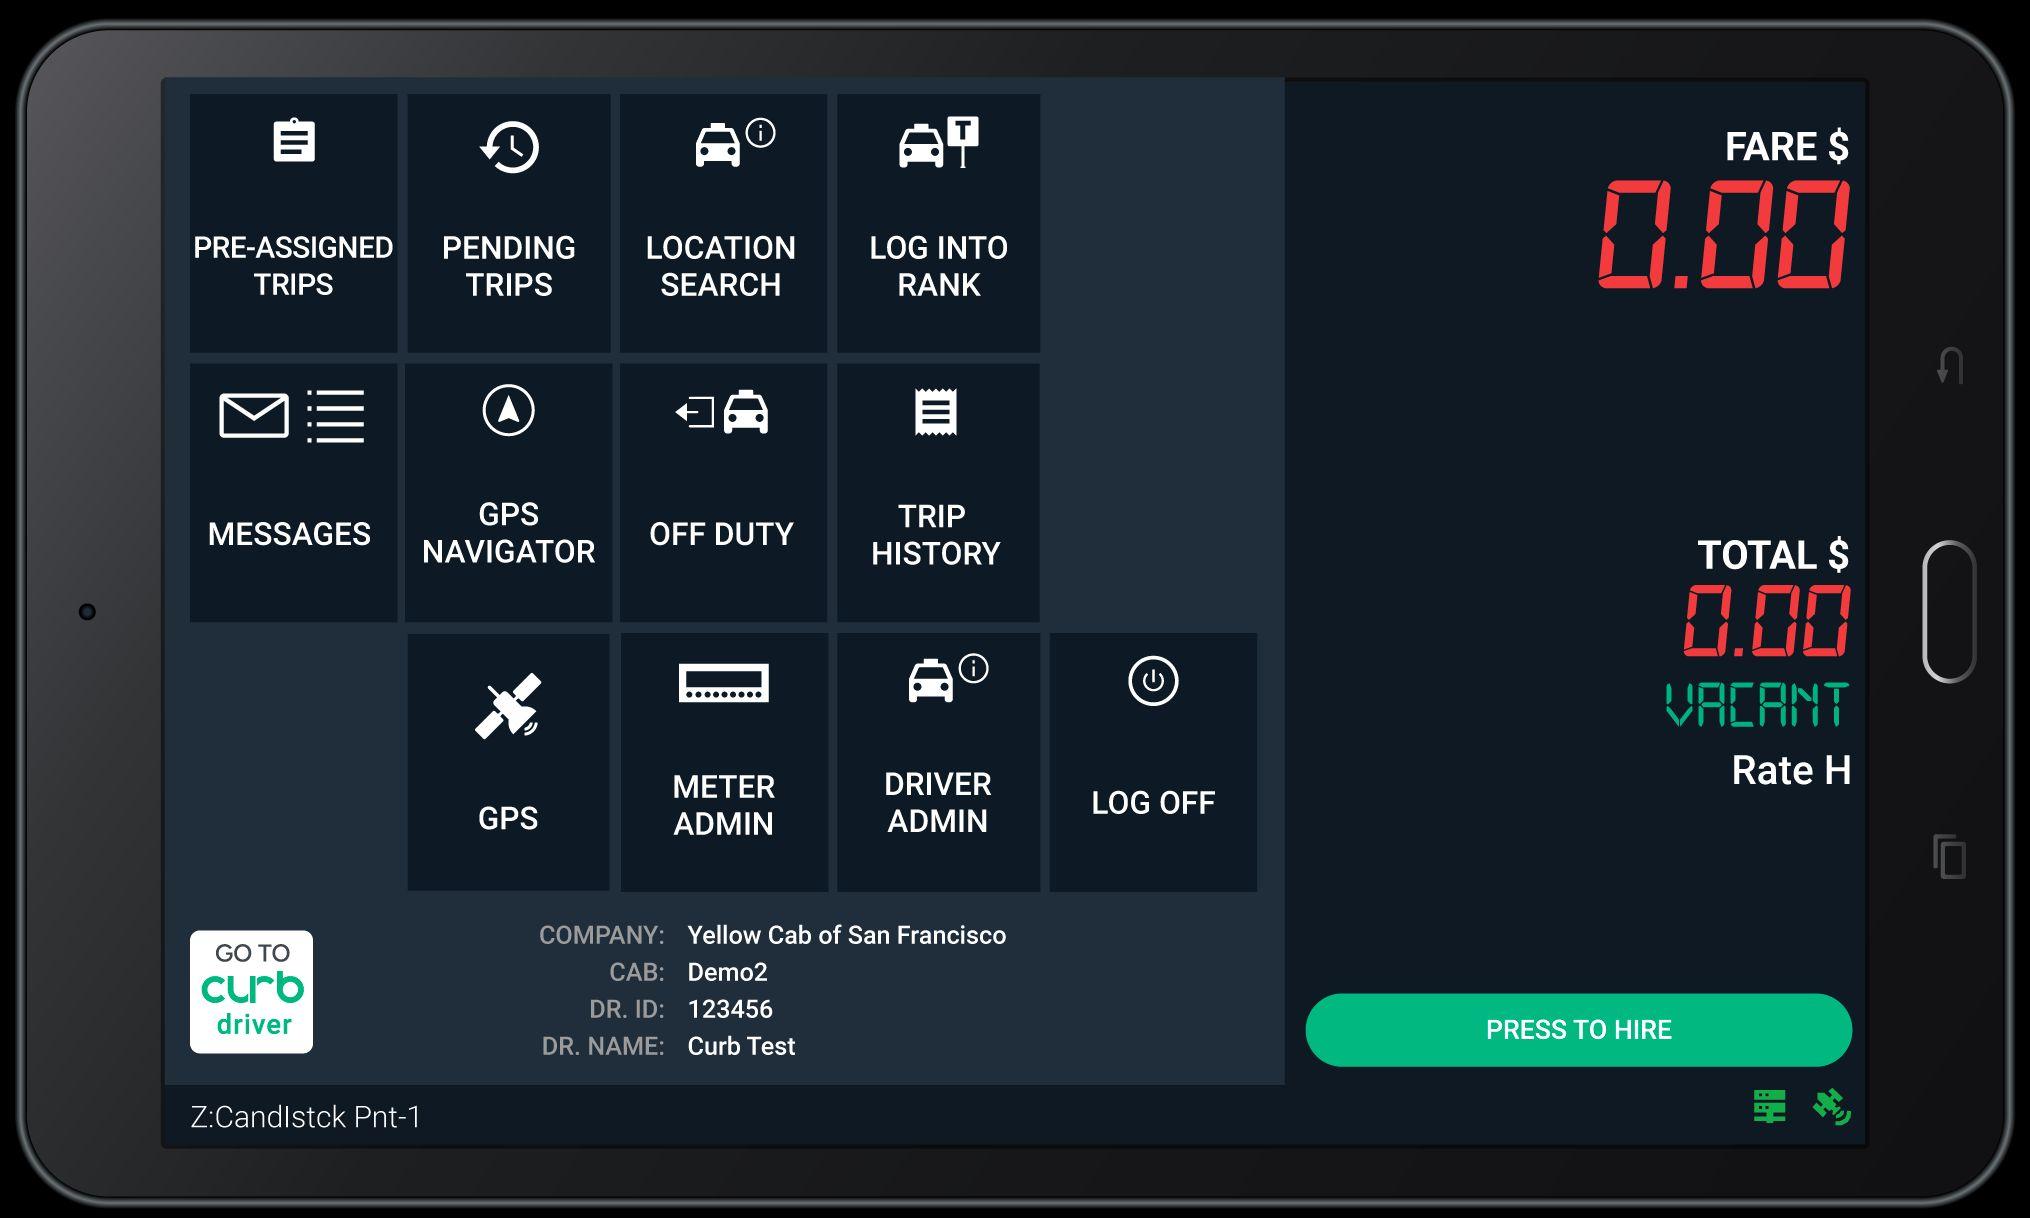
Note: These are the Server, GPS and Meter icons that indicate the status of each service. All icons will turn green once they are properly connected. Tap the OK button to log in.
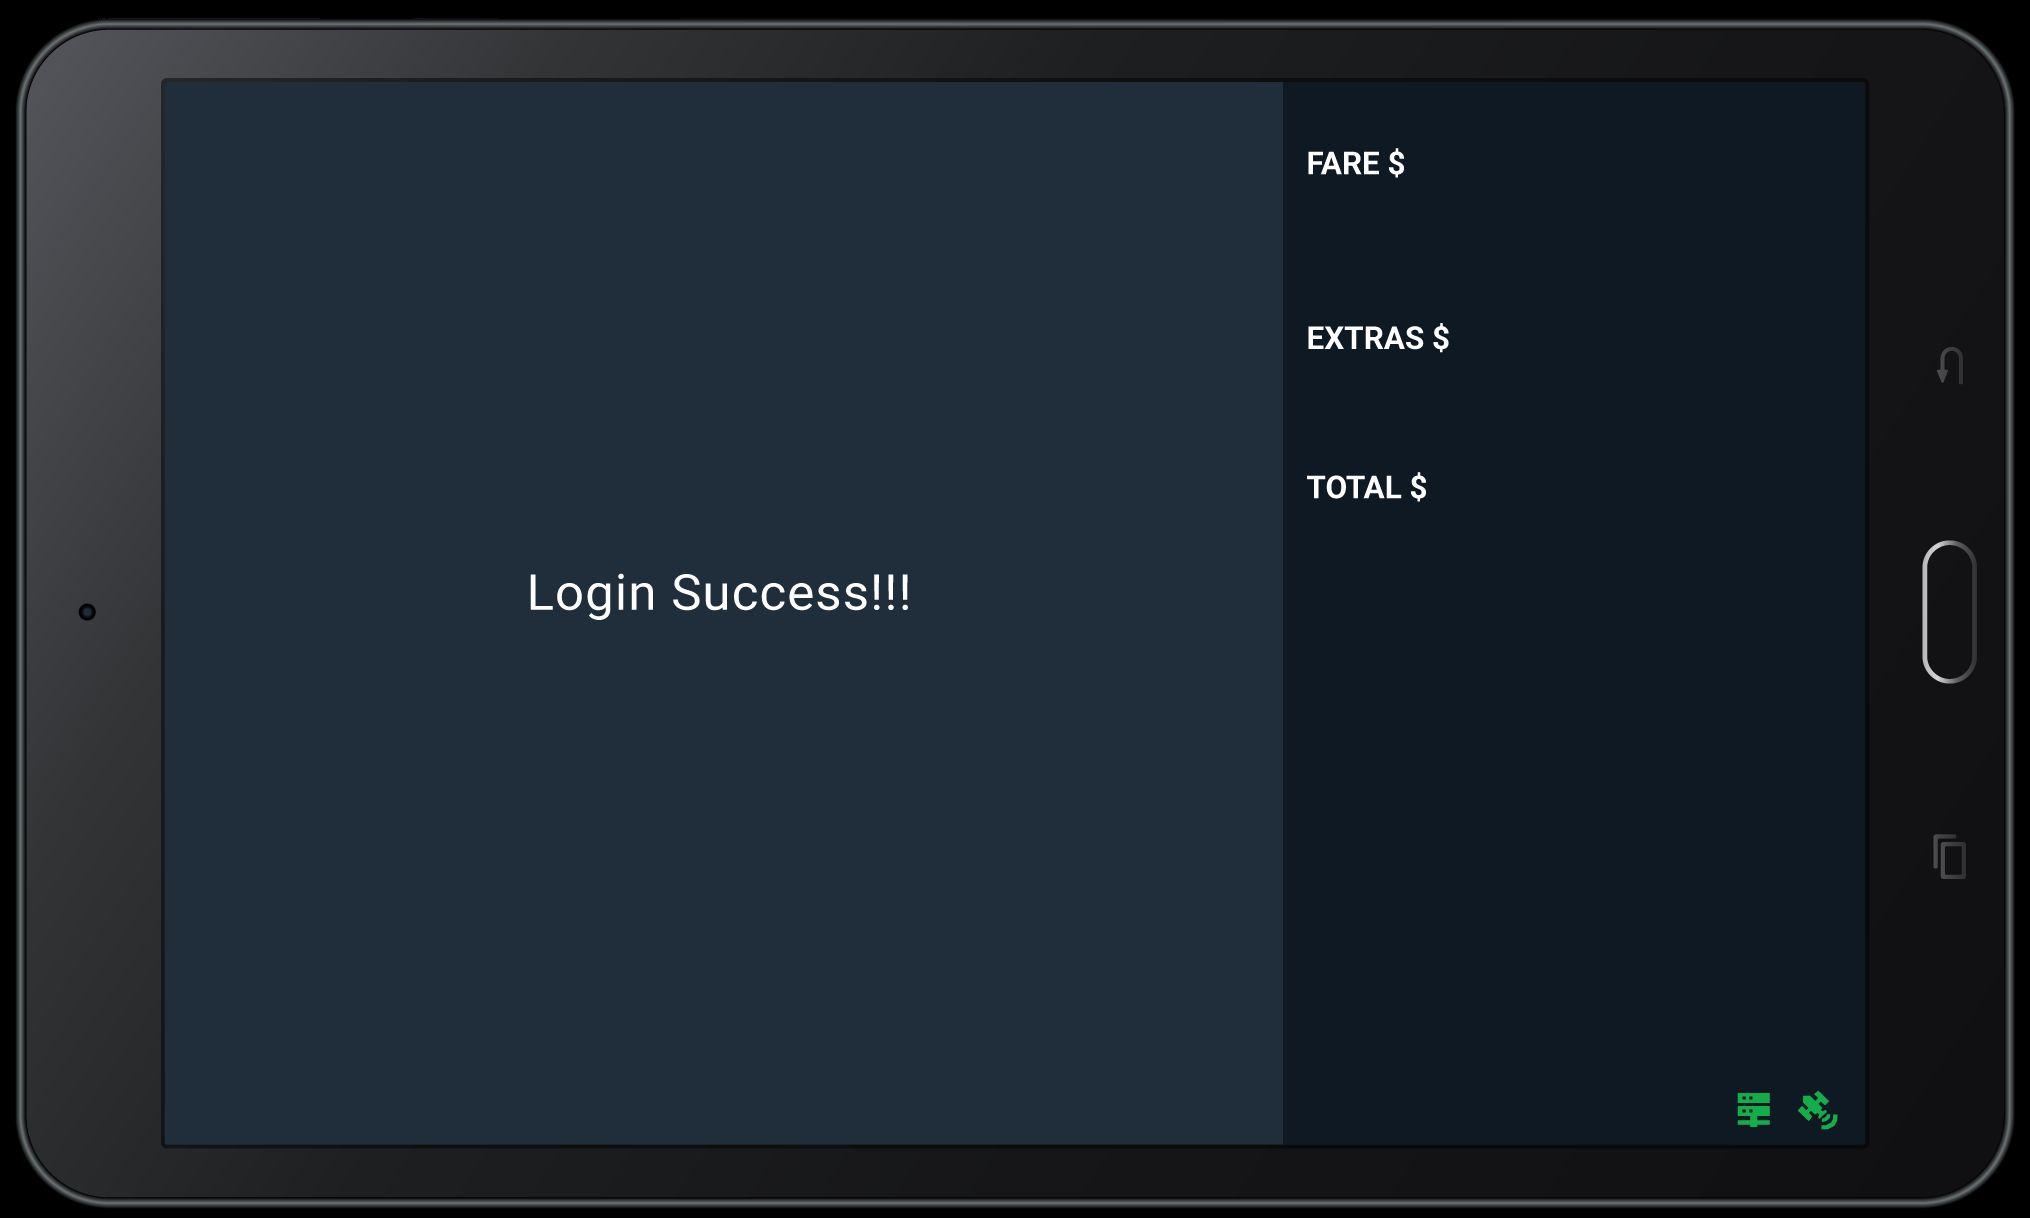
After entering your Driver ID and PIN, the following messages will appear.

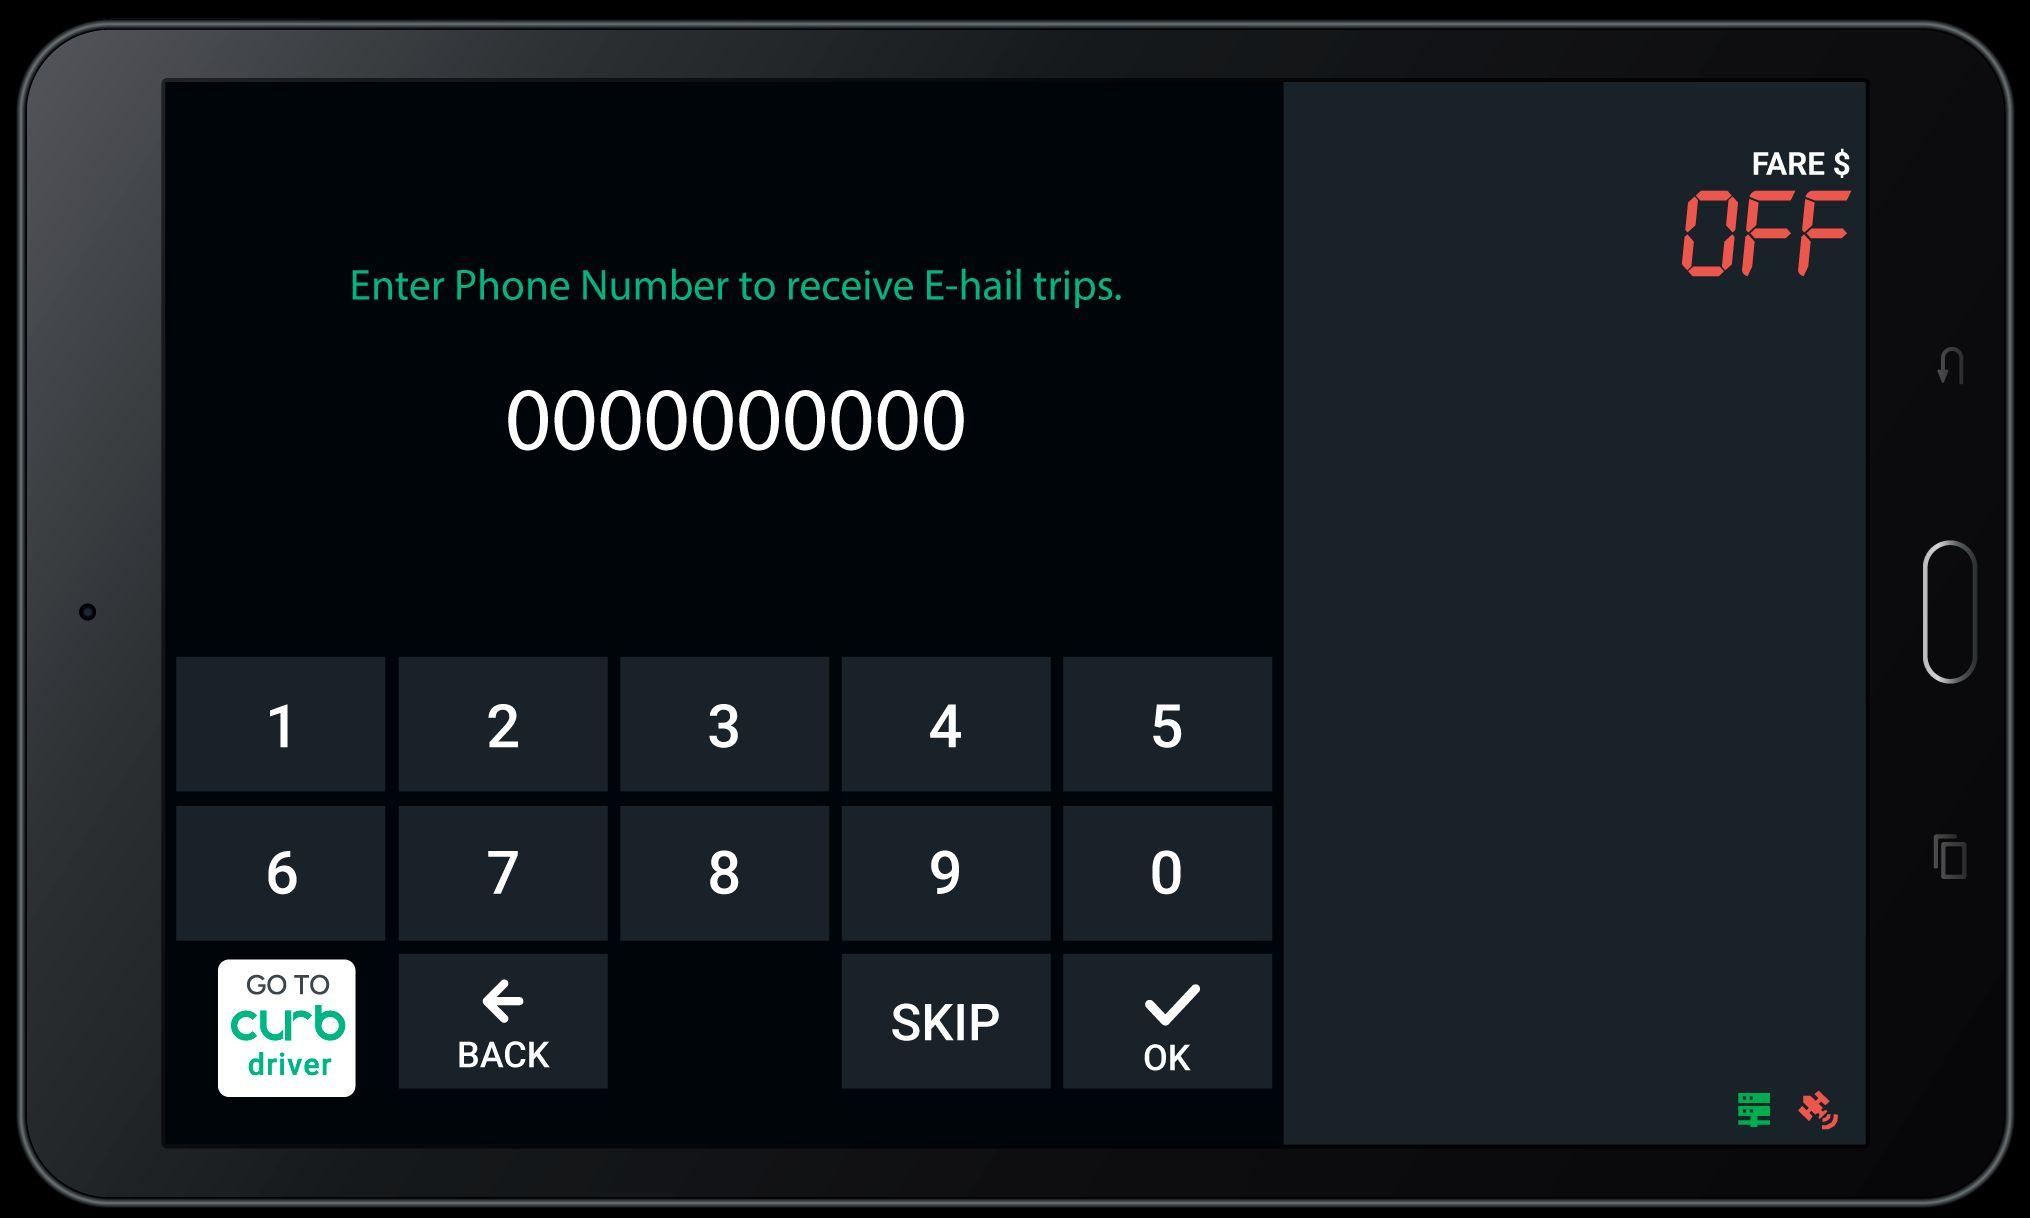
Enter your cell phone number to receive E-hail trips, then select the OK button to submit number.
If you do not wish to receive any E-Hail trips, then tap on the SKIP button.
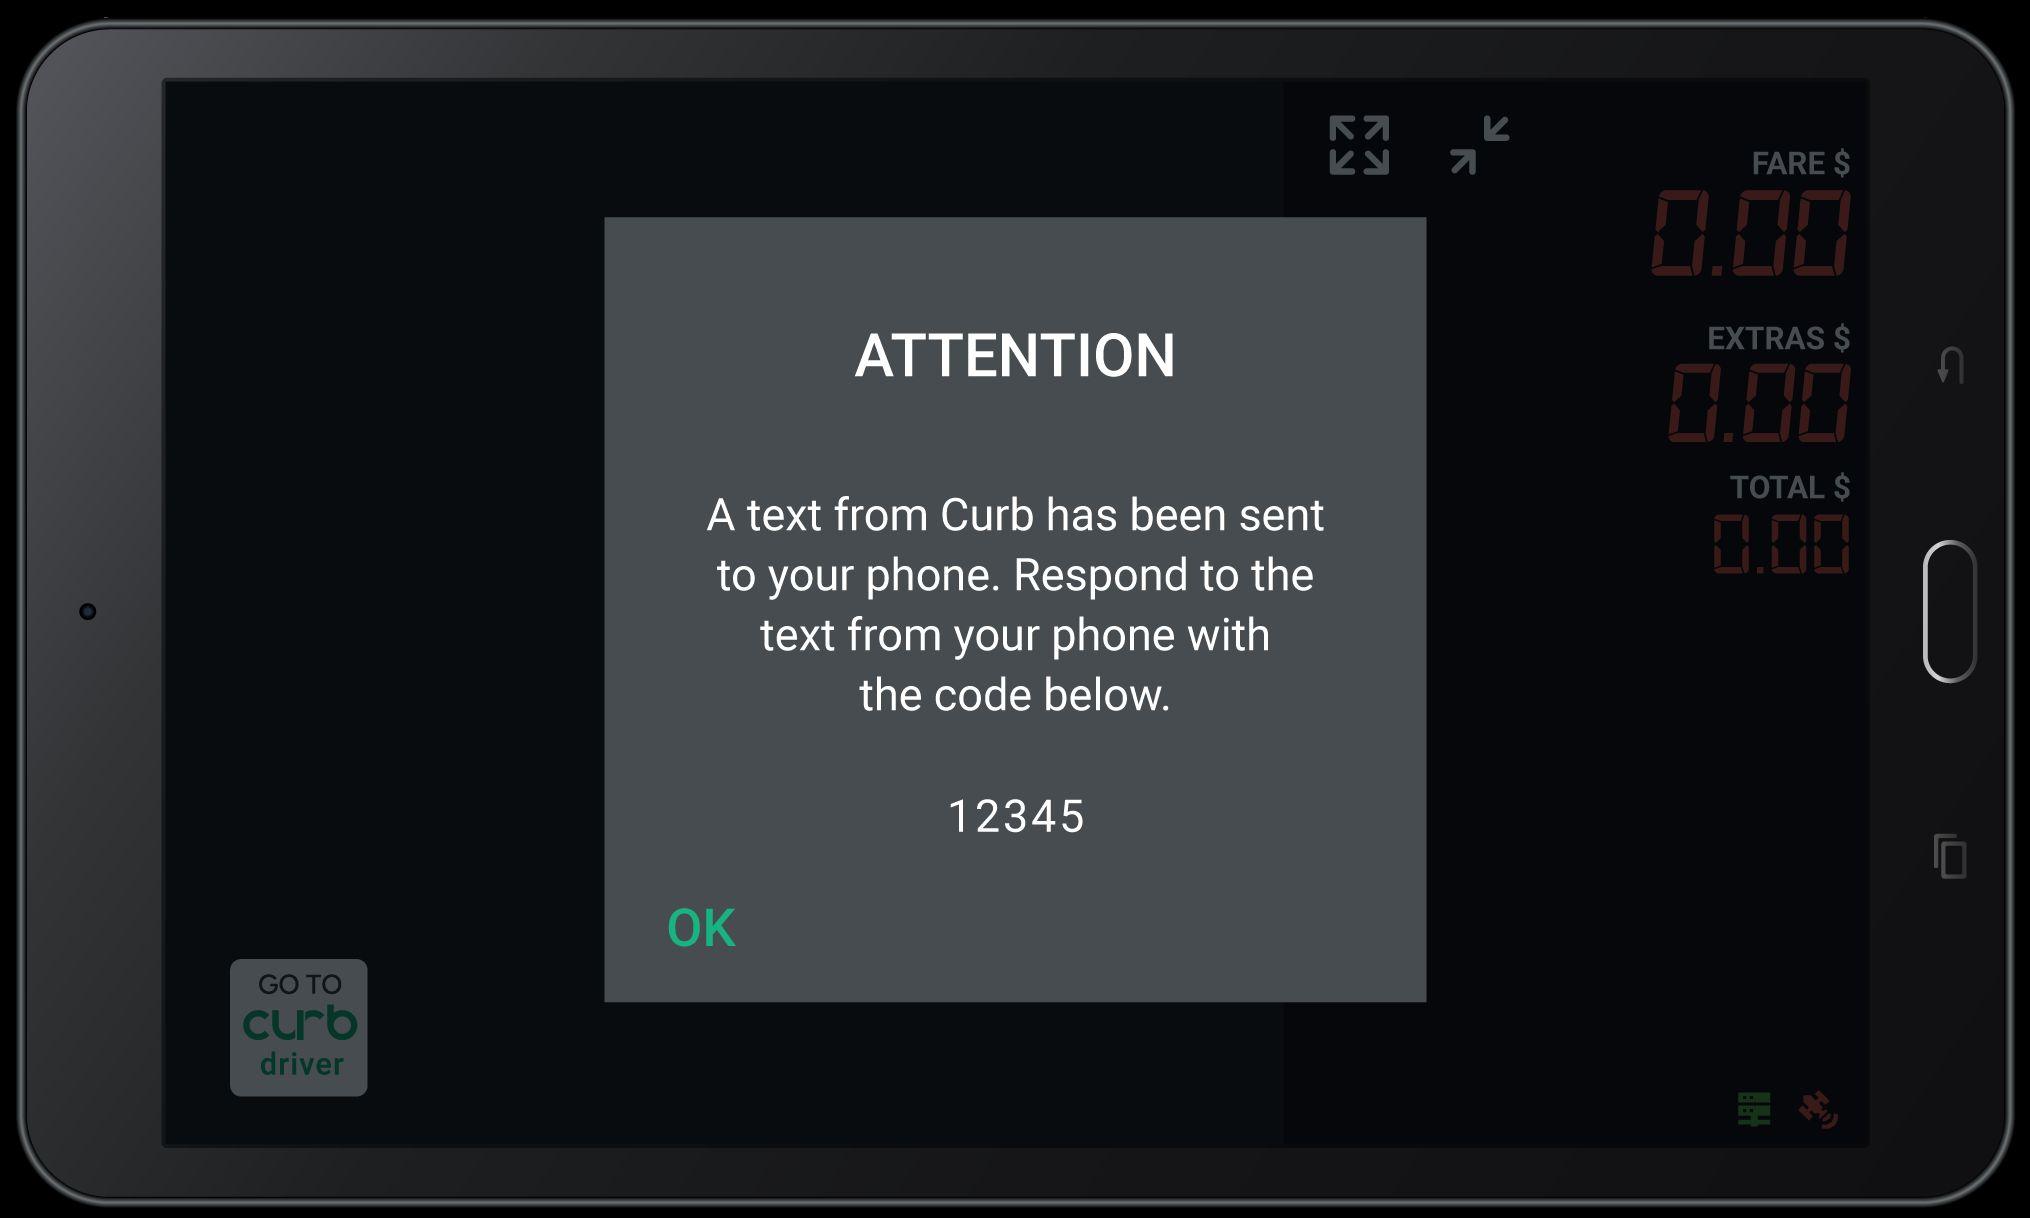
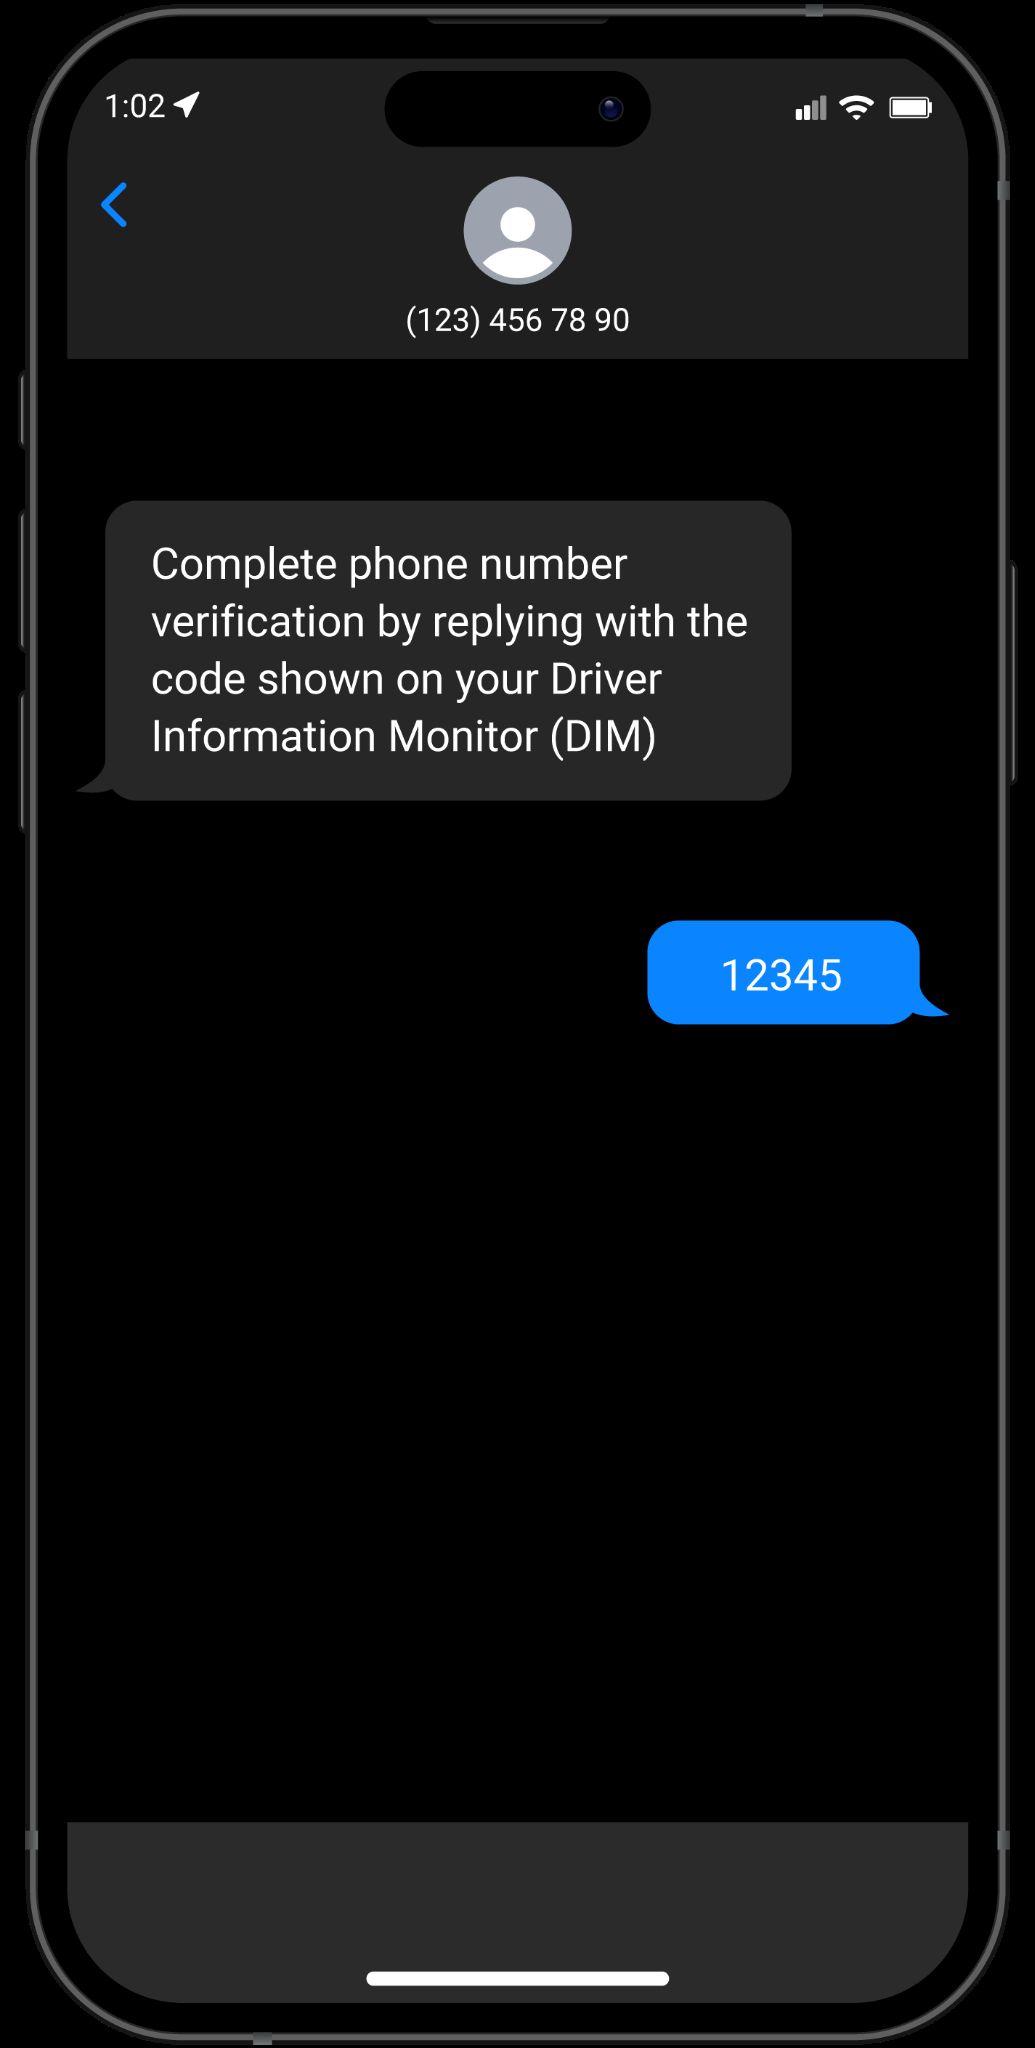
You will then be sent a text message to reply with the code on your tablet.
Once you have replied with the code, you will be able to receive E-hail trips.
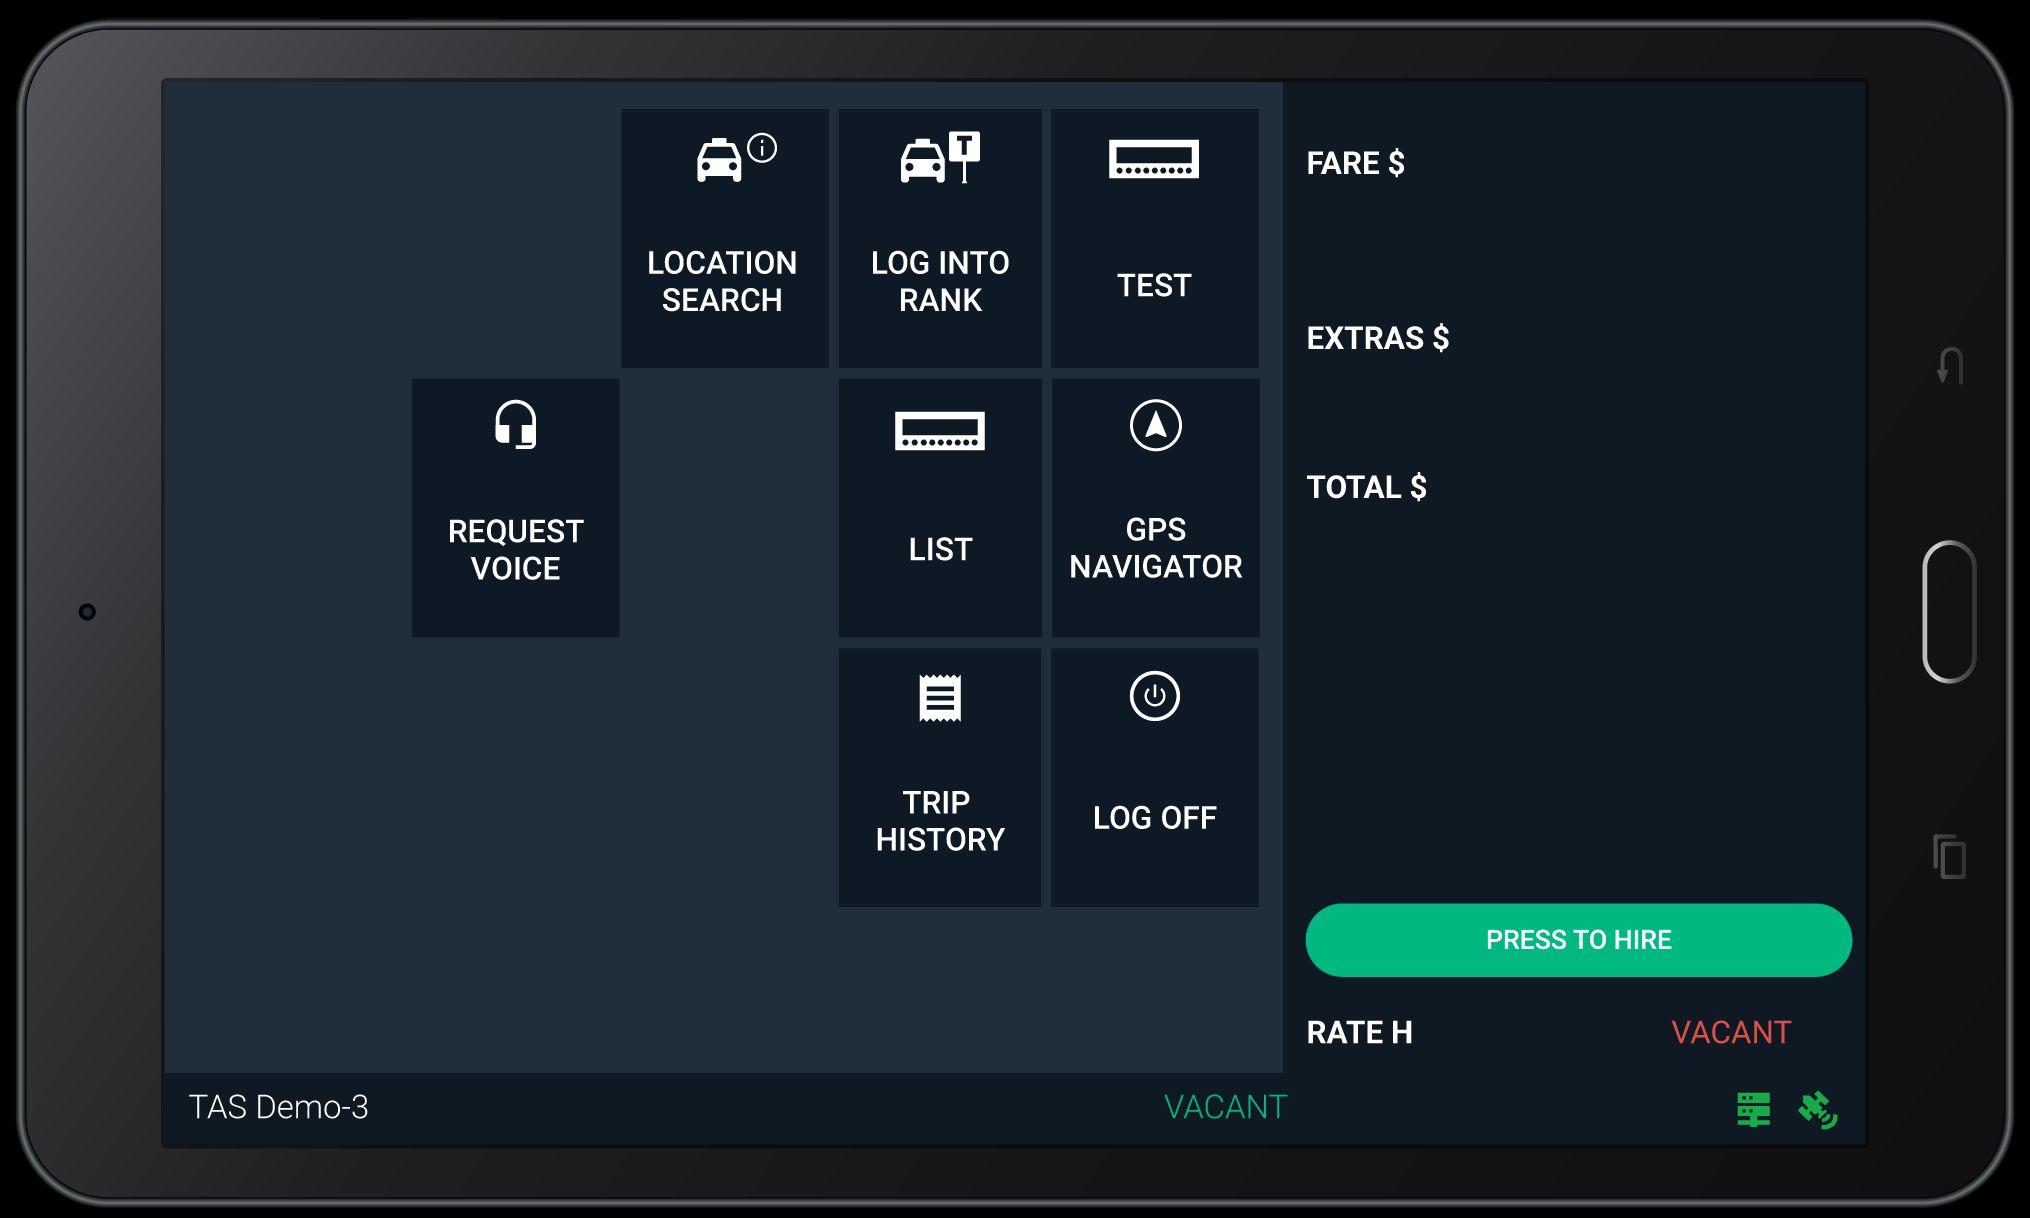
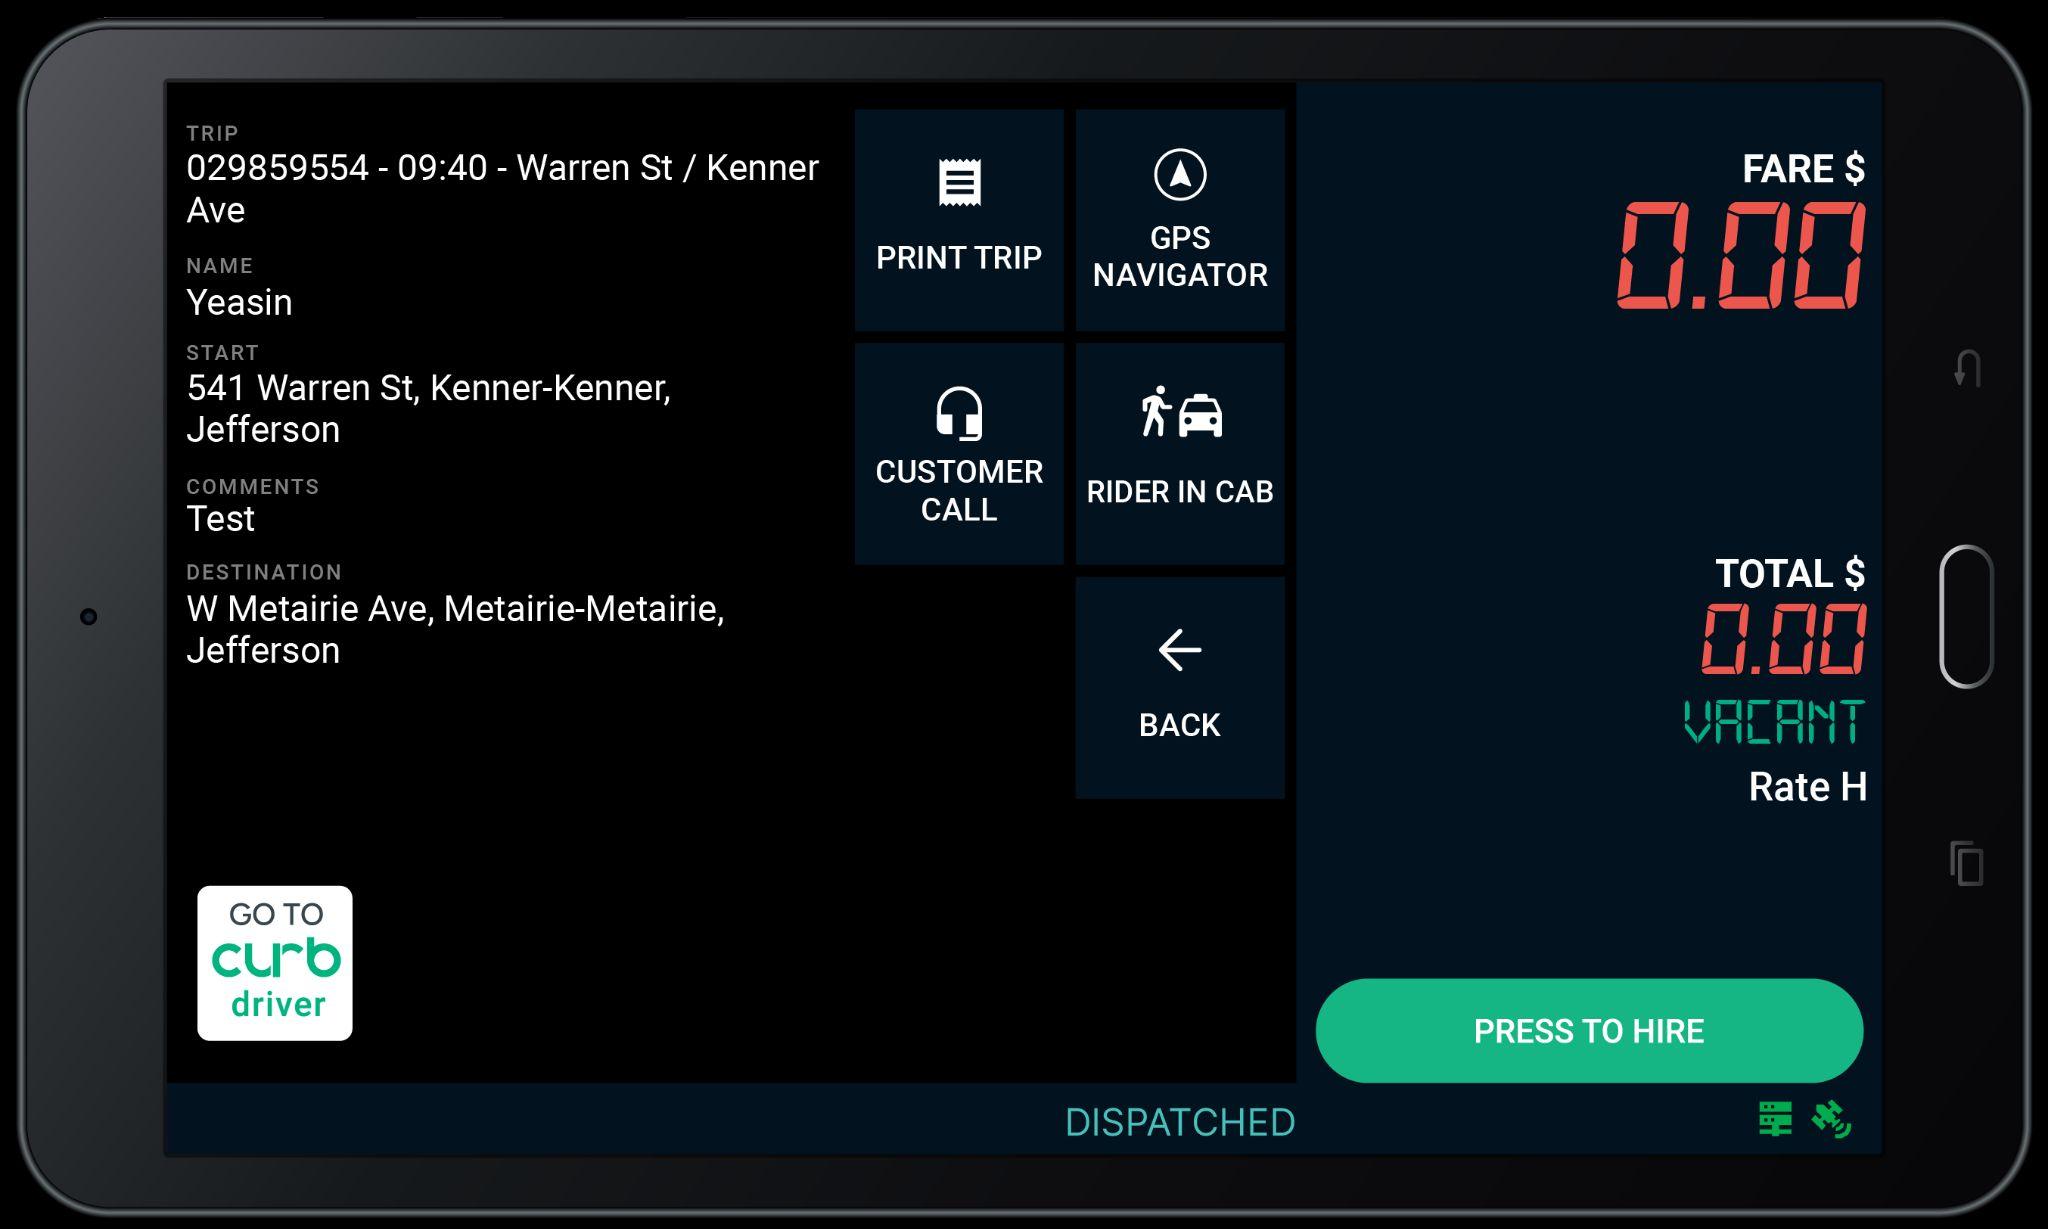
Tap the green PRESS TO HIRE button to hire the meter.
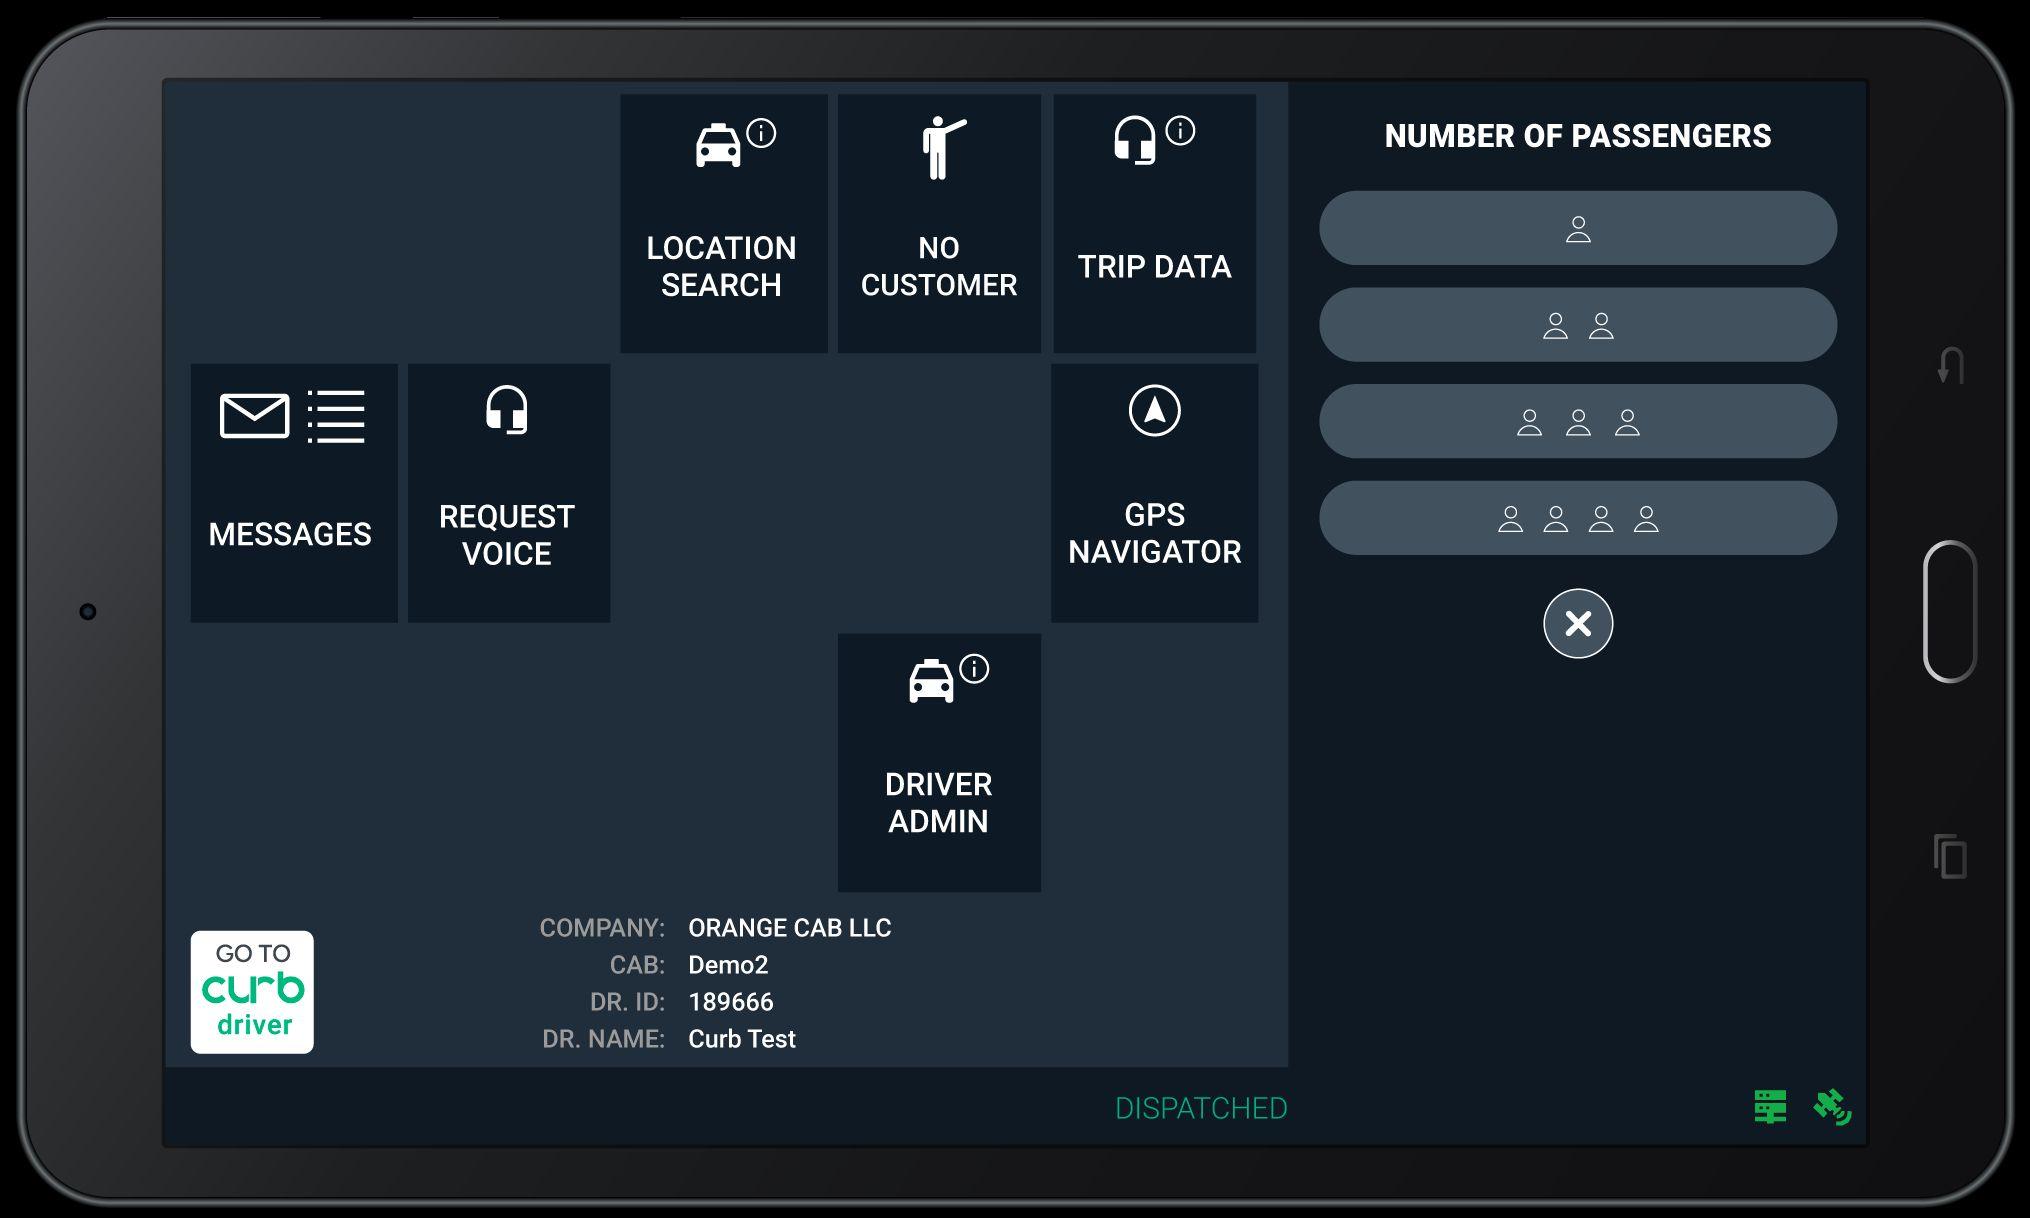
Select the number of Passengers for the trip.
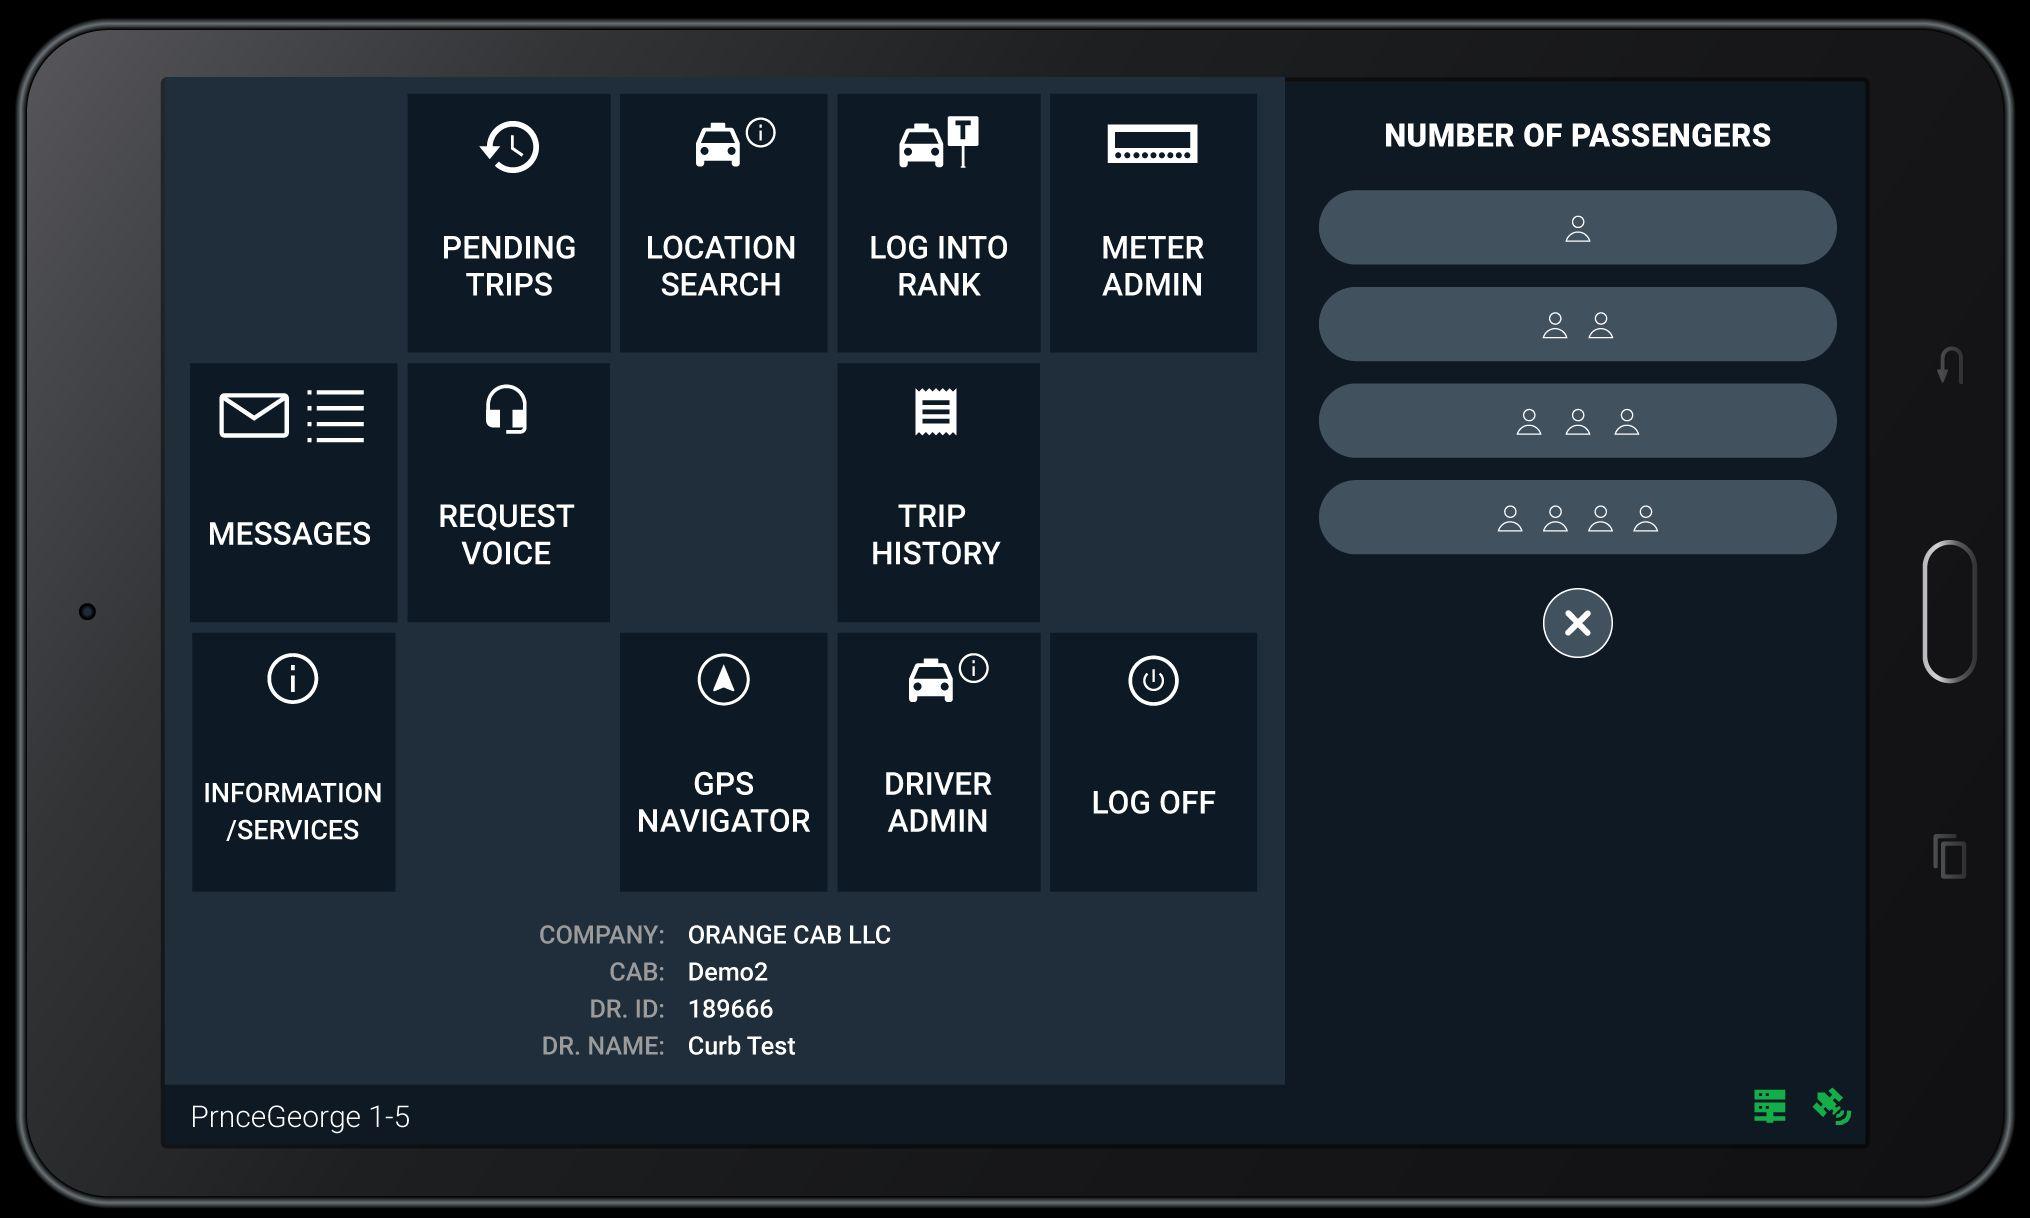
YoucanalsocanceltheselectionbytappingtheXbutton.
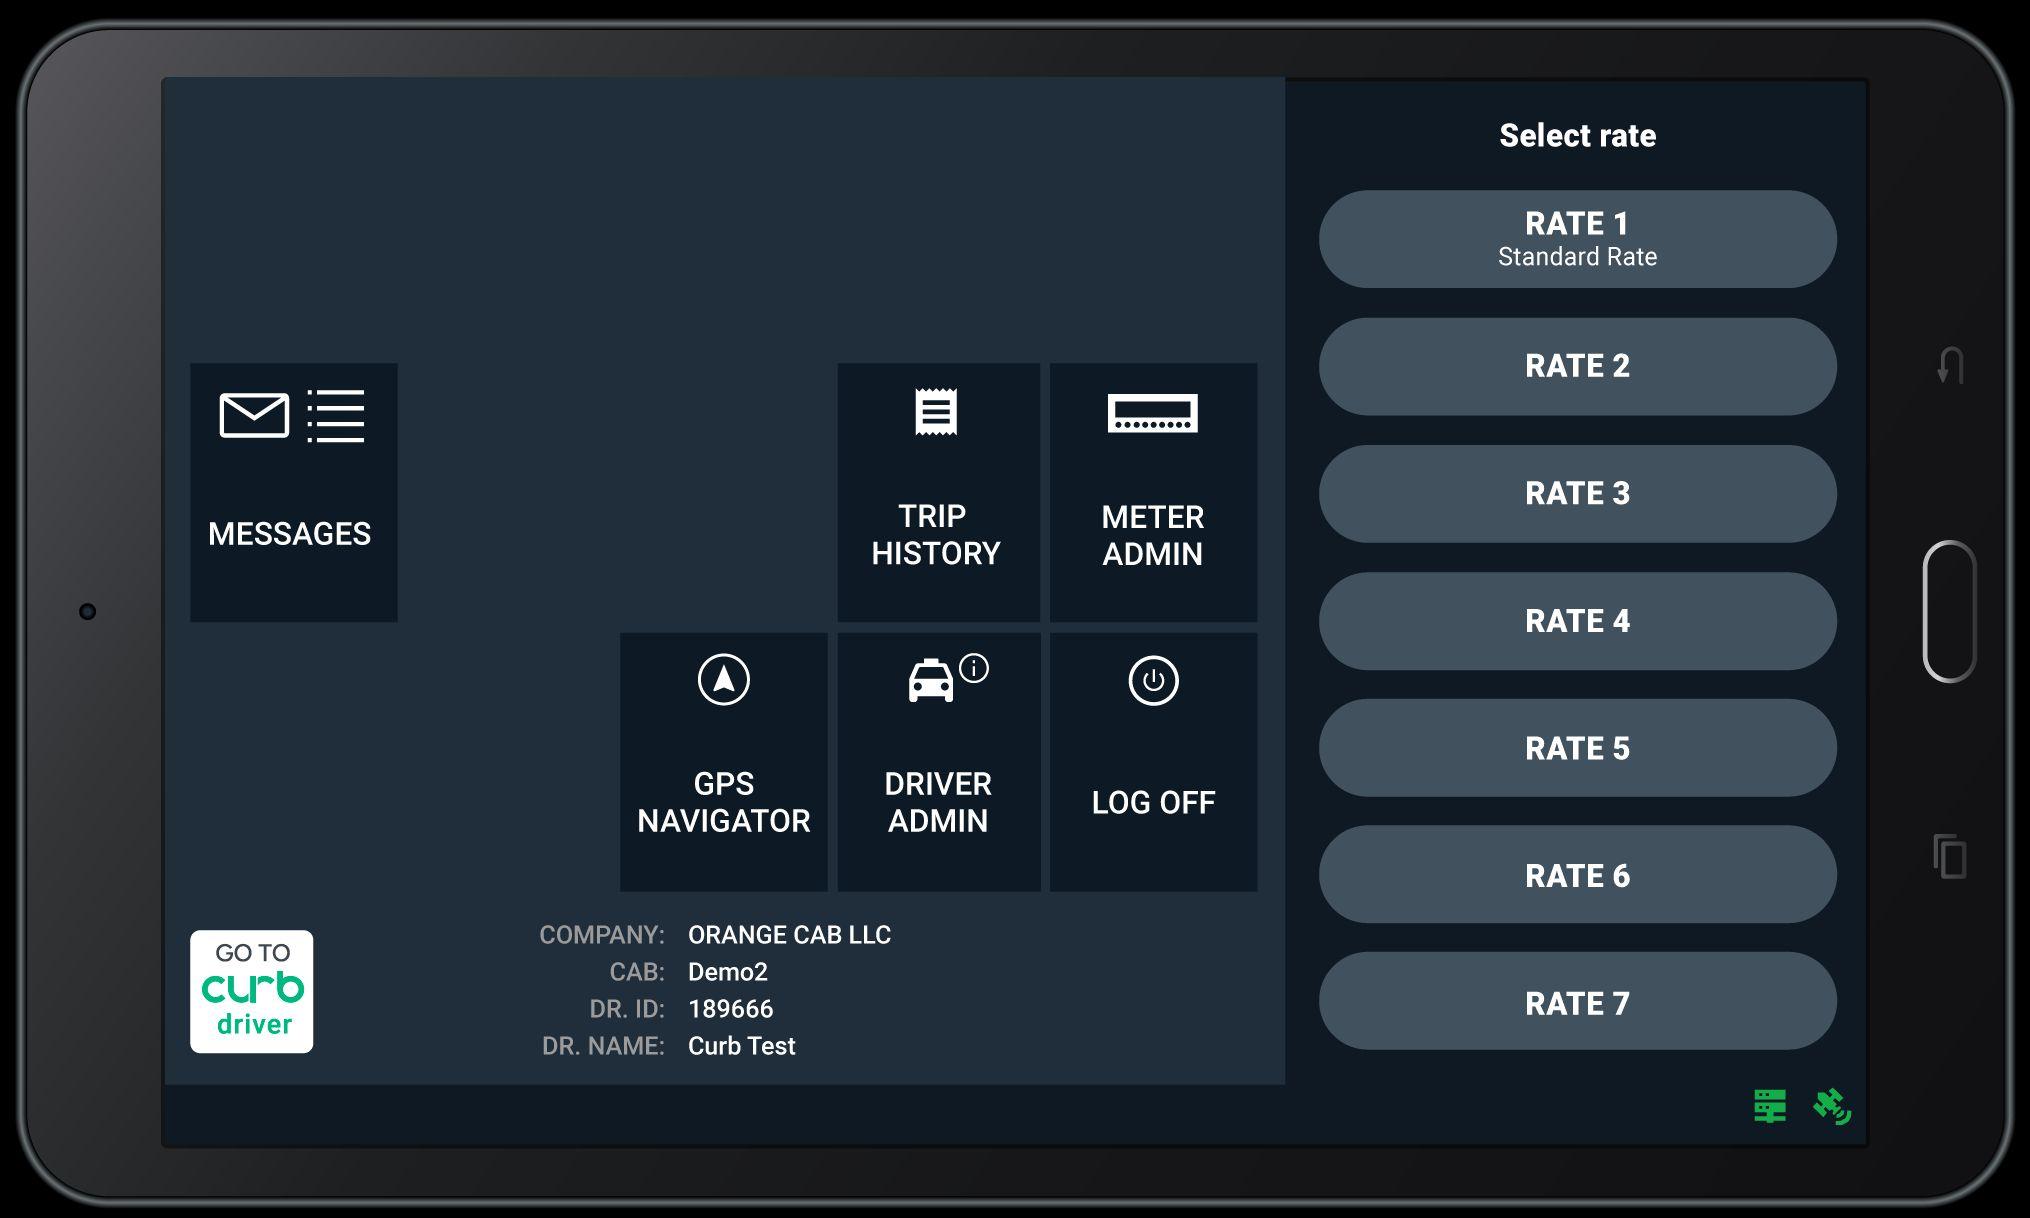
Now select the applicable RATE for the trip.
Tap the CLEAR EXTRAS button to remove all extras added.
After you hire the Meter, the following screen will appear:
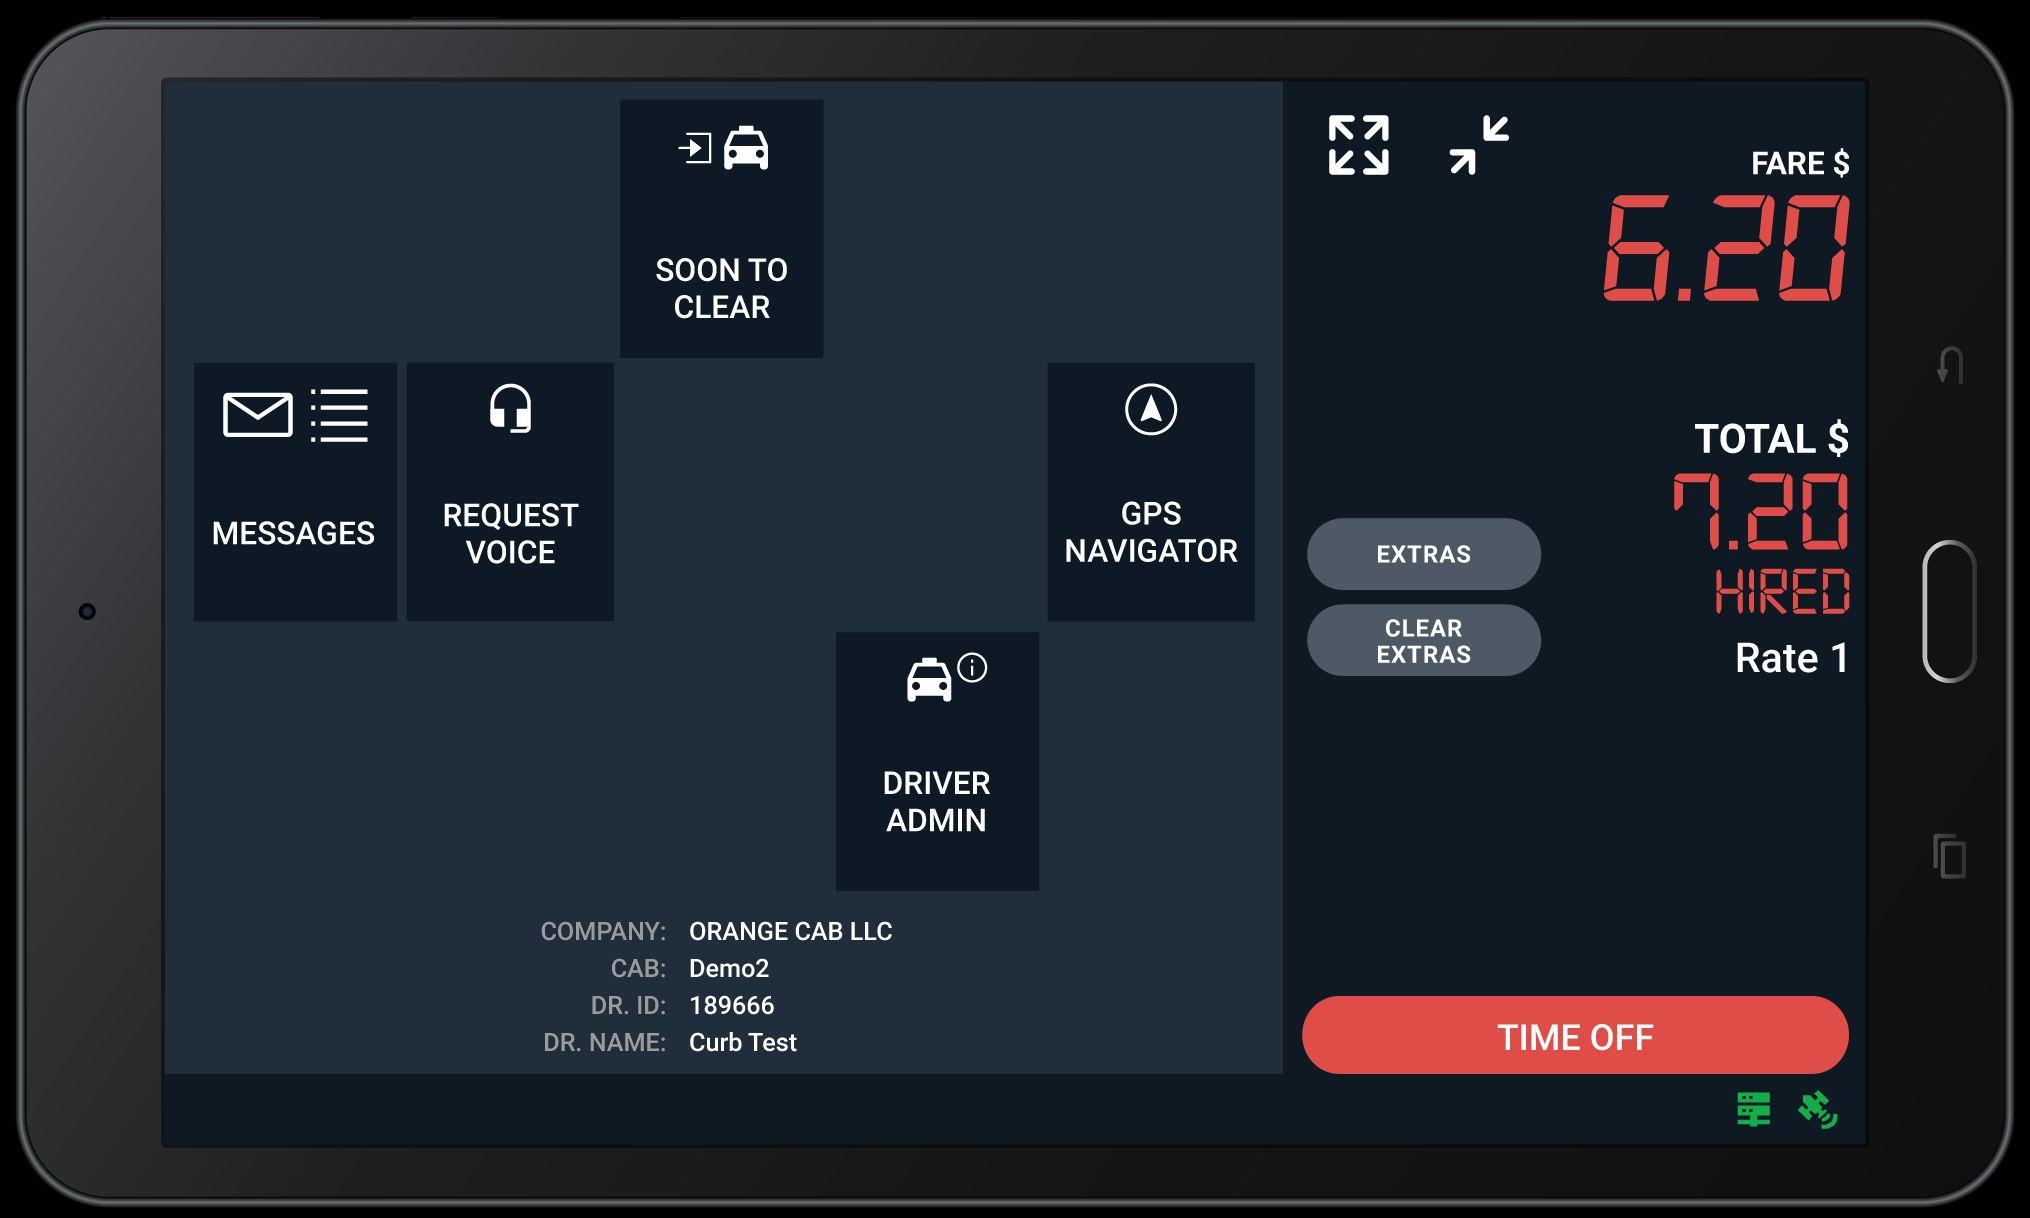
Tap the EXTRAS button to add extra charges. You can also tap directly on Extras $.
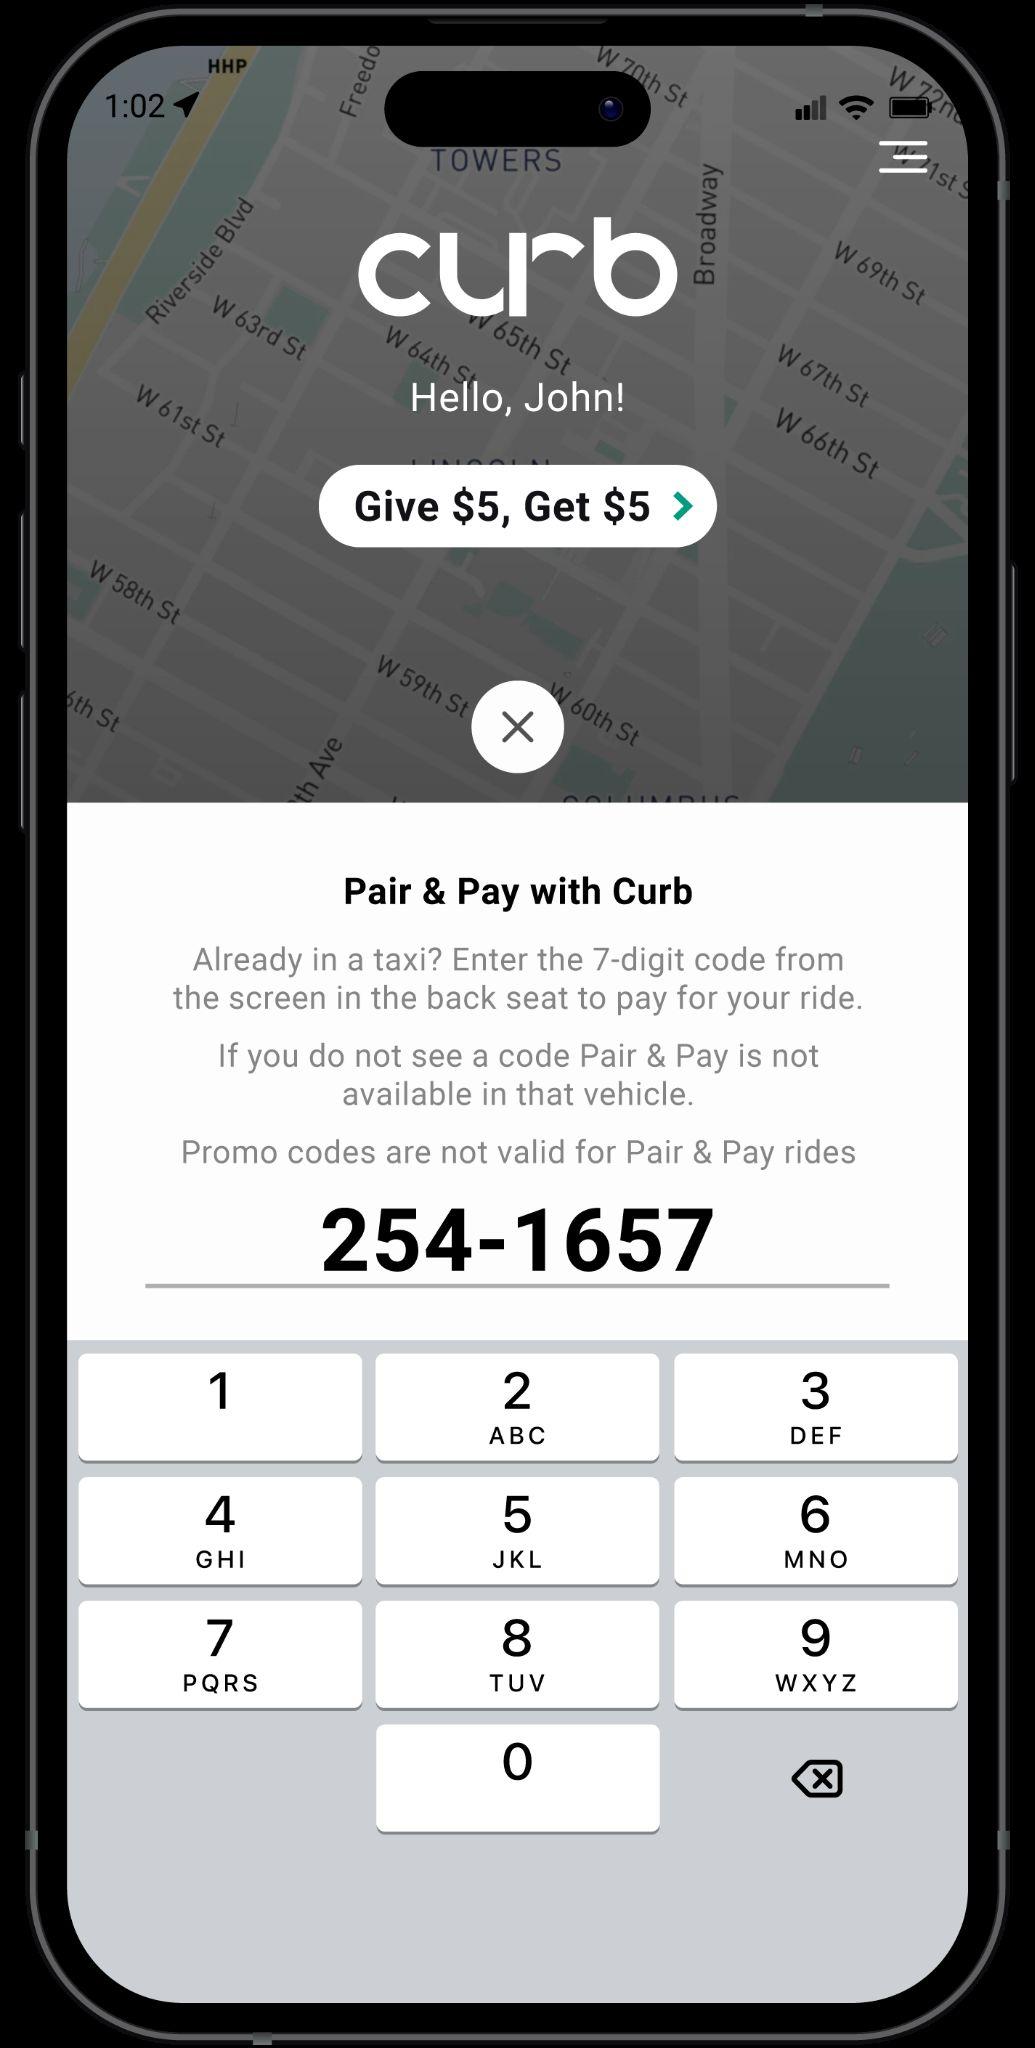
If the passenger wants to pay with the Curb App instead of a physical card, the passenger must use the Pair & Pay feature during the ride and pair the code displayed on the Marquee screen with their Curb App.
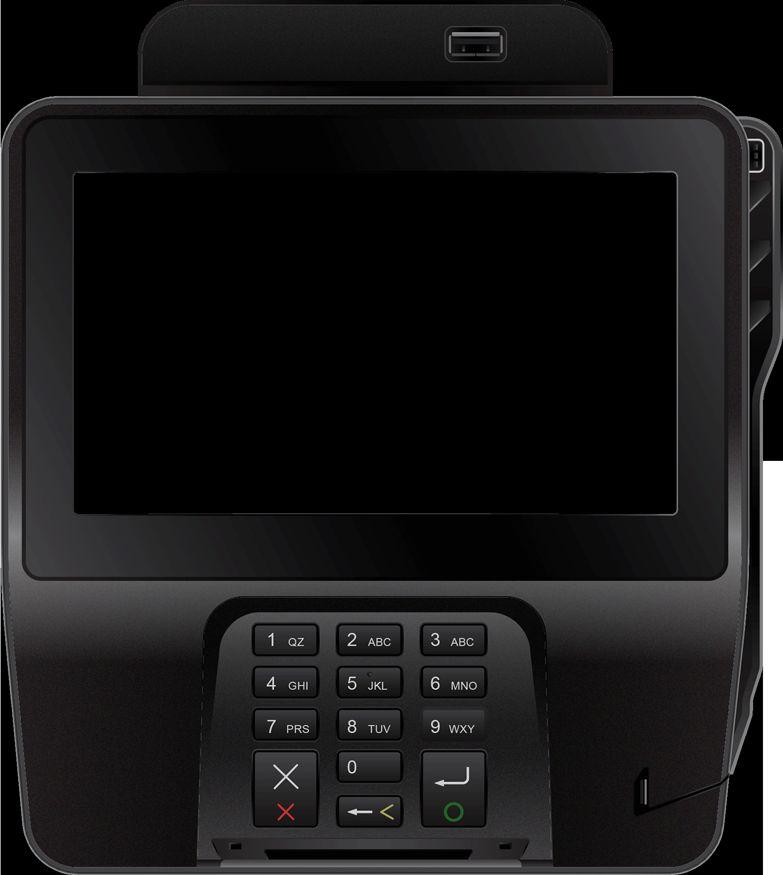
The passenger will enter the Pair & Pay code from the Marquee screen onto their Curb App.
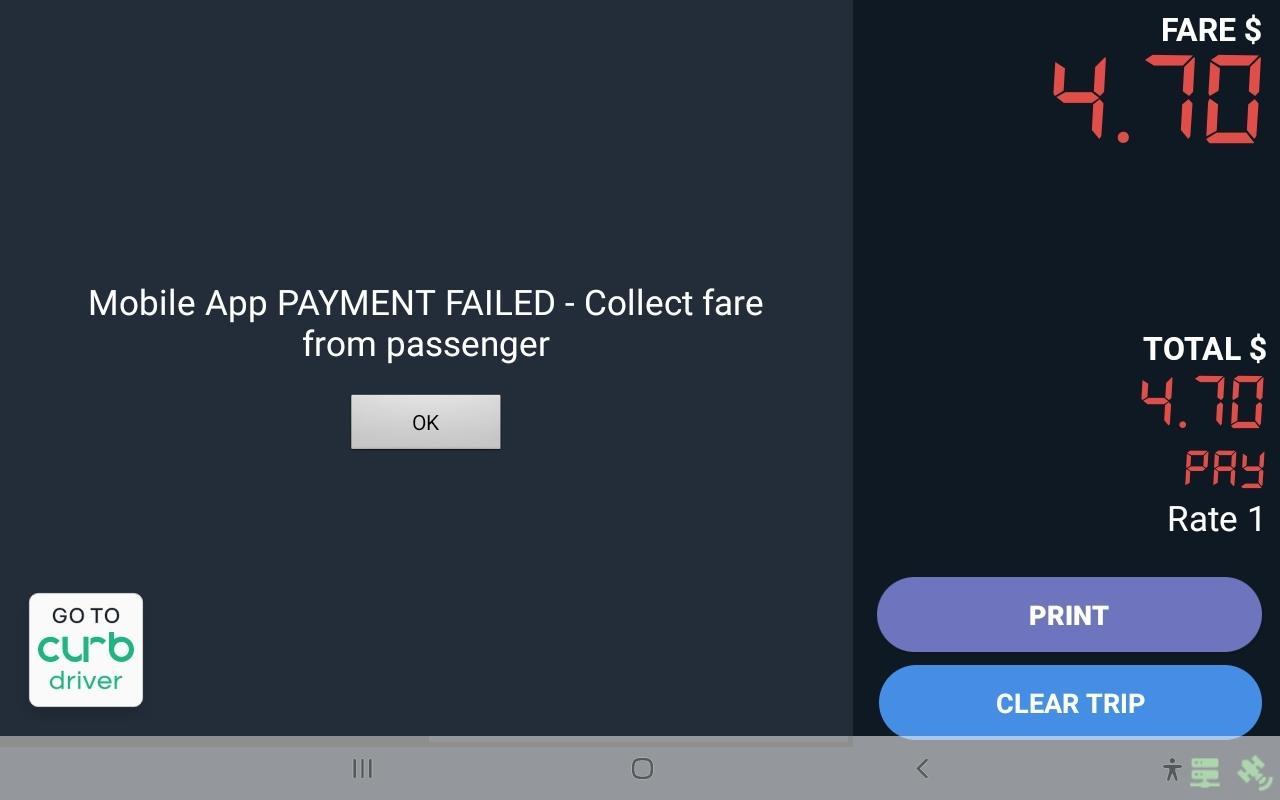
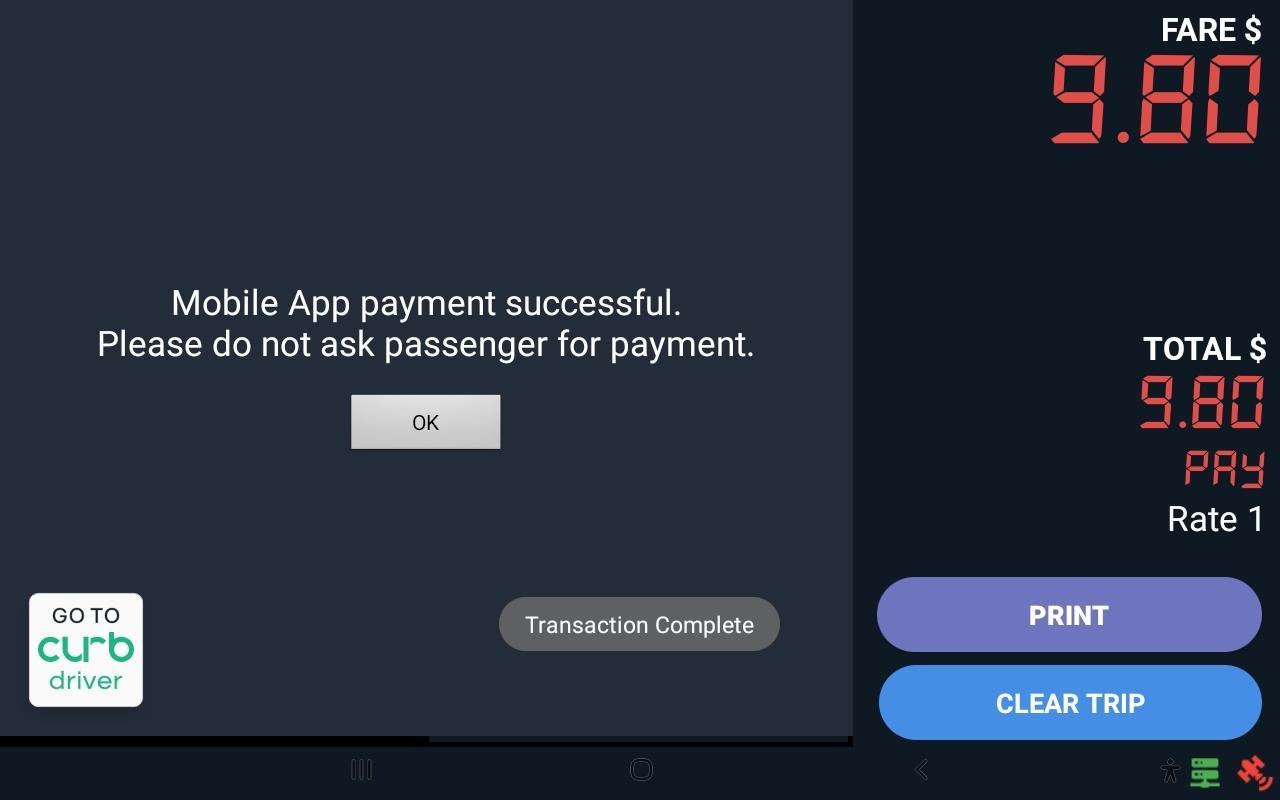
Important! Wait for an approval code and receipt to automatically process.
● If you do not receive an approval code or if you received a “declined” message, you have not been paid.
● If this occurs, you may request another form of payment from the passenger.
At the end of the trip, the payment will automatically be processed as MPAY = Mobile Payment.
If the network is down, the Marquee screen will prompt the passenger to pay with cash or credit card.
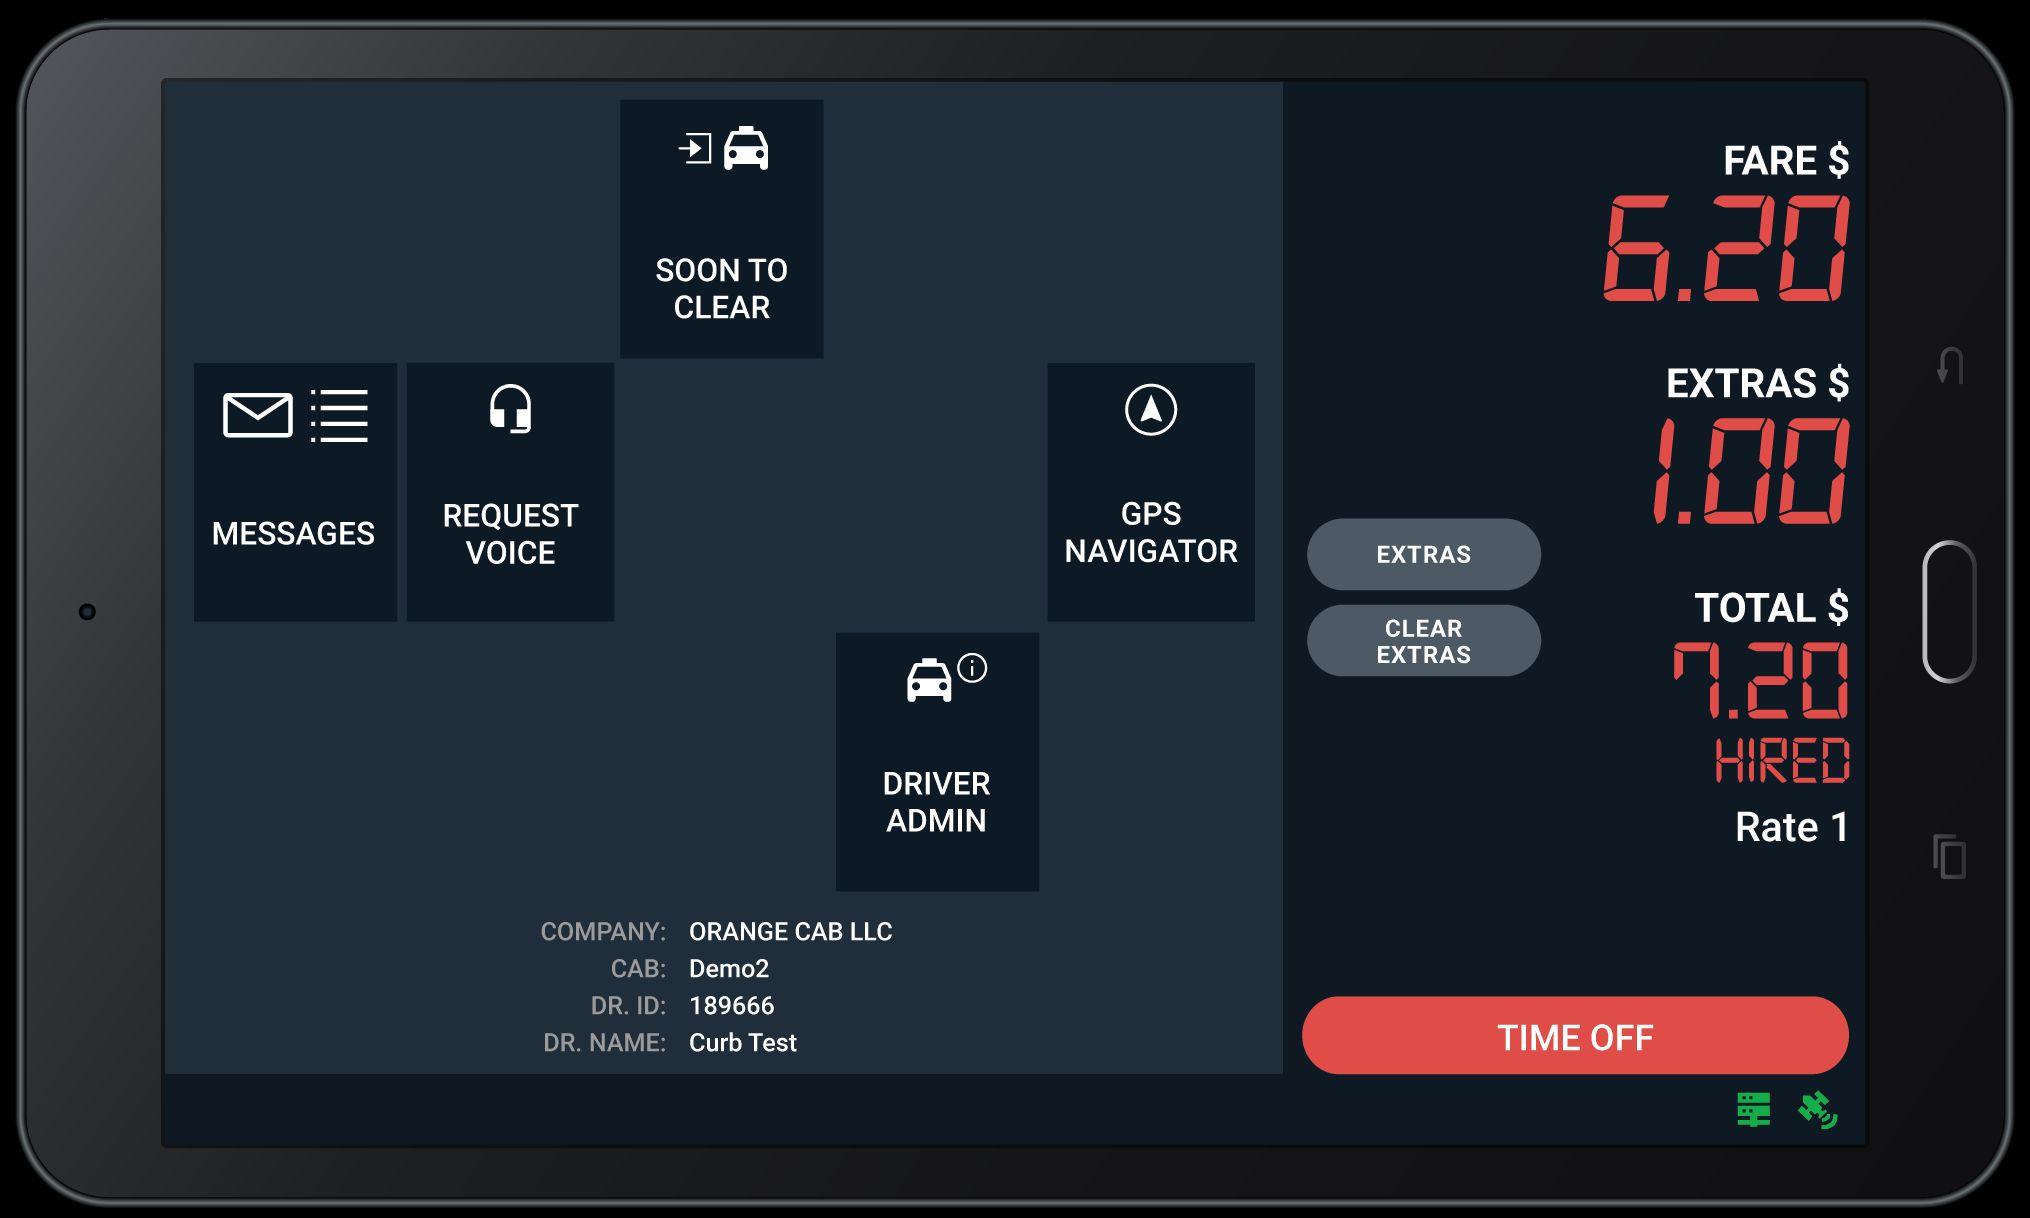
Tap TIME OFF to stop charging time.
Tap TIME ON to resume the trip and continue with the trip.
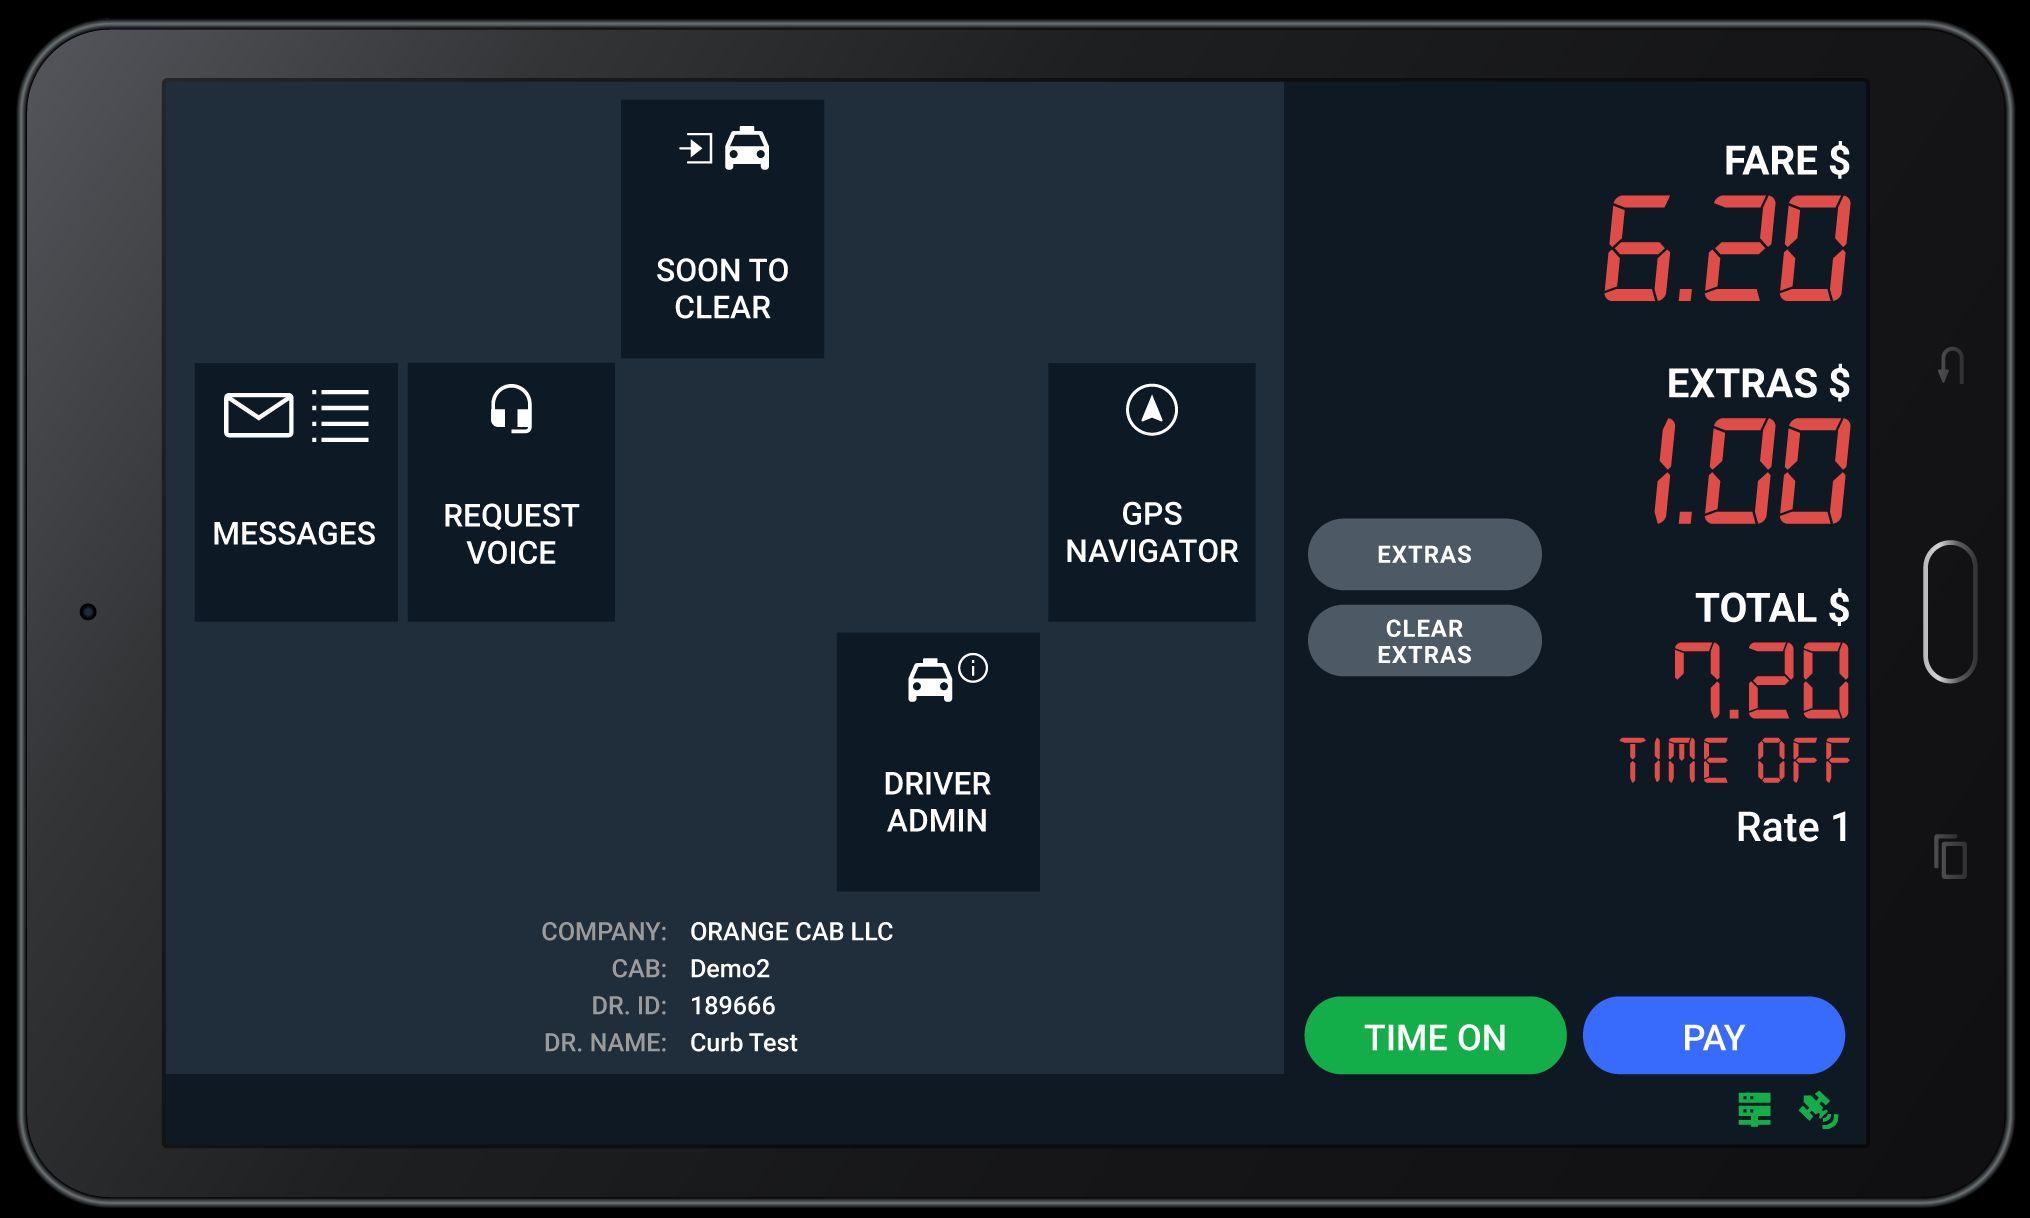
Tap PAY if you are ready to accept CASH or CREDIT payment or to process mobile payment.Once the PAY button is pressed, you cannot resume the trip MUST end the trip. If the destination has changed you must start a new trip.
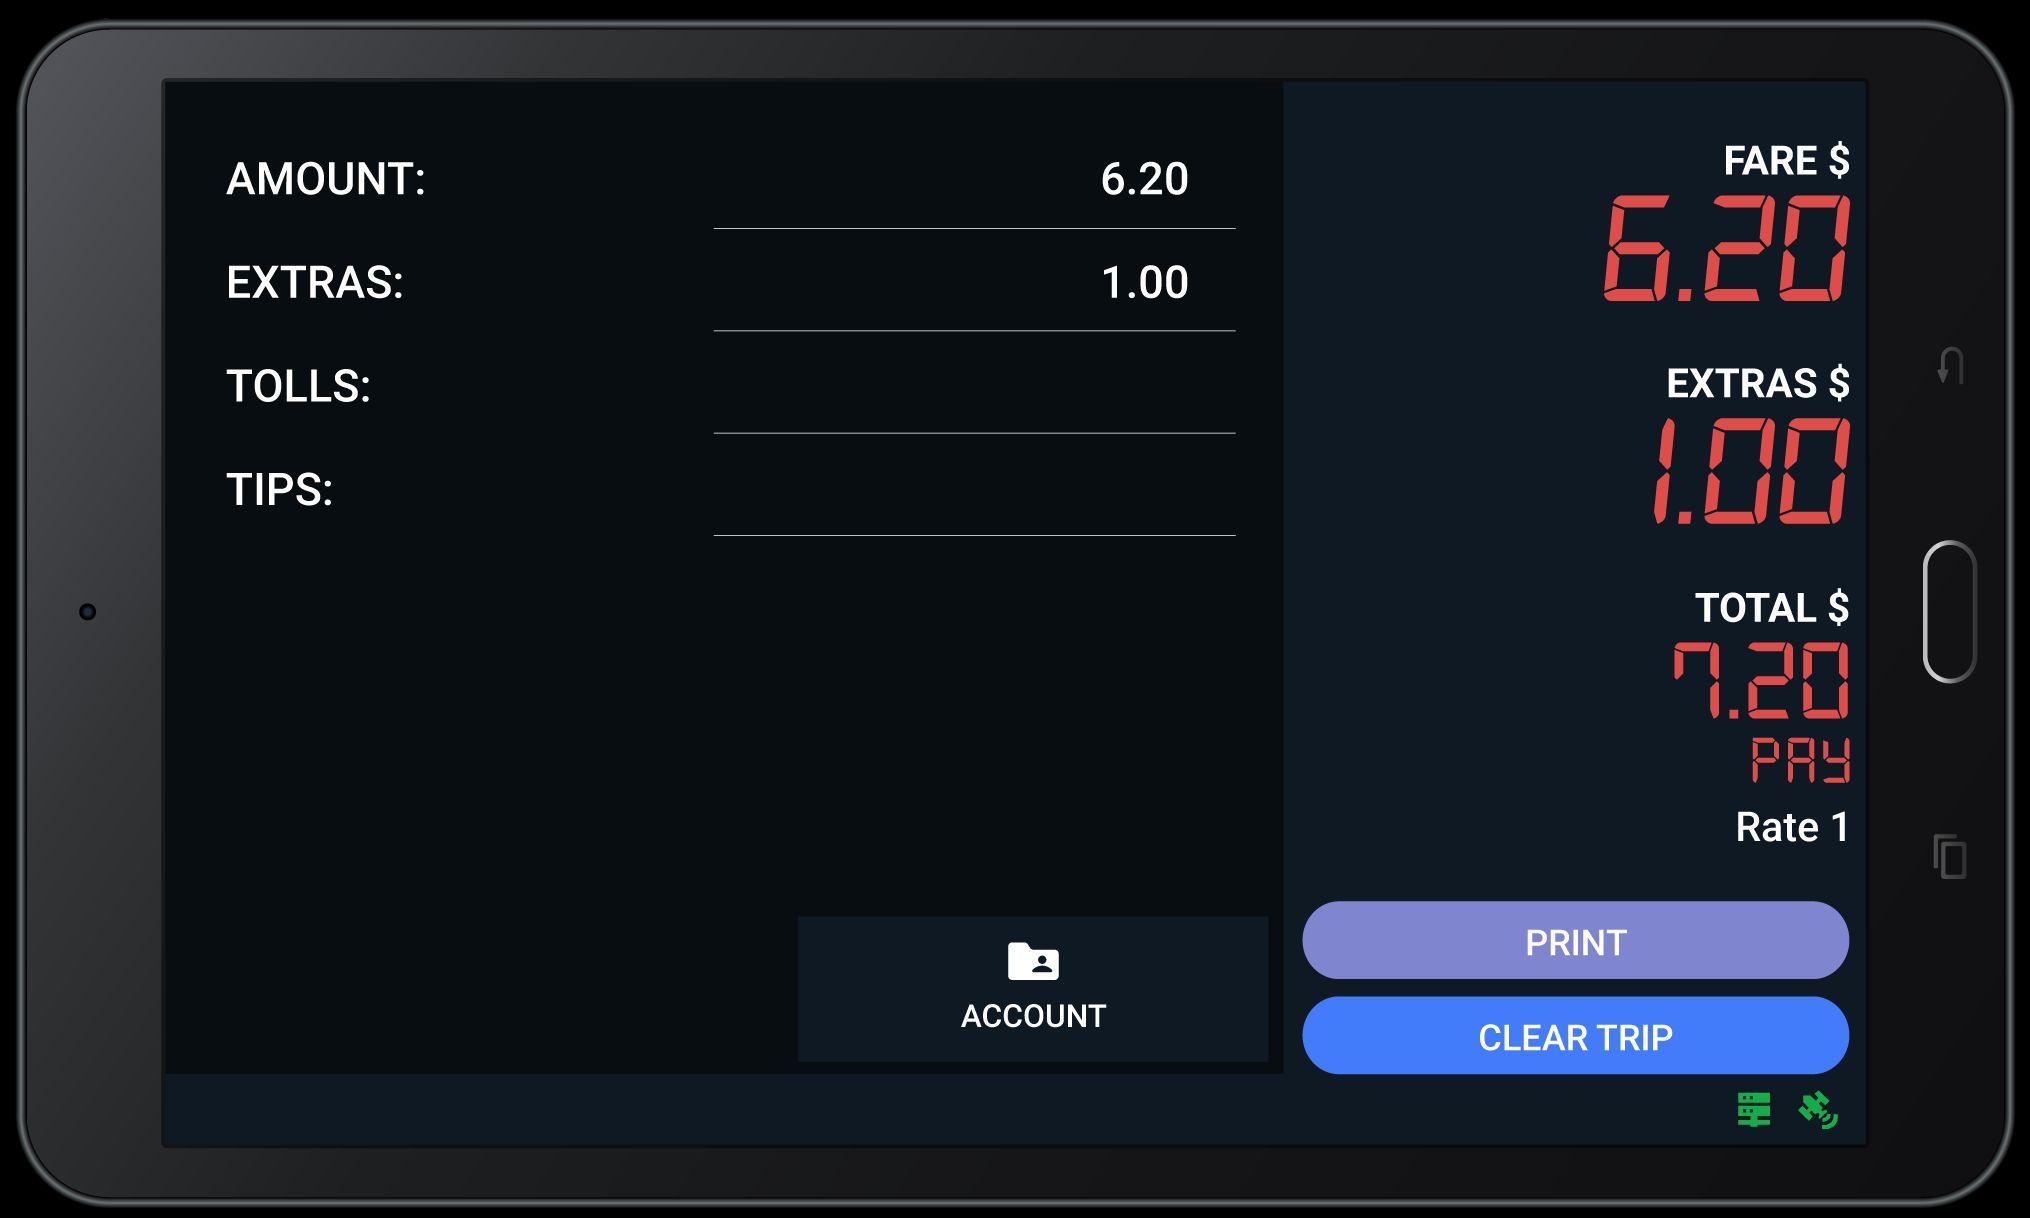
Tap PRINT only if the passenger requests a cash receipt.
Allow passenger to select Cash or Credit as payment method.
Tap CLEAR TRIP only if passenger hands cash and exits the cab.
Otherwise, meter clears automatically once credit or mobile payment is completed.
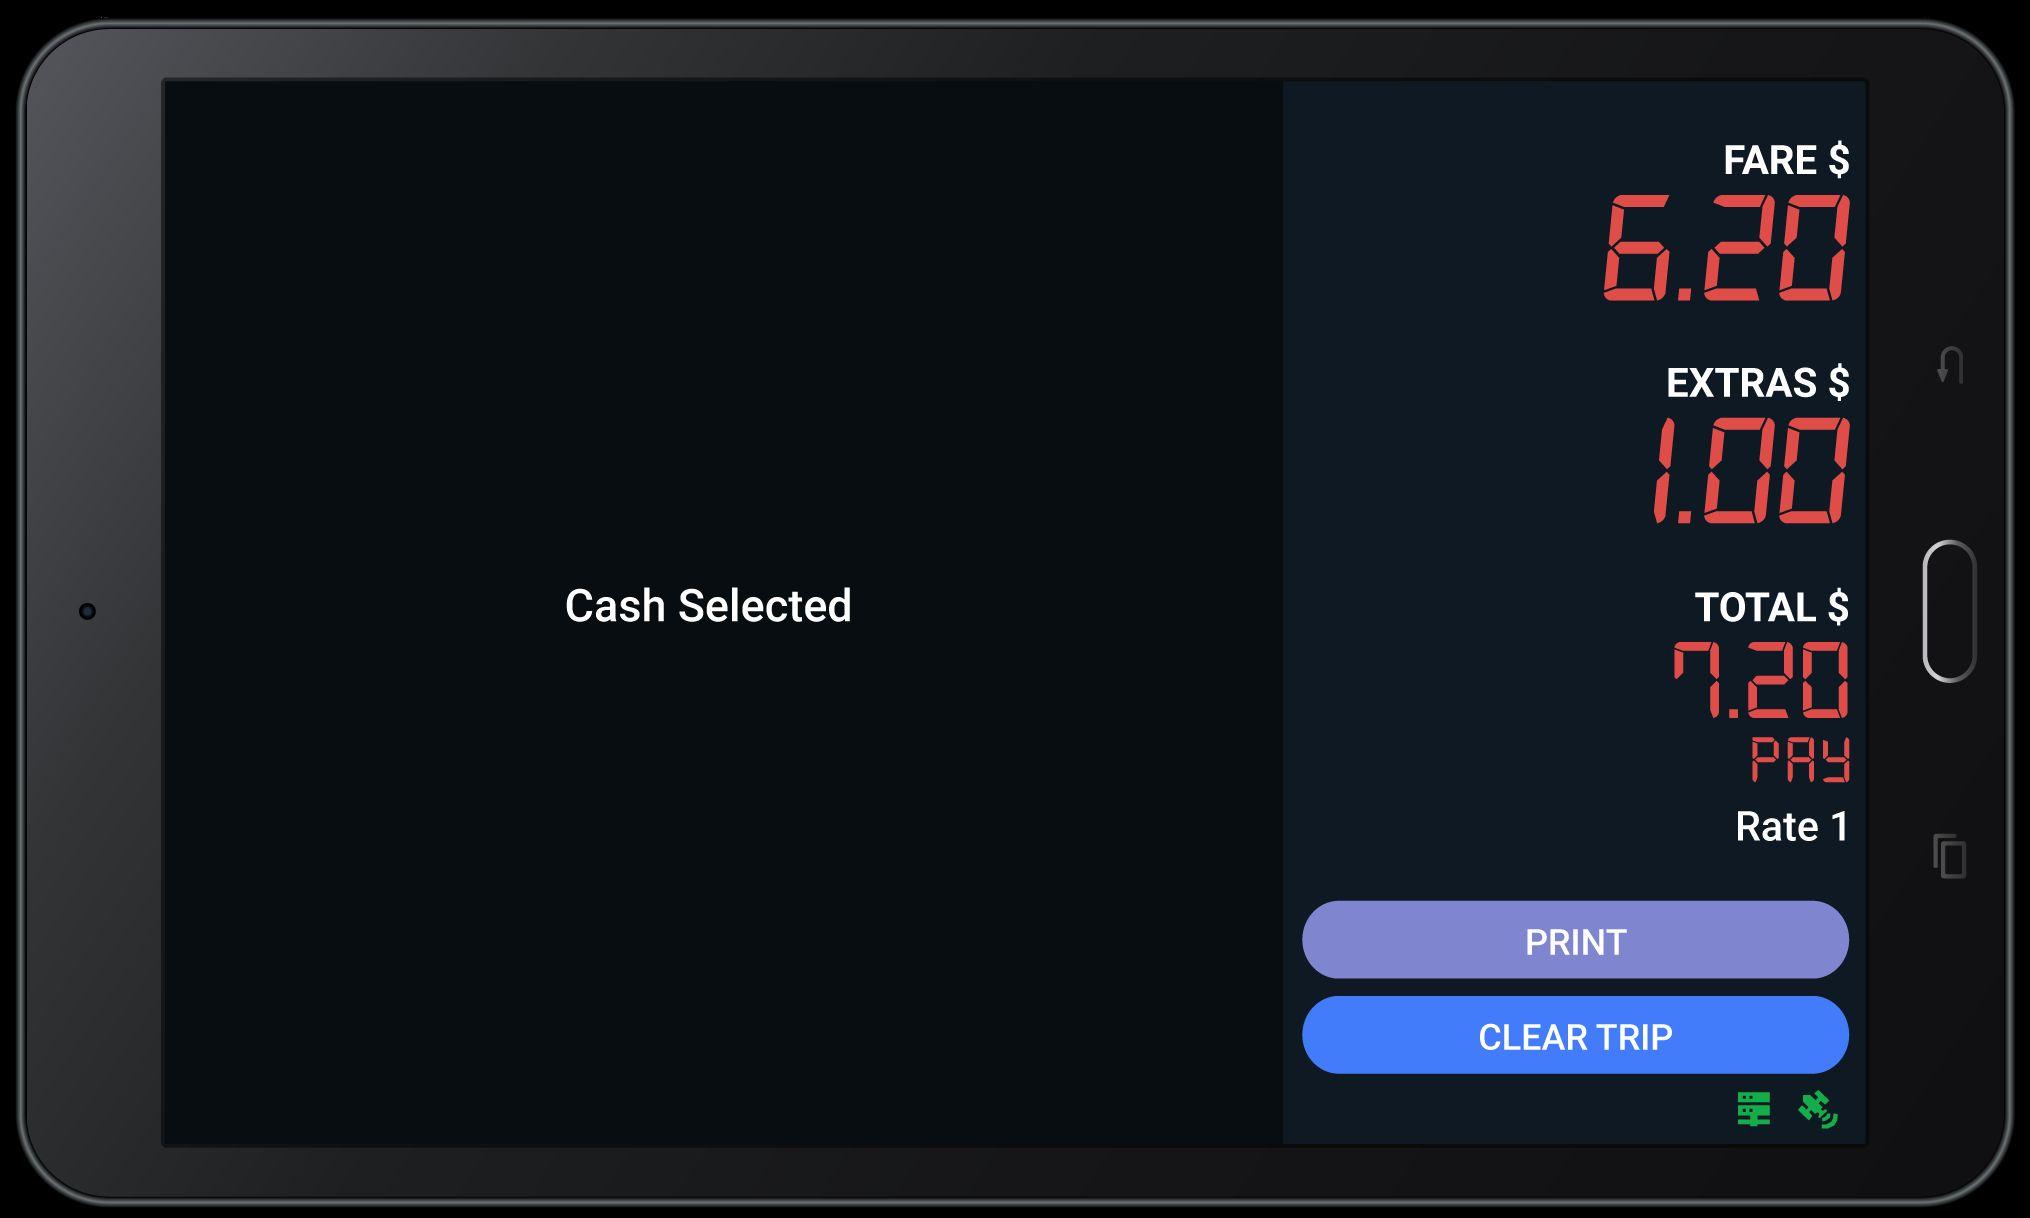
If passenger selects Cash, then the eReceipt button will be shown to process receipt and the Back button will be shown to change payment method.
You will be notified on your Dash+ app if passenger selects Cash option. The passenger then has the option to print a receipt or issue an eReceipt.
If passenger selects Credit, then the Next button will be shown to select a Tip amount and the Back button will be shown to change payment method.
You will be notified on your Dash+ app if passenger selects Credit Card
The passenger then has the option to print a receipt or issue an eReceipt.

To add a tip, the passenger can either select from the predetermined amounts or tap on Other to apply a specific amount.
Passenger can select the Next button to process a credit card transaction to pay for the trip.
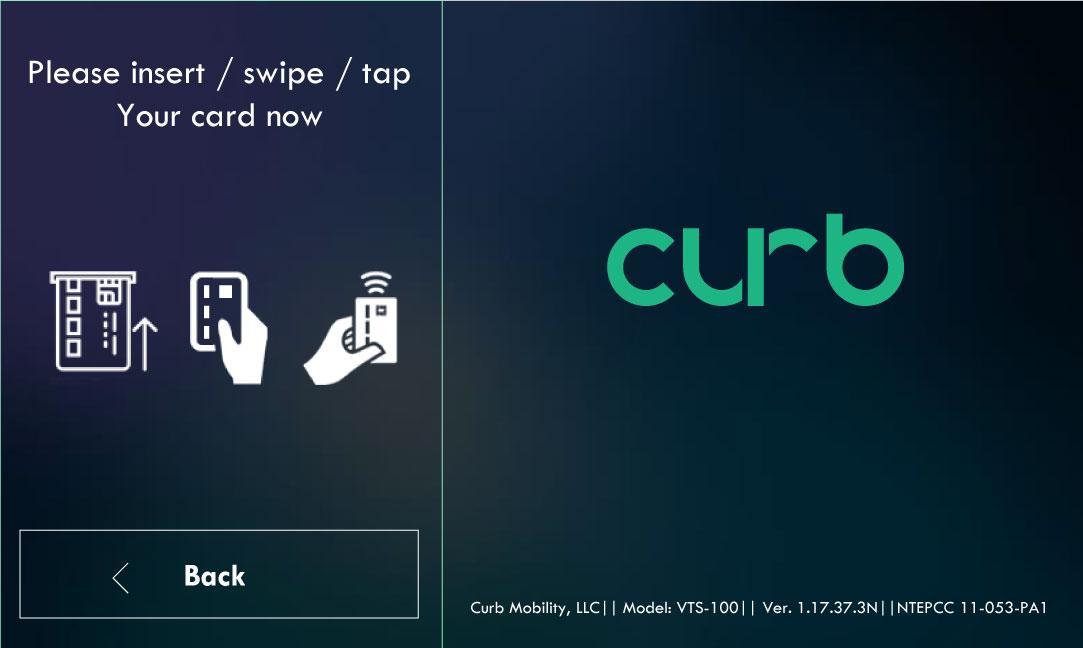
Passenger can insert Chip + Pin Credit Card here.
Passenger can tap Contactless Credit Card on the payment screen.
Passenger can swipe Credit Card here.
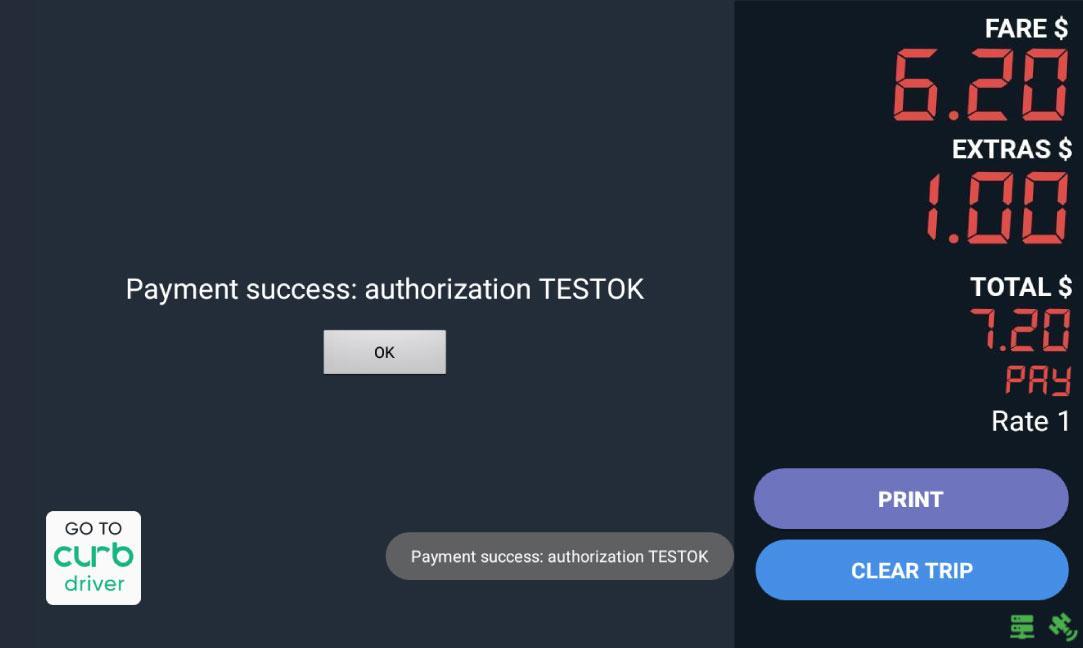
Once the credit card transaction is confirmed, you will see an authorization number on the Dash+ tablet. Your screen will then clear and go back to Vacant Mode.
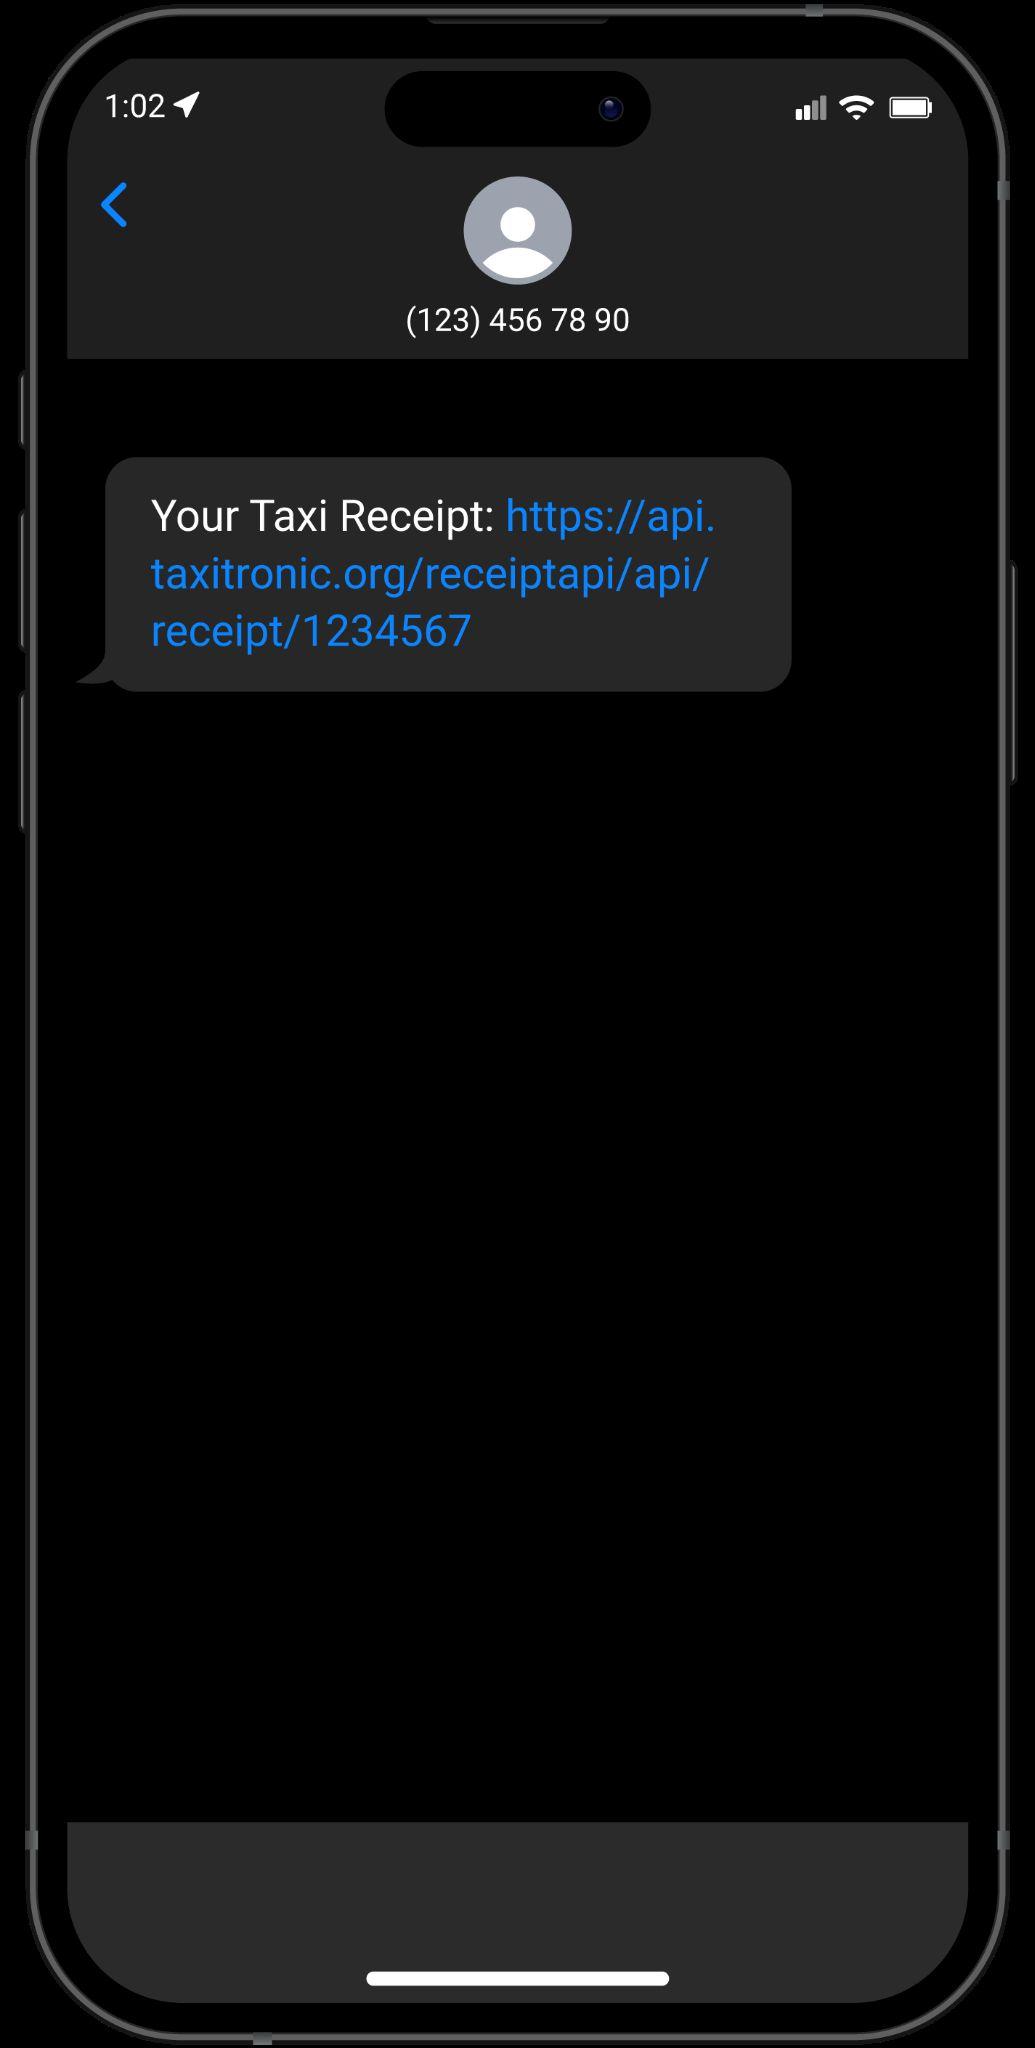
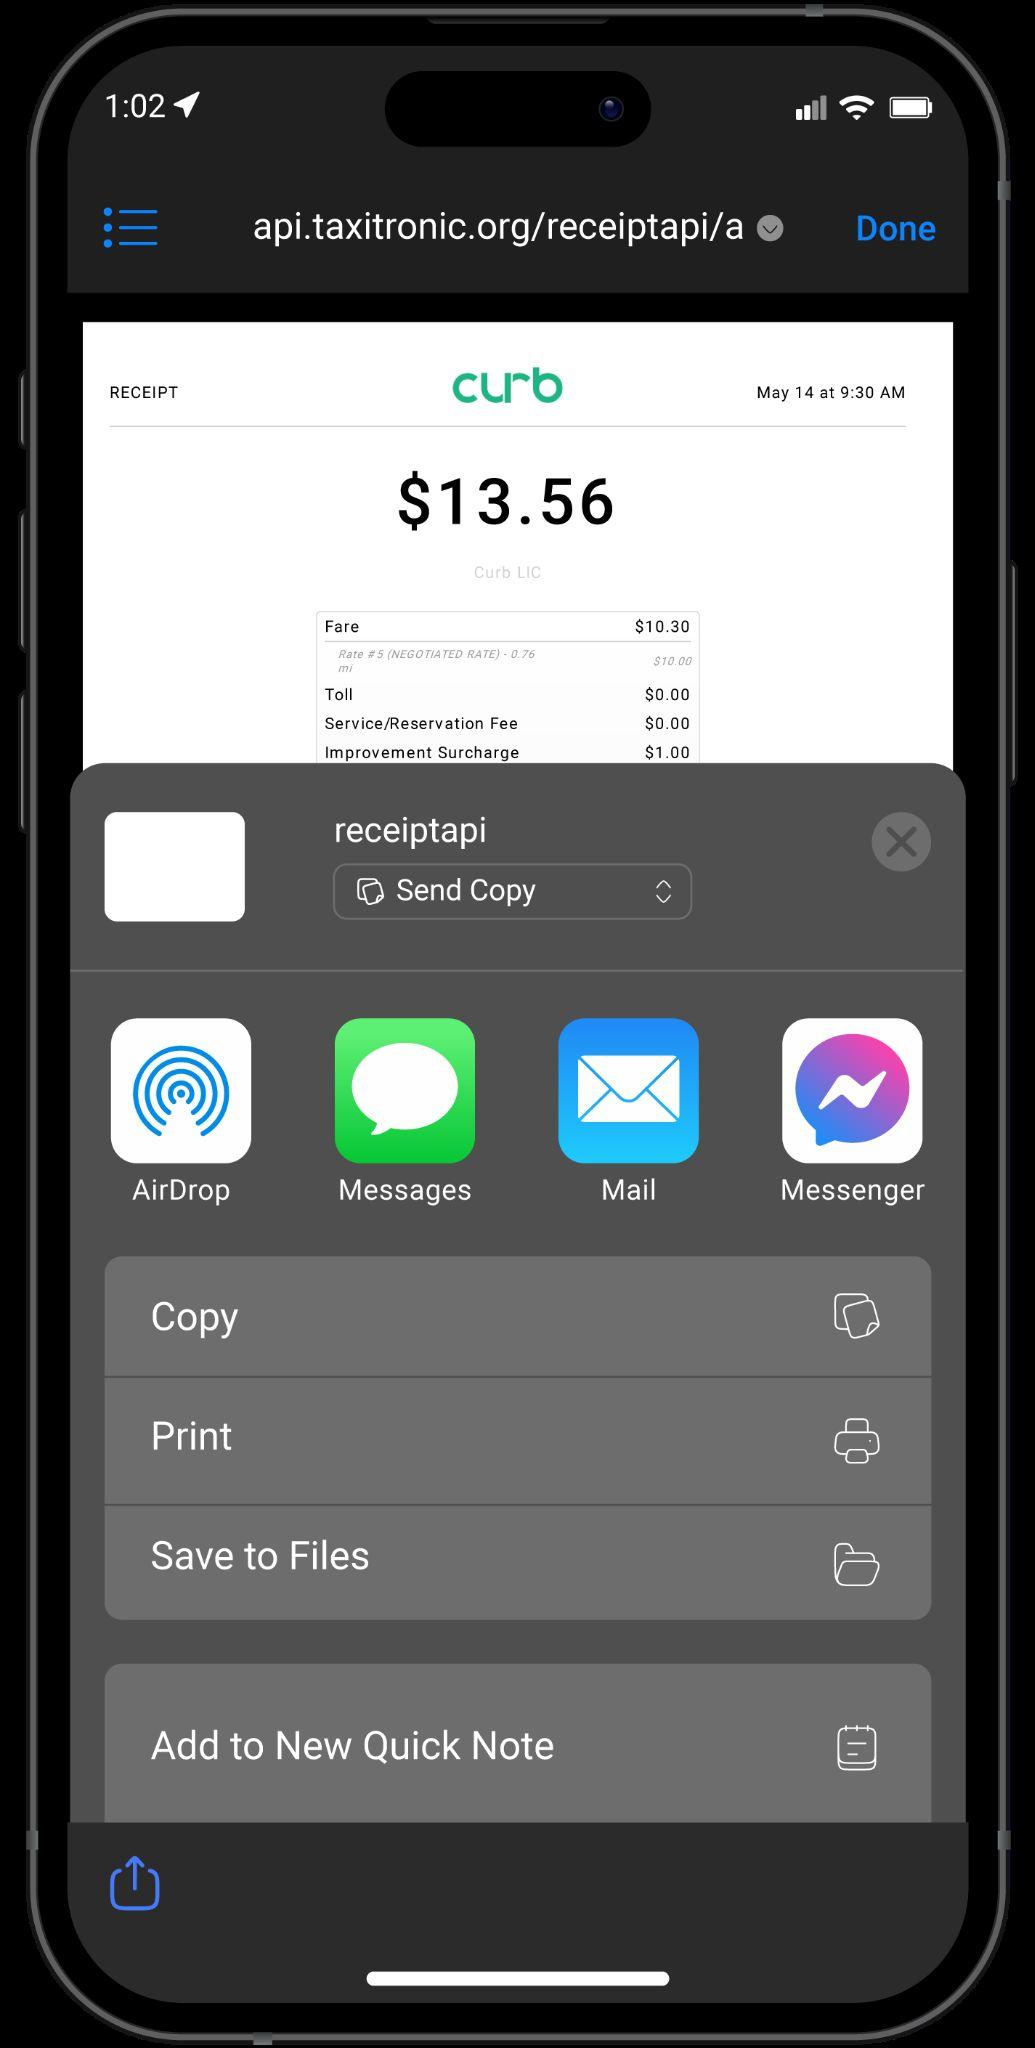
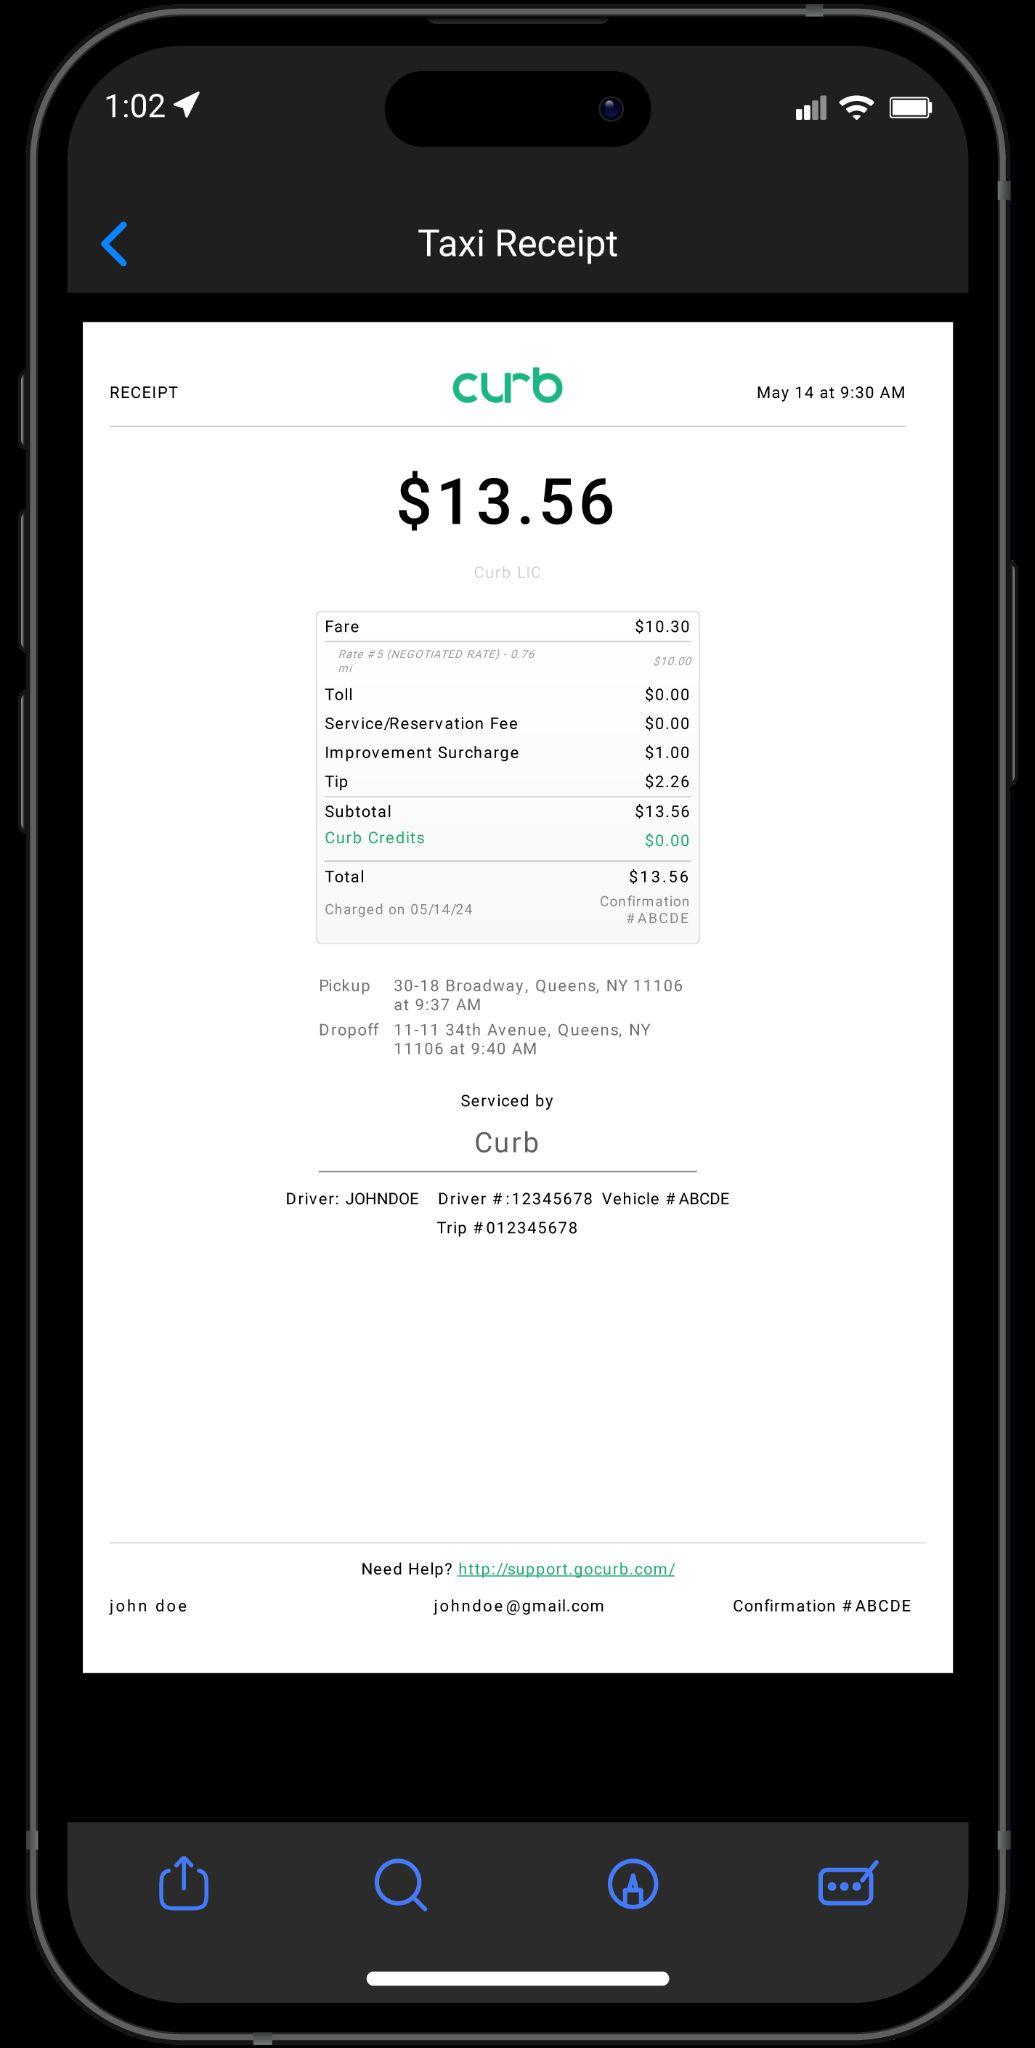
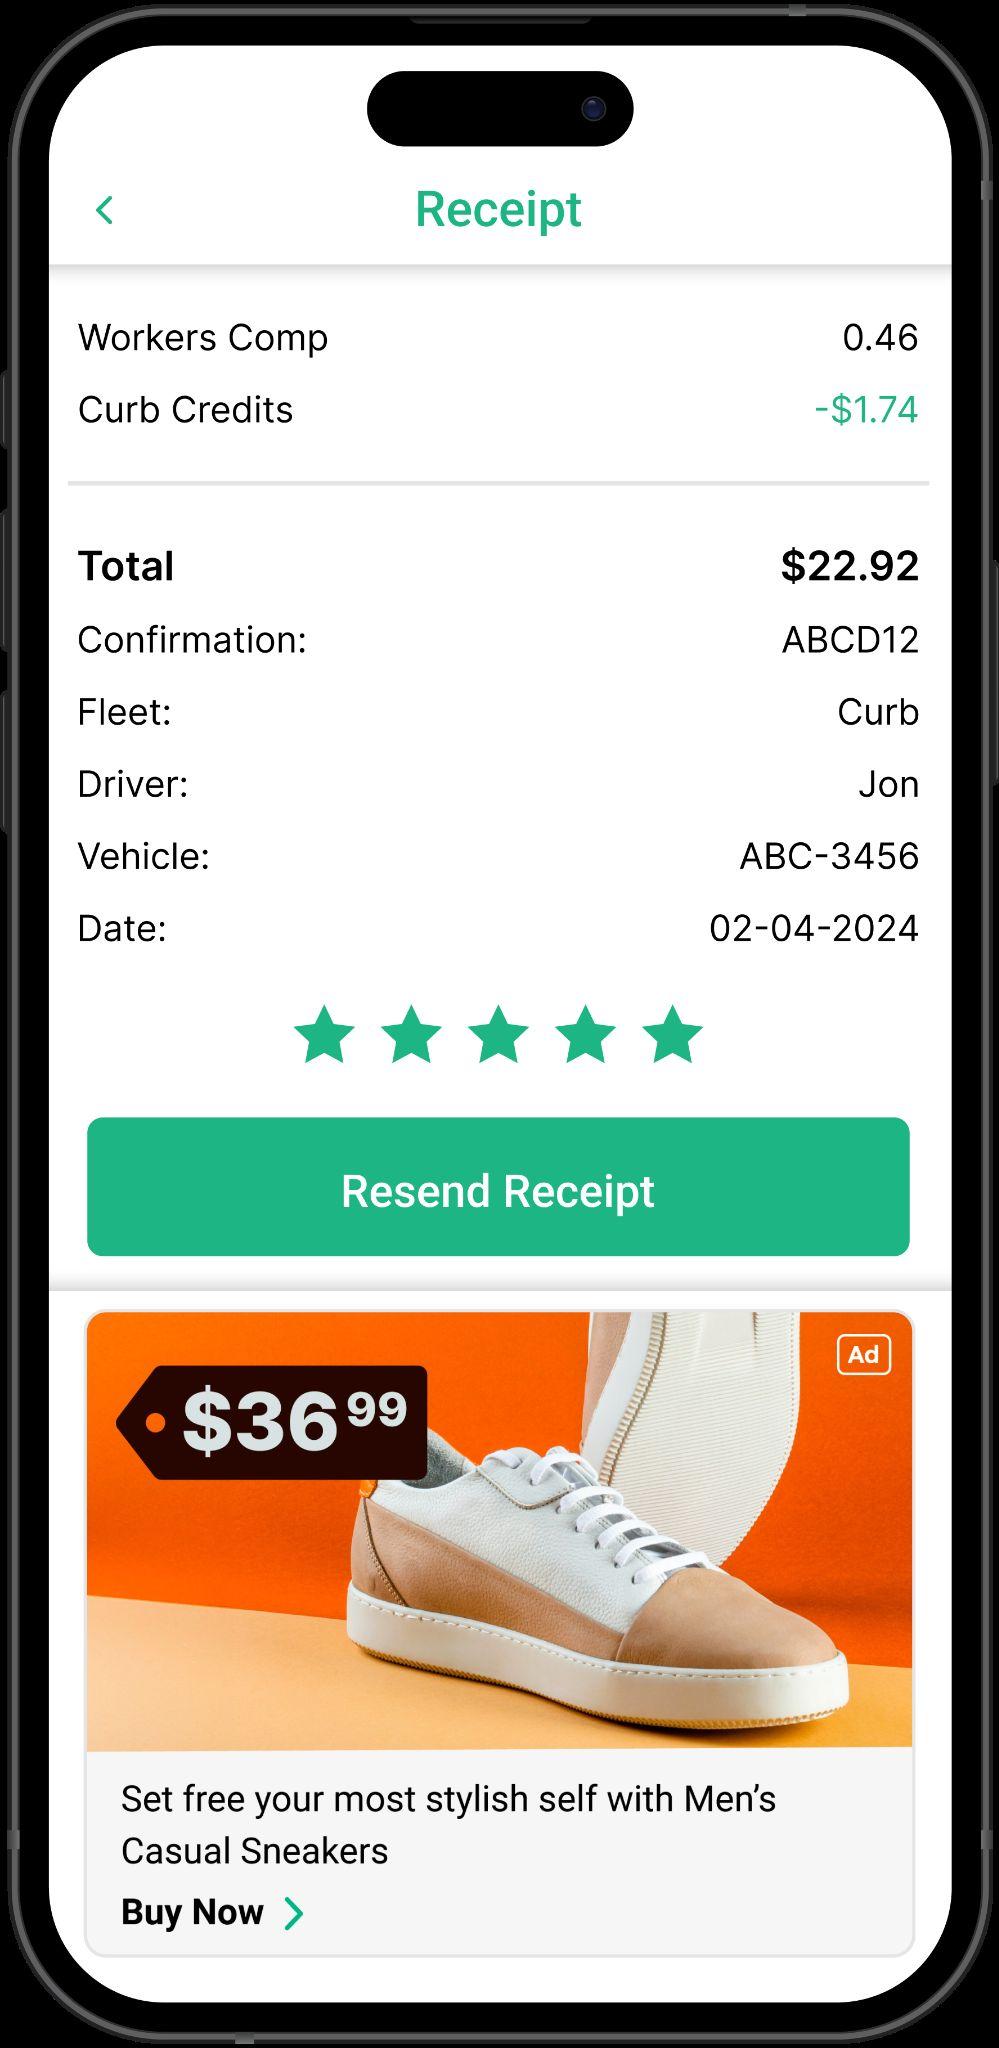
Passenger will receive a text link to download e-Receipt after submitting phone number in the Marquee. The passenger will be able to view the full trip details after tapping the link and downloading.
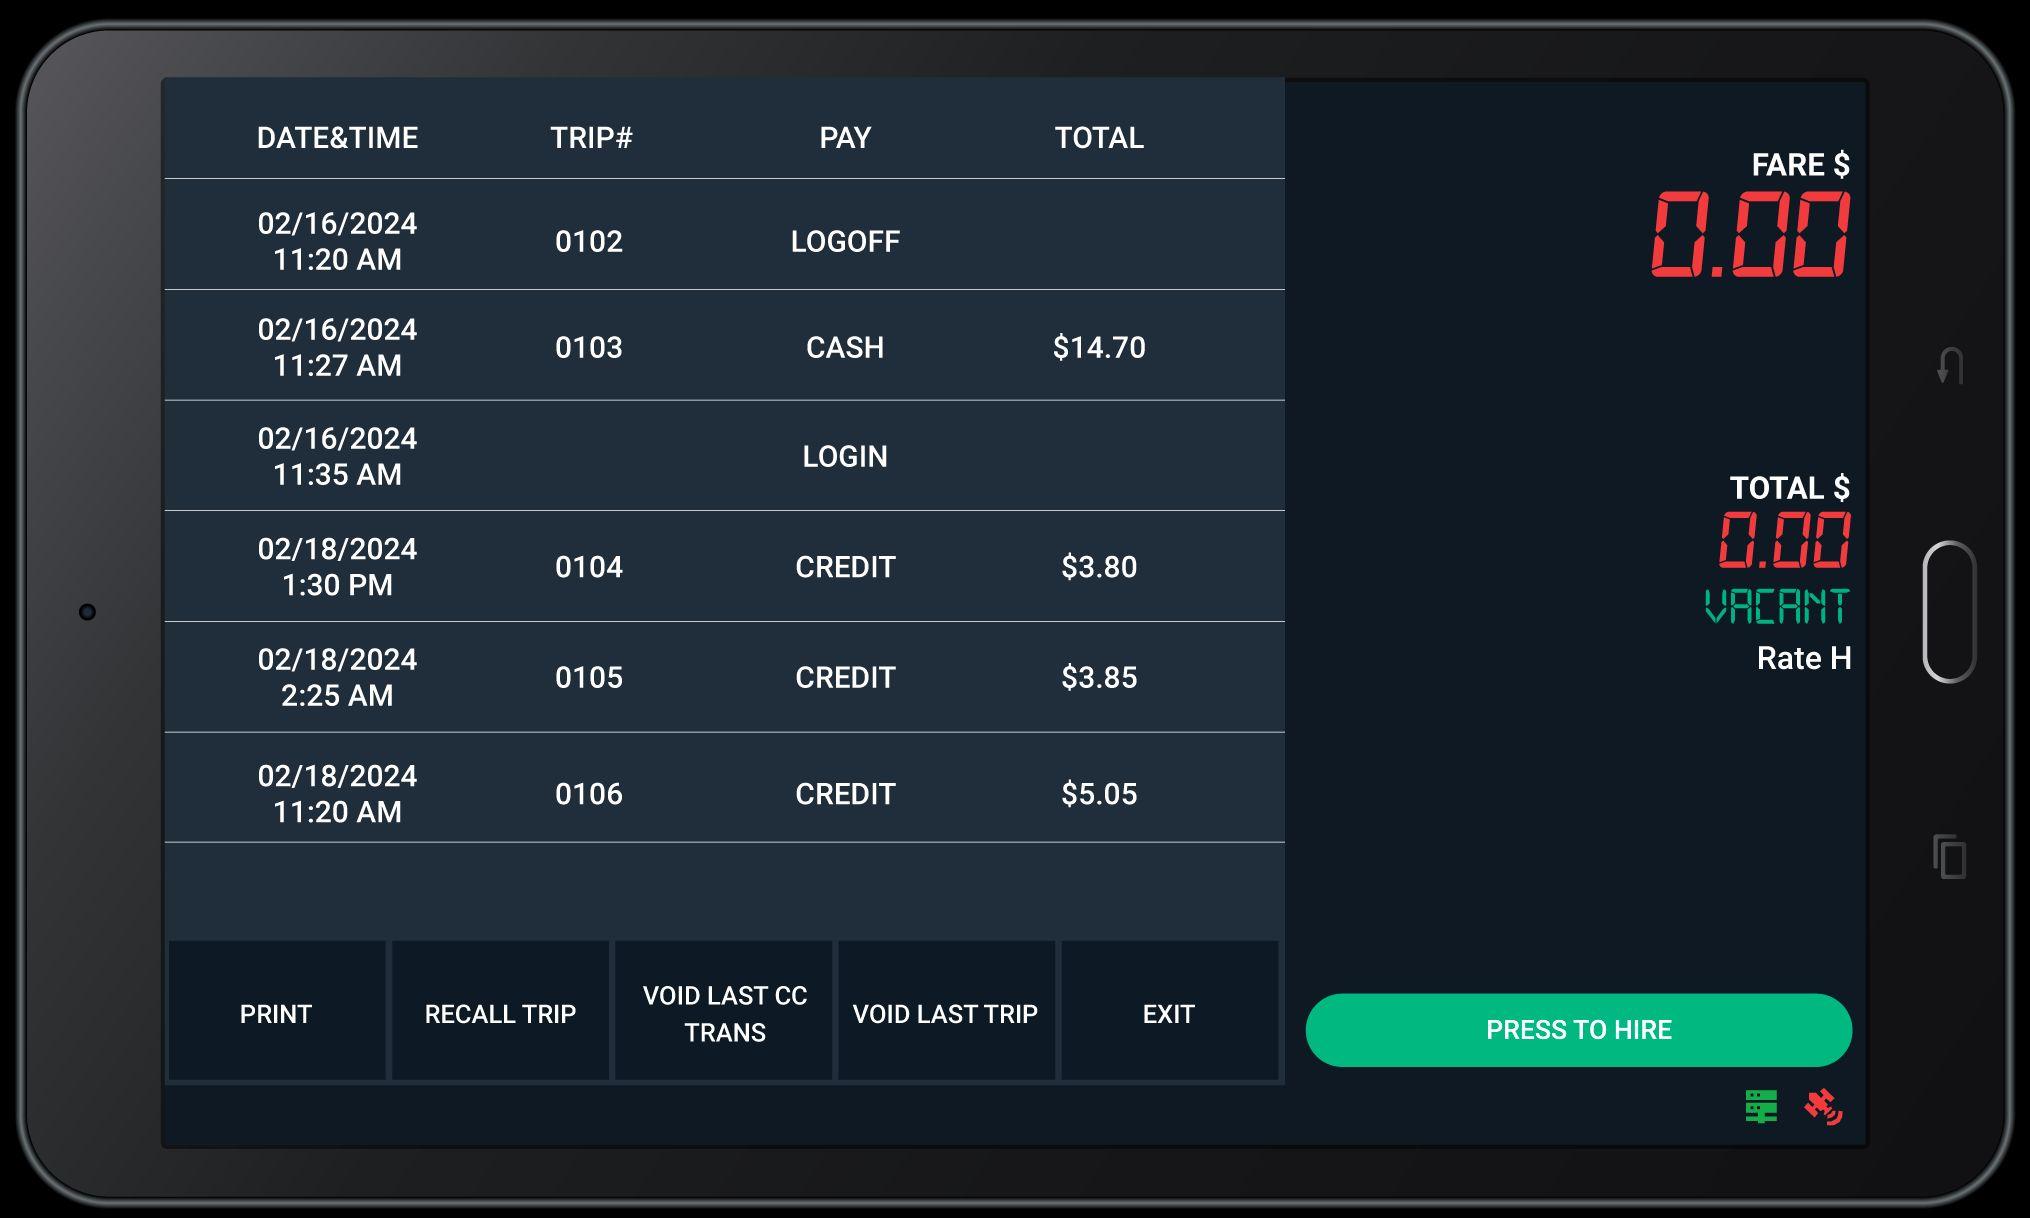
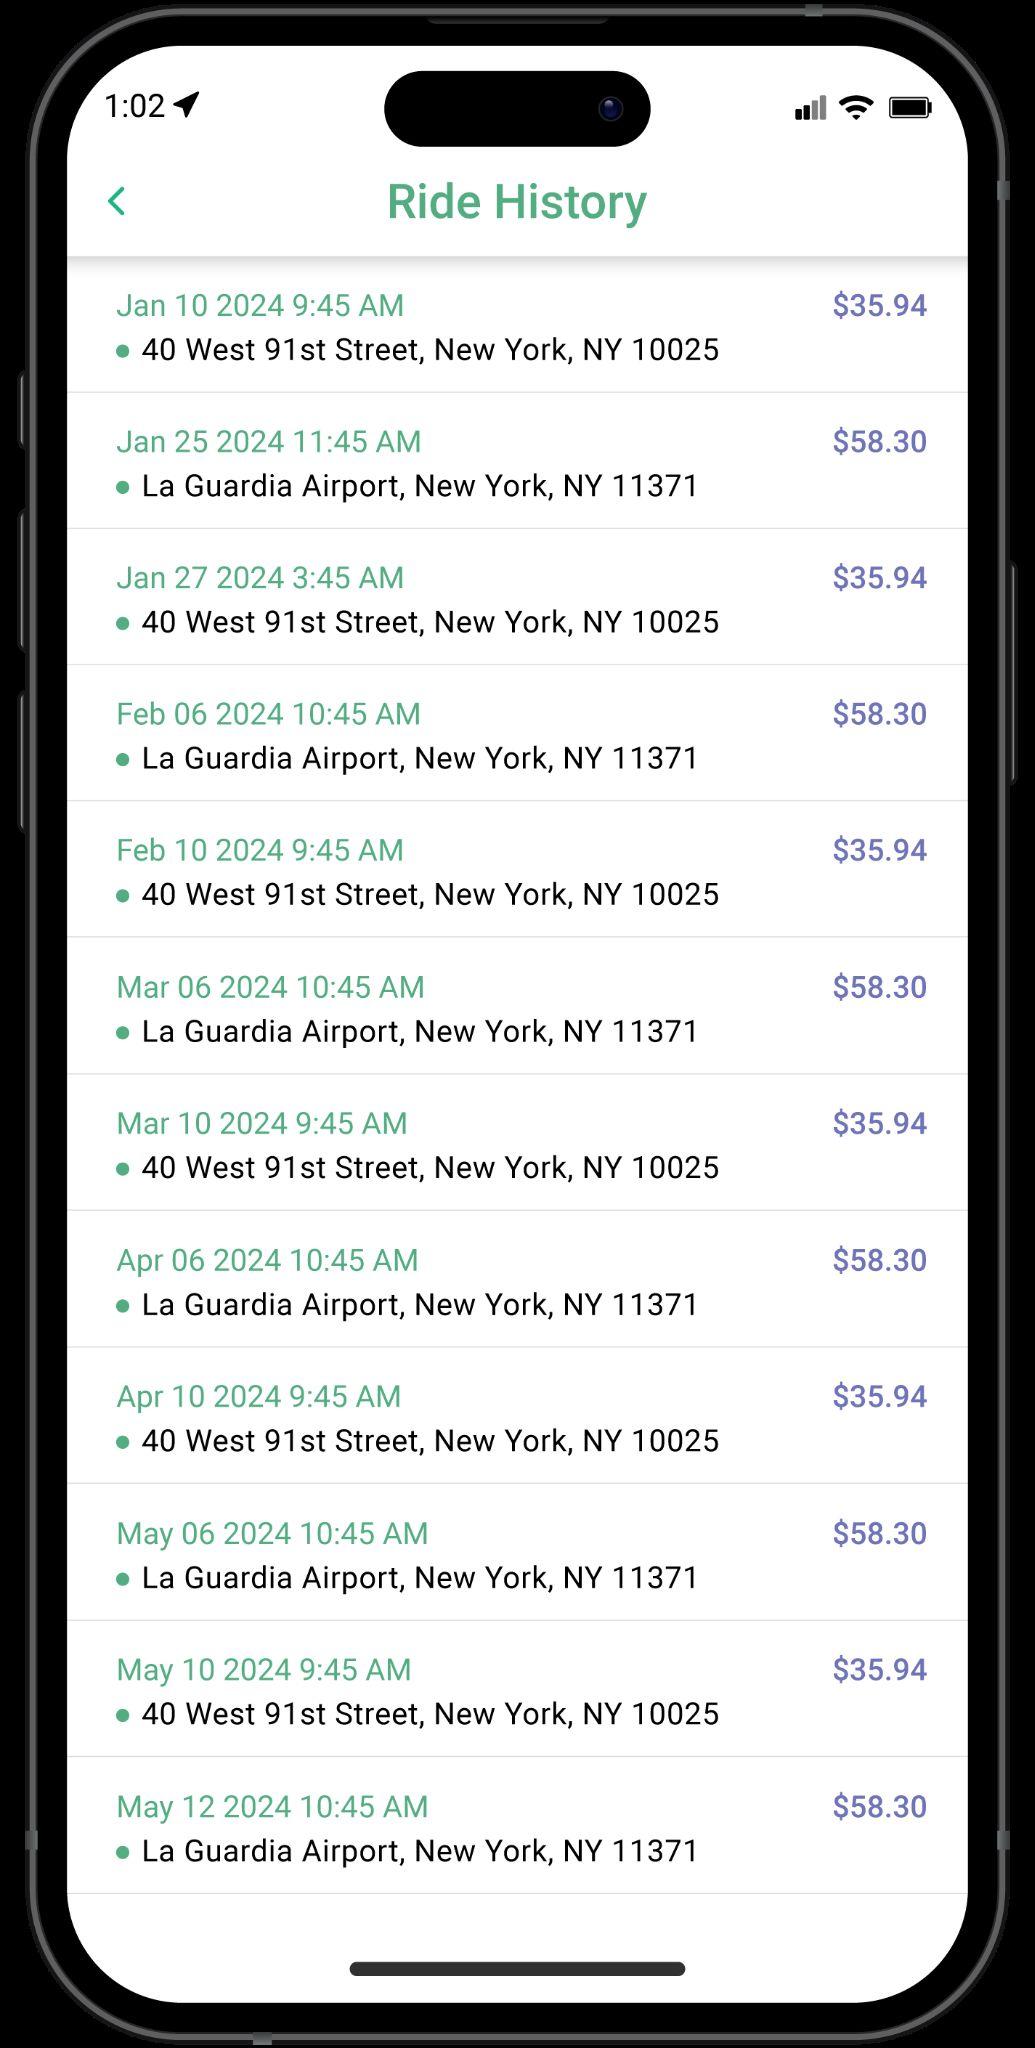
Tap TRIP HISTORY to view trip history.
You can now scroll and select individual trips to view details and reprint receipt if needed. This is Vacant Mode
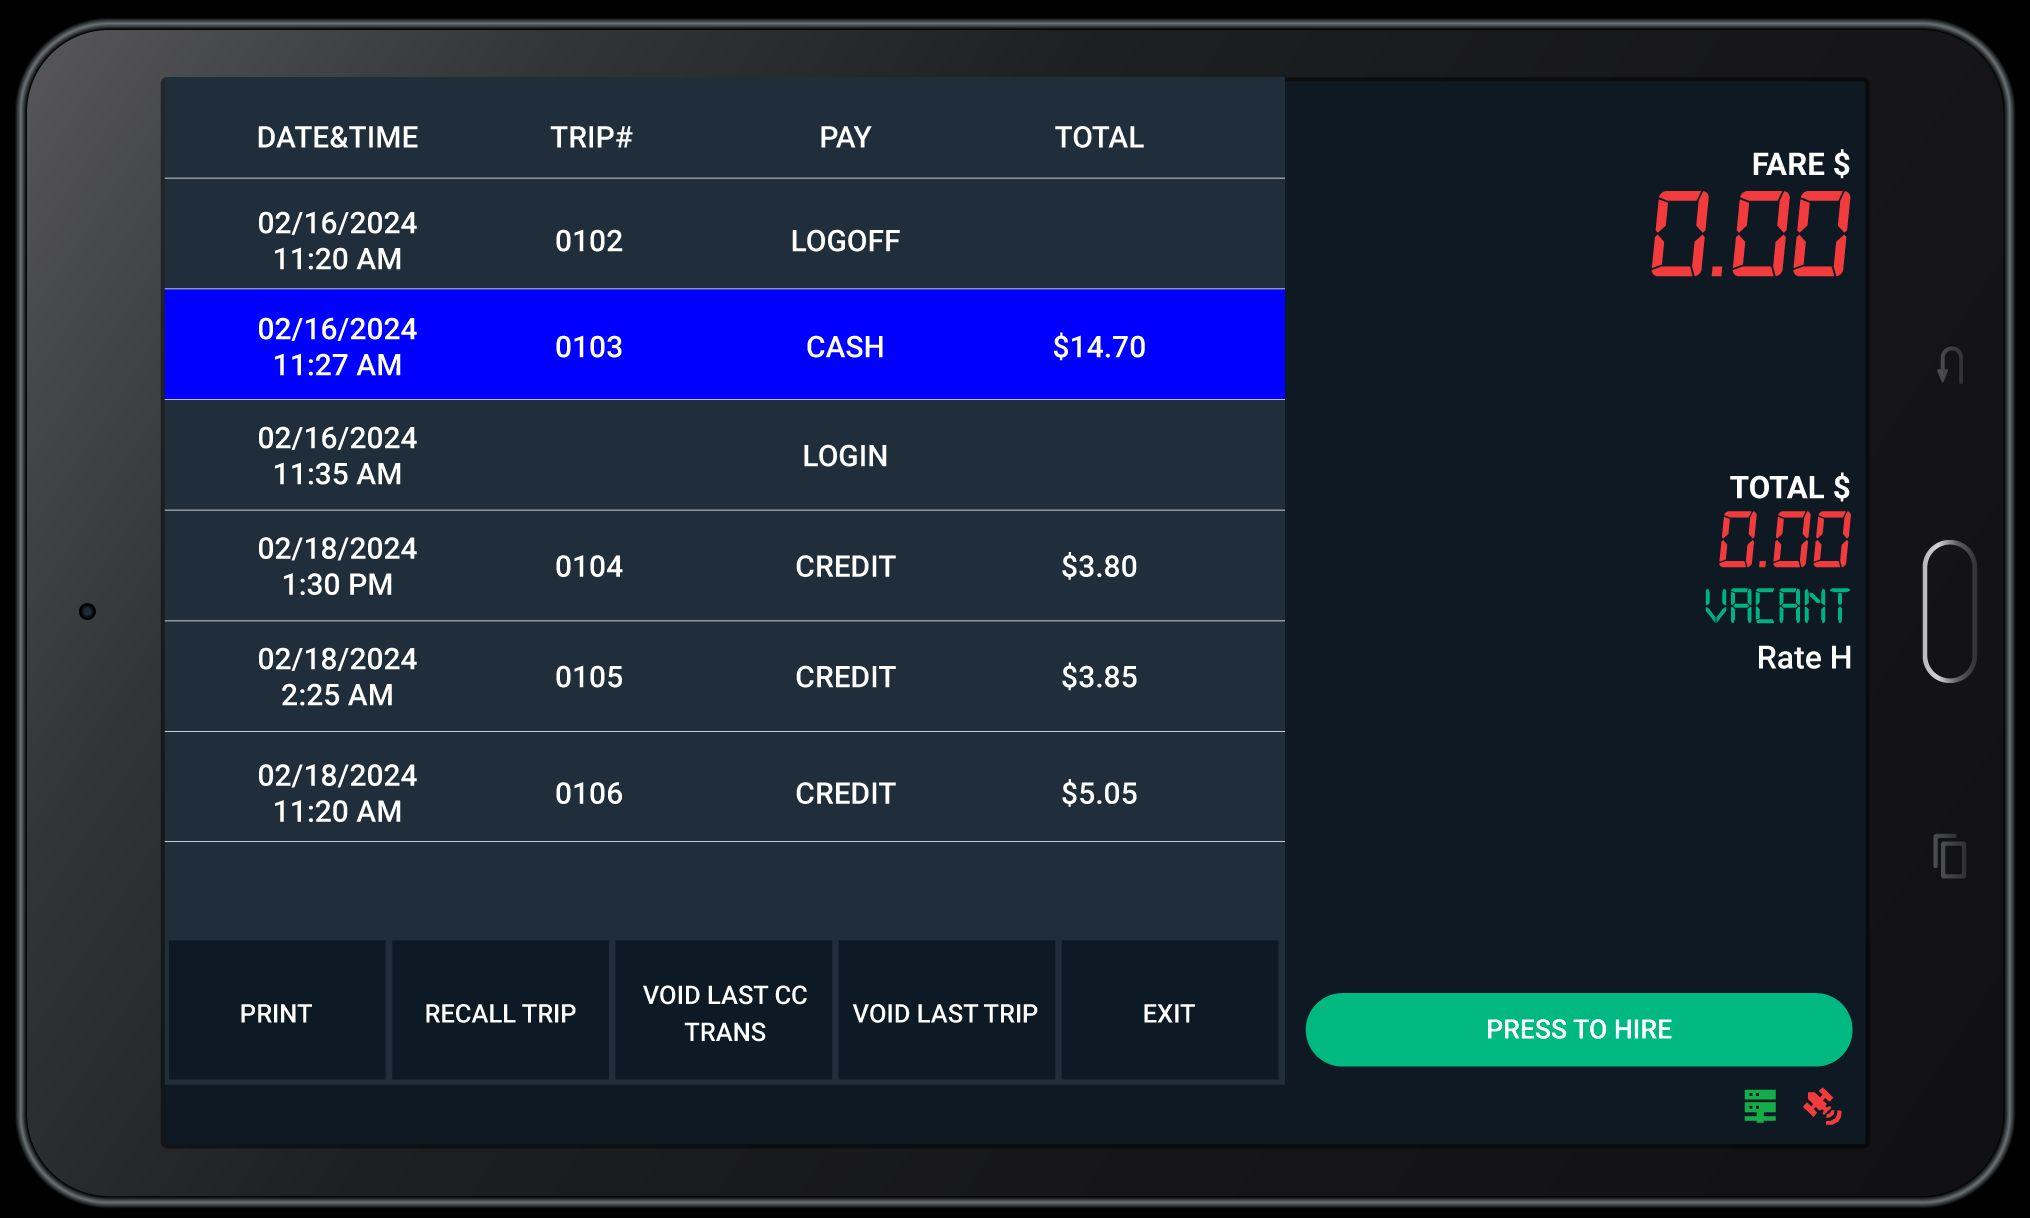
Select a transaction and tap twice to see in detail. You can now see the details of the transaction selected.

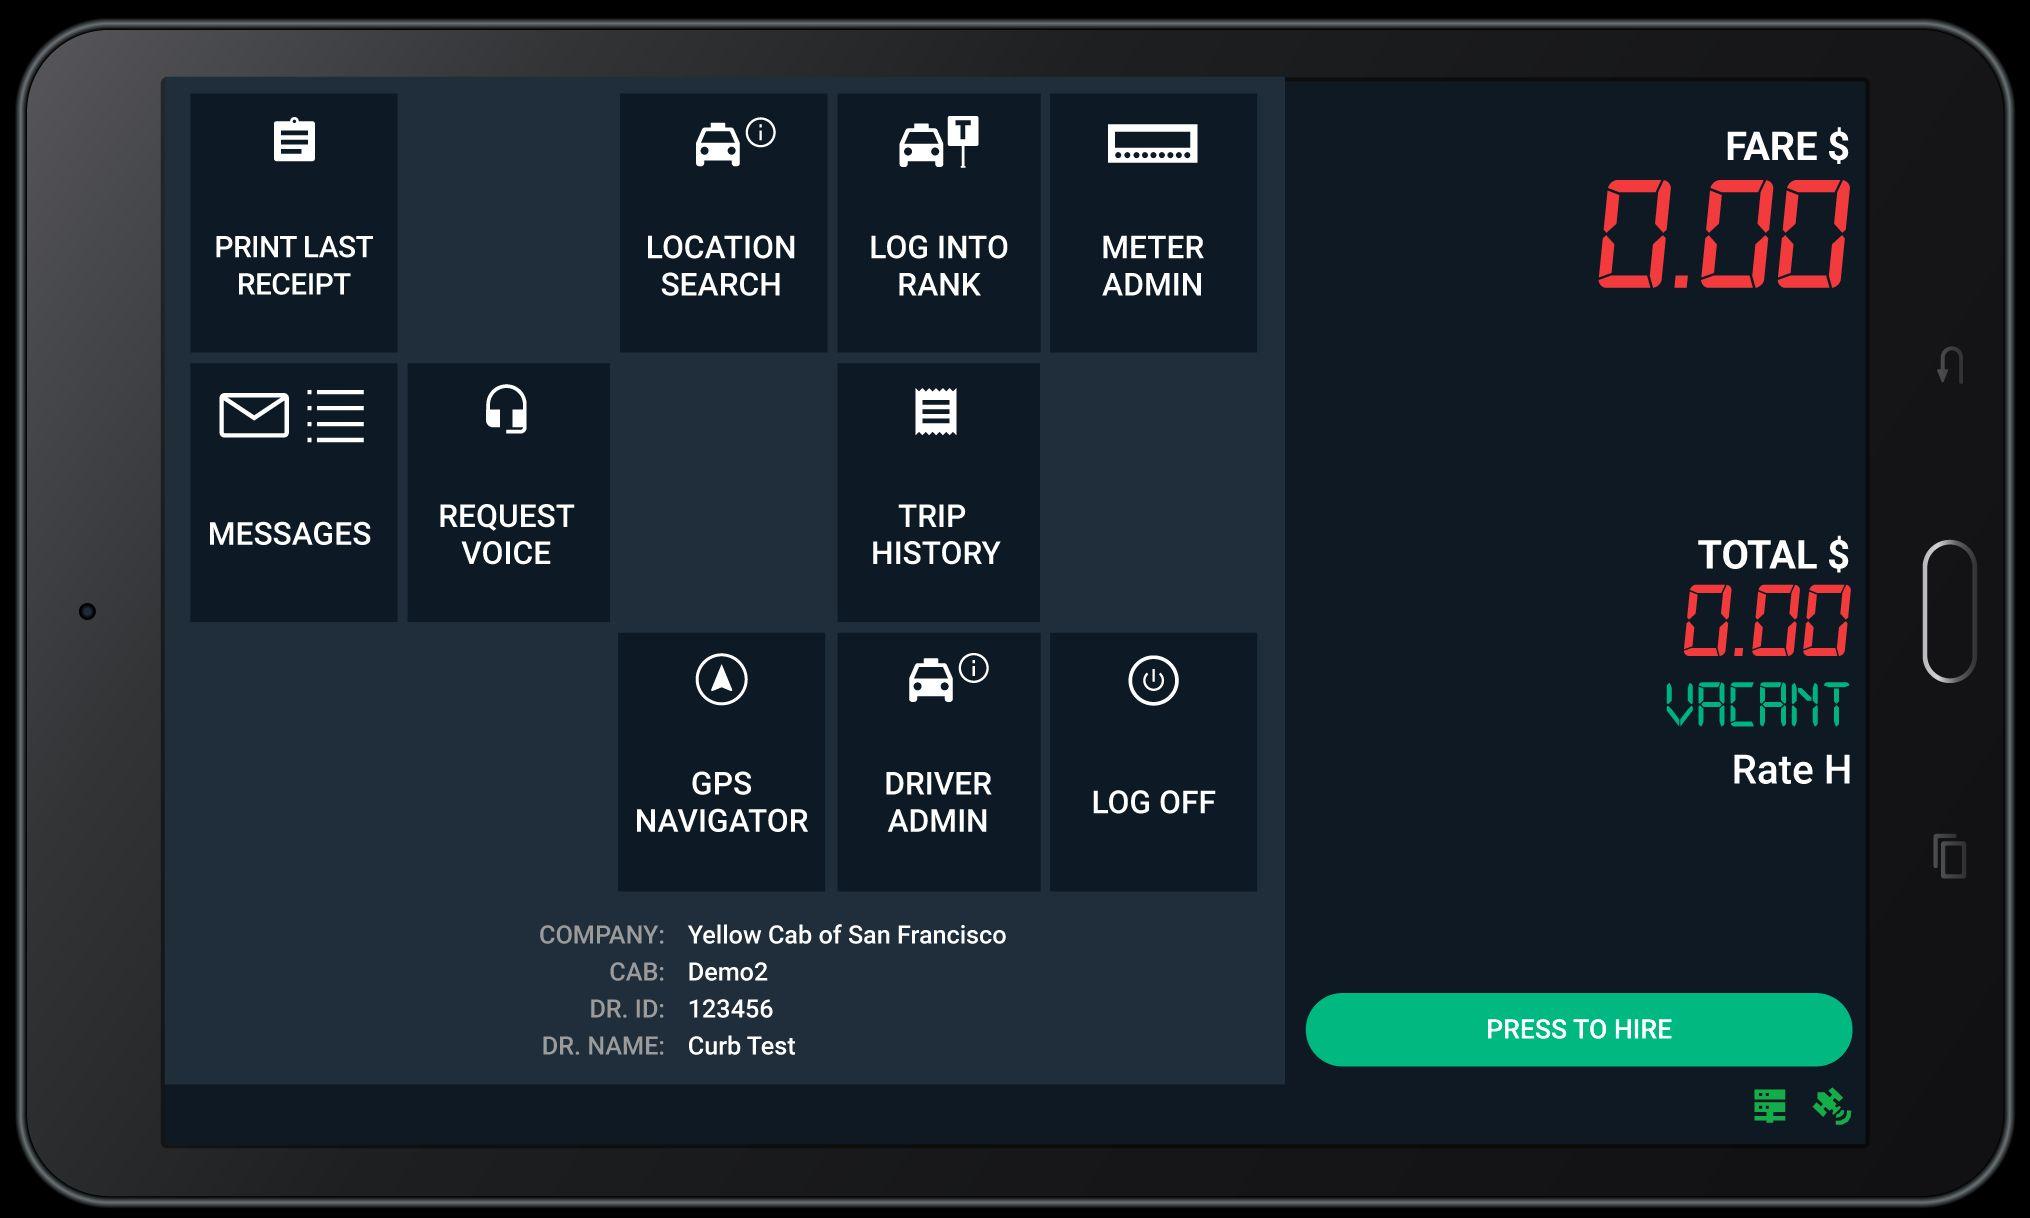
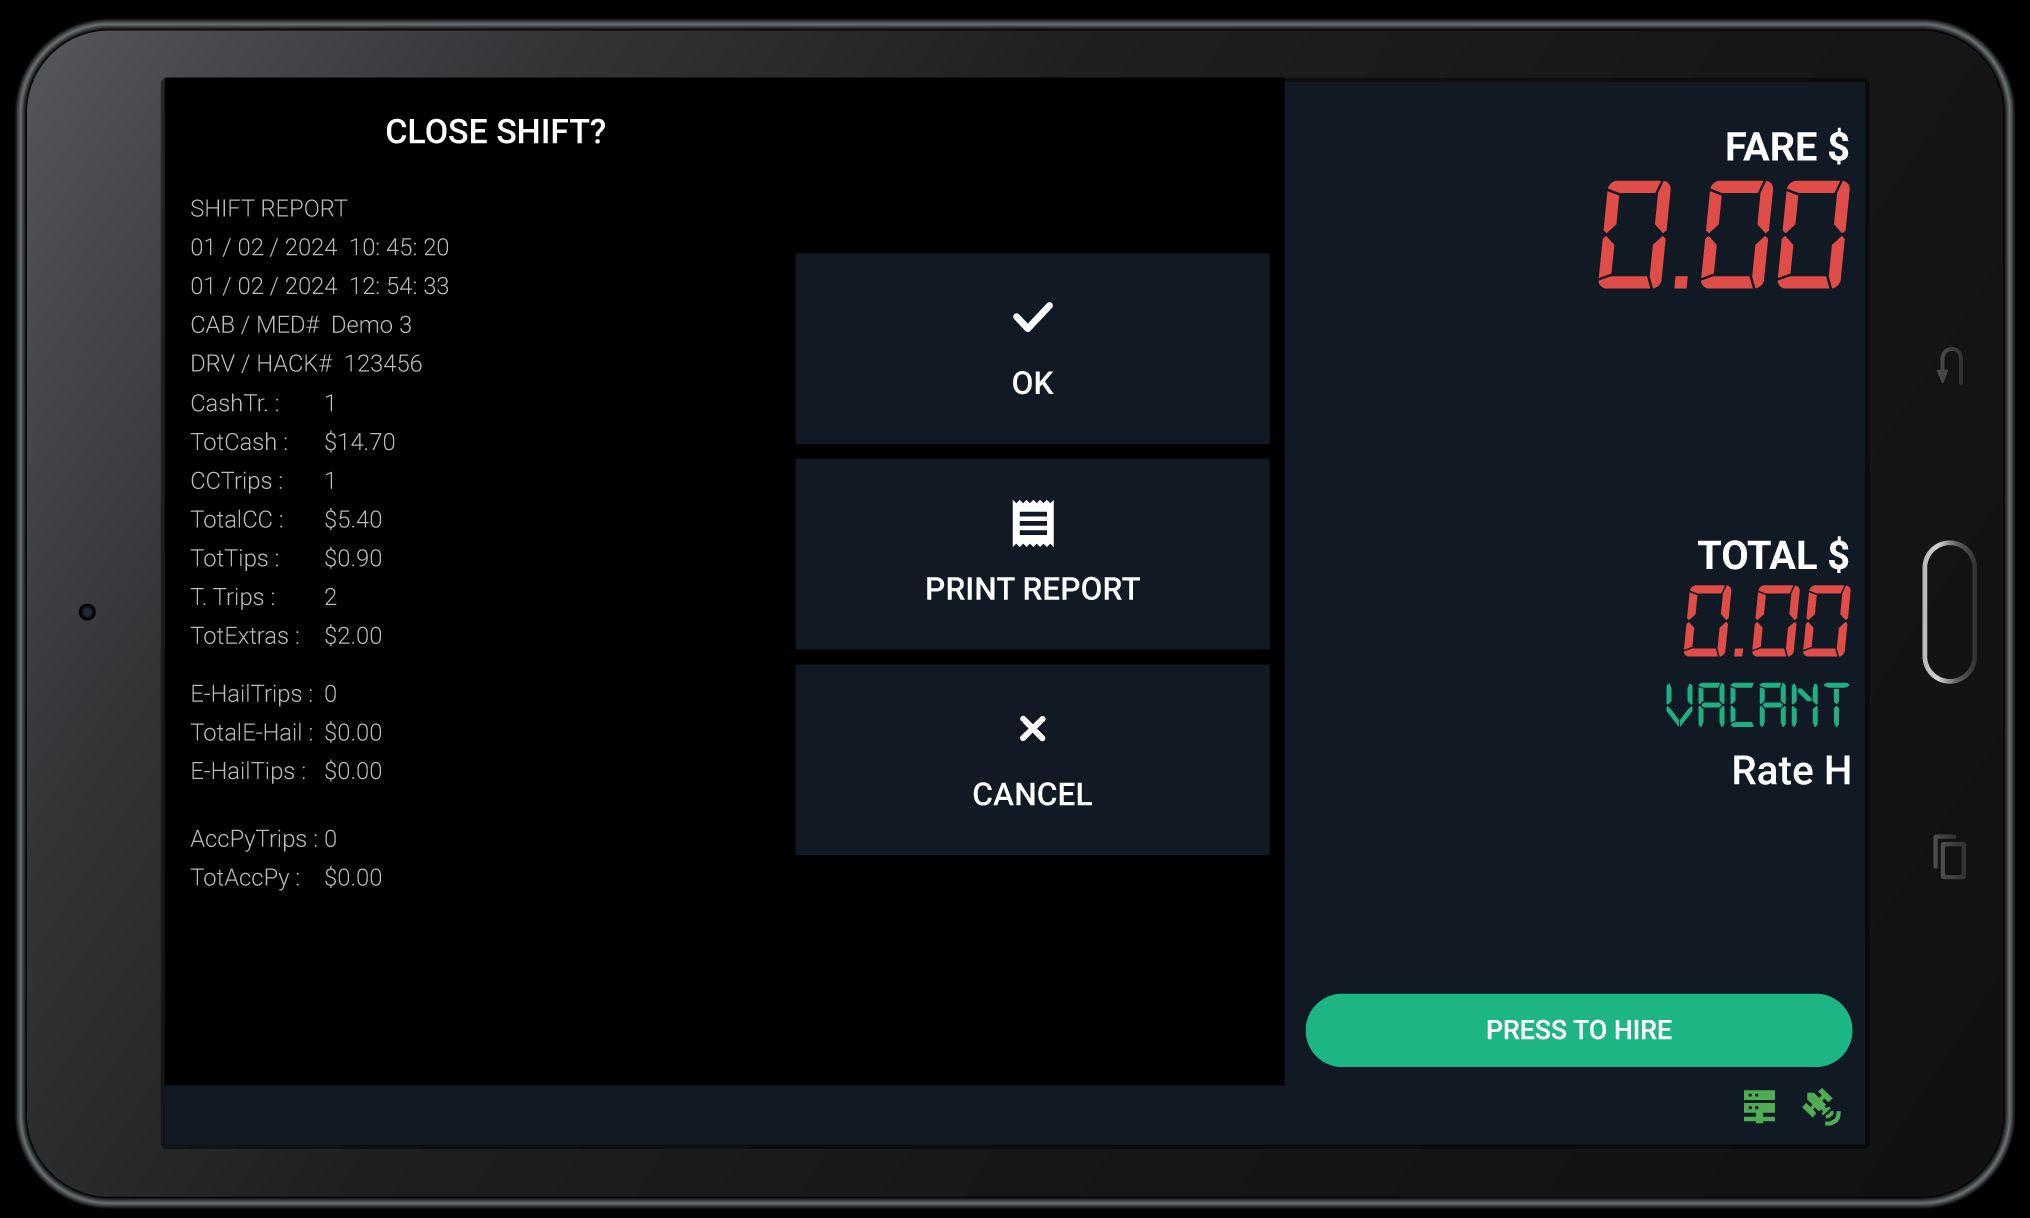
Tap LOG OFF to close out your shift.
Tap OK to continue with logging off or PRINT REPORT to print shift. Wait until you see LOG OFF SUCCESS before you power off the tablet. You are now logged off.

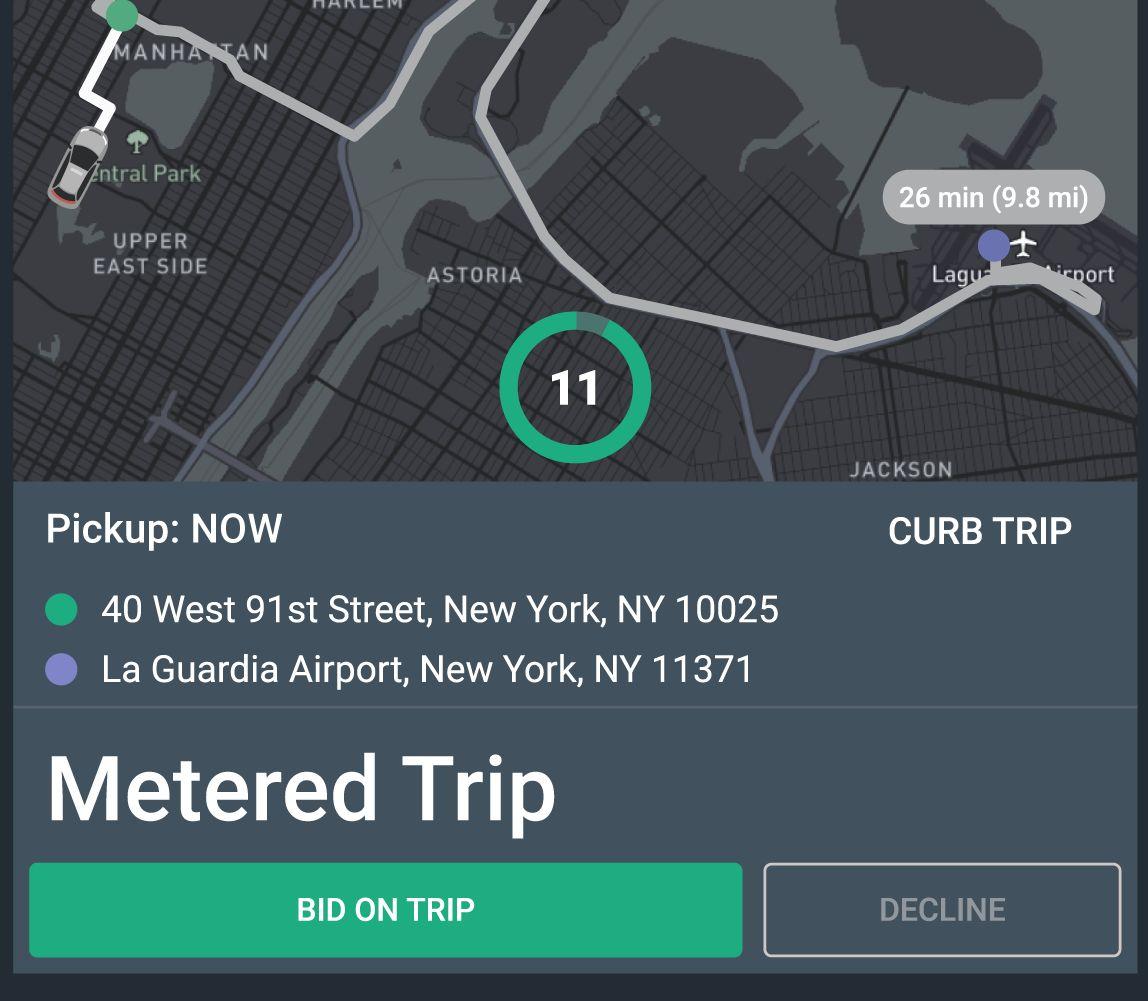
The map now shows time (min) and distance (mi) to the requested pickup location, indicated with a green dot.
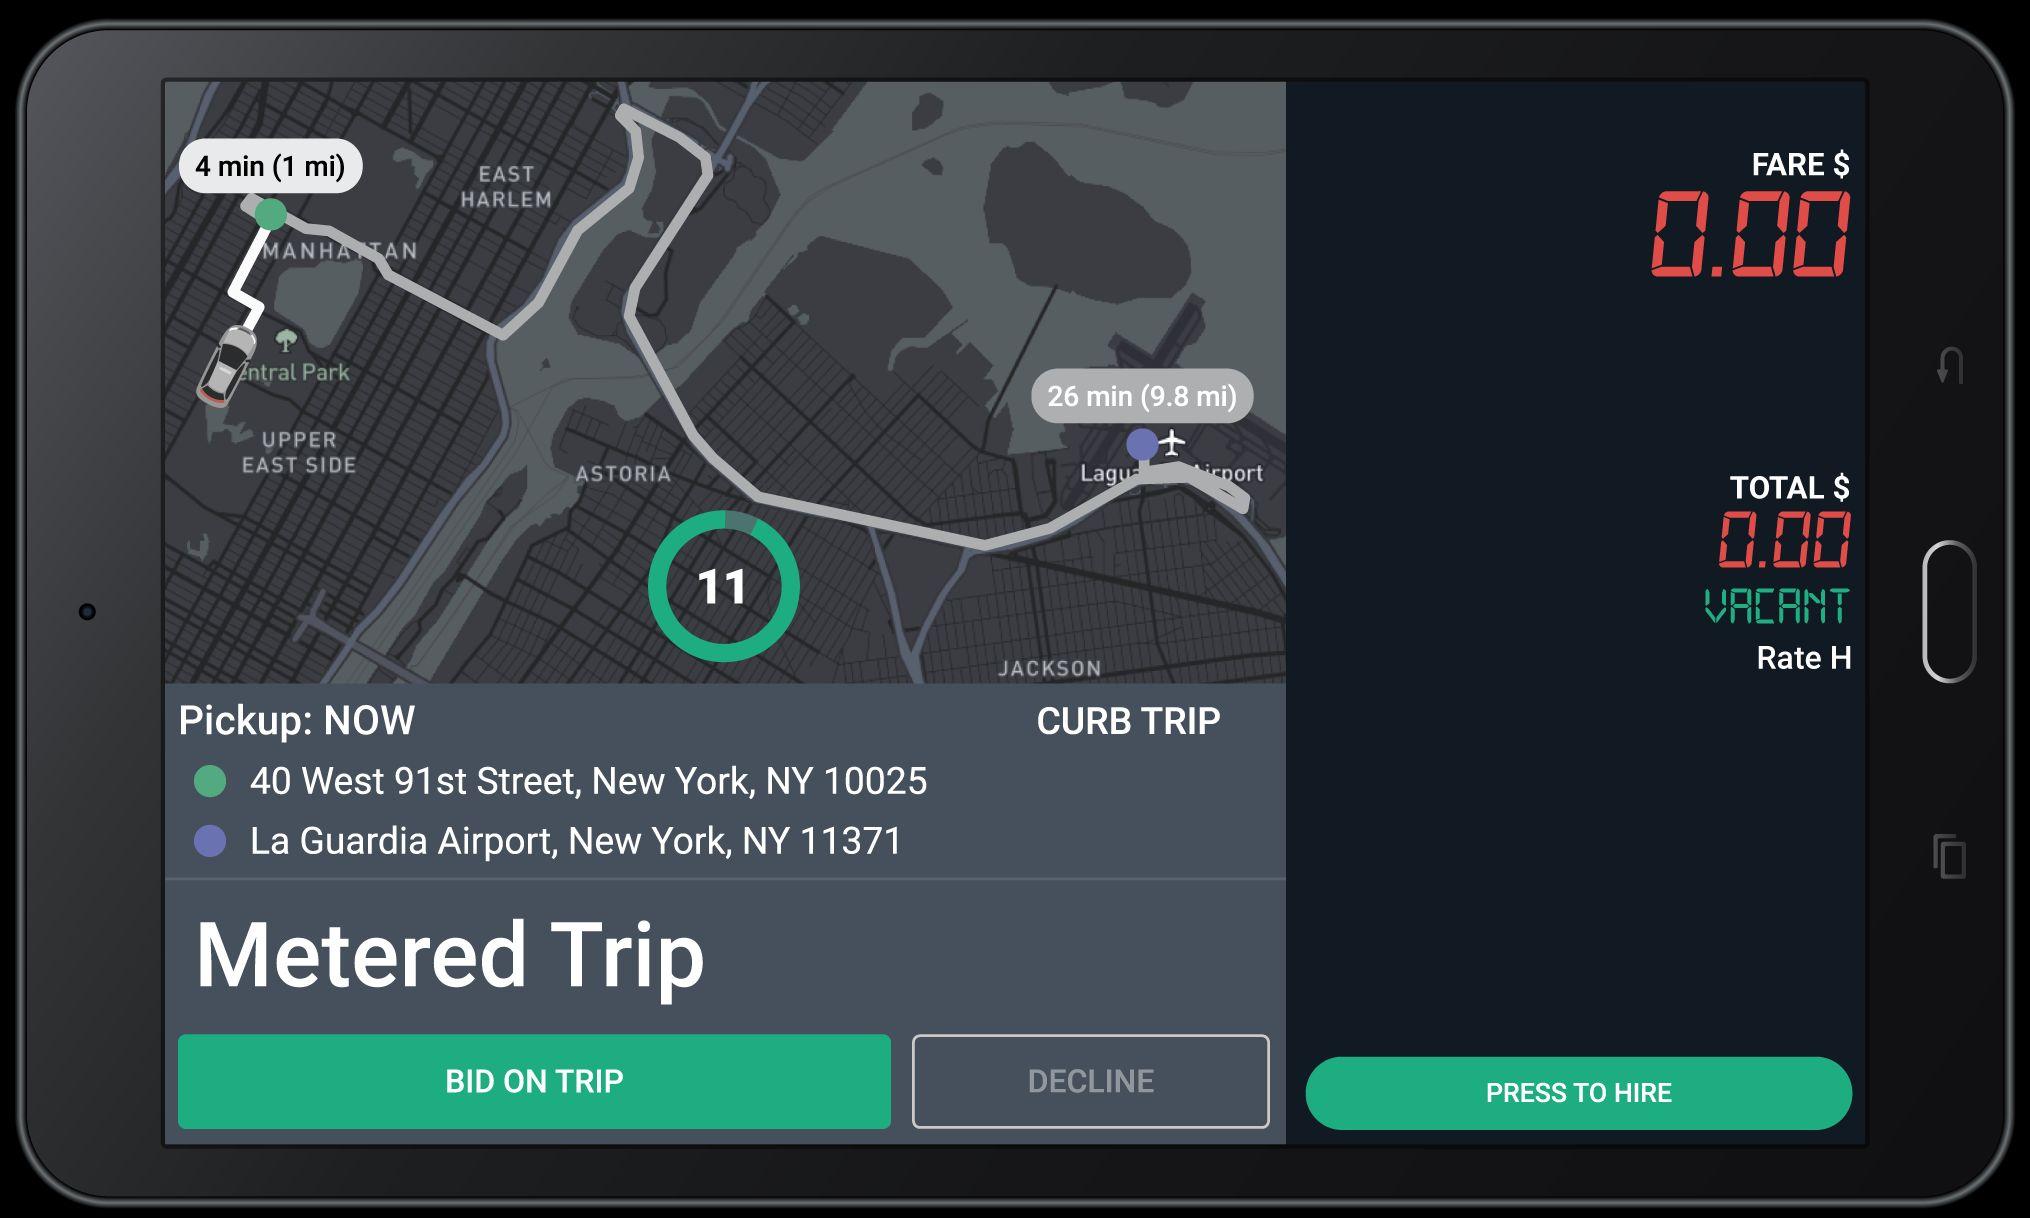
When you get an Trip Offer, this screen will appear on your tablet.
The map also shows the estimated time and distance for the offered trip. The purple dot shows the requested drop-off location.
You will be prompted to collect payment at the end of the trip.
Bid only on the trips you really want to take.
When you get an Trip Offer, this screen will appear on your tablet.
The timer shows the number of seconds you have to “Bid on Trip” or “Decline” before the offer expires. You do NOT need to hurry!
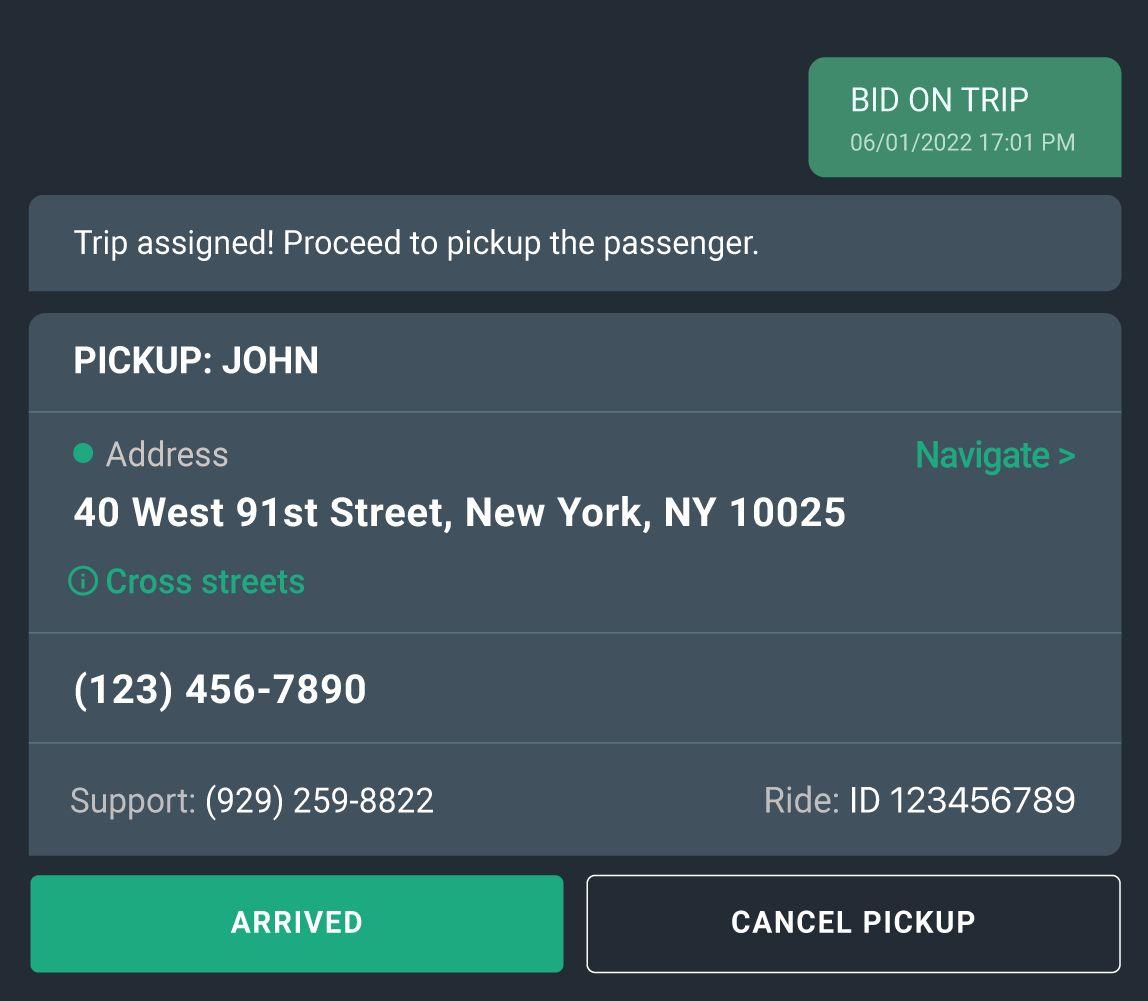
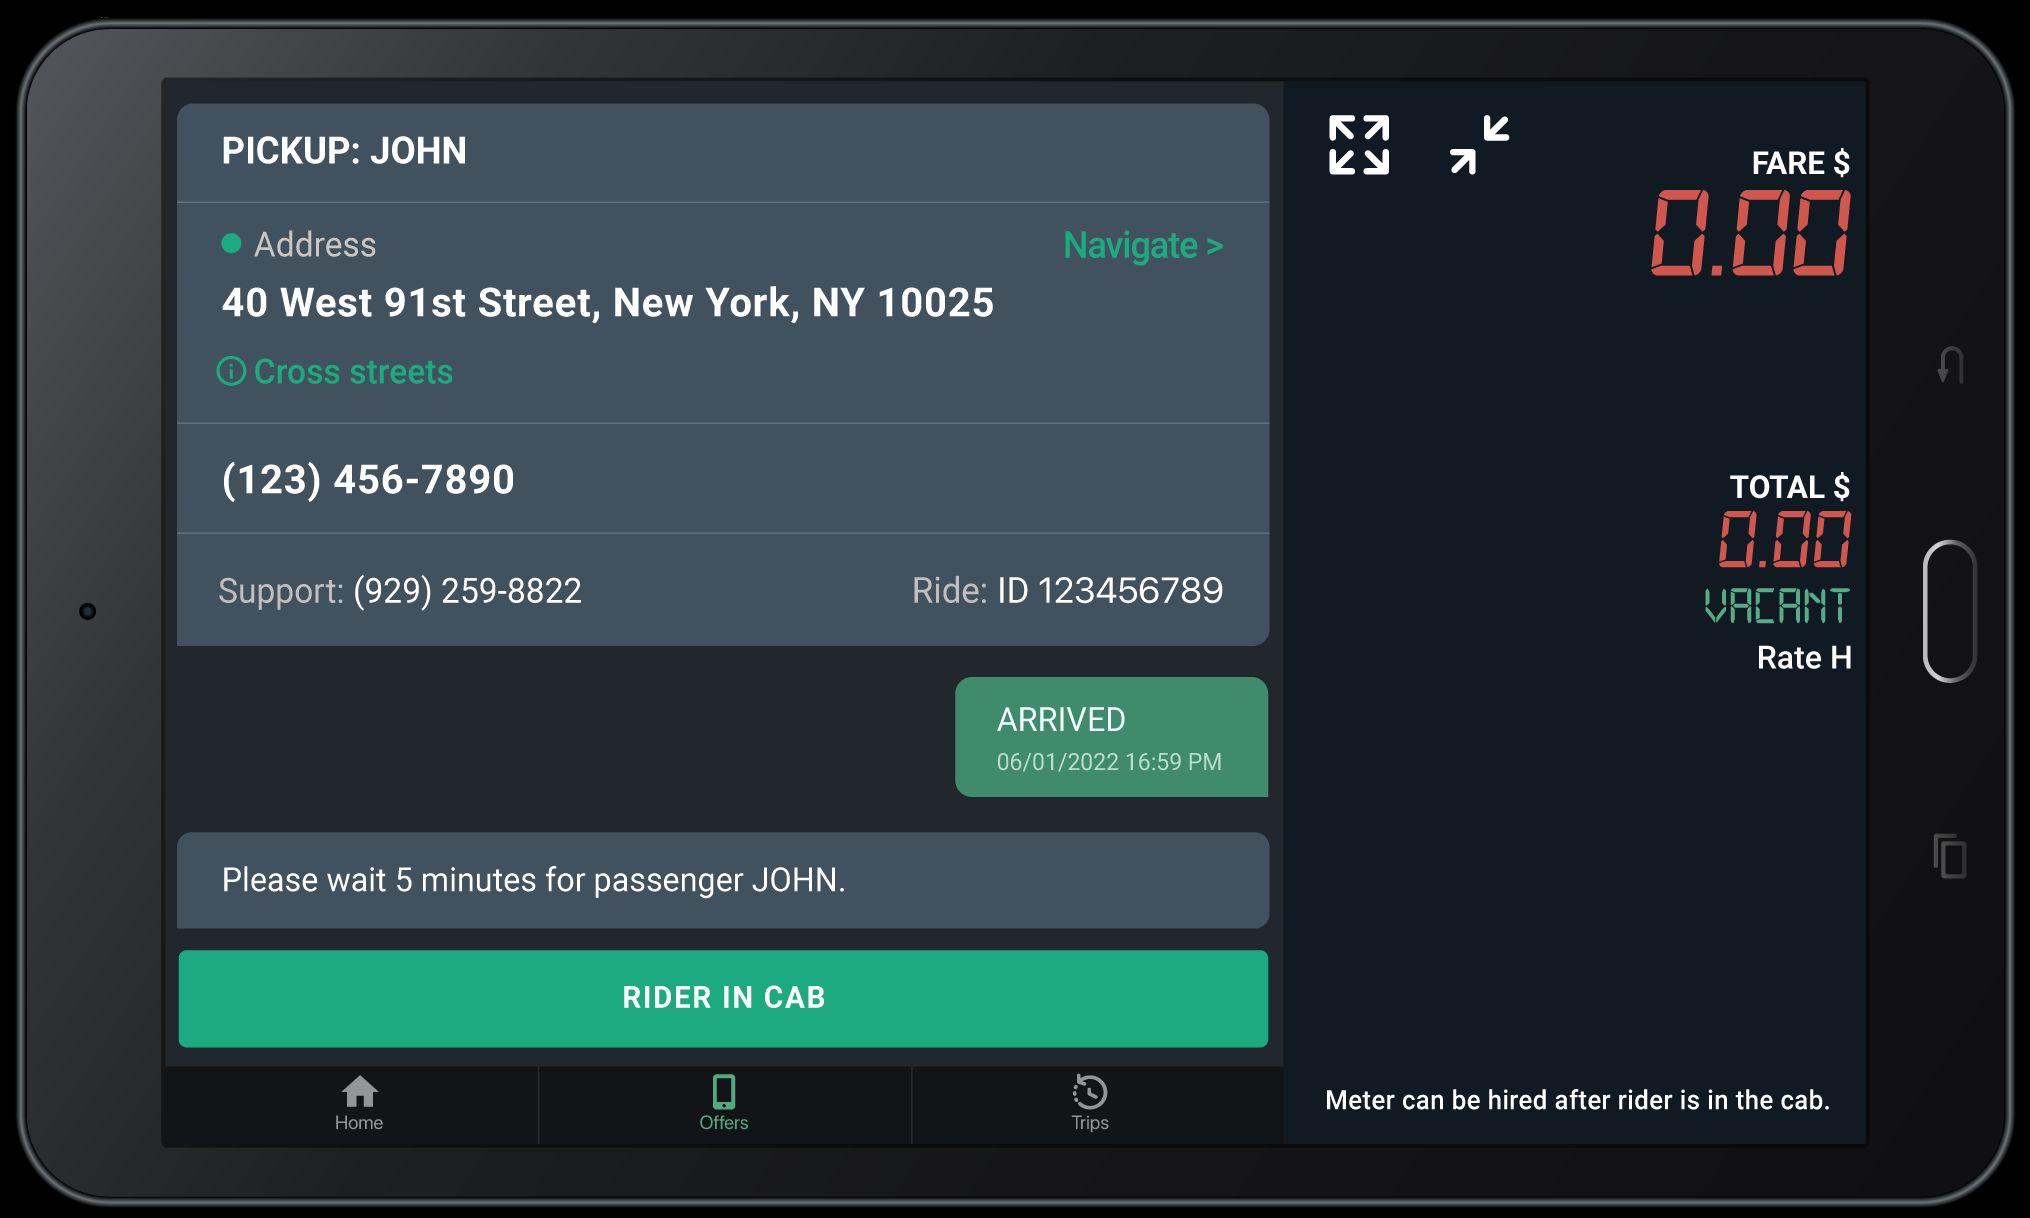
If you win the bid, you will see the pickup screen with the passenger’s name and phone number.
Cross streets
Tap to see the cross streets for the pickup address.
Call Passenger
Dial this number to call the passenger.

Navigate
Tap to use Google Maps to get to the pickup address.
Call Support
Dial the Support number and provide the agent with your Ride ID for assistance.
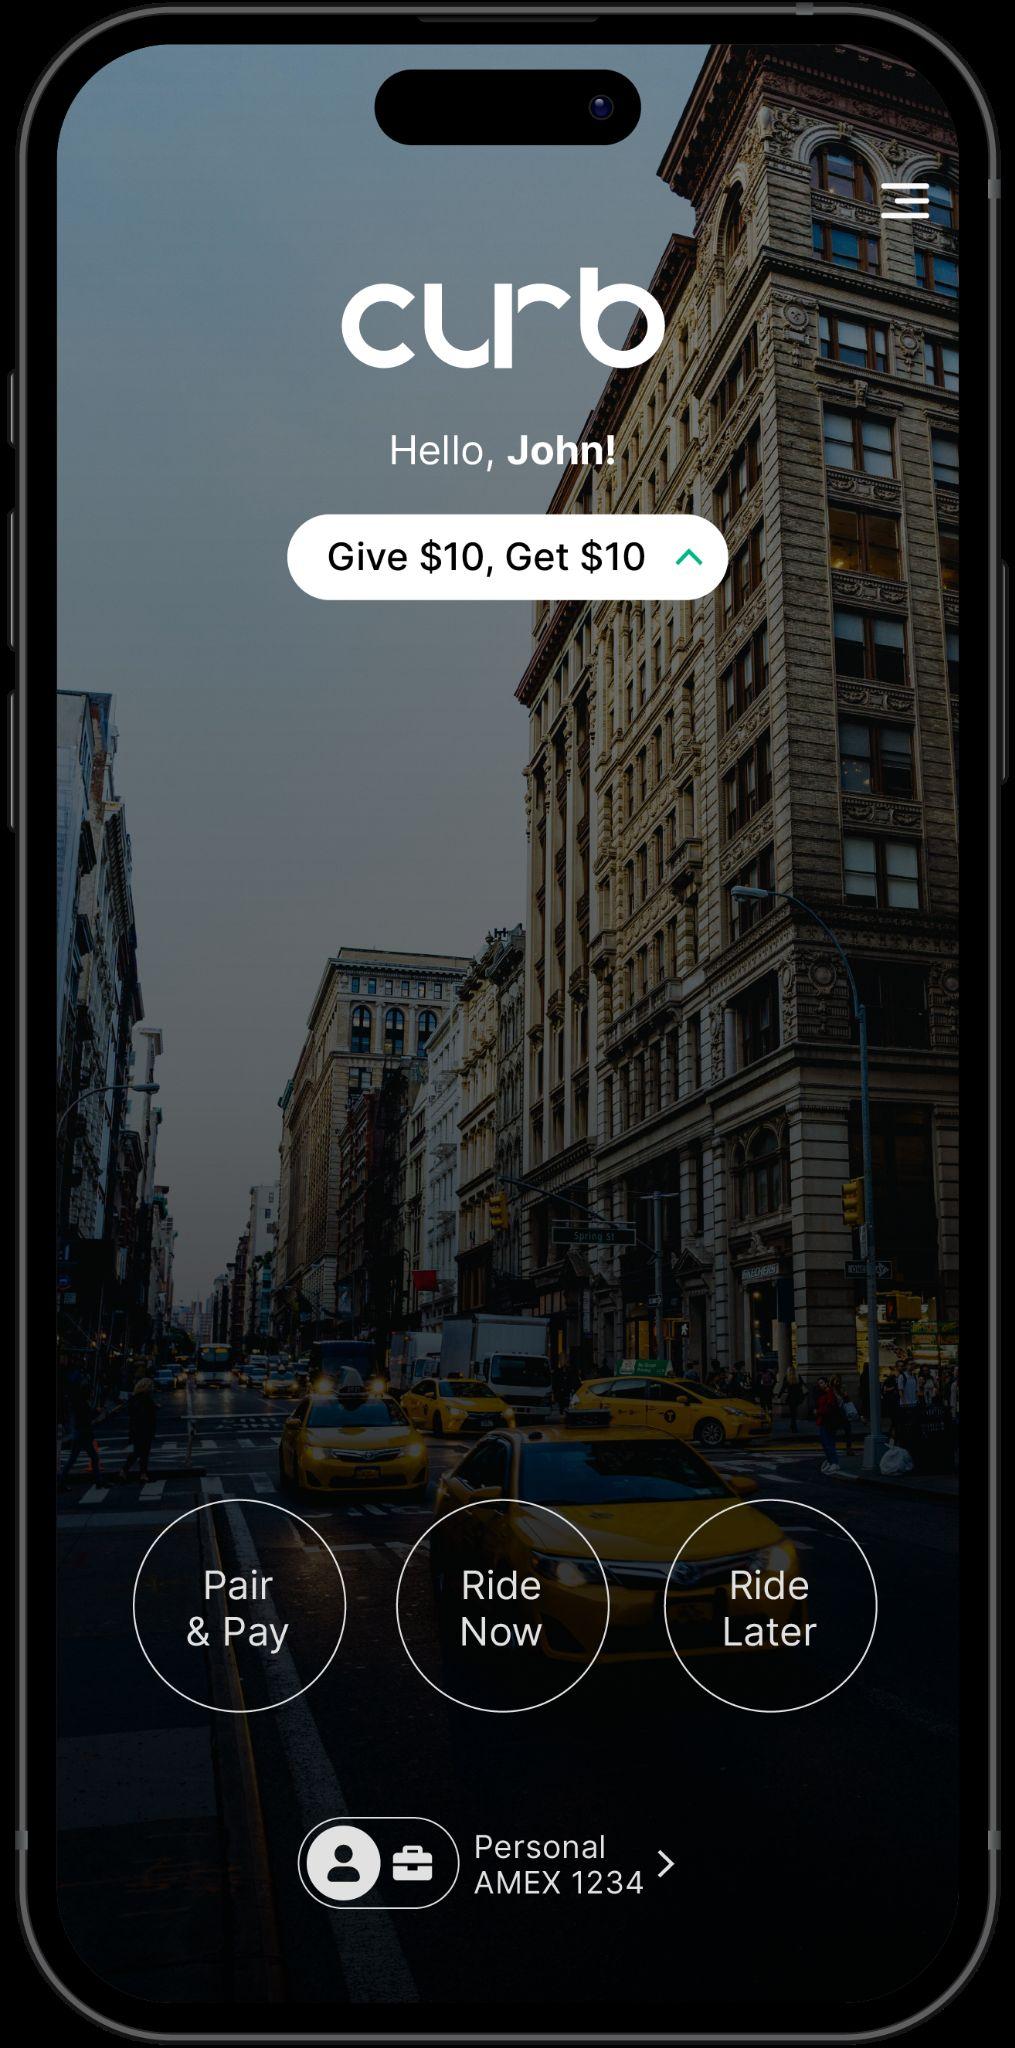
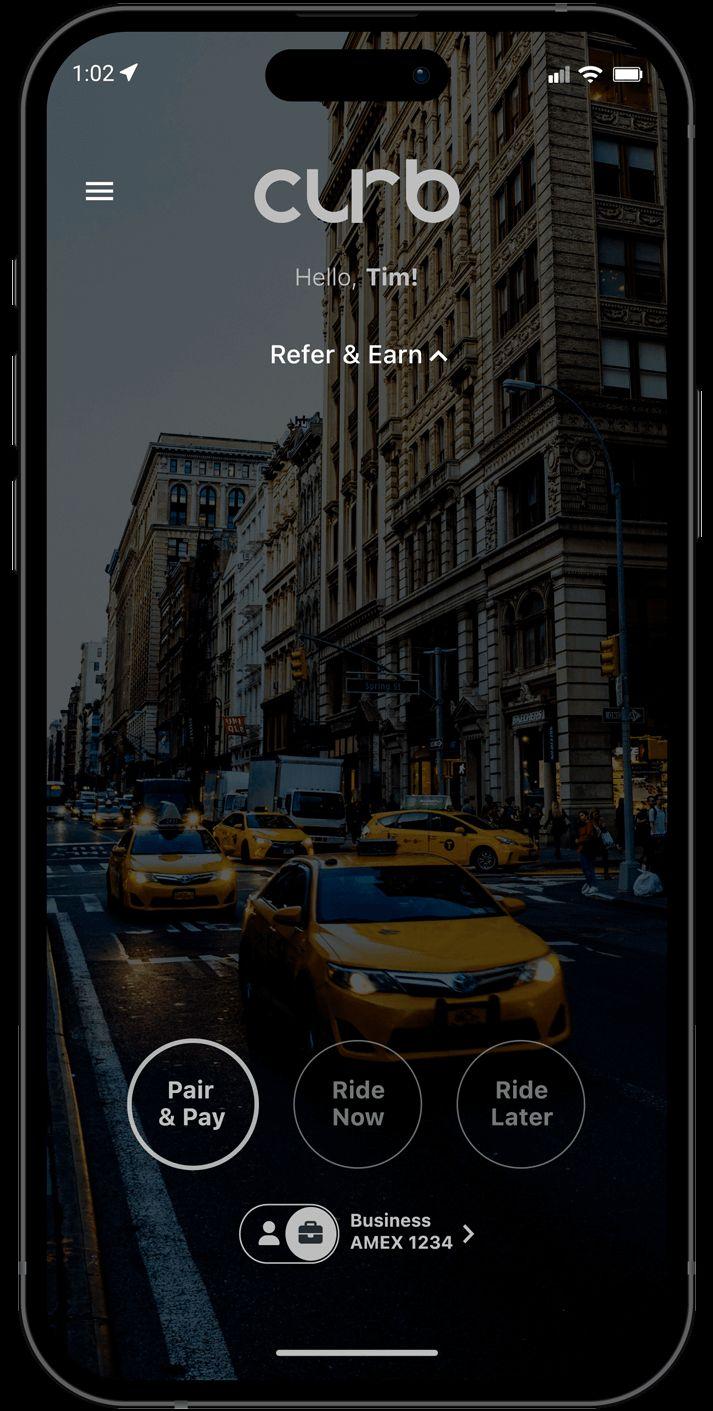
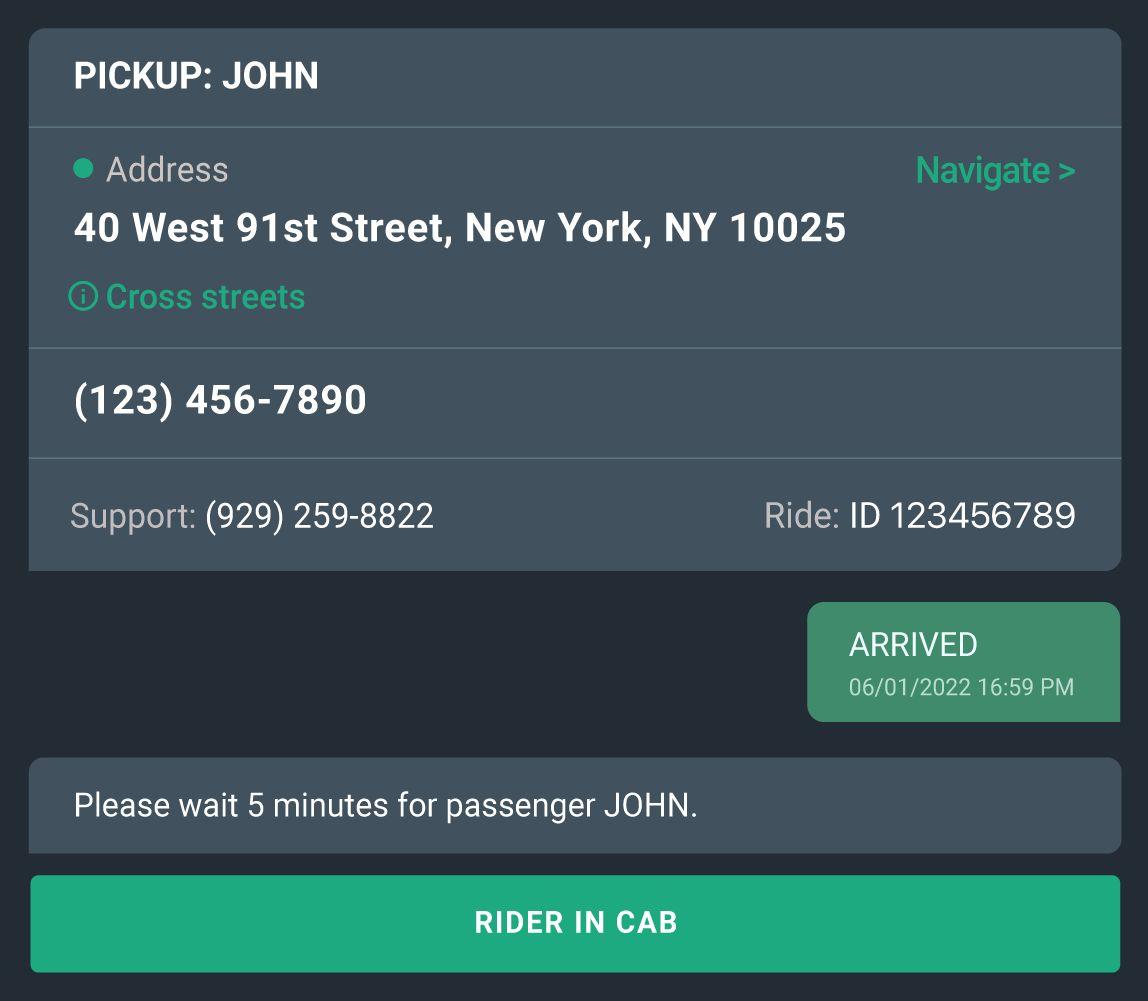
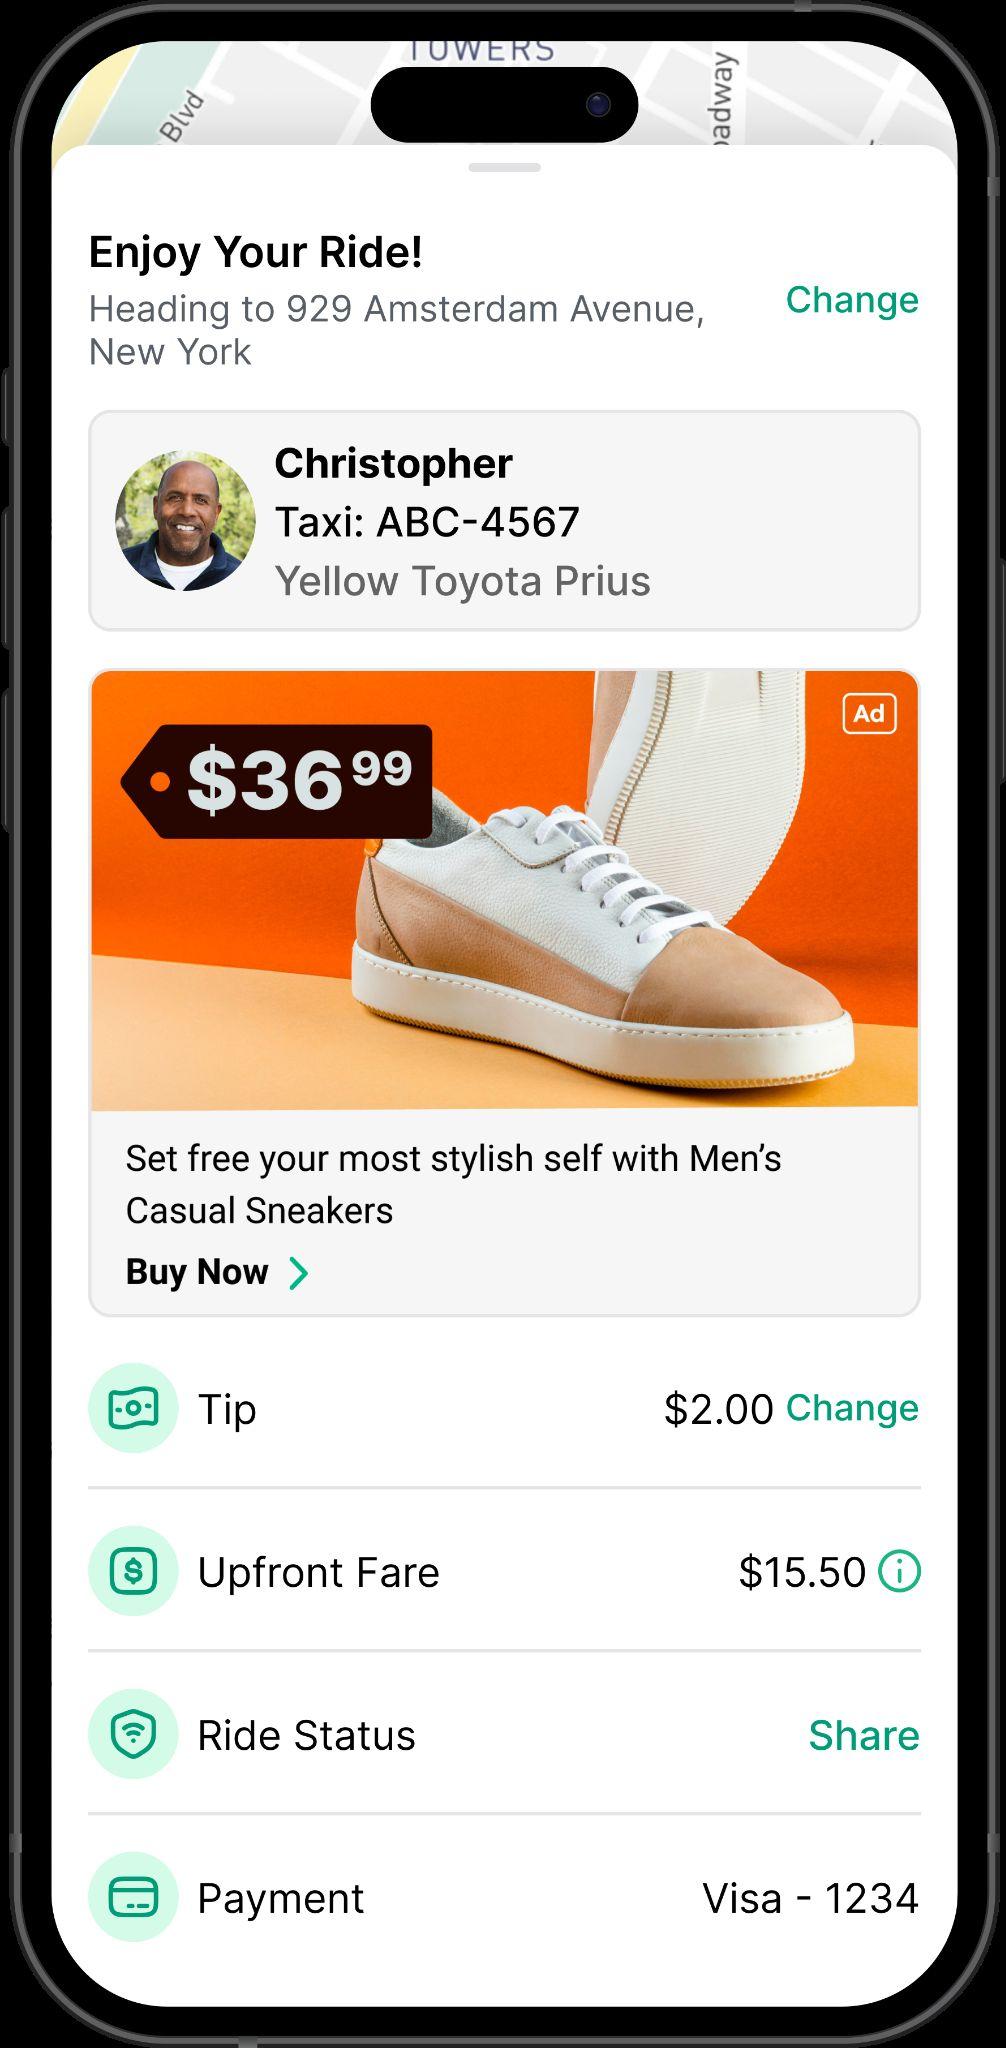
Passenger can use Curb App to order rides.
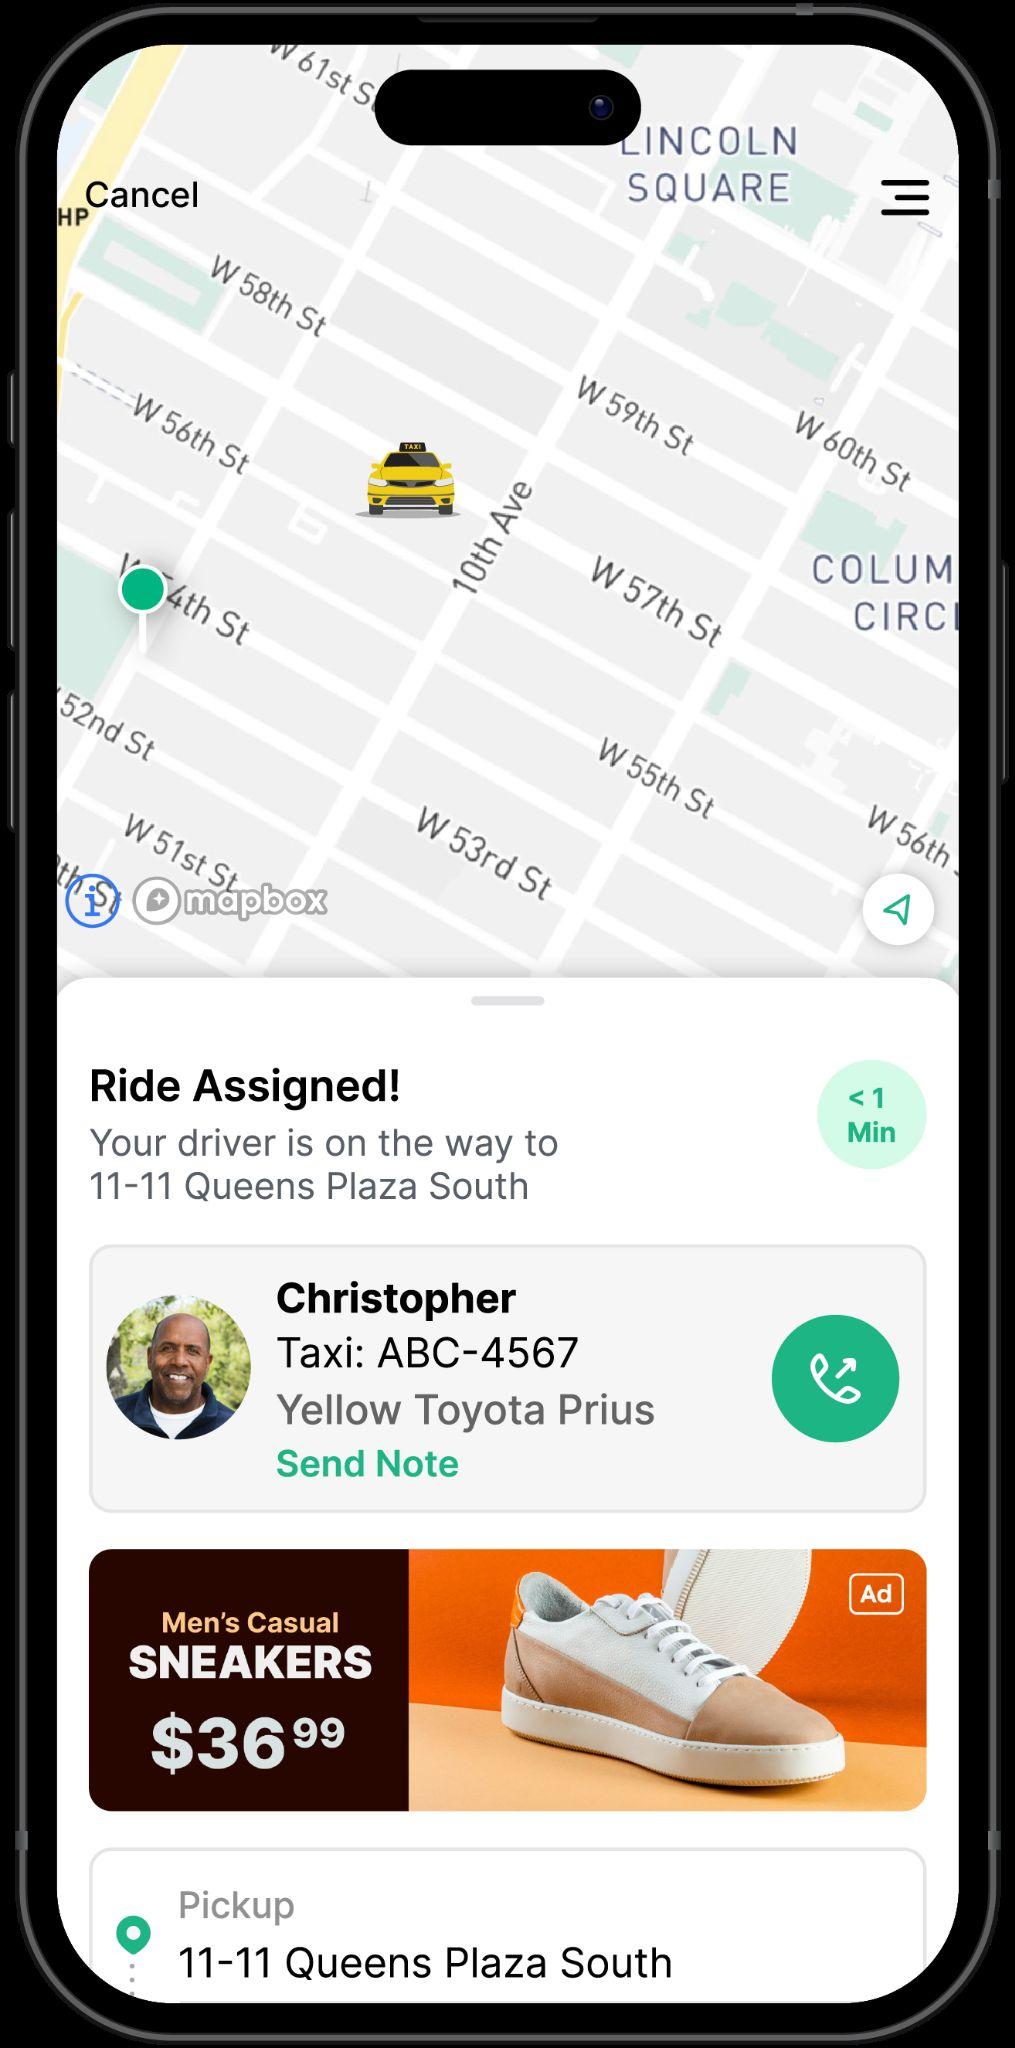
Passenger can view a live map with the taxi location in the app.
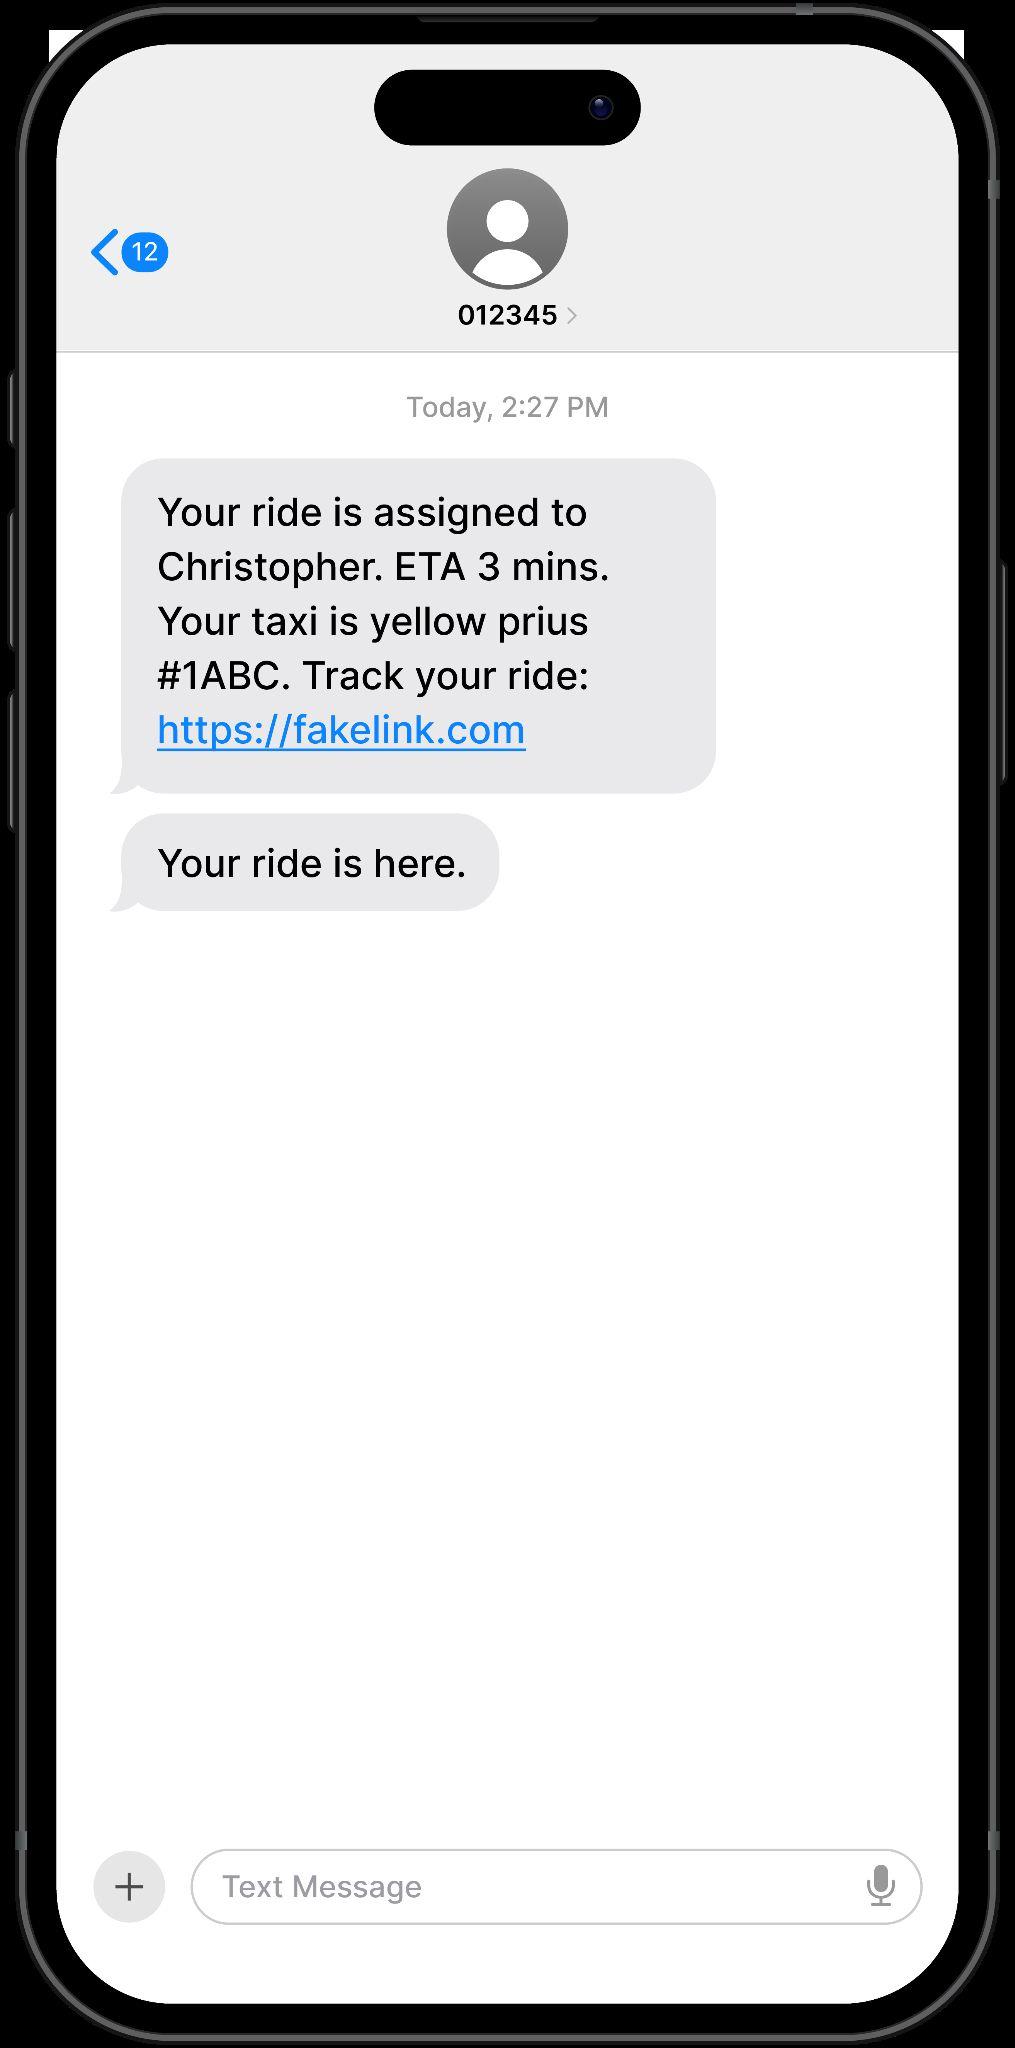
Passenger will be notified by push notification or text message that the taxi is arriving.
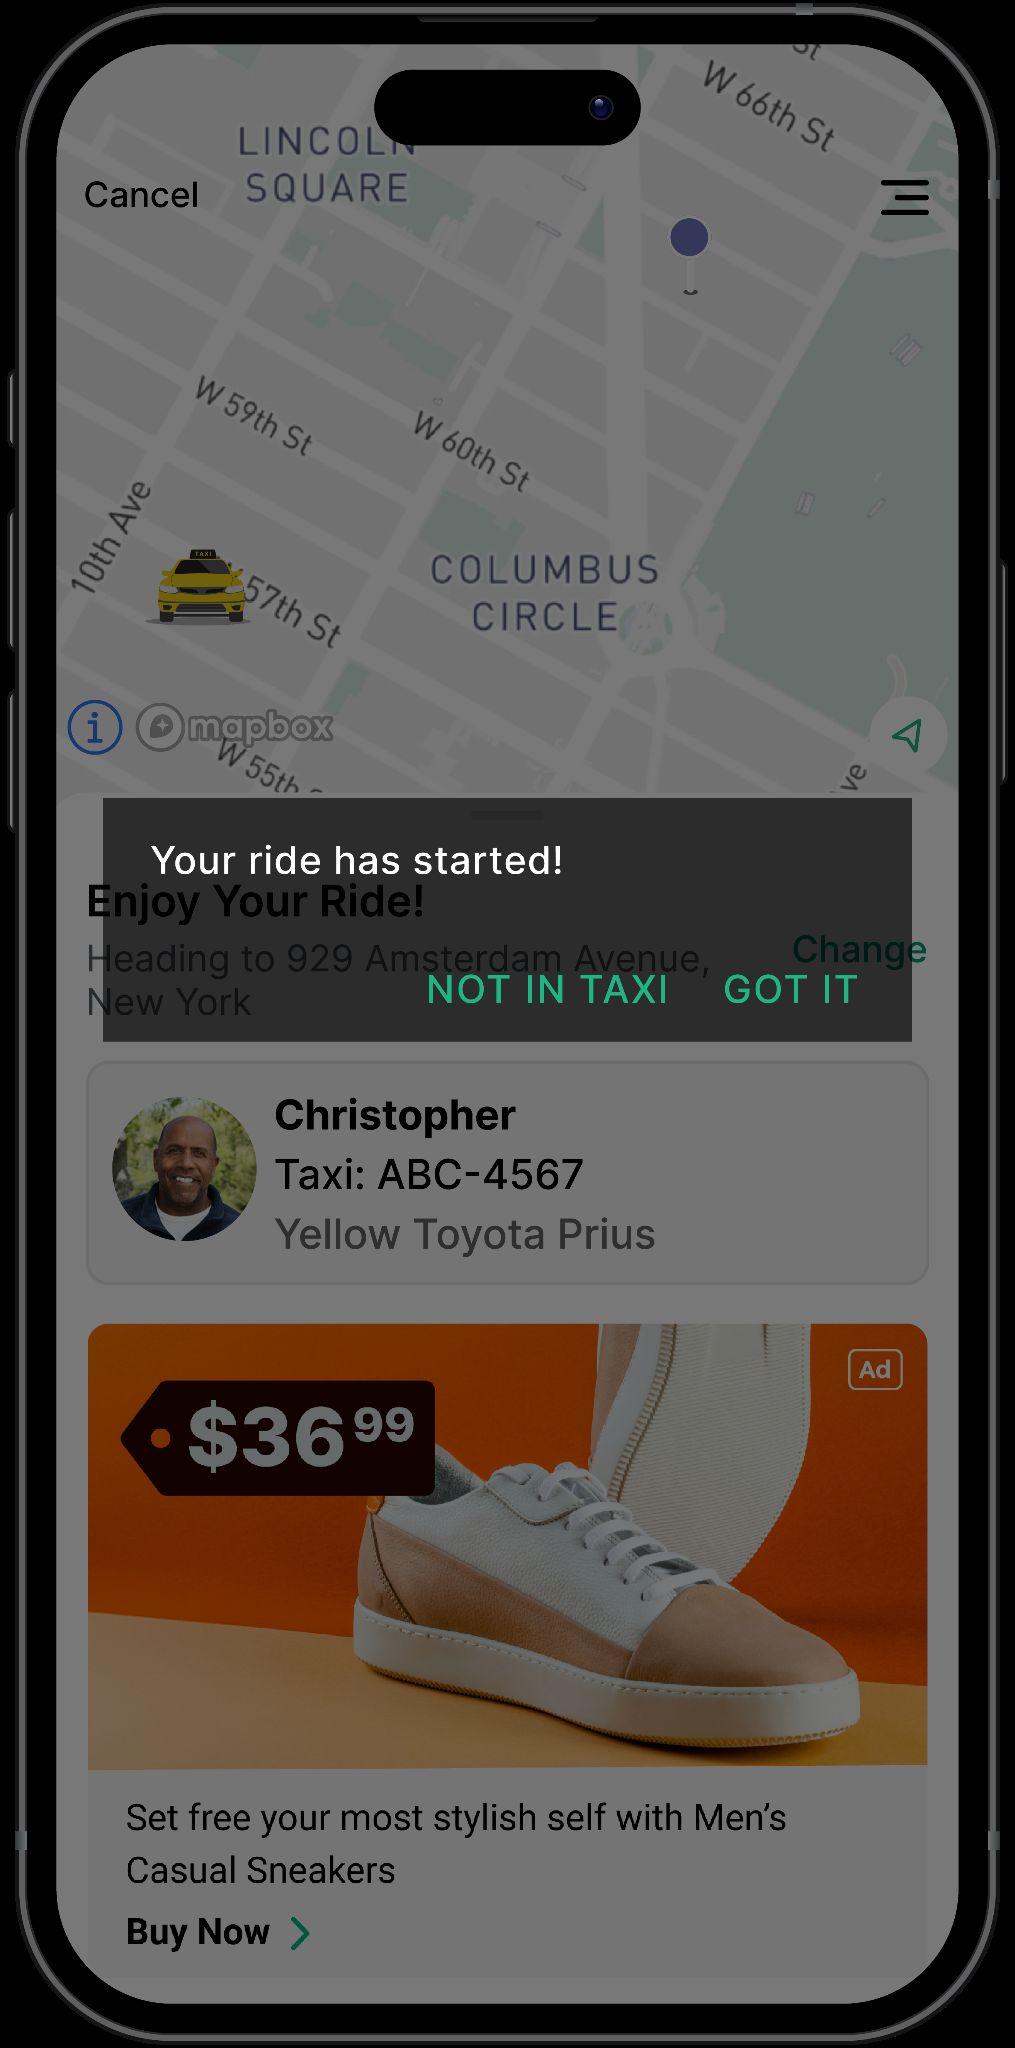
Passenger will select “Got it” in the app to confirm arrival in the correct taxi.
You should wait 5 Minutes for passenger to arrive before you call passenger or contact Driver Support.
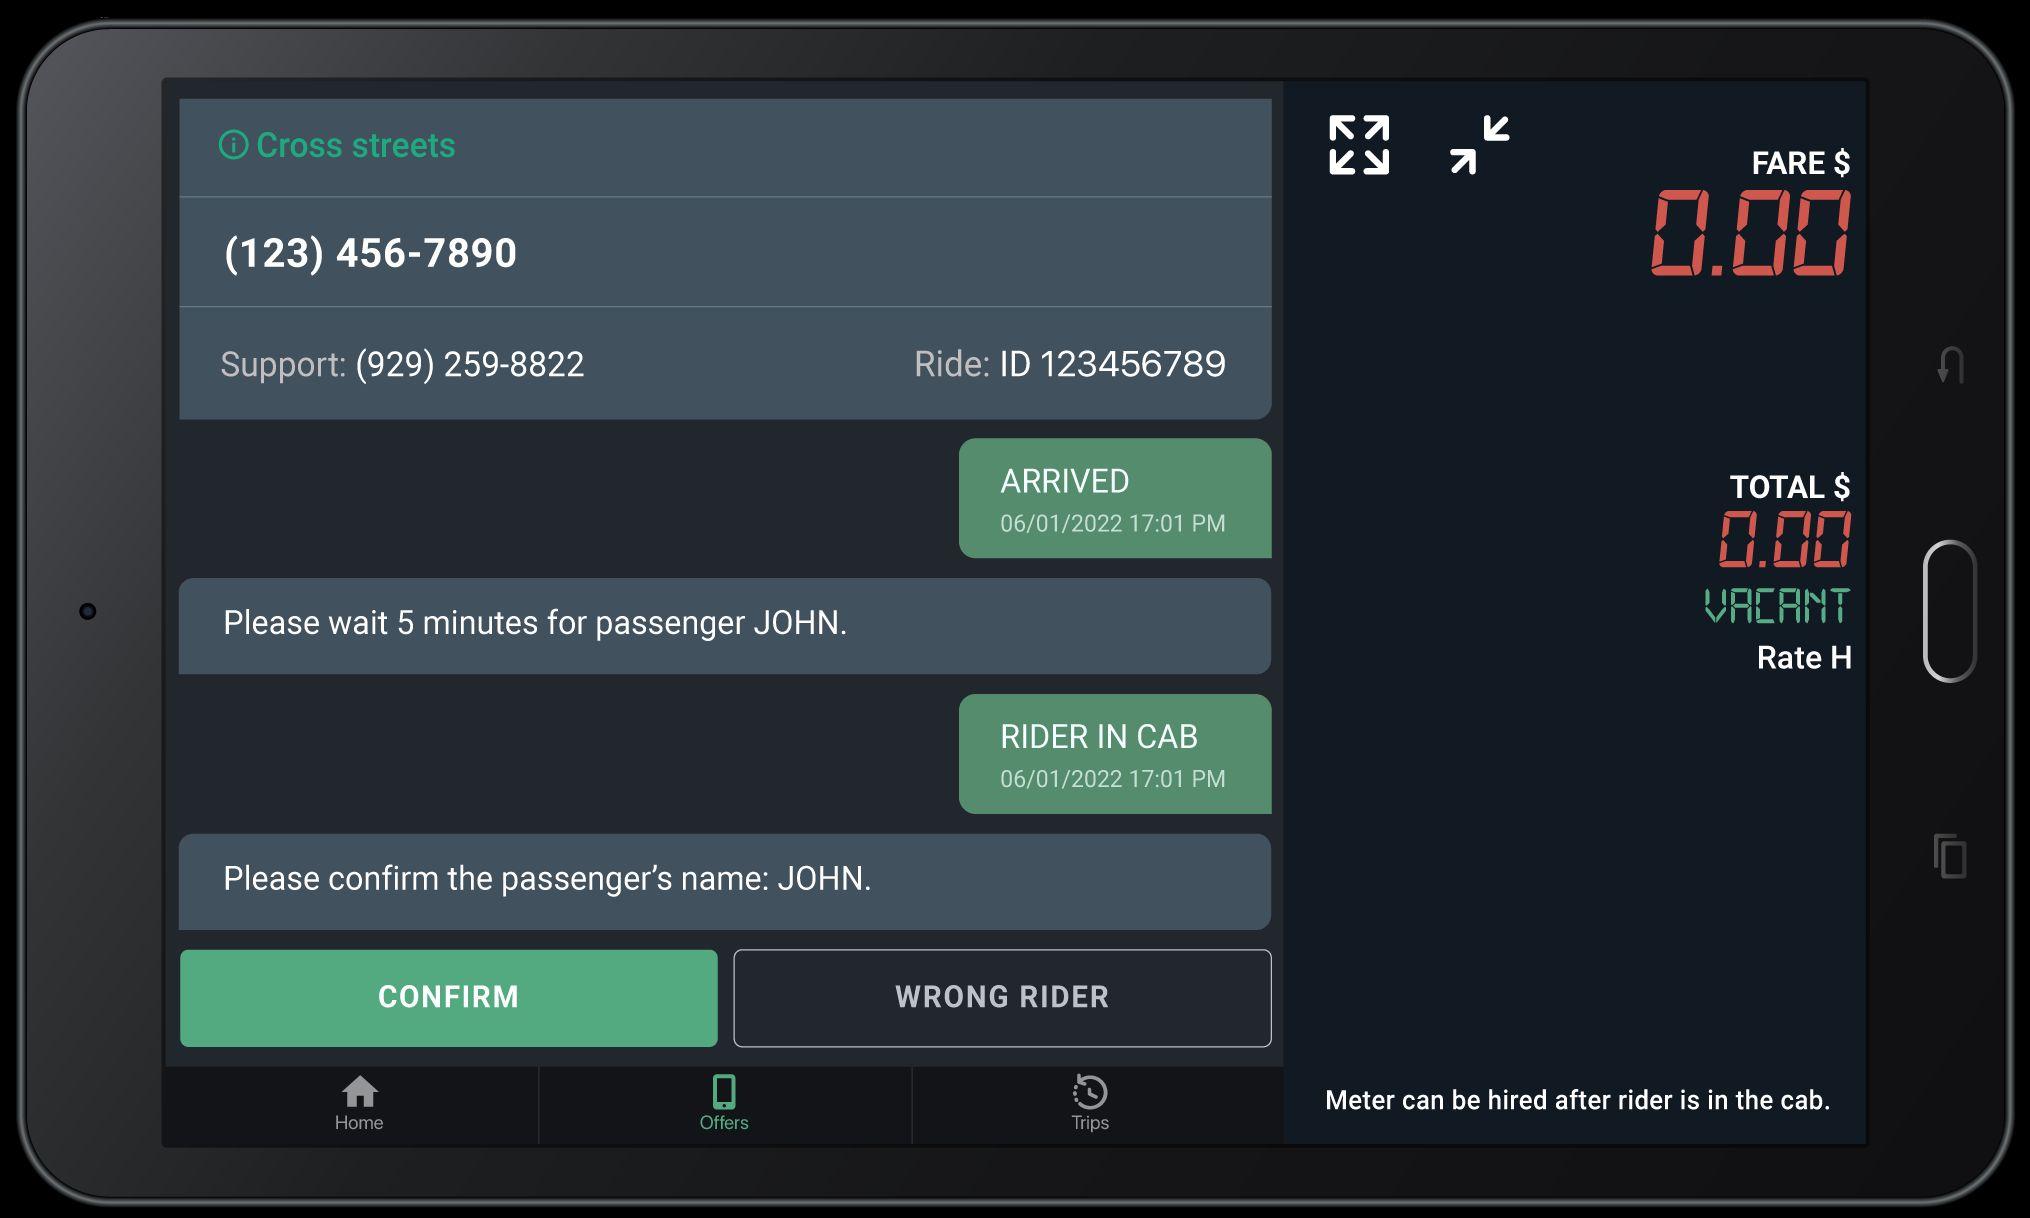
Rider in Cab
Confirm
Tap after passengers enters the cab. Wrong Rider
Tap once designated passenger is present in the cab.
Tap if passenger’s name does not match what is listed on your trip offer.
Passenger will be notified once ride has started at this point.
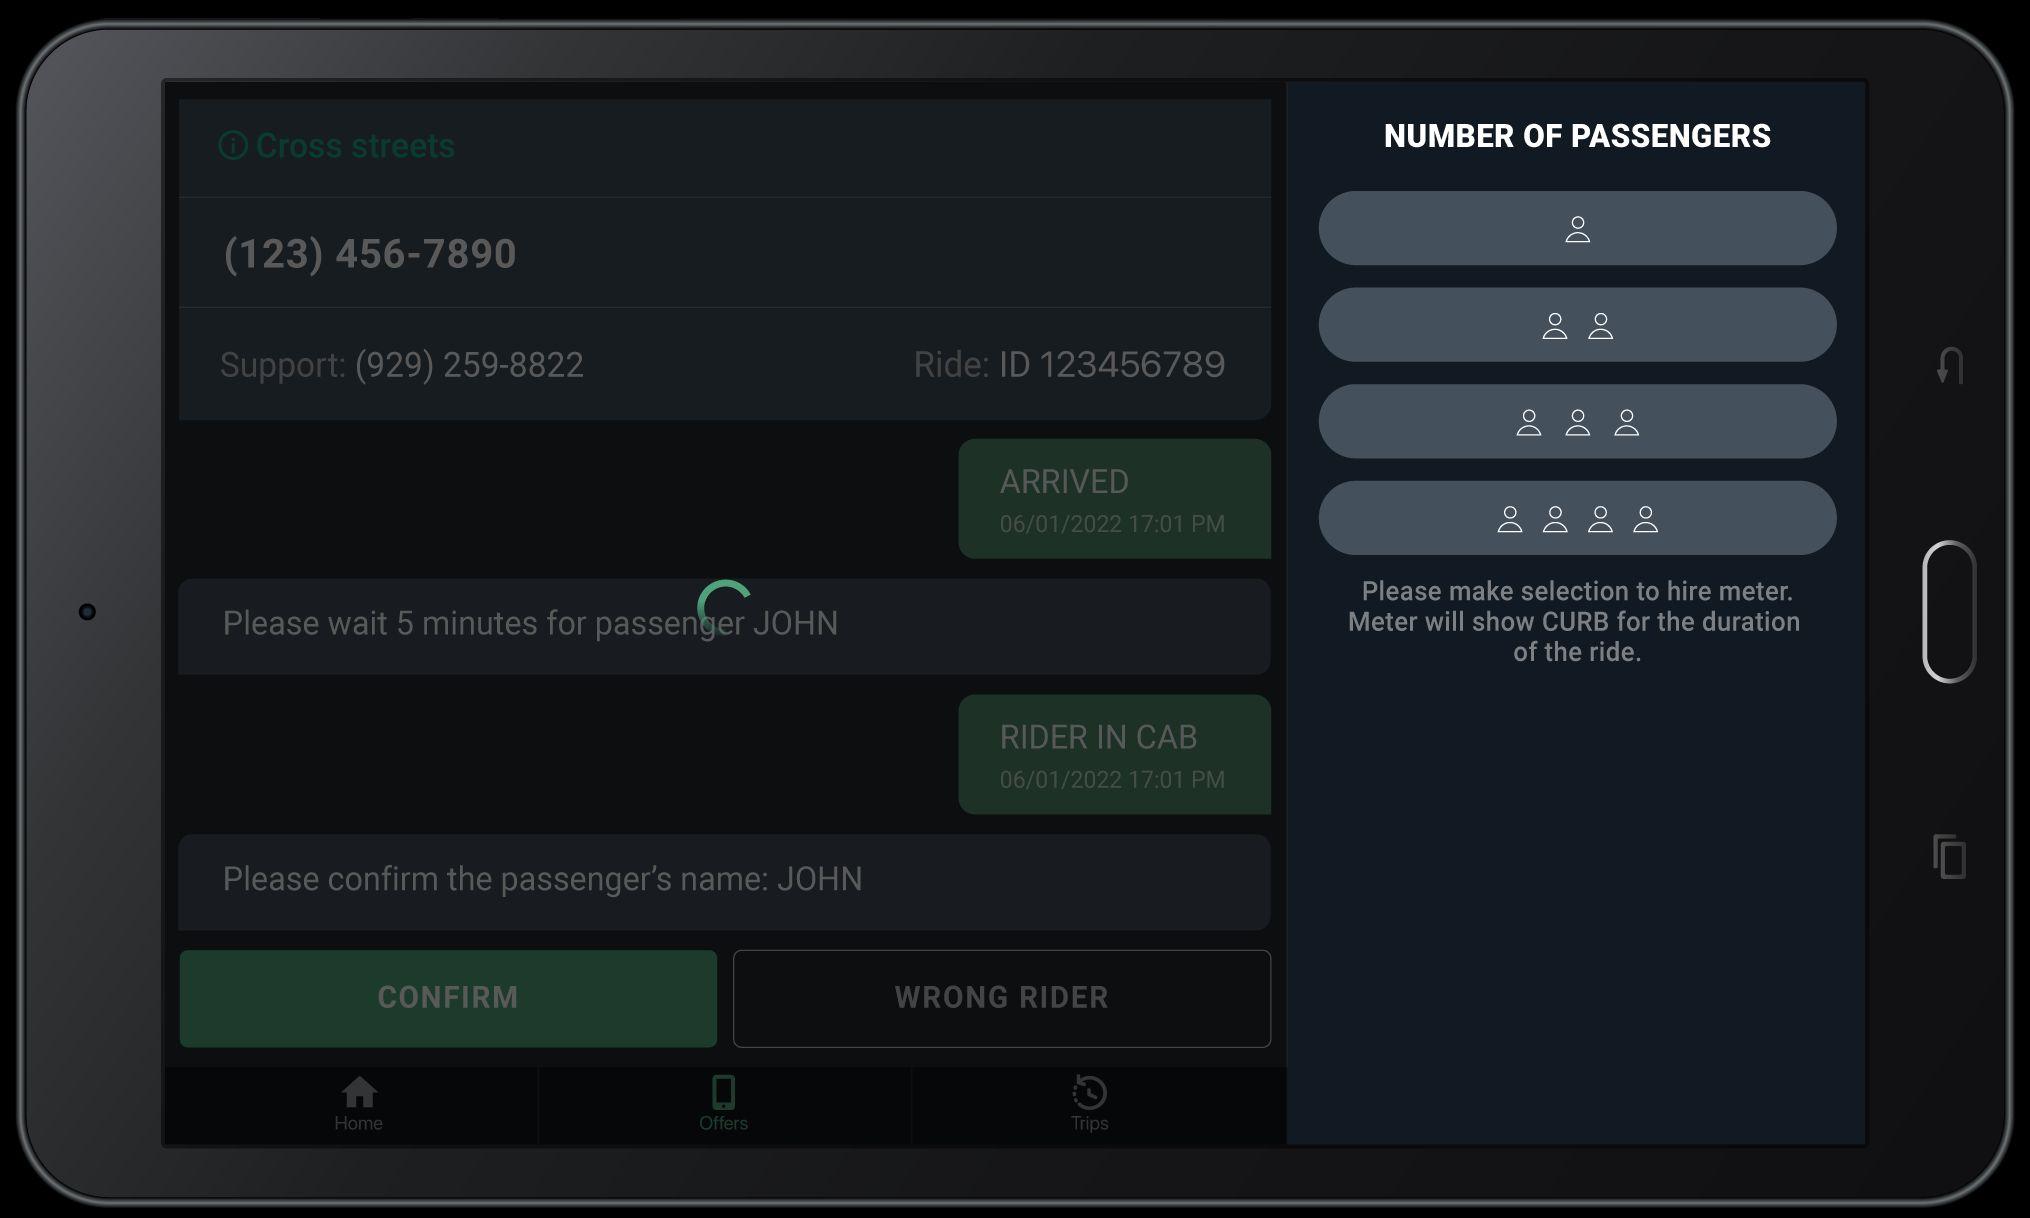
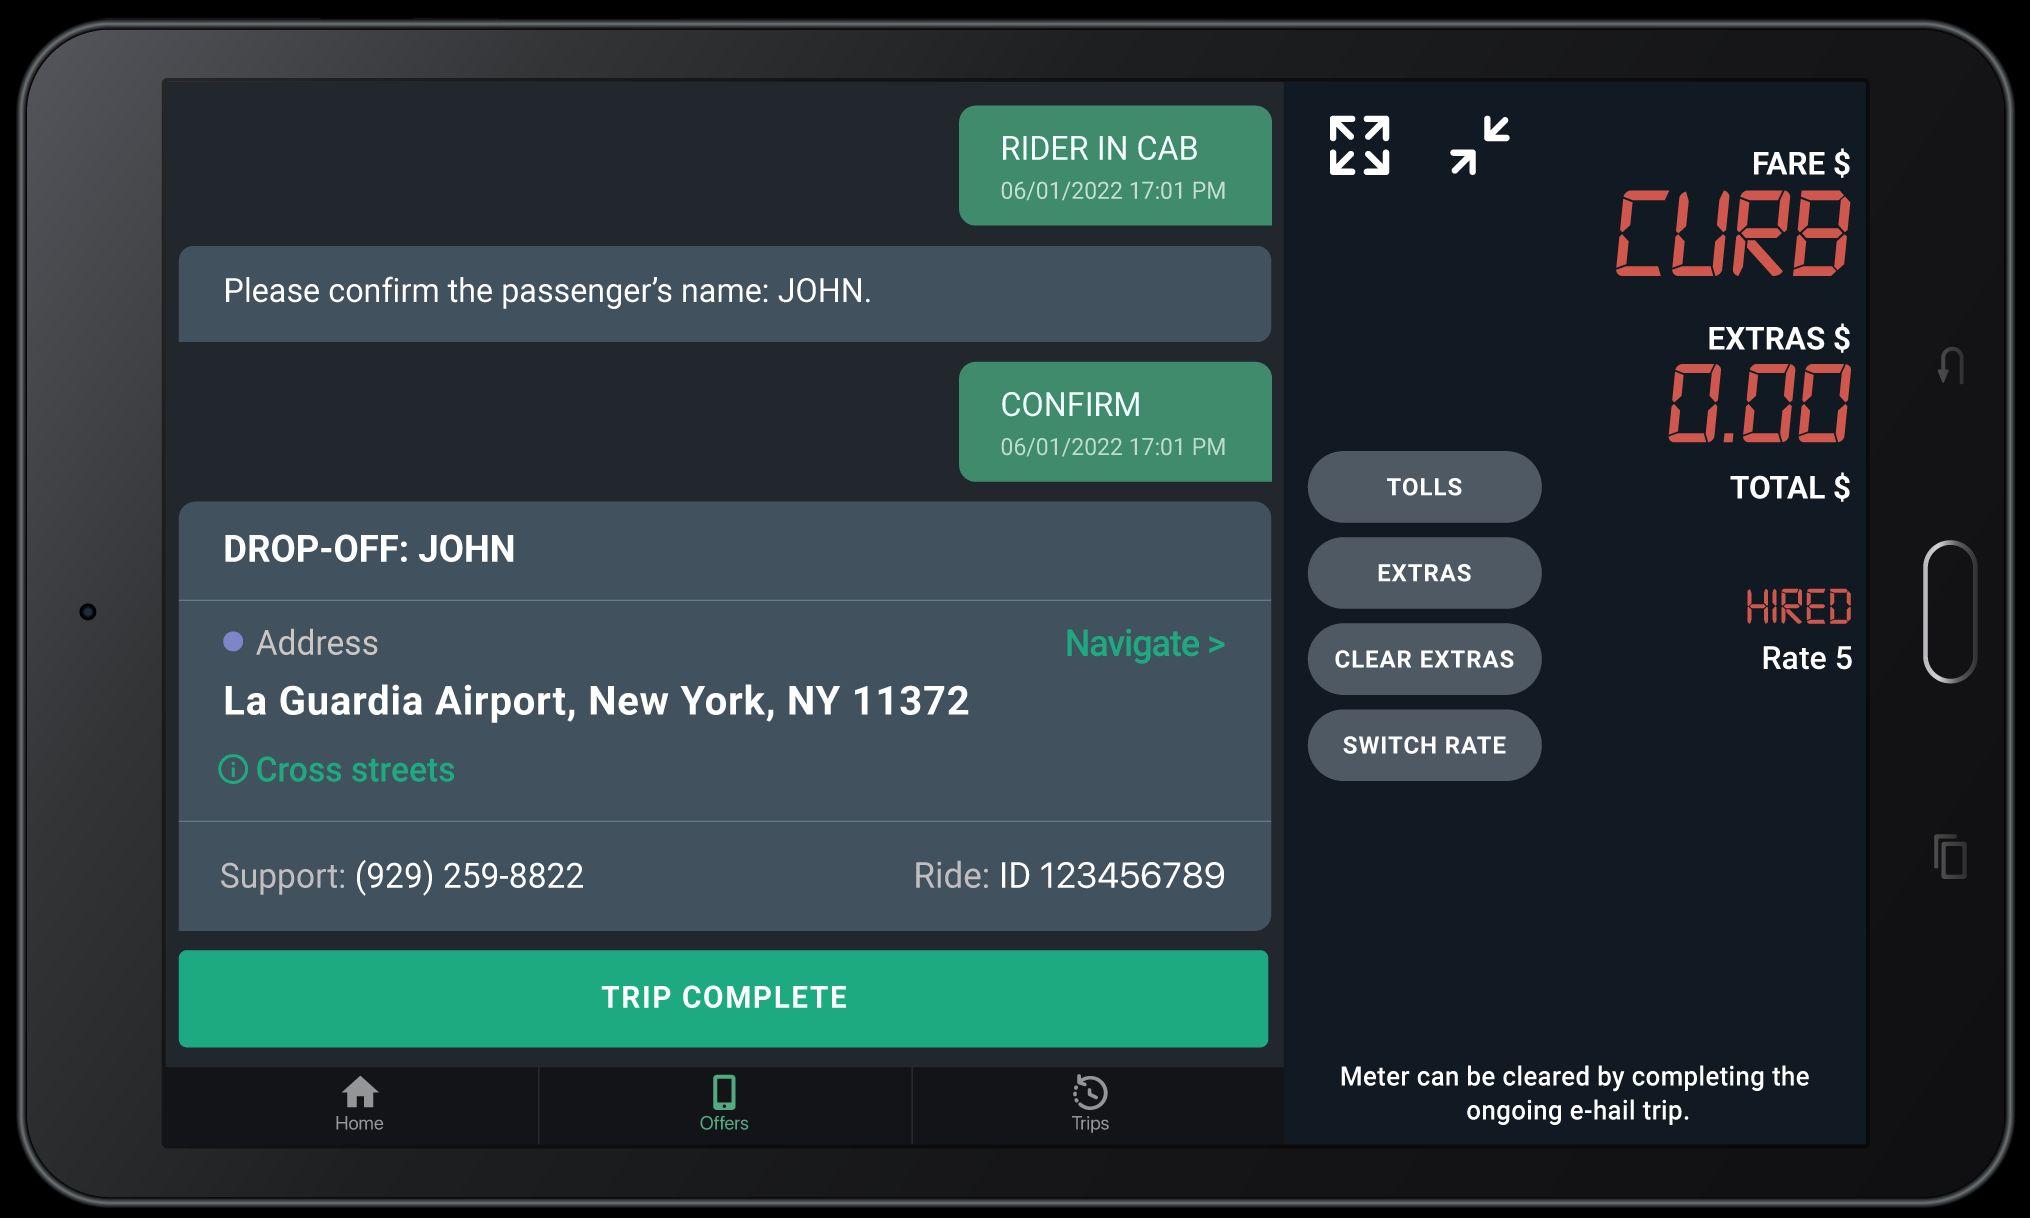
Select the number of passenger(s) riding in cab.
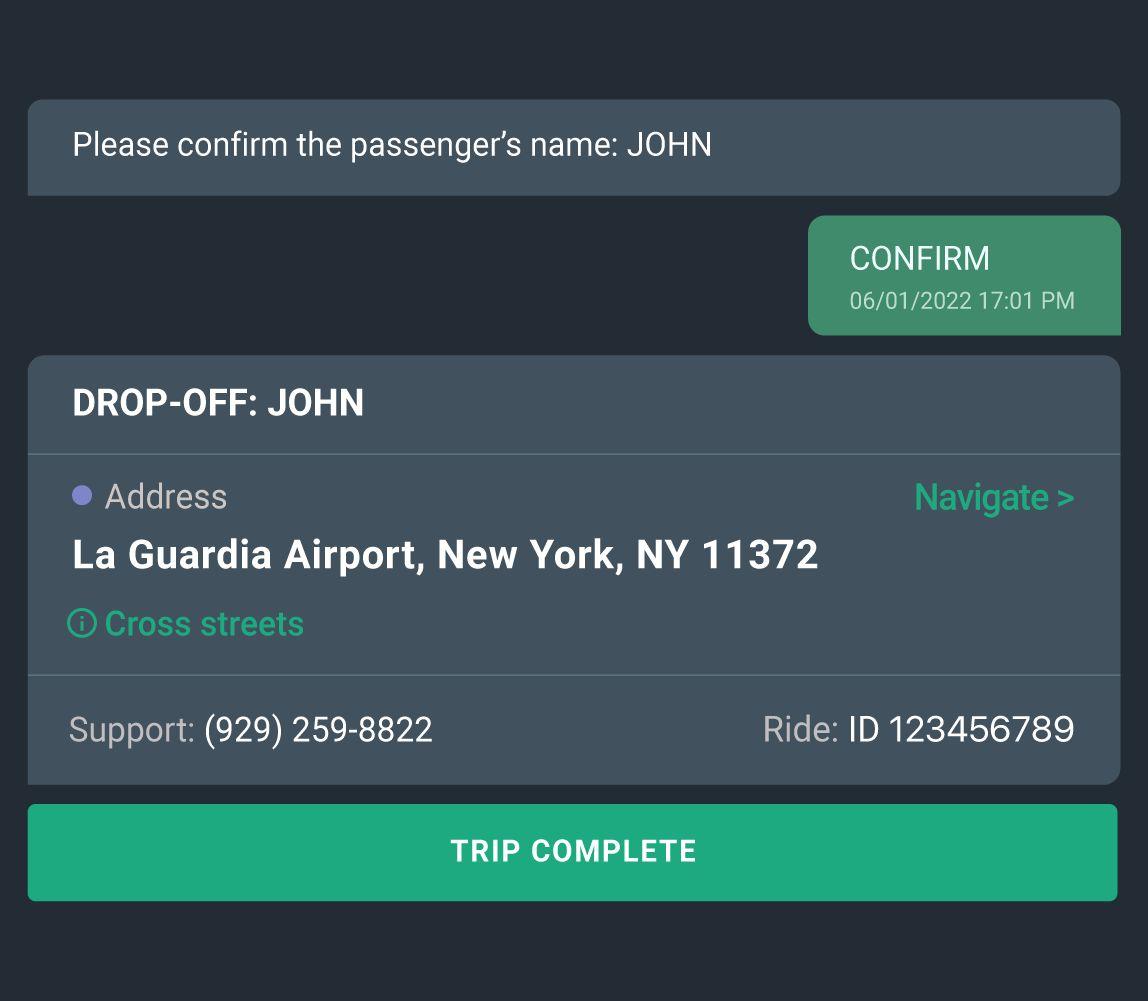
Trip Complete
After arriving at drop off address and dropping off passenger, tap Trip Complete.
Tap here to access the full menu for the Dash+.
Tap here to shrink to minature view.
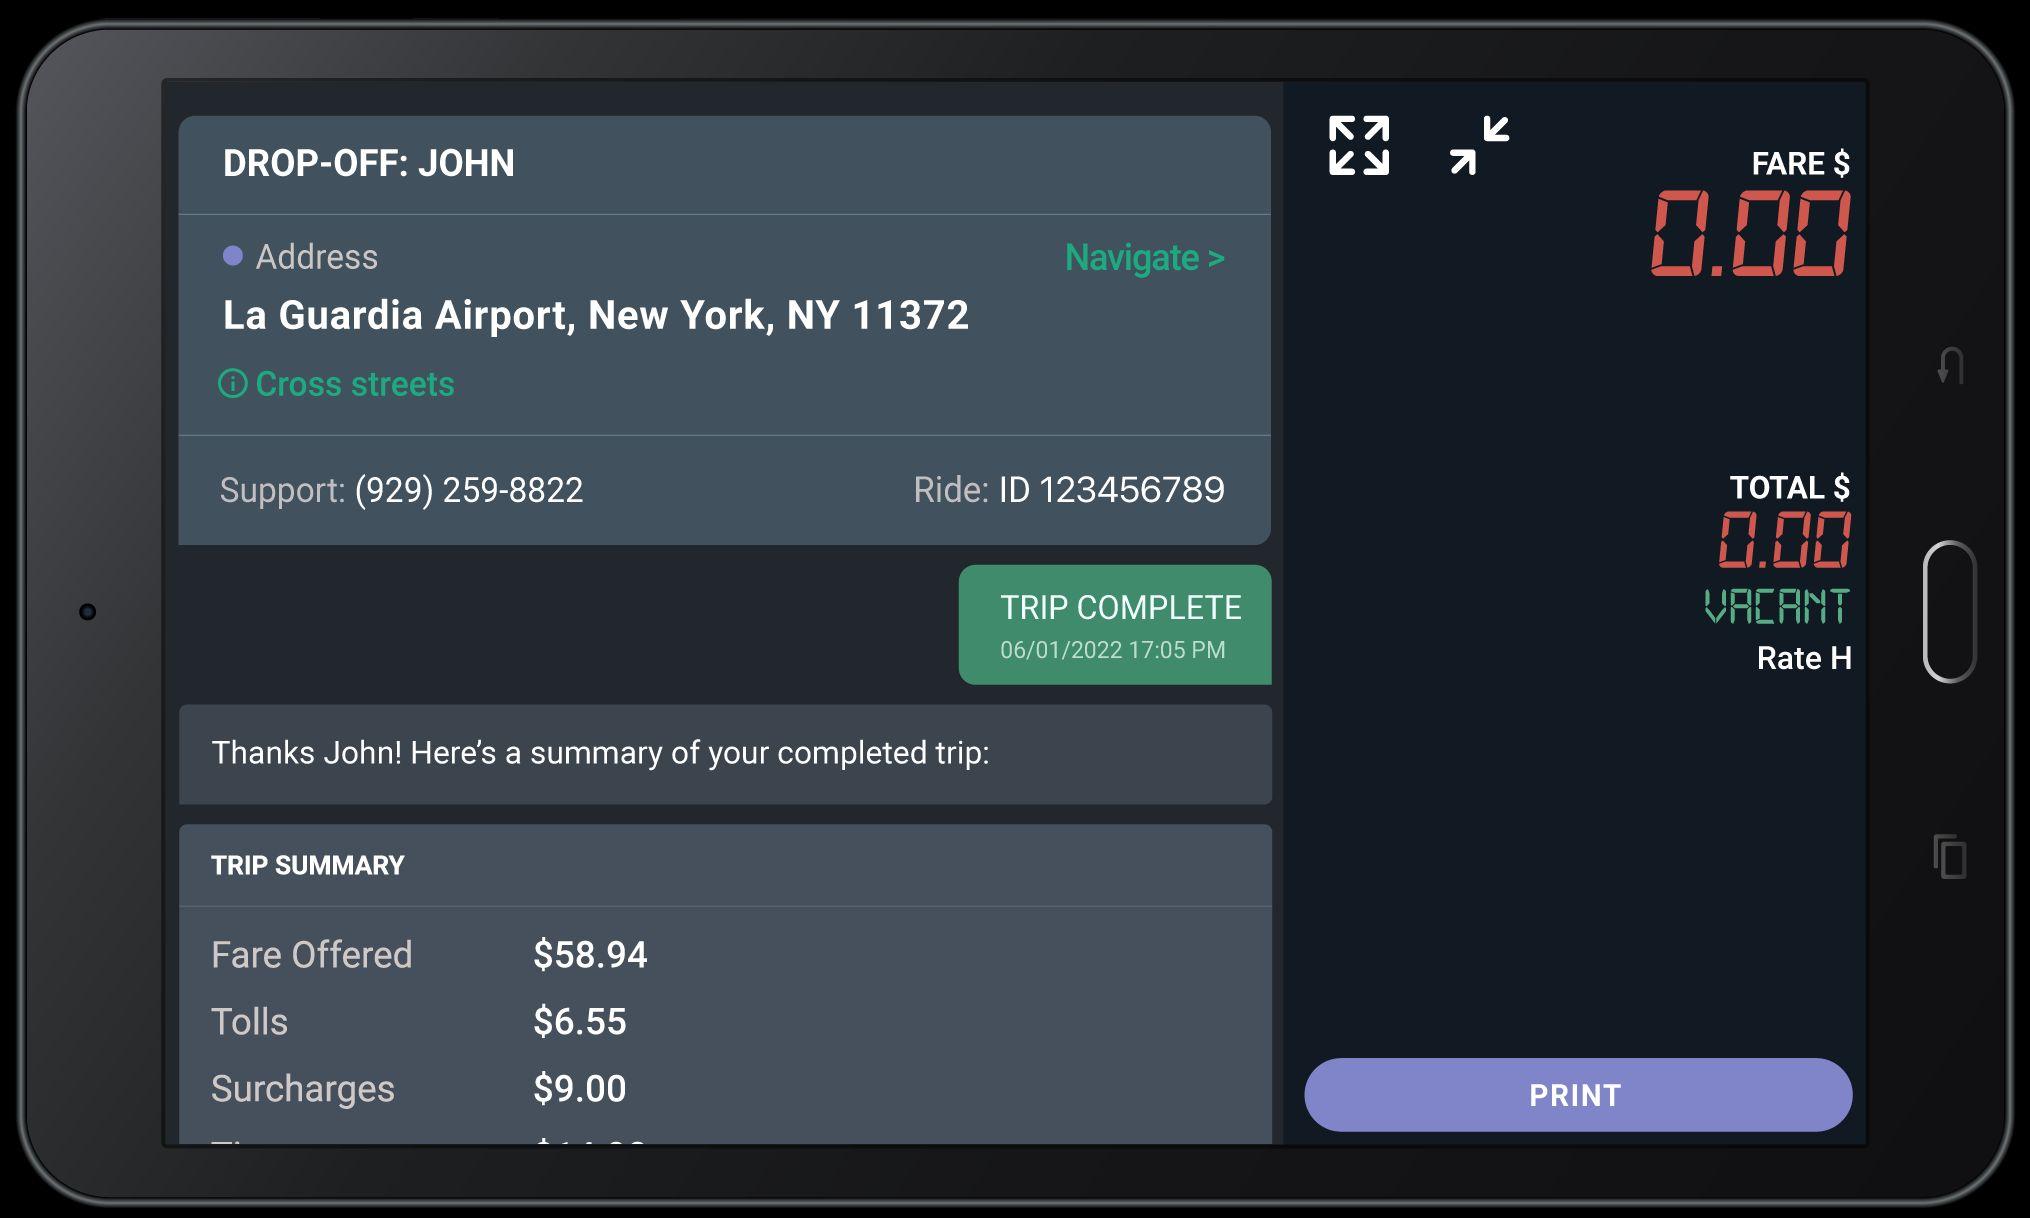
Tap to print receipt.
Passenger can view the ride details in app under Ride History.
Trip is completed
You are now ready to hire meter for the next passenger.
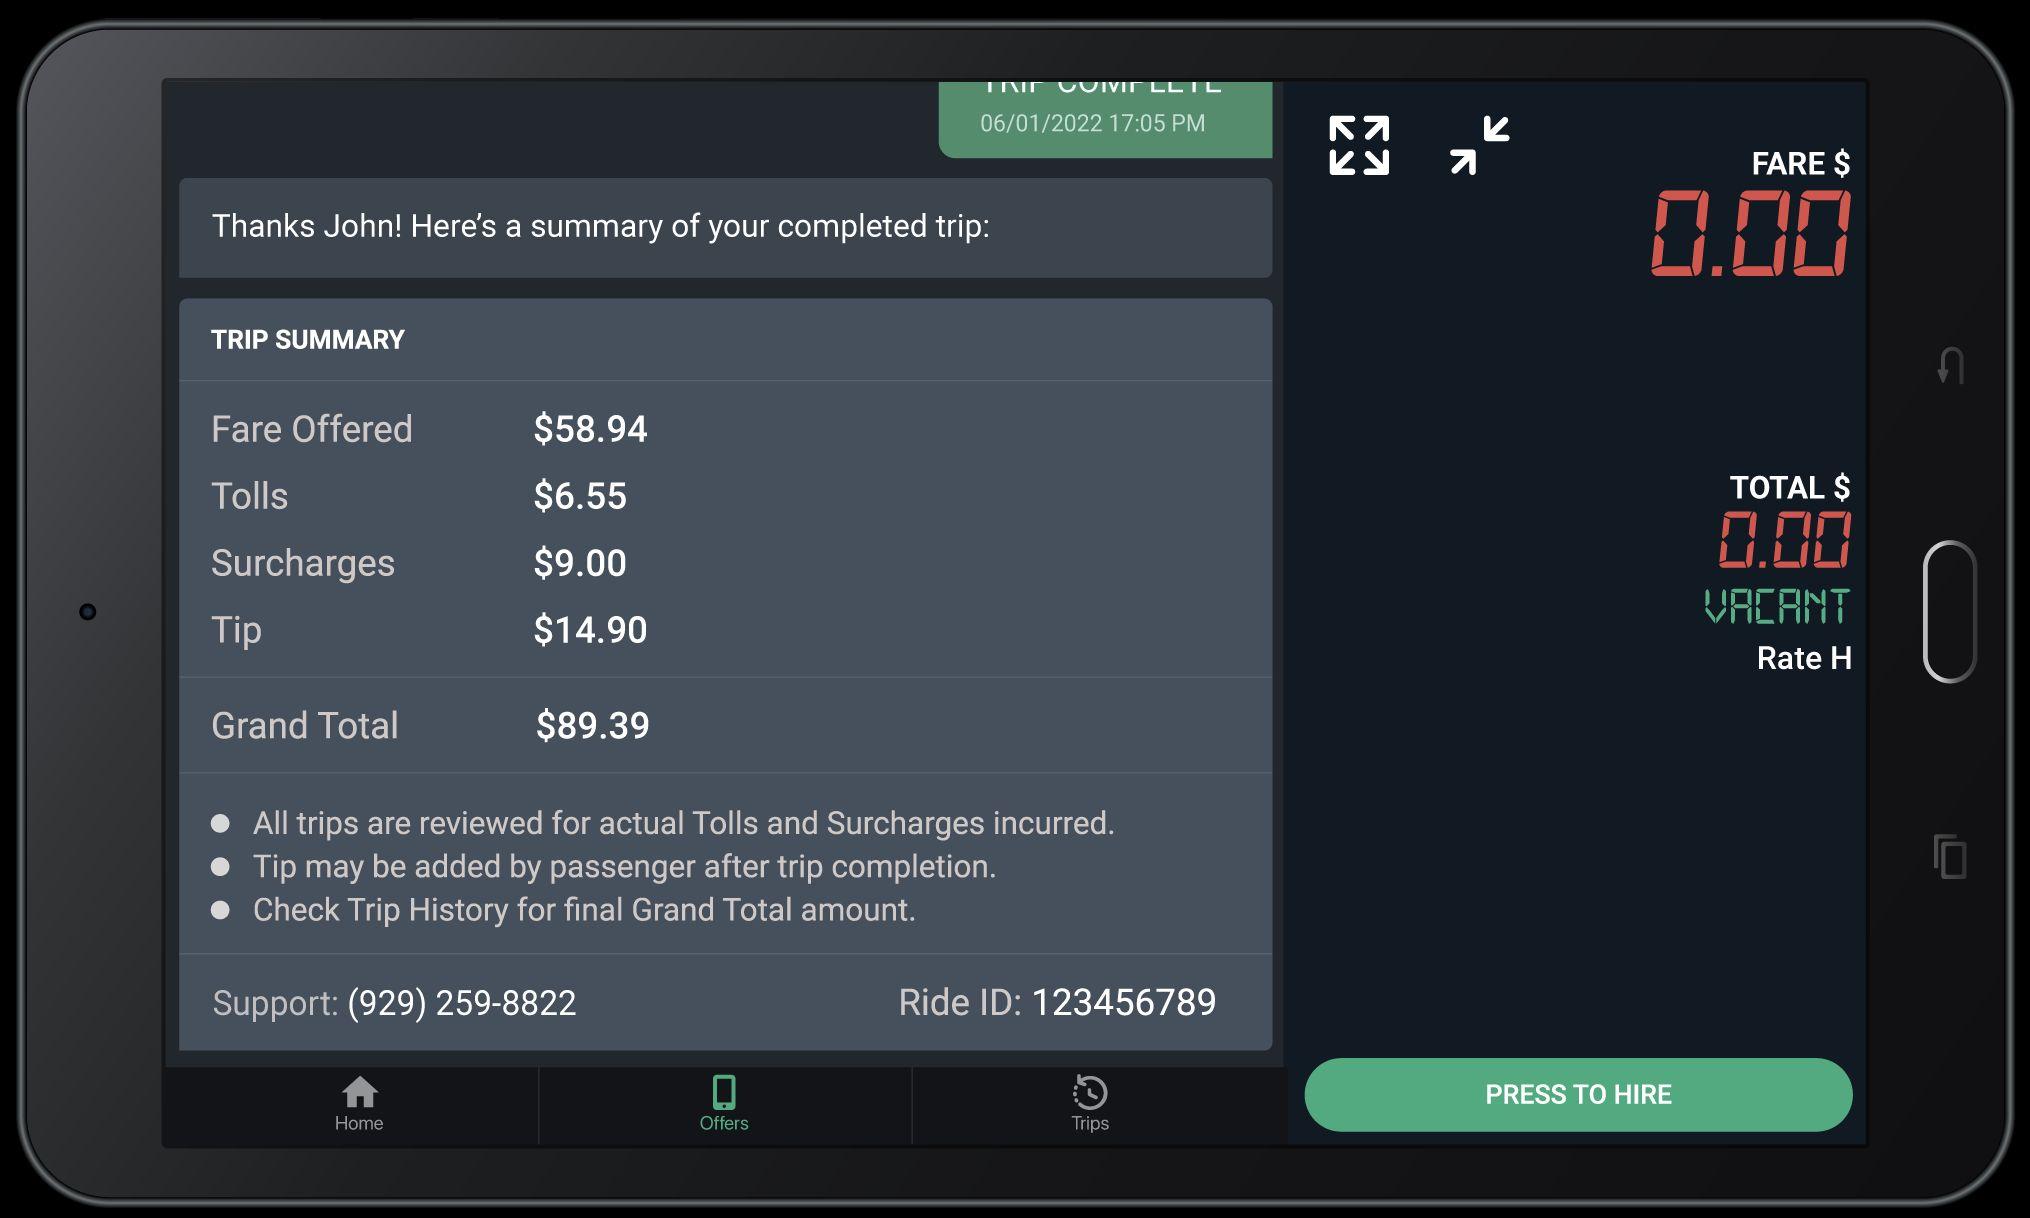
You see the Trip Summary after completing the trip.


Tap “Location Search” to see list of trips and cabs in all company zones.

Tap “Pending Trips” to view all dispatch trips available for bidding.

Tap “Request Voice” to send notification to dispatch agent to call the driver.
Tap “Driver Admin” to access panic button for distressed alert, control payment device volume or to enable/disable payment device ADA mode.
Tap “Trip Data” to view current trip details such as passenger name, pick-up/drop-off address.
Tap “No Customer” to report if customer does not show up to pick up location within designated time frame.
Tap “Bail Out” to cancel the trips that have been assigned. NOTE: a high number of bail outs may lead to driver suspension.
Tap “Log Into Rank” to check the cab into a taxi stand or taxi line.
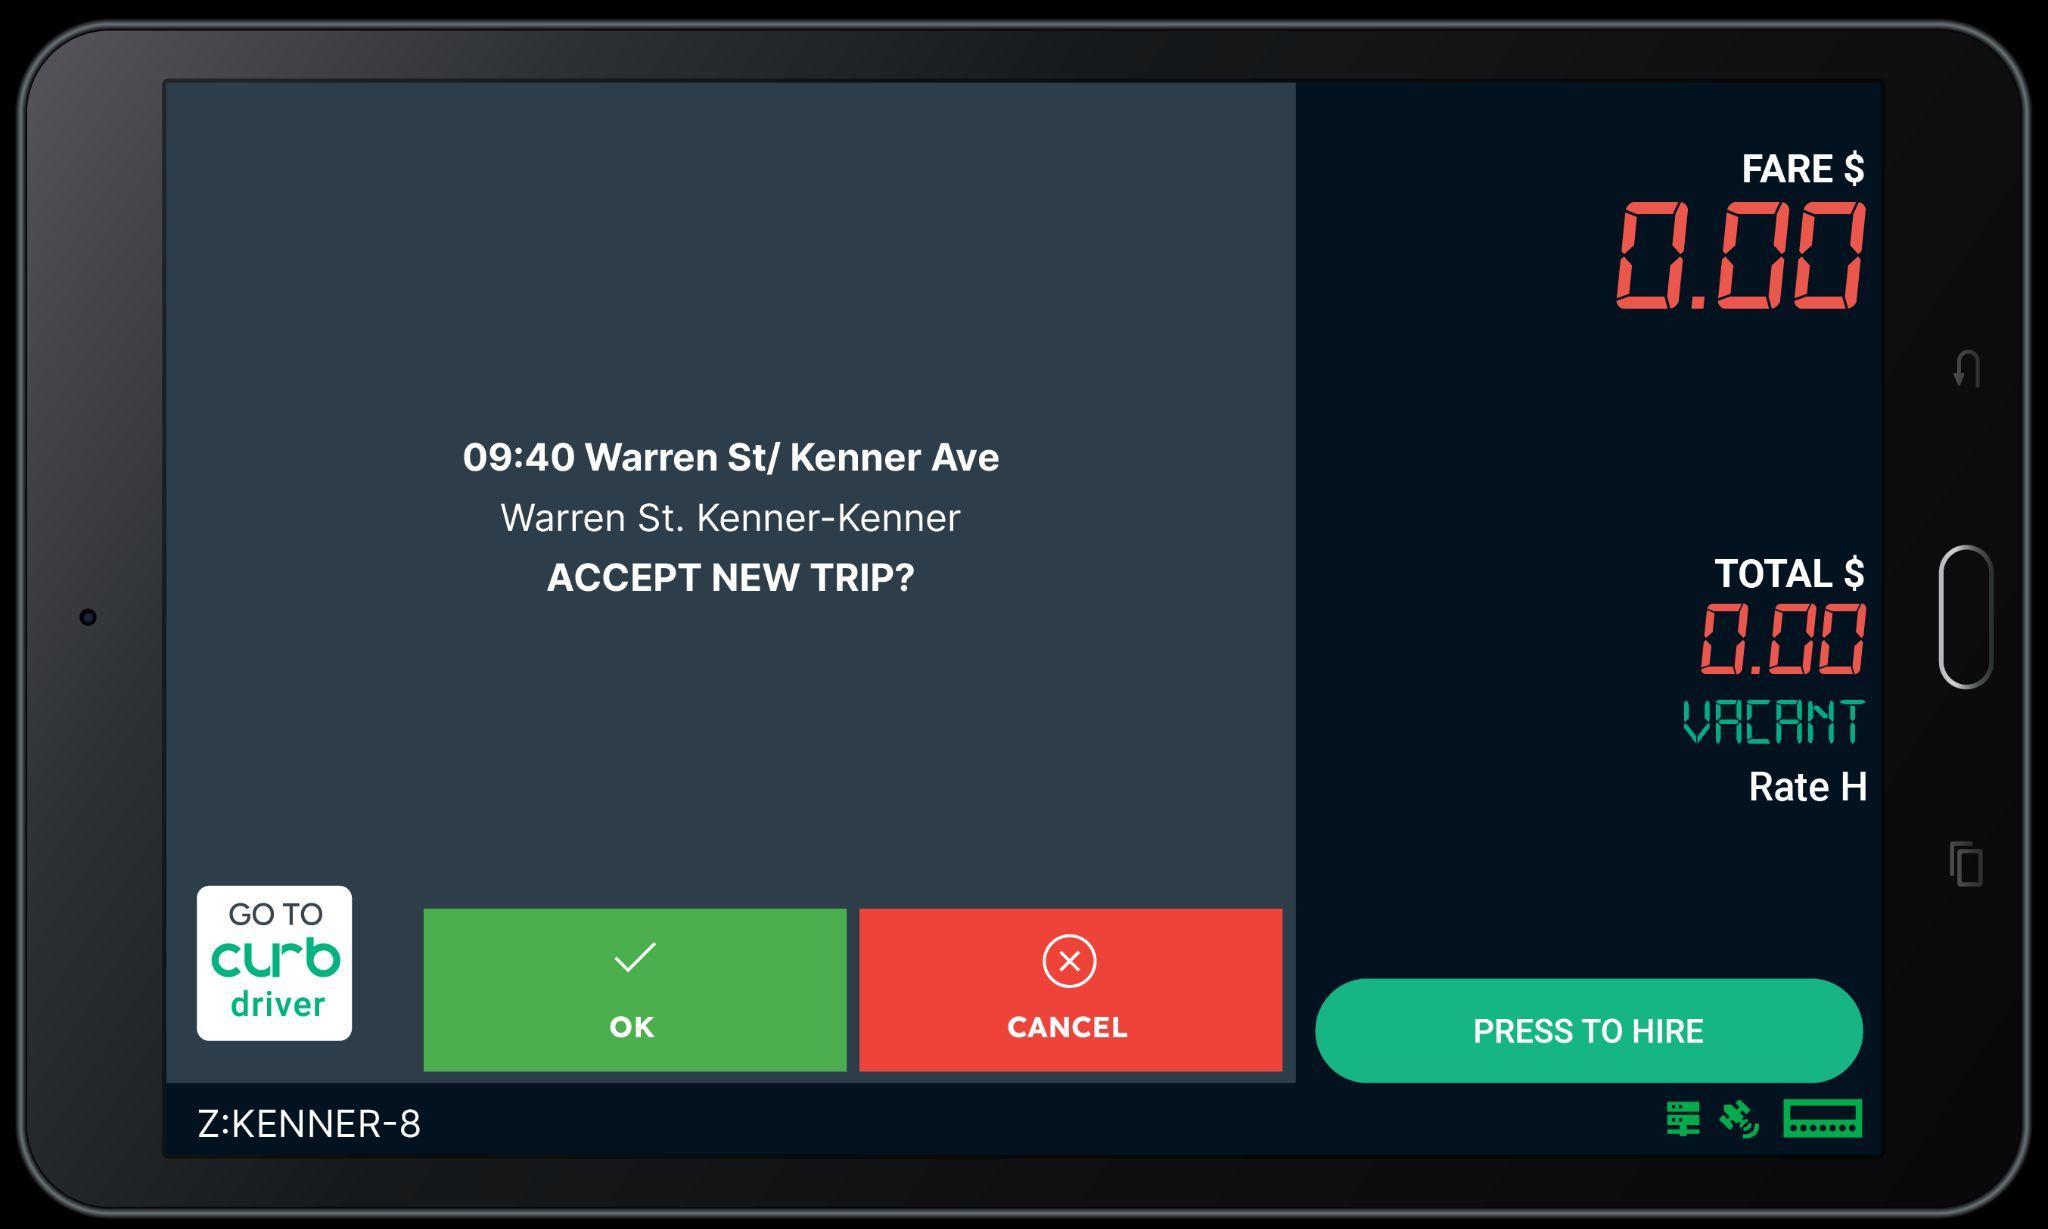
Once you receive a Dispatch request, Select OK to accept Trip. You have only 30 seconds to accept trip or the trip will be offered to the next available taxi.
This is your Zone Status indicator, which shows your vehicle’s current position. This is the zone/taxi stand name, and the number after the hyphen (-) is your cab position number.

If you do not wish to accept the Dispatch Trip, you can tap CANCEL to decline.
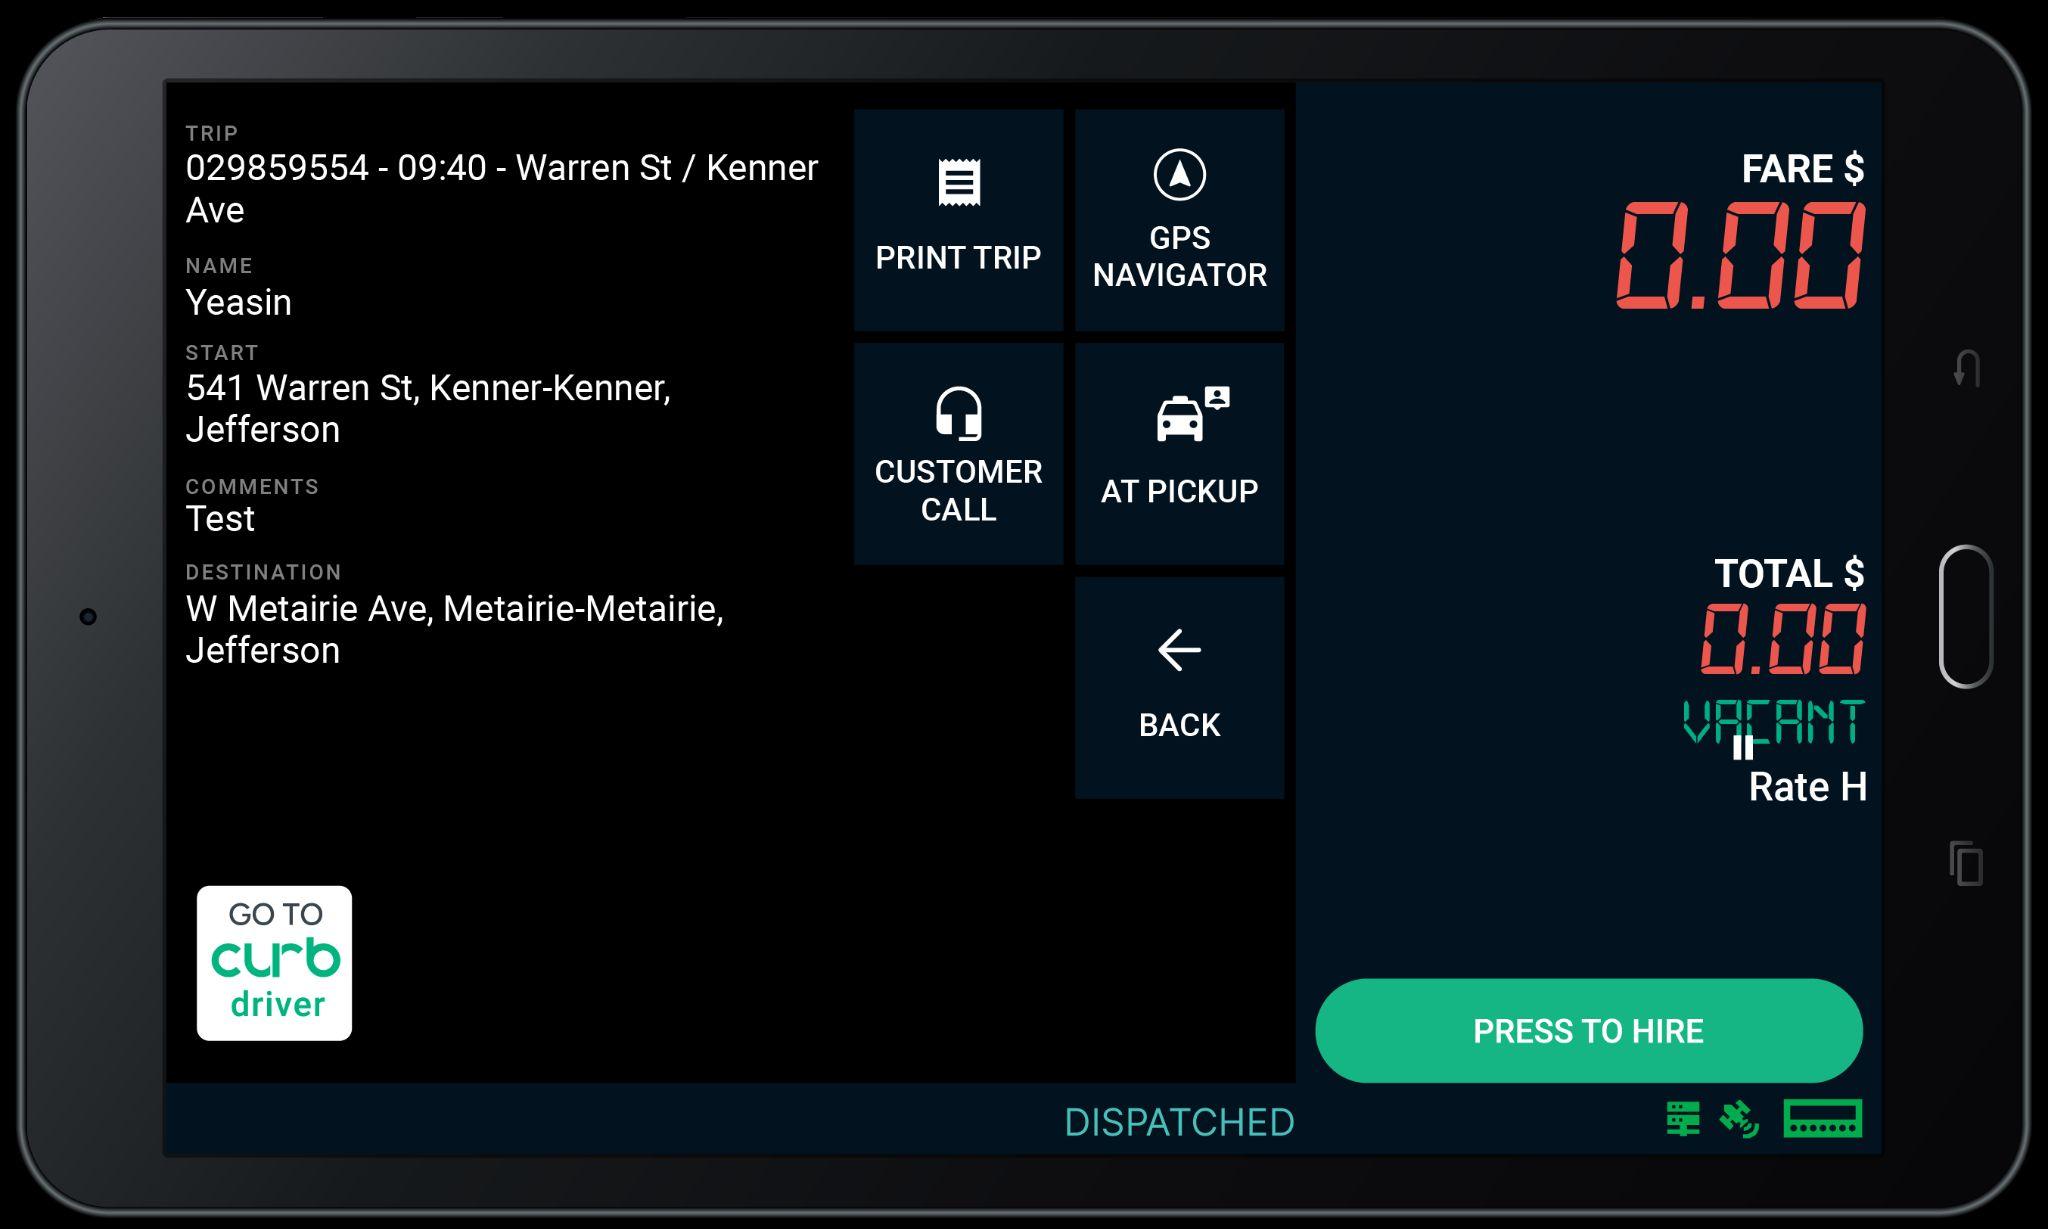
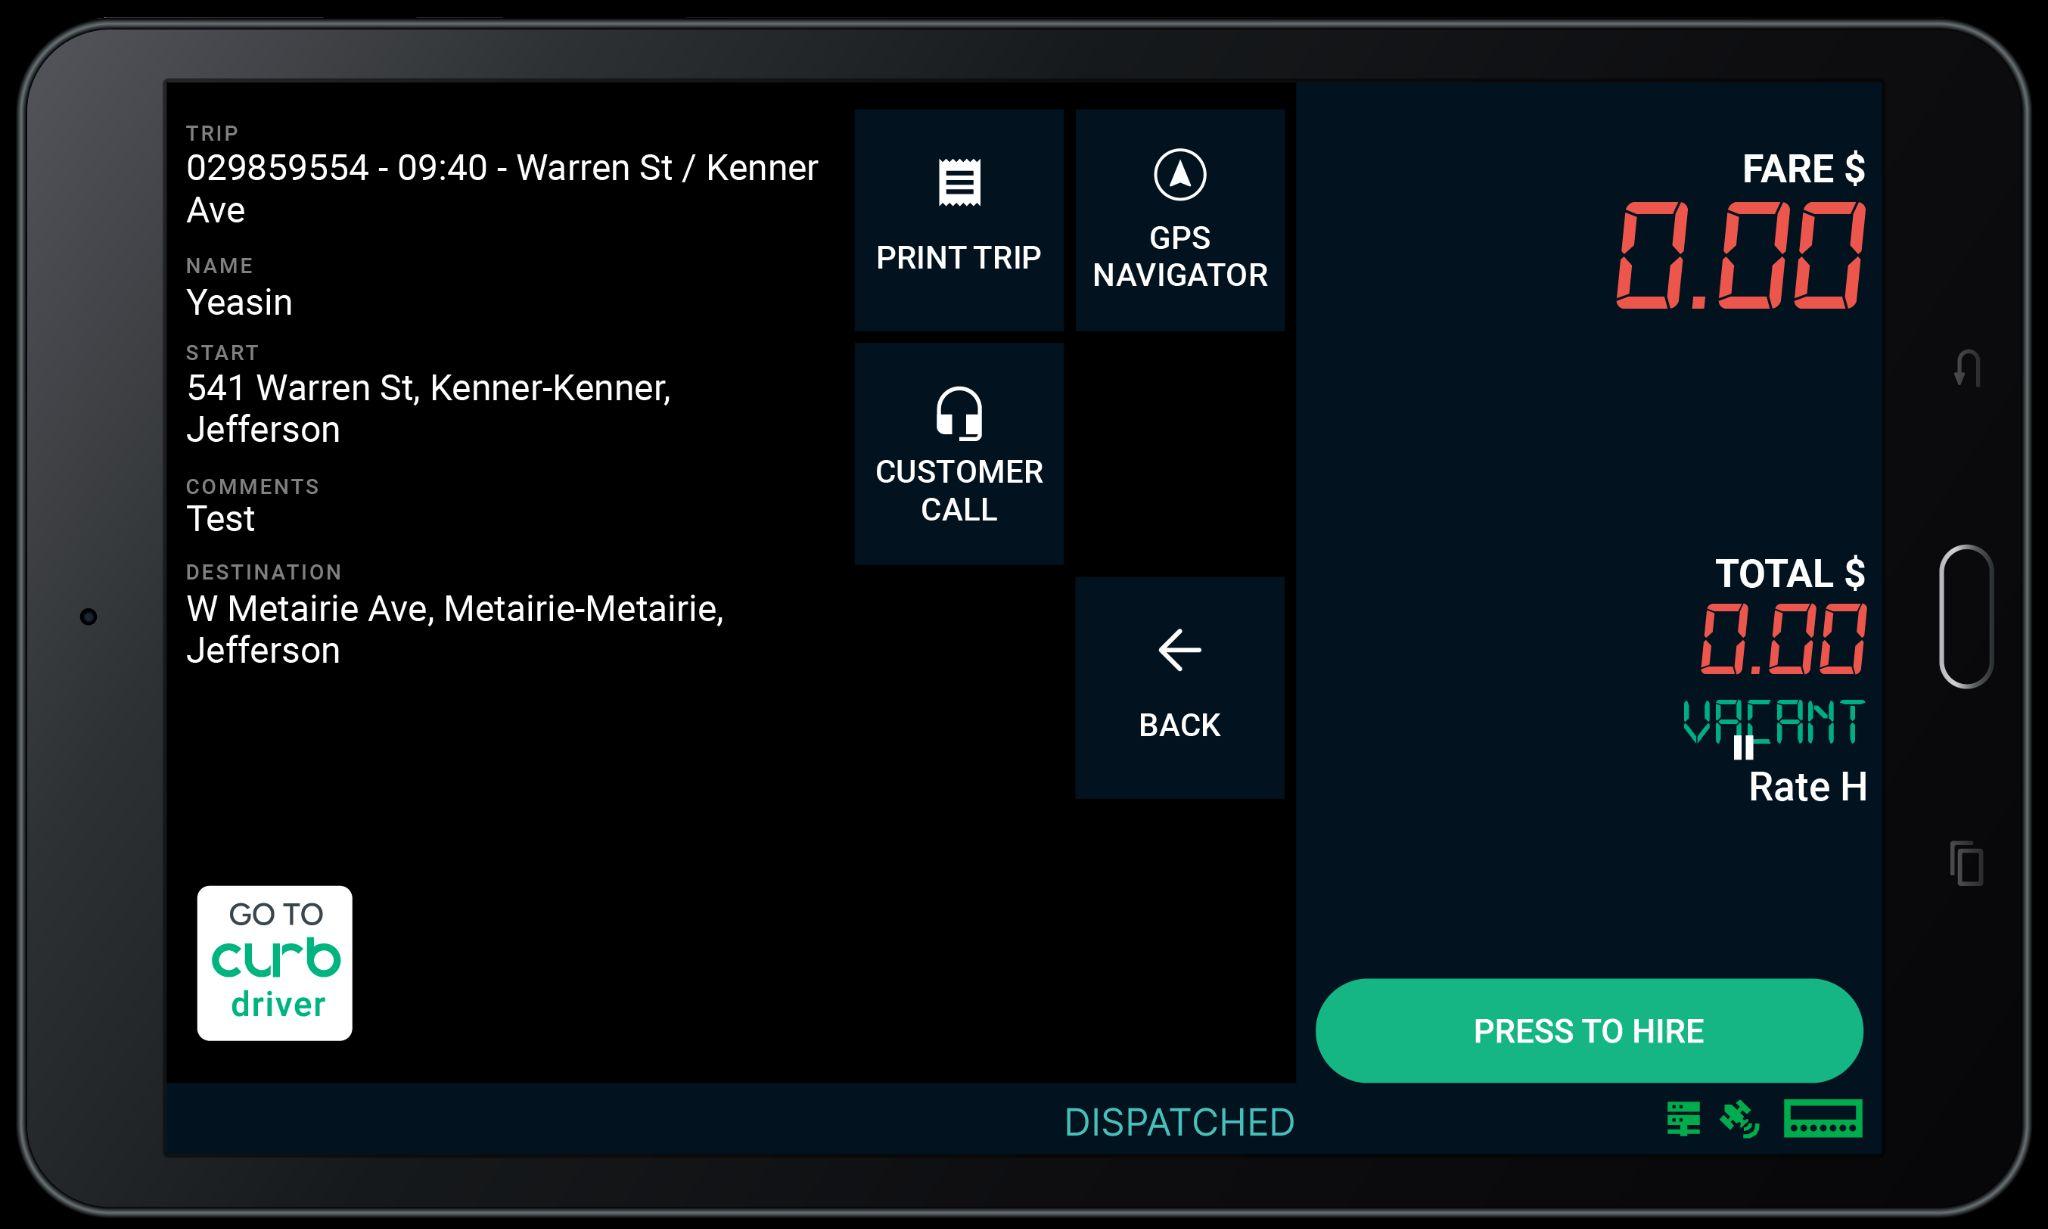
If you need to contact the customer, you can call by tapping Customer Call.
You will receive a call and then must press 0 on your cell phone to be connected to the customer.
If you are unable to contact the customer, then call your Base or Dispatcher for further assistance.

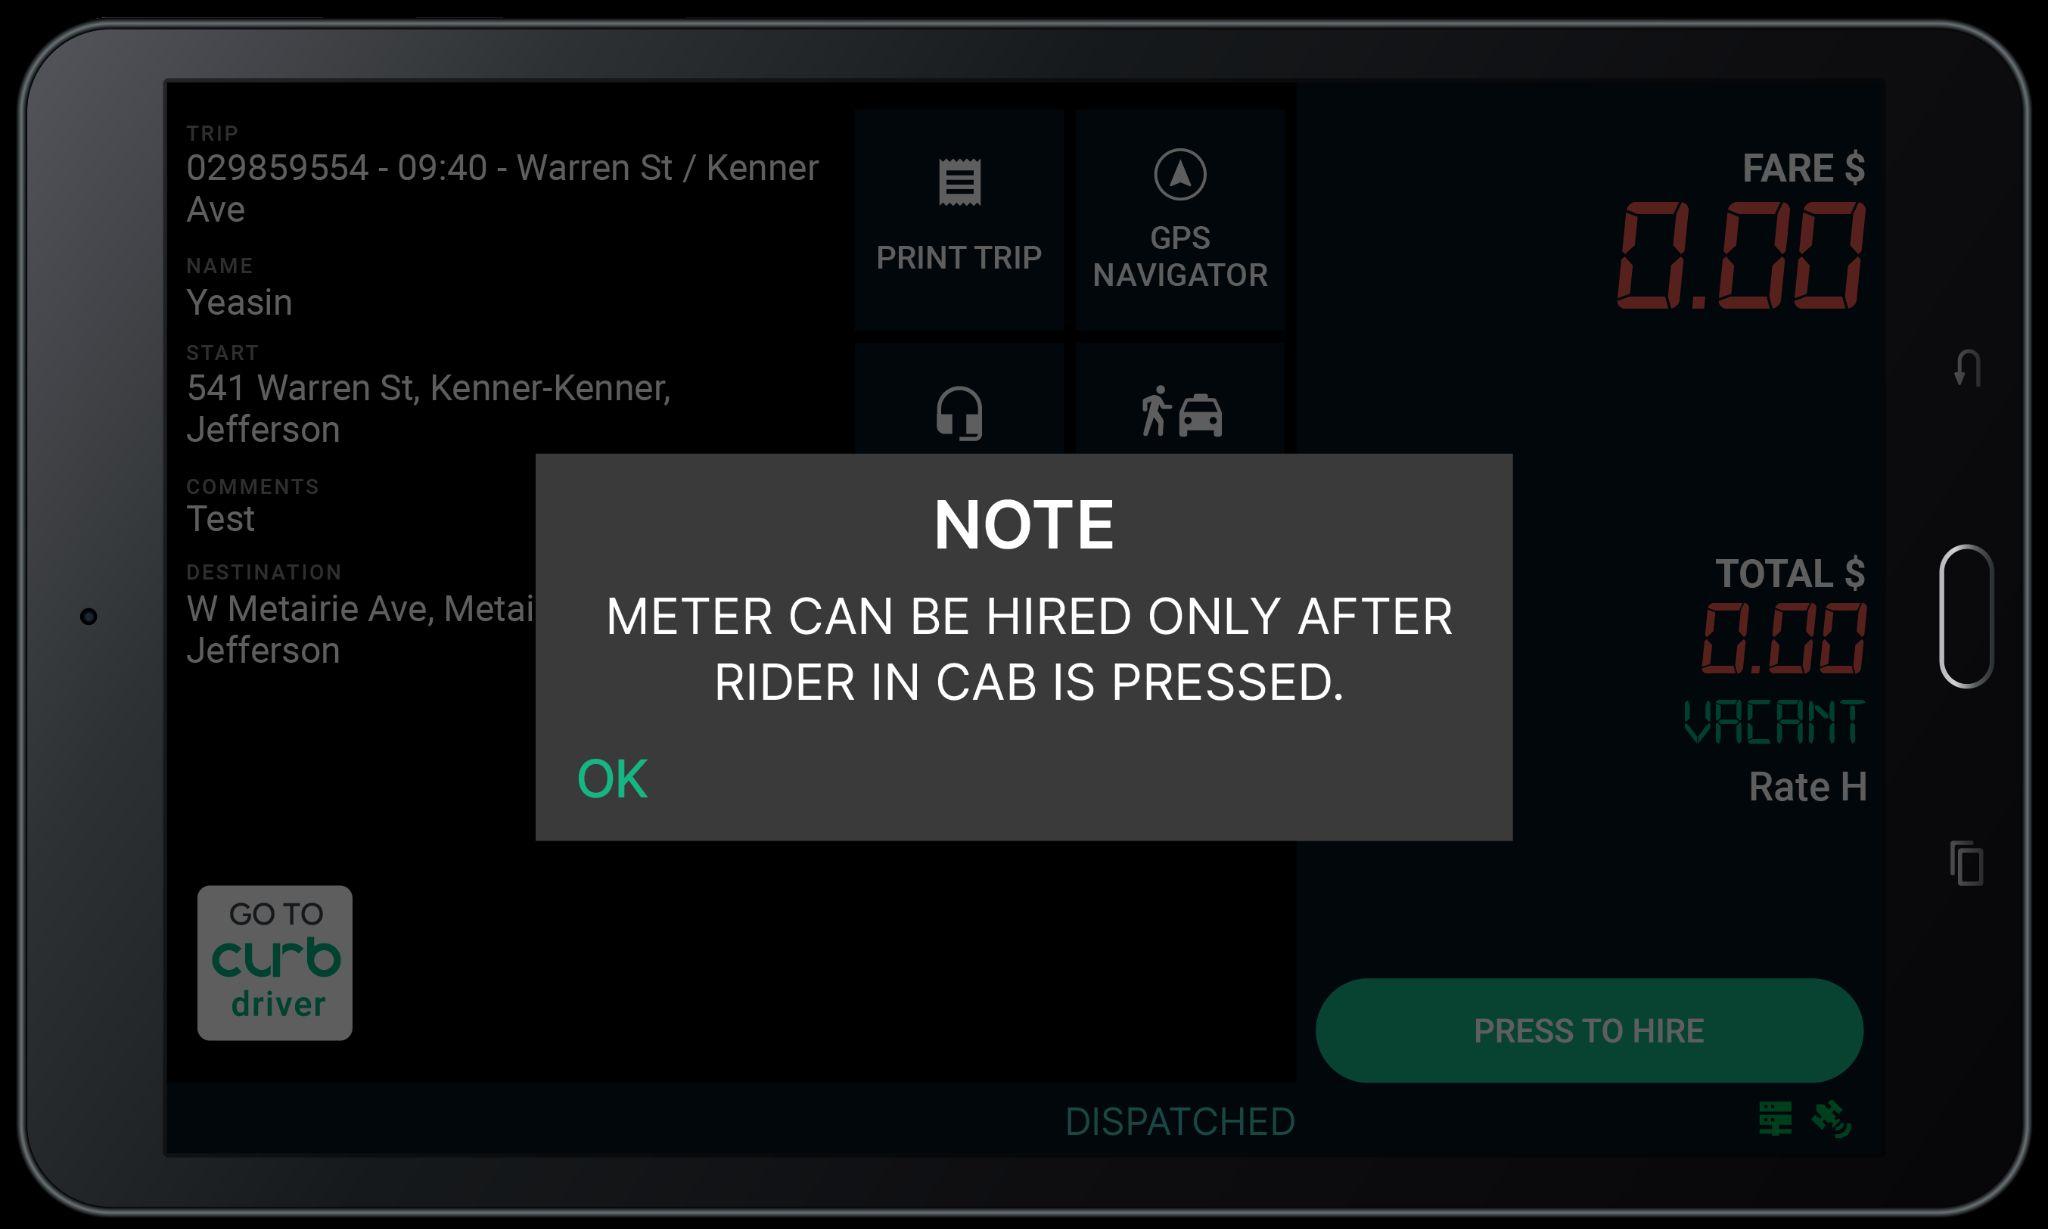
Tap At Pickup once you are at pickup location.
Note: that the meter can only be hired once you are at the pick up location and select Rider in Cab button.
Select Rider in Cab when passenger is in vehicle.
You can now hire meter.
Select PRESS TO HIRE.
Select Number of Passengers for the trip and hire meter with the correct fare rate to process the trip.
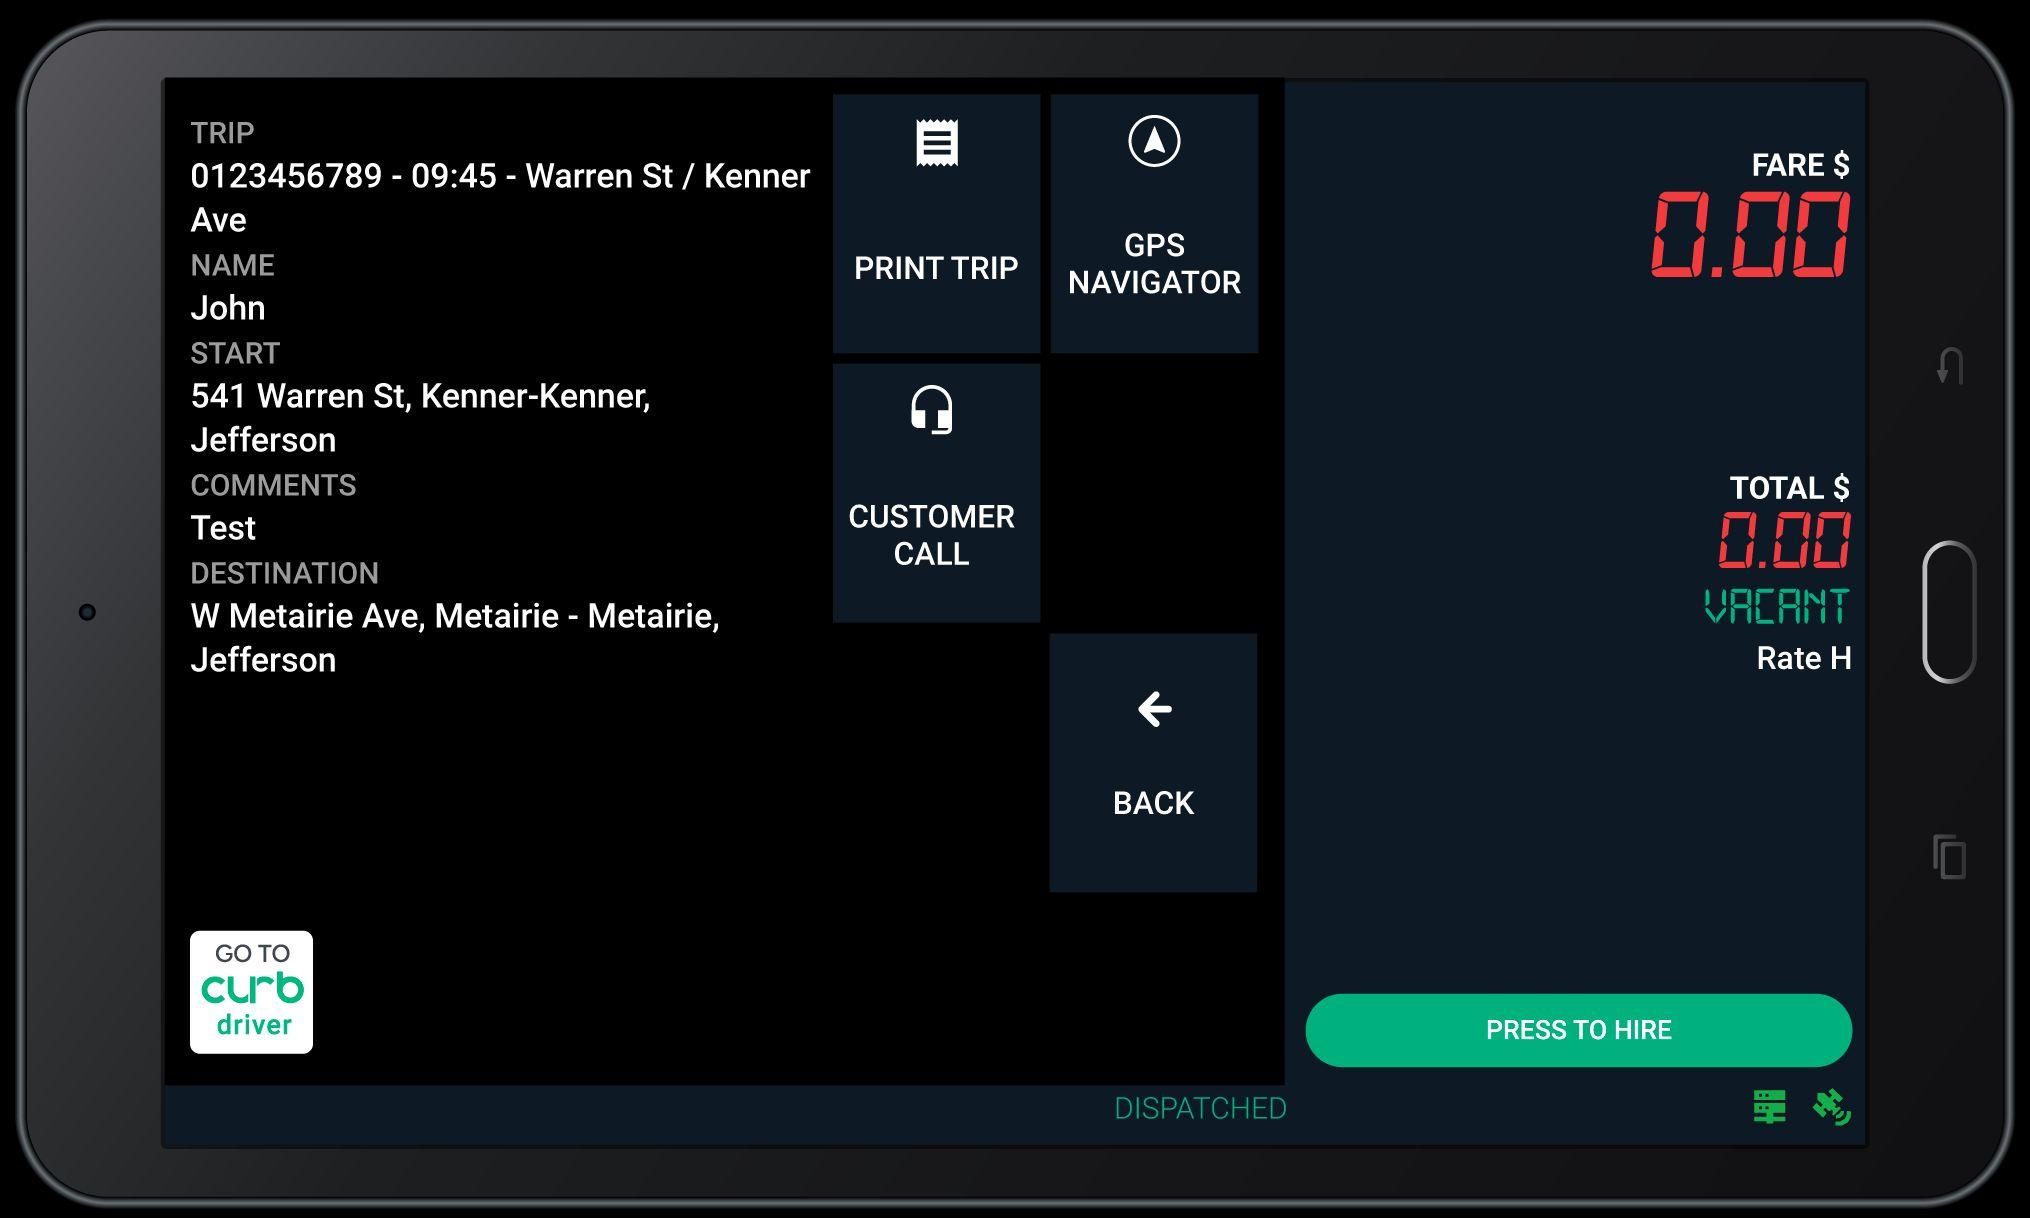
Select GPS Navigation to use Google Maps for navigation assistance.
If you accepted a dispatch trip, tap the address in the trip data and Google Maps will automatically direct you to the address you selected.
This icon indicates your network status:
Red = No Signal
Yellow = Server Rejecting
Green = Connected
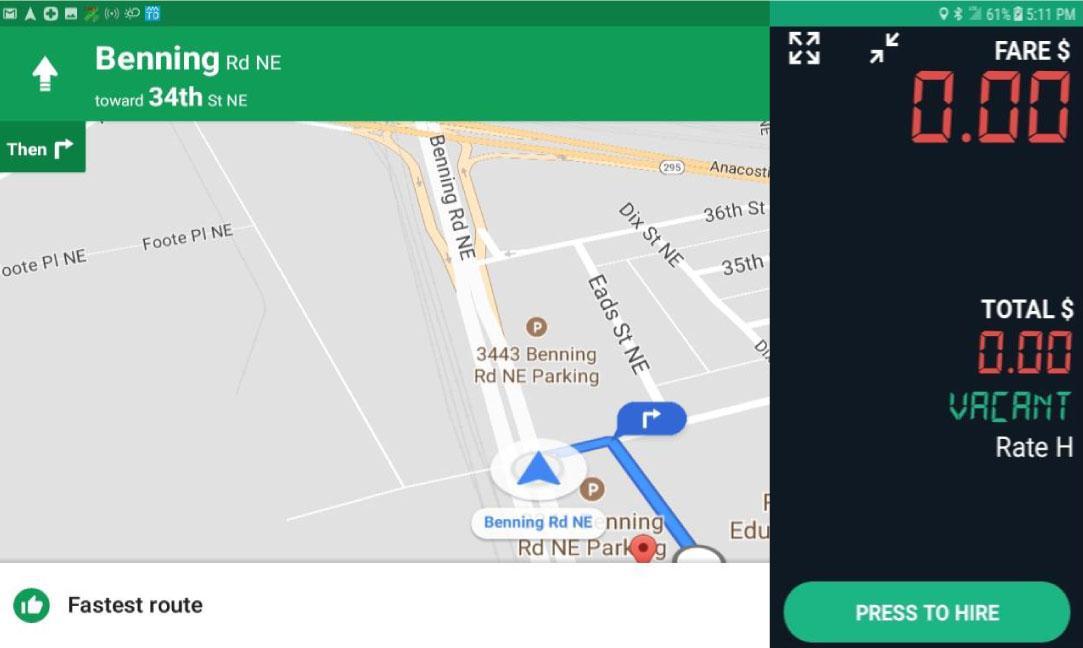
Tap on the floating meter area to return to the full meter menu.

Tap Messages to view and send messages to Dispatch.
The driver may have preset messages if the fleet decides to provide them. If so, the driver can select any of these preset messages to send to the dispatcher.
Tap Compose Message to send Dispatch a new message.

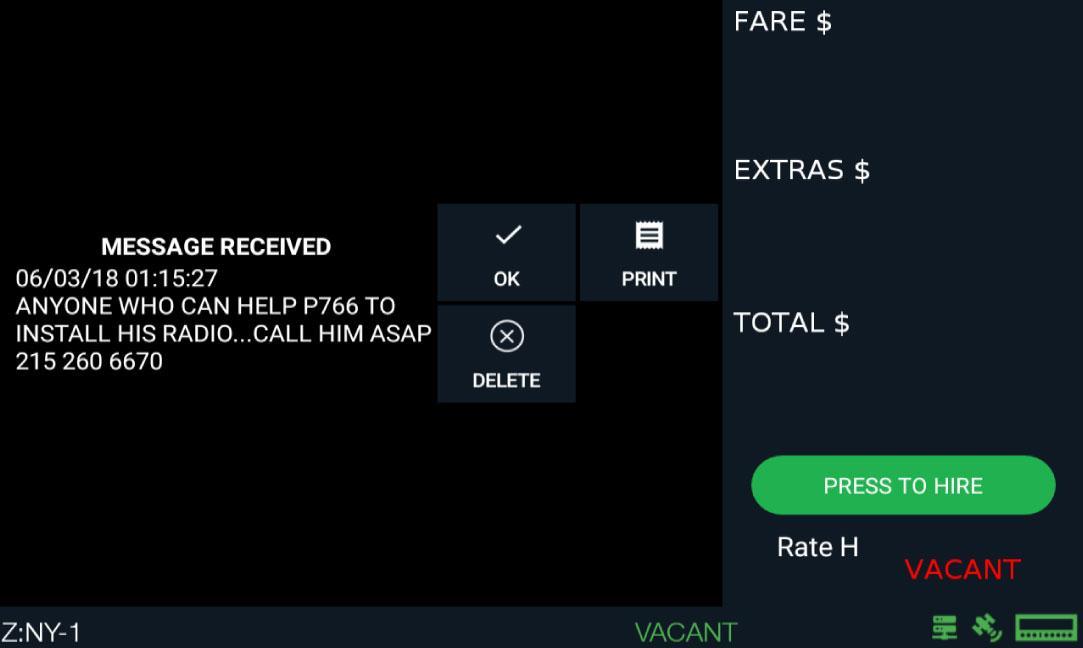
Tap on individual messages to read and delete.
Delivered messages will be displayed here.
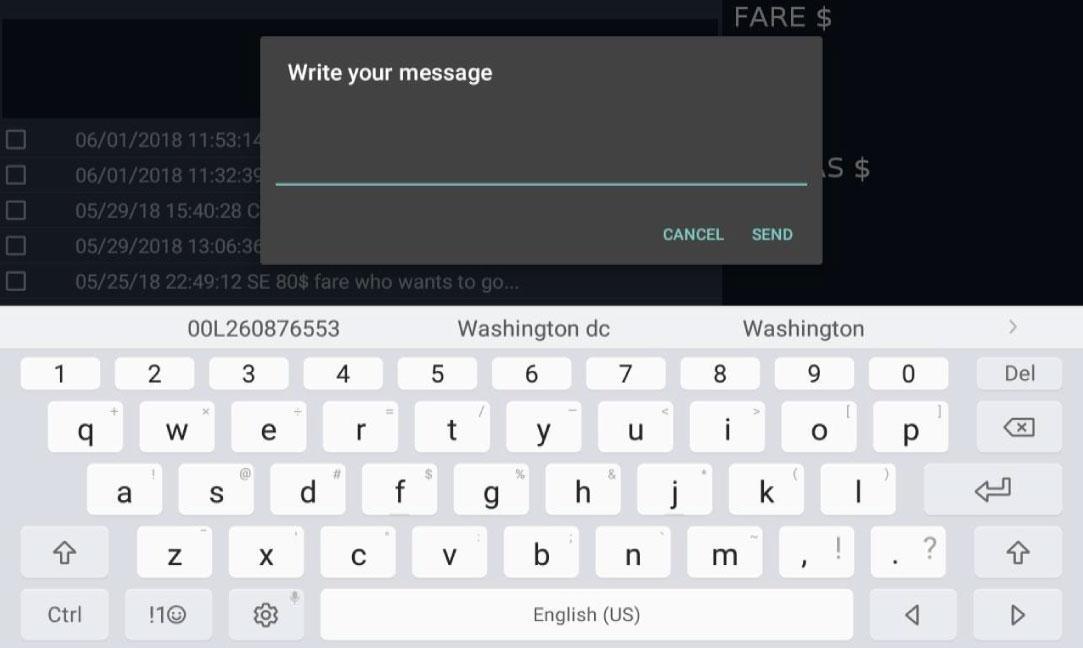
Once you select COMPOSE MESSAGE, you will be given the option to write your message. After entering your message tap SEND.
You can print the message by tapping PRINT. Tap OK to return to the main message menu.
In the event of network service failure, you will get a message pop-up.
Please note:
● You will only be able to process up to 3 credit card transactions.
● Only cash transactions will be accepted after that.
● You have a maximum of 48 hours to regain Network service before you are blocked from Hiring the Meter.
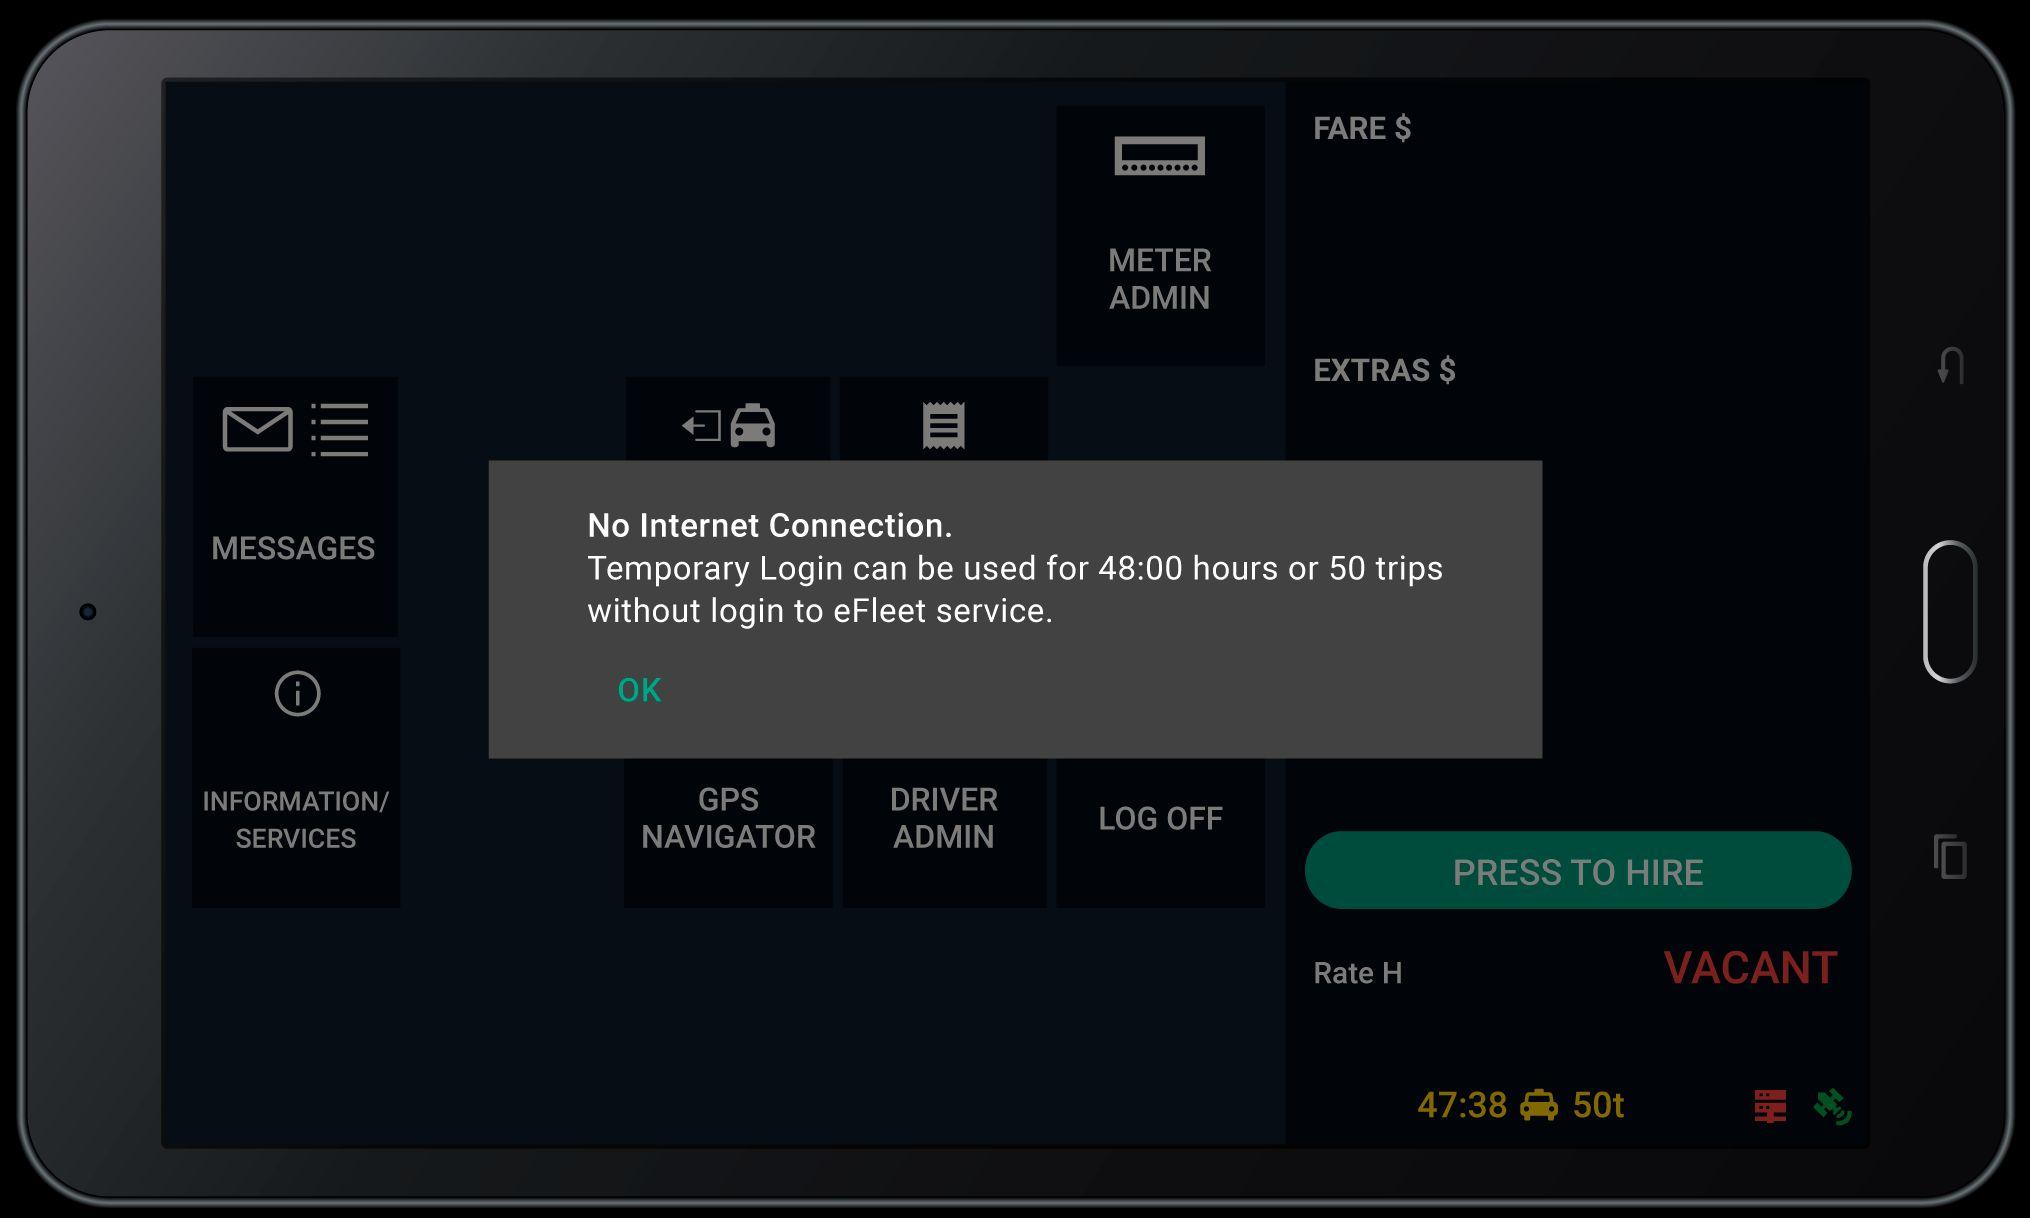
The time in yellow is the remaining time you are able to work before you are locked out. The number next to it indicates the remaining number of trips you have left before you are locked out.
If this icon is red, that means you do not have Network service.
When you process a credit card transaction during network loss, you will see that transactions are labeled as SFTD.
If you regain network service: the stored credit card transactions will be sent to the server, and you can continue to accept credit cards. If you do not regain network service: you can only accept cash transactions for the next 48 hours. Afterwards, you must contact your local technician to resolve.
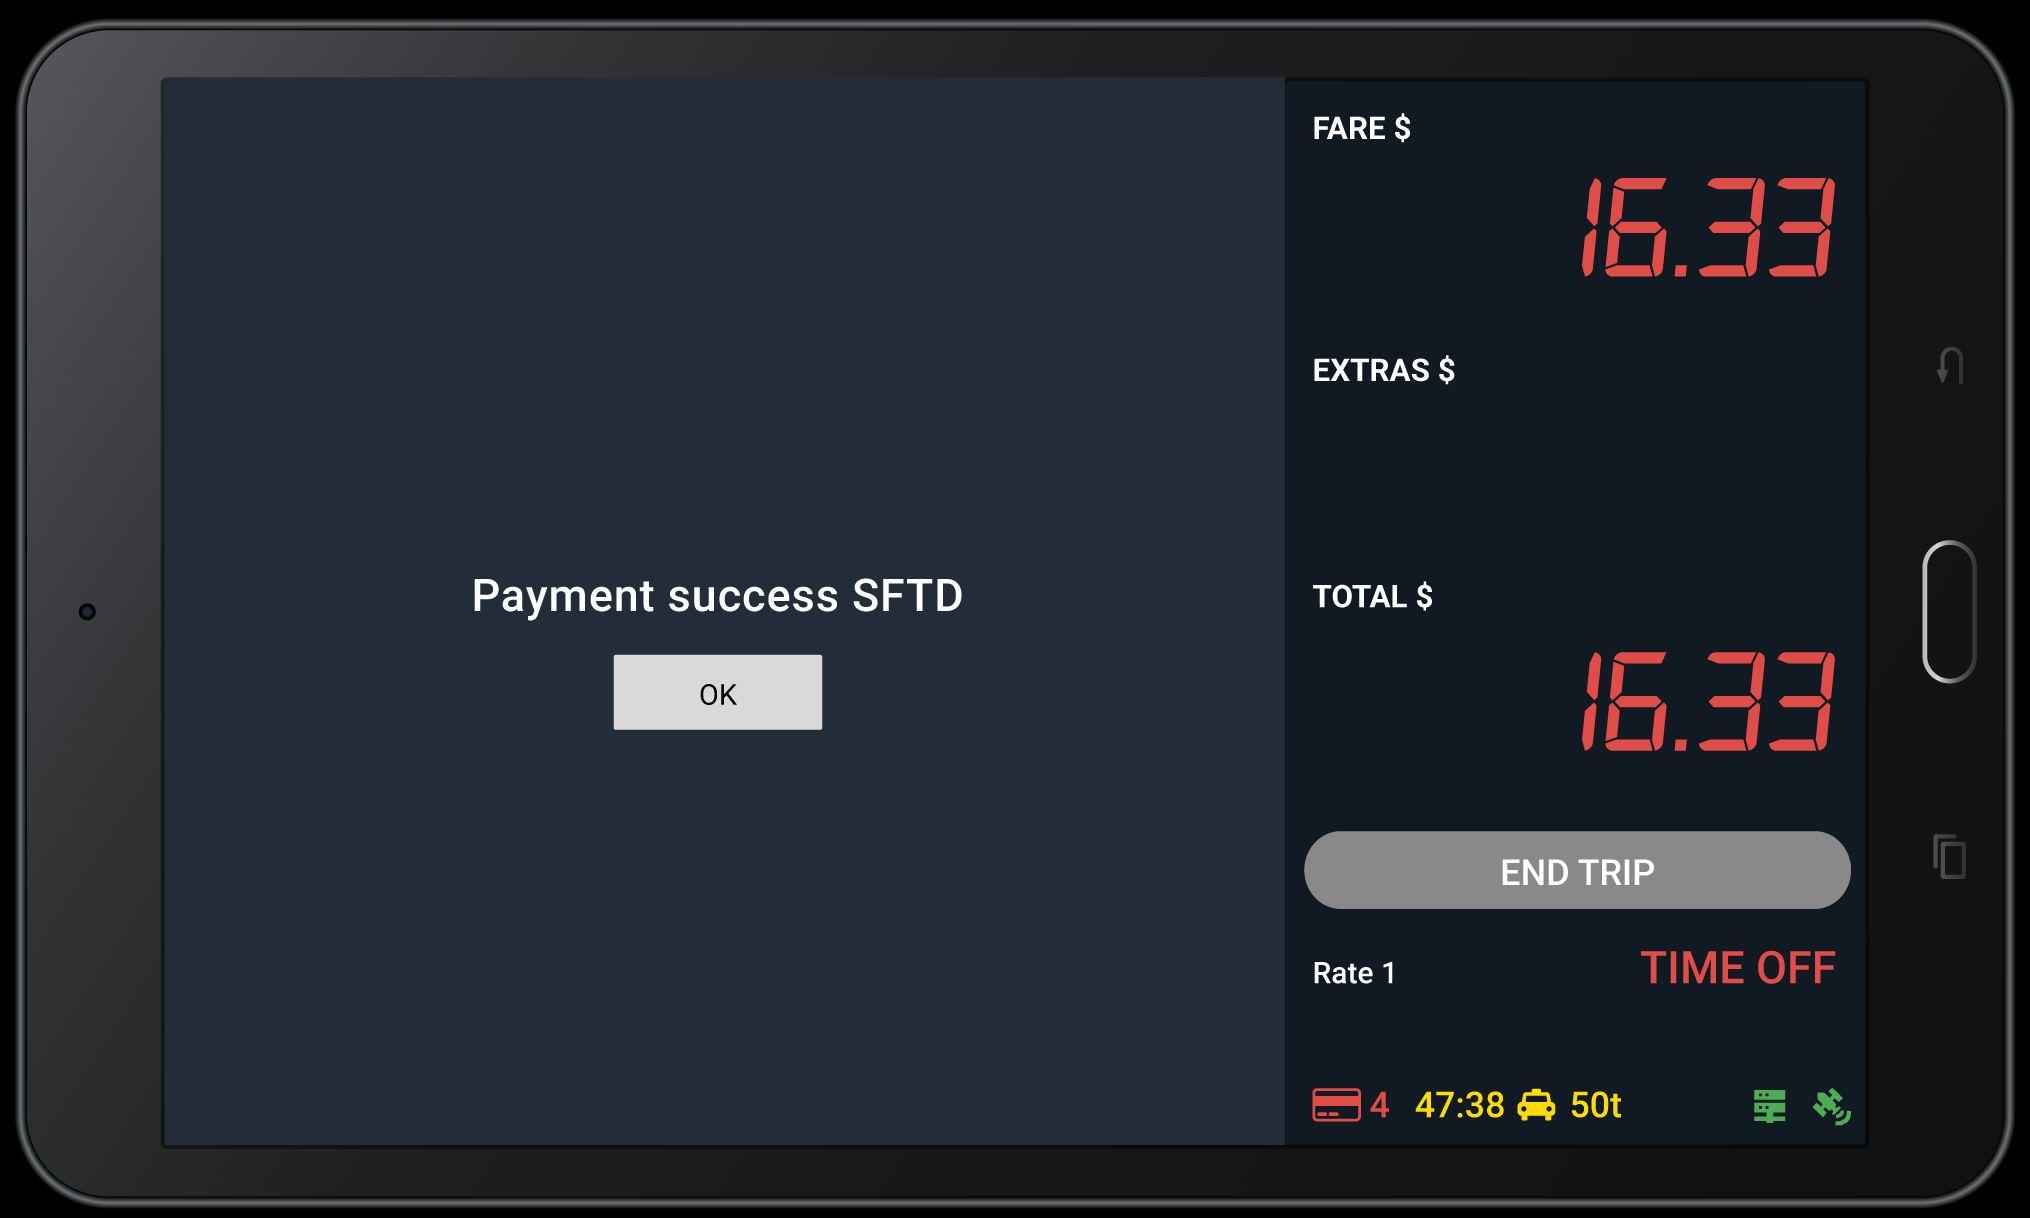
There will be a countdown of the remaining number of credit card transactions you can process.