

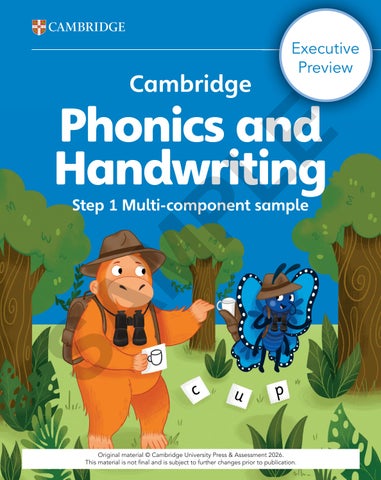


Step 1 Multi-component sample


Dear Practitioner,
Welcome to Cambridge Phonics and Handwriting! The scheme is based on our Phonics and Handwriting Framework for English language. It provides resources, assessment, teaching guidance and training. It supports teaching and learning of the wider Cambridge Early Years and Cambridge Primary Programmes. It can also be used as a standalone phonics and handwriting programme.
This executive preview will help you understand how our teaching resources, learner’s books and flashcards work together to support you with your phonics and handwriting teaching and learning.
In creating the Cambridge Phonics and Handwriting Framework and resources we have used research and unique Cambridge learner data from the Cambridge English Corpus to identify the words most commonly used by young children internationally. This data informs the order in which we introduce the letters and sounds, ensuring children first learn those they are most likely to hear and use.
The teaching resources are the core resources that support the Cambridge Phonics and Handwriting Scheme and contain activity ideas and additional digital resources for front-of-class teaching. This includes digital flashcards with audio, projectable stories, songs and rhymes and slideshows.
The learner’s books provide activities that support the phonics and handwriting learning and work best when used in conjunction with the teaching resources. They can be used at school or at home, and additional guidance for adults is given at the bottom of each activity page in the ‘For practitioners’ boxes.
The phonics flashcard pack can be used from Step 2 onwards to support phonics teaching and learning, and can be used at school or at home.
Please take five minutes to find out how our resources support you and your learners. To view the full series, you can visit our website or speak to your local team.
c
You can also find out more about becoming a Cambridge Early Years centre on our website:
Best wishes,
B r i d g e t Mc H u g h
Senior Commissioning Editor for Cambridge Early Years

Learner’s Book Step 1

Note to parents/carers and practitioners 3
Unit 1: Distinguishing sounds and early mark-making 4–14
Unit 2: Improving phonological awareness and mark-making 15–24
Unit 3: Moving towards formal reading and writing 25–36

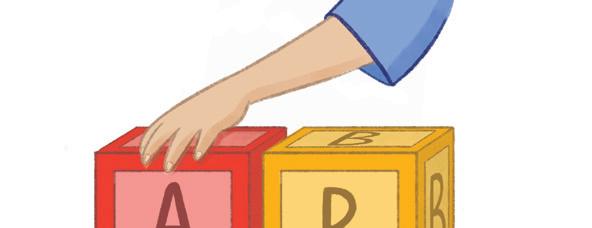

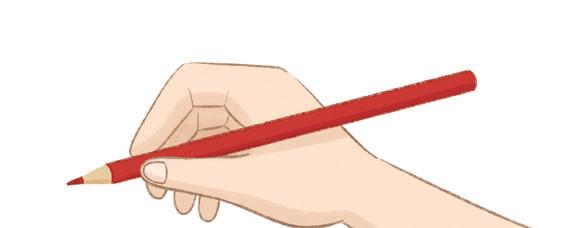

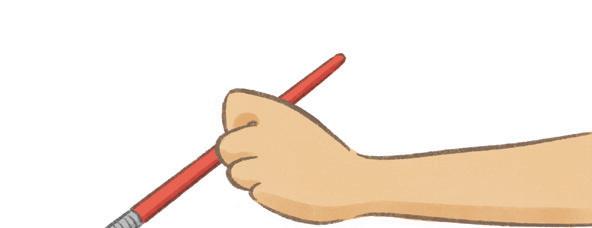

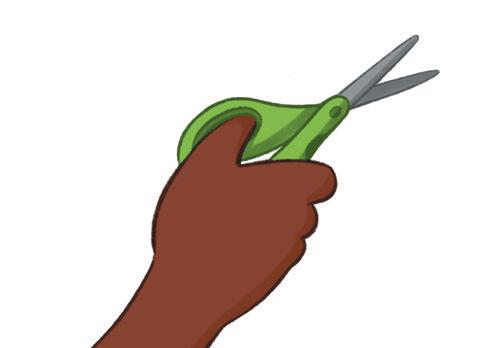
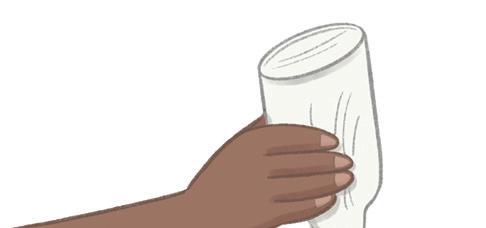


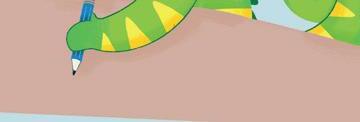
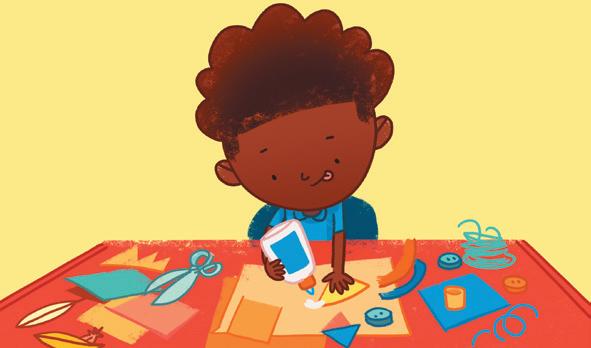
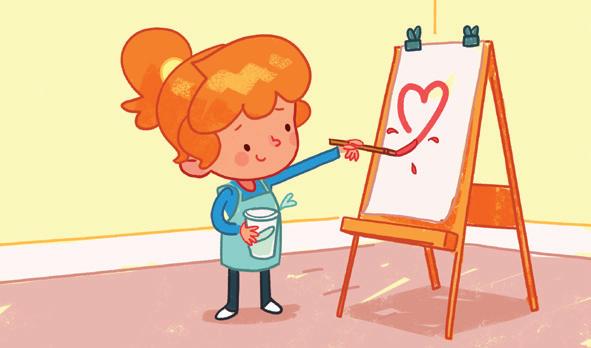
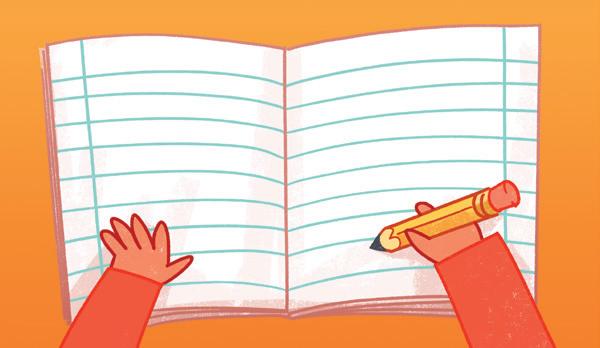


Look at the pictures on the left and say what the hand movements are (build, write, paint, cut, squeeze). Invite children to finger trace, and then pencil trace, the lines to find the activity picture on the right that matches. If available, practise how to hold the equipment shown in the pictures. If not, substitute with other tools that require fine motor movements, or just practise the finger and hand movements. Talk to the children about the hand and finger movements as they do them.
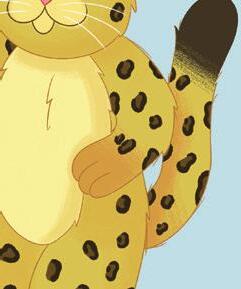
Look, I am pink. What do you think?
Look, I am blue. I’m sad, boo-hoo.


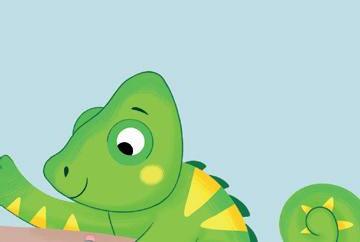
Look, I am green. I don’t want to be seen.
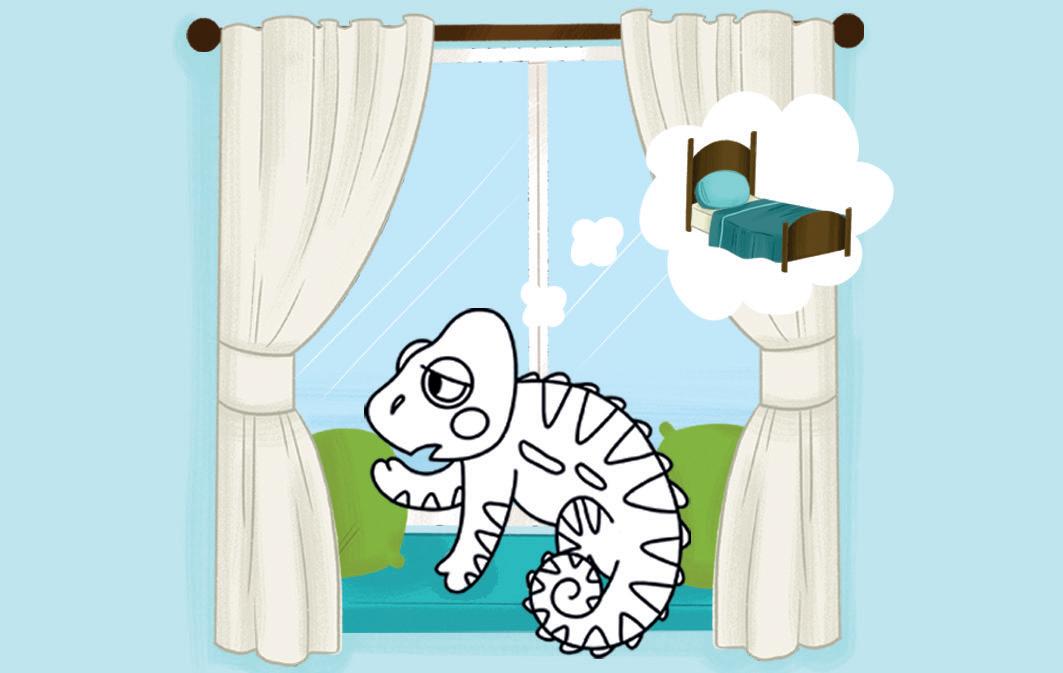
Look, I am red. It is time for bed.
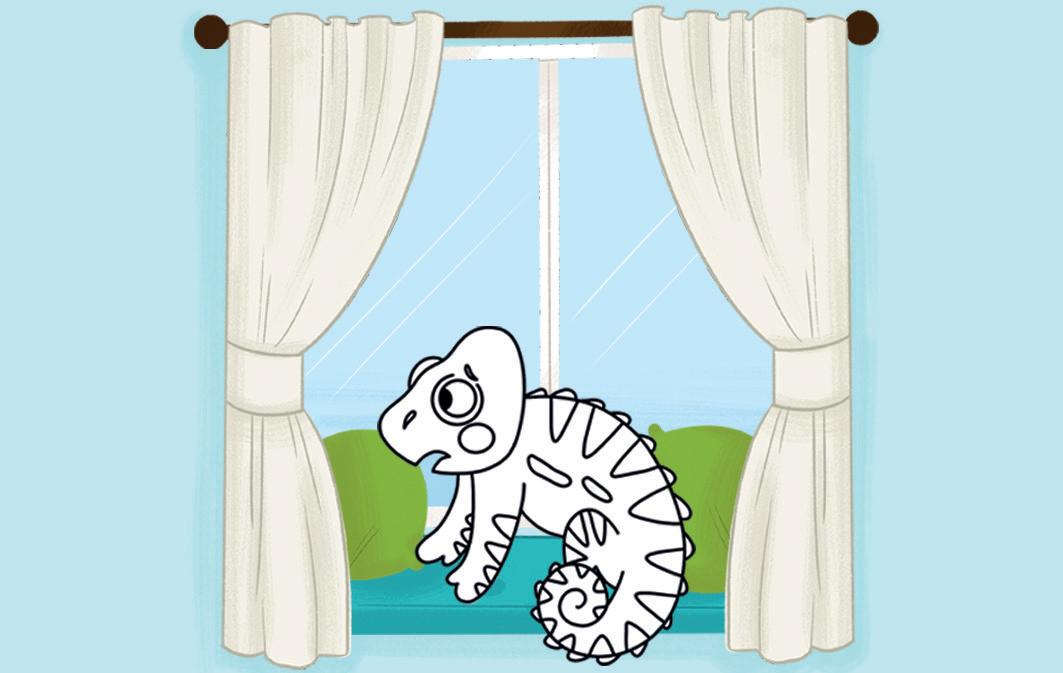
Read and invite children to colour Kiho correctly, according to the colour clues in each caption from the story. As you read each caption, stress the rhyming pair of words; e.g. say pink and think have the same end sound; they rhyme.

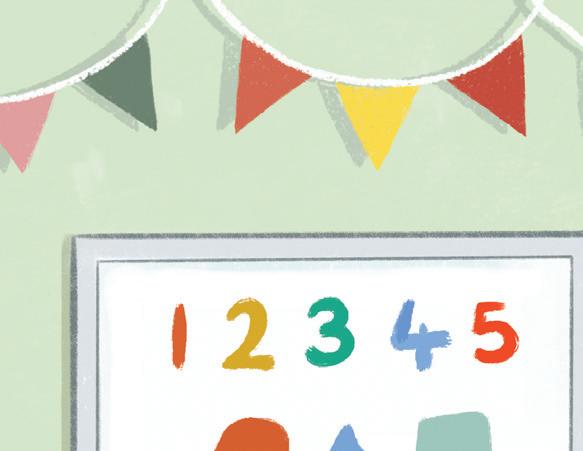


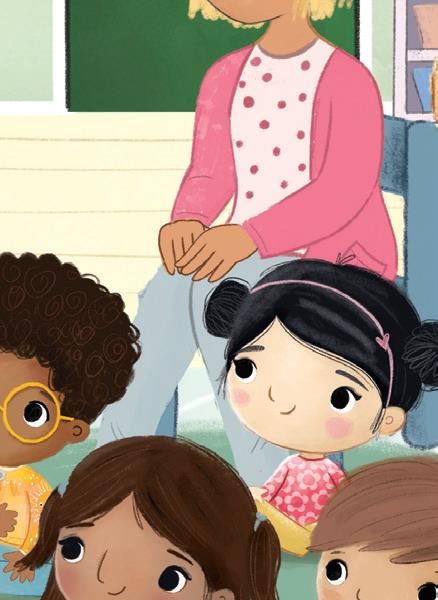


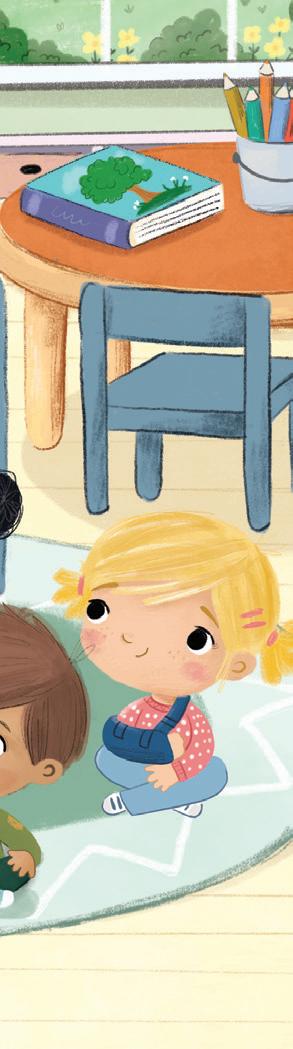


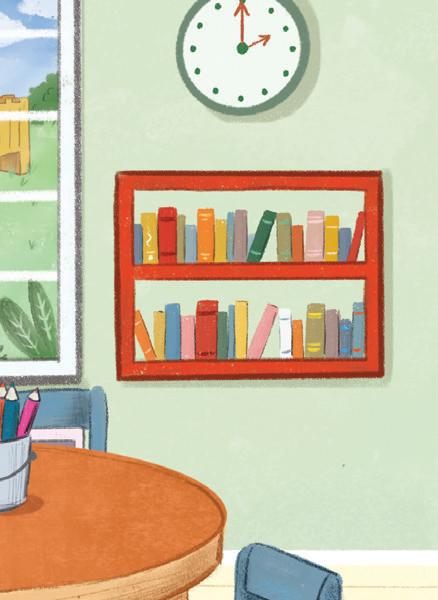


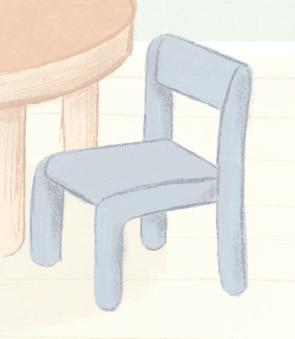


Together, find and say the labels in the picture (board, window, shelf, table and chair). Point to the words and run your finger under them as you say them. Children point to the object that the word relates to. Turn to the sticker pages and encourage children to select the correct stickers to complete the picture: a window and a chair. Children say the word as they add each sticker, so they’re relating the word to the object.


Activity focus
Fine motor skills: Engages in a wide range of activities across the year that develop fine motor skills (hand and finger movements) and hand–eye coordination, to support development of general control.
Vocabulary building
hand, build, paint, cut, squeeze
Resources
Using My Hands song, version 1; Using My Hands song, version 2; Using My Hands song, version 3; Learner’s Book Activity 8.
Activity guidance
• Bring the children together and settle.
• Tell them you have a new song about how we use our hands. Ask children to hold out their hands and to look at them. Be sensitive to any disabilities in the class.
• Model some actions. Say This is how I use my hands when I wave (wave your hands) and This is how I use my hands when I write (hold a pencil and make a writing motion). Invite the children to tell you (in L1) how they use their hands in school to do different routines and activities.
• Say Let’s listen to a song (cup your ears, if necessary). The song is scaffolded to ensure engagement.
• Play version 1 of the Using My Hands song to model the words and actions. This version is sung slowly and clearly to get children used to hearing the song. The images on the screen for each verse of the song will support the children’s understanding of each activity, which involves using fingers and hands in different ways.
This is how I use my hands, use my hands, use my hands. This is how I use my hands, when I build.
This is how I use my hands, use my hands, use my hands. This is how I use my hands, when I write.
This is how I use my hands, use my hands, use my hands. This is how I use my hands, when I paint.
This is how I use my hands, use my hands, use my hands. This is how I use my hands, when I cut.
This is how I use my hands, use my hands, use my hands. This is how I use my hands, when I squeeze.
• Model the finger and hand actions for each activity mentioned in the song. Perform real actions with real equipment or pretend to do so: For ‘build’, place a brick to build a tower; for ‘write’, hold a pencil to write; for ‘paint’, hold a paintbrush to paint a picture; for ‘cut’, hold scissors to cut a shape; for ‘squeeze’, squeeze a tube of glue.
• Say Let’s join in with the song and the actions. Play version 2 of the song, which is chanted and slower-paced, thus encouraging children to join in and consolidate the words and actions.
• Say Let’s sing the song together! Play version 3 of the song, which is sung and should support children to be more confident about singing and performing the finger and hand actions.
• If using the Learner’s Book in class, follow up this whole class activity with a small group activity (Learner’s Book Activity 8) that revisits fine motor skills.
• If children struggle to join in and engage, repeat some verses from the song. Provide children with real equipment to do the actions with (for example, a paintbrush).
• If children are confident in their engagement with the song, choose five children to stand at the front of the class and model each action for their peers. They may also perform the actions with real equipment (bricks, a pencil, a paintbrush, scissors and a tube of glue).
Unit 1, Week 7: Using my hands
Fine motor skills: Engages in a wide range of activities across the year that develop fine motor skills (hand and finger movements) and hand–eye coordination, to support development of general control.
Activity sheet 1.7.1: Cutting sheets; a range of different materials to cut (paper, card, fabric, etc.); child-safe scissors for both right- and left-handed children; construction kits including bricks of different sizes; beads; tubes (pasta/ cardboard); string or laces; water or sand play equipment including items for gripping and pouring (bottles, jugs, buckets, moulds and/or spades).
• Prepare a few different activity areas with equipment to encourage children to explore fine motor skills. The four activity areas suggested here practise the actions mentioned in the Activity 1 song (Using My Hands, version 1), and introduce some new skills (threading, gripping). You may play the song in the background for children as they are performing the actions to encourage them to join in with the singing, too. Add more tables if you have room or change halfway through the week.
1 A cutting area. Set out child-safe scissors for both rightand left-handed children and copies of Activity sheet 1.7.1: Cutting sheets. Encourage children to practise cutting along the dotted straight lines on the activity sheet. Provide paper, card, fabric and other materials suitable for cutting, and encourage further exploration of cutting with these materials.
2 A building area. Set out construction resources including bricks and encourage children to build towers and other shapes.
3 A threading area. Set out beads or tubes (made from card or pasta) and laces or string. Encourage children to thread the beads or tubes on to the string/lace.
4 A water/sand play area. Provide equipment such as pouring jugs, bottles, buckets, moulds and small spades. Encourage children to play with the sand or water and the full range of equipment.
• Invite small groups to participate in these four activities.
• As children engage in the activities, support them by checking on their hand movements and modelling correct grip and motion. Talk with them about their hand and finger movements, and the skills and tools they are using.
Listen and observe
Support:
• If children are struggling with any of the fine motor skills, support them by providing alternative options. For example:
• Use rubber bands to practise the cutting motion and build hand strength – children place the rubber band around their thumb, index finger and middle finger; they then move their thumb and two fingers away from each other, and back together again, stretching the band as they do so.
• For the threading activity, provide larger shapes to thread rather than smaller resources like beads.
• Head outside to practise gripping a small ball and throwing it, rather than gripping bottles in water play.
• Provide larger bricks for construction rather than smaller ones.
Challenge:
• If children are confidently exploring fine motor skills, add in further tasks such as:
• Creative exploration of stamping and painting using a variety of tools (for example, fingers, cotton buds, sponges).
• Positioning hands correctly for throwing, catching, and bouncing a ball.
• Popping bubbles.
• You may also guide these children to use pencils, crayons or paintbrushes. Encourage them to notice their preferred hand, grip, and mark-making.
Fine motor skills: Engages in a wide range of activities across the year that develop fine motor skills (hand and finger movements) and hand–eye coordination, to support development of general control.
Recreating familiar words: Uses manipulative letters to copy their first name.
Modelling clay; letter-shaped cutters; letter cut-outs; photo name card with large letters (reuse from Week 1); wipeclean small whiteboards; non-permanent marker pens.
• Prepare the resources in a suitable place in the setting.
• Invite a small group to participate in this activity or encourage participation as children show interest.
• Adapt a verse from the song in Activity 1 to introduce this activity. Sing or chant This is how I use my hands; Use my hands, use my hands; This is how I use my hands; When I use a cutter!
• If necessary, show children how the modelling clay can be manipulated. Allow time for the children to explore the modelling clay with their fingers and hands. You may model rolling it, pressing it and shaping it using the letter cutters or cut-out letter shapes.
• Hand out the photo name cards or allow children to select theirs. Choose one photo name card and model recreating the letter shapes in the selected name with the modelling clay. Overlay it on the name card letters.
• Children make their name by recreating the same letter shapes using the modelling clay, either shaping the letters, or using cutters or cut-outs. They set the clay letter shapes on top of the letters on their name card. Encourage them to say what they have made.
• If there is room, display the children’s recreated names near the Working Wall, for others to see.
• If children are struggling to manipulate the modelling clay to create the letter shapes, focus on just the initial letter shape of their name, or help them make the letter shapes larger and/or more spaced. Note which children need more practice with these fine motor skills and encourage them to practise with other activities, such as those suggested in Activity 2.
• As appropriate, challenge children to compare the letters in their name with the letters in other children’s names. They may identify where the same letter occurs.
Links to Cambridge Early Years and Penpals
• You may select songs or activities from Cambridge Early Years 1 that focus on using our hands, such as Fingerpainting background music (Track 22) and The Wheels on the Bus (Track 41).
• Access fine motor skill practice in Penpals for Handwriting, F1 and F2 Teacher’s Books and the associated Penpals gym videos.
• For information on progression and pencil grip development, refer to Penpals F2 Teacher’s Book page 11.
Section 2 activities
• Fine motor skills: Hand-eye coordination
Continuous provision
• Listening area: Provide finger rhymes and songs for children to listen to and join in with, to further explore using their hands. Search online for these finger rhymes and songs as there are huge numbers available. You will find both traditional rhymes such as ‘Incy Wincy Spider’ and newer songs. Be on hand to point out the actions to the children, and to help them make connections with these and the other activities from this week. Check that the language is appropriate for your class to avoid overwhelming children with new language.
• Writing/Mark-making area: Ensure there are supplies of paper and card of different shapes and sizes, and/or small wipeable whiteboards, and/or access to the Interactive Whiteboard, if available, along with a range of writing tools (pens, pencils, markers, etc.) to encourage children to explore further markmaking and early writing. Encourage them to say what they have ‘written’ and what they are trying to communicate.
• Sand or water area: Provide either or both if you have not already provided them as part of Activity 2 to develop fine motor skills and hand–eye coordination. Children may pour water and shape sand using their hands and fingers.
Unit 1, Week 7: Using my hands
Spontaneous teachable moments
• During the session or day, draw children’s attention to the use of their hands, for example, when picking up a cup, or when pegging a picture to a display washing line.
• If children recreate the letter shapes from their name during play or when mark-making, encourage them to say what they are creating and what their marks or writing say.
• If you find there is time to fill before lunchtime or home time, ask children to copy your hand and finger movements. Make up different sequences, for example, bend, wriggle, point, stretch fingers, etc.
Home link ideas
• Learner’s Book Activity 8 if sending home.
• Ask parents or carers to encourage their child to use pens, pencils, scissors, string and pasta tubes, etc., to practise fine motor skills at home.
• Ask parents or carers to enjoy finger rhymes and songs with their child. Provide them with examples from the class repertoire or suggest using online versions of traditional finger rhymes, such as ‘Incy Wincy Spider’ or ‘Tommy Thumb’.
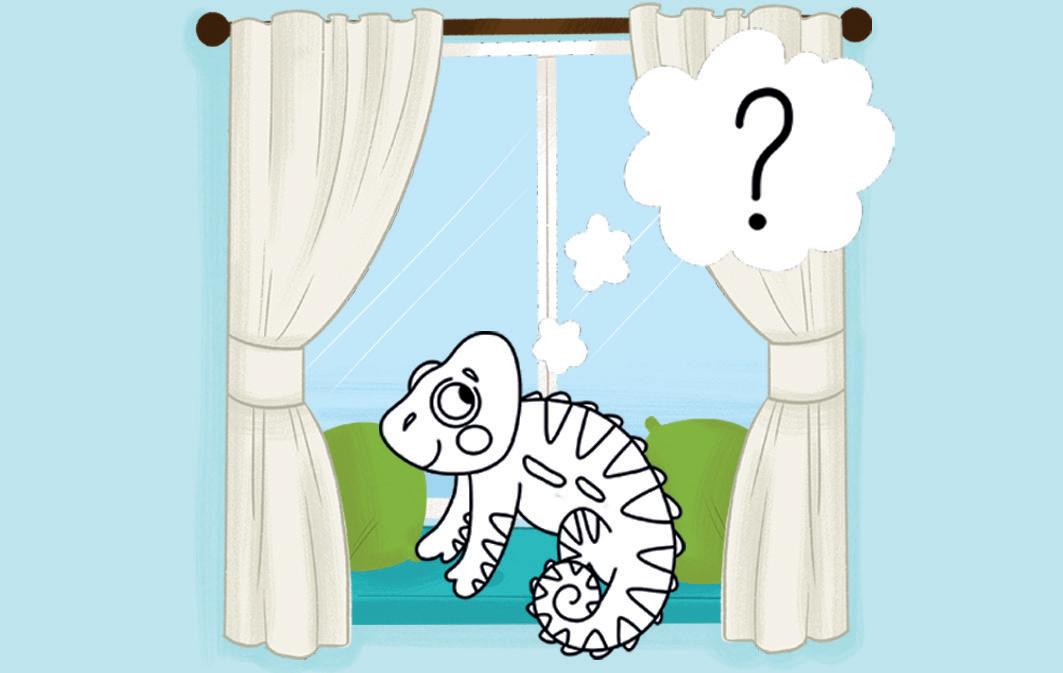
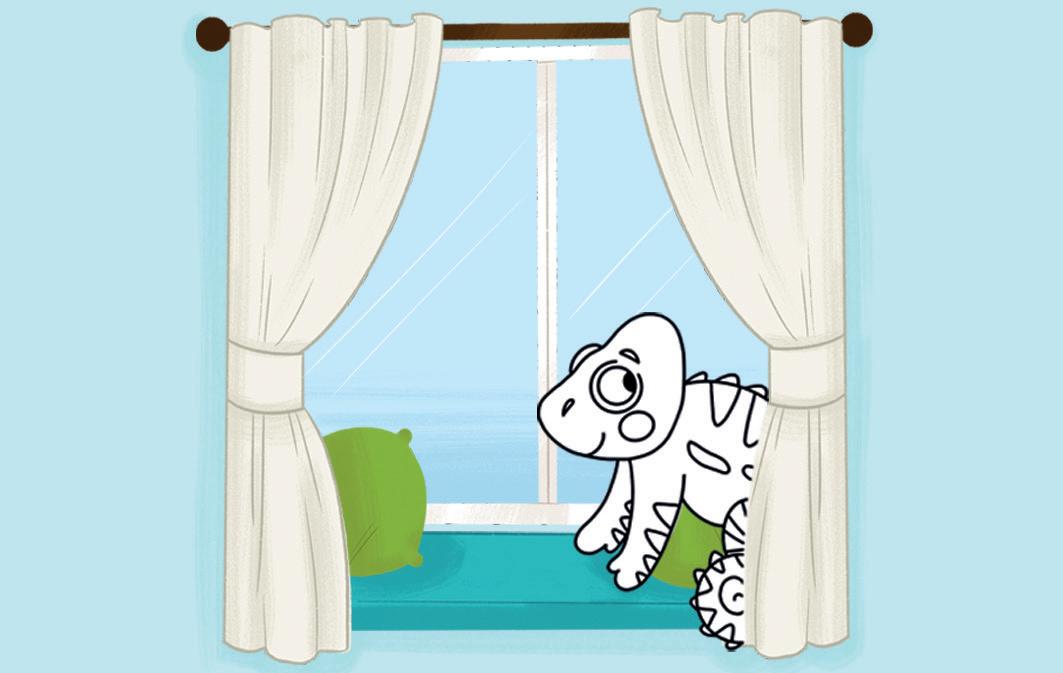
Activity 1: Kiho, Kiho sits at the window
Activity focus
Rhyme: Joins in with simple oral rhymes, rhyming songs and rhyming stories, including by filling rhyming gaps.
Vocabulary building
window, pink, think, green, seen, blue, boo-hoo, red, bed
Resources
Kiho, Kiho, Sits at the Window story, version 1; Kiho, Kiho, Sits at the Window story, version 2; Kiho, Kiho, Sits at the Window story, version 3; Activity sheet 1.3.1: Animal outlines; Activity sheet 1.2.1: Character puppets (optional); Learner’s Book Activity 9.
Activity guidance
• Before the session, prepare the pictures of four colourful Kihos using Activity sheet 1.3.1: Animal outlines. Colour or paint one Kiho outline pink, one green, one blue and one red. Cut each Kiho outline out. Stick each one on card to strengthen, or laminate if possible. Fix a stick (use a straw, some rolled paper, or similar) to the back of each card for holding.
As an optional step, you can also prepare a puppet of Kiho using Activity sheet 1.2.1: Character puppets
• Bring the children together and settle.
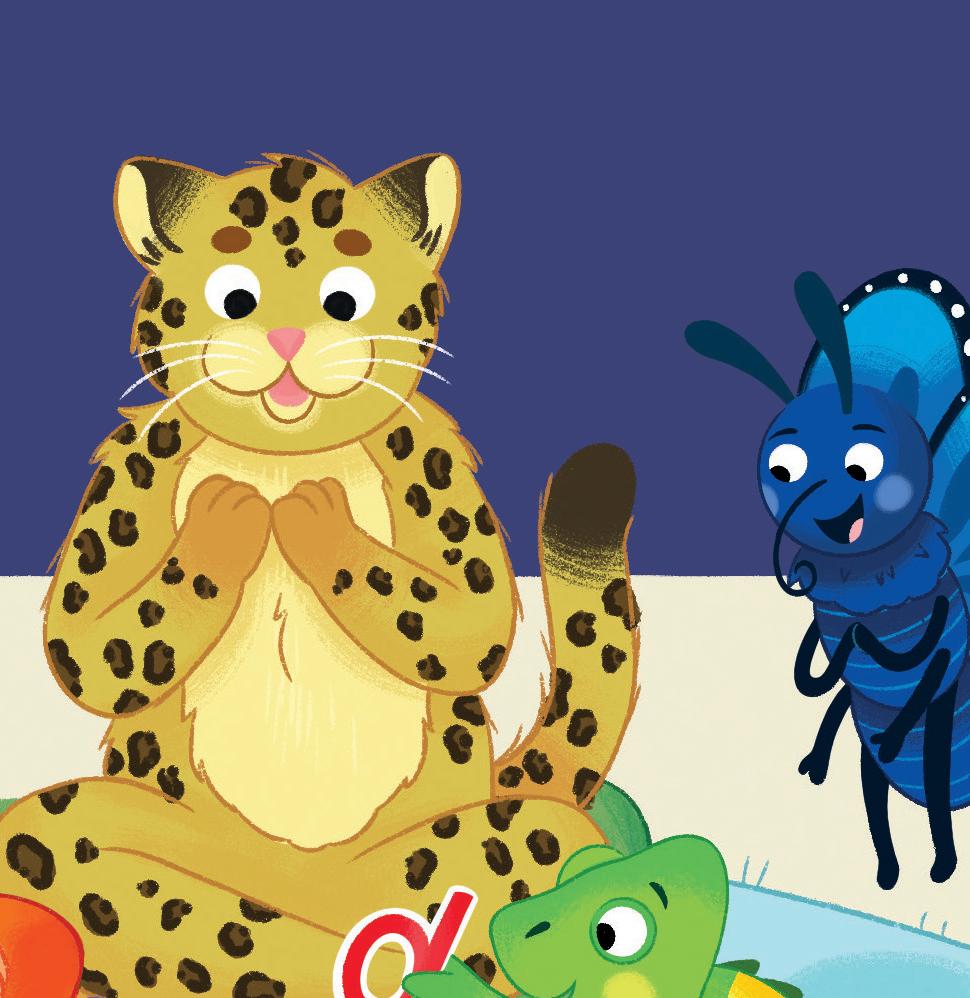
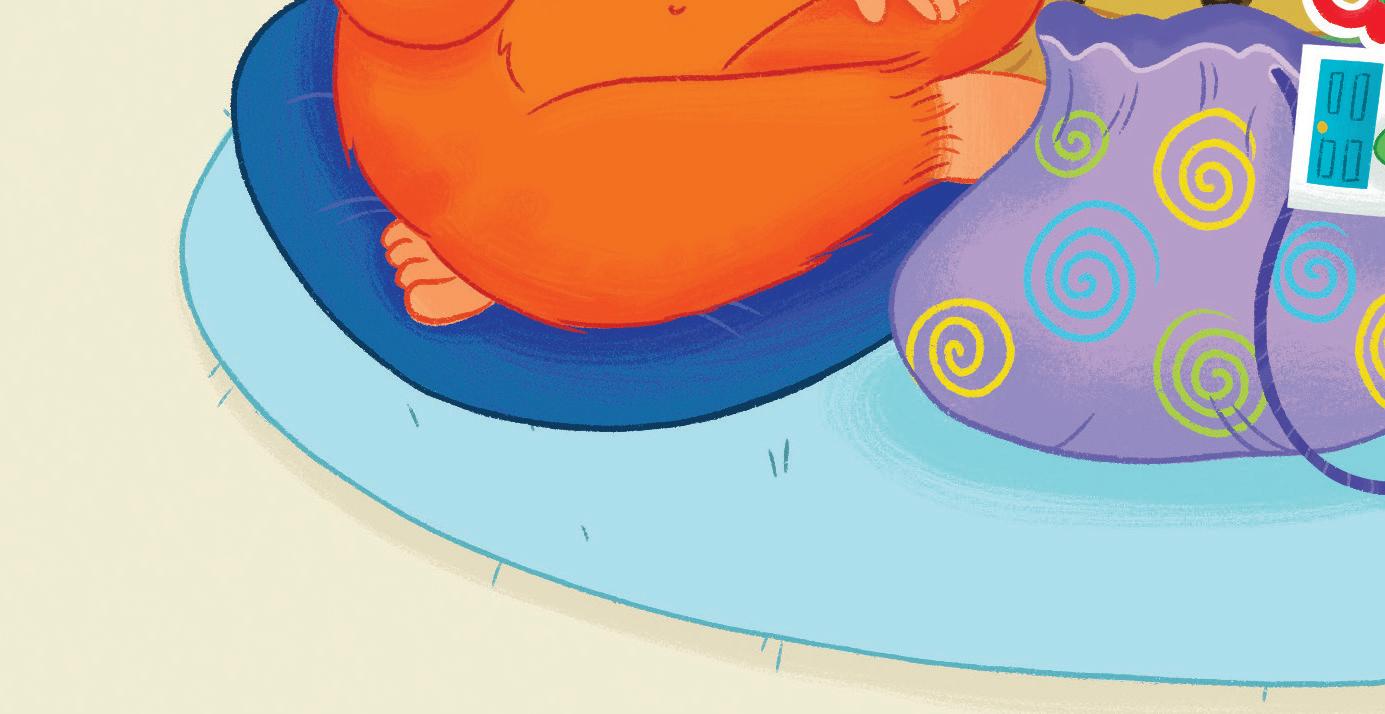
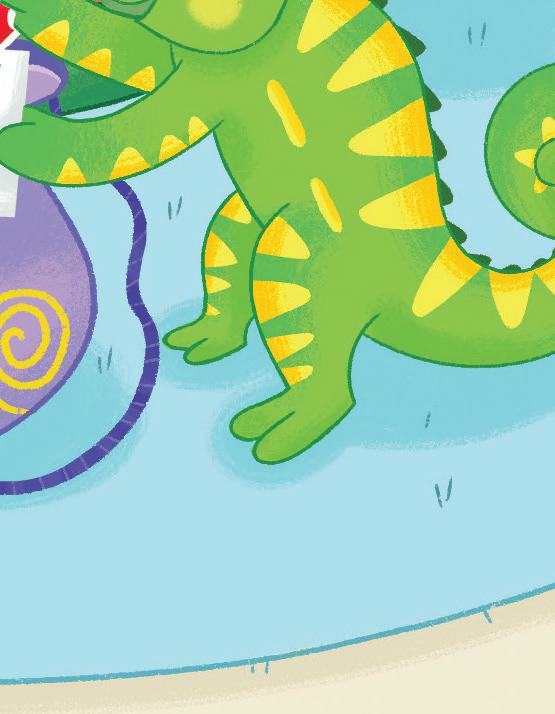
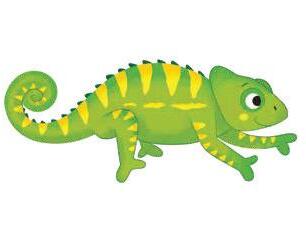
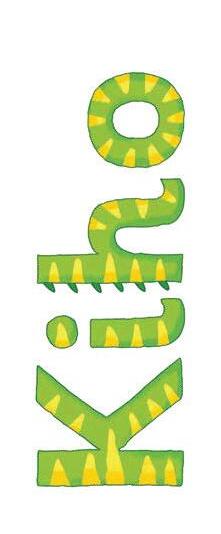
• Ask children what they remember about Kiho. Remind them that Kiho is the colourful chameleon. Tell them that Kiho likes colours and that Kiho can change colour. Show them the outlines of Kiho you have prepared and use them to revise or teach the colour words. Show pink Kiho, green Kiho, blue Kiho and red Kiho.
• Tell the children you have a new rhyming story about Kiho called Kiho, Kiho, Sits at the Window
• Say Say it with me: ‘Kiho, Kiho, sits at the window’. ‘Kiho’ and ‘window’ have the same sound at the end of the word; they rhyme.
• If using a puppet, take the Kiho puppet to a window, or ask a child to do this. This will support understanding of the story, especially for those learning ESL. Repeat the refrain from the story: Kiho, Kiho, sits at the window.
• Say Listen to the rhyming story about Kiho (cup hands to ears).
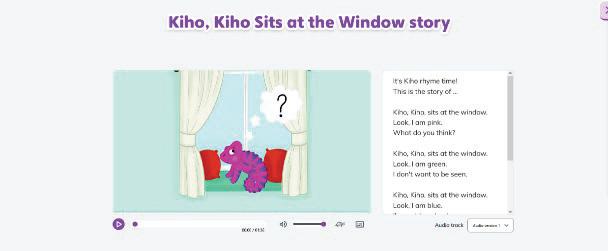
• Play the first version of the story. In this version, the story is read the whole way through. Use the Kiho outlines or puppet to support understanding as the children listen to the story rhyme. Pause and stress the rhyming pairs: pink/think; green/seen; blue/boo-hoo; red/bed.
Story: Kiho, Kiho, Sits at the Window, version 1
It’s Kiho rhyme time!
This is the story of …
Kiho, Kiho, sits at the window. Look, I am pink. What do you think?
Join in with me!
Kiho, Kiho, sits at the window. Look, I am green. I don’t want to be seen.
Join in with me!
Kiho, Kiho, sits at the window. Look, I am blue. I am sad, boo-hoo!
Join in with me!
Kiho, Kiho, sits at the window. Look, I am red. It is time for bed.
Join in with me!
Kiho, Kiho, sits at the window!
• Play the second version of the story rhyme. In this version, the story is read, but with pauses for children to join in with the rhyming words. Say Say the missing rhyming words! When the audio pauses, encourage children to join in and say the missing words (window, think, seen, boo-hoo, bed). Continue to use the Kiho outlines or puppet for support.
• Play the third version of the story, which has additional gaps. Say Say the missing rhyming words! When the audio pauses, encourage children to join in and say all the missing words (window, pink, think, green, seen, blue, boo-hoo, red, bed) Continue to use the Kiho outlines or puppet for support.
• If using the Learner’s Book in class, follow up this whole class activity with a small group activity (Learner’s Book Activity 9) that revisits the rhyming story.
Unit 1, Week 8: All about Kiho
Support:
• If children struggle to join in verbally, take note and give them time to build confidence. Some children may respond well to holding the Kiho outlines or puppet as a first step, while others may begin to find the words after hearing the three versions of the story rhyme.
Challenge:
• With version 3 of the story rhyme, challenge children to take turns to say the missing words in front of the class. Give them the puppet or a Kiho outline and tell them to stand up when it is their turn. Encourage them to say the colour word and the missing rhyming word for each verse, for example, red/bed.
Words and syllables: Uses actions to indicate each word in a spoken sentence.
Words and syllables: Uses manipulative objects to indicate each word in a spoken sentence; Points to each object in time with the words as they repeat the sentence.
sentence
Resources
Kiho outlines from Activity 1 (Activity sheet 1.3.1: Animal outlines); a mixture of pink, green, blue and red counters, pom-poms or small bricks (ideally four of each colour).
• Reuse the different coloured Kiho outlines from Activity 1 (Activity sheet 1.3.1: Animal outlines).
• Select a Kiho outline, for example, the green one. Say I am green. Repeat the sentence, bouncing the Kiho outline for each word in the sentence. Explain to children that each bounce shows one word. Point out the difference between a word and a sentence.
• Invite a small group (ideally 3–4) to participate in this activity.
• Say I am Kiho, again bouncing the Kiho outline for each word. Remind children that one bounce shows one word; even though ‘Kiho’ has two syllables, it is one word and needs one bounce.
• Invite children to choose a Kiho outline. Work around the group, encouraging each child to say the sentence to match the colour of their Kiho outline (I am (red)) and to bounce the puppet on each word. You may need to model this for each child before their turn, to remind them of the colour word related to the Kiho outline they have chosen.
• Then model saying a longer sentence, taken from the words of the story in Activity 1, Kiho, Kiho Sits at the Window For example, say What do you think? For a pink Kiho outline, take four pink counters, pom-poms or bricks and put them on the table. Move the pink Kiho outline from one counter to another using a bouncing motion, matching the number of words in this sentence (four).
• Invite children to take it in turns to repeat this process. Use different sentences from the story (for example I am (colour word) – 3 bounces; I sit at the window – 5 bounces). Children choose a Kiho outline, listen to or say the story rhyme sentence, and ‘bounce’ their outline across the correct number of counters in time with their spoken words.
• Repeat until each child in the group has had a turn.
• If children are struggling with responding correctly to the number of words spoken, invite them to select a Kiho outline and to jump with it to the sentence I am Kiho. The gross motor response may be helpful to reinforce the teaching. If successful, repeat with the colour word (I am pink). If the activity is repeated later in the week, revert to the use of counters.
• If children are confidently responding to the sentences spoken and using the manipulatives correctly, invite them to say their own sentence about the Kiho outline they have chosen. Then invite them to select the correct number of counters for the number of words in their sentence, and to bounce the Kiho outline accordingly.
Drawing patterns (using gross and fine motor skills): Investigates drawing patterns of dots, straight lines (horizontal, vertical and diagonal) and crosses to develop gross and fine motor control when mark-making; makes these patterns in a range of small- and large-scale contexts, and with a wide range of media, materials and multi-sensory approaches.
Recreating and forming familiar letters: Experiments with pencil grip to improve control whilst making intentional marks, shapes and patterns.
Activity sheet 1.8.1: Kiho small patterns; wipe-clean small whiteboards; paints; chunky markers; crayons; pencils; chalks; sponges; paintbrushes; cotton buds; reuse of picture labels of dots, straight lines and crosses from Week 3.
• Prepare the resources in a suitable area, or across a number of areas, to encourage a wide-ranging exploration of smallscale patterns.
• Invite a small group to participate in this activity or encourage participation as children show interest. Encourage children to work at a fine motor scale.
• Show and remind children of the pattern work they completed in Week 3 (Activities 2 and 3). Point out the different patterns they made using dots, lines and crosses. Draw children’s attention to the difference between markmaking in a small space (as they did in Week 3, Activity 2) and mark-making at scale (as they did in Week 3, Activity 3). Explain that making patterns in a smaller space requires extra care.
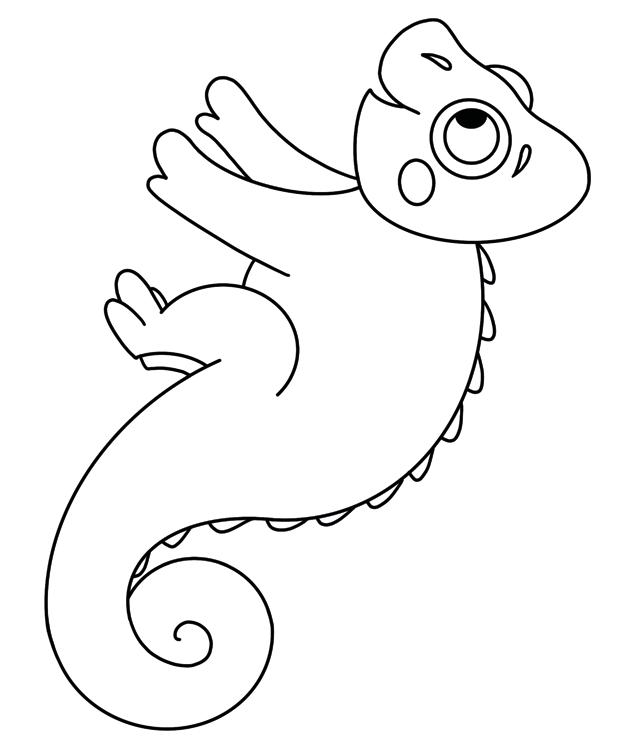
• Invite children to fill the black and white outline of Kiho (Activity sheet 1.8.1: Kiho small patterns) with patterns of dots, lines and crosses, encouraging them to select from the range of resources. Support them with settling on a comfortable grip, perhaps suggesting they try different ways to hold their resource, if their hand looks to be at an awkward angle or if they are holding it too tightly. Say Try like this and, as necessary, guide their hand to a better position. Note that there is no pressure to be using a tripod grip yet. Support them with subsequent control of their resource, encouraging them to stay inside the lines of the outline.
• Encourage children to talk about their pattern-making and to display their completed work on the Working Wall or similar.
Support:
• If children are struggling with fine motor skills, recheck their pencil grip to ensure that it is comfortable for them. Consider allowing time for further work at a gross motor level.
Challenge:
• As appropriate, challenge children to try other controlled work at a small scale. For example, provide the opportunity to draw lines to mark a pathway through a maze, or try dot-to-dot puzzles.
• You may access fine motor skill practice in Penpals for Handwriting F1 and F2 Teacher’s Books, and associated Penpals gym videos.
• For information on progression and pencil grip development, see Penpals F2 Teacher’s Book page 11.
Section 2 activities
• Words and syllables: Pick up a pom-pom
• Rhyme: Spin the spinner Continuous provision
• Reading/Listening area: Set out puzzle or maze books for children to further practise their fine motor skills by following a pattern, even if with a finger rather than a pencil or pen.
• Writing/mark-making area: Set out supplies of paper and card of different shapes and sizes, and/or small wipeable whiteboards, along with a range of writing tools (pens, pencils, markers, etc.) to encourage children to further explore pattern mark-making beyond Activity 3.
• Role play area: Set out the Kiho outlines used in Activities 1 and 2 in this area, perhaps alongside a ‘theatre’ space or set-up, and encourage children to play with the language of the story rhyme, including its rhyming word pairs. As they play, you could encourage children to bounce their ‘puppets’ as they say each word, helping them to reinforce their understanding of words within a sentence.
• During the session or day, draw children’s attention to small dots, straight lines and crosses in the classroom setting, outdoors and in books. If practical, encourage children to trace their finger over the patterns. Again, remind children of their large-scale work in Week 3 and compare it to this week’s focus on smallscale work.
• During the day, remind children of the colour words and matching rhyming words from the rhyme story in Activity 1 (Kiho, Kiho, Sits at the Window story rhyme) as well as challenging them to suggest a word (whether real or nonsense) that rhymes with a new colour word that did not feature in the story rhyme; for example, white/bite.
• If you find there is time to fill before lunchtime or home time, bounce a Kiho outline or the Kiho puppet for each word in a sentence that you say, for example, Let’s line up! (three bounces). If appropriate, encourage children to jump as the words are spoken, too. For this example, you could also repeat the sentence and the puppet bouncing until all the children are lined up.
Home link ideas
• Learner’s Book Activity 9 if sending home.
• Ask parents or carers to encourage the use of different types of resources to create small scale mark-making including controlled patterns, with a focus on dots, straight lines and crosses.
• Ask parents or carers to enjoy rhyming stories with their child so that they may draw attention to the sounds of any matching rhyming words.
Activity focus
Letter–sound correspondences in familiar words: Relates spoken and written words by saying words shown by familiar labels in the environment when they are indicated.
Vocabulary building
label, window, table, chair, board, shelf
Resources
Picture explorer 1.2: Find It Again!; sticky putty; Learner’s Book Activity 10.
Prepare: Hand write labels for ‘chair’, ‘window’, ‘table’, ‘board’ and ‘shelf’ and place them around your classroom where these items are.
Activity guidance
• Bring the children together and settle.
• Use Picture explorer 1.1.2: Find It Again! The image shows the same classroom picture shown in Week 5. Tell the children that they have seen this classroom before (they were listening to words orally sounded during that week). Revise the known words for the items that are visible.
• Point out the labels for ‘window’, ‘table’, ‘chair’, ‘board’, and ‘shelf’. Draw children’s attention to the object within the picture that each label is referring to. Gesture to objects around your classroom setting to reinforce the vocabulary.
• Encourage children to join in with saying the words on the labels.
• If children struggle to join in verbally, ensure that they are looking at the labels when the corresponding words are spoken, to reinforce the link between the spoken word and the written word. Also involve them in reapplying the physical labels around the classroom, to reinforce the link between the written word and its object.
Challenge:
• If children are confidently joining in with saying the words on the labels, ask them to say them independently, too.
Letter–sound correspondences in familiar words: Relates spoken and written words by saying words shown by familiar labels in the environment when they are indicated.
Resources
A camera to capture new labels (optional).
Prepare: Hand write new labels in addition to labels used in Activity 1 such as ‘bag’, ‘book’, ‘mat’, ‘peg’, ‘door’, ‘hat’ and ‘coat’, and place them around your classroom where these items are.
• Prepare handwritten versions of each label to apply to your own setting. Ask children Do we have a window? Yes, let’s label it! Add your handwritten label for ‘window’ to the window. You may remove the labels and then invite children to reapply them when prompted. Repeat for each of the labels included in the digital picture.
• If using the Learner’s Book in class, follow up this whole class activity with a small group activity (Learner’s Book Activity 10) that revisits these labels.
• Before the session, prepare a route with labels for children to walk along. Stick along the route up to six familiar labels for items that children know, and further labels for items that are not so familiar. You will take children along the route and invite them to find and identify the labels and items.
• Invite a small group (ideally 3–4) to walk along the route, find the labels, and identify the items. Ensure the labels are suitable for the level of English in the group. You can adjust the labels for further groups of children with lower or higher levels of English.
• Remind children of Activity 1 and revisit the classroom labels if necessary. Tell them you are all going in search of more labels around the setting.
• When the children find a label, say the word and encourage them to join in as you run your finger under the word. Note that the aim of the activity is not to teach new vocabulary words but to show children that reading labels in the environment can help us identify objects and places. Translate any unfamiliar words into L1 if necessary.
• If using a camera, take a photo of each label in its context. After the walk, you can show and discuss the labels and objects in the photos, to reinforce learning. You could also place the photos on the Working Wall.
Listen and observe
Support:
• If children are struggling to join in with saying the words, reinforce meaning with actions, and encourage them to simply point if they are not yet ready to verbalise. Ensure the labels are clearly supported with visuals so that the meaning is clear.
Challenge:
• If children are confident, challenge them to notice any additional labels in your setting, for example, the toilets or office. You could also invite them to suggest where new labels could be helpful or welcoming to guests.
Name recognition: Uses visual clues to recognise their name.
Fine motor skills: Engages in a wide range of activities across the step that develop fine motor skills (hand and finger movements) and hand–eye coordination, to support development of general control.
Vocabulary building shape
Photo name cards (you can reuse from Week 1); Activity sheet 1.9.1: Character name cards; glue; small pieces of materials suitable for collage building, for example, shiny shapes, small stones, pom-poms, tiny leaves, etc.
Prepare: Create new name cards for each child, this time with more spaced-out letters for them to decorate.
• Prepare new name cards for children. Use large lettering and ensure the letters are well spaced to allow for decorating.
• Invite a small group (ideally 3–4) to participate in this activity.
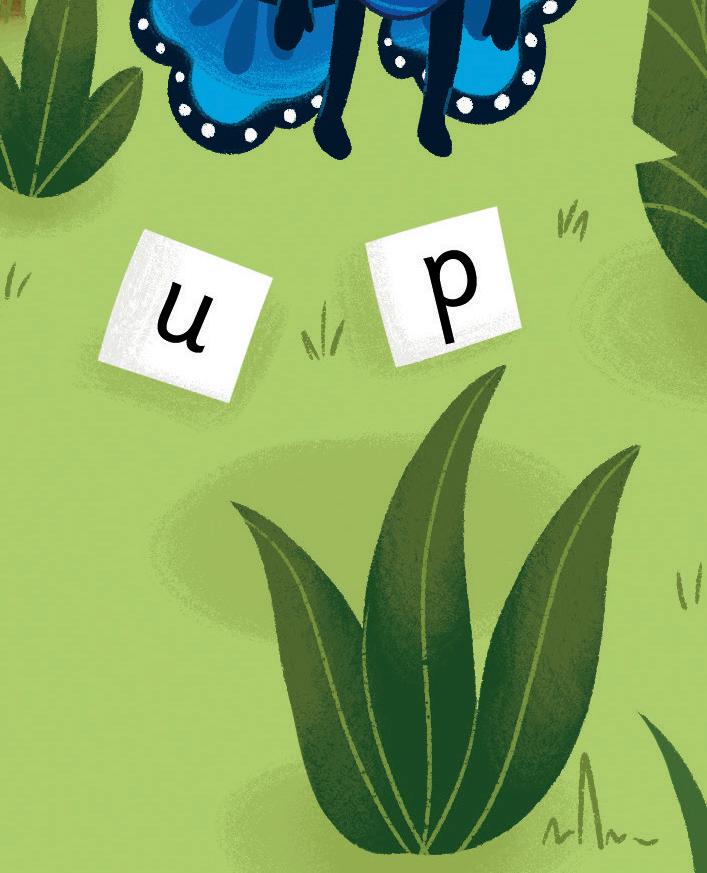
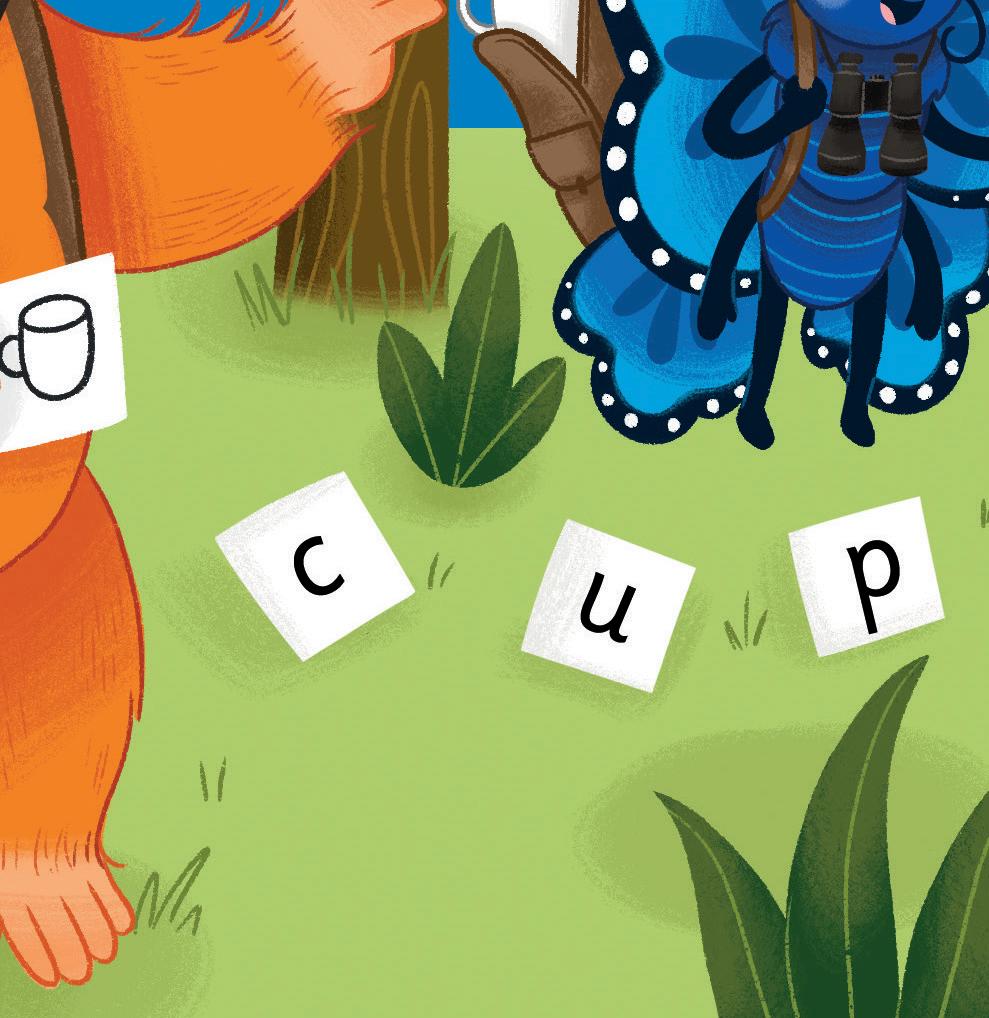
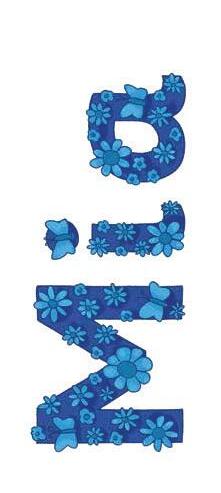
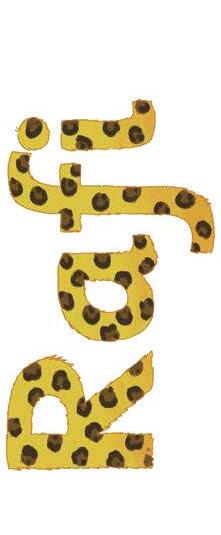
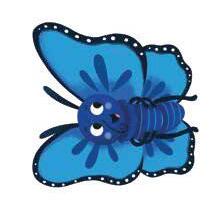
• Show children the character name cards from Activity sheet 1.9.1: Character name cards. Tell them they are going to make a new name card for themselves, too. Talk about how the letters are decorated on the character name cards and discuss why. For example, ask What does (Mia) have or like? What can (she) use to help (her) know it is (her) name? Explain Mia’s letters are blue and have flowers and wings because she is a blue butterfly. Some children may remember the alliterations from Week 2 (for example, ‘big butterfly’) but there is no expectation of this.
• Encourage children to talk about how they will decorate the letters on their name card and to explain why.
• Set out the original name cards and the new name cards. Invite children to find their two name cards. Work around the group, supporting each child to say their name and identify their written name on the name cards.
• Encourage the children to talk about what helped them to know it was their name, for example, was it the shape of the first letter, a picture clue, etc?
• Once they all have their name cards, invite them to use the glue and collage resources to decorate the letters in their name. Glue around each letter shape at a time to decorate it.
• When completed, children can choose where they want to use it, for example, to label a piece of work, their coat peg, or to take home.


Support:
• If children struggle to match their original photo name card with their new name card, encourage them to look for the first letter shape, for example, It looks like a snake. Have them finger trace the letter shapes if this helps.
Challenge:
• If children are confident in finding their name cards and in talking about how they knew it was their name, challenge them to recognise their name elsewhere in the classroom.
• Refer to any texts in Cambridge Early Years 1 Communication and Language that feature non-fiction texts with labels, for example, Transport ABC
Section 2 activities
• Letter–sound correspondences in familiar words: What’s on my shelf?
• Name recognition: Find your name
• Name recognition: Fish for your name
Continuous provision
• Reading/Library area: Ensure that there are books, both fiction and non-fiction, for children to further explore and begin to recognise environmental text (labelled words in the environment). For example ‘Bear Talk’ by Sally Kilroy, Ian Beck’s ‘Picture book –A first book of pictures for very young children’ or ‘First words’ books by Dorling Kindersley.
• Sand or Water area: Bury or hide plastic or wooden letters for children to discover. If using a water area, add paint (or similar) to the water to make it opaque. See if children can match the letters to letters in their names.
• Art area: Children may continue with Activity 3, creating more decorated name cards, using different resources, and for different purposes.
Spontaneous teachable moments
• During the session or day, draw children’s attention to labels in your classroom setting and invite them to say the labels with you; for example, What does this label say? It says ‘door’. Say it with me. This is particularly effective if they are seeking objects that are labelled (such as paint, glue or scissors) as it will reinforce the link between letters, words and meaning. It will also support their growing independence.
• During the day, remind children where their name appears on any class labels. Invite children to find their name. Notice those who are able to rely less on visual clues.
Home link ideas
• Learner’s Book Activity 10 if sending home.
• If children choose to take their decorated name label home, encourage parents or carers to involve their child in deciding where to use their name card.
• Parents or carers and children may like to walk around a familiar setting or along a familiar route (for example, the home, a local shop, a route to the park, etc.) and talk about labelled words in the environment (known as ‘environmental text’, for example, street signs, restaurant names, etc.) Tell parents or carers to focus on finding letters that match those in the child’s name.
SECTION 1: Activity sheet 1.7.1

Preparation: Print in colour and single sided.
1 Cambridge Phonics and Handwriting Step 1 © Cambridge University Press & Assessment 2026
SECTION 1: Activity sheet 1.8.1: Kiho small patterns
Children's activity
1 Cambridge Phonics and Handwriting Step 1 © Cambridge University Press & Assessment 2026
and
Character name cards
Preparation: Stick on card and laminate for durability. Print in colour and single sided.
Prepare: print and cut out
Character name cards
1: Activity sheet

Our teaching resources come with access to our new front-of-class digital platform that keeps learning focused and fun.

Access your digital resources through Cambridge GO

Interactive songs and stories
Fun songs with images and actions, plus audio stories that can display or hide text as needed.
Letter formation animations
Short animations to support early writing development.
Digital flashcards
Letter–sound flashcards showing capital and lower-case letters with audio phonemes.
Ready-made slideshows
Time-saving slideshows for teaching key concepts in front-of-class lessons.
Explore our resources at: www.cambridge.org/education/subject/early-childhood-education/cambridge-phonics-and-handwriting