Chapter 5: GUI Applications (Optional)
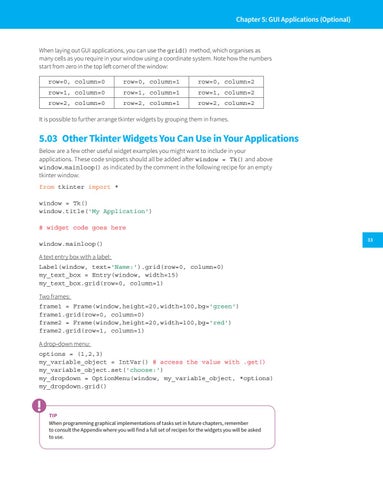
When laying out GUI applications, you can use the grid() method, which organises as many cells as you require in your window using a coordinate system. Note how the numbers start from zero in the top left corner of the window: row=0, column=0
row=0, column=1
row=0, column=2
row=1, column=0
row=1, column=1
row=1, column=2
row=2, column=0
row=2, column=1
row=2, column=2
It is possible to further arrange tkinter widgets by grouping them in frames.
5.03 Other Tkinter Widgets You Can Use in Your Applications Below are a few other useful widget examples you might want to include in your applications. These code snippets should all be added after window = Tk() and above window.mainloop() as indicated by the comment in the following recipe for an empty tkinter window: from tkinter import * window = Tk() window.title('My Application') # widget code goes here window.mainloop() A text entry box with a label: Label(window, text='Name:').grid(row=0, column=0) my_text_box = Entry(window, width=15) my_text_box.grid(row=0, column=1) Two frames: frame1 = Frame(window,height=20,width=100,bg='green') frame1.grid(row=0, column=0) frame2 = Frame(window,height=20,width=100,bg='red') frame2.grid(row=1, column=1) A drop-down menu: options = (1,2,3) my_variable_object = IntVar() # access the value with .get() my_variable_object.set('choose:') my_dropdown = OptionMenu(window, my_variable_object, *options) my_dropdown.grid()
TIP When programming graphical implementations of tasks set in future chapters, remember to consult the Appendix where you will find a full set of recipes for the widgets you will be asked to use.
33