The Bridal dit


Meet DIY Bride: Marya Sokha

invest in a Cricut Maker® just two months before my wedding was my desire to craft a personalized seating chart. Given the likelihood of last-minute changes to guest RSVPs, I wanted the flexibility to adjust the chart accordingly. Ordering one online would take too long, and it would be pricey for the size I wanted, around $600–800. So, I decided to learn how to cut vinyl to make the chart myself.
What was your favorite Cricut project from your wedding?
Marya Sokha was determined to DIY as many things as she possibly could for her wedding. She brought home a new Cricut cutting machine just two months ahead of her big day.
Together with her husband, Gary, they made a bunch of projects themselves — everything from a boba tea menu with personalized drink stickers to a seating chart and even gifts for their loved ones. They held their wedding at Chateau de L’Amour in Houston, TX with about 180 guests in attendance.
I have to say my seating chart for 180 people was my favorite project. It was very intimidating at first, but once we got the hang of it, my husband and I finished it in like two days.

Photography by Charles Lin
What were your favorite moments of your wedding day?
I have so many favorite moments: Our bridesmaids and groomsmen entrance to the wedding, the lion dance to bring good luck and fortune, and the games we played with our guests.
For the first time, I learned how to make stickers to put our faces on the boba drinks we offered our guests. Instead of his-and-her cocktails, we went for boba drinks. My husband’s favorite is honey green tea, so we stuck his face on that one. I love milk tea, so my face went on those. And because we wanted to include our dog, Coffee, in the celebration, we put his face on the coffee drinks. Given his name, it felt perfectly fitting to feature his adorable face on the coffee drinks we served.


I simply enjoy making things with my hands.


Valerie Jackson

What inspired you to DIY your wedding?
The decision to DIY was really made due to the size (we had fewer than 10 participants total, including us) of our ceremony, but also due to the timing. My husband was diagnosed with adenocarcinoma of the tongue right after we got engaged. So, we basically put the wedding planning on the back burner while he had to undergo treatment. Fast forward a little over 2 years later — a month before our 7-year dating anniversary — and we just decided to stop waiting for the all clear with his health. We settled on tying the knot on our 7-year anniversary. I had exactly 30 days to create as many DIY projects as I could with my machines.
On their 7-year dating anniversary, Valerie and Ryan Jackson tied the knot with an intimate backyard wedding ceremony, cake cutting, and toasts at their home in Jenks, OK. Afterwards, they had a photo shoot at Coal Creek Farms, a venue nearby.
Valerie used her Cricut cutting machine to make everything from personalized jackets for her loved ones to jaw-dropping paper flowers for her bouquet, arch, and boutonnieres.

What
sources of inspiration did you use to decide which projects to make?
The inspiration behind most of my projects came from browsing Etsy, as well as a few sites like Vow’d Weddings and the Cricut Official group on Facebook. I found quite a lot of my floral inspiration right from Design Space®. Luckily, I had been bookmarking projects for the wedding for 2 years, so it was easy to get started.

The decision to DIY was made due to size of our ceremony.

Photography by Amanda Grace Photography


Did any of your projects hold a sentimental
Our wedding mirrors were especially sentimental for us. My mother-in-law let me upcycle a family heirloom mirror. I created a memorial piece for my mom who passed in 2016 with the mirror as a way for her to still be included in our special day with us. I took snippets from handwritten birthday letters from her to me over the years, uploaded them to Design Space, then pieced them together to make a special message for our wedding day.


I created a memorial piece for my mom who passed in 2016.
I wanted to personalize them with my handwriting.
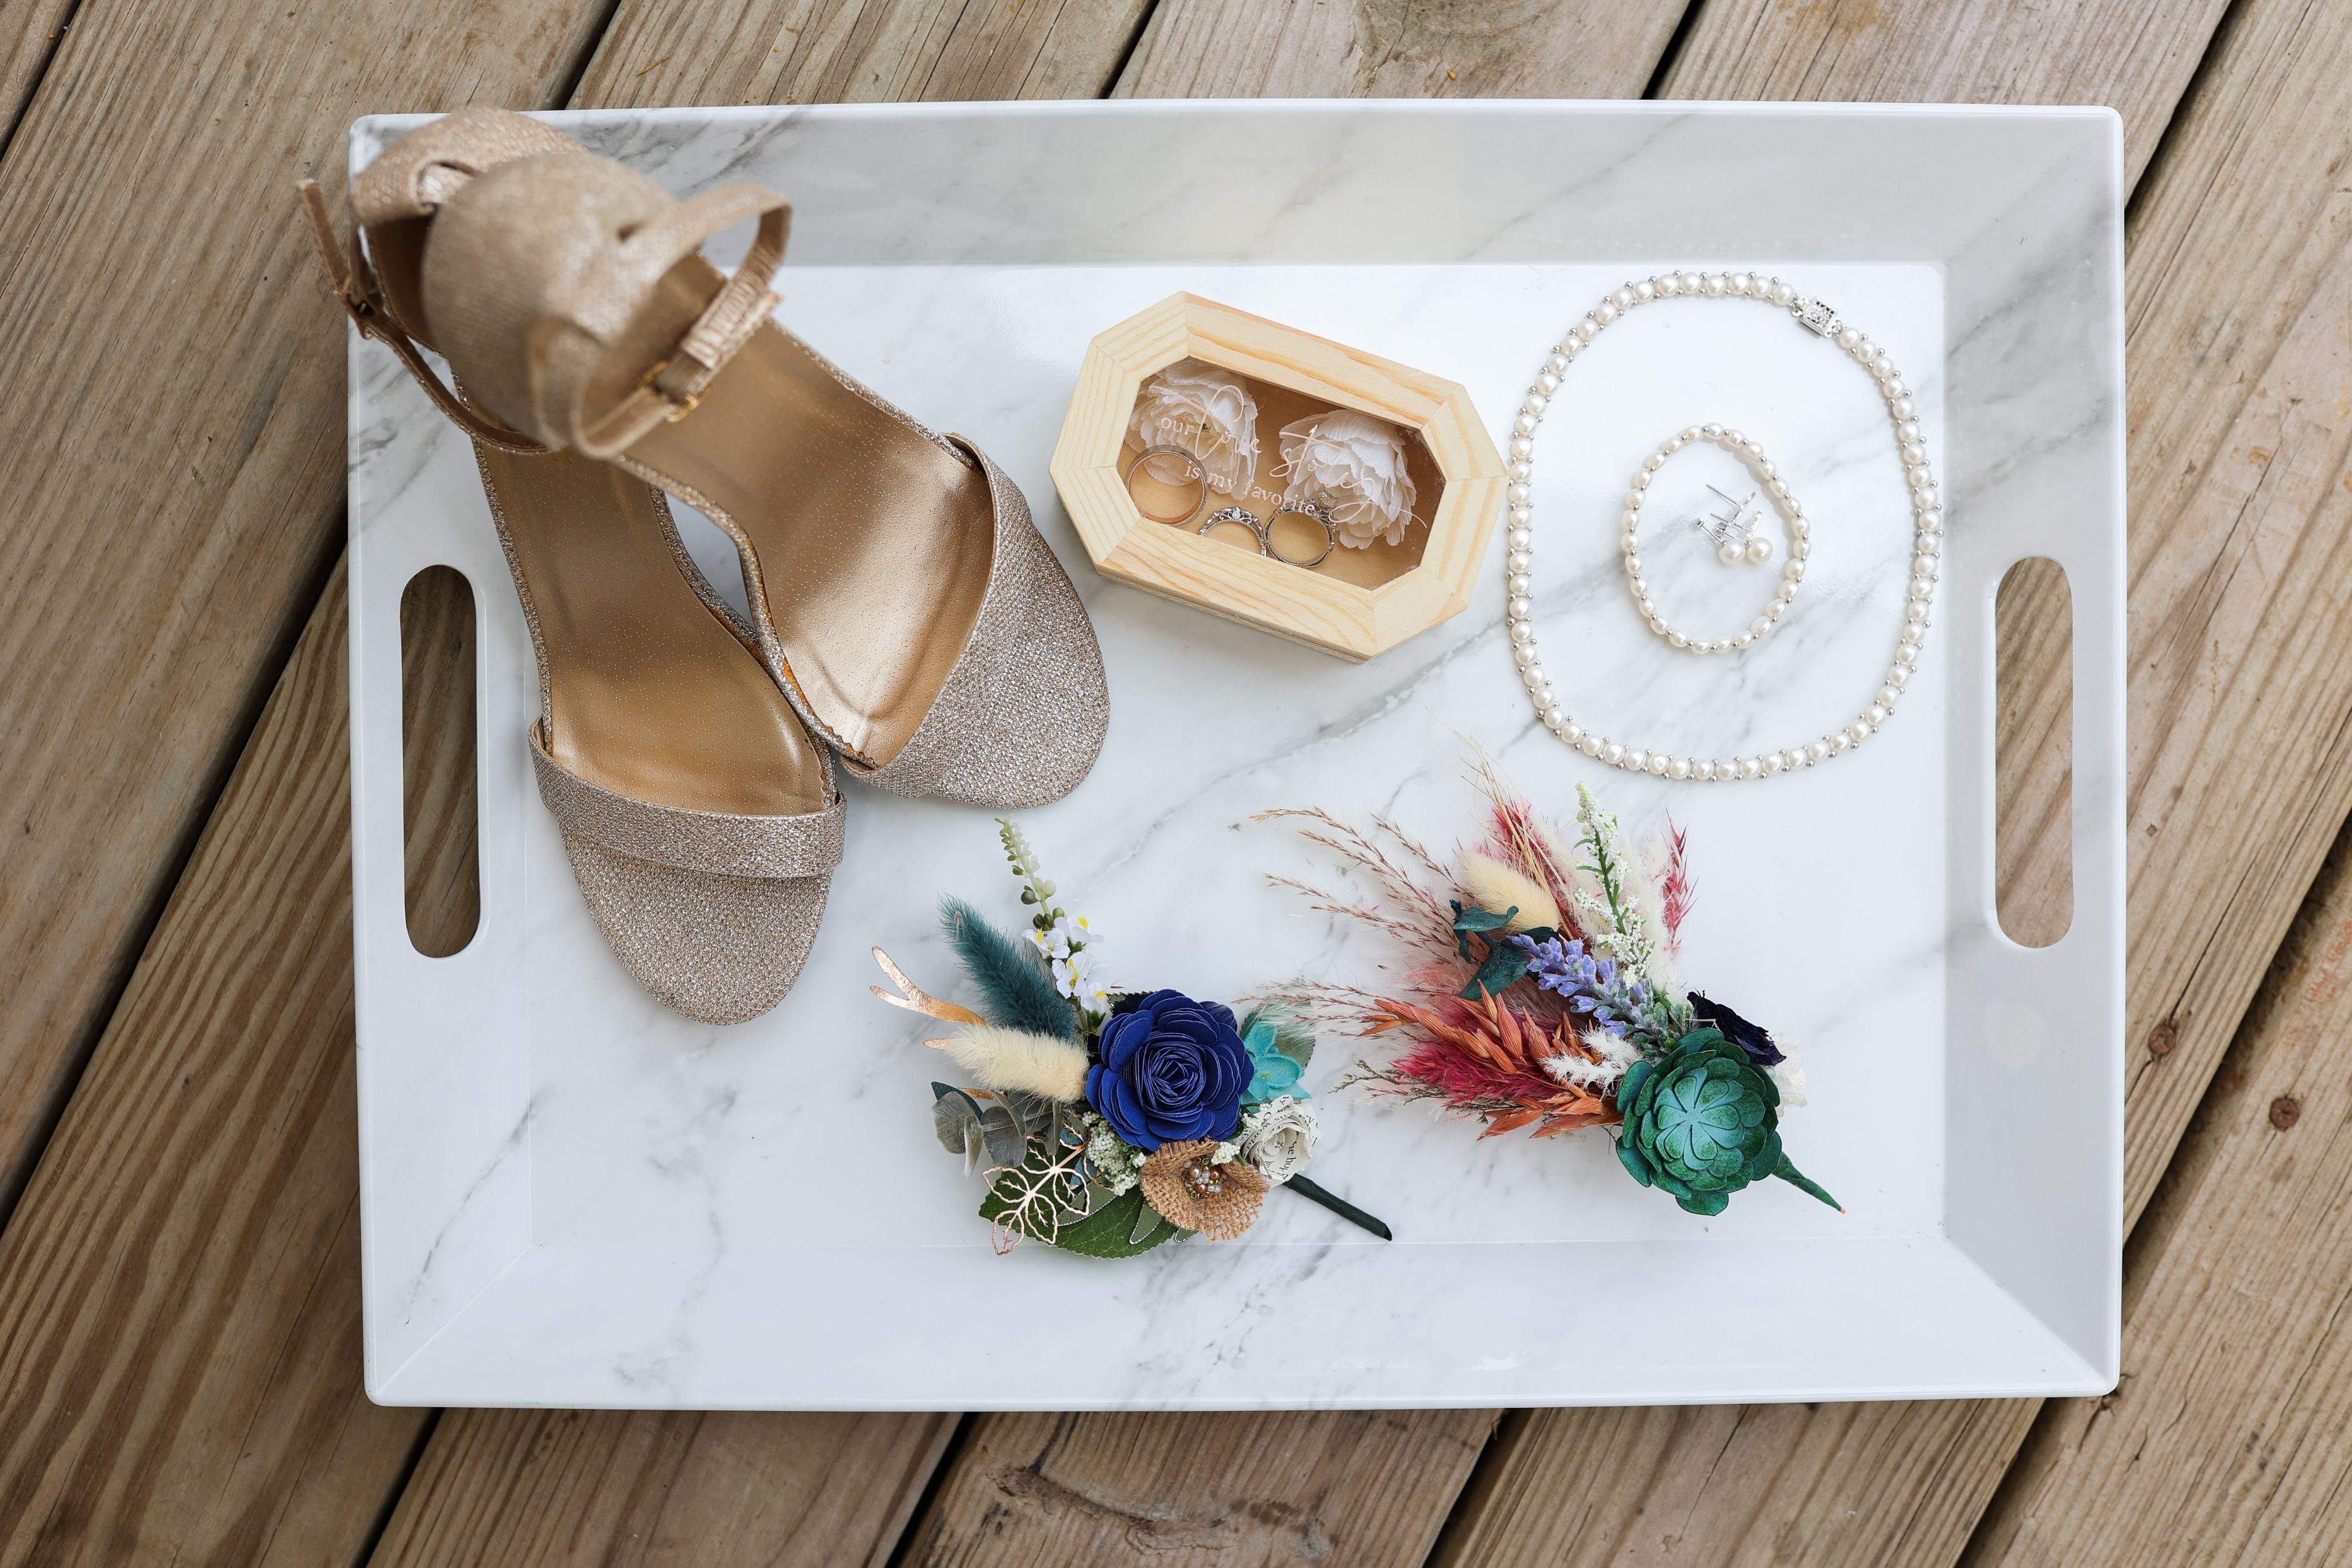
Another project that was pretty sentimental for me was my wedding shoes. I went to the thrift store and found my wedding shoes by complete luck. There was one pair of barely used gold sparkling heels that was just my size and only $4.99. Perfect for how I wanted to personalize them with my handwriting on the soles. I wrote out a message and uploaded it to Design Space and then added it to the bottom of them with black glitter iron on vinyl and Cricut Easy Press Mini™. It was perfect! They read, “I’m so blessed to have my true love and best friend,” and, “As we walk this journey, from beginning to end”.


What was your favorite Cricut project from your wedding?
My favorite project was probably my bouquet, but it would be a hard choice between that or the 7 ft boho floral arch backdrop I made. Either way, my favorite makes for our big day was DIY paper florals and I made a ton!
What were your favorite moments from your wedding day?
My favorite moments of the day is a hard question to answer, there were so many. Definitely our champagne toast. It was


More moments of Valerie & weddingRyan’s day. I found quite a lot of my frominspirationfloralright Design Space.


Natilie Thompson
When Natilie Thompson’s daughter, Torey, got engaged, she knew she wanted to throw her the ultimate camp-themed bachelorette party. The camp theme holds a special meaning to the bride-to-be, so it would be a key focus of her celebration.
With her Cricut machine, Natilie was able to make custom decor, games, and party favors for the guests. The effort she put into making everything created a memorable night that her daughter and guests would never forget.
How did you come up with the theme?
My daughter Torey is the bride and asked her
What was your favorite project to make?
I think my favorite project was the postcards. All good camps have the kids write letters home! So we adapted that theme of writing letters, and had all of the guests write advice or well wishes to Torey. Within the “Utah” letters we put the locations of their first date, first kiss, etc., which were little clues for some games we played later that night.


What was your daughter’s favorite project?
Torey loved the sweatshirts. We actually had one guest not be able to make it, and her fiancé was thrilled that it was his size. He really thought they were cool!
How did the bachelorette party guests react to all the Cricut projects?
They loved all of the details. The sweatshirts were comfy, and they loved the personalized stickers. We did three different stickers — the shield was the wedding date, the pennants had the guests’ names, and then we did a Smokey the Bear in her wedding colors. They even loved the trail mix favors. It really is the small details that take a party from ordinary to extraordinary.
What advice would you give to someone who may be interested in using Cricut for their wedding celebrations?
The possibilities are endless when it comes to the things you can do with Cricut. I kept thinking of extra things that we could do, but we ran out of time! Not only was Cricut great for her bridal shower (we made a darling bird banner) and her bachelorette party (camp theme), but we also used it to make the signage at her wedding. Don’t be afraid to think outside of the box, find your own style and run with it. The sky’s the limit! Small details make a big difference. We could have done so much more, but the small things we did make were a huge impact for not a lot of money.
It really is the small details that take a party from ordinary to extraordinary.

Think whimsical wildflowers, playful pastels, and sunshine on the dance floor.
Color Inspiration

Project Ideas


Yours Truly
Fonts
BFC Mod Chic
Bouquet Tie
Use iron-on to personalize your bouquet with a handwritten note.

What you need
Materials to Cut
Everyday Iron-On, White Preparation Cut
From Canvas, select Upload from the left side panel

Upload your handwritten note as an image, then add it to Canvas
When you’re ready to cut, select Make, then follow prompts to cut design from iron-on
Remember to Mirror your design on the Preview Screen
Use a Weeder tool to gently lift and peel away unwanted material


Minimalist
Think classic hues, elegant florals, and timeless fonts in a sleek urban venue.

Project Ideas


Fonts
Black Signature
William Font
Vow Books
Use vinyl to create personalized vow books for you and your love.
What you need
Preparation
Materials to Cut
Vinyl, Cream
Cut
To personalize the project, select Customize, then edit text boxes to your liking
When you’re ready to cut, select Make, then follow prompts to cut design from vinyl
Cricut cutting machine

Standard Grip Machine
Assemble
Remove vinyl from machine mat, then place protective cover back on machine mat
Use hand scissors to trim material around cut design
Use a Weeder tool to lift and peel away unwanted material from liner

Cut a piece of Transfer Tape the size of your decal, then use Scraper tool to burnish Transfer Tape over decal
Slowly peel the white liner at an angle, making sure decal adheres
Place decal in desired position, then use Scraper tool to burnish remove Transfer Tape to reveal your finished


Groovy Mod Disco
Think funky florals, bright colors, playful fonts, and disco balls everywhere.
Color Inspiration

Project Ideas


Fonts
Analog Script
BFC Vintage Champagne
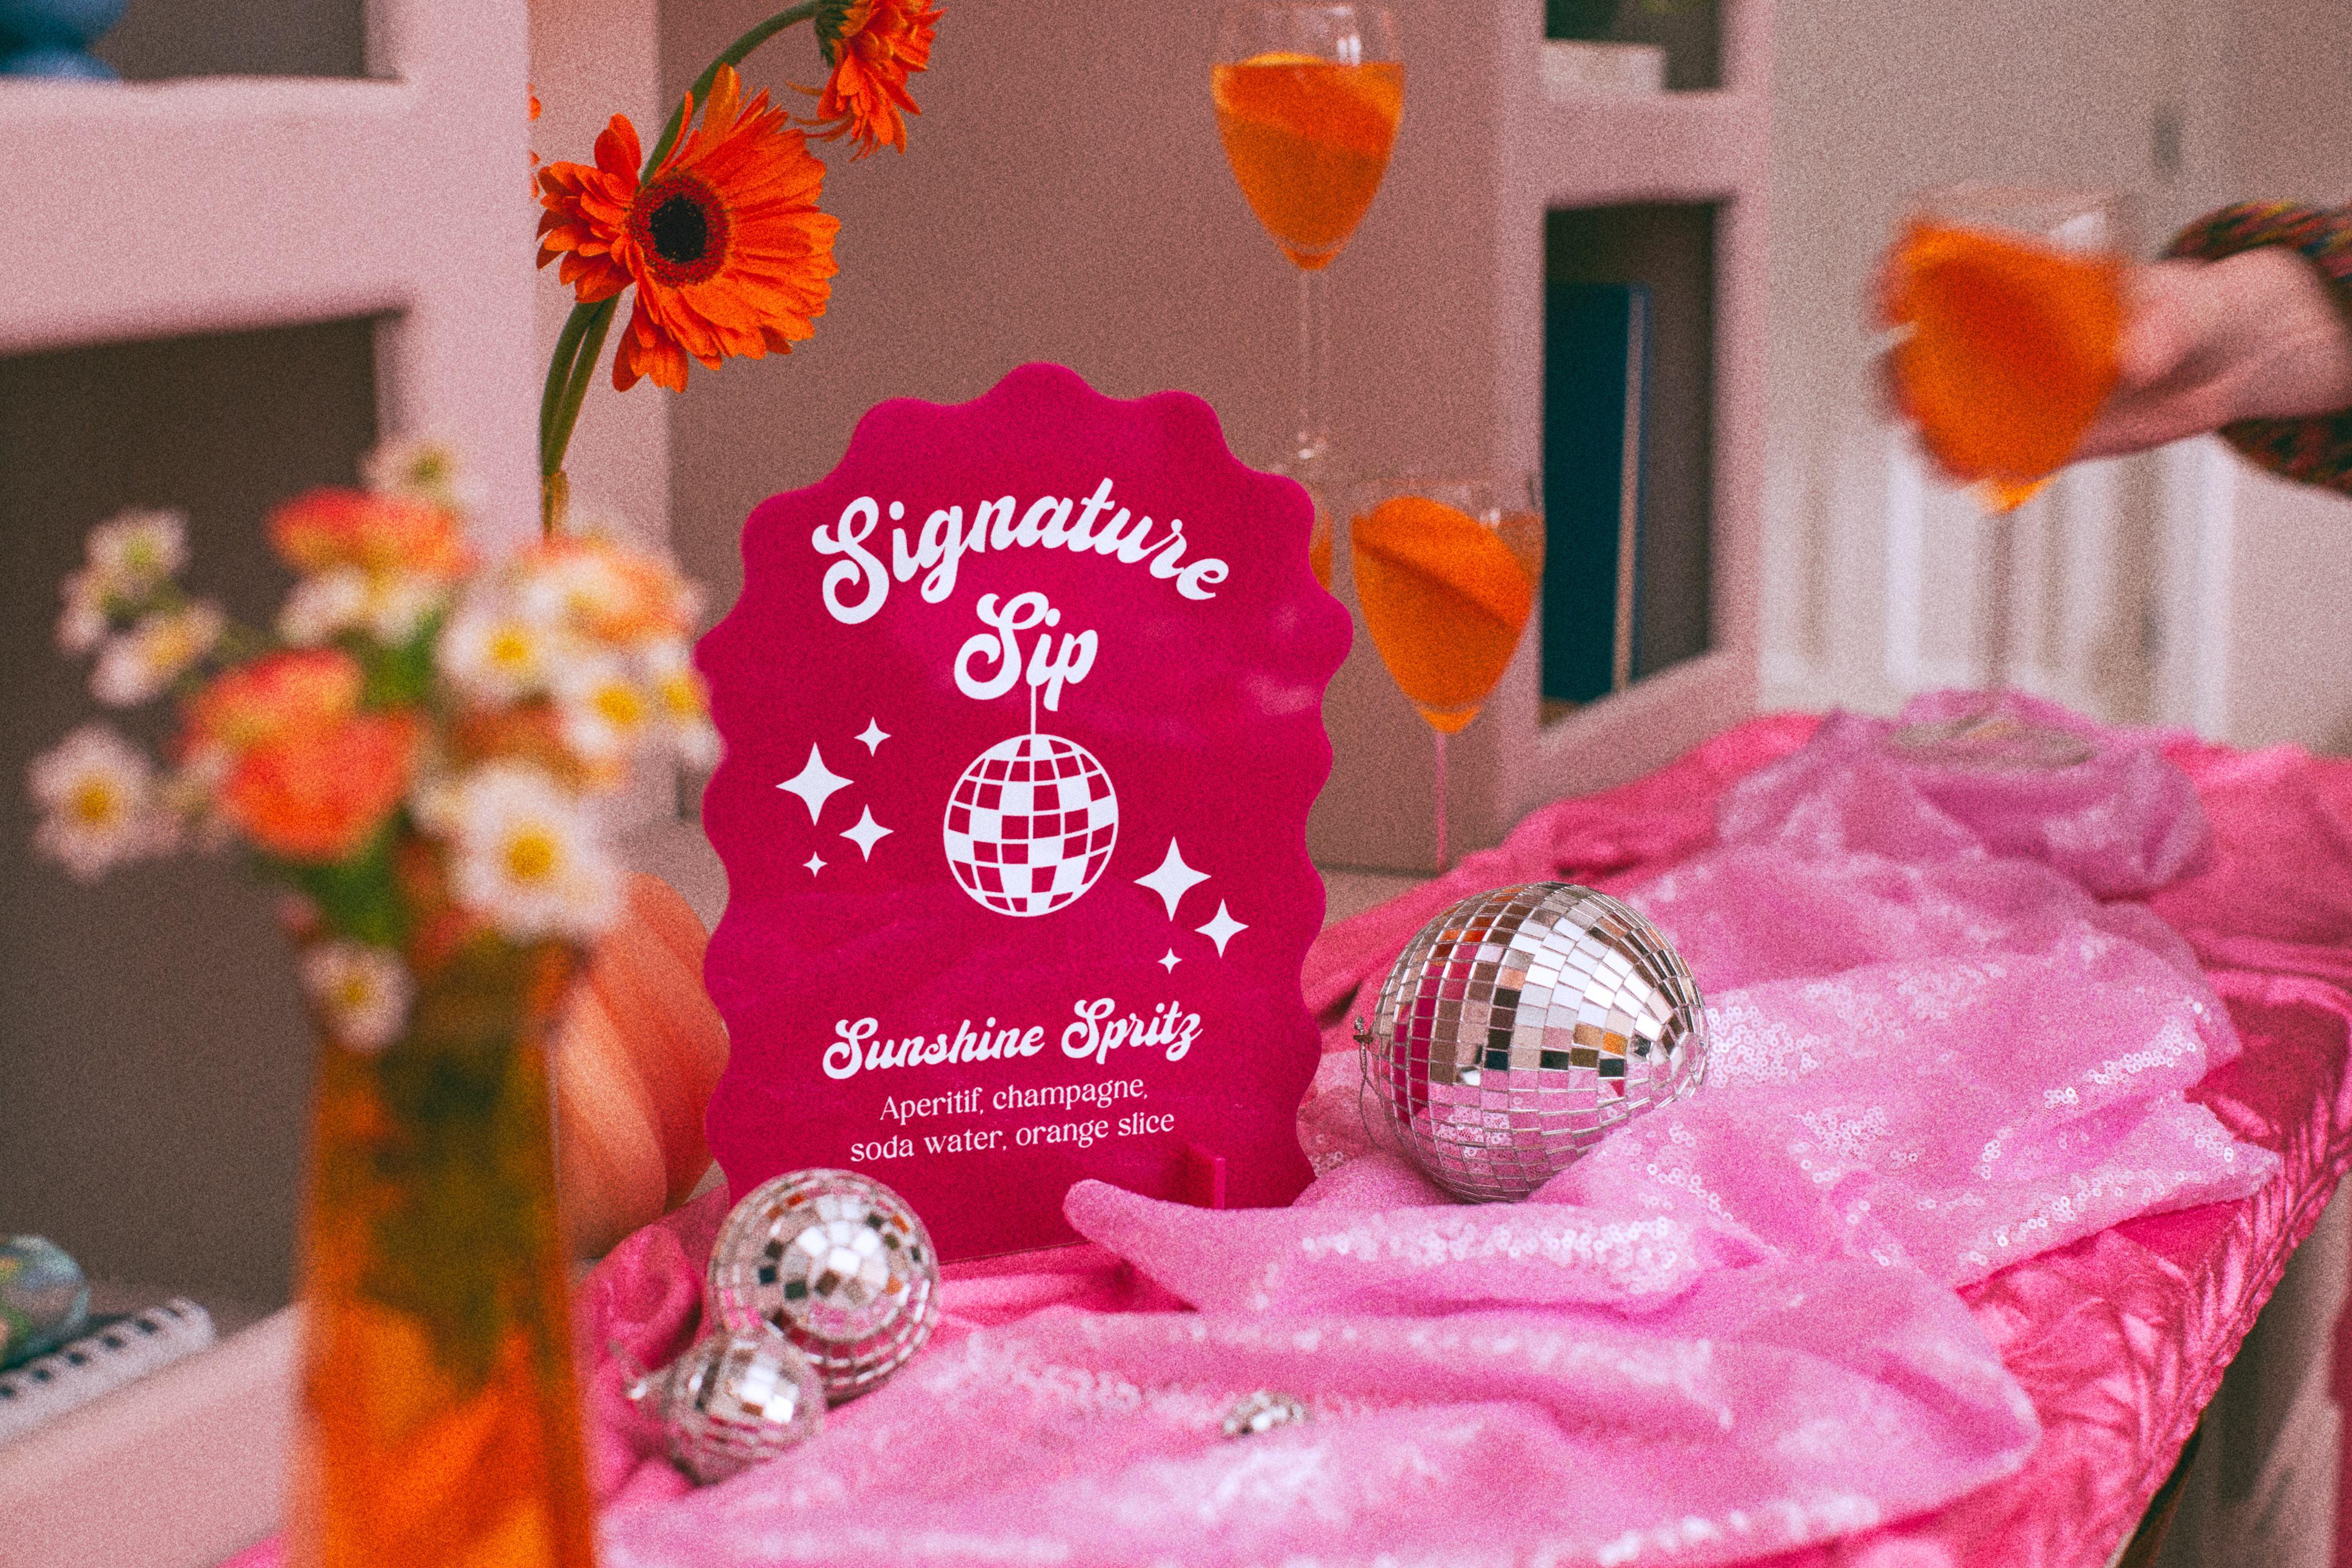
Drink Sign
Use vinyl to create a groovy custom drink sign for your big day.
What you need Preparation
To personalize the project, select Customize, then edit text boxes
When you’re ready to cut, select Make, then follow prompts to cut design from vinyl
Remove vinyl from machine mat, then place protective cover back on machine mat
Use hand scissors to trim material around cut design
Use a Weeder tool to lift and peel away unwanted material from
Cut a piece of Transfer Tape the size of your decal, then use


Little tips for your big day.
Your DIY wedding doesn’t have to take over your life. With a little inspiration and help from your loved ones, you can stay organized every step of the way so you can enjoy your big day.
Start with inspiration, end with budget.
Create a central location to save all of your DIY inspiration. This can be a Pinterest board or a photo album in your phone — whatever you decide, keep it handy so you can easily add to it whenever you see something you like IRL.
Once you know which elements you have to have at your wedding (signs, decor, etc.), start pricing out how much it costs to make each one, then allocate your budget accordingly. You may start seeing the savings stack in your favor by using the same material colors on multiple projects.
Create a realistic timeline & detailed checklist.
Give yourself 6–18 months from your wedding day to prepare — you may need more or less time depending on your vision. Next, start a running checklist with projects you want to make, supplies you’ll need, and a timeline for completing each project.
Some projects, like a welcome sign, you can make in advance while others, like a seating chart, are best completed after RSVPs are in. Consider factors like complexity and cost of materials for each project to make the most out of your supplies. Remember to give yourself extra time to learn new crafting skills along the way.
Delegate to your squad.
Do you have an engagement party, wedding shower, or bachelorette party on the mind? Don’t be afraid to hand these events over entirely to your loved ones — they are here to support you on your big day and beyond. If you have a vision and want to see it through, communicate with them up front so they include you in the group chat.


Make your signs ahead of time.
Once you decide on your wedding theme and style, making your own signs can be done early on in the planning process. Think big welcome signs or smaller decor like guest books, just married banners, table numbers, and more.


It’s time to cash in on those “let me know how I can help!” texts. Enlist your fiancé(e), bridesmaids, groomsmen, parents, and soon-to-be in-laws — they are probably craftier than you think. Let them help on the details you feel comfortable handing over. You may even end up with some sweet surprises you wouldn’t have thought of yourself.


Roll with the punches.
Did you have a mishap with Transfer Tape? It’s ok, mistakes are part of the creative process. You’re bound to have some learnings — and big wins! — along the way. If your big DIY project just isn’t working out, try simplifying it a bit. It doesn’t have to be all glitz and glam to be you.
Make it feel like you.
It’s all about making your day, your way. Whether you make this or buy that, enjoy the process of figuring out what matters most to you and your fiancé(e). If you’re more of the barefoot ceremony type, great! Grab a few baskets and make a shoe sign so your guests know you want them to kick back and relax. Do you want a fairy tale wedding with a shimmery photo op and sparkles everywhere? Stock up on glitter supplies, this is going to be fun.


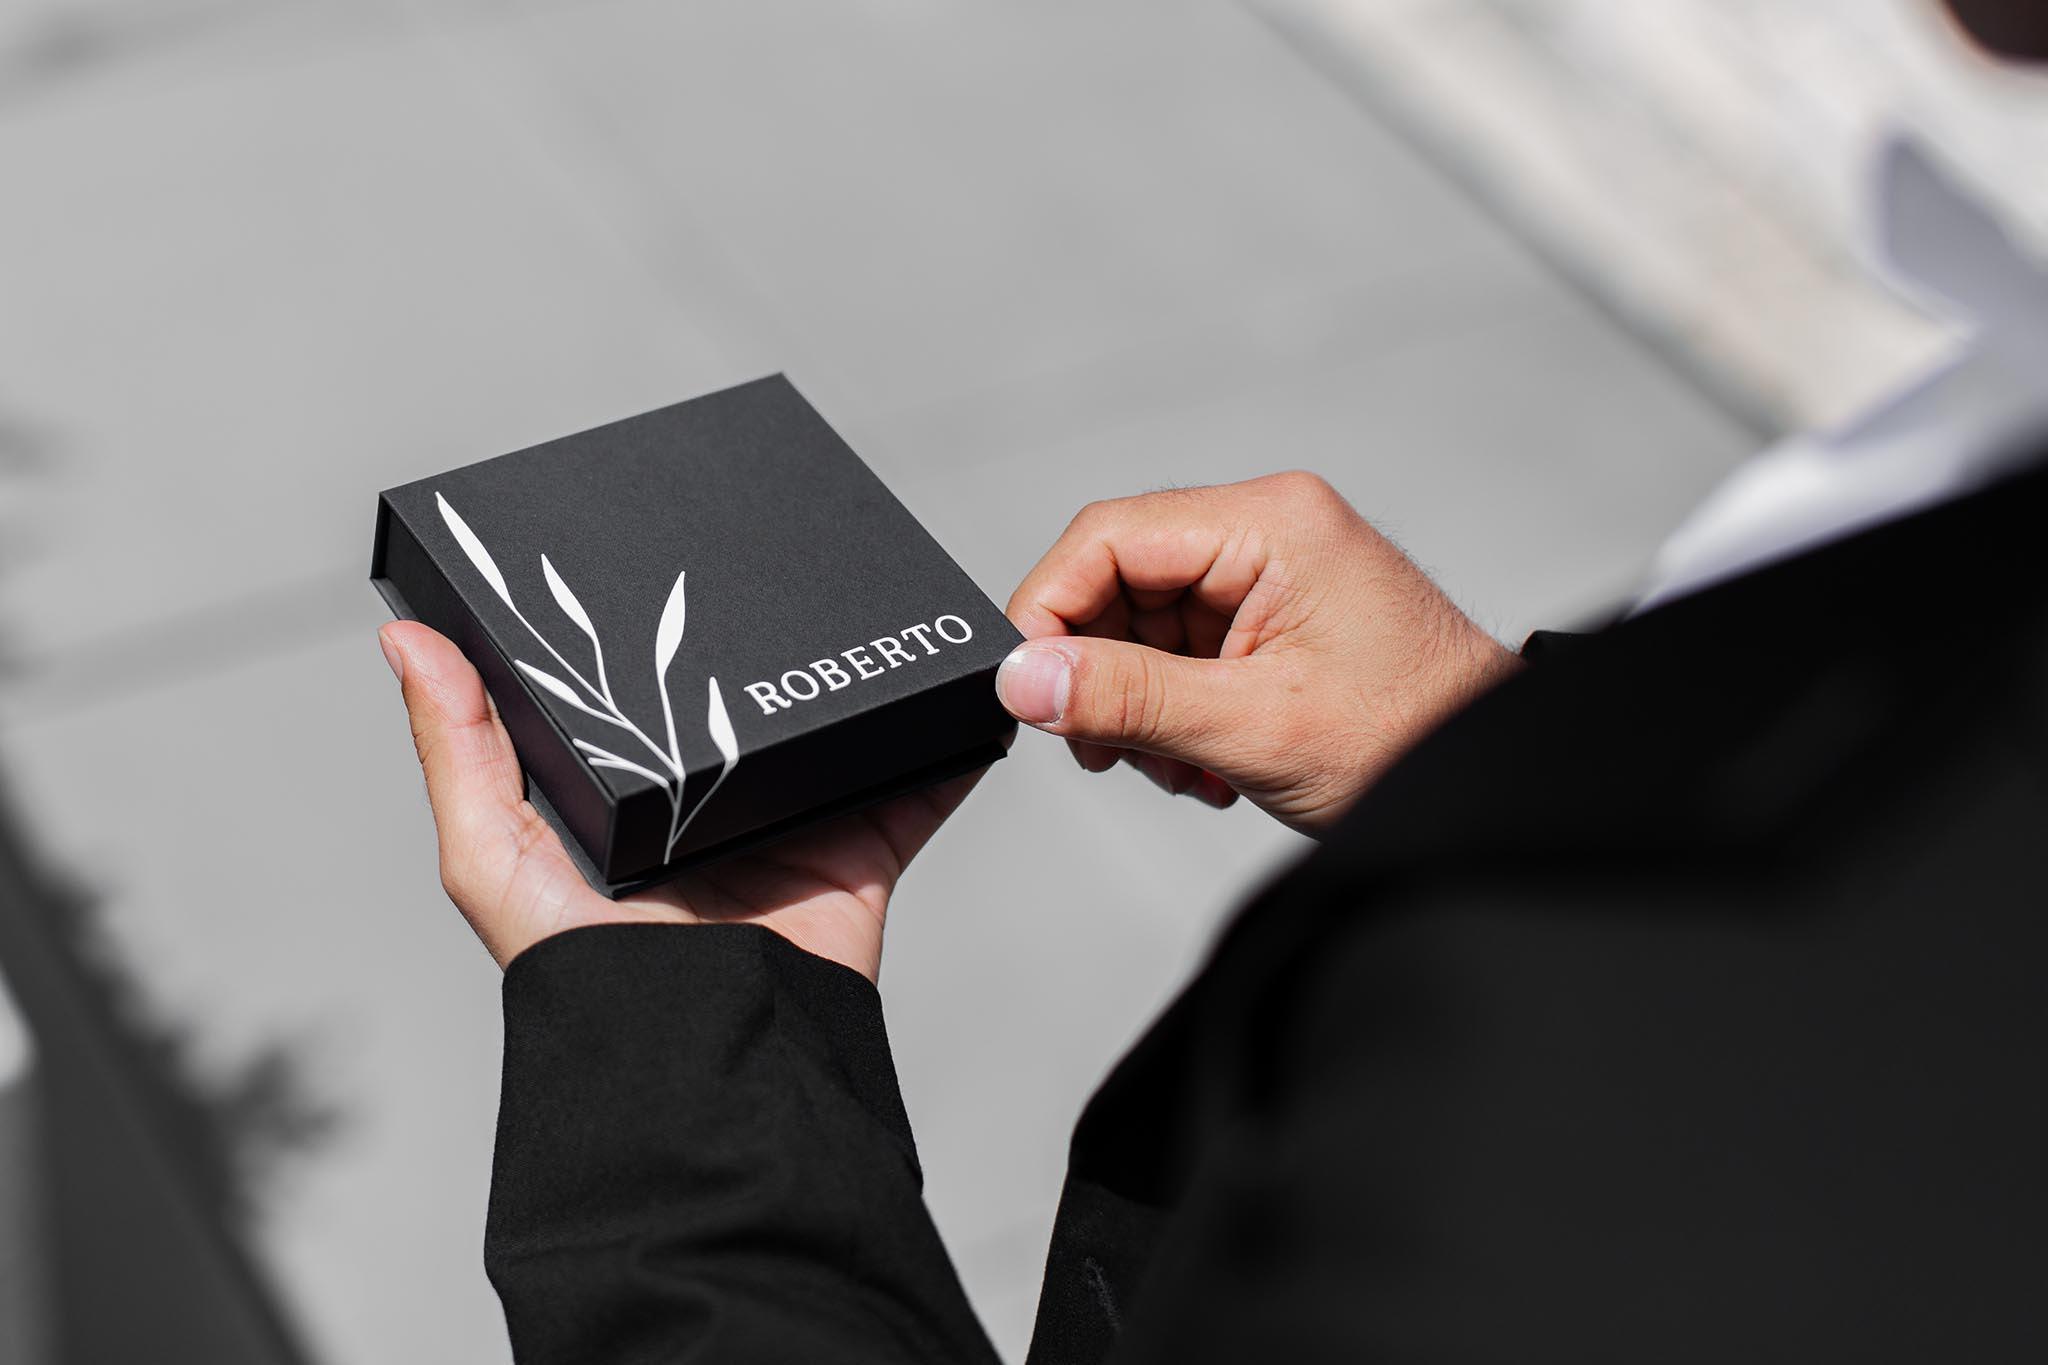
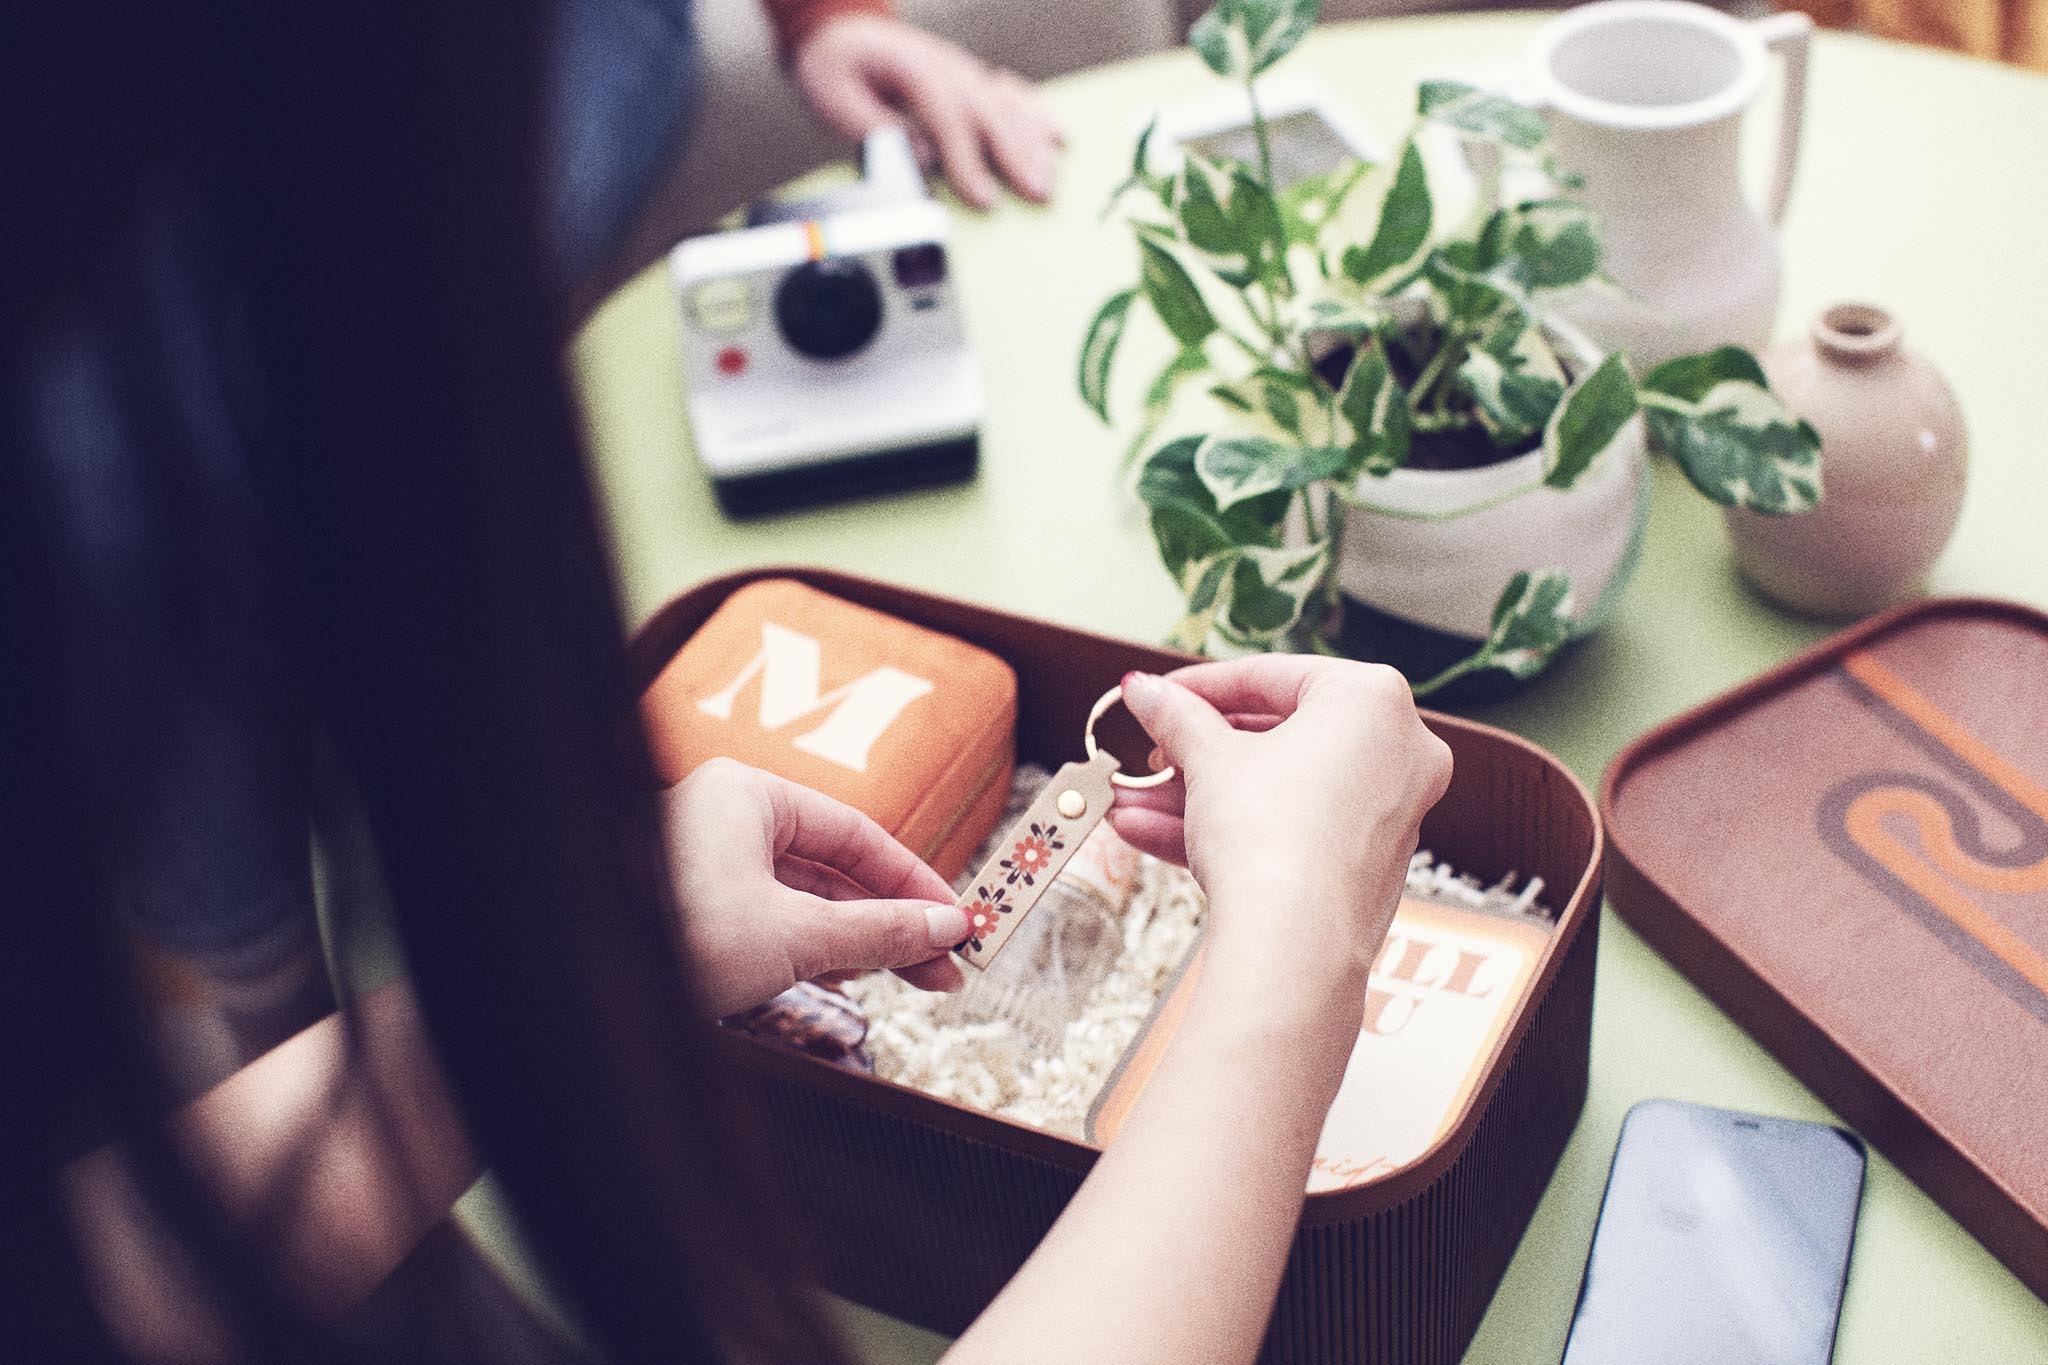
Pop the question with a customized proposal box.
From your grade-school bestie to his college roomie, ask them to be a part of your big day in a personalized way. Use a Cricut cutting machine to make something that’s totally them without breaking the bank.


Let’s go, girls.
Your bridesmaids are sure to say “I do” to being part of your big day with a personalized proposal box. Use your party theme (‘70s retro, anyone?) or wedding colors as design inspiration, then fill it with items you can customize — think key chains, hair ties, or travel accessories. Once you have your items picked out, use a Cricut cutting machine and a few supplies to add their name, initials, or even an inside joke that only they’ll understand.

Don’t forget the dudes.
Groomsmen like gifts, too! Give them a proposal box that’ll get them excited for your big day — and all of the celebrations in between. Start with something that will last or that they can reuse like a wooden box or a leather travel bag. Then, pick out a few gifts to personalize.
Putting some thought into customizing keepsakes can make your loved ones feel appreciated and included. They’ll be even more excited to stand by your side on your big day — and


Inspo for your DIY dream wedding.
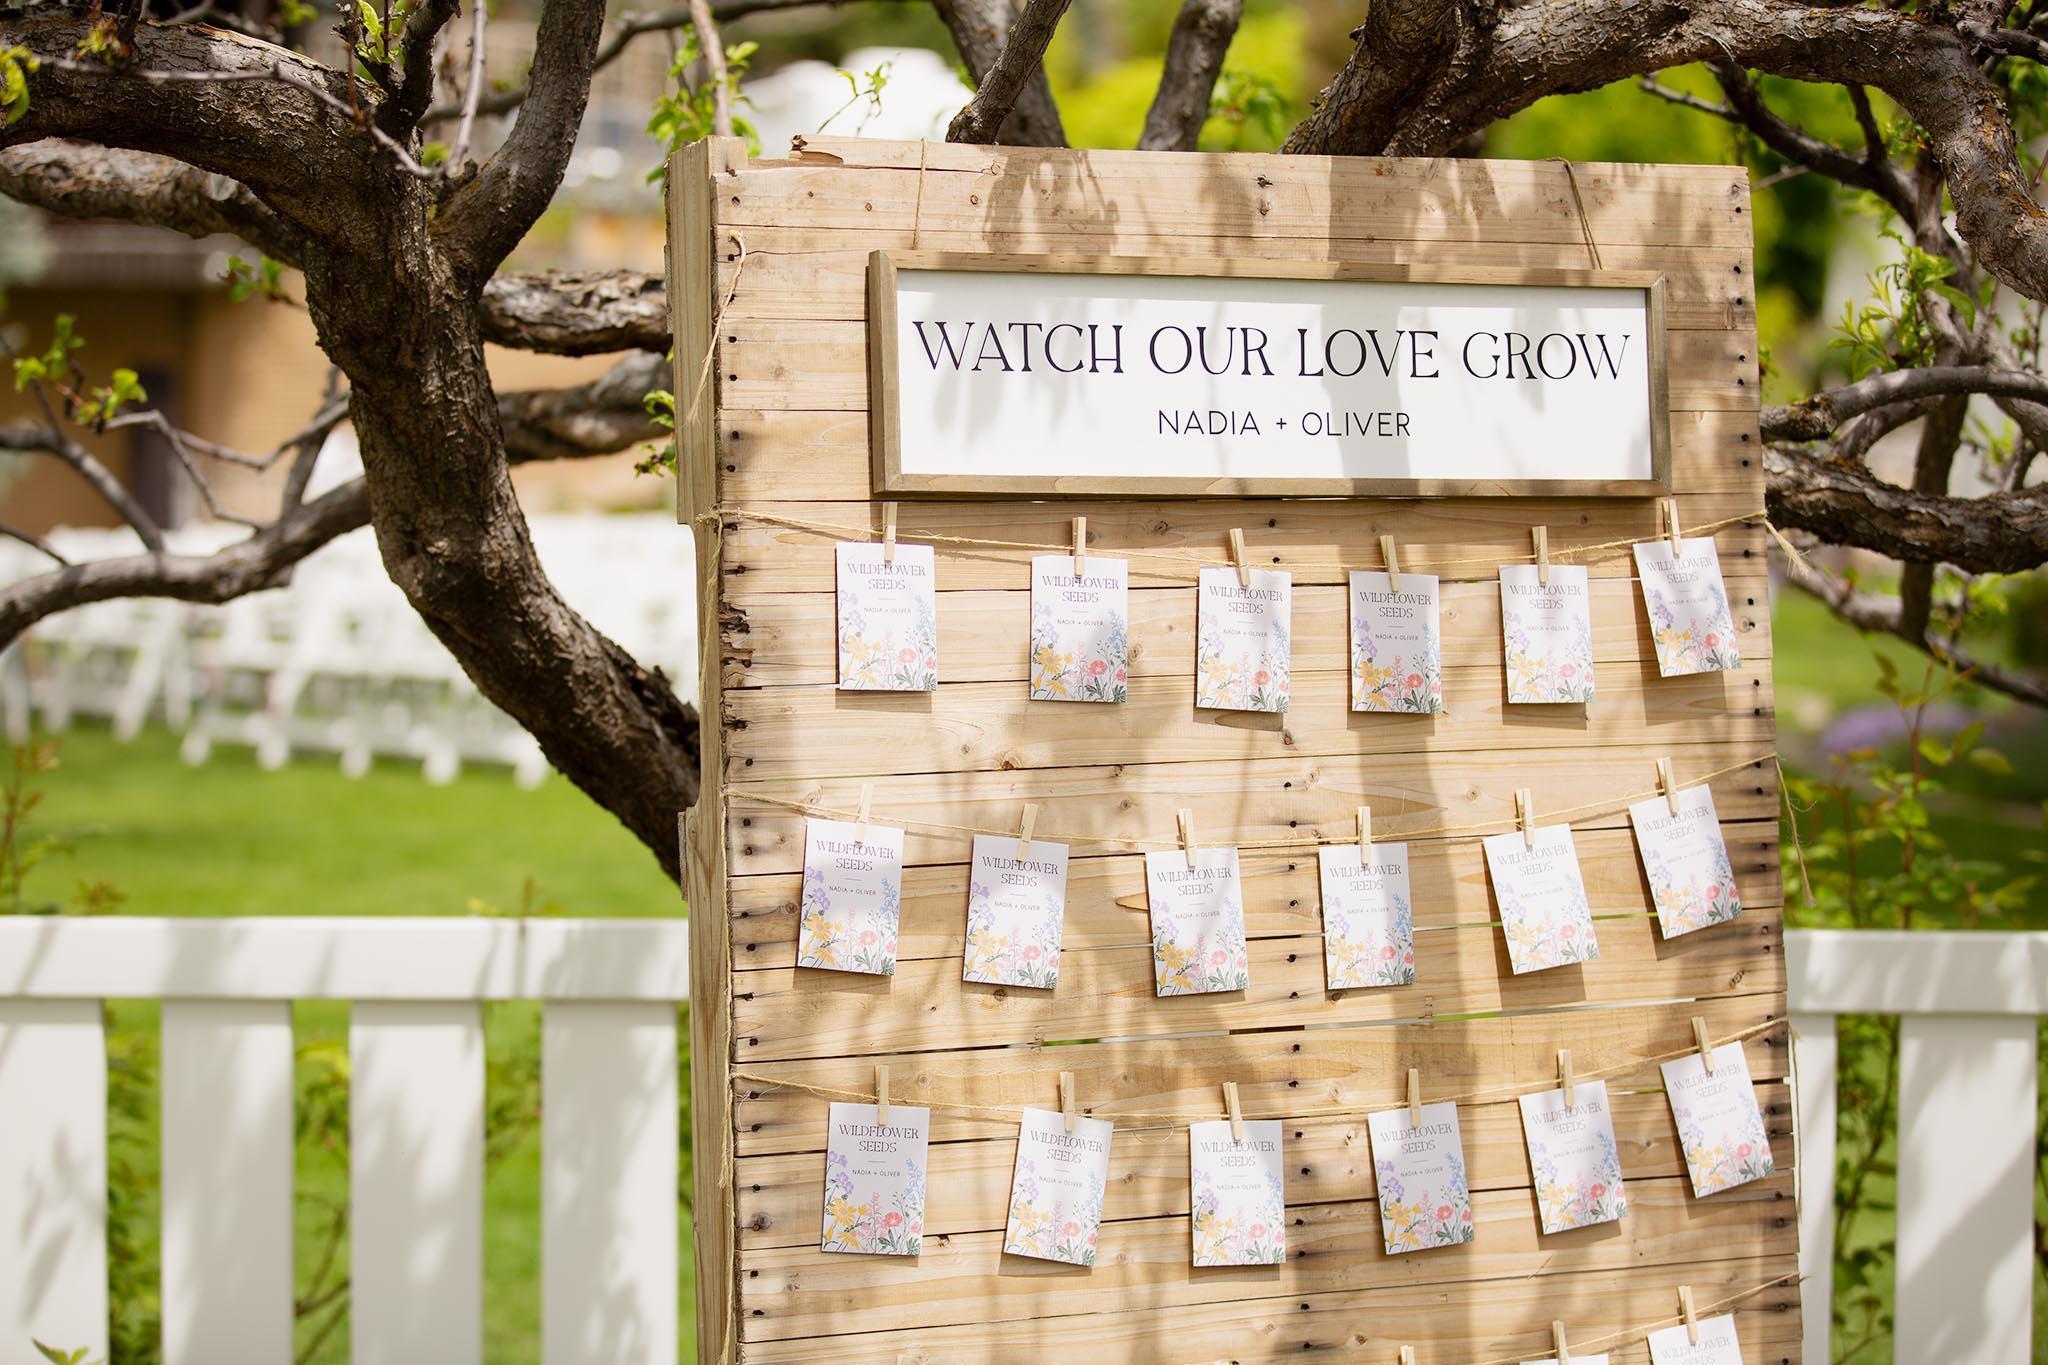
Not all wedding decorations are your style — except for the ones you make. Seed packet seating chart? Brilliant. Adding whimsical paper butterflies to table vases? Love. Here’s some inspo to get you inspired and excited.
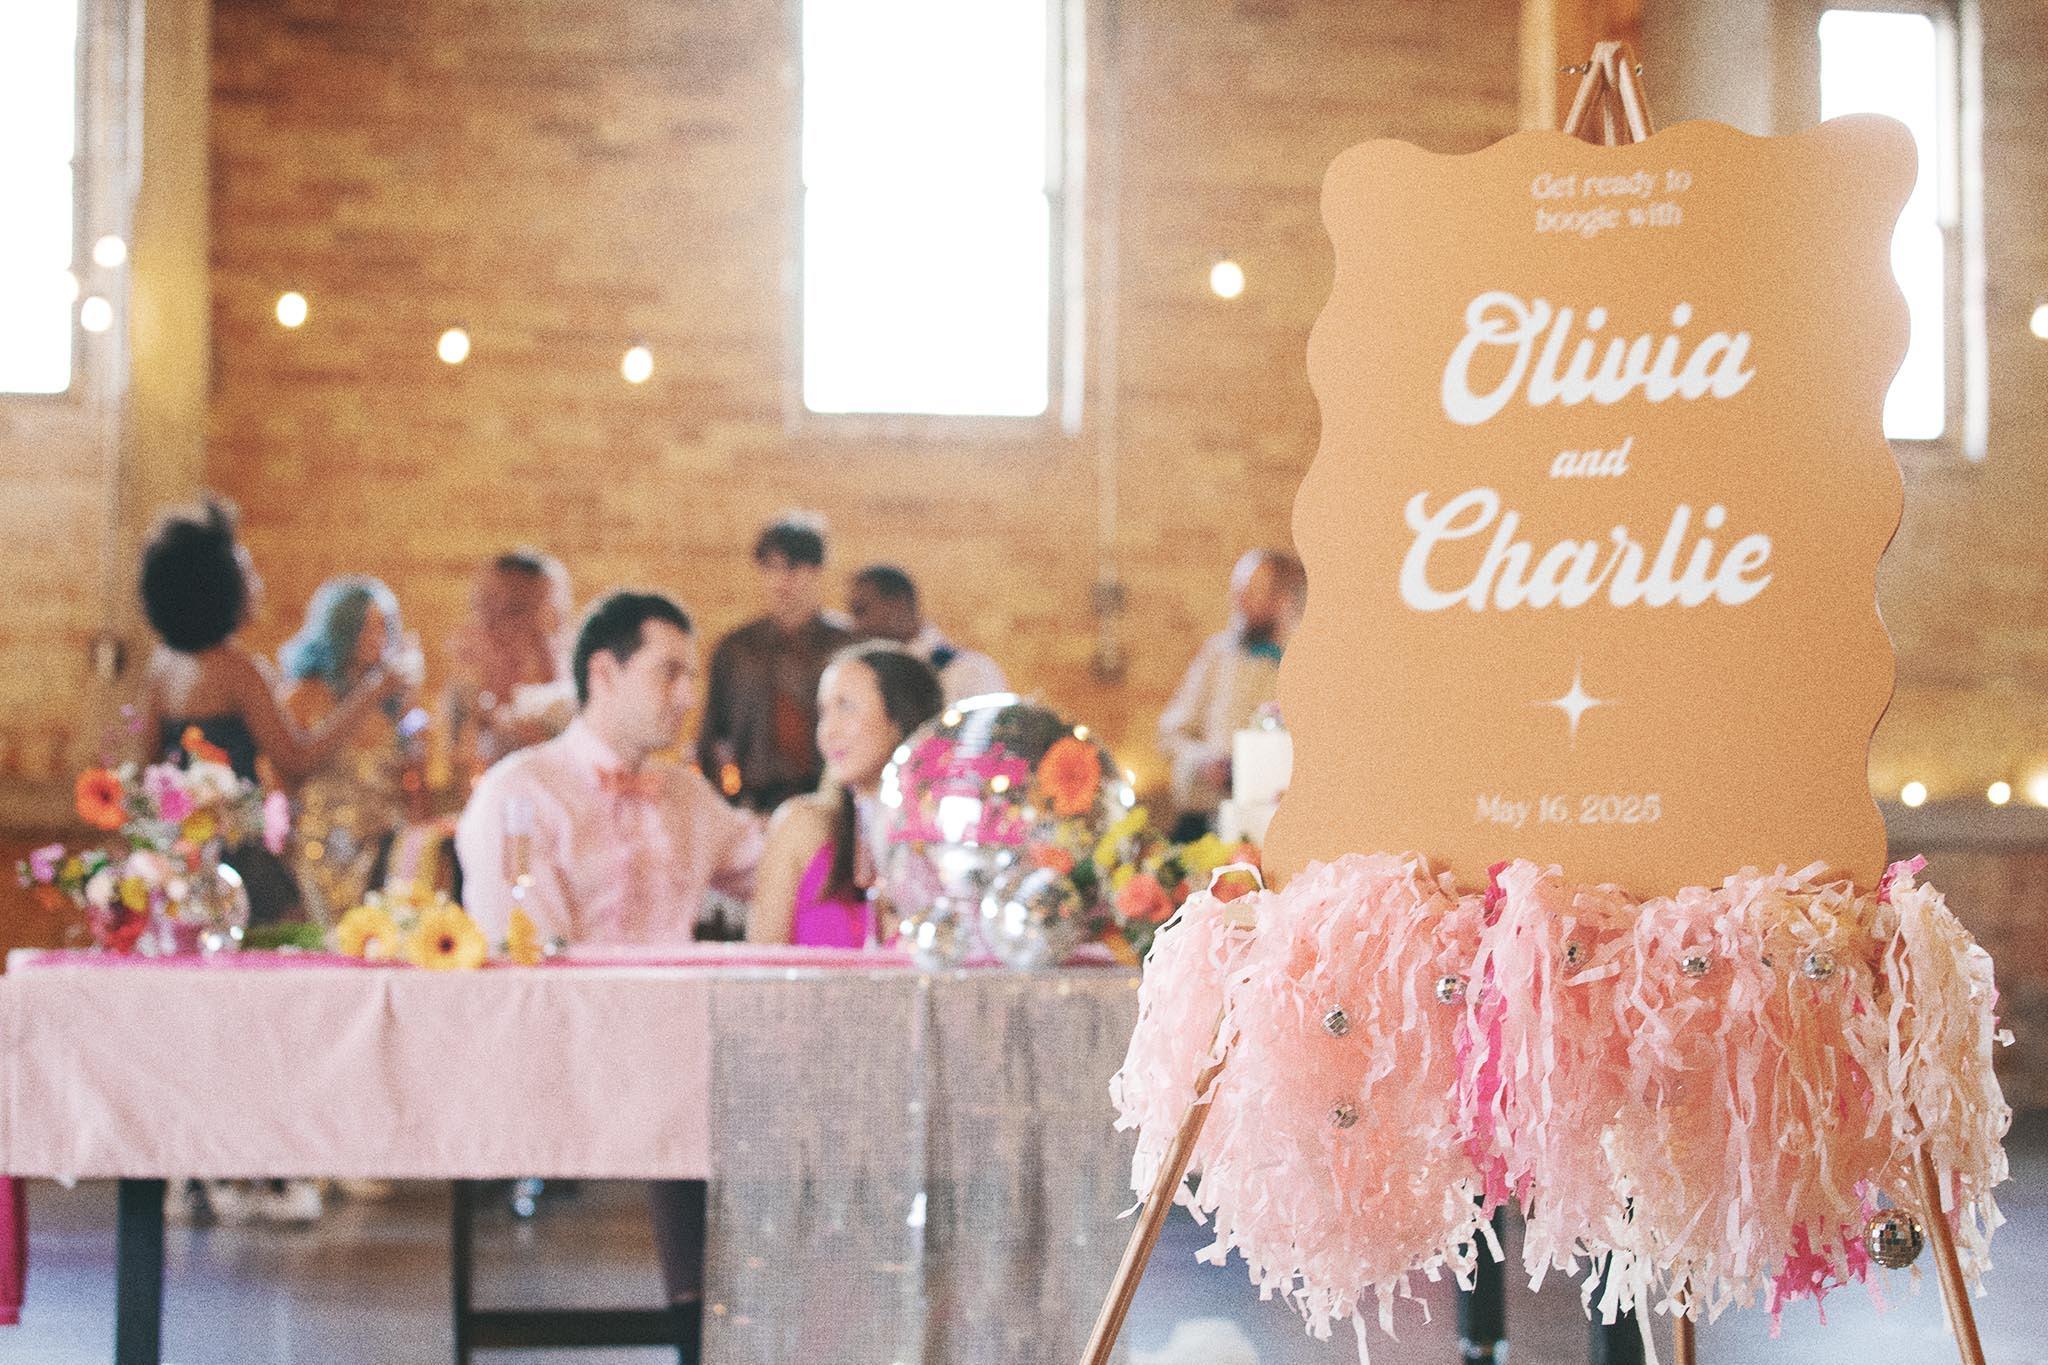
Make a statement with personalized signs.
Signs are so much more than decor. Whether it’s a welcome sign to signal they’ve made it to the right place or a photo op for kicks and pics, the possibilities are endless. You can make your custom sign dreams come true — for so much less.


Turn little details into memorable moments.
Even the most low-key weddings include thoughtful details that only you can add. It looks like a cocktail menu featuring your fur baby or a sweet moment of remembrance for the ones we miss the most — turn your inspo into reality with Cricut.


Meet machineyourmatch.
You can DIY every detail for your wedding with a Cricut cutting machine and a few supplies. See which machine is right for your big day — and beyond.


Cricut Joy Xtra™
Fits-in-any-space cutting machine for projects like full-color stickers, wedding invites, cards, and more.

Cricut Explore® 3
For making popular DIY projects like save the dates, personalized apparel, wedding decor, and more.

Cricut Maker® 3
Makes everything other machines can make, plus big banners up to 12 ft, personalized wood signs, and more.