

SER VICE MANUAL
T9.435 Heavy duty wheeled model [ZFF403001 - ] , T9.480 Heavy duty wheeled model [ZFF403001 - ] , T9.530 Heavy duty wheeled model [ZFF403001 - ] ,
T9.530 Wheeled scraper model [ZFF403001 - ] , T9.565 Heavy duty wheeled model [ZFF403001 - ] , T9.600 Heavy duty wheeled model [ZFF403001 - ] ,
T9.600 Wheeled scraper model [ZFF403001 - ] , T9.645 Heavy duty wheeled [ZFF403001 - ] , T9.645 Standard wheeled model [ZFF403001 - ] , T9.645 Wheeled scraper model [ZFF403001 - ] , T9.700 Heavy duty wheeled model [ZFF403001 - ]
Engine
INTRODUCTION
[10.001] Engine and crankcase
[10.216] Fuel tanks
[10.202] Air cleaners and lines
[10.310] Aftercooler
Engine cooling system
Fan and drive
Selective Catalytic Reduction (SCR) exhaust treatment
Power coupling
[19.1 10] Flywheel damper
ransmission
[21.1 13] Powershift transmission
[21.135] Powershift transmission external controls
[21.155] Powershift transmission internal components
Front axle system
Powered front axle
Front bevel gear set and dif ferential
Final drives
Rear axle system
Powered rear axle
Rear bevel gear set and dif ferential
[27.120] Planetary and final drives
Power T ake-Of f (PT
Rear control
10] rear Power T f (PT
Fill with new oil into the engine oil fill (1) .
NOTE: T otal oil refill capacity will determined how completely the crankcase not fill above the high mark the dipstick (2) when refilling.
Operate the engine for five minutes 1000 RPM . Check for oil leaks the filter base and drain
Stop the W ait approximately five minutes for the oil return the oil pan. Check the oil level the dipstick (2) and add oil

3
13L engines
Remove the oil pan drain plug and drain the oil from the engine into a container
After all oil has install new washer 98474302 drain plug, center washer plug and install drain T orque drain plug N·m ( )
Place a container under the oil filter the left side the Use a ( 0.75 ) socket open drain bottom This will allow oil drain from the After oil turn the filter housing counterclockwise loosen with a ( 2 ) wrench and remove the filter
Install the new filter cartridge and O -
Reinstall the filter assembly not over tighten the O - ring will leak.

4

Engine - Remove -
Prior operation:
Hood support - Remove – Row crop frame, engine (90.102)
Disconnect the driveshaft from the engine.

Label and disconnect the heater hoses from the
NOTE: Plug and cap all disconnected hoses and

Label and disconnect the two hoses for the diesel sions fluid tank
Loosen the hose clamp (1) the turbo.
Remove the air intake tube (2) from the

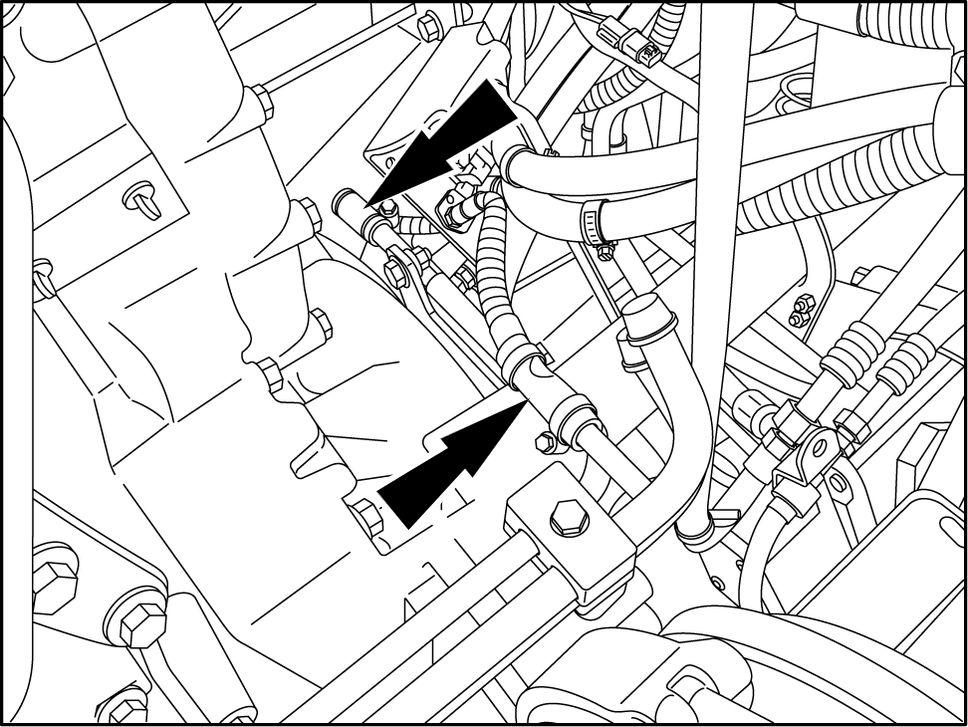
Disconnect the power cable (1) from the starter
Disconnect the wire (2) from the starter
Remove the bolt (3) and disconnect the ground strap from the engine RAIL13TR02970AA
Remove the left hand charged air cooler
NOTE: Plug and cap disconnected tubes and

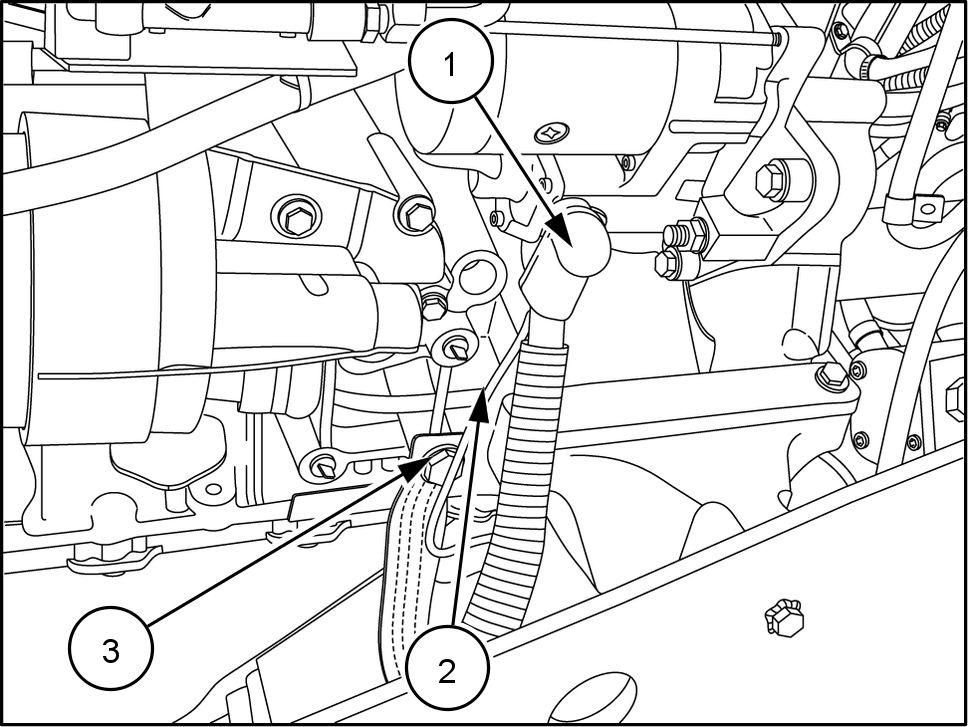
13. Remove the clamp (1) securing the upper radiator tube the bracket the
Remove the upper radiator tube (2)

Cut the ties securing the harness and disconnect the harness.

1 1
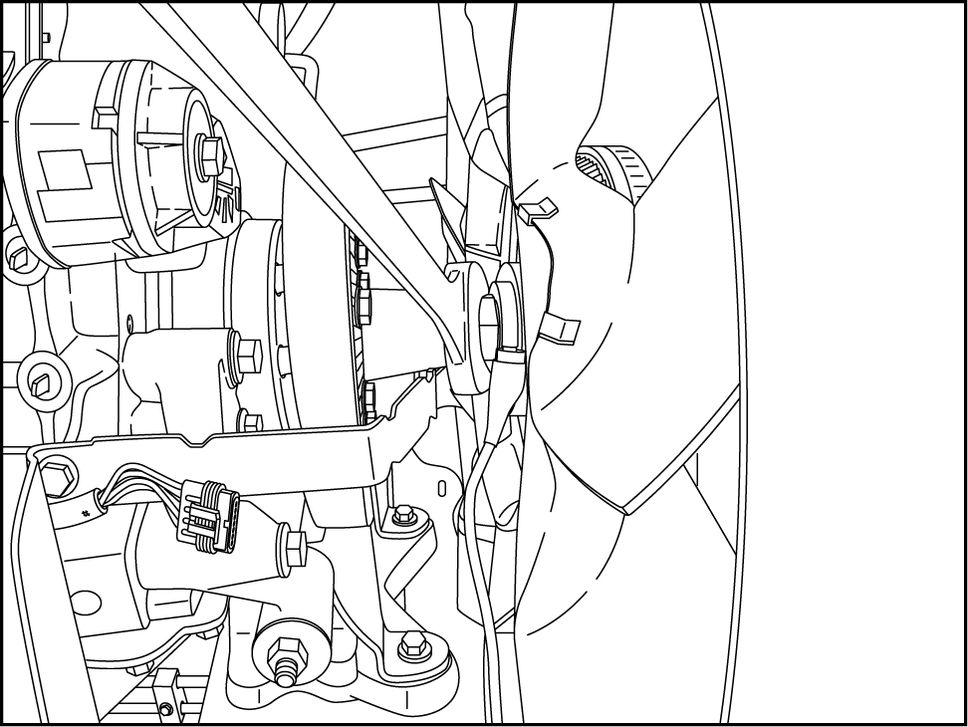
Loosen the viscous drive from the
NOTE: The fan pulley hub left handed

NOTE: If there is no response to click on the link above, please download the PDF document first and then clickonit.