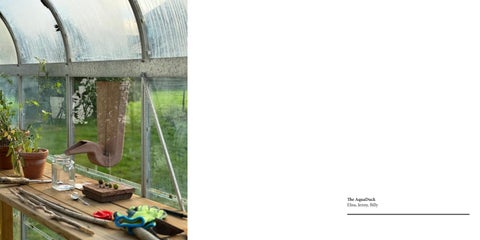
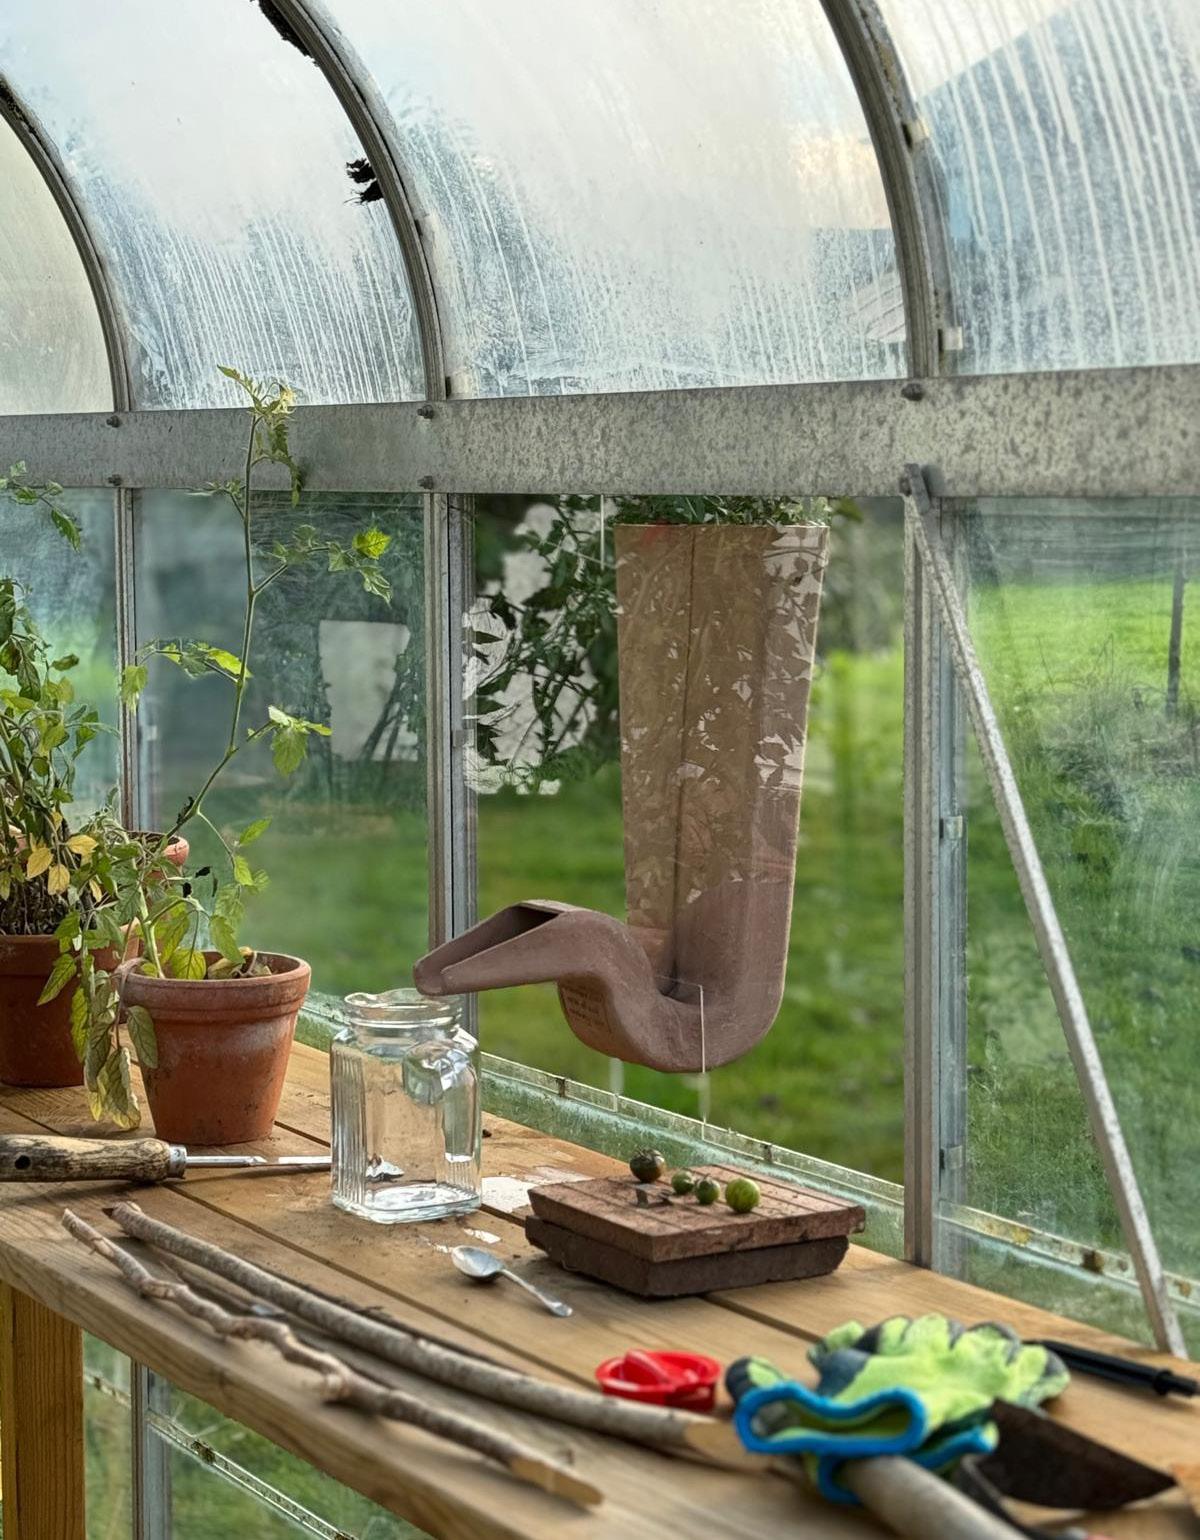
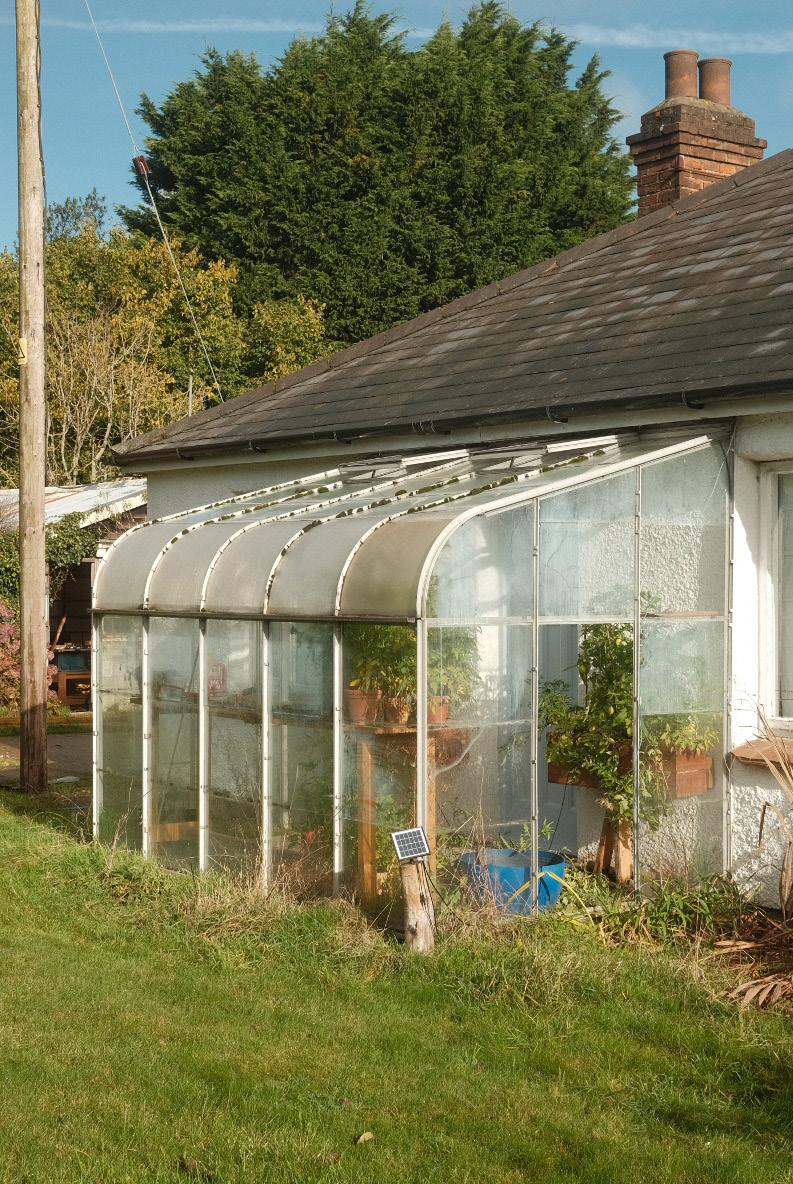
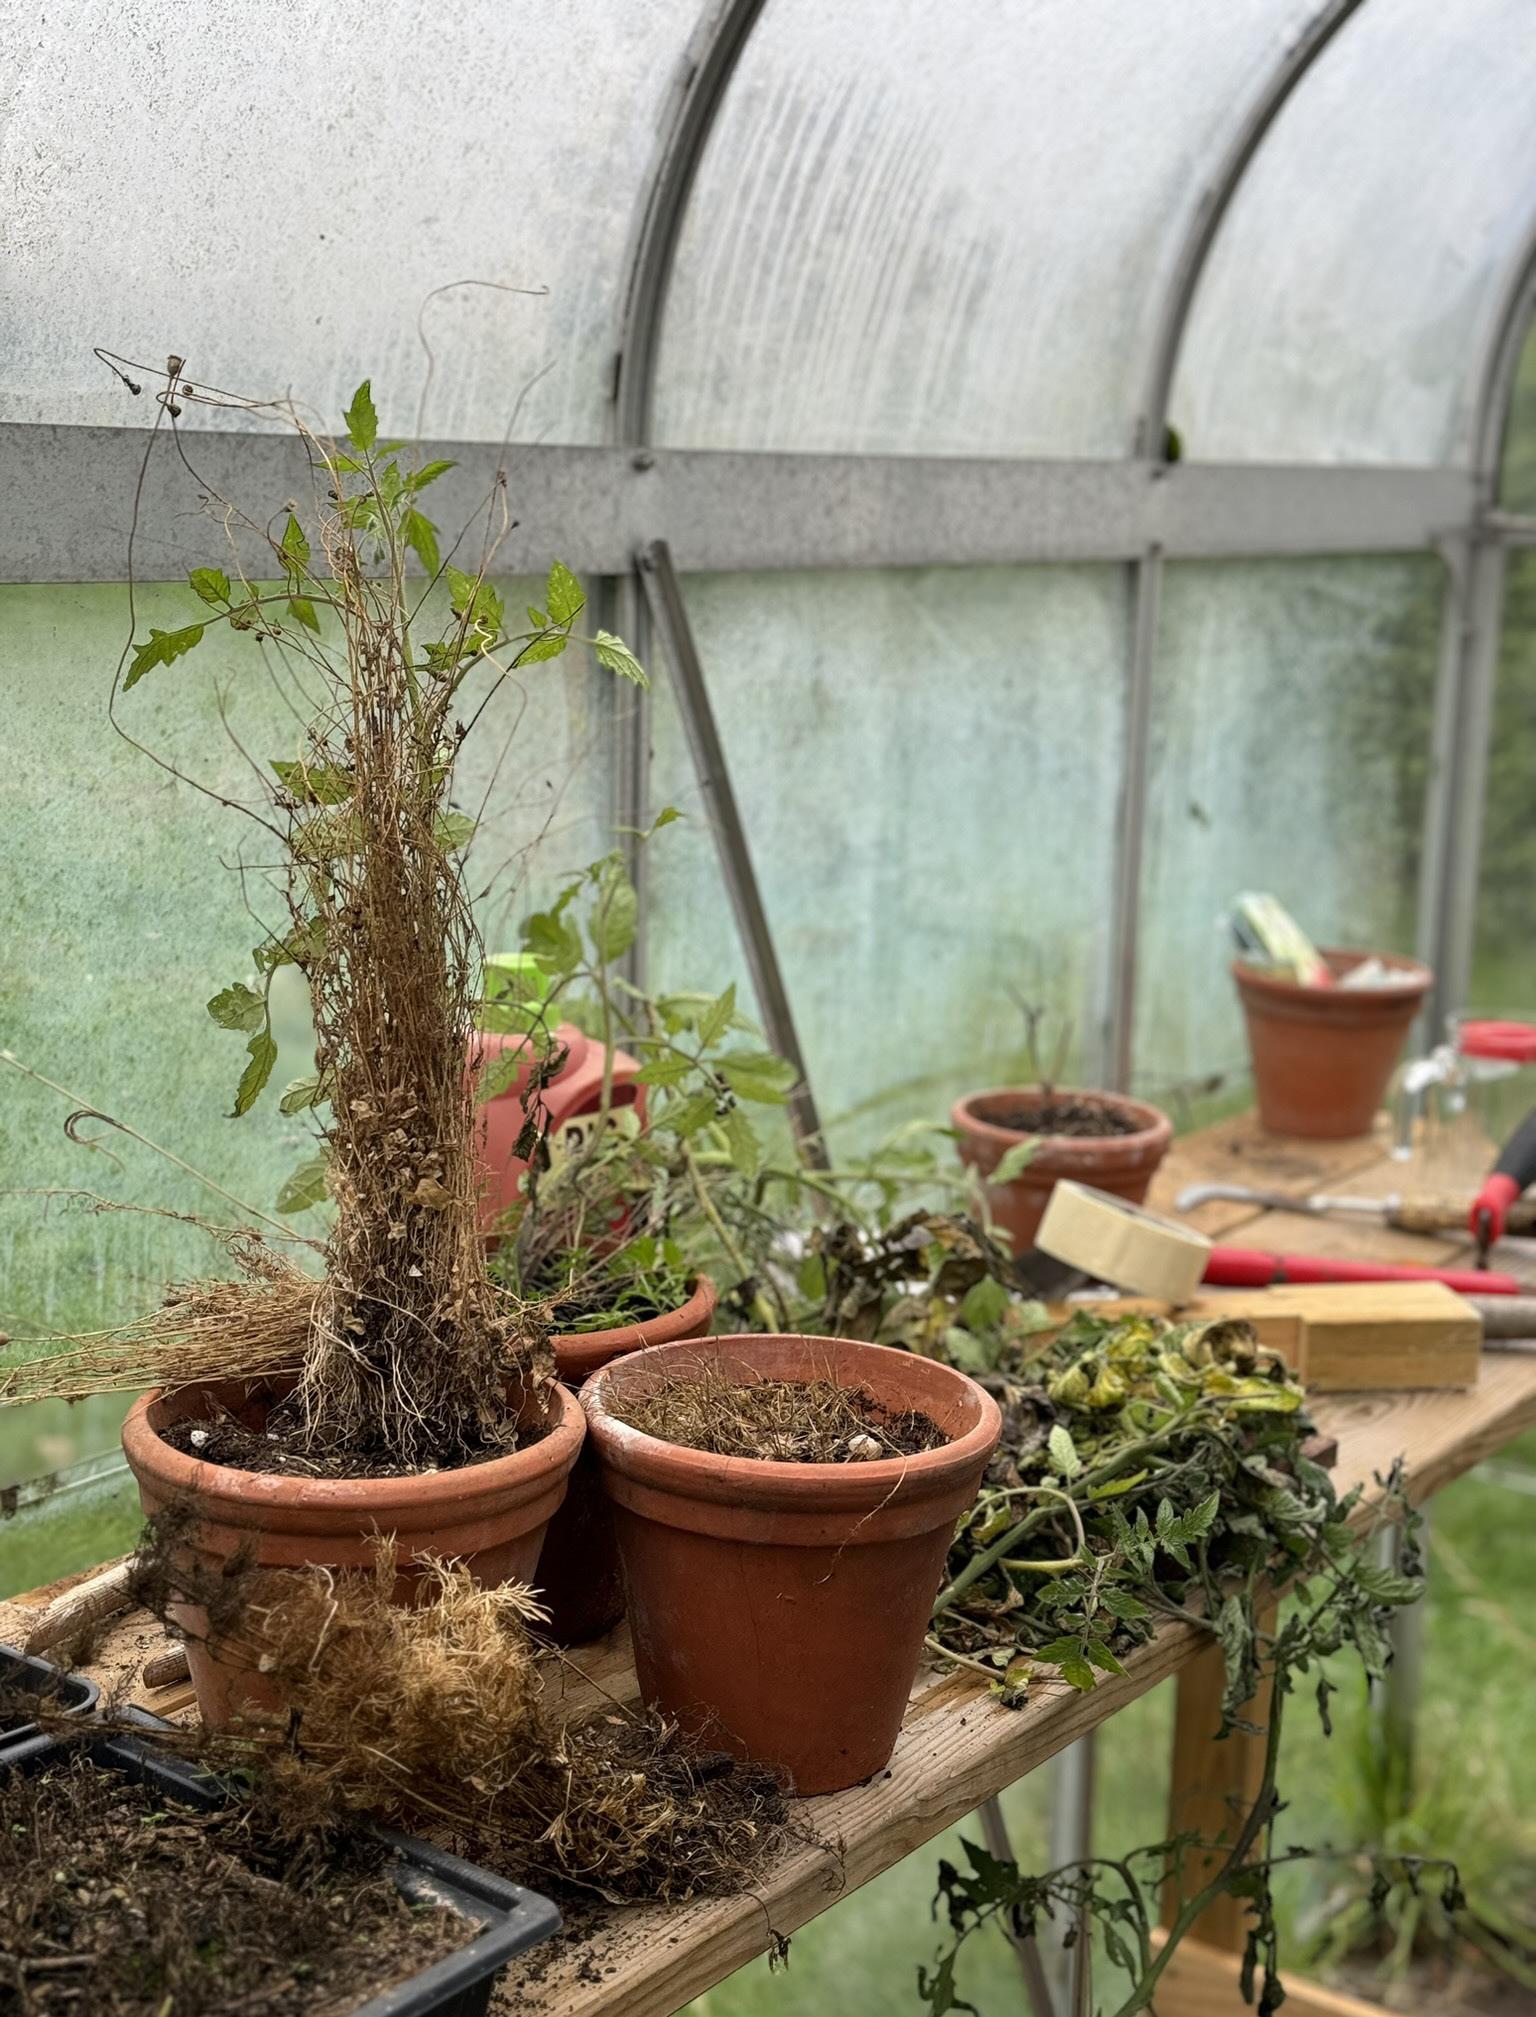
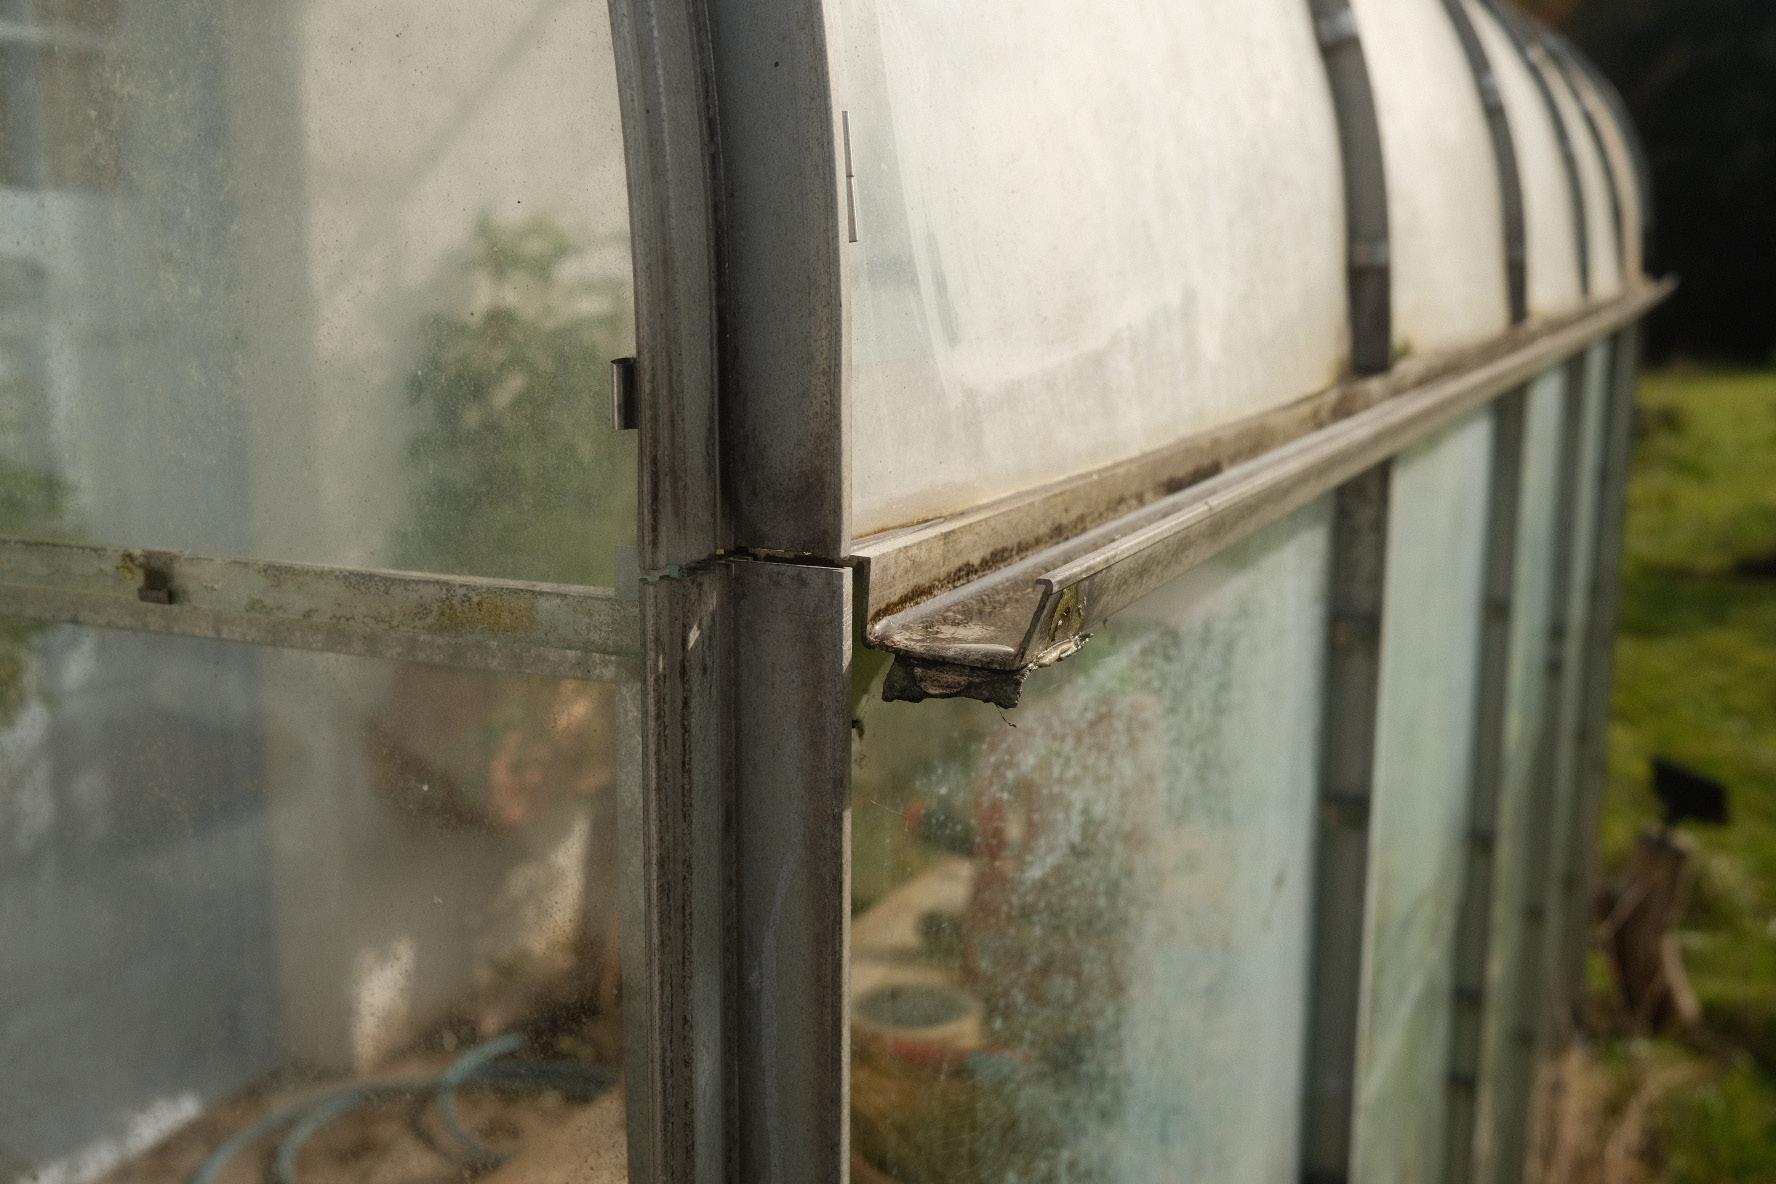
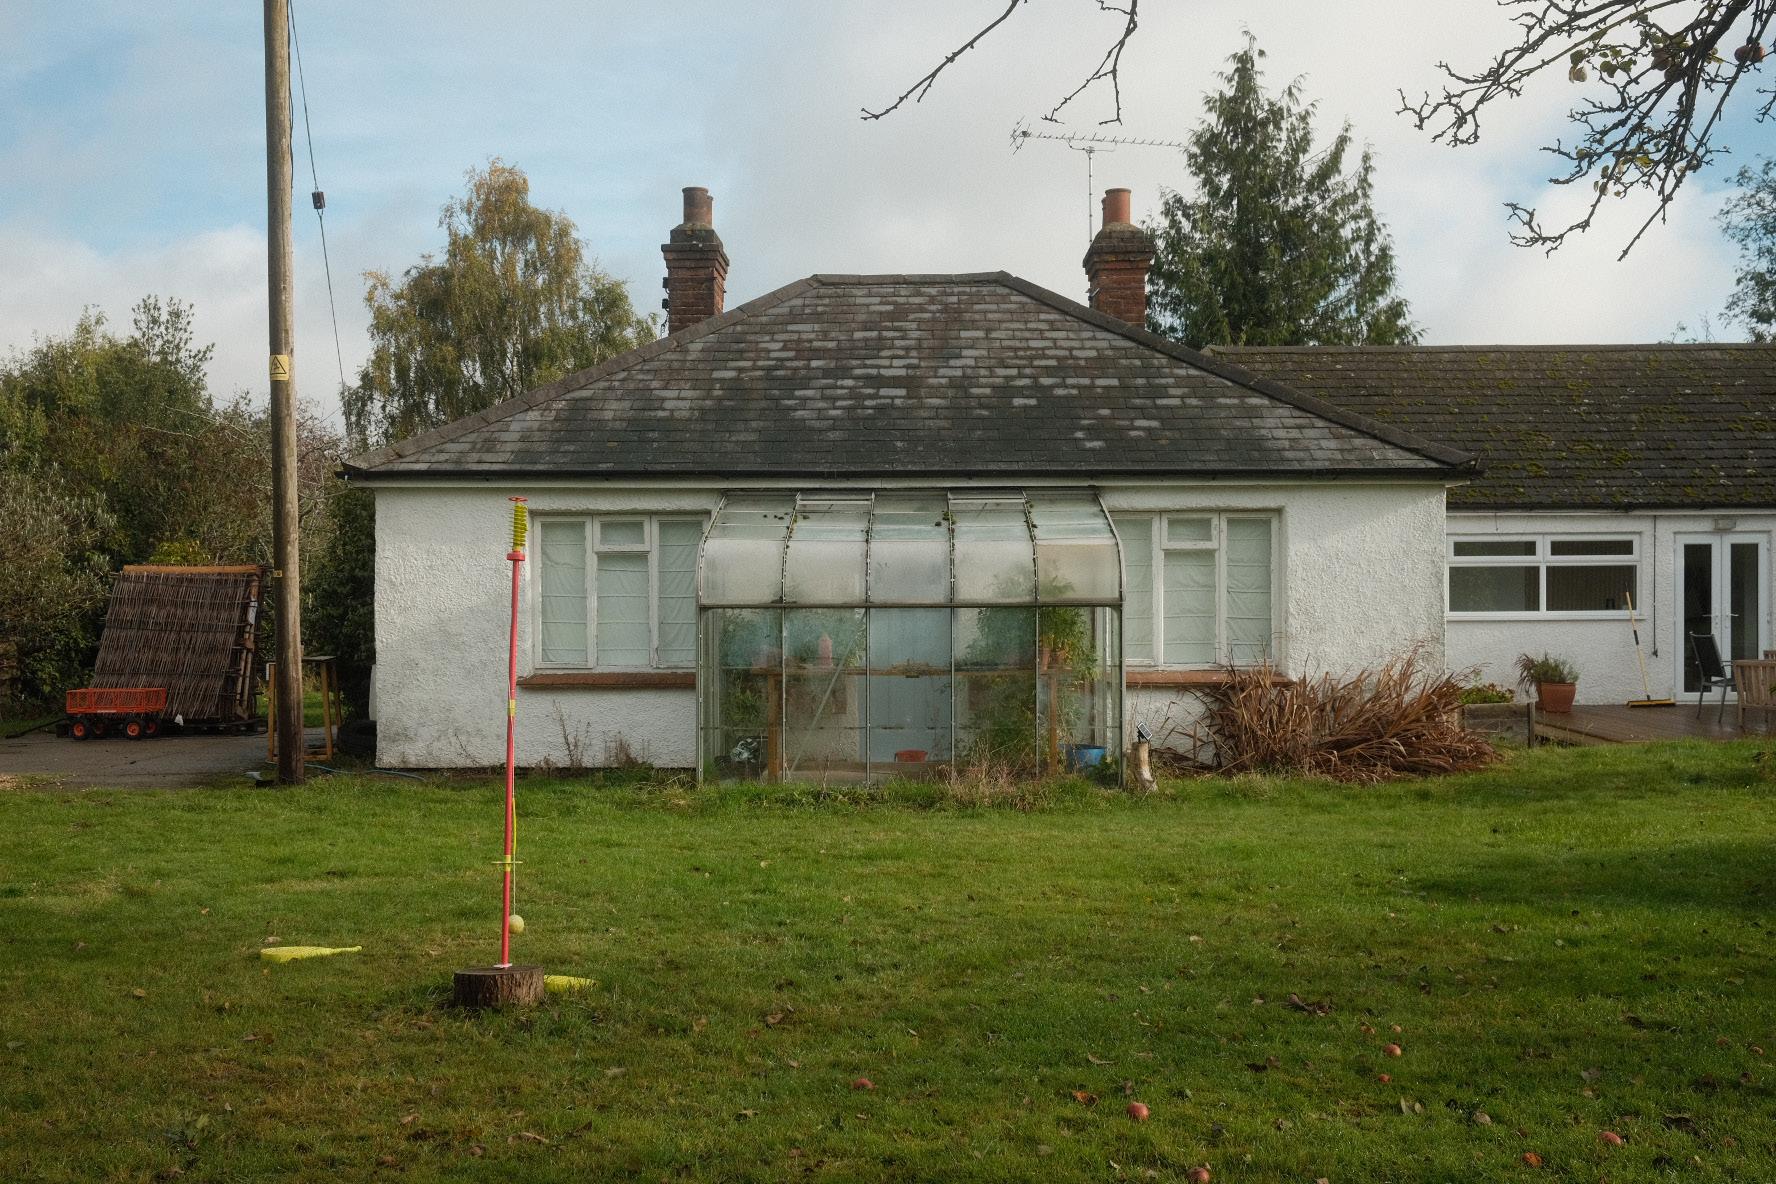
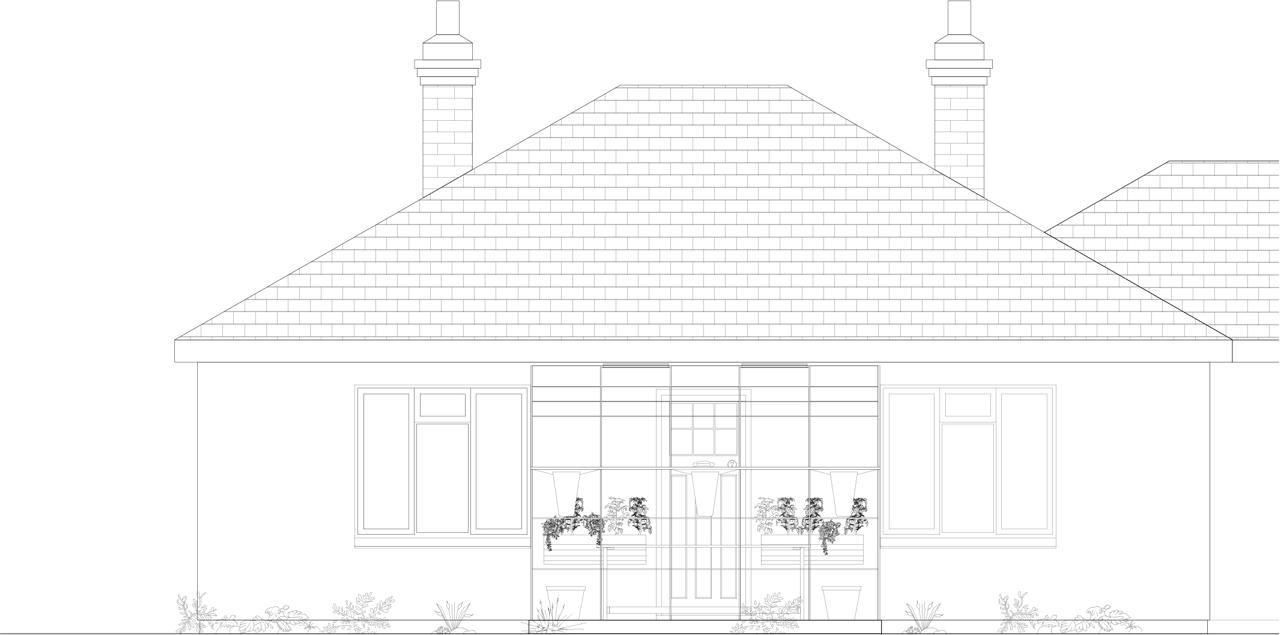
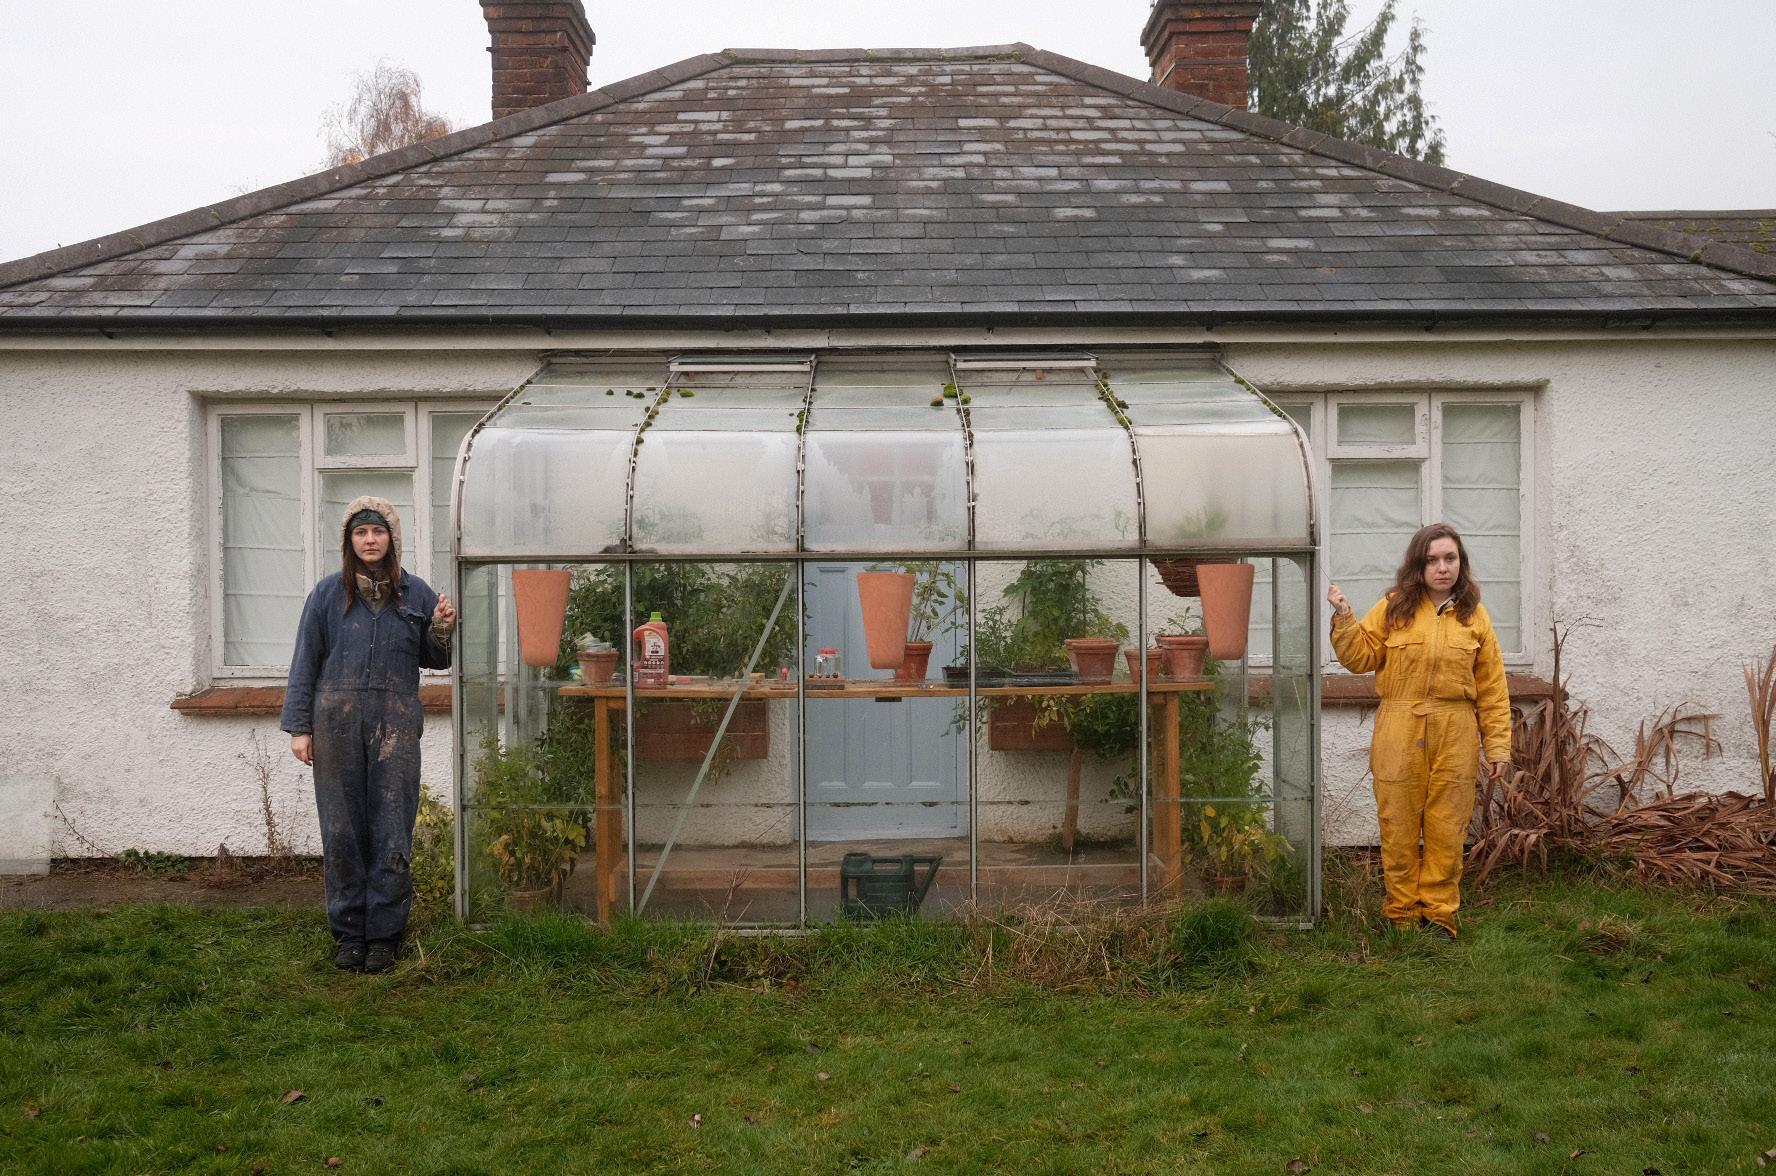
The tomatoes in the greenhouse are in need of some TLC. There is currently no rainwater collection system for the gutter of the greenhouse.
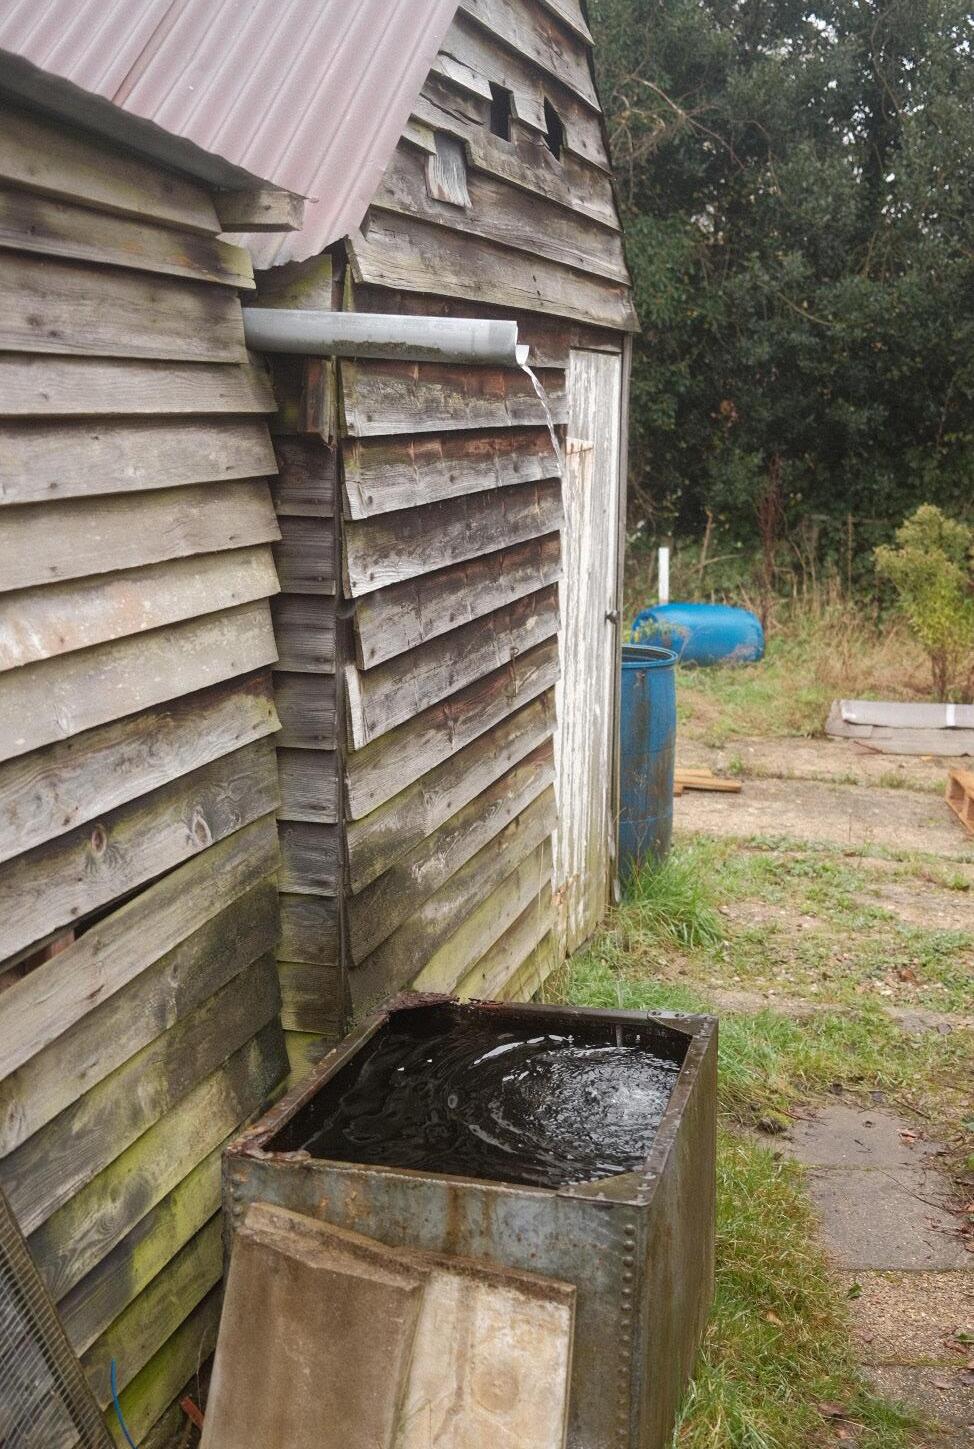
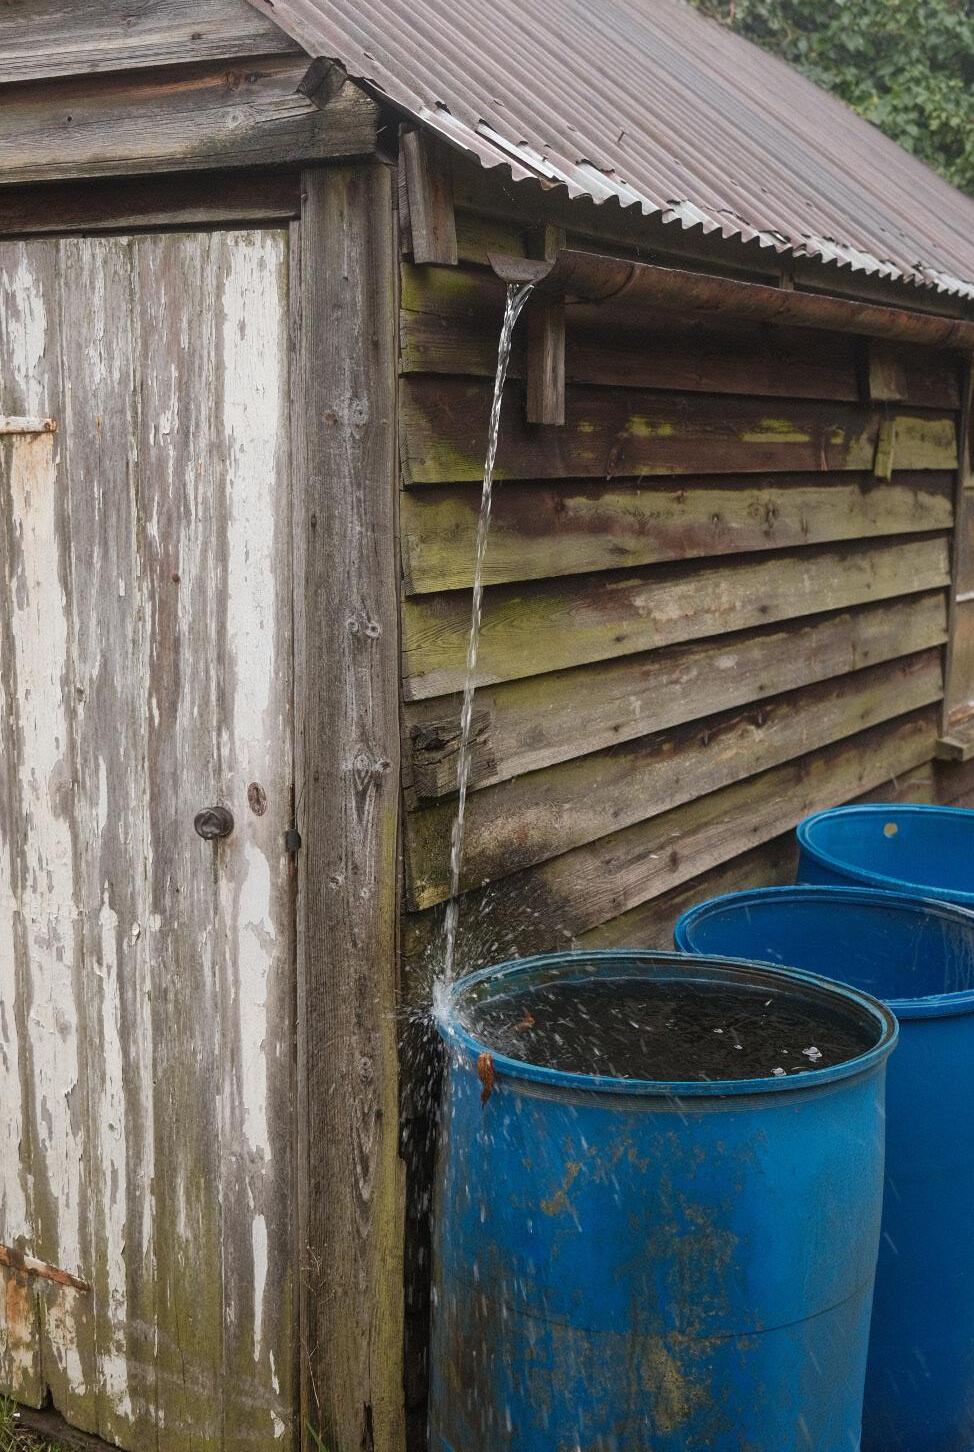
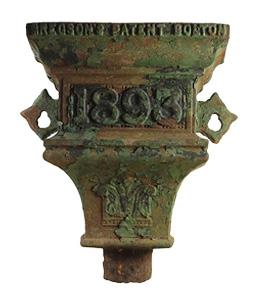
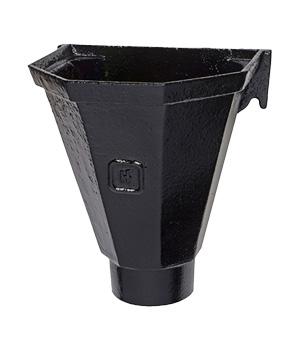
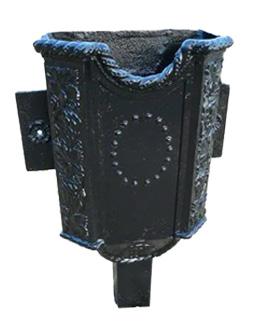
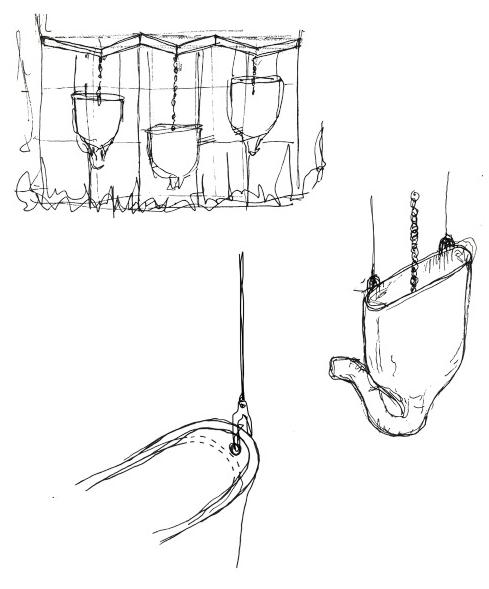
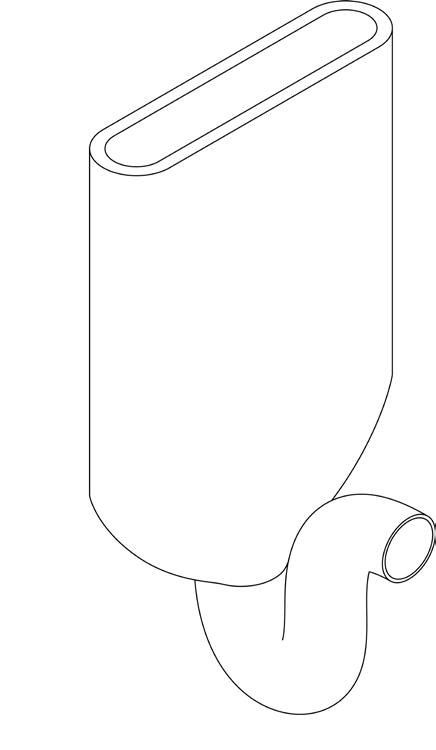
A hopper was the Victorian way of enabling their drain pipes in heavy rain to carry 66% more water.
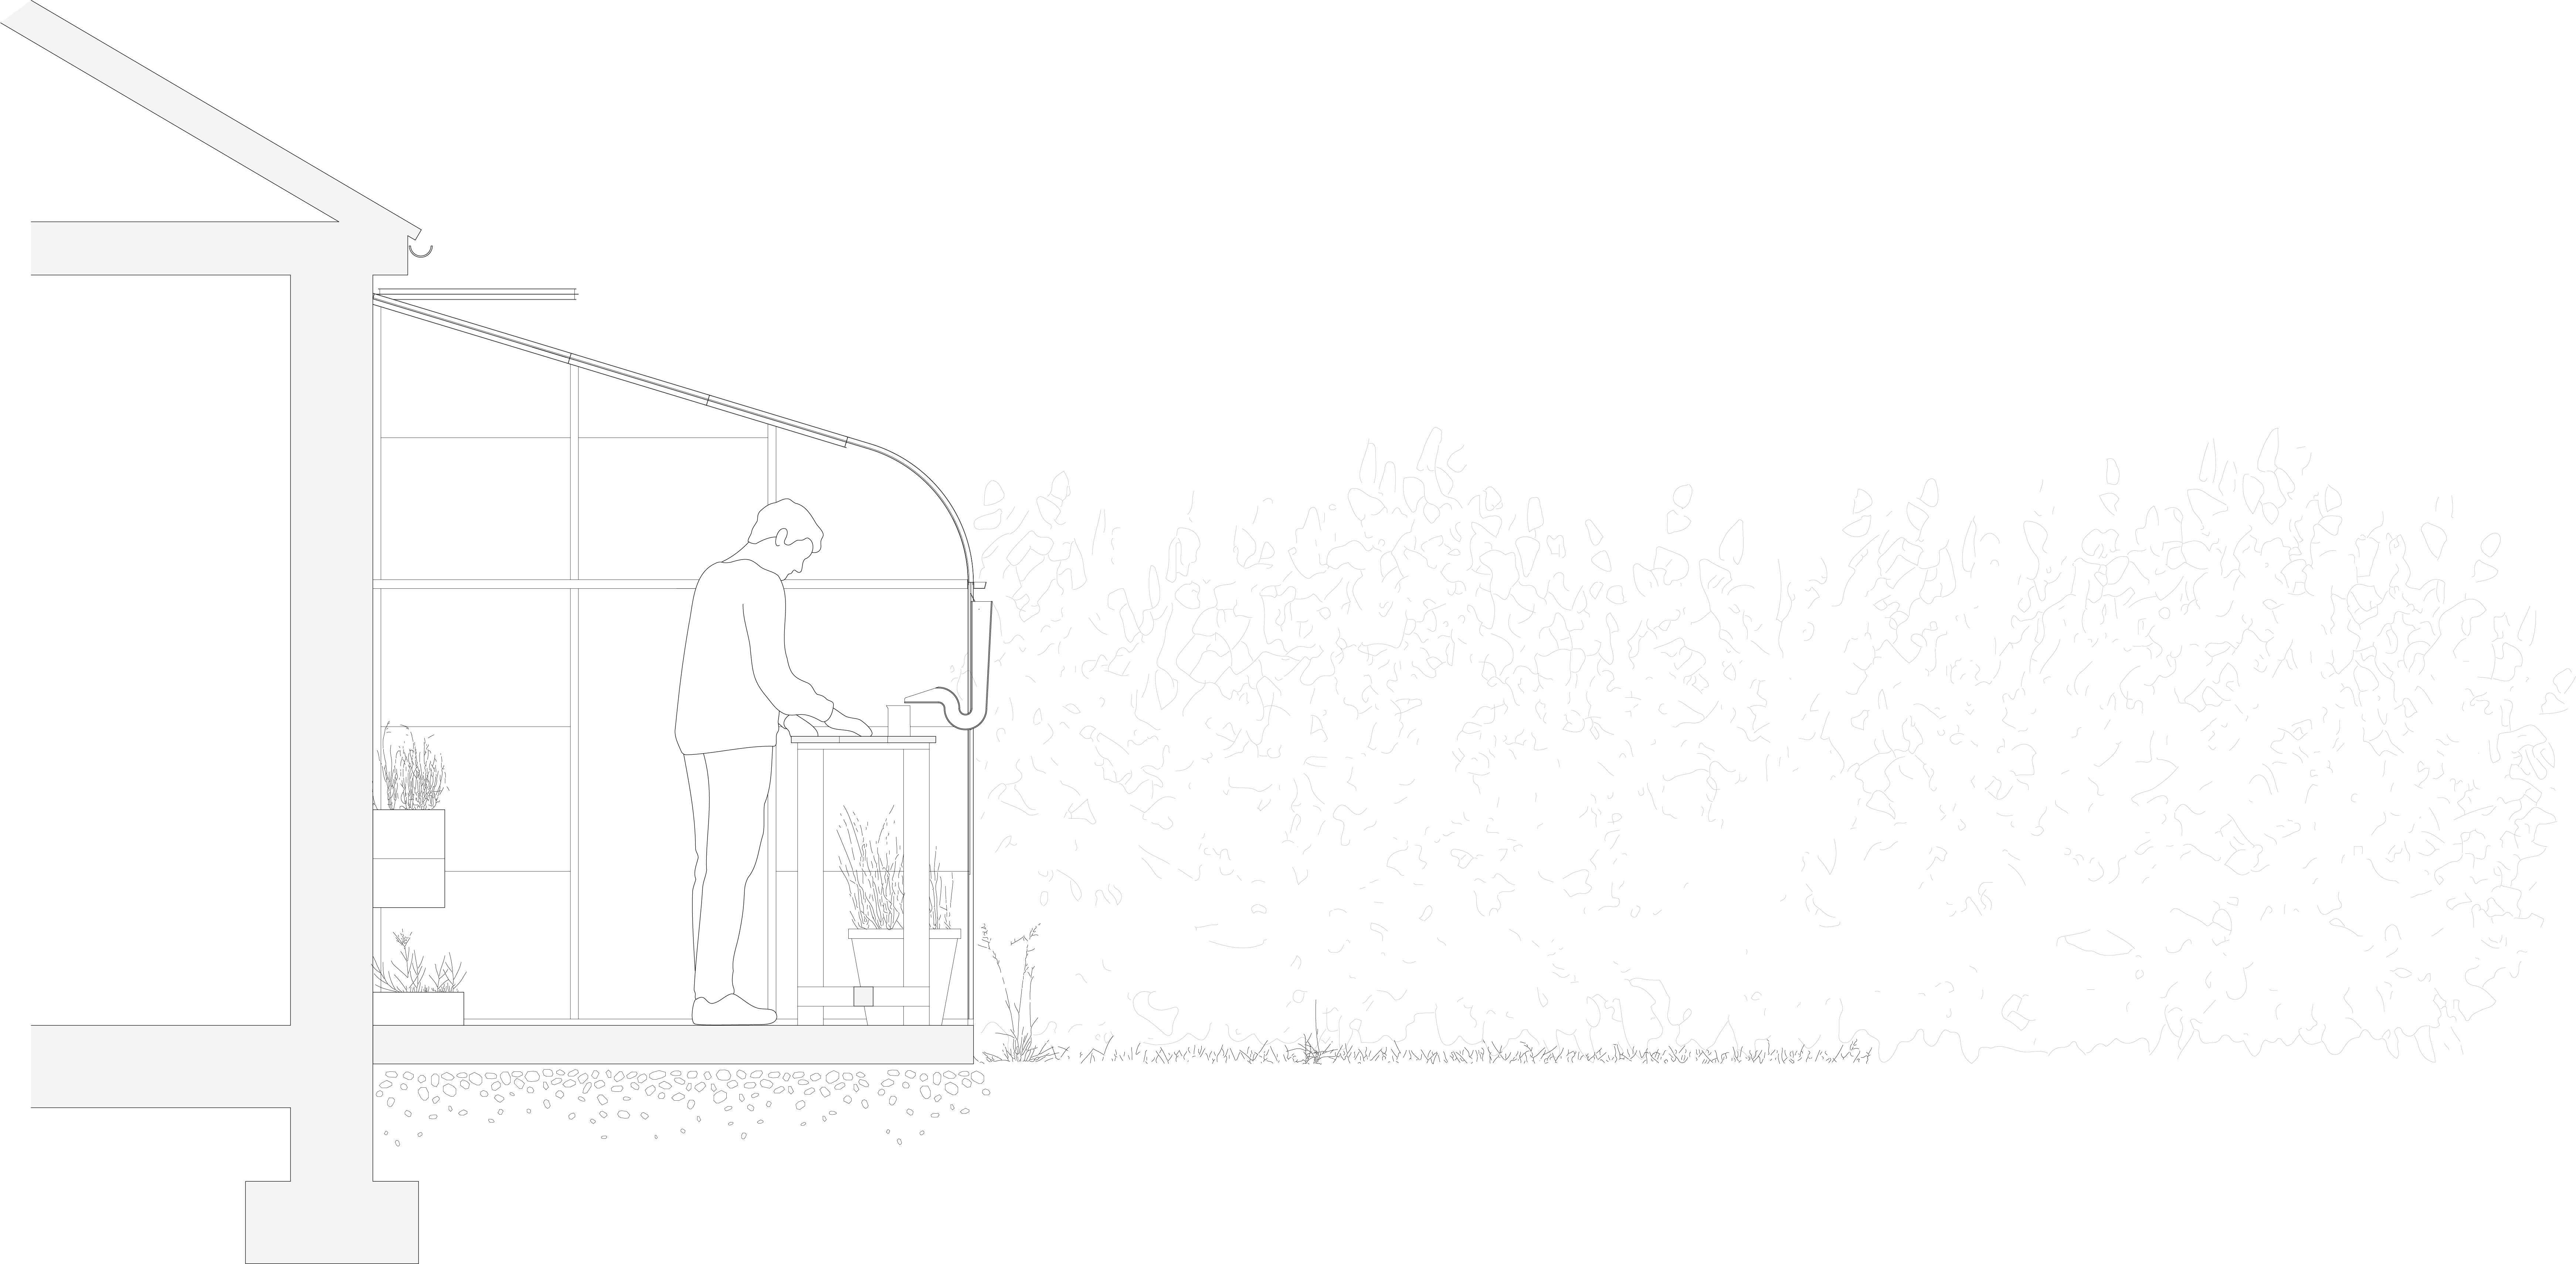
The hopper heads are fitted just below the gutter to catch the water flowing from the gutter down the drain pipe.


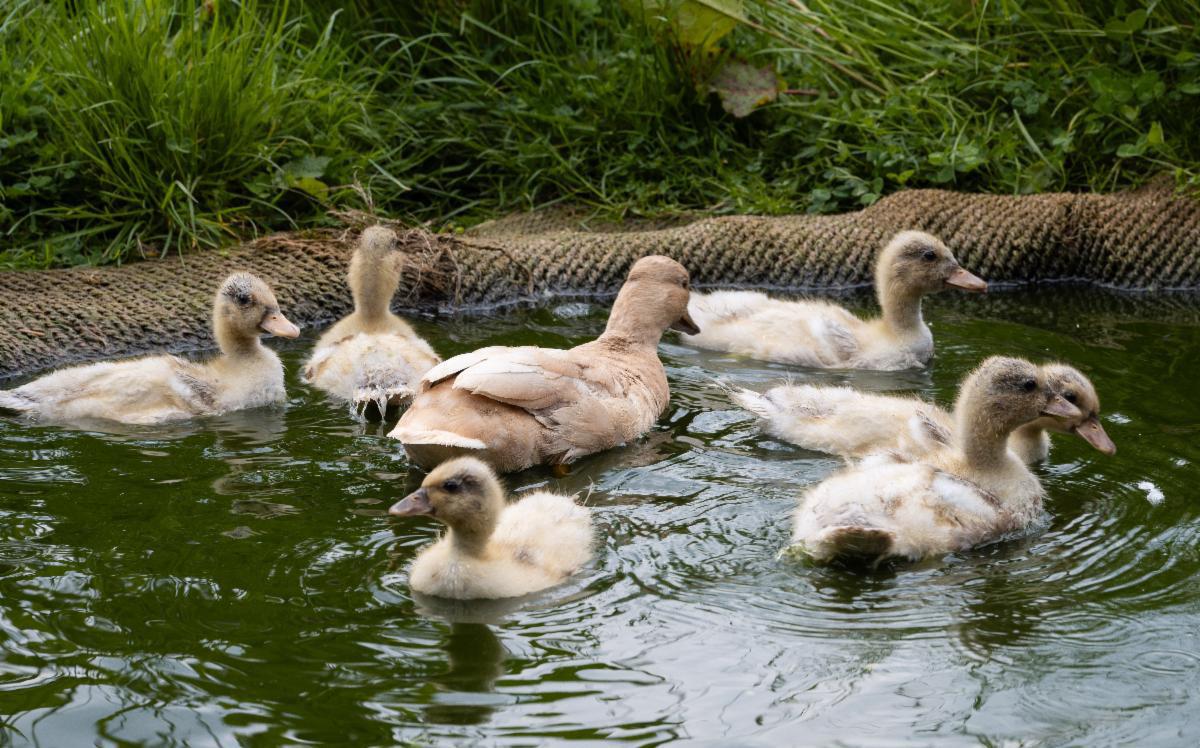
- Wigeon, teal, pochard, goldeneye and pintail are just some of the ducks visible on the water bodies of the Chilterns, regaling us with their beautiful breeding plumage at this time of year.
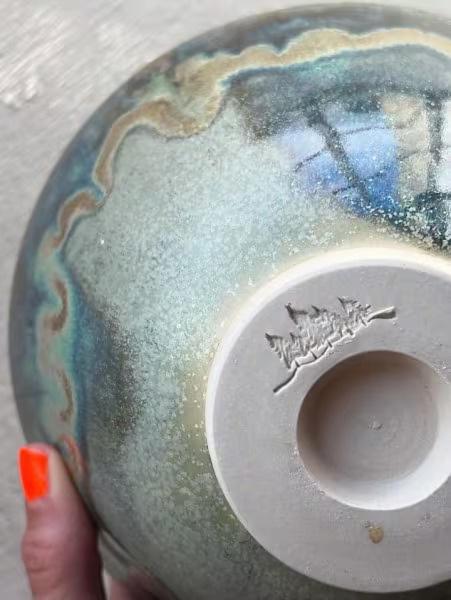
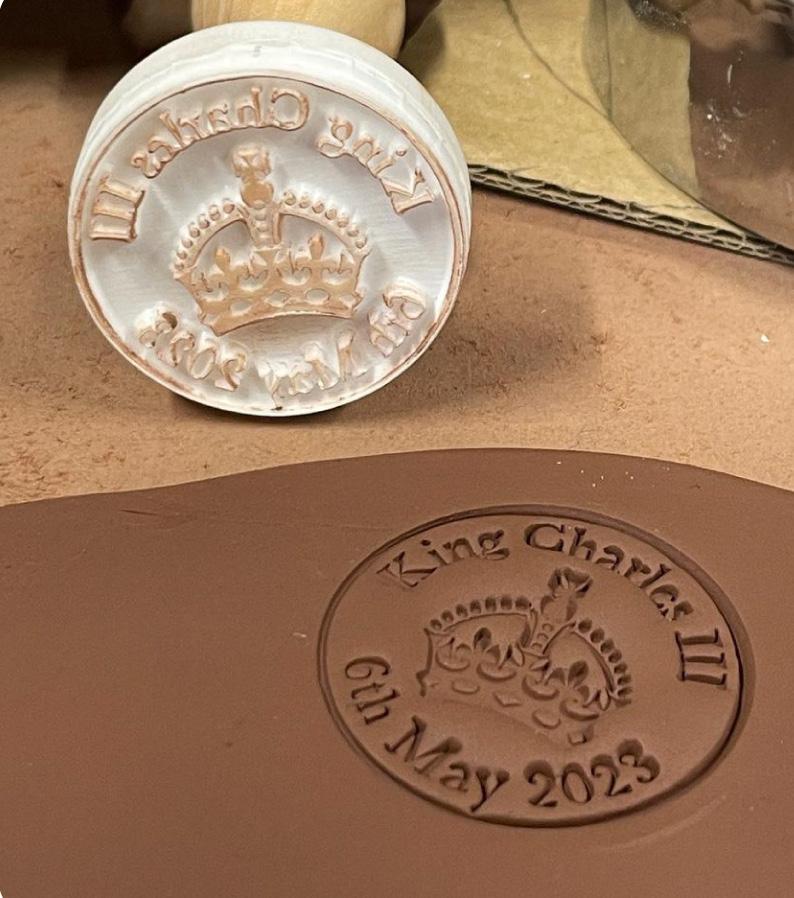
-Victorian ceramic stamps to add hallmarks to pieces

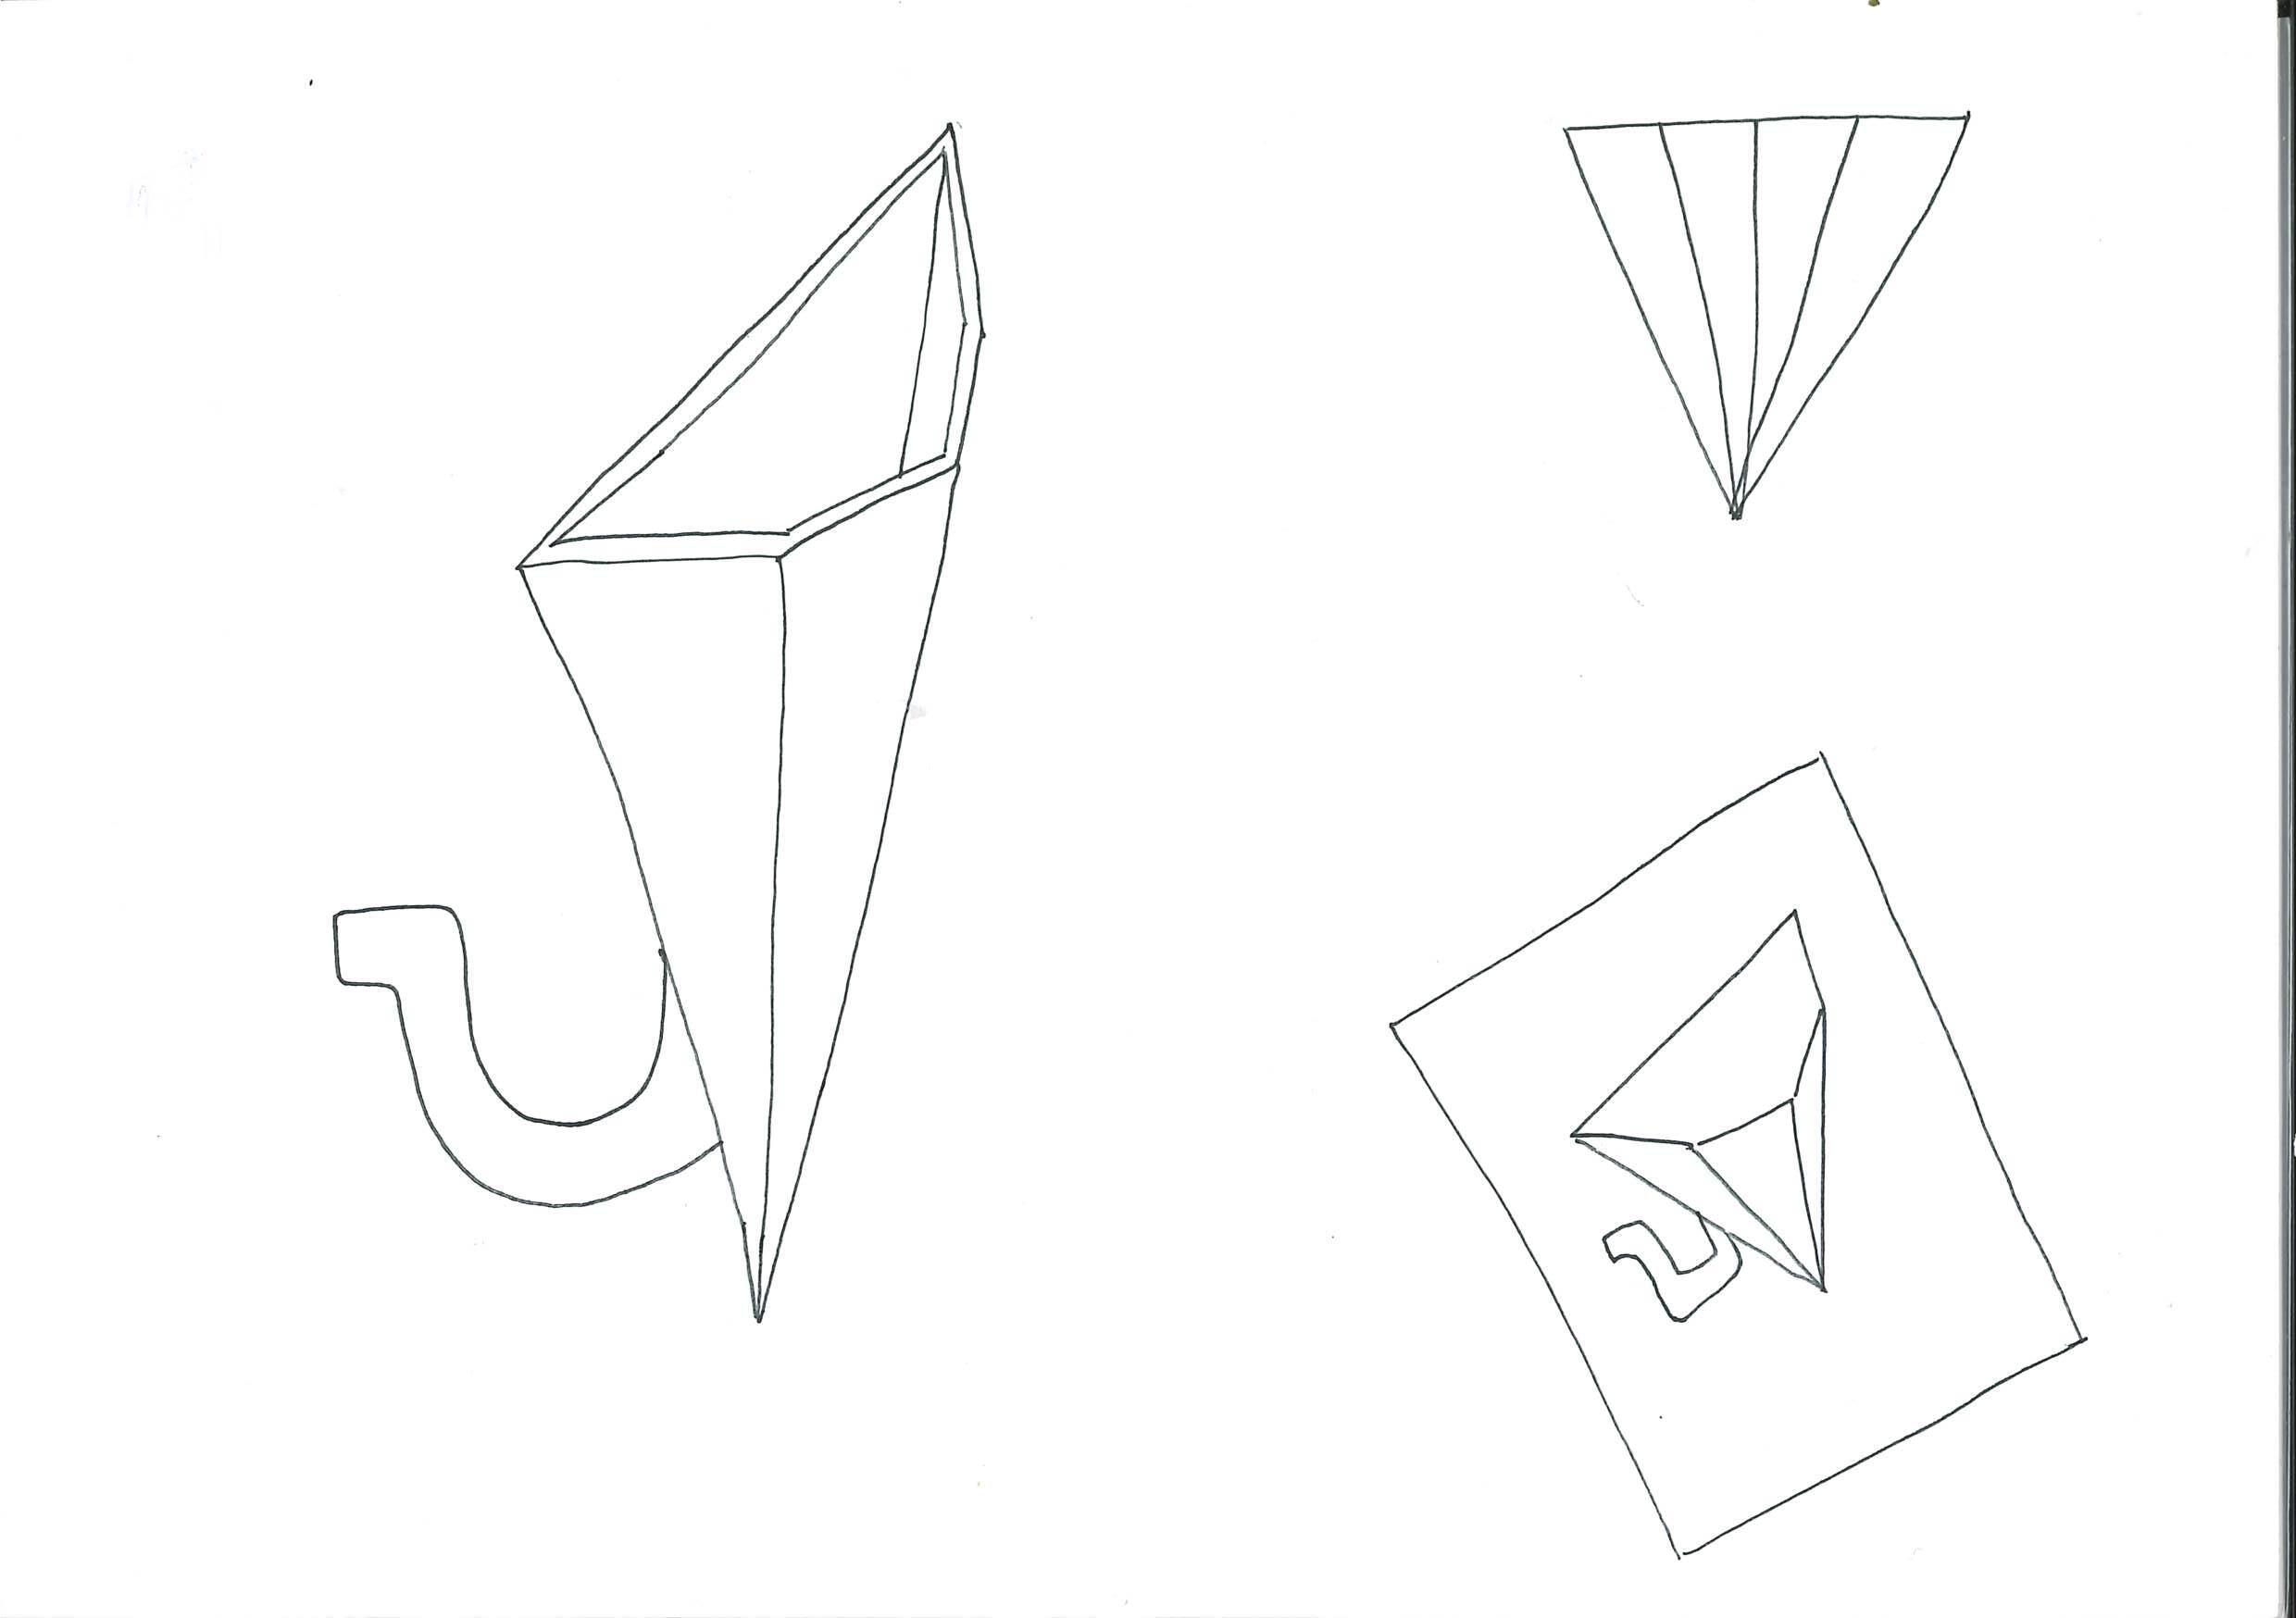
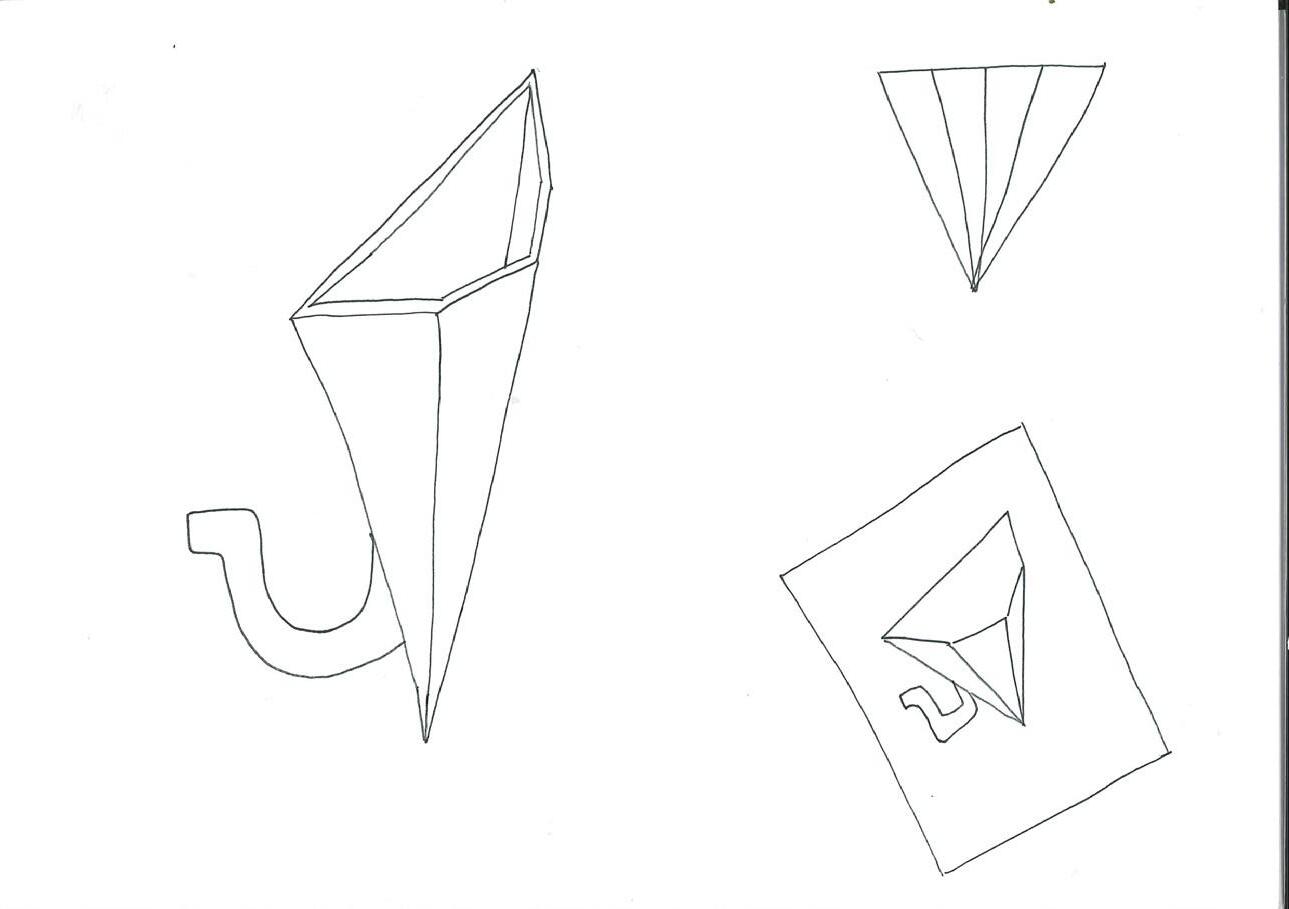
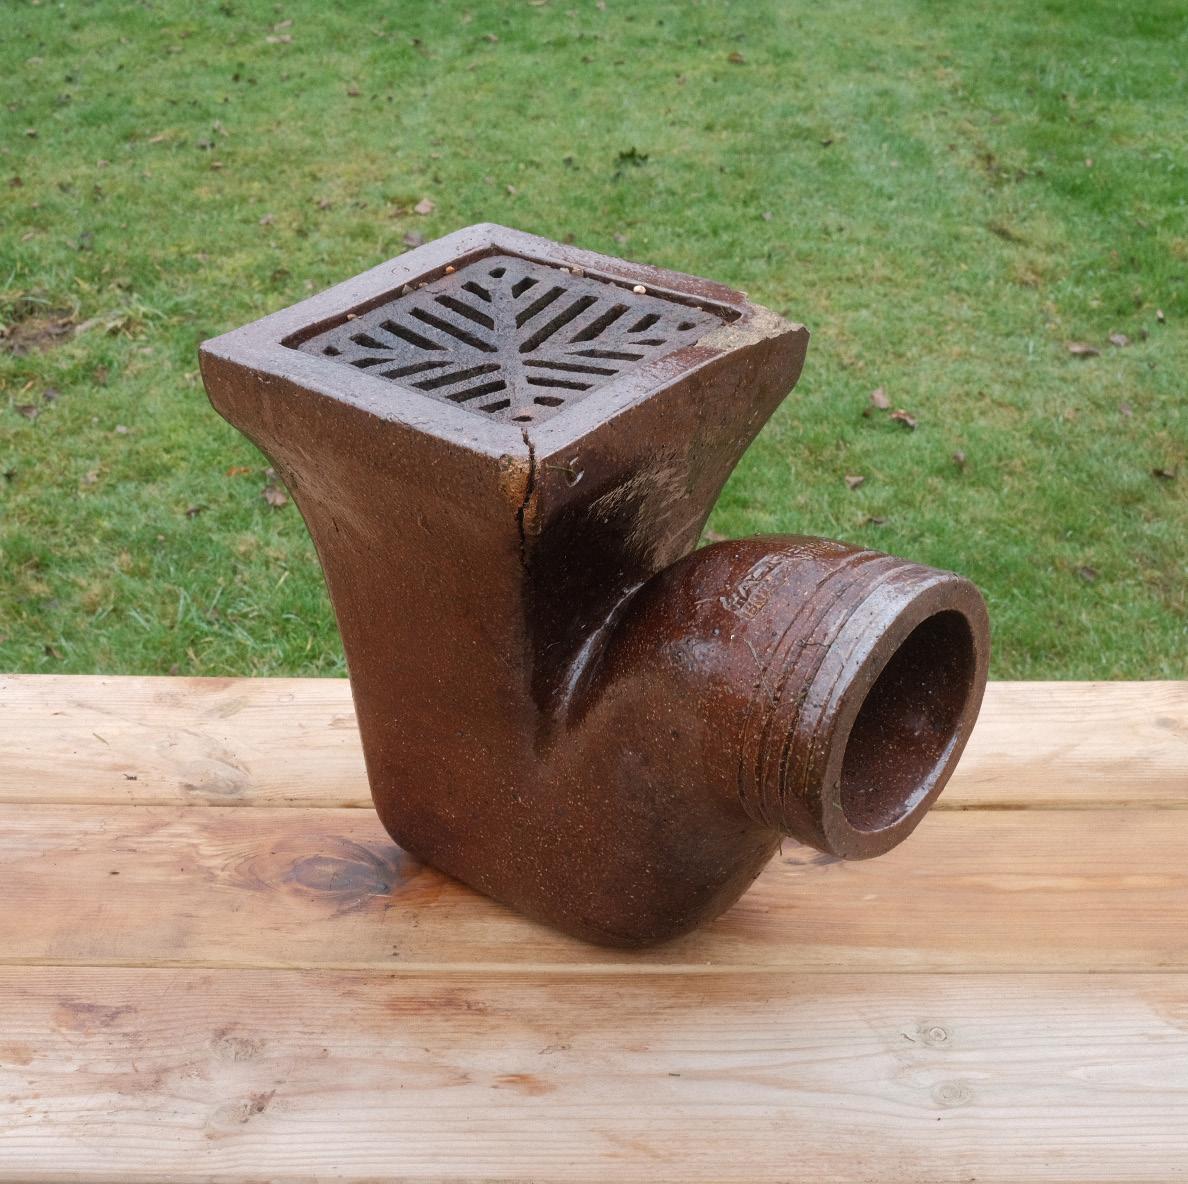
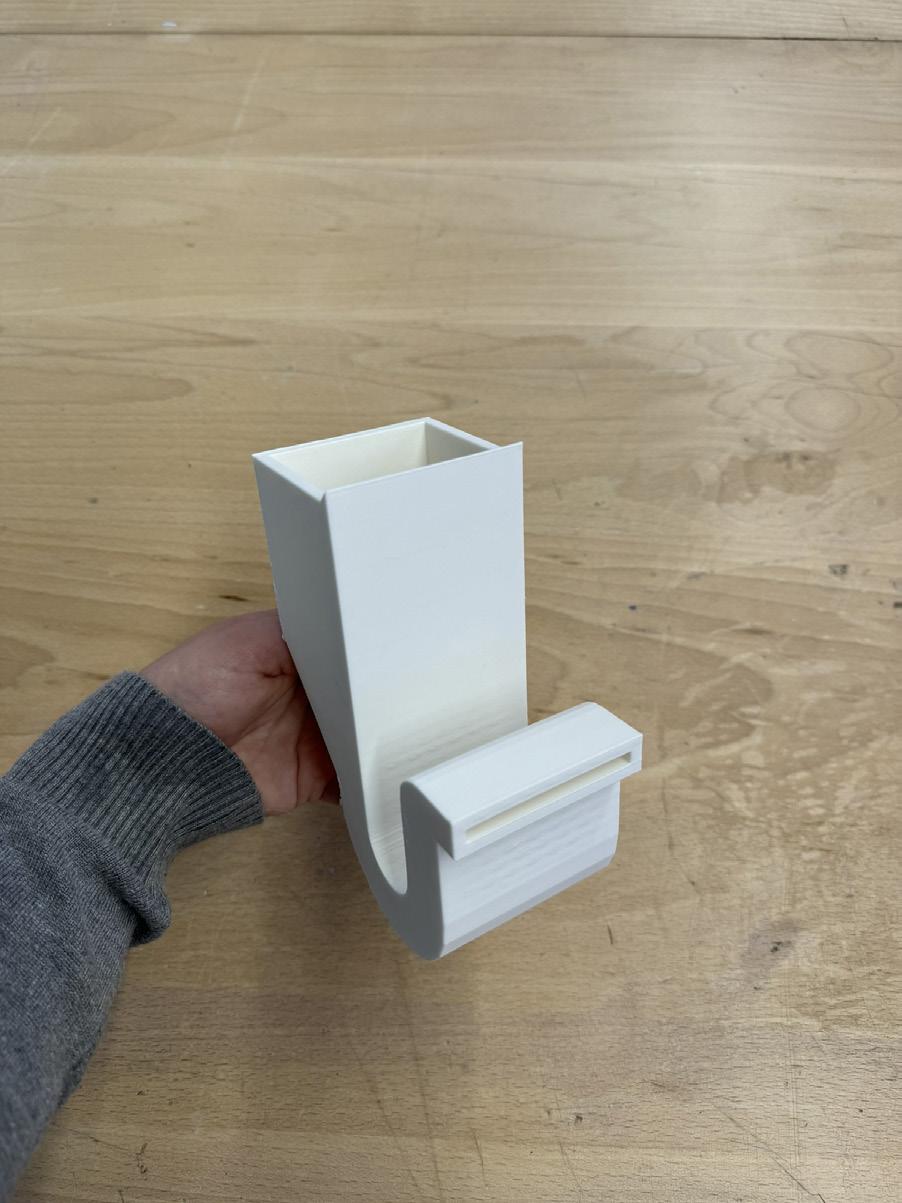
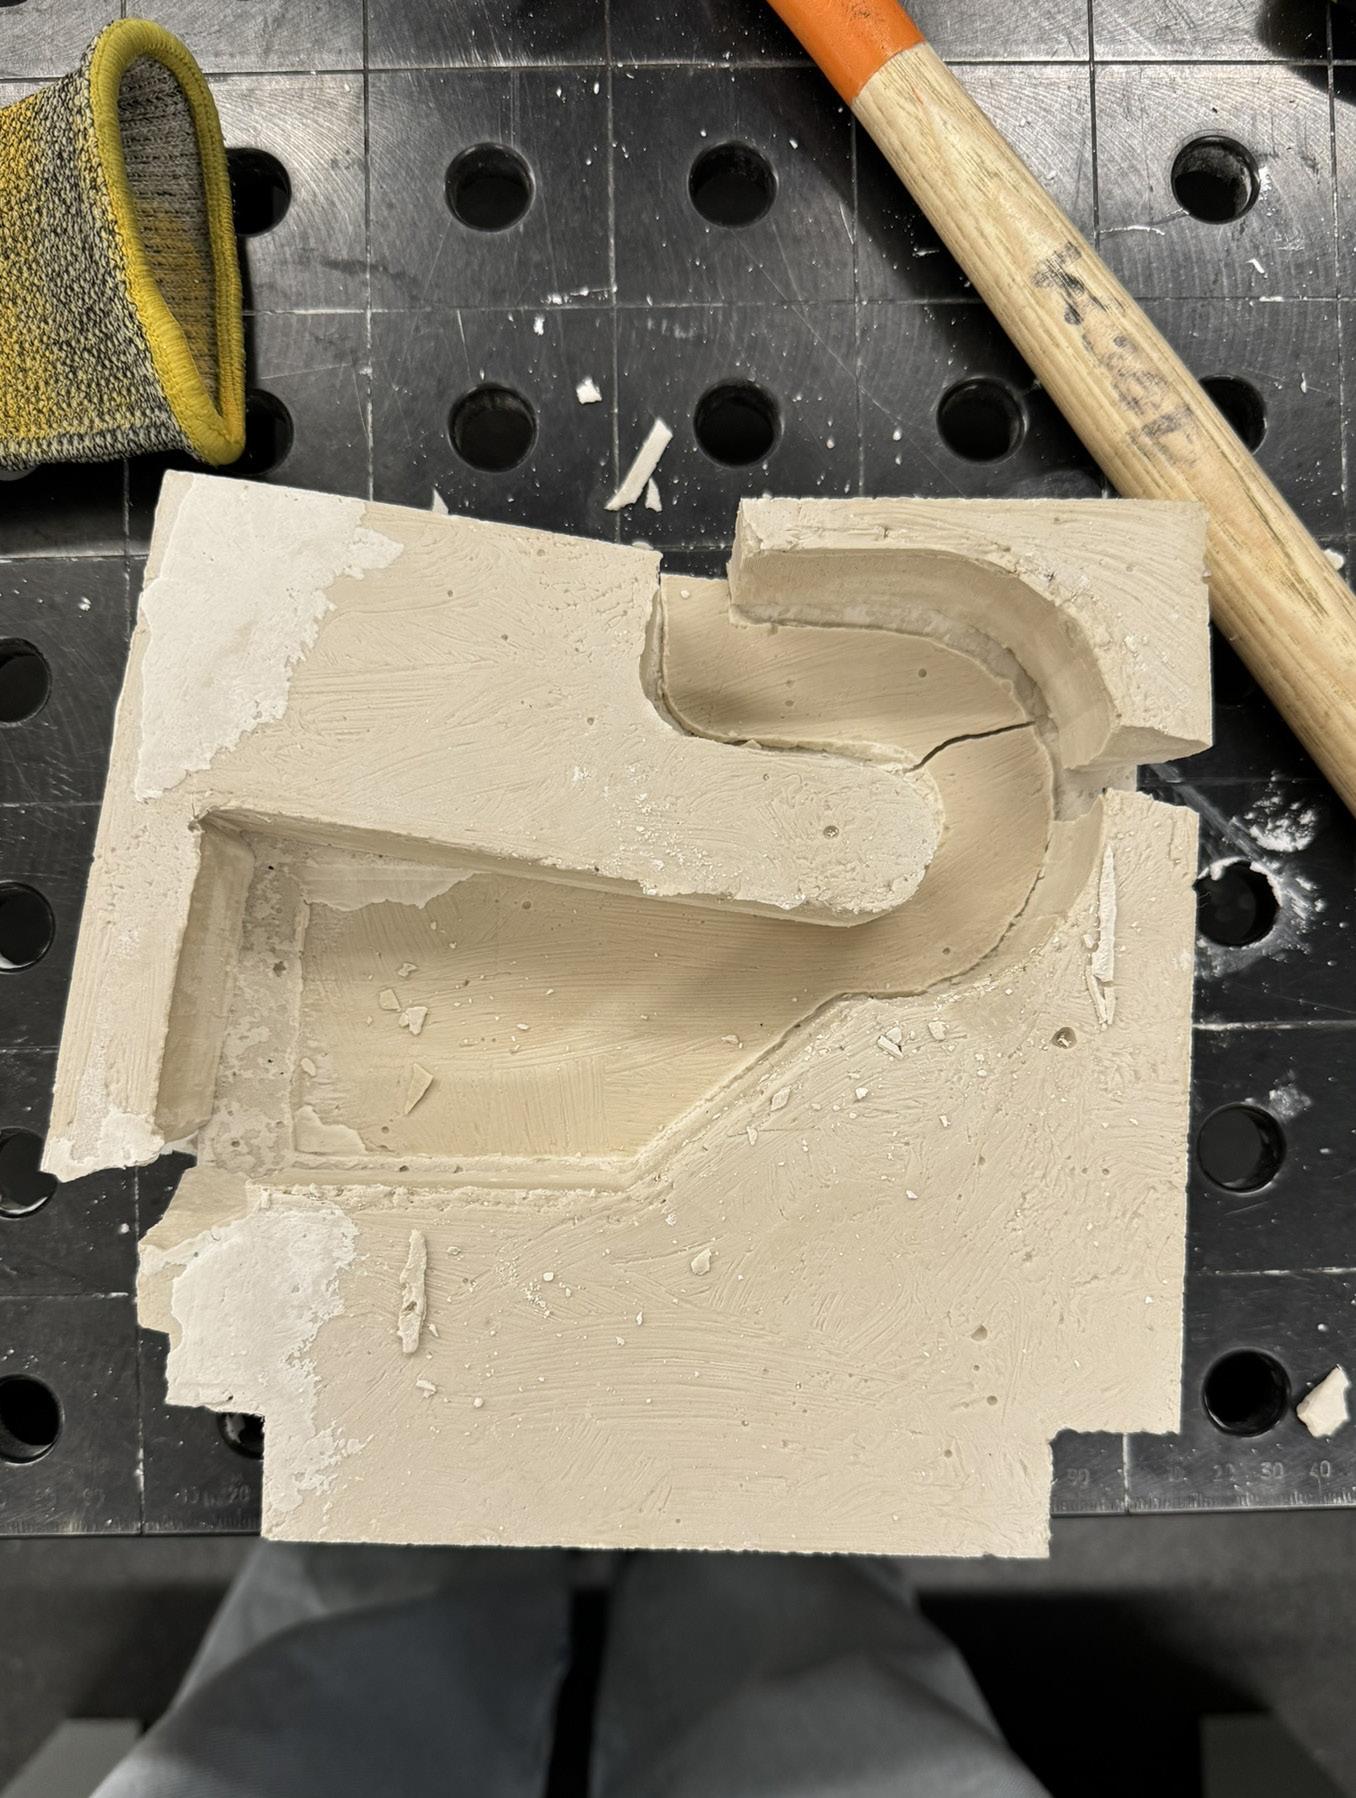
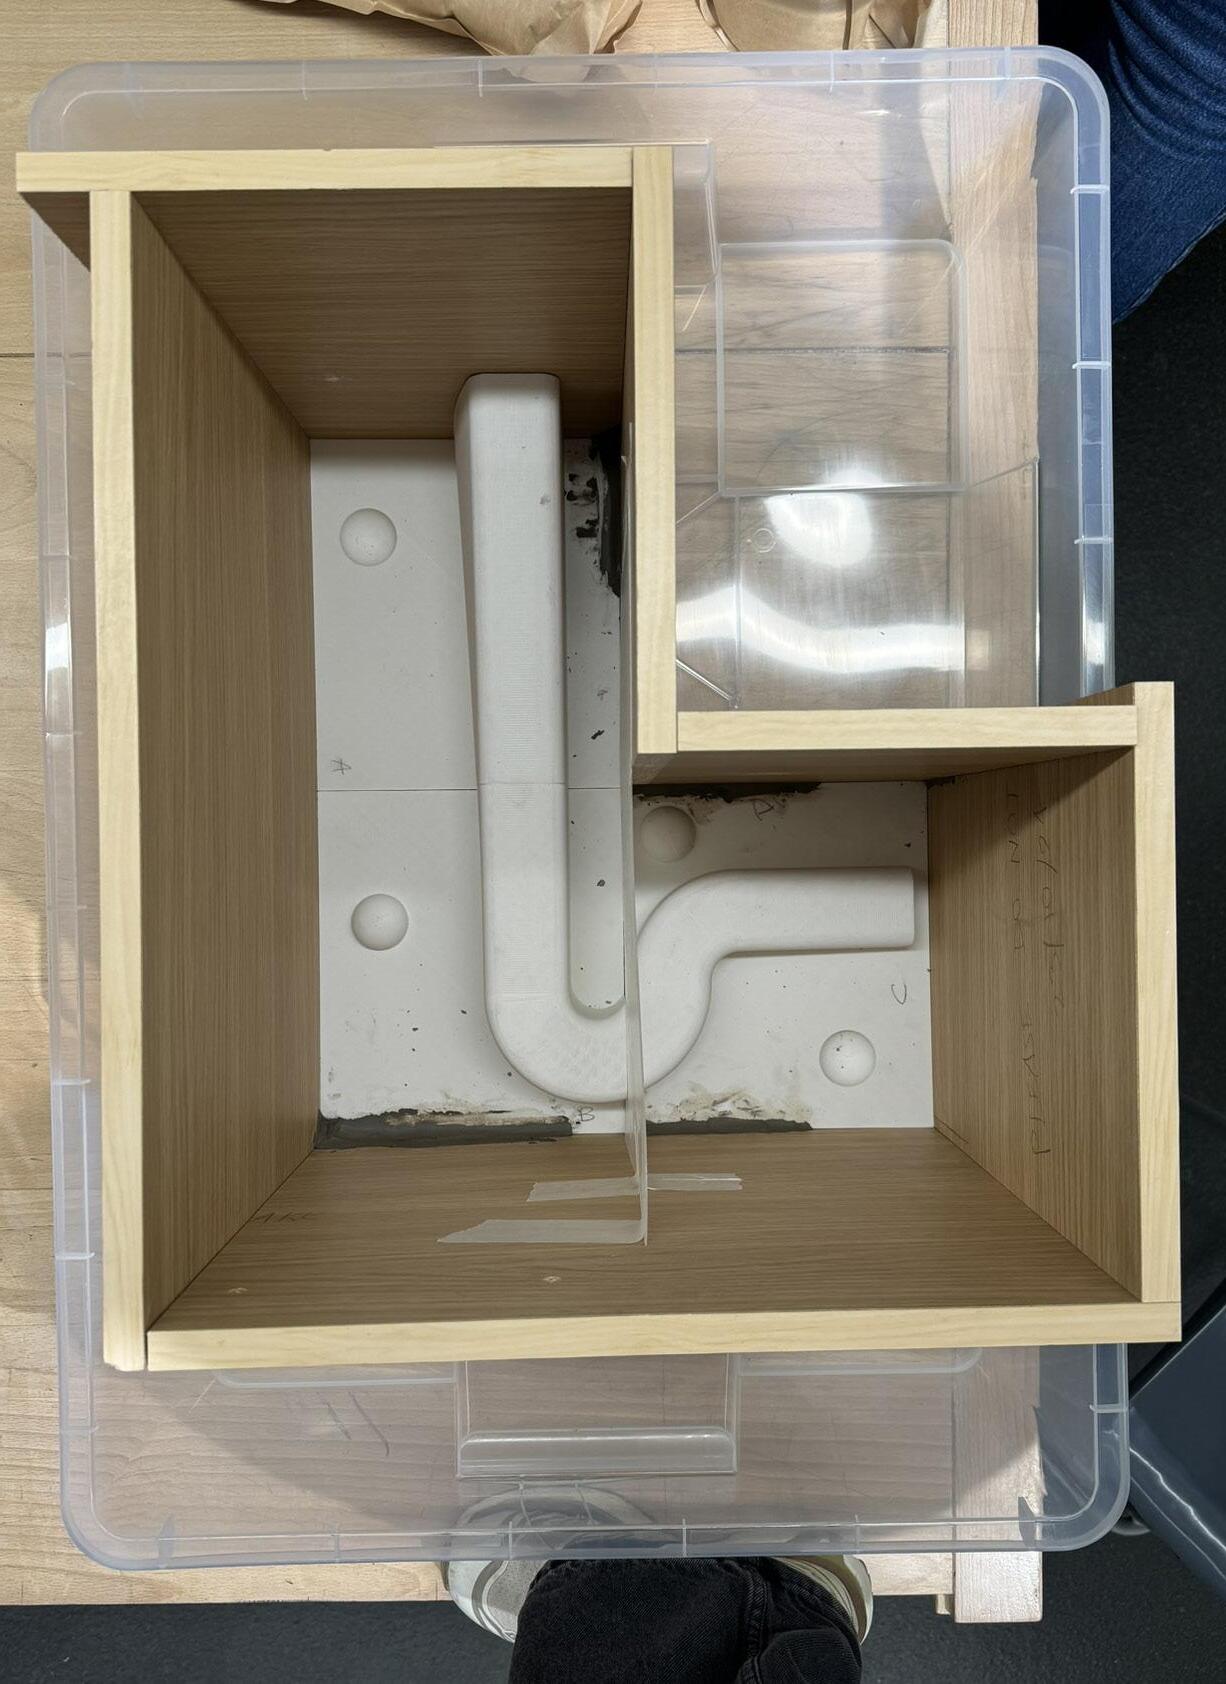
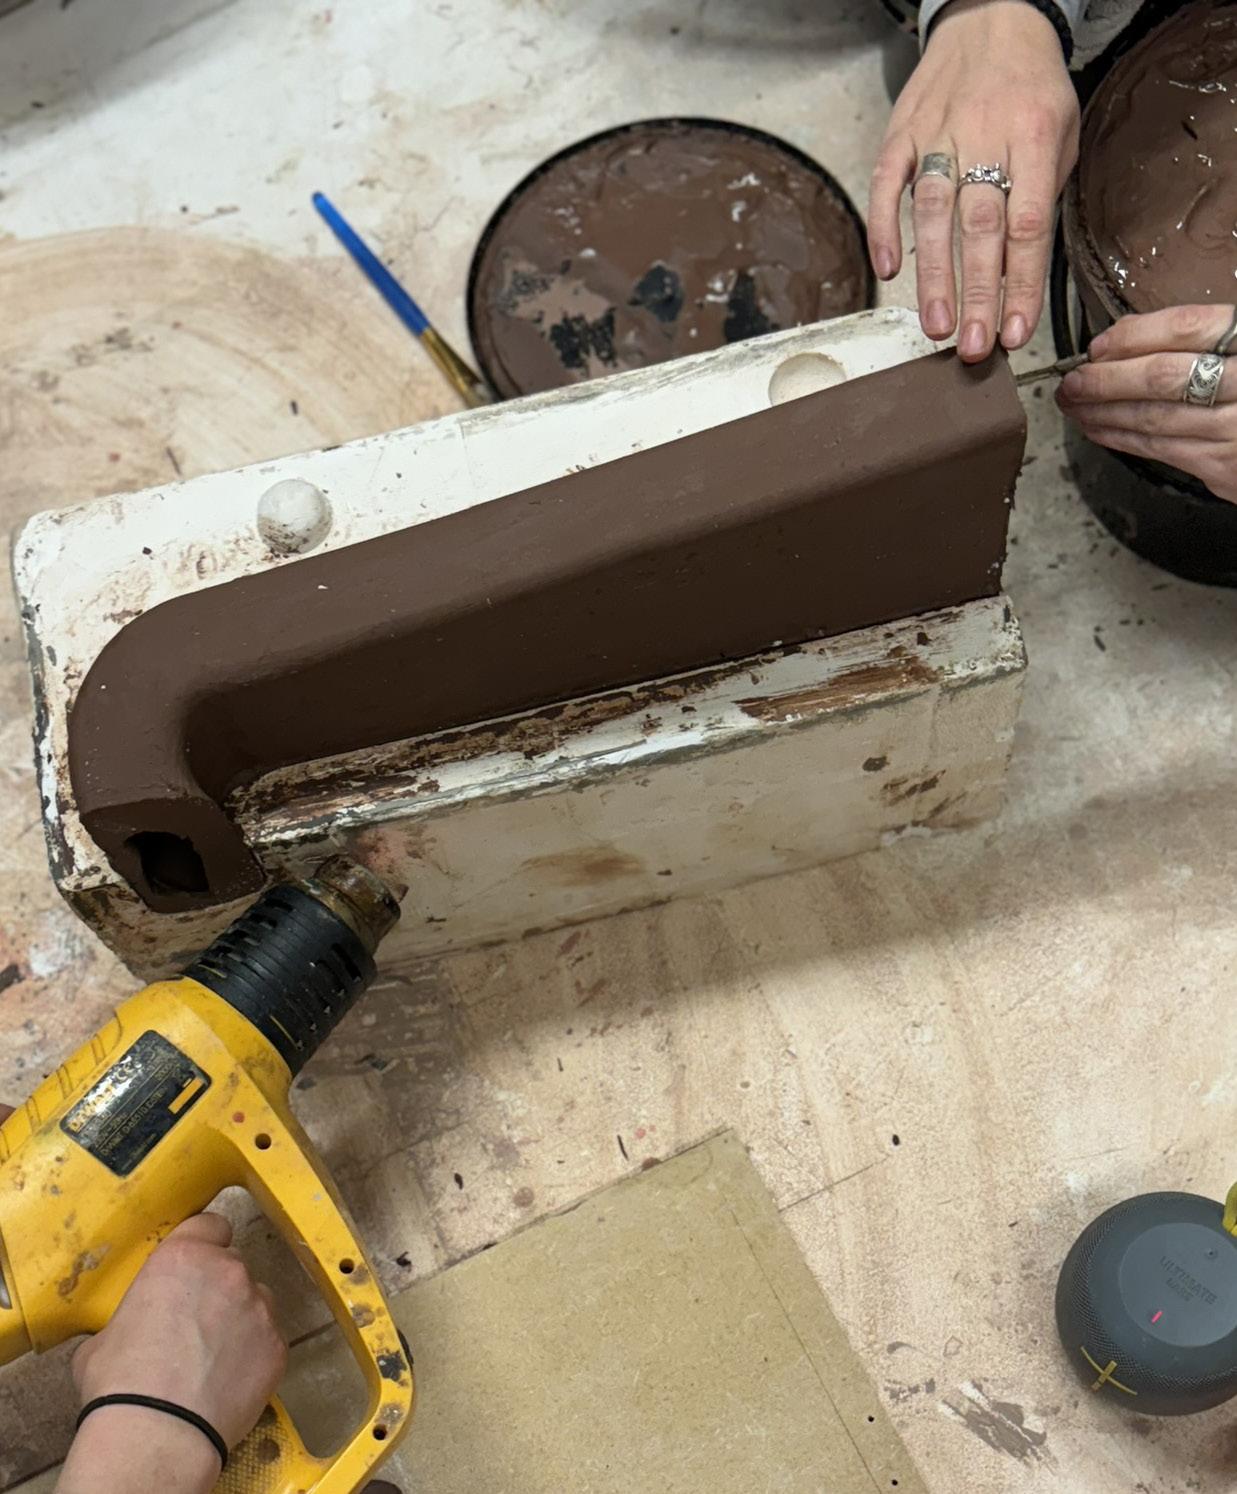
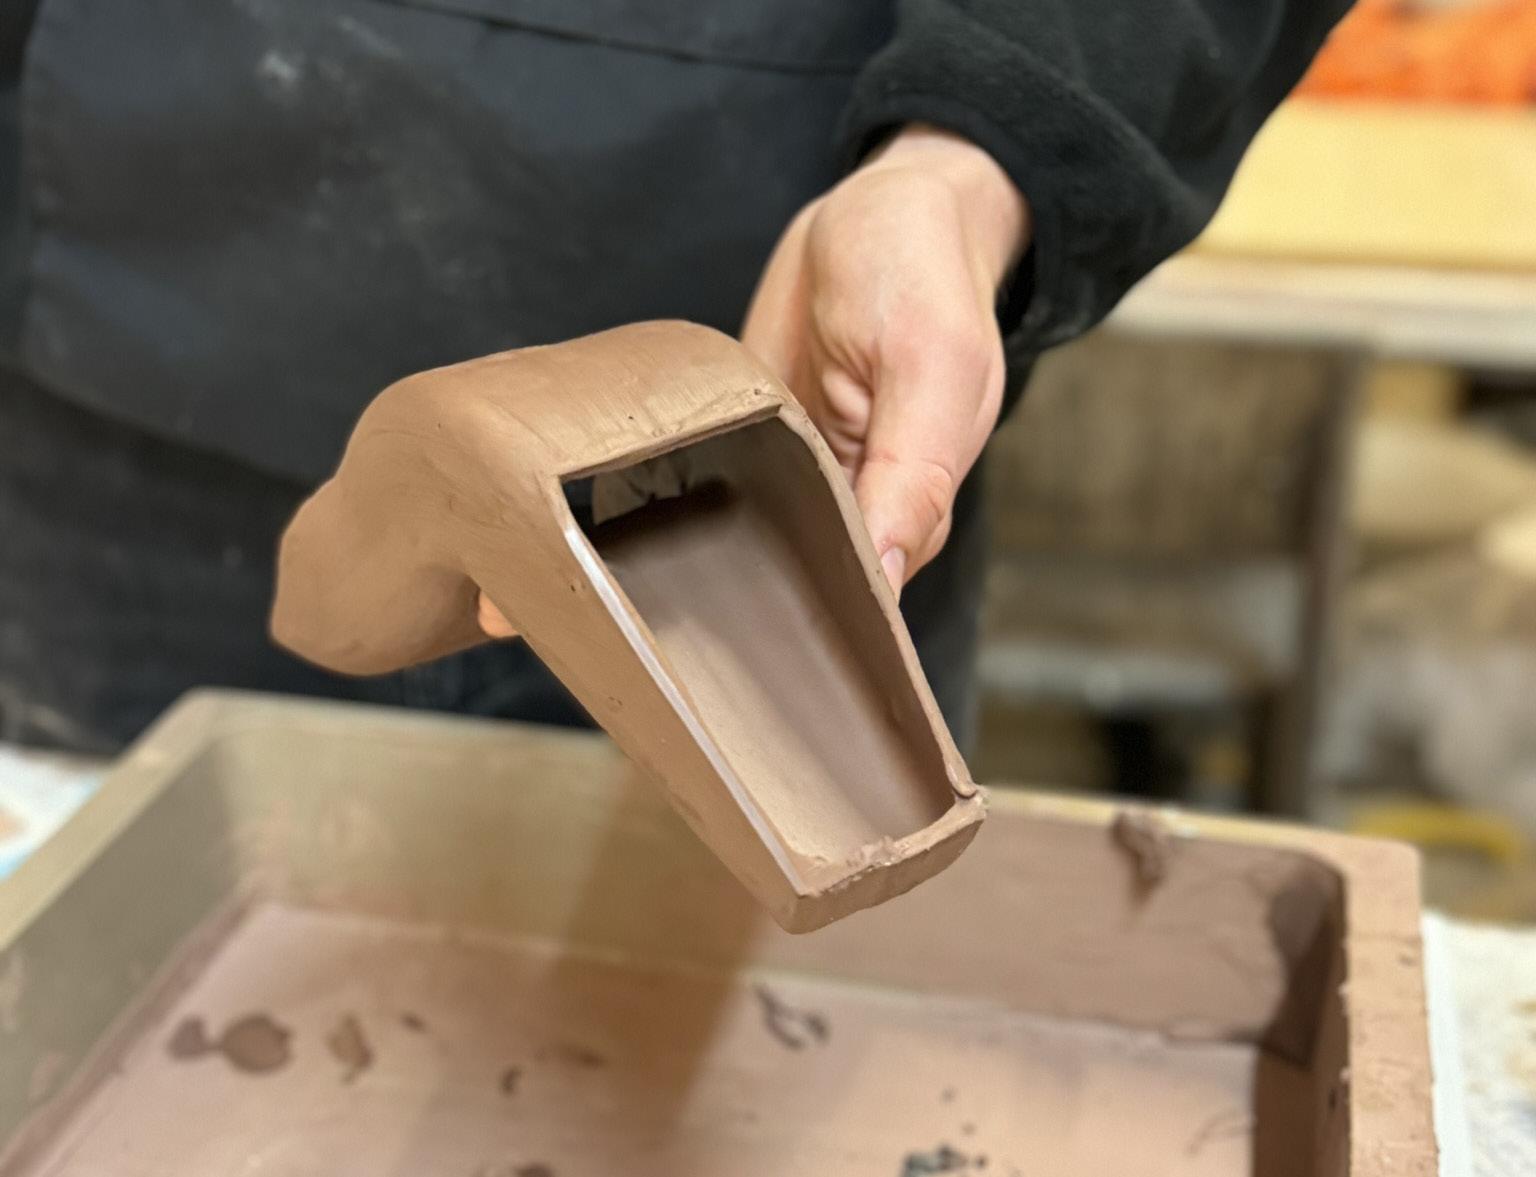
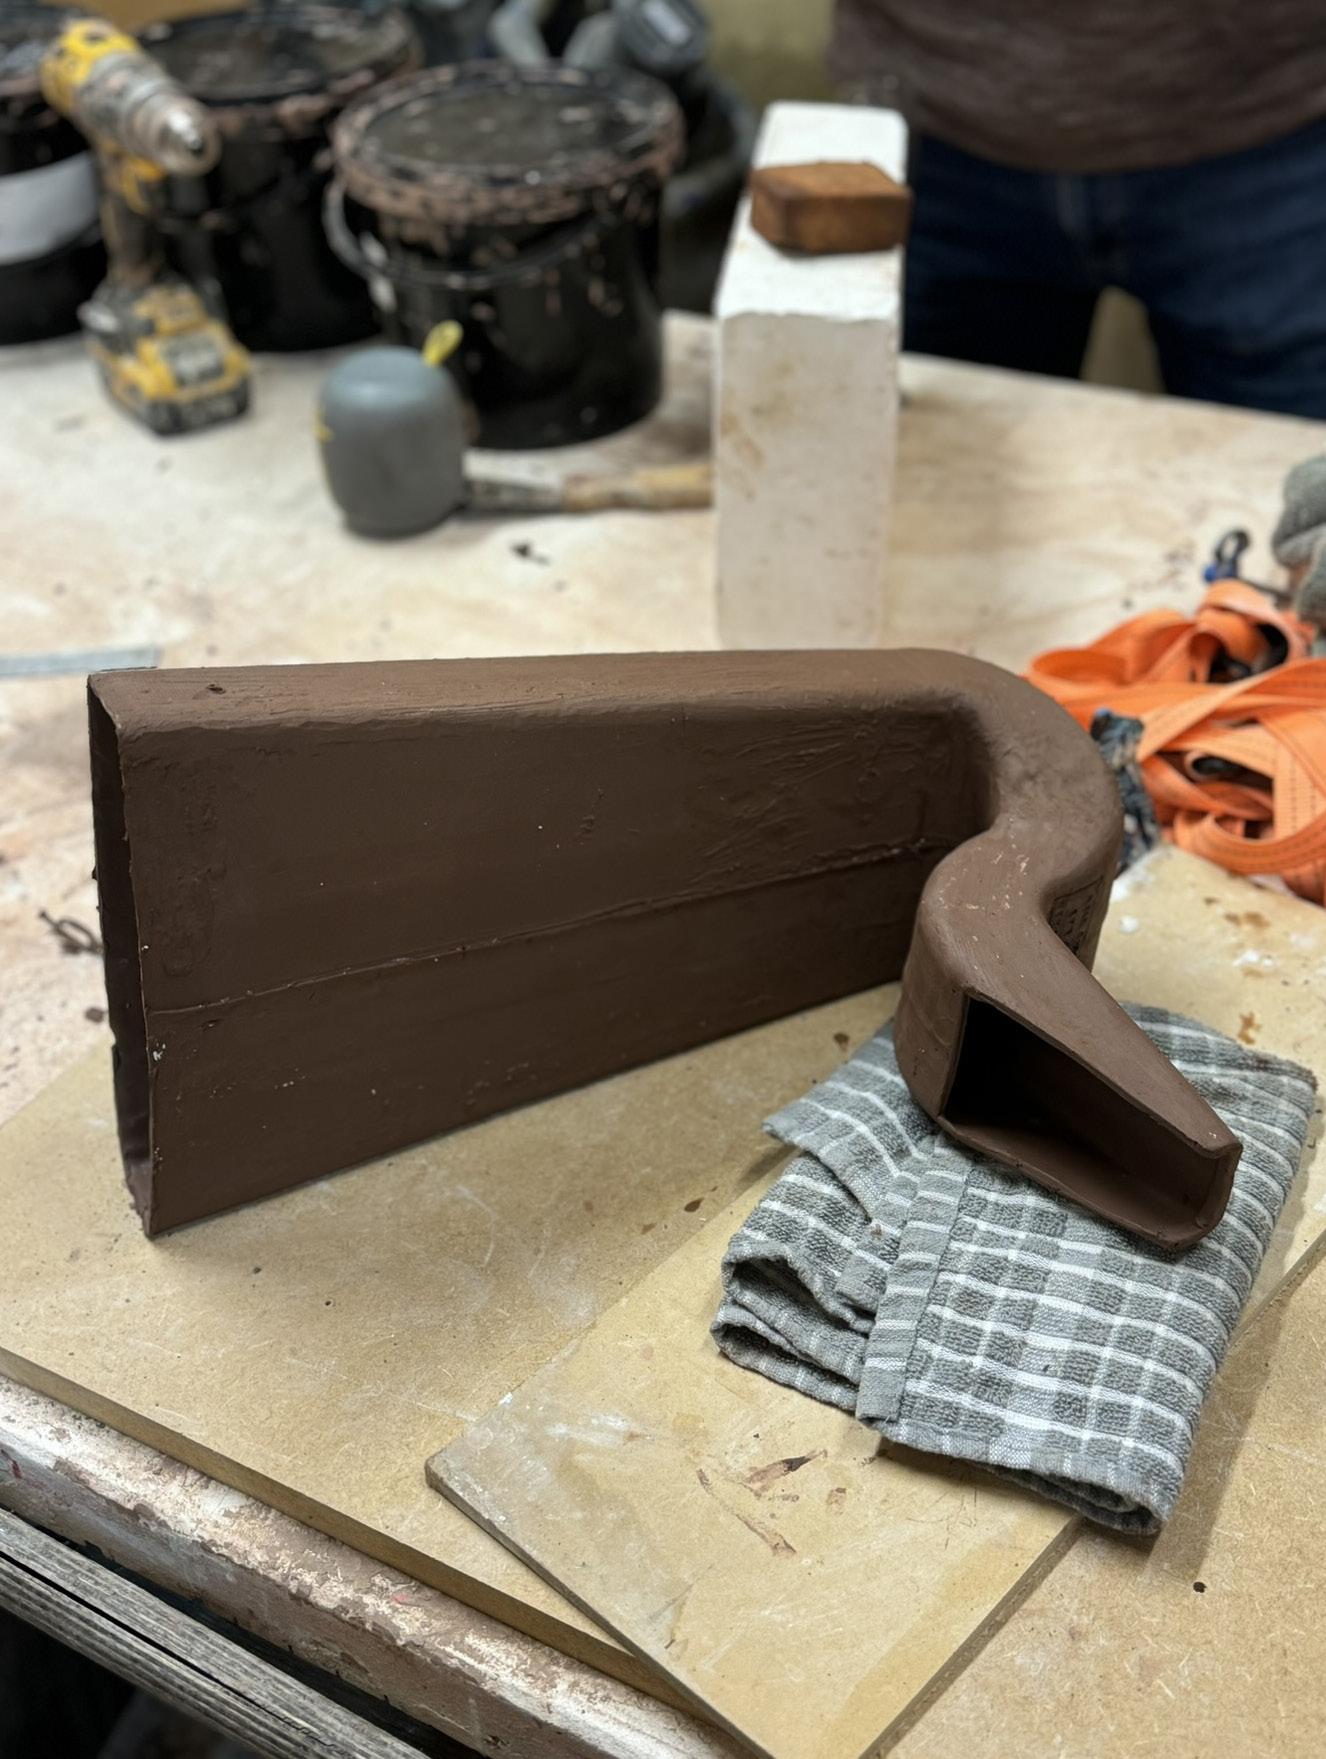
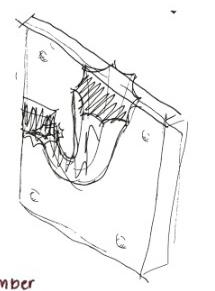
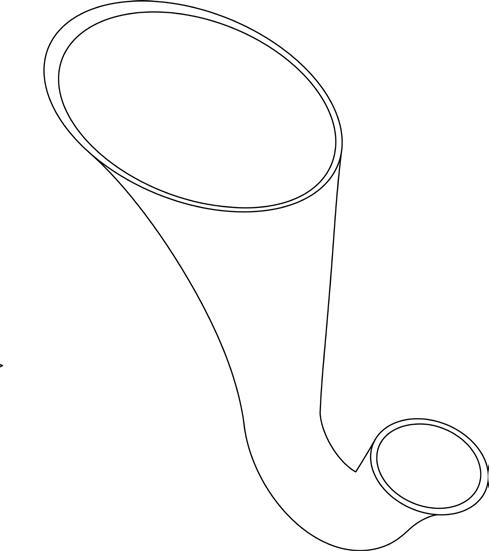
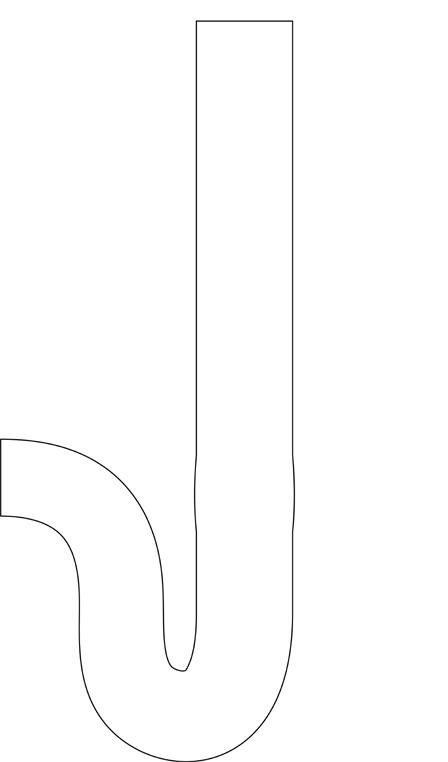
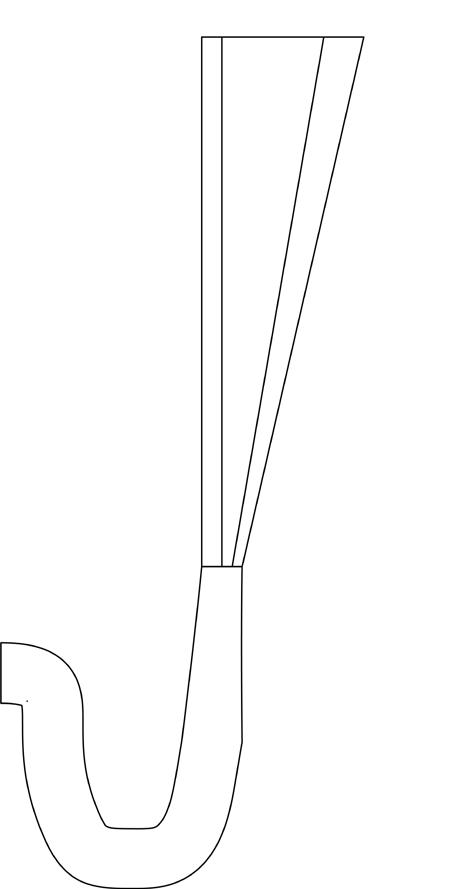
U Bend
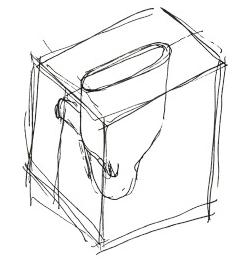
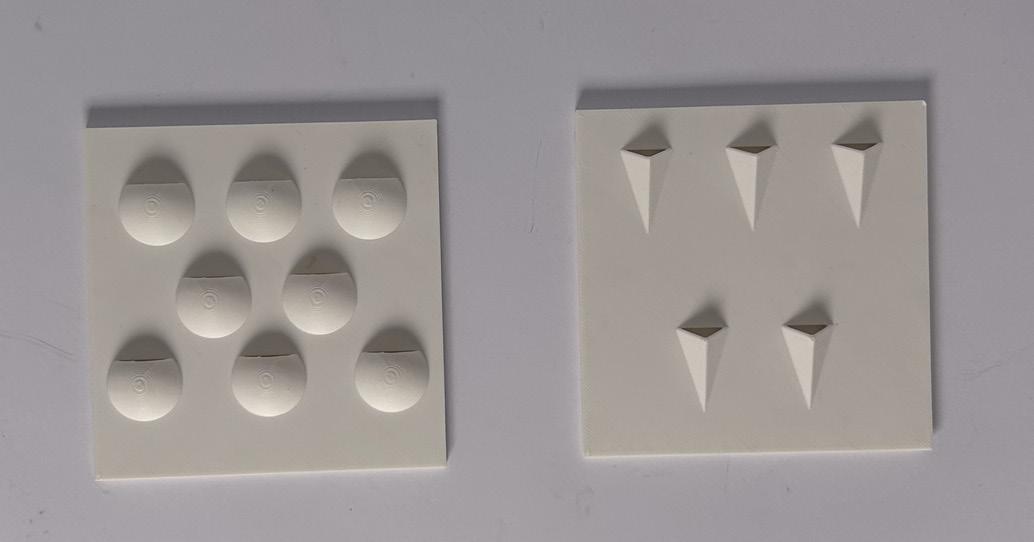
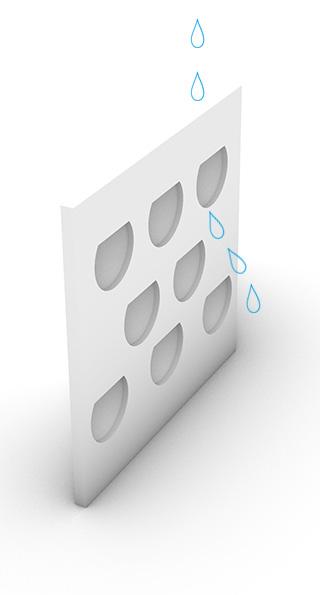
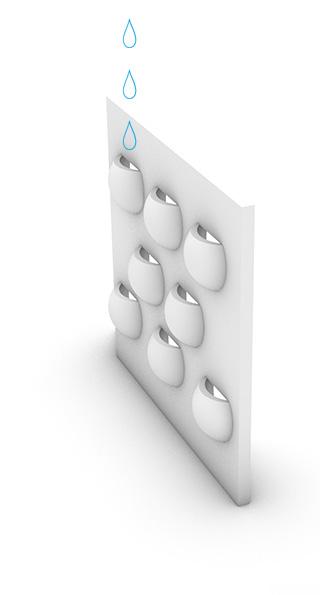
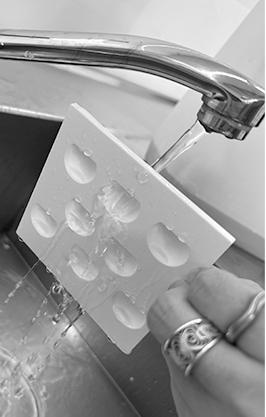
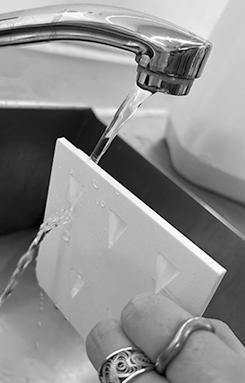
The ceramic shape needs to hold water and direct it inside without compromising the envelope of the greenhouse. Different water traps were explored and we also experimented with water collecting prototype tiles.
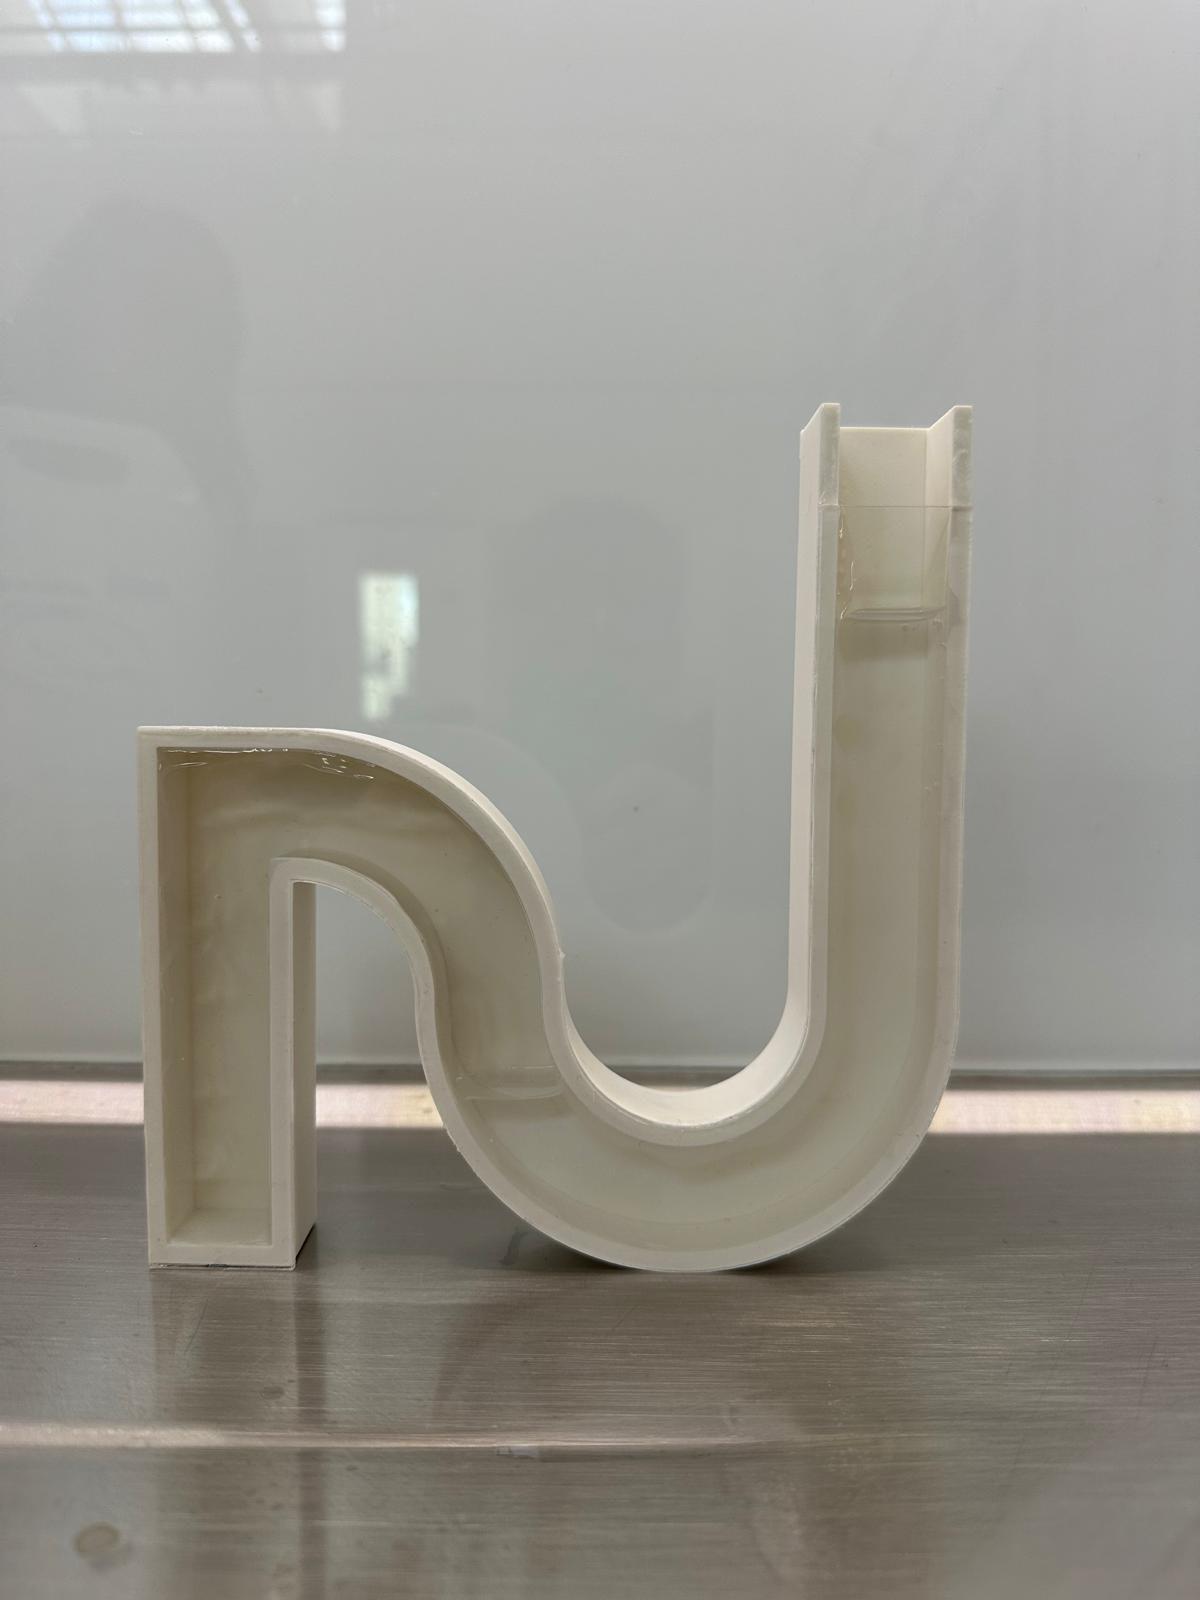
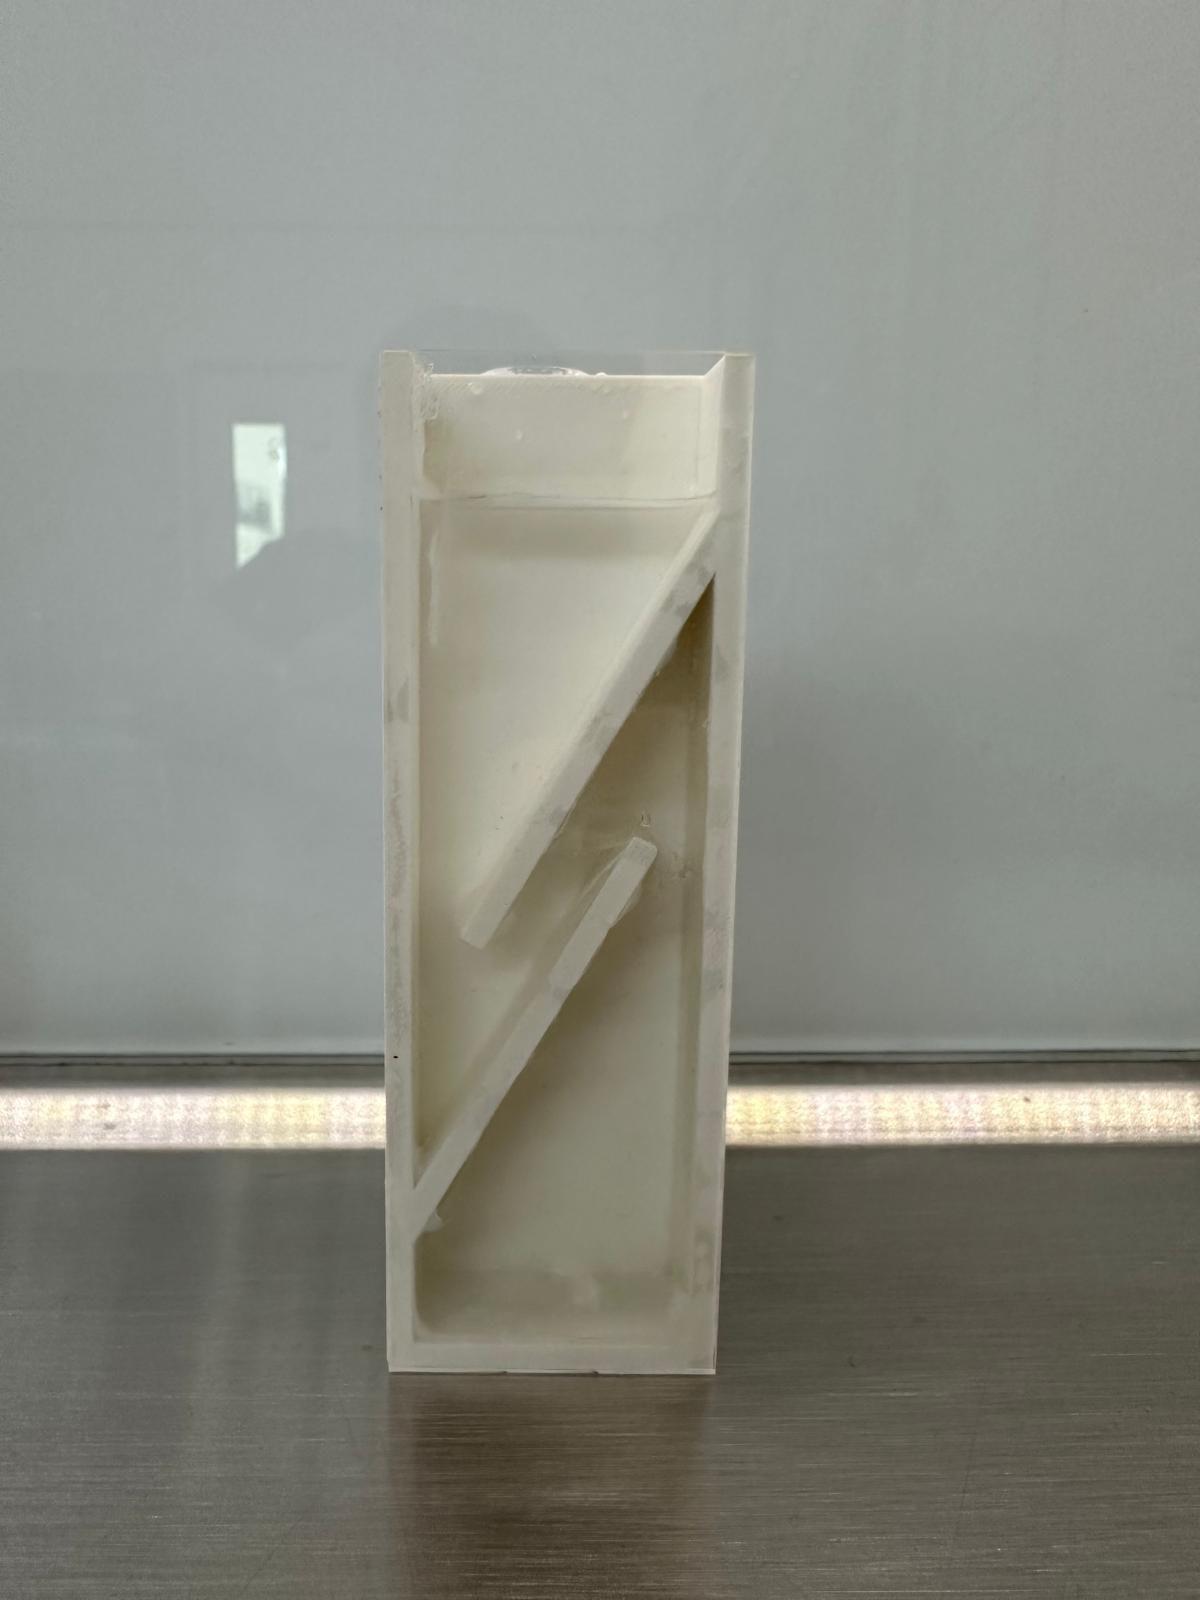
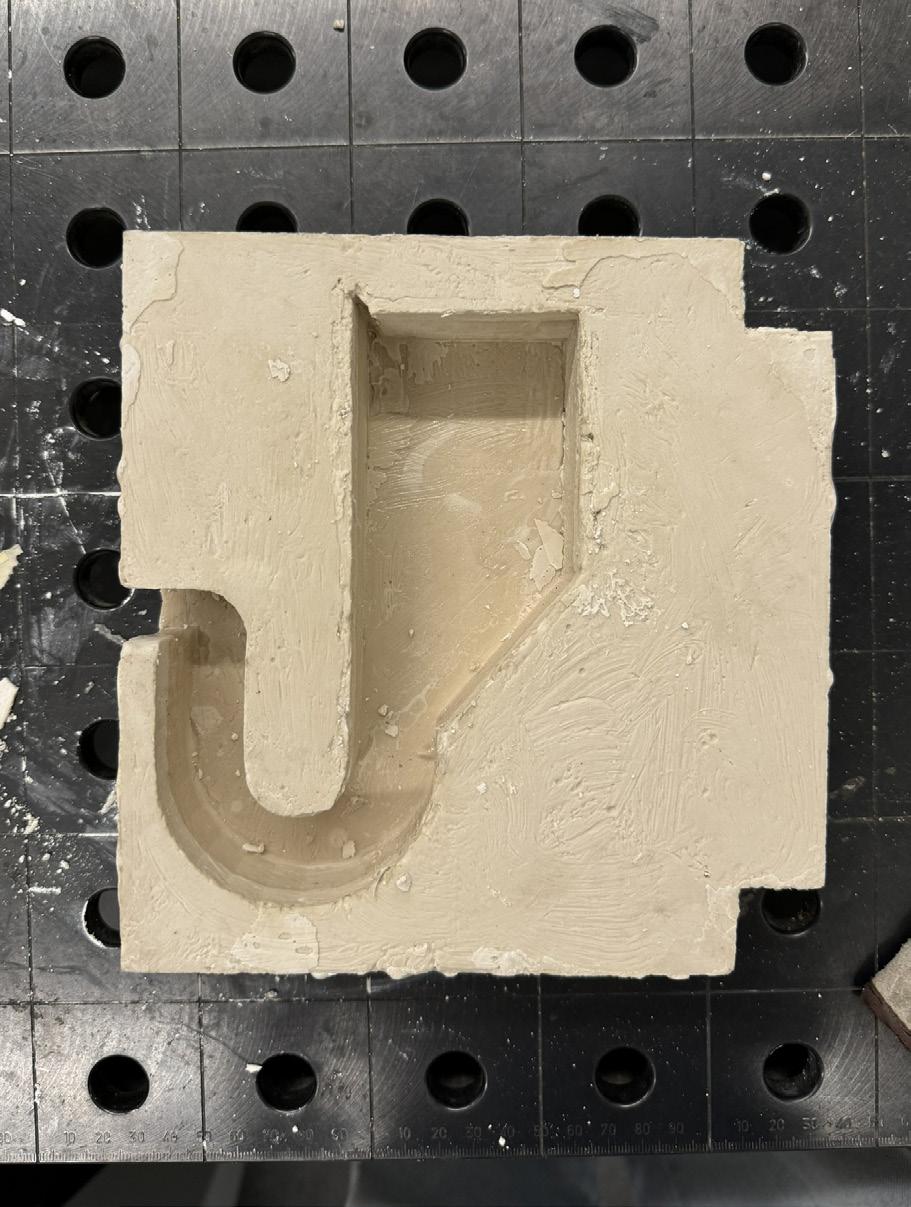
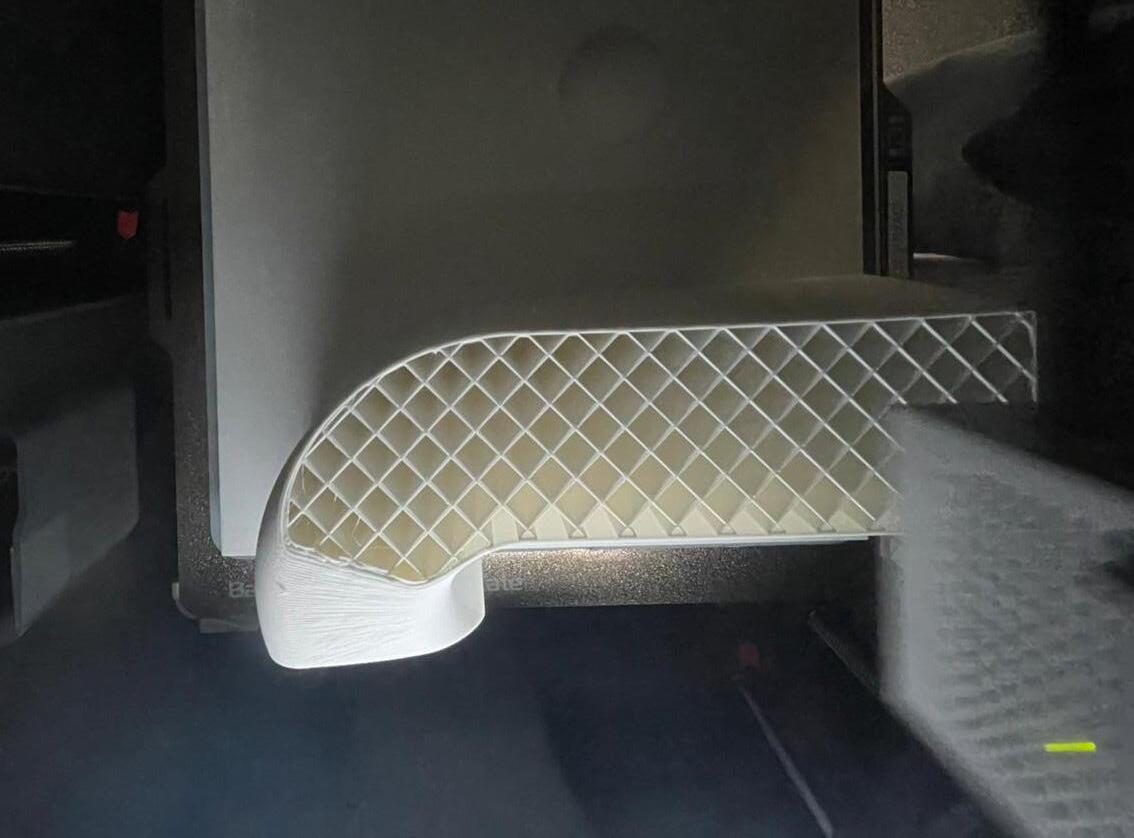
Slip was too thin, cast was not dry enough, straight sides and U bend curve were hard to remove without cracking
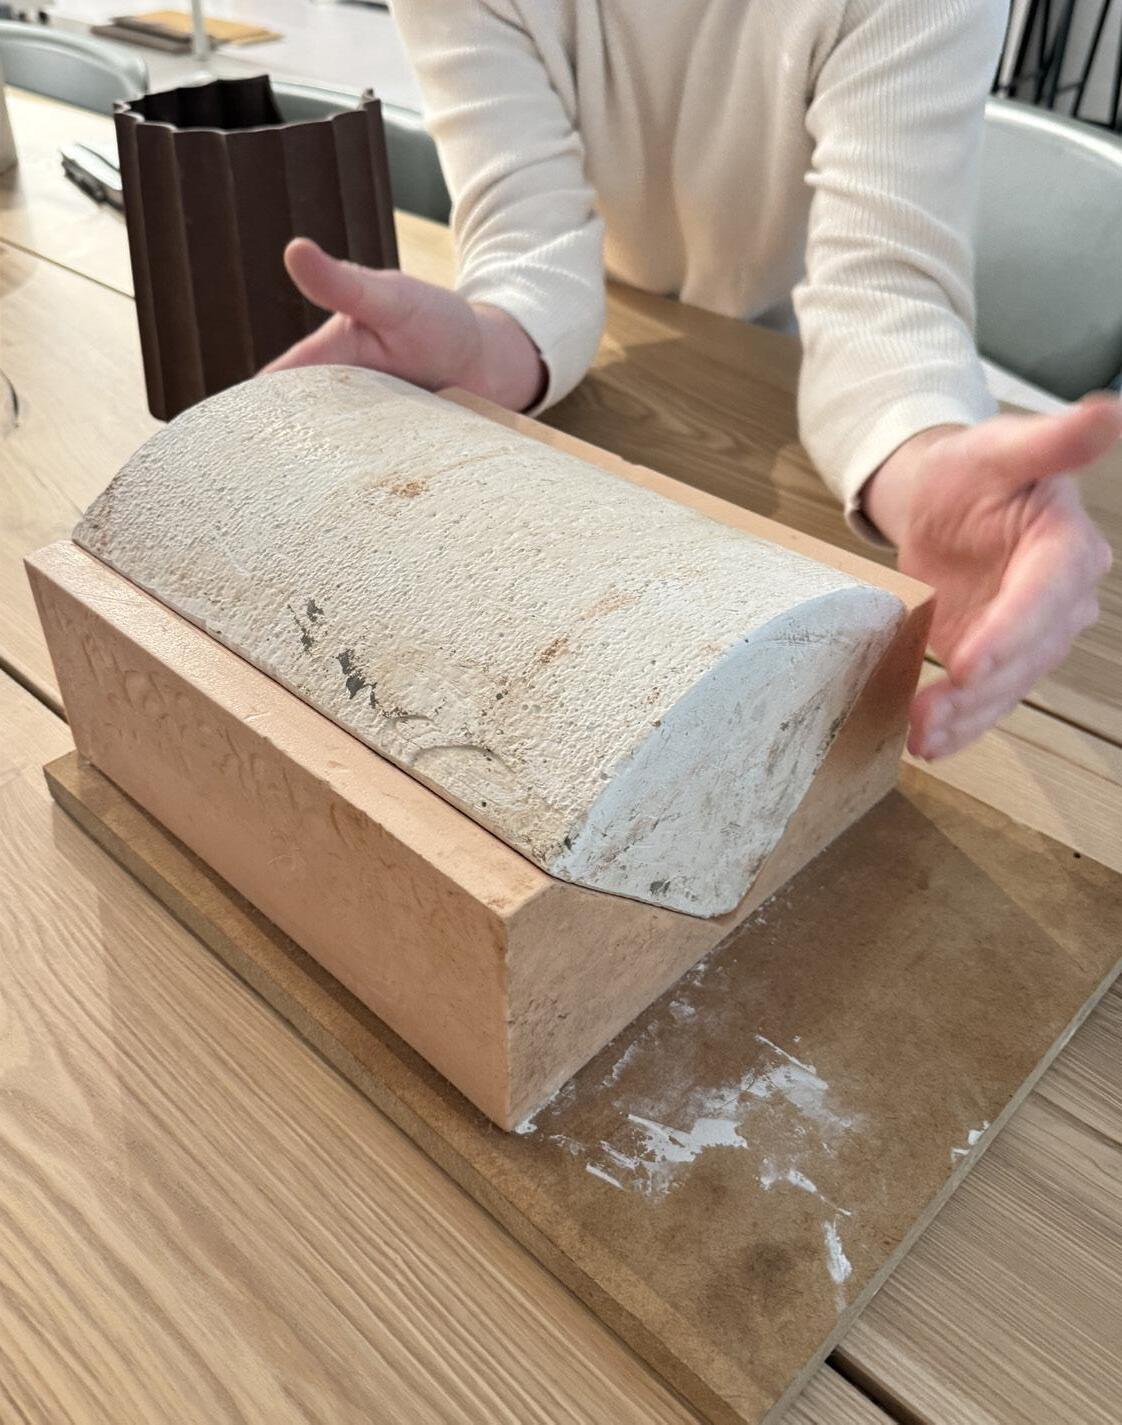
Slip Casting Advice
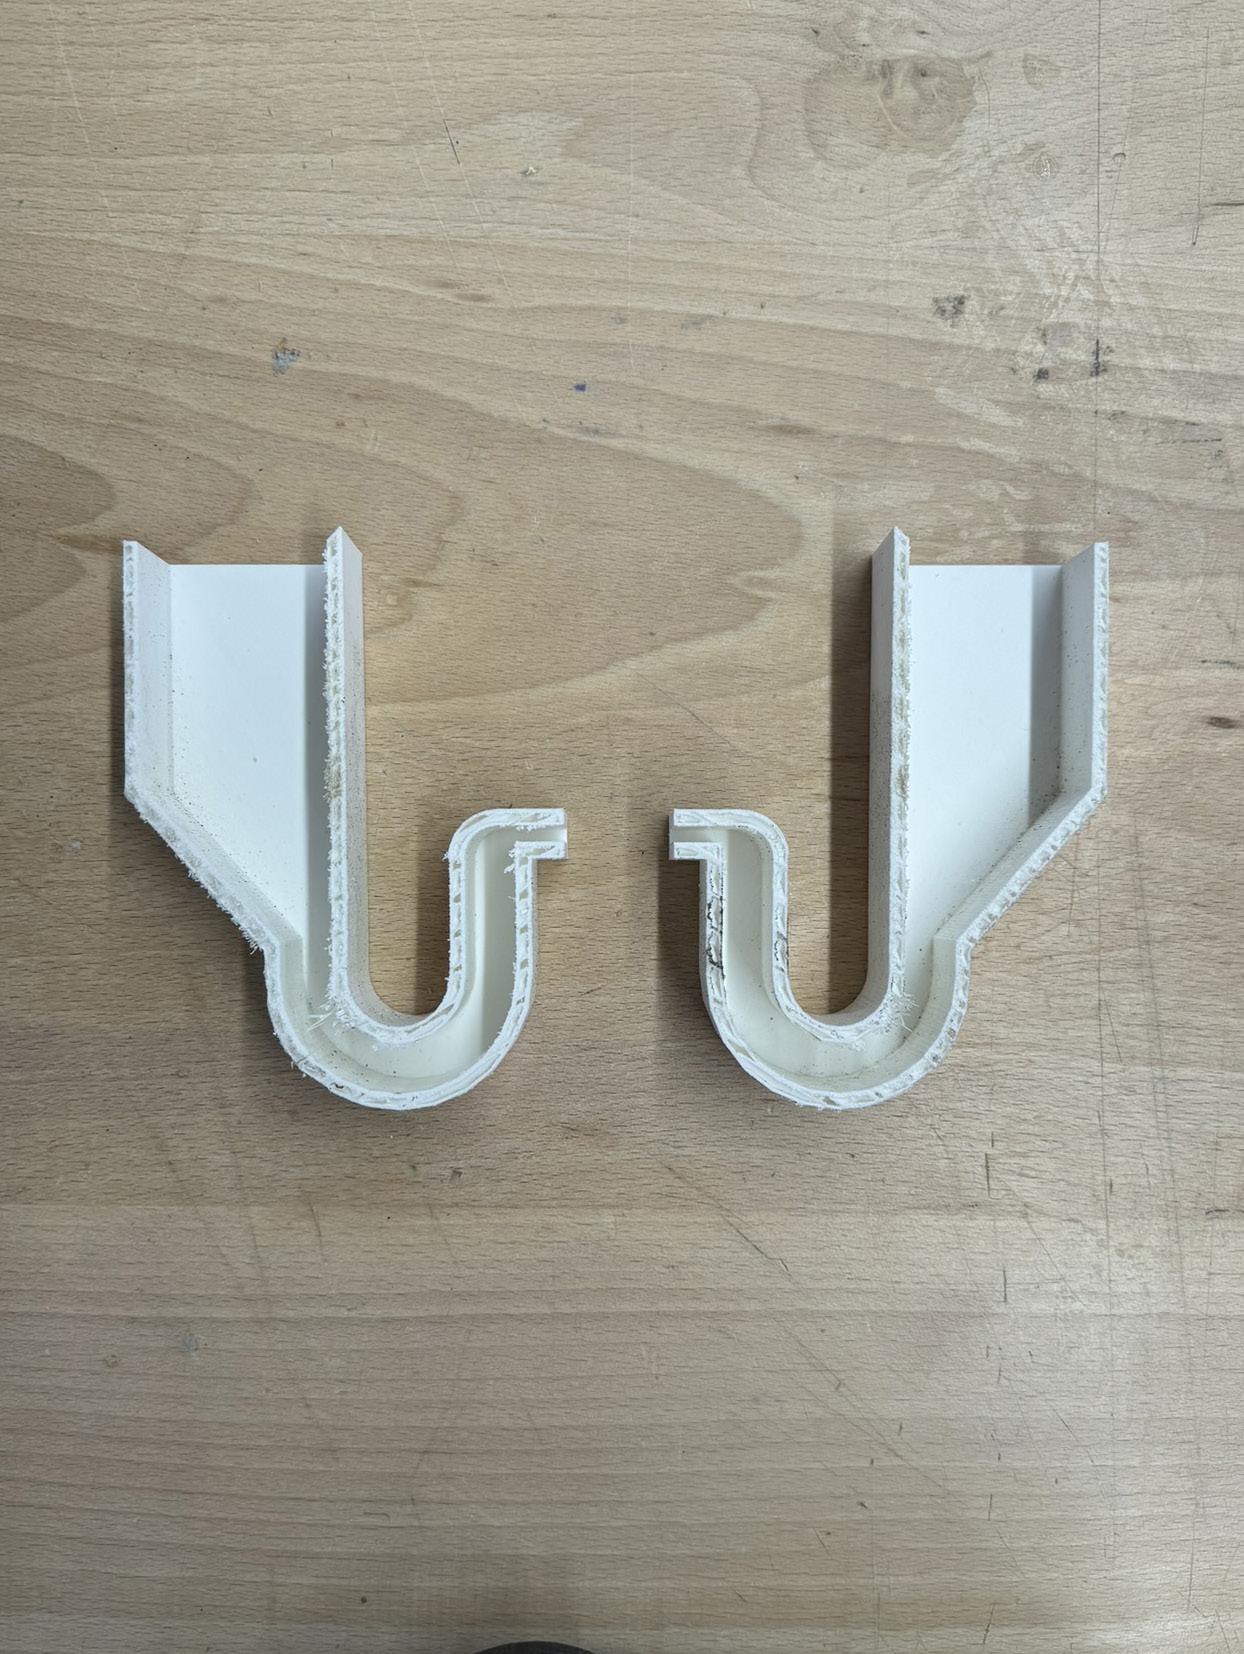
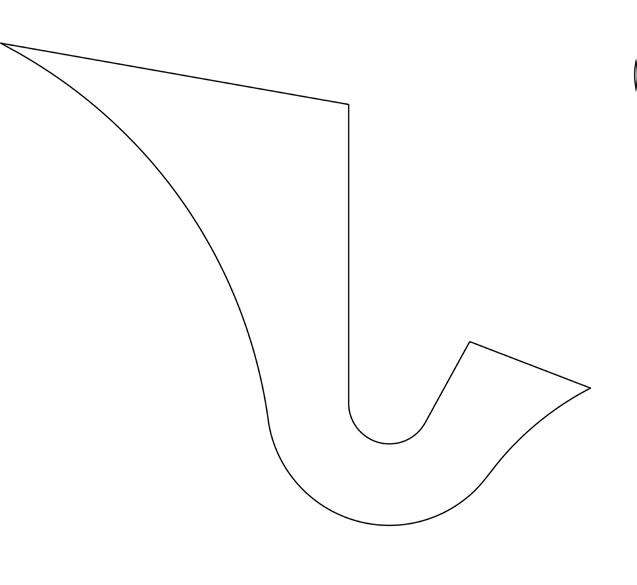
- Our iteration that is more organic & curved is better for slip casting that the ones with straight edges. Straight edges are difficult to get out of the mould.
- The plaster mould needs at least a week to dry out in order for it to draw out the moisture from the slip.
- The firing process takes roughly a week.
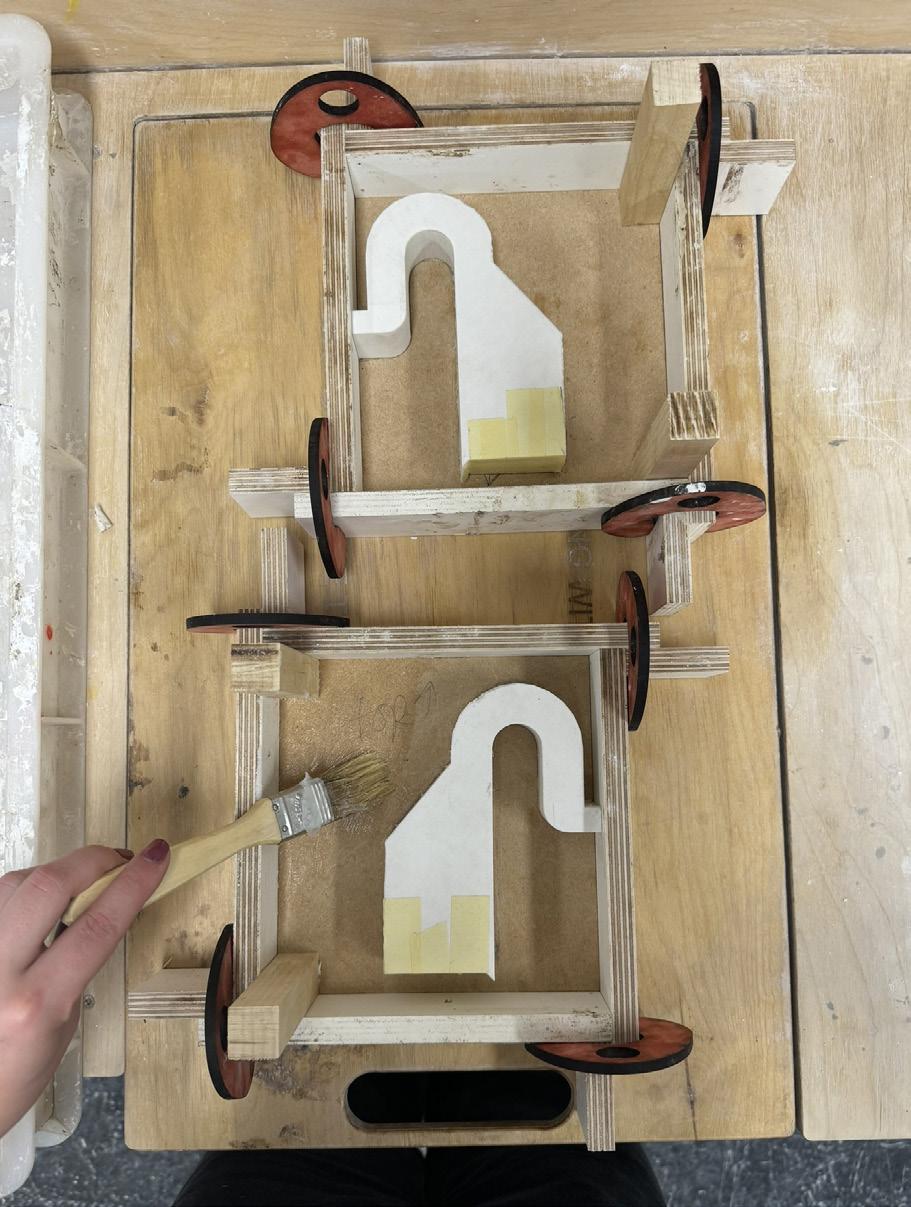
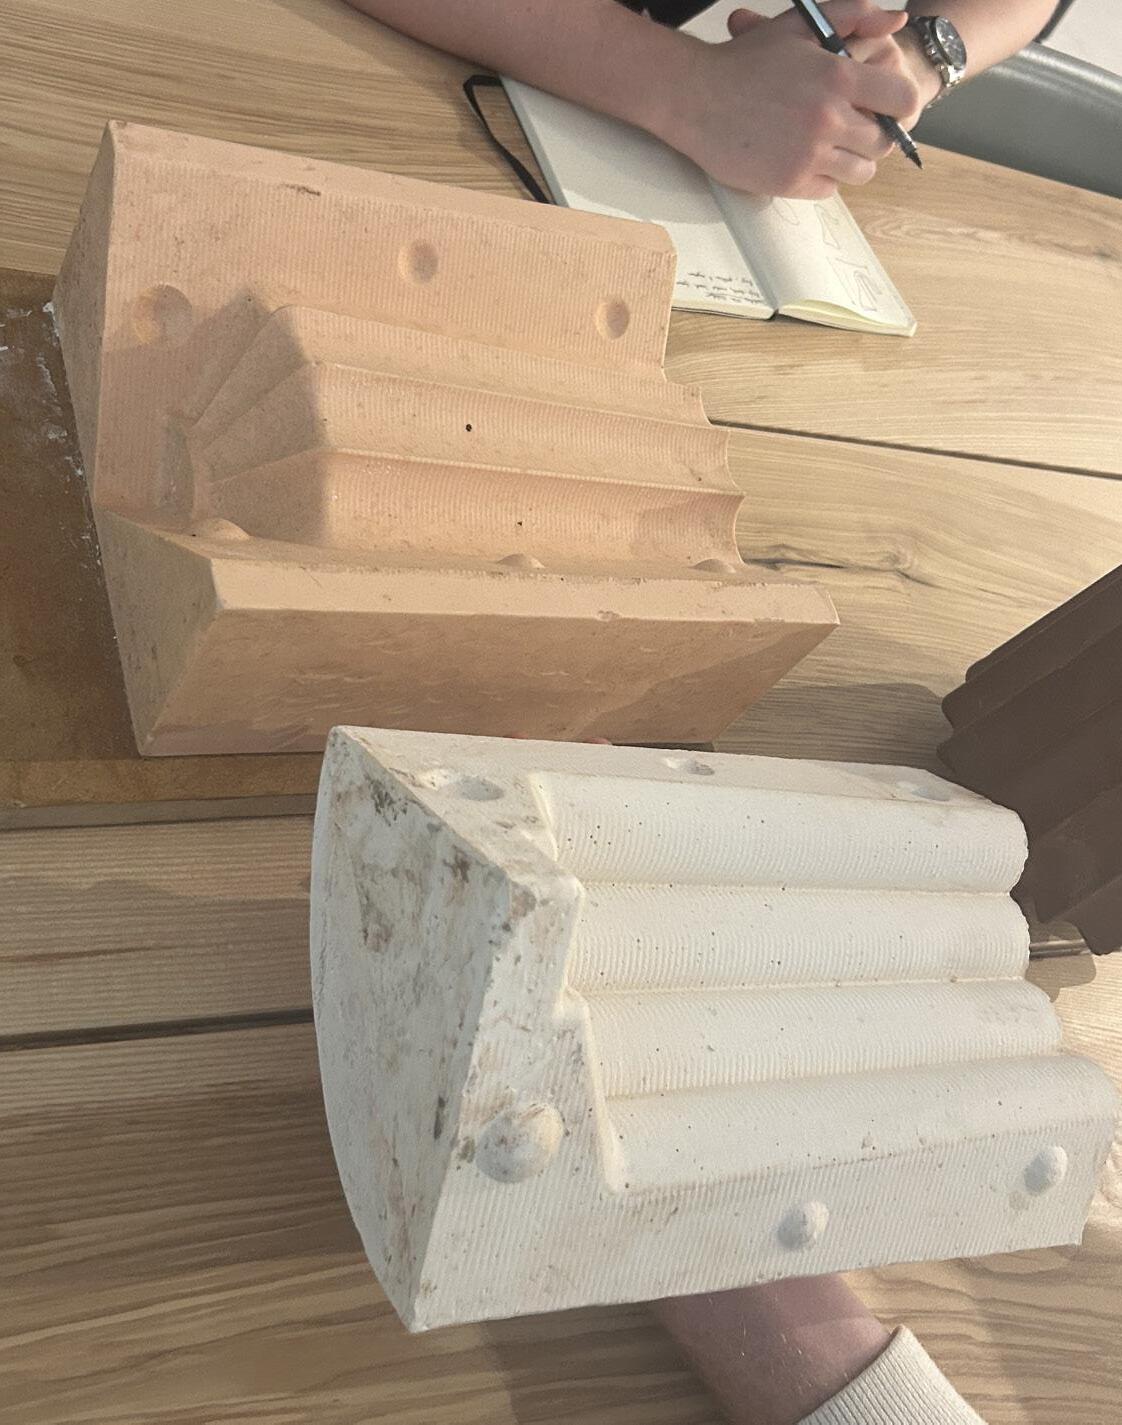
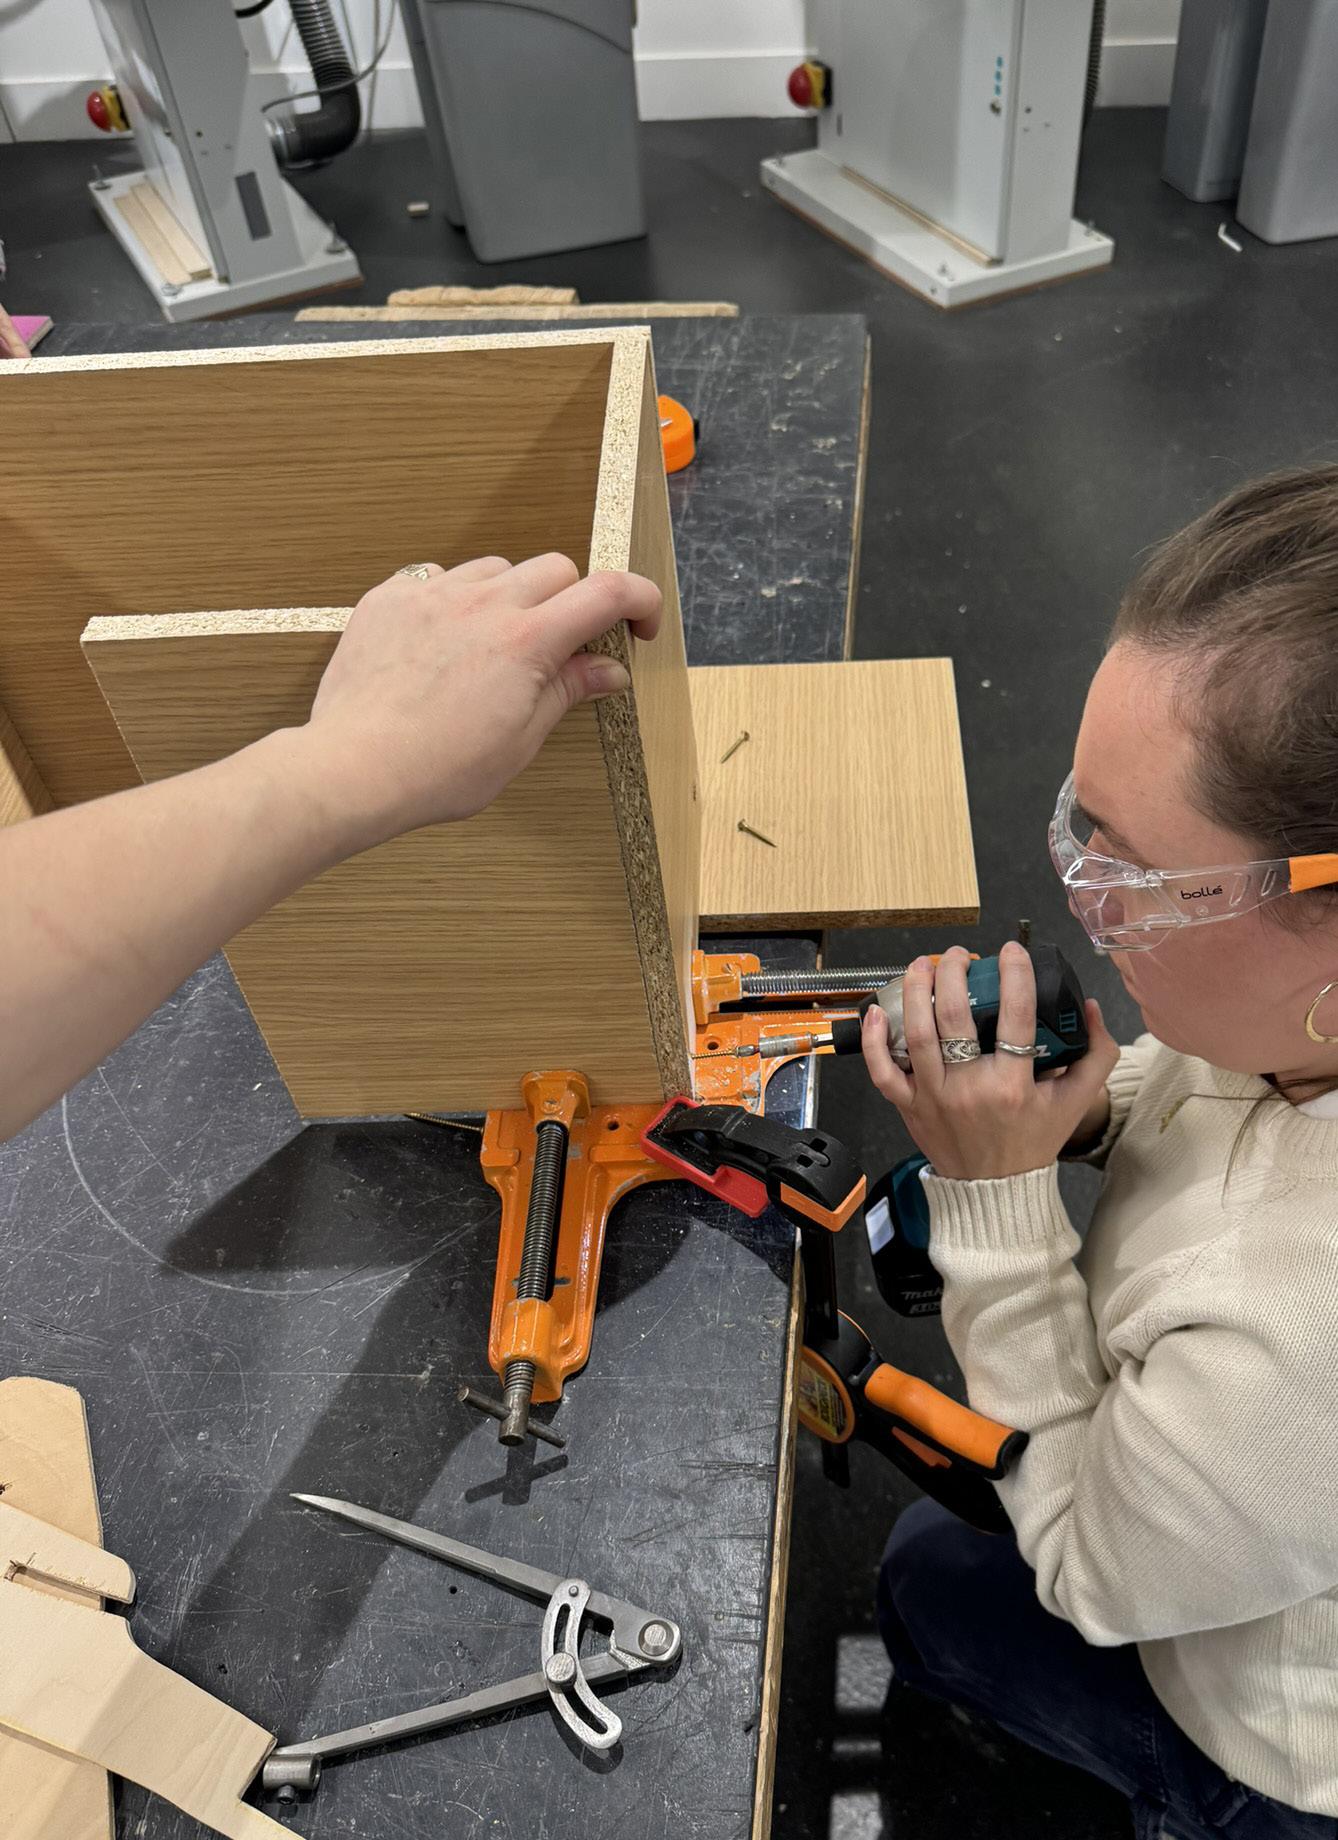
- For this example the CNC machine was used to carve out the positive in model board. Keys are needed to fit the moulds together.
- This slip was left to cure for 10 minutes
- For this 4 part mould, Callum made sure the seam lines ran along the seams of the actually shape, perhaps we can find a clever way to integrate our seam if we do a 2 part mould.
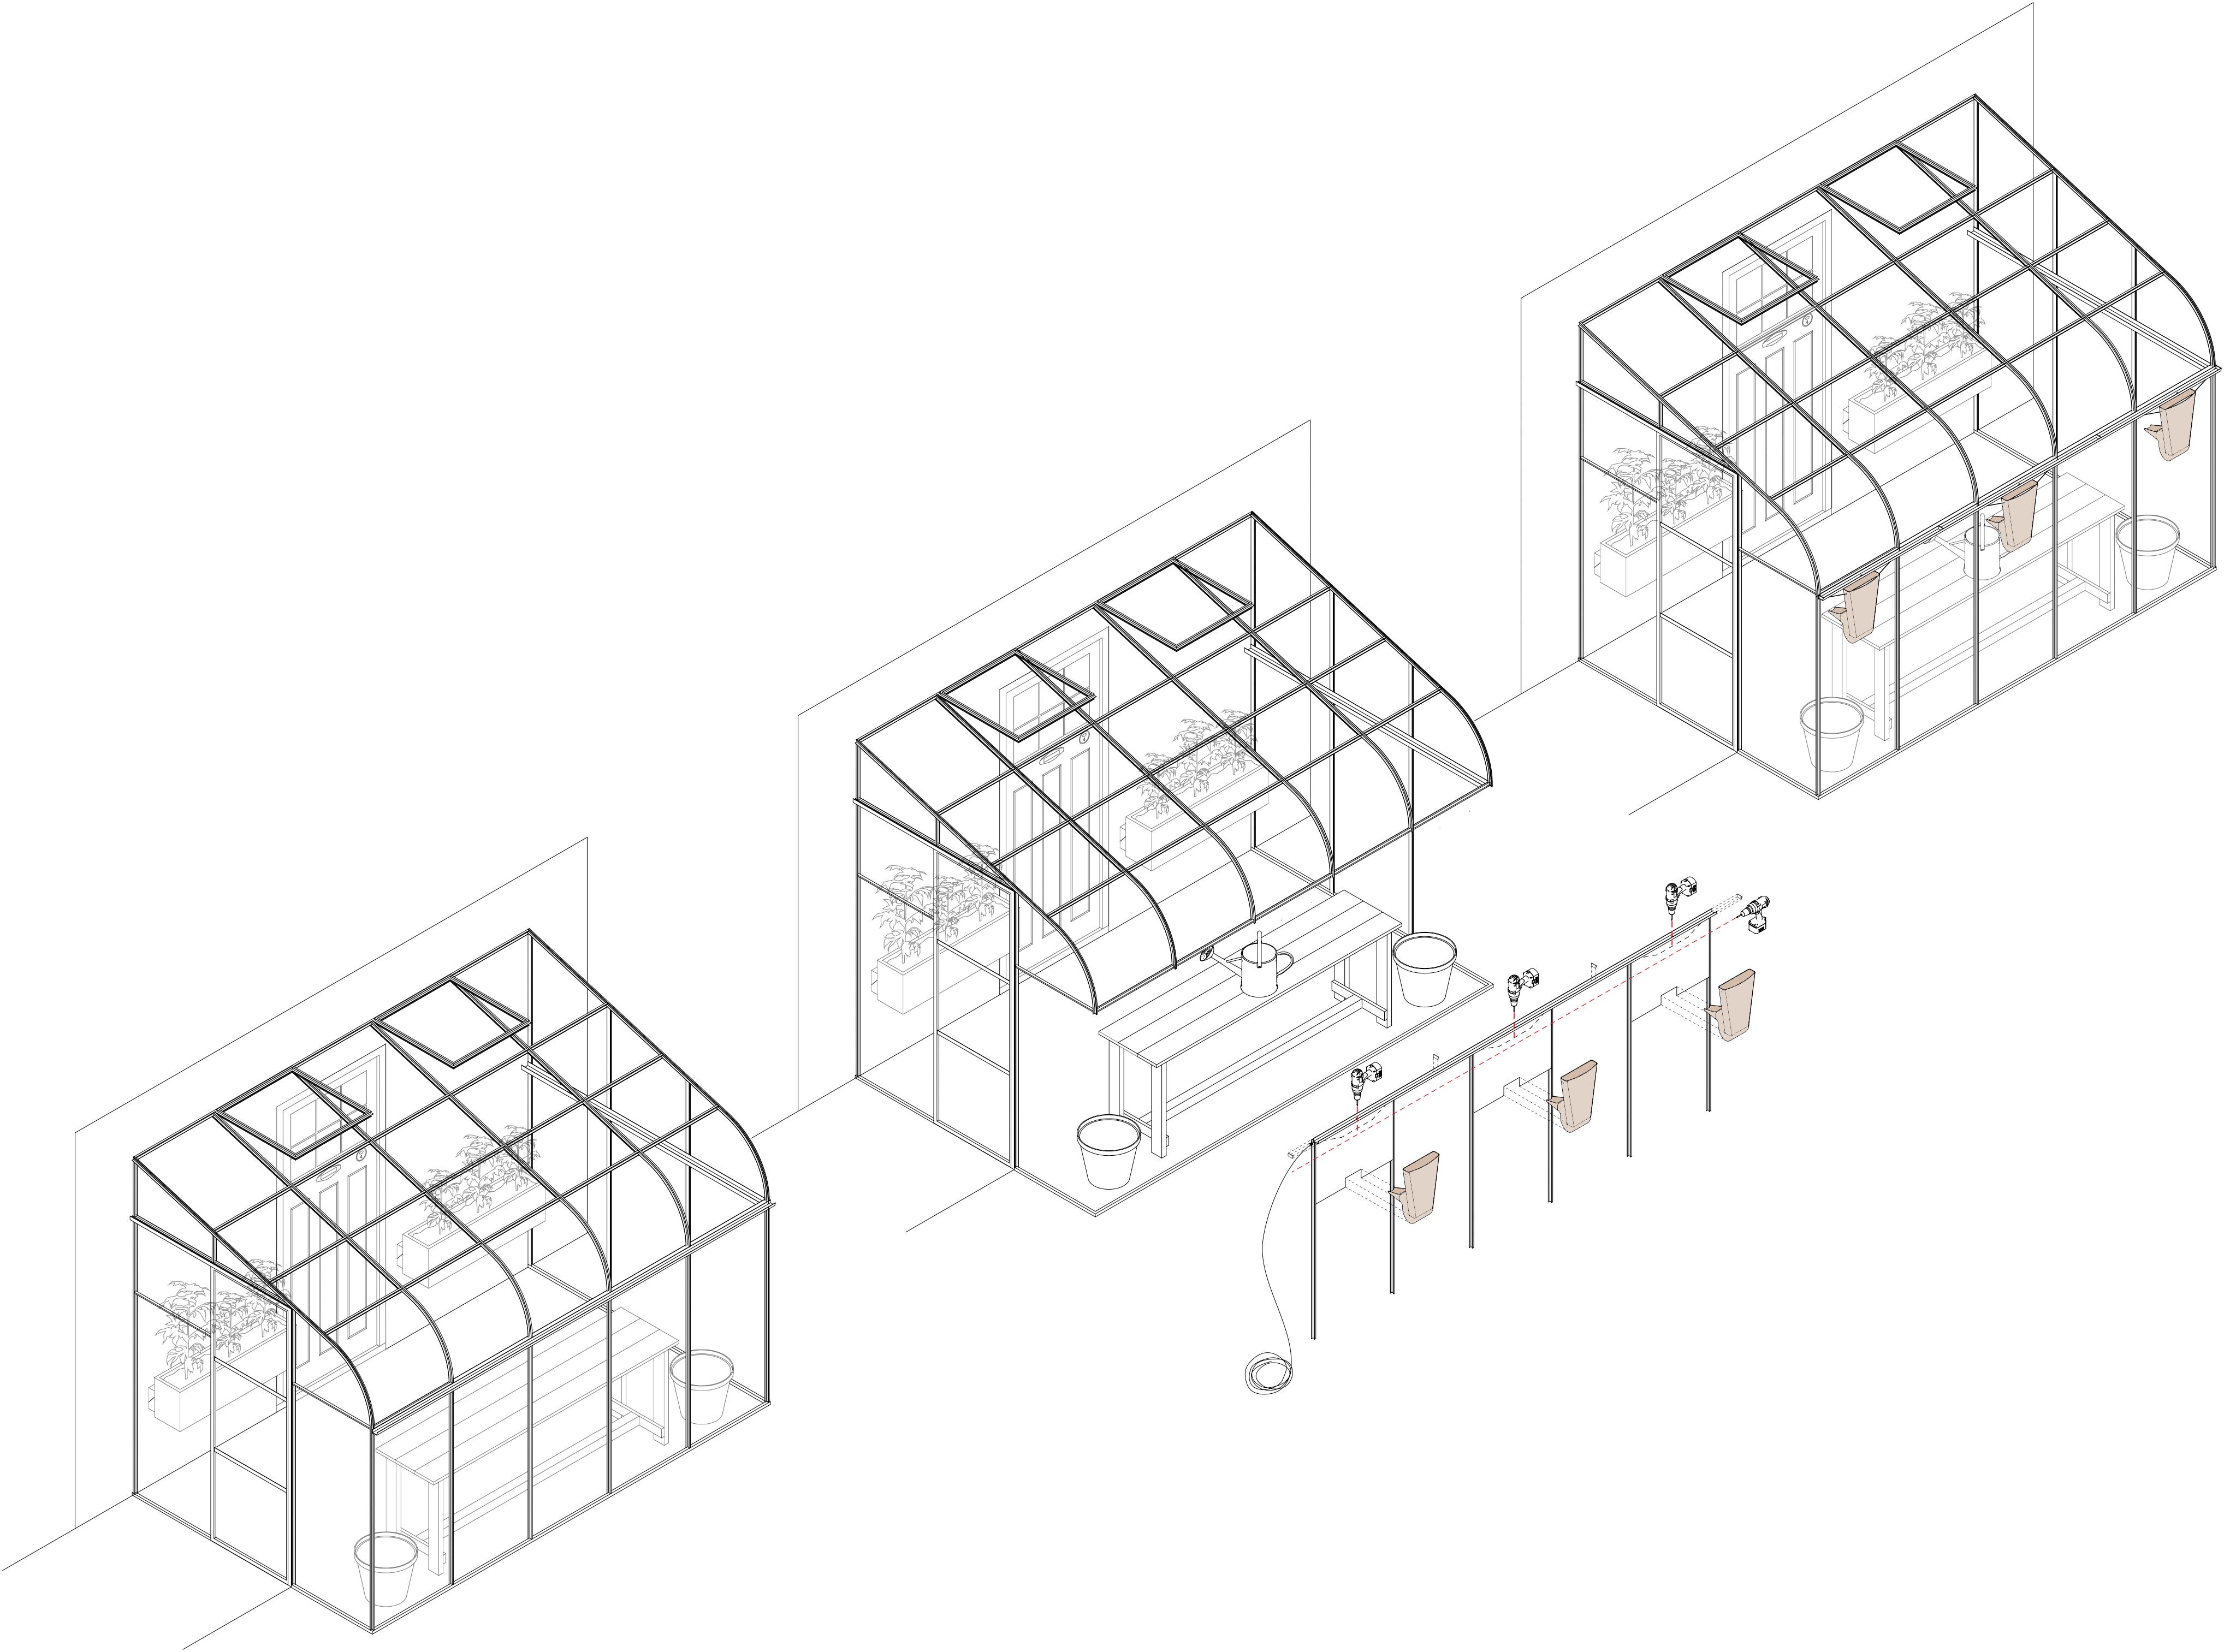
Installation
1 - Clean greenhouse and gutter
2 - Remove glass from panel 1, 3 and 5
3 - Drill holes in the gutter
4 - Add gutter caps
5 - Drill holes in vertical supports
6 - Replace glass with cut perspex
7 - Thread metal wire through holes and slip cast pieces
8 - Secure wire
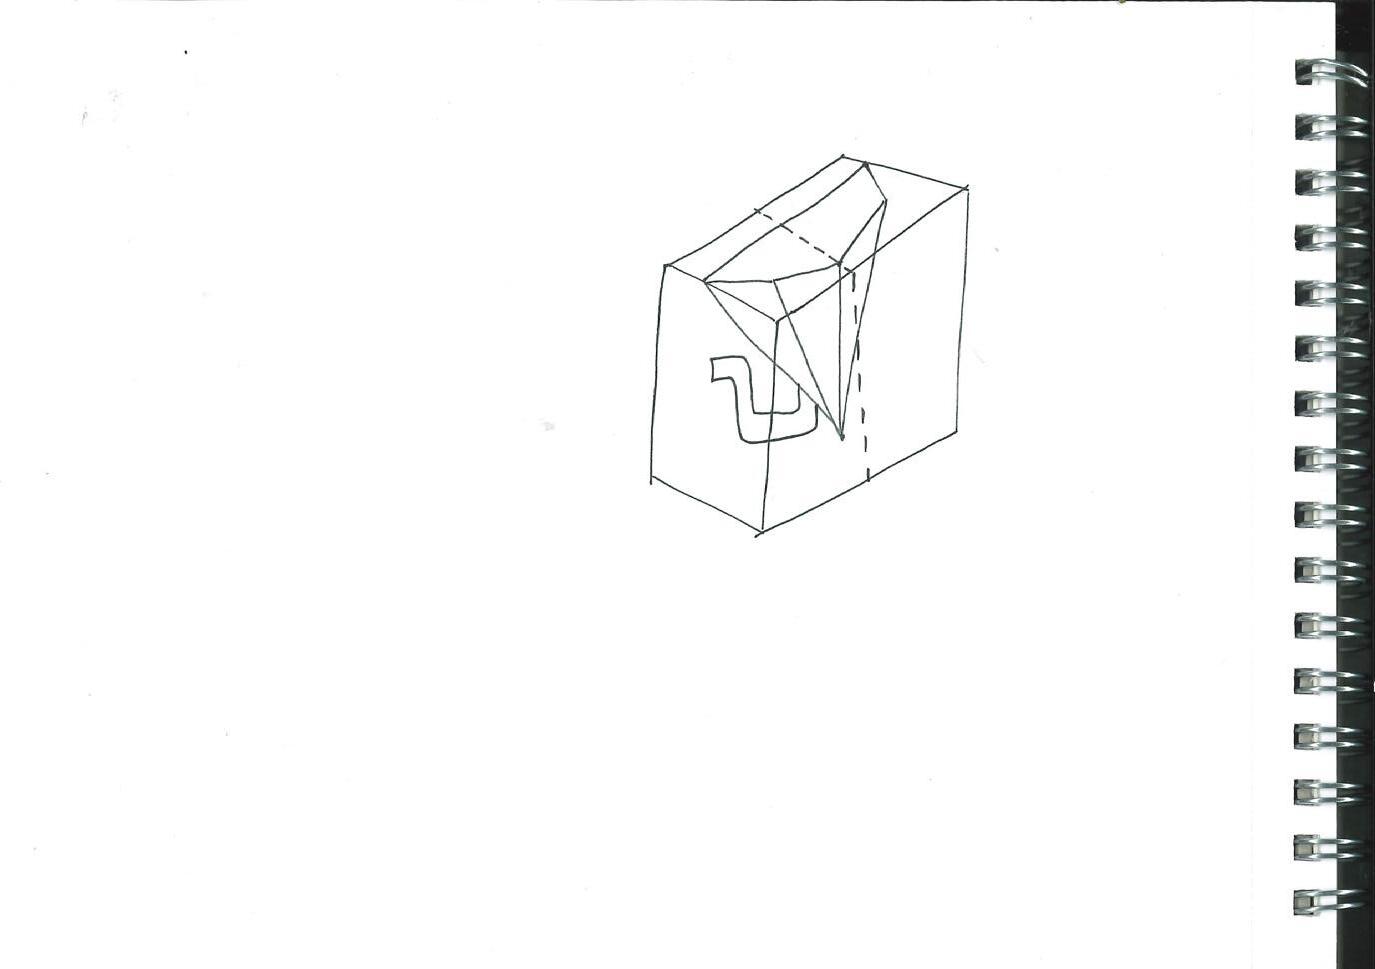
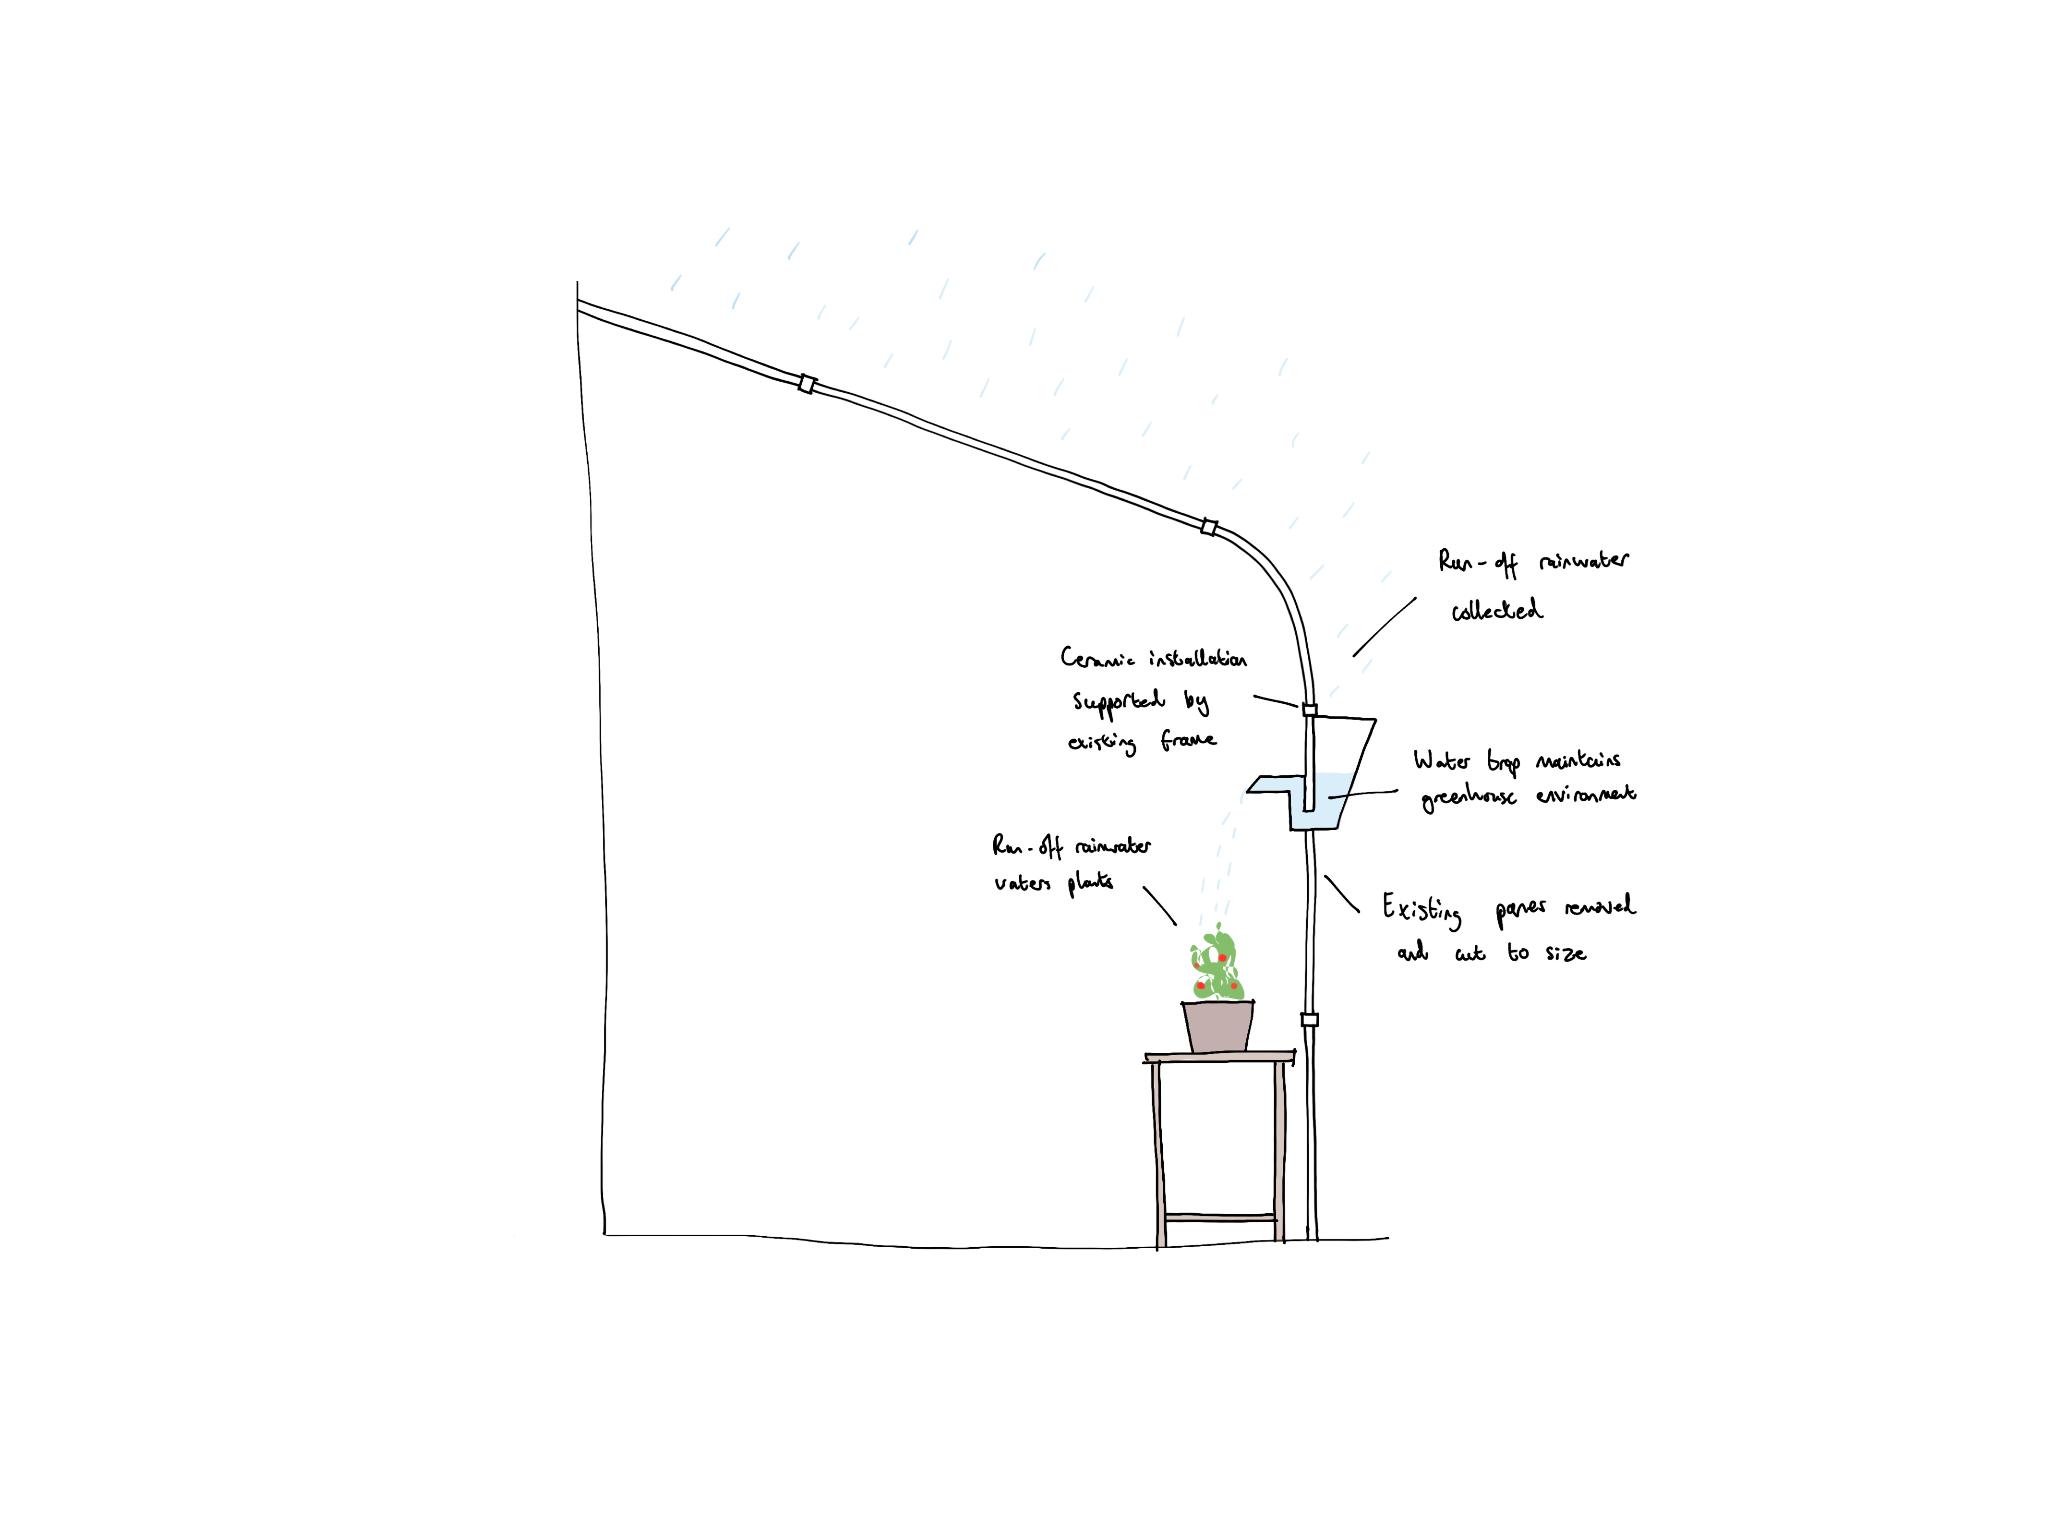
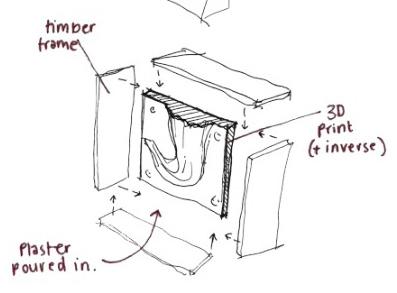
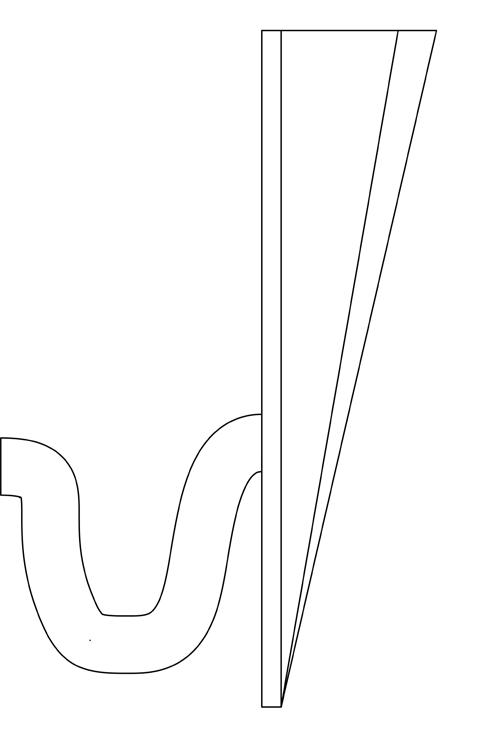
Proposed Axonometric
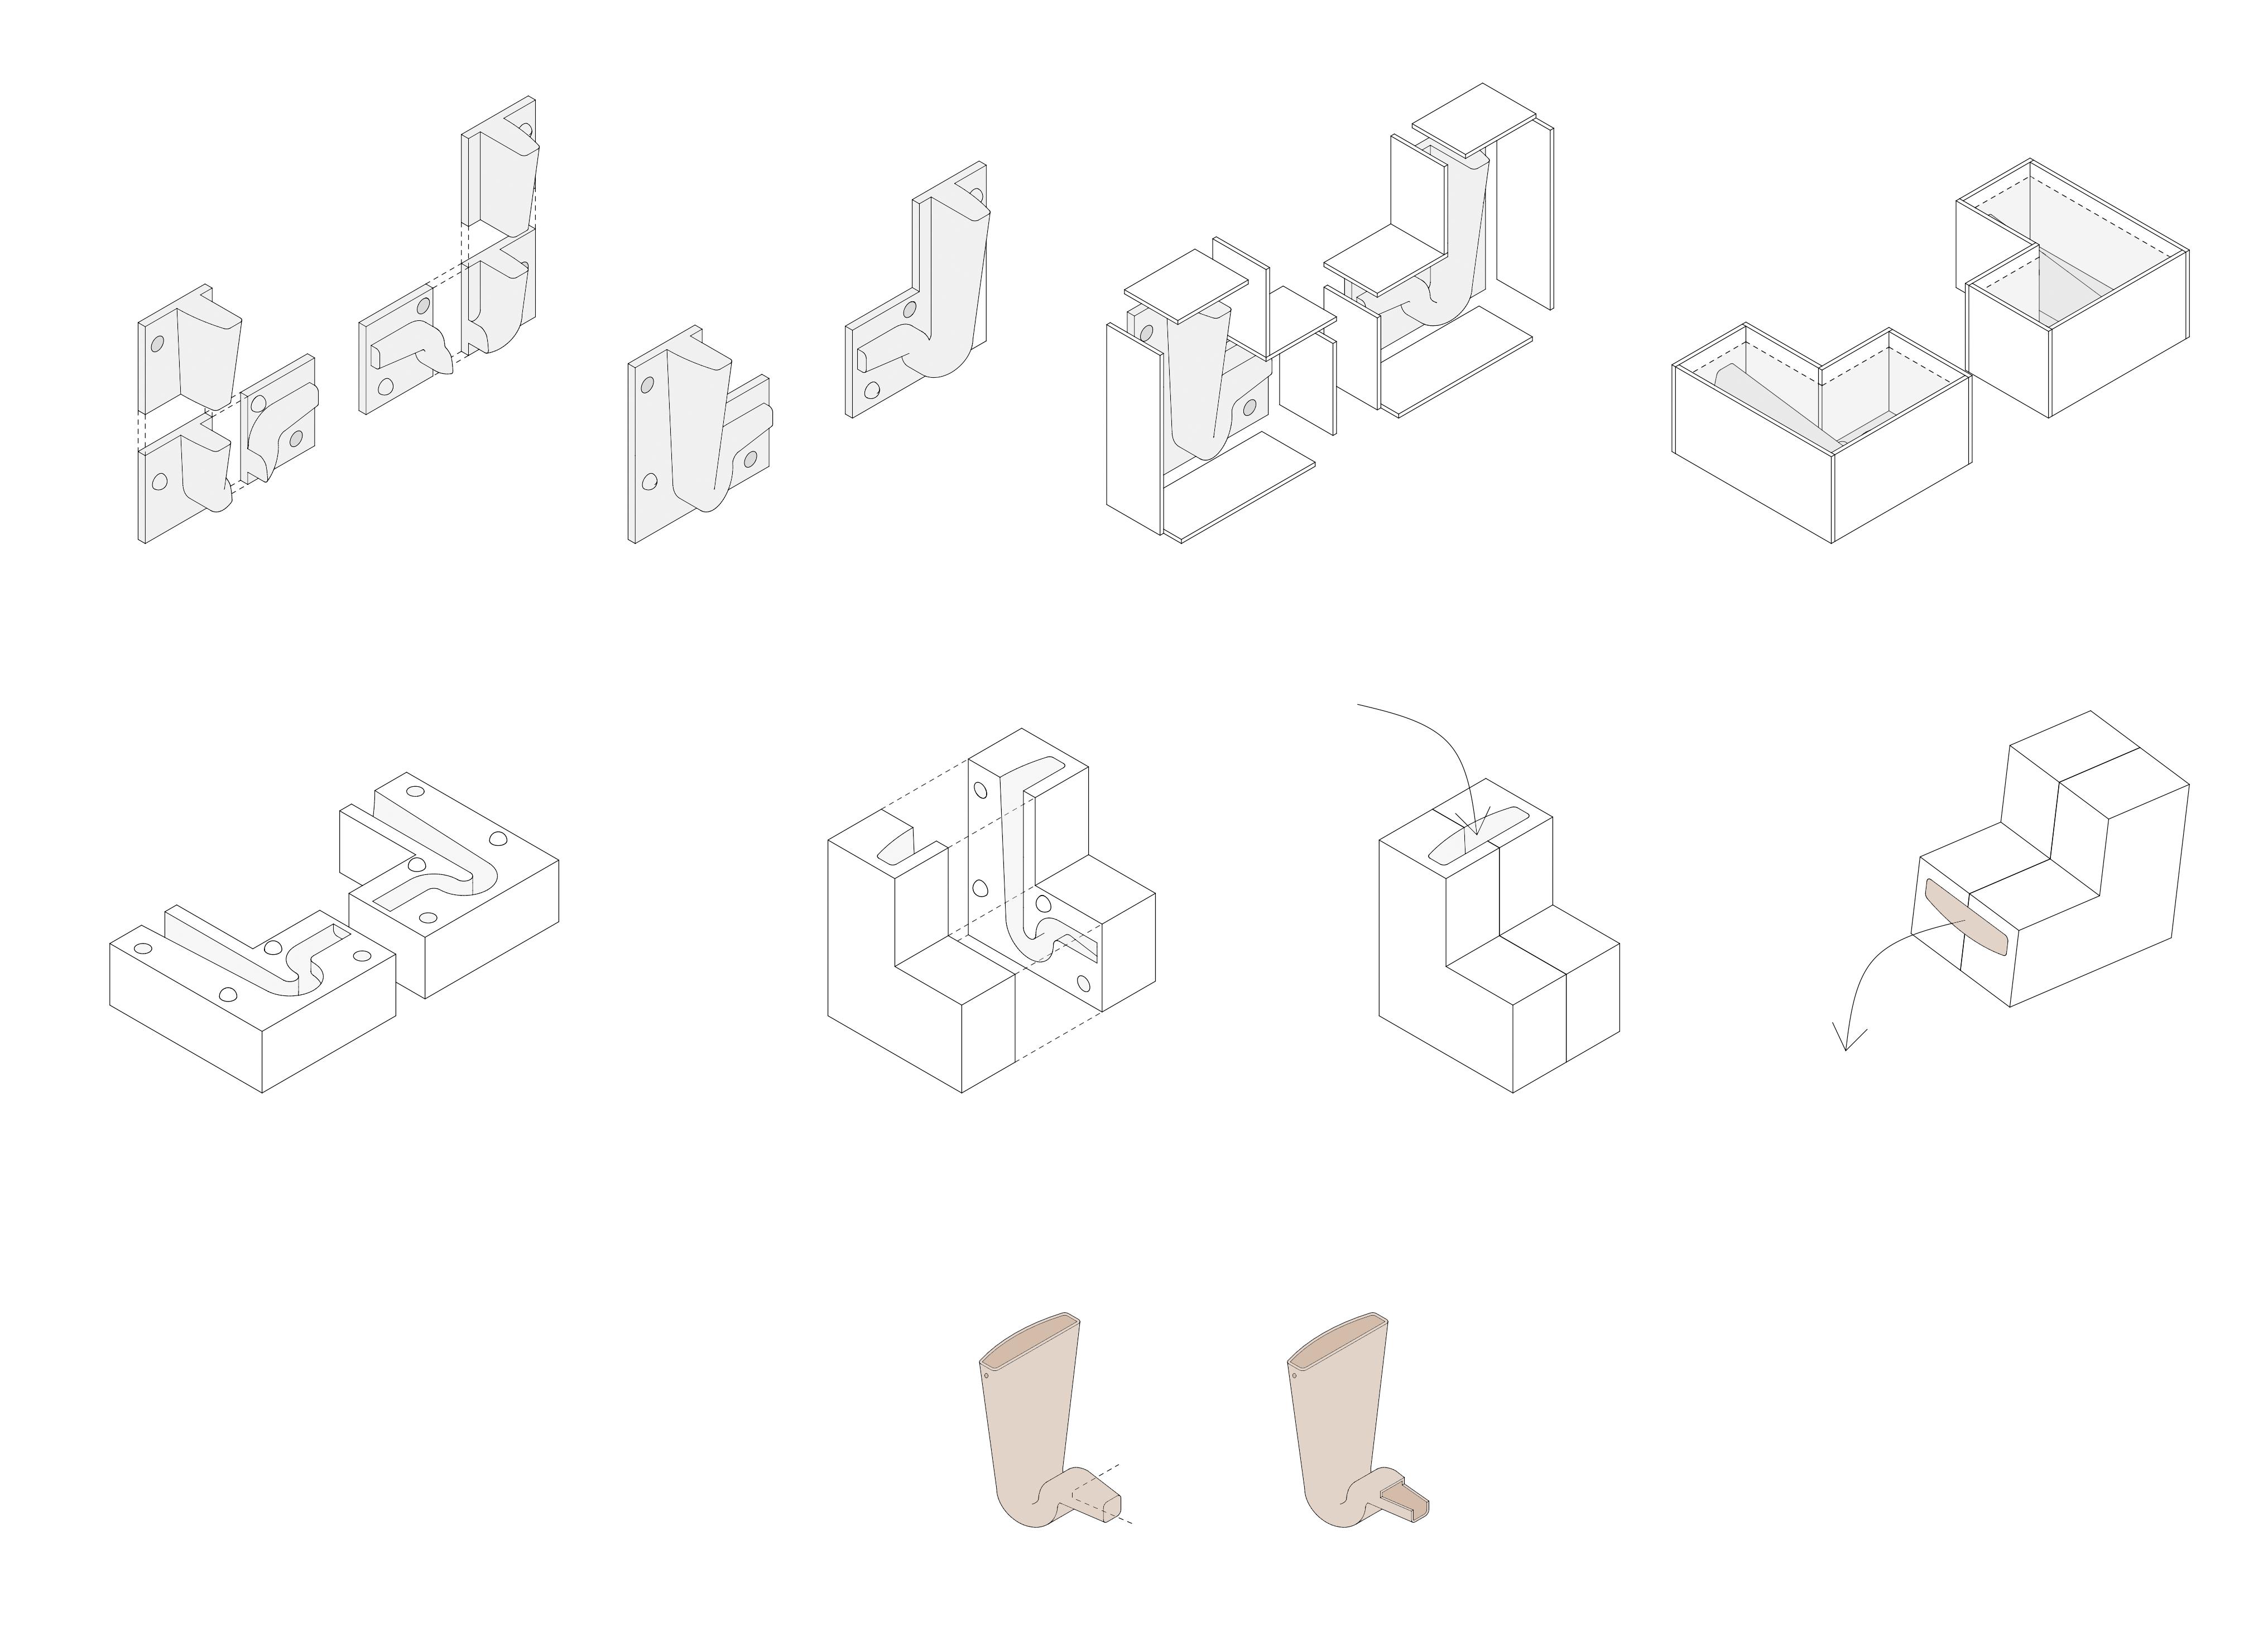
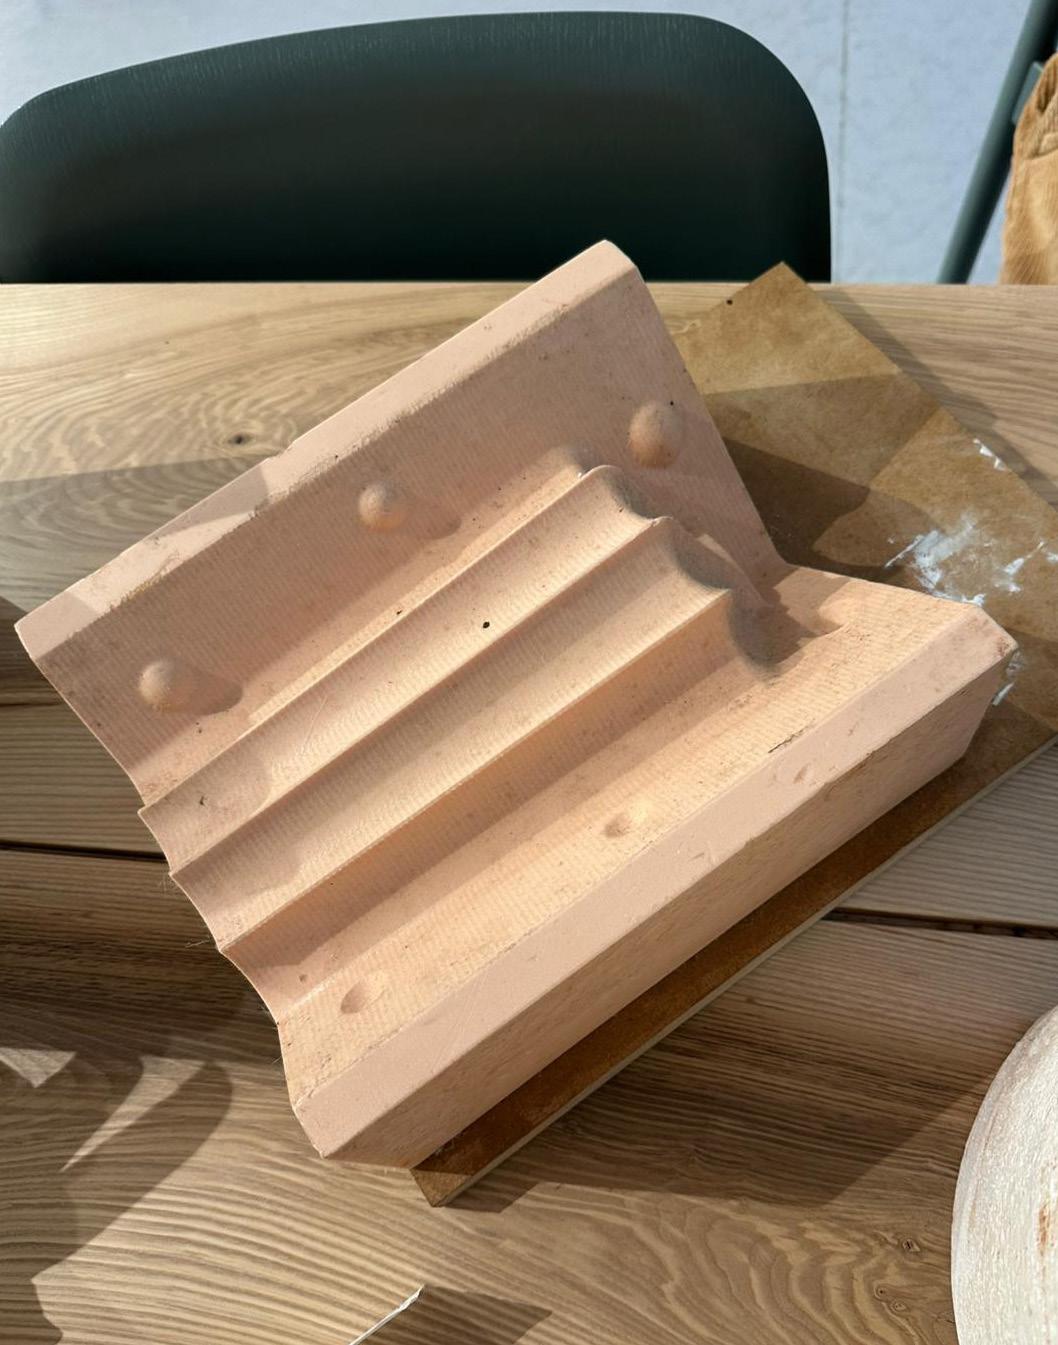
Positive
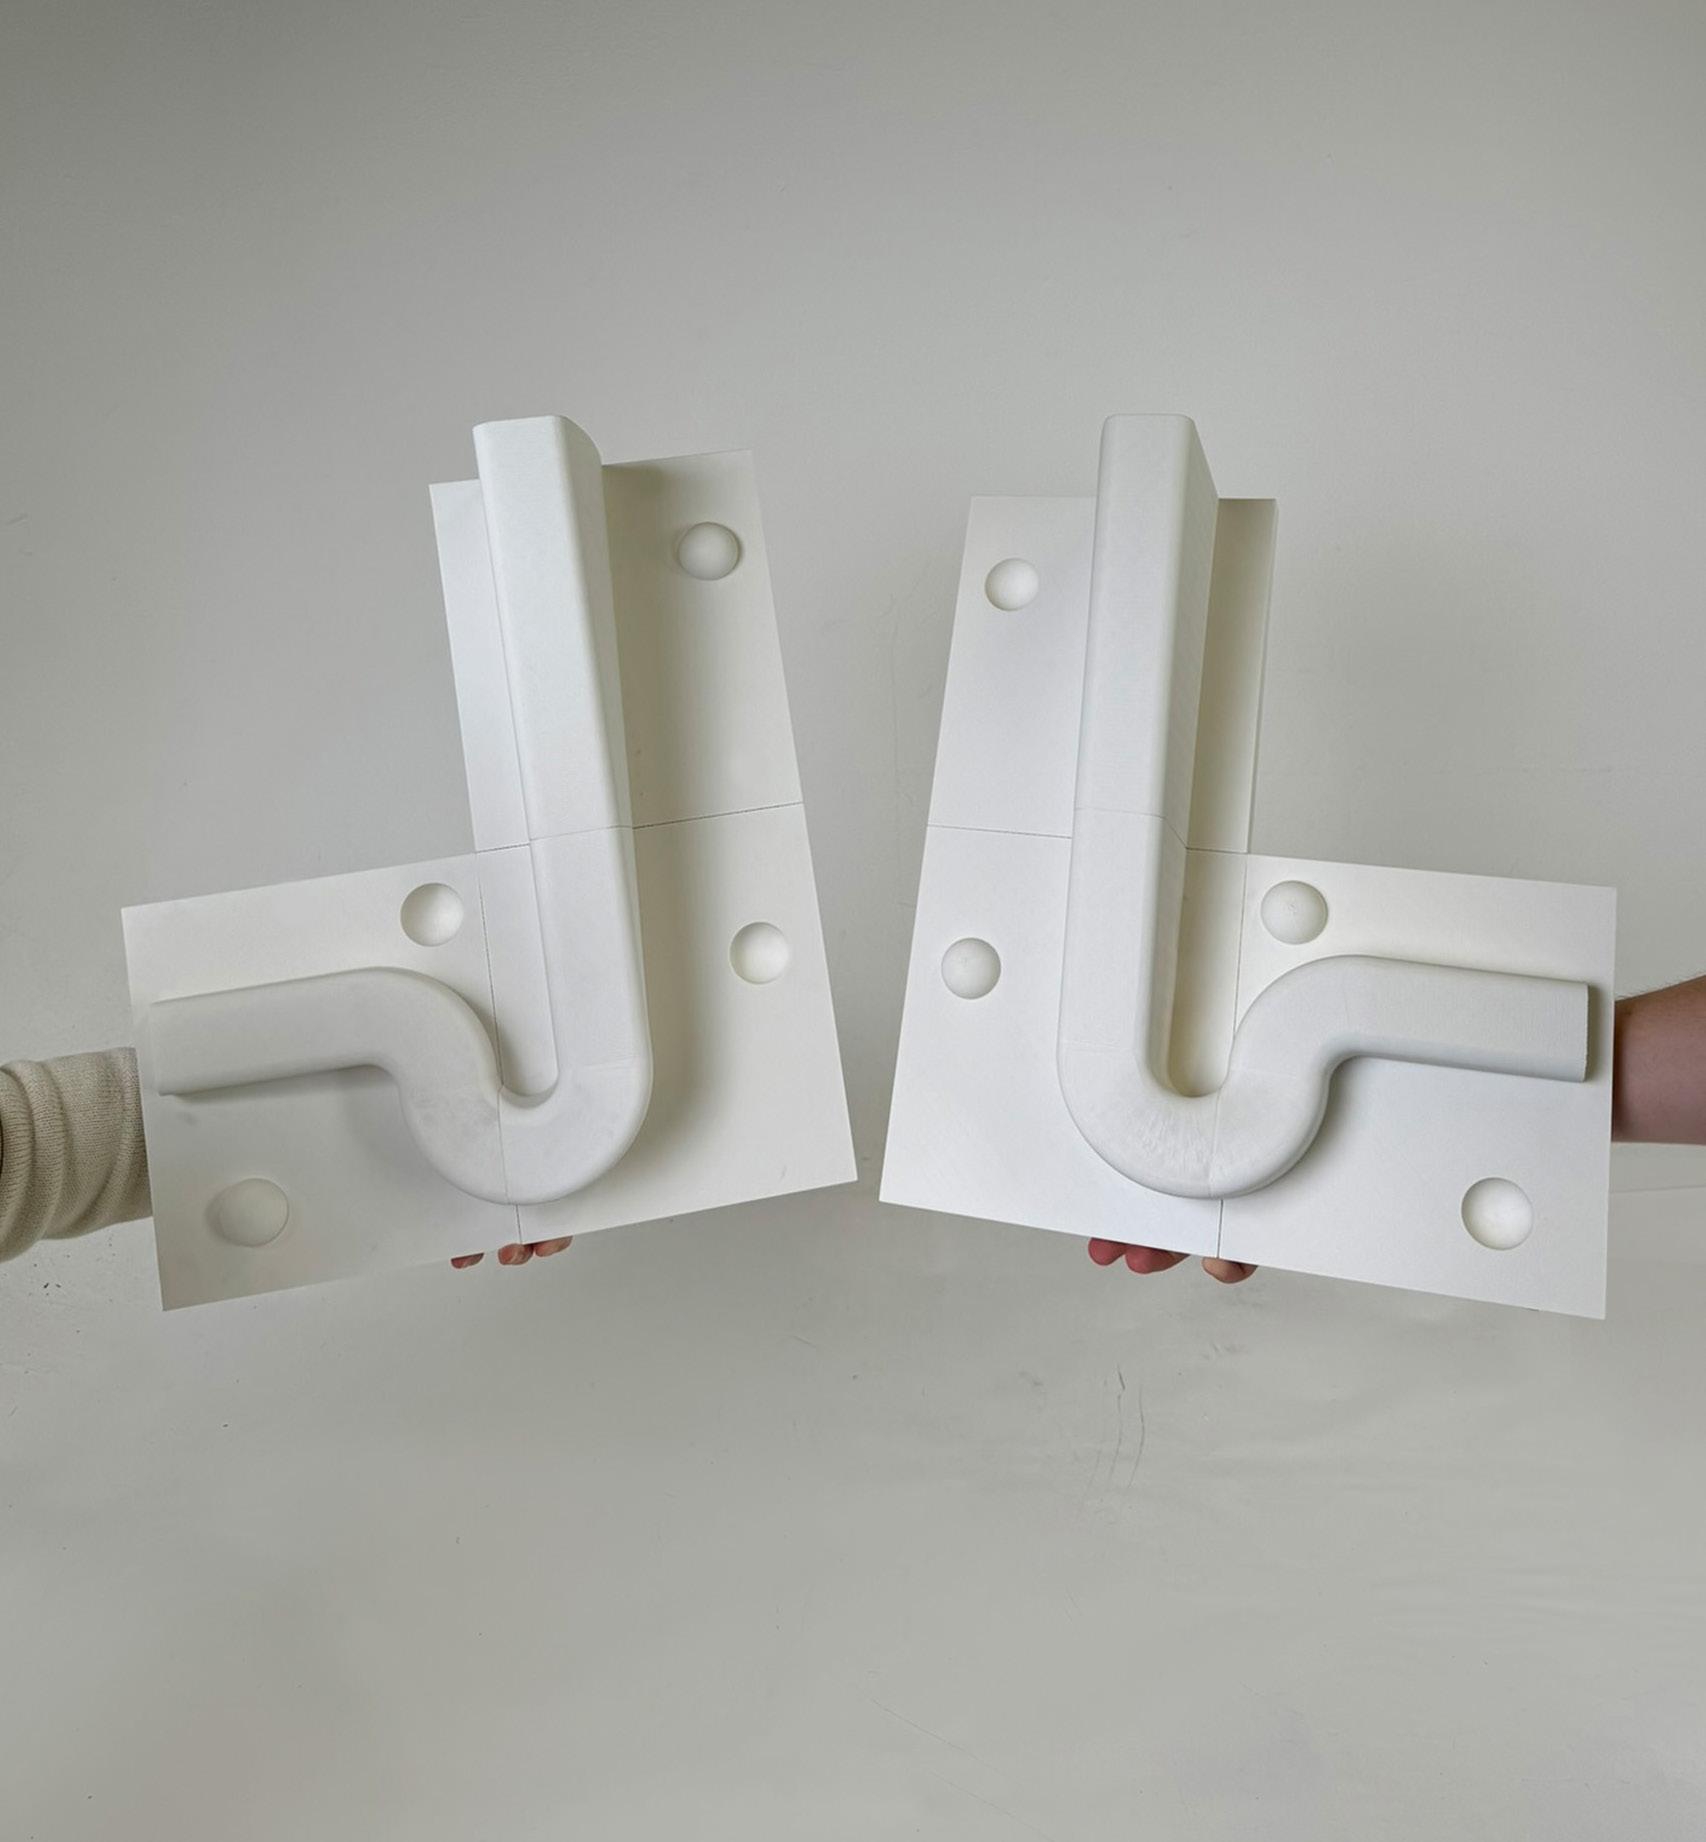
The positive shape was 3D printed with a base and keys.
Lessons Learnt:
- The 3D print was too bulky, the positive was not positioned perfectly on the base meaning the cast had some thin walls and there were large spaces of excess, making the mould large, heavy and time consuming to dry fully
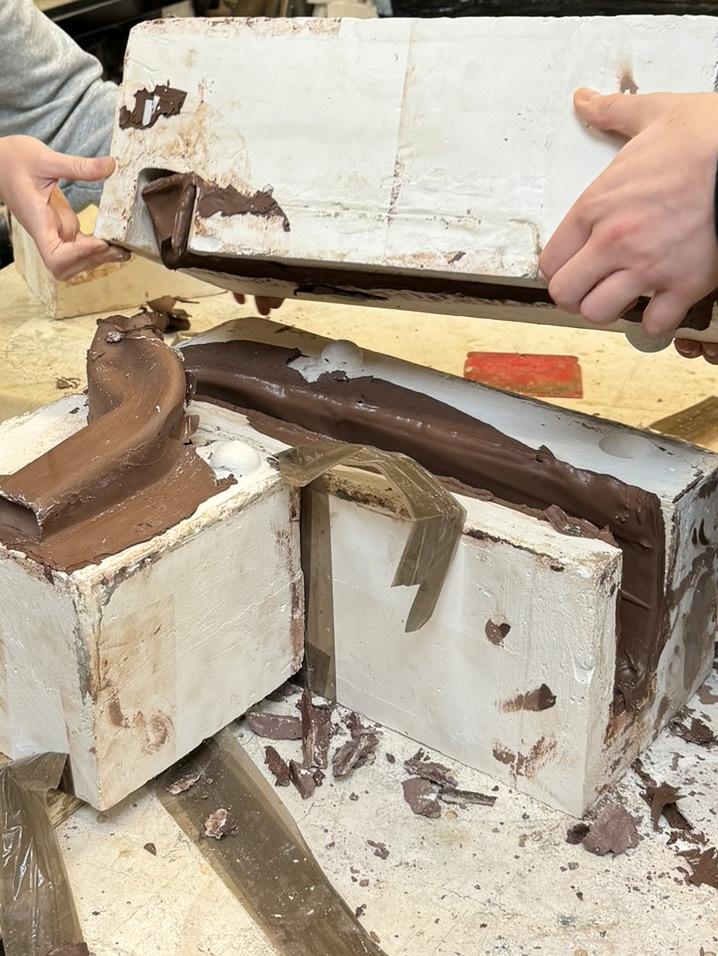
- The shape was too complex to come out in one so we separated the mould in 2 parts, leaving a fragile seem to line up which made the moulds hard to line up and create the desired shape
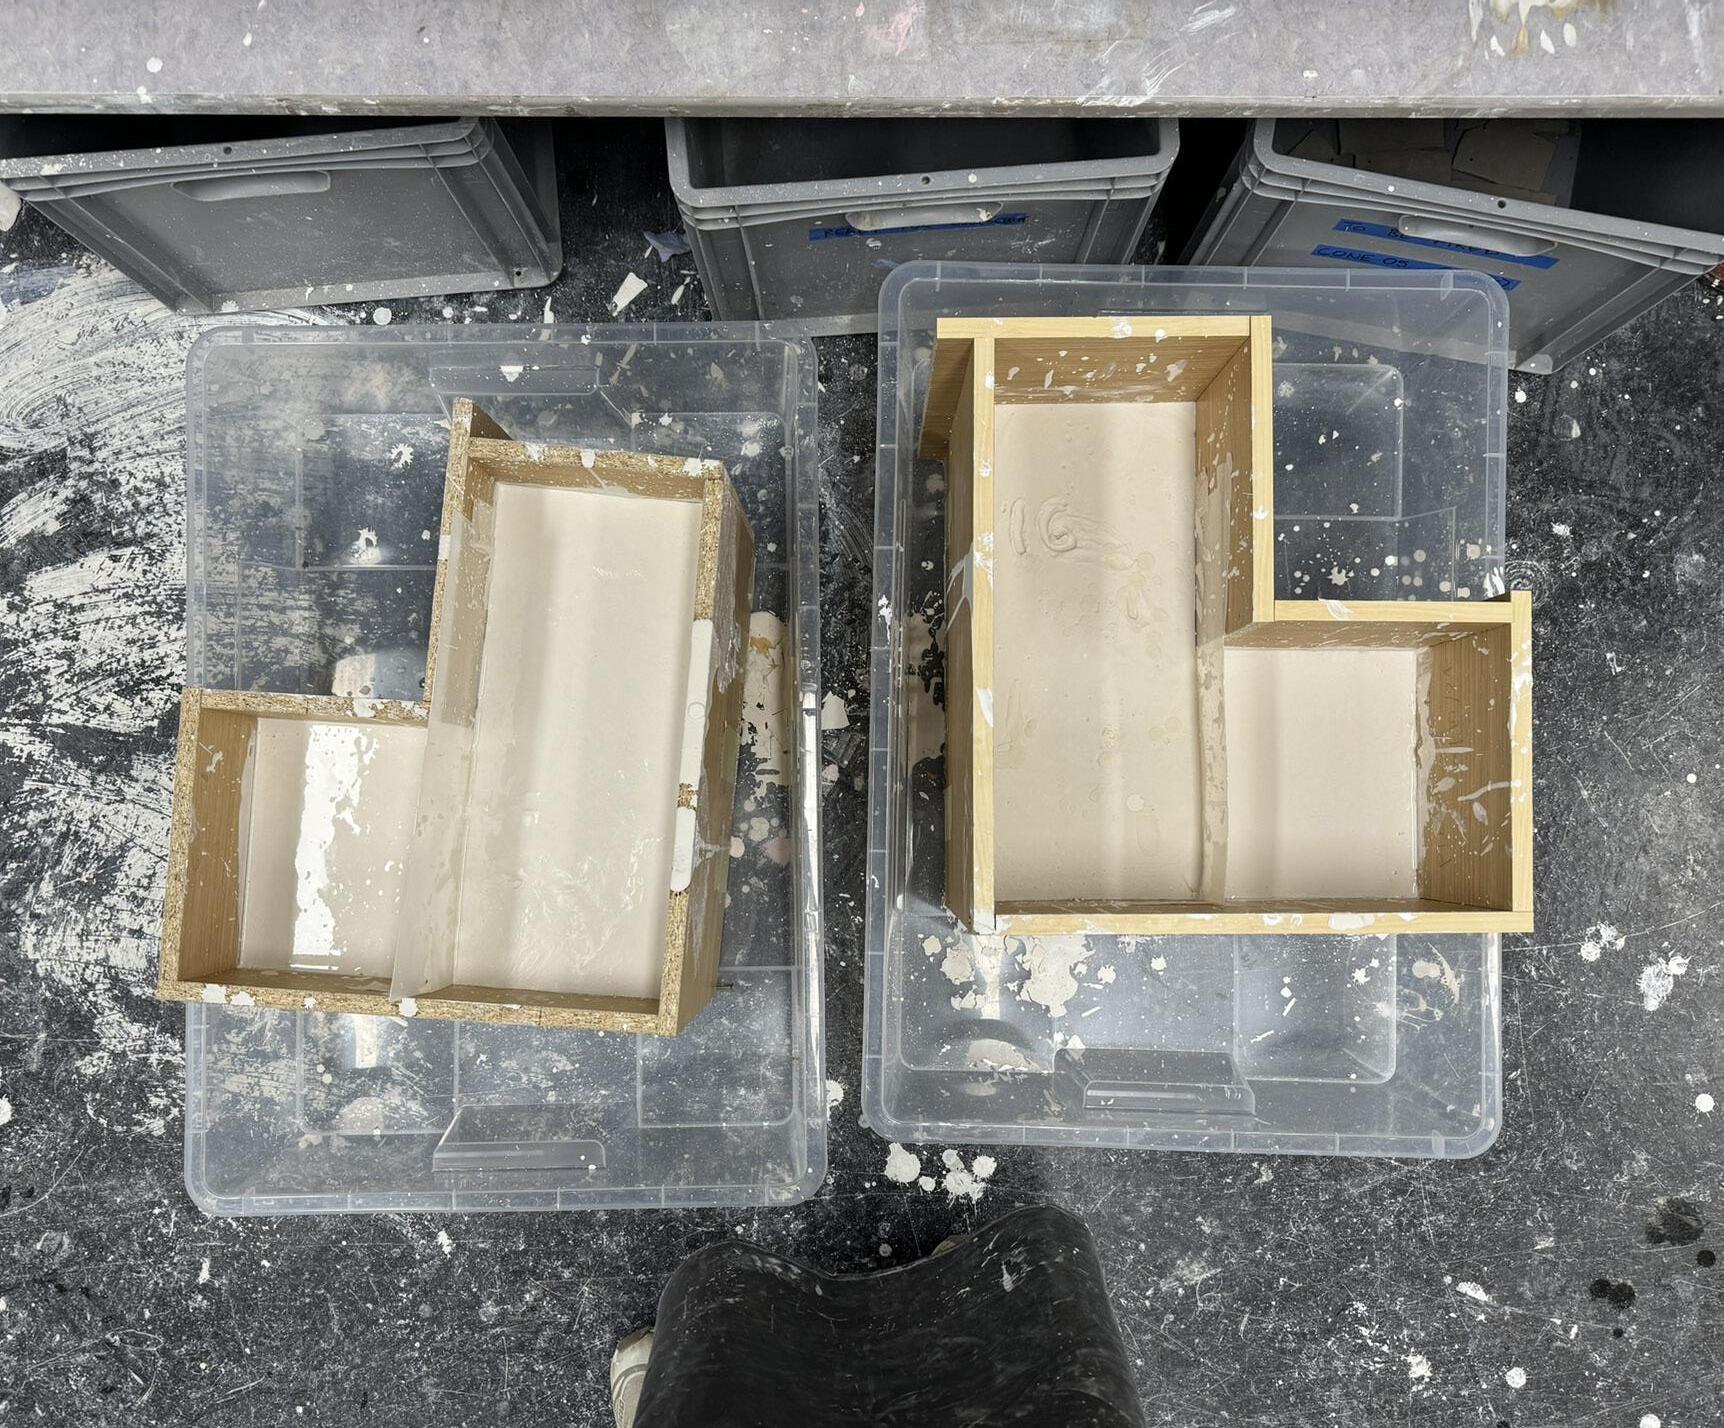
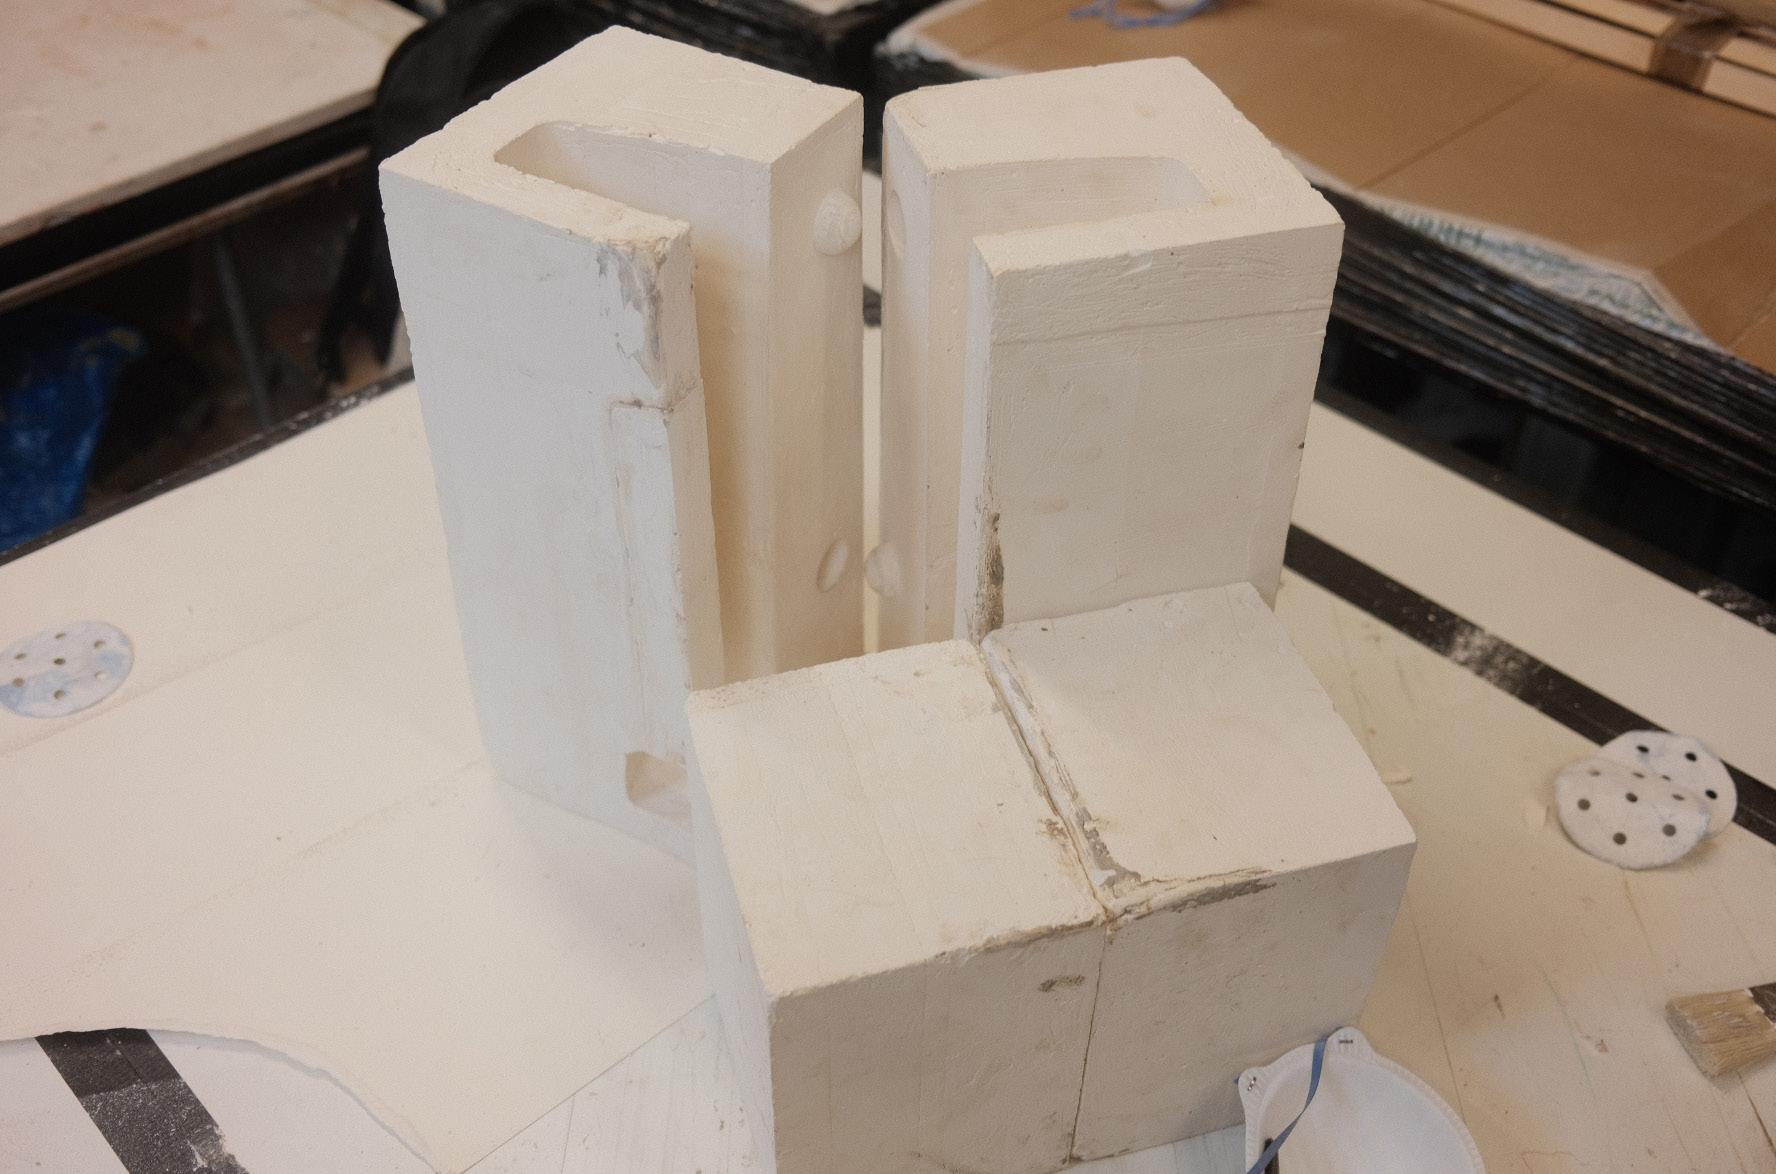
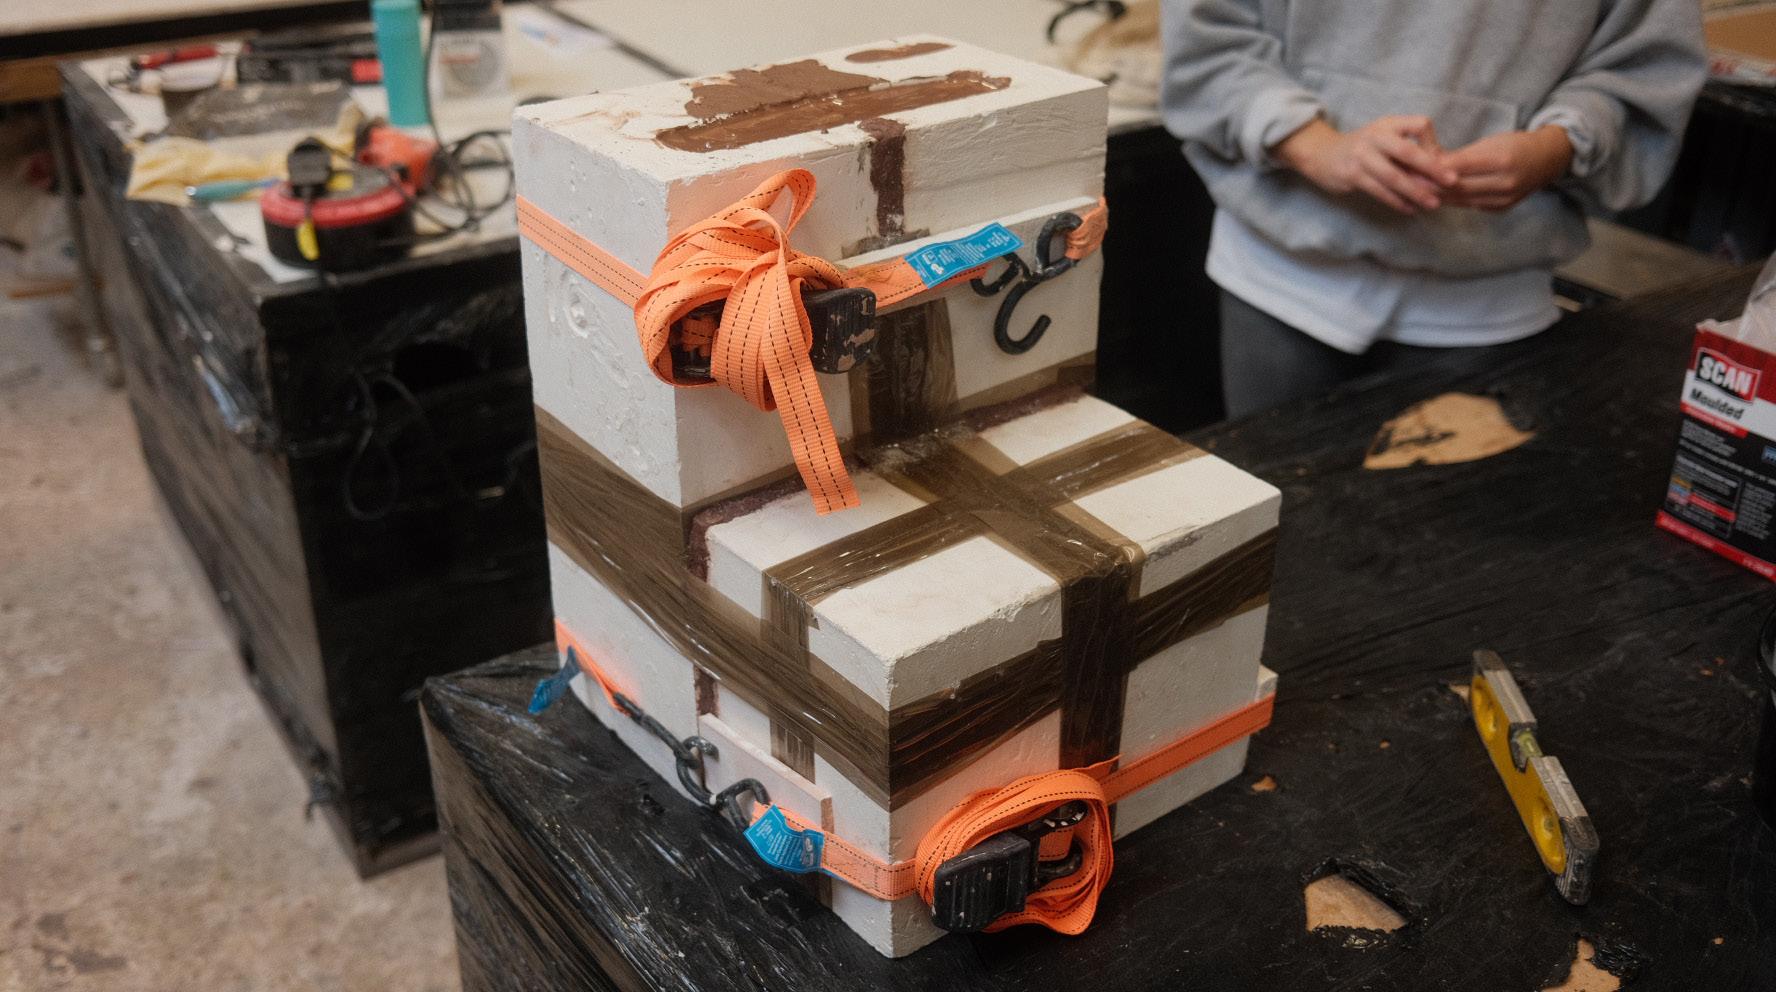
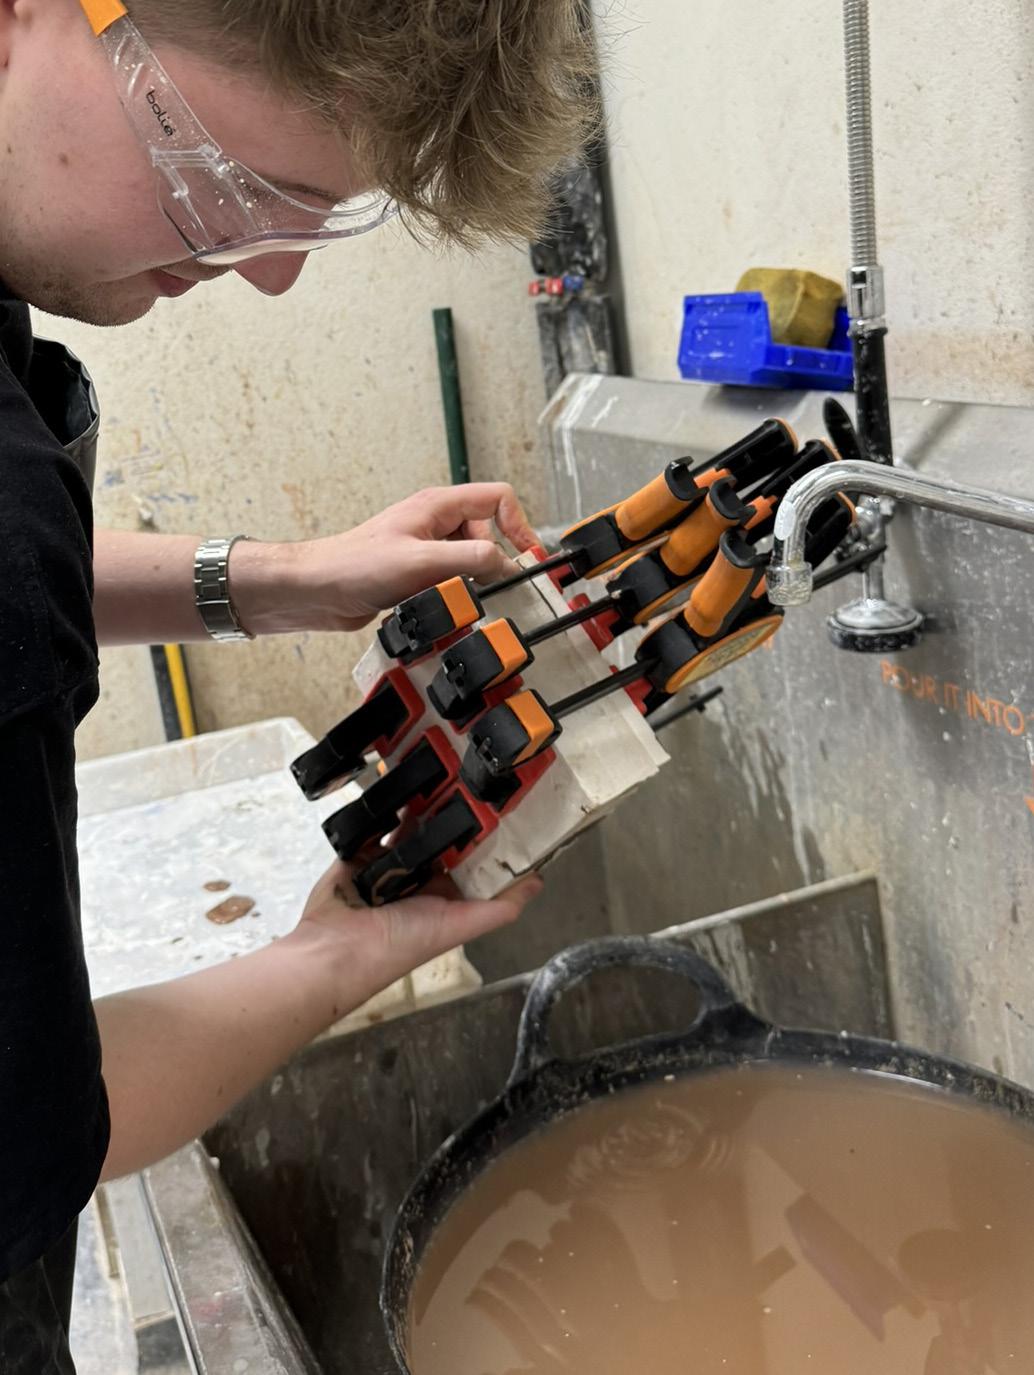
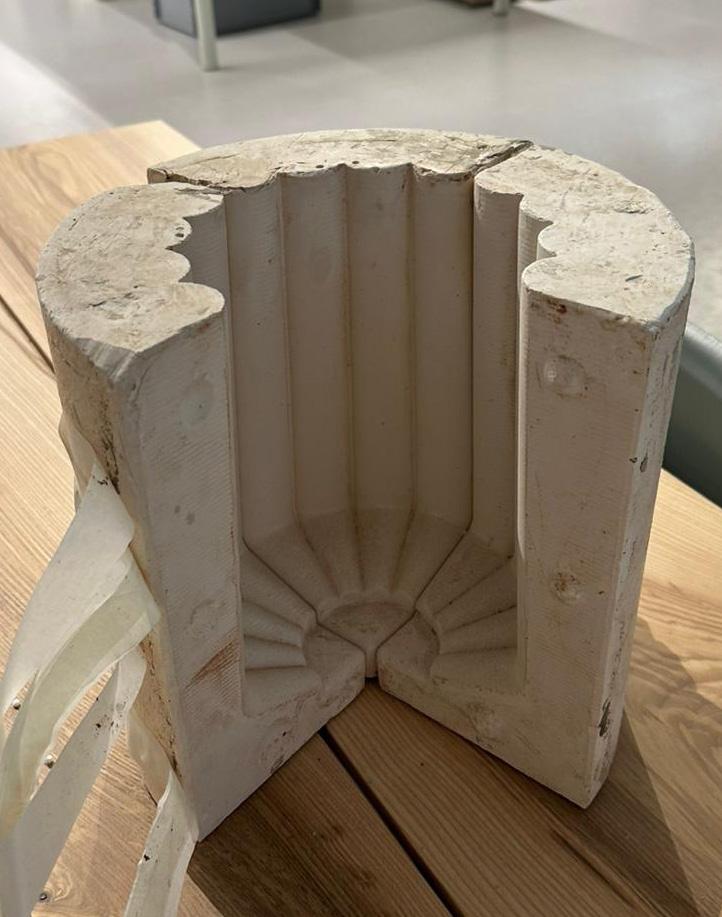
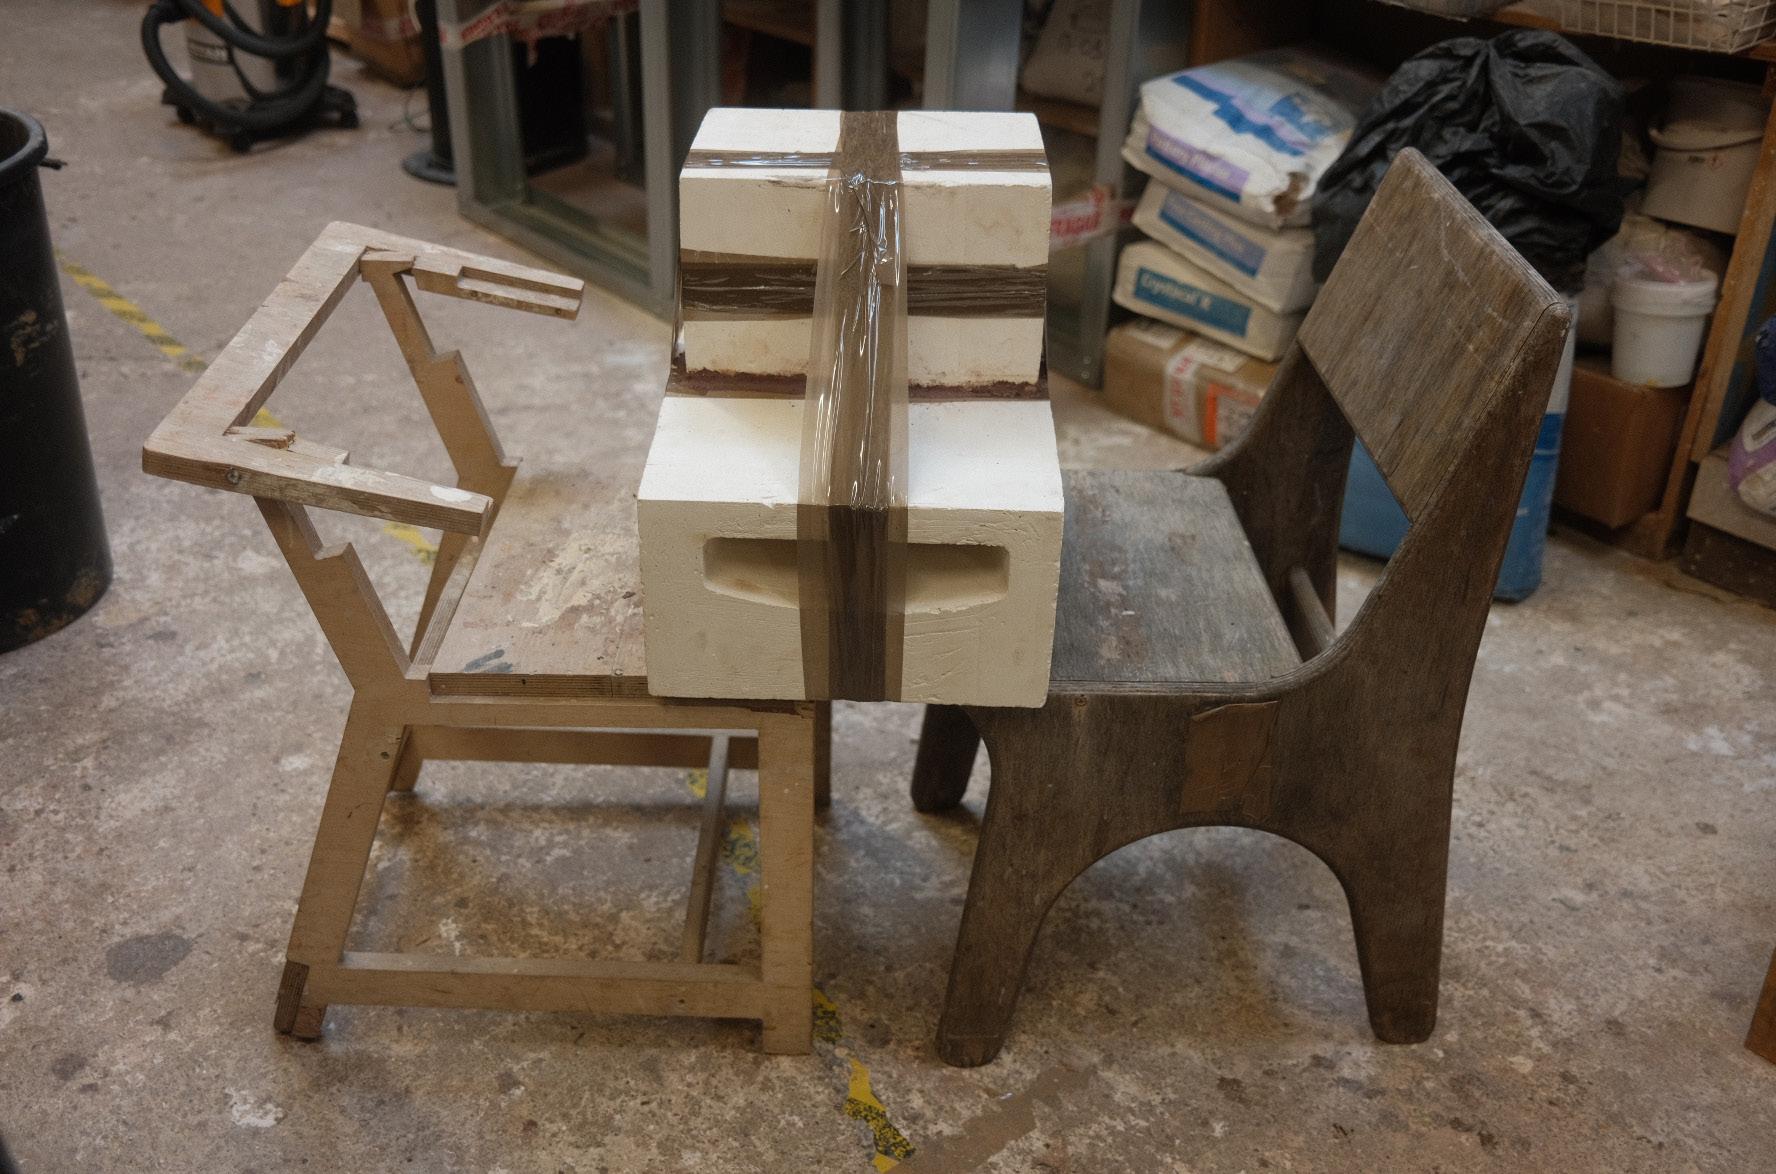
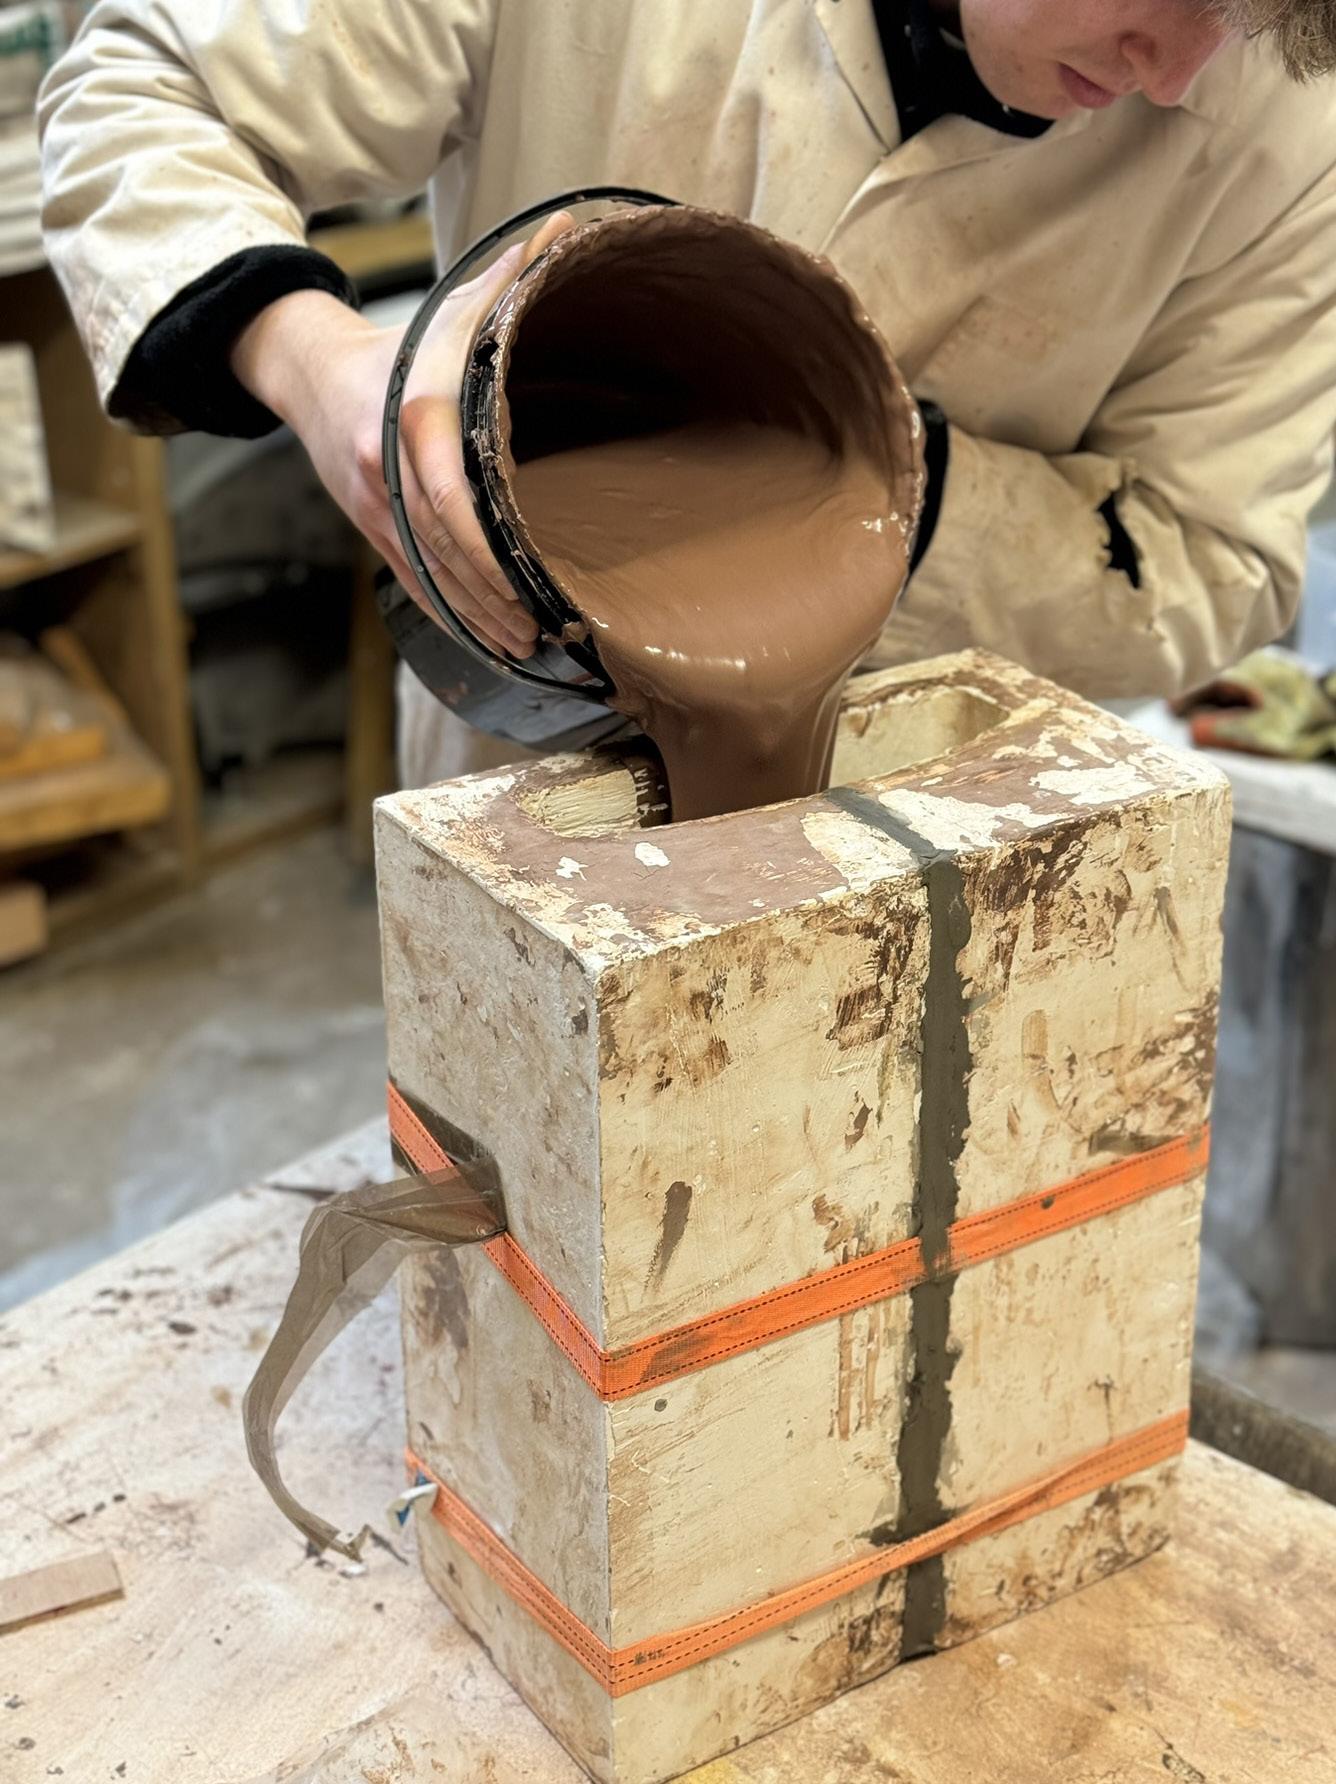
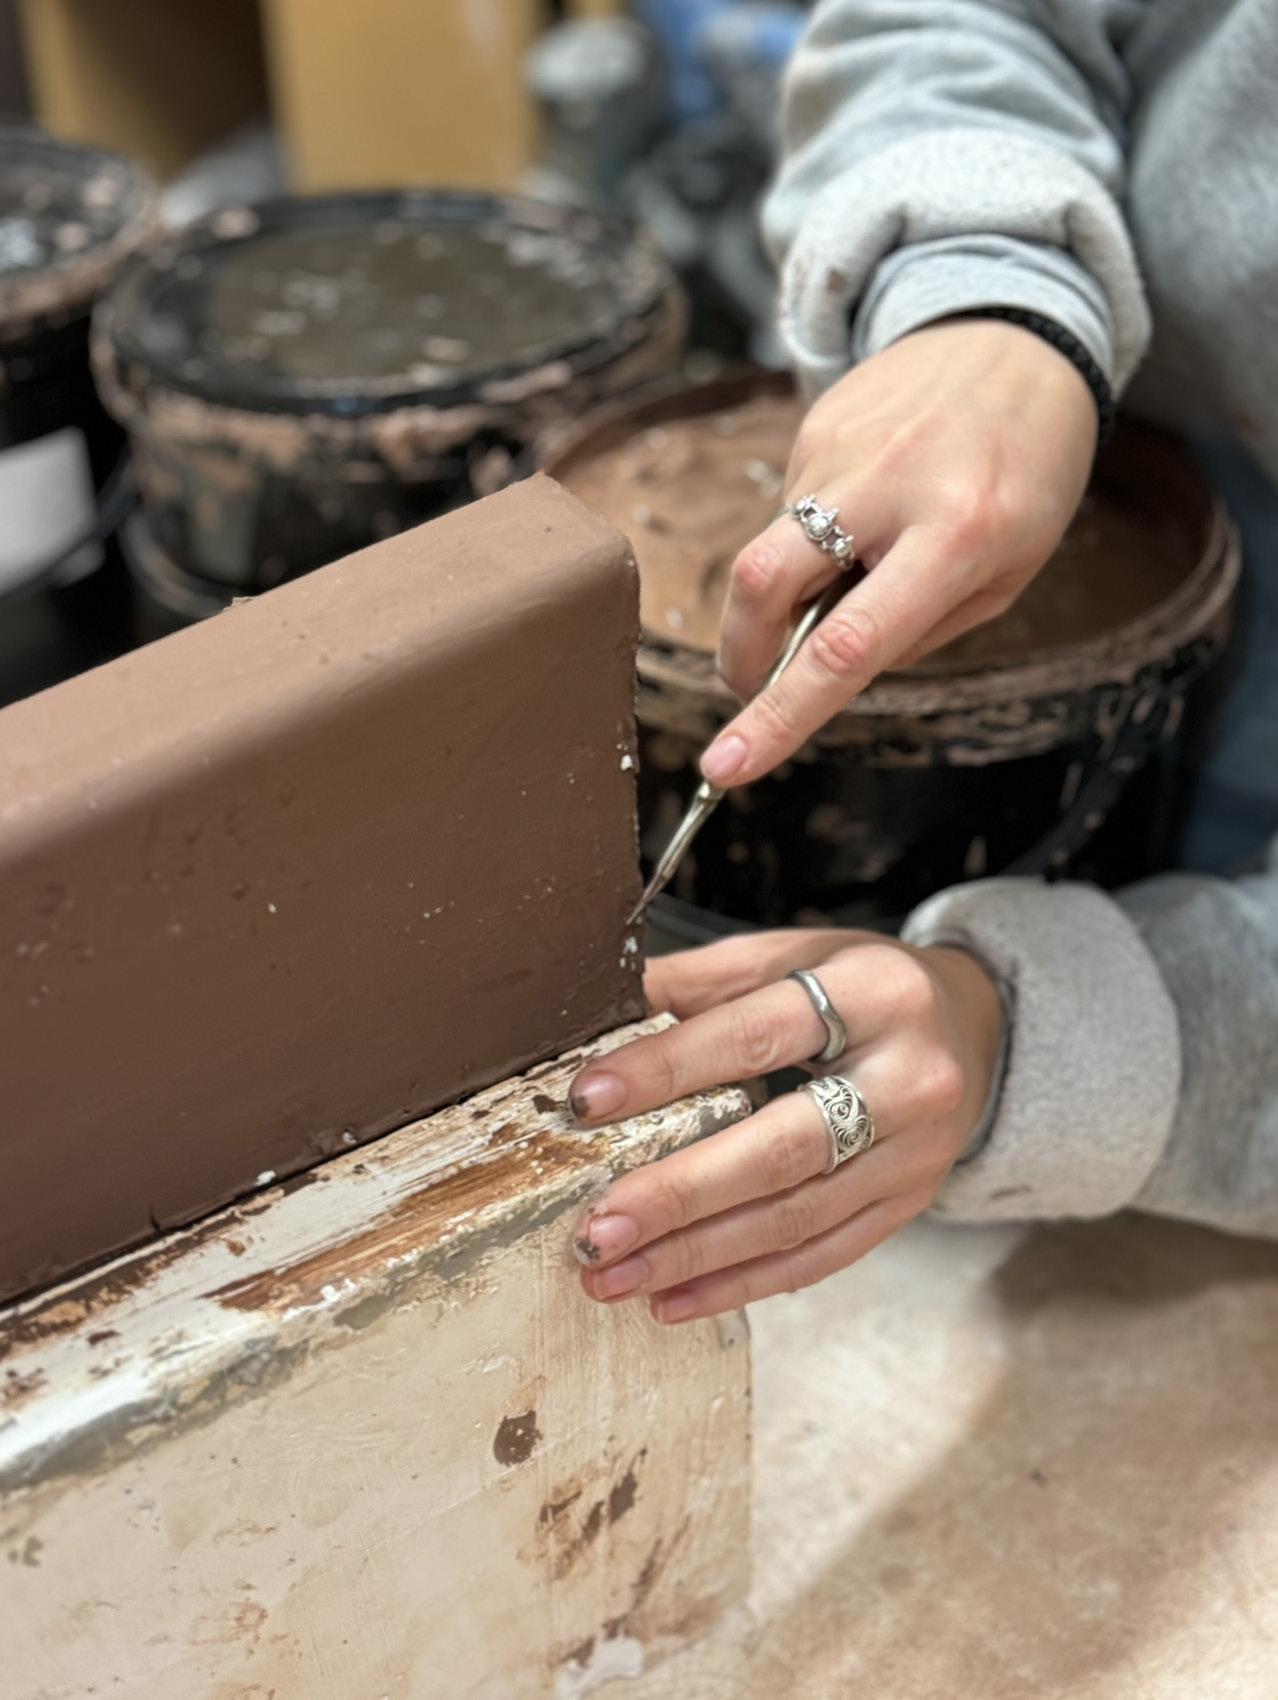
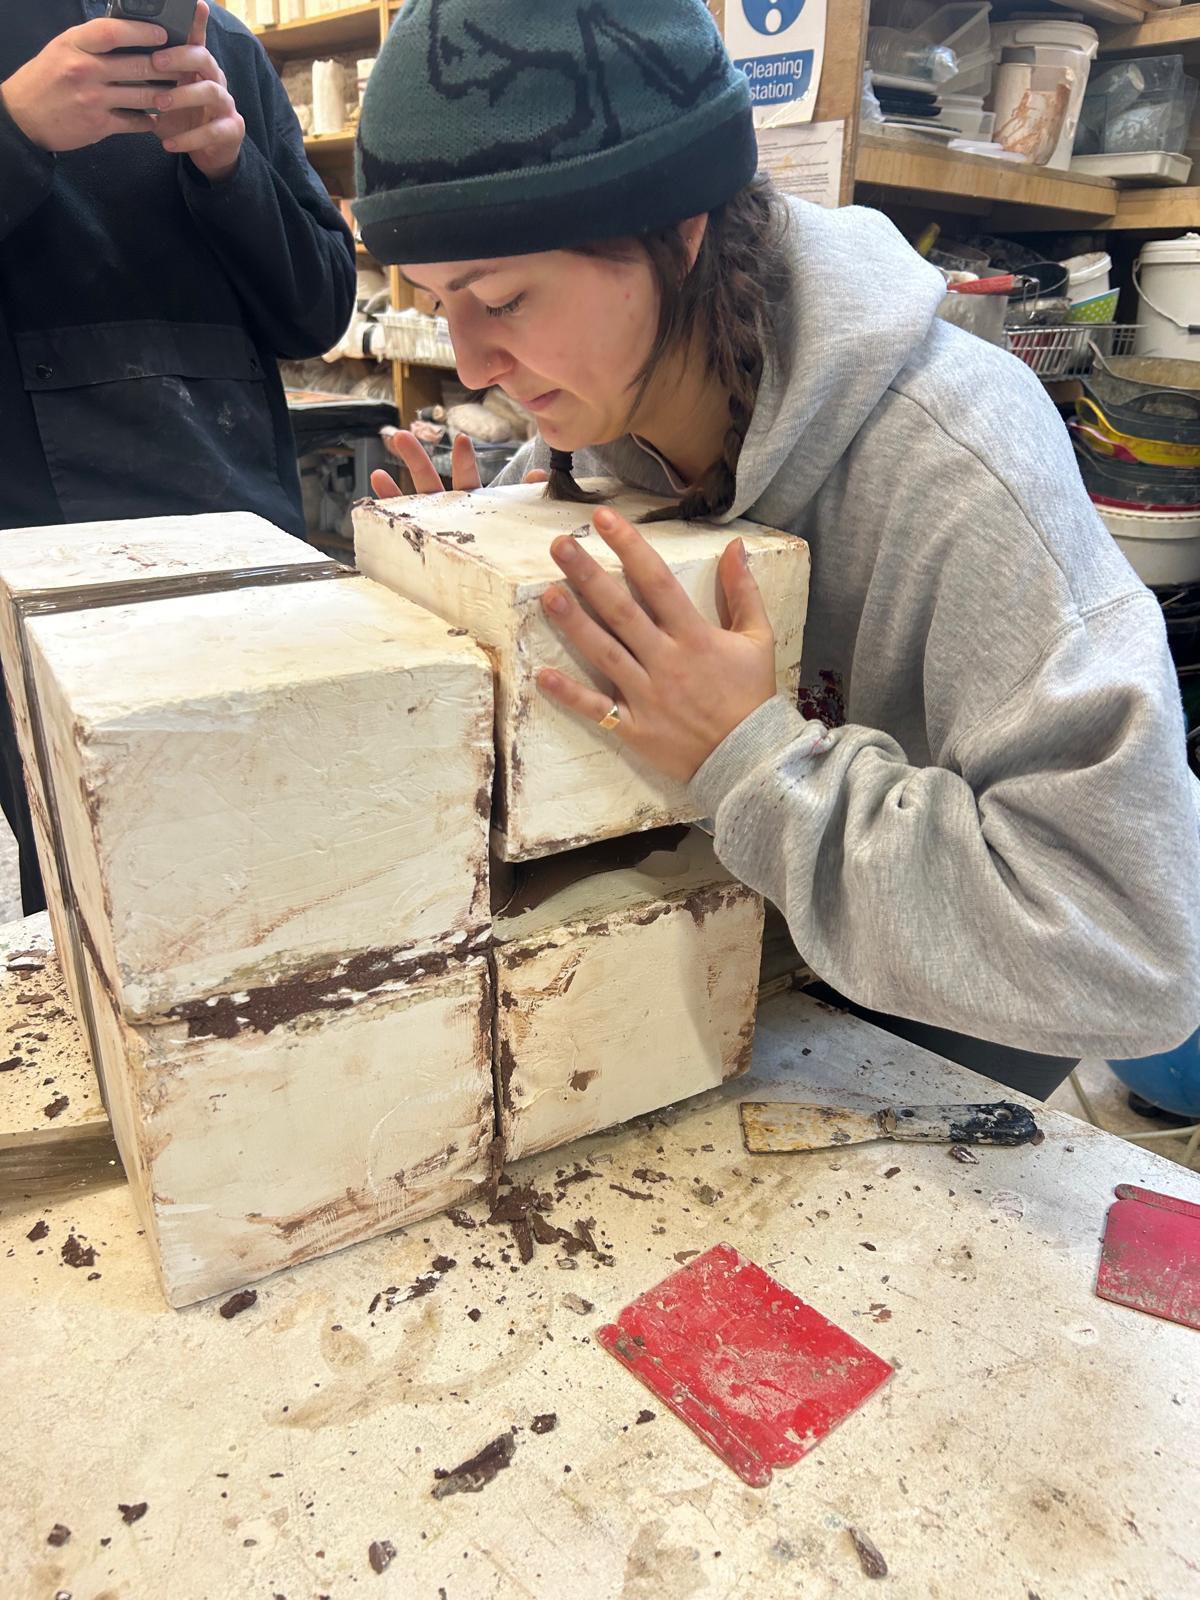
Mould
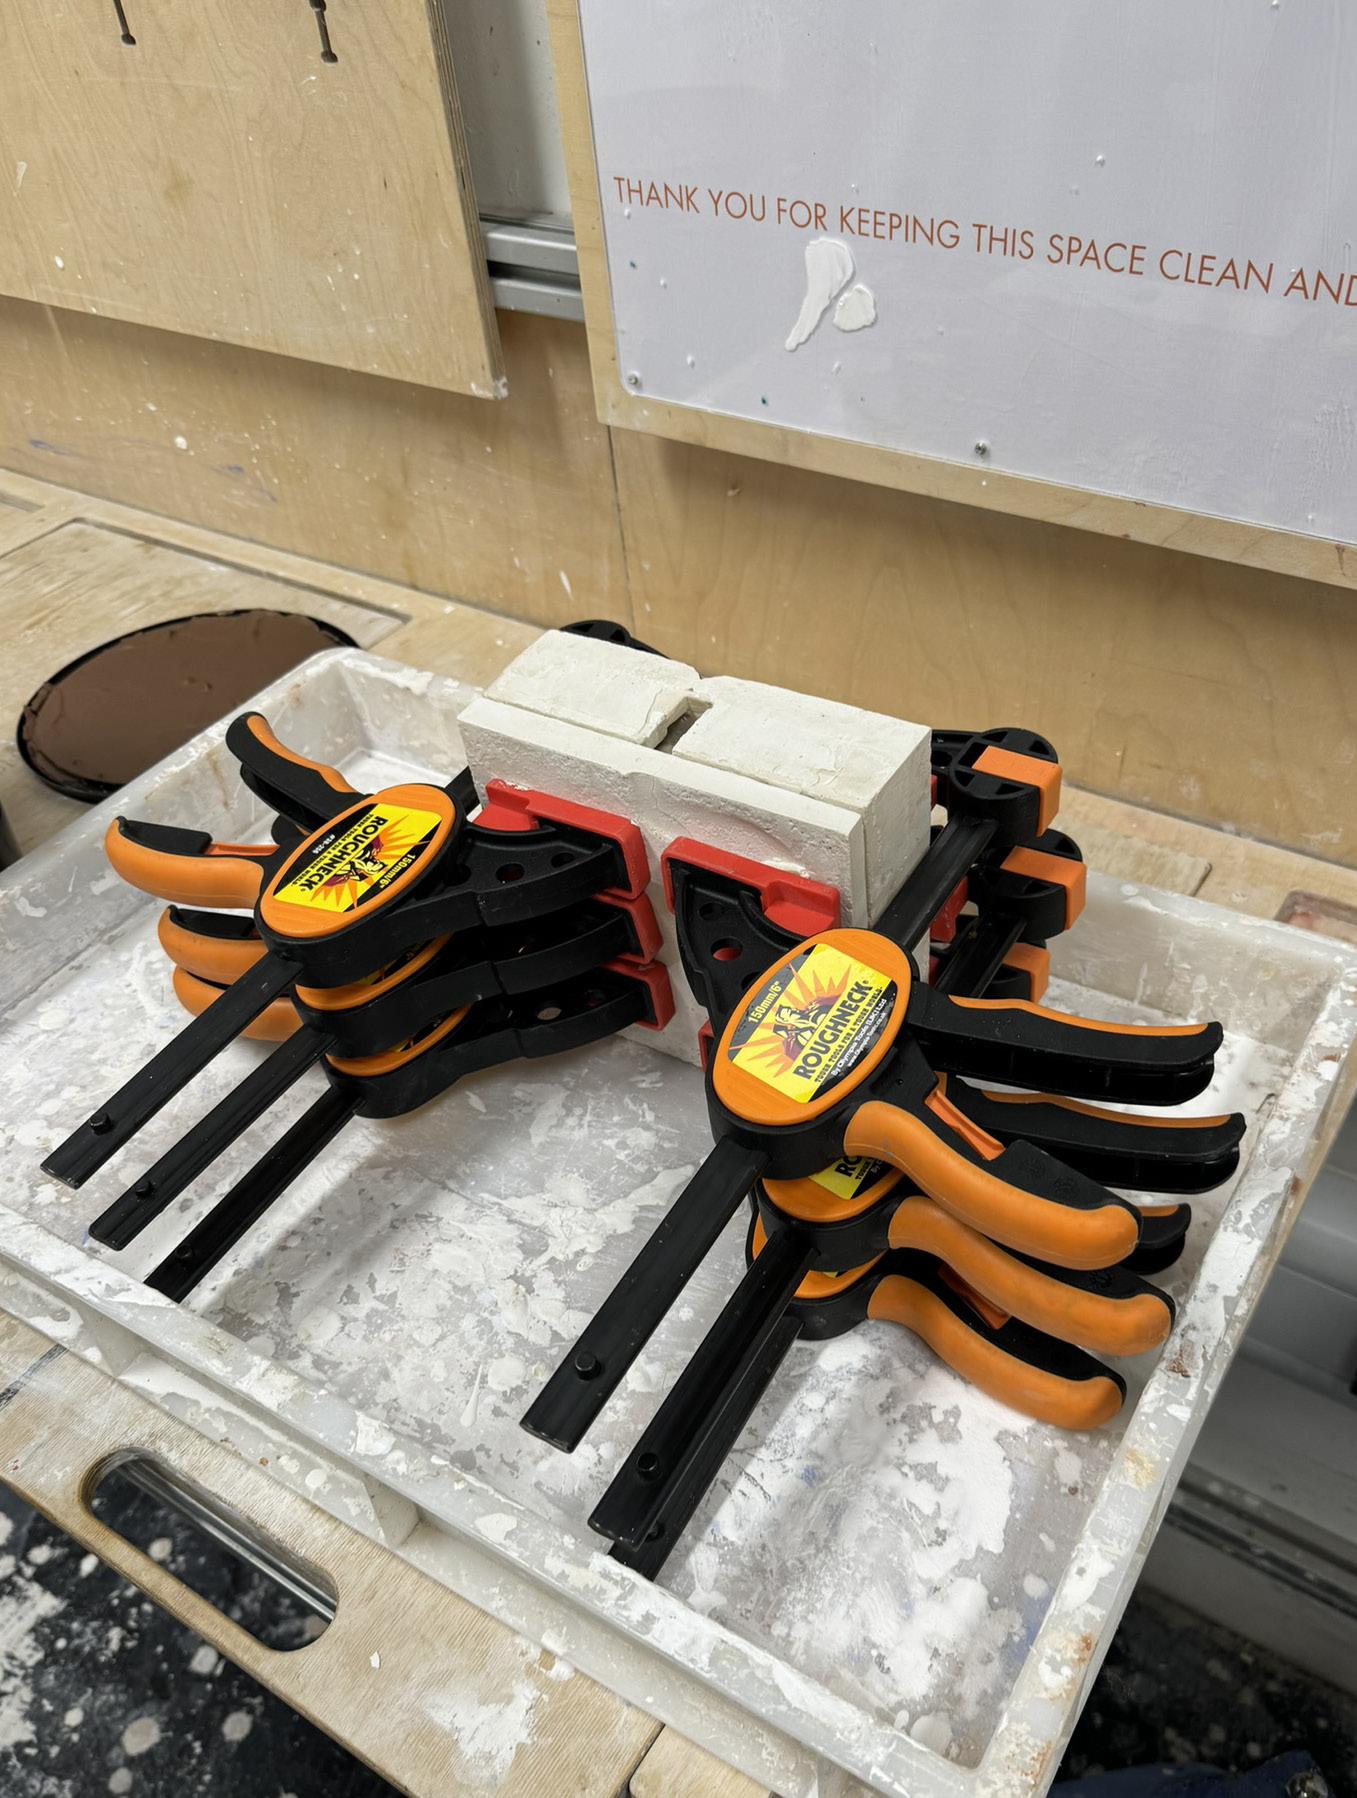
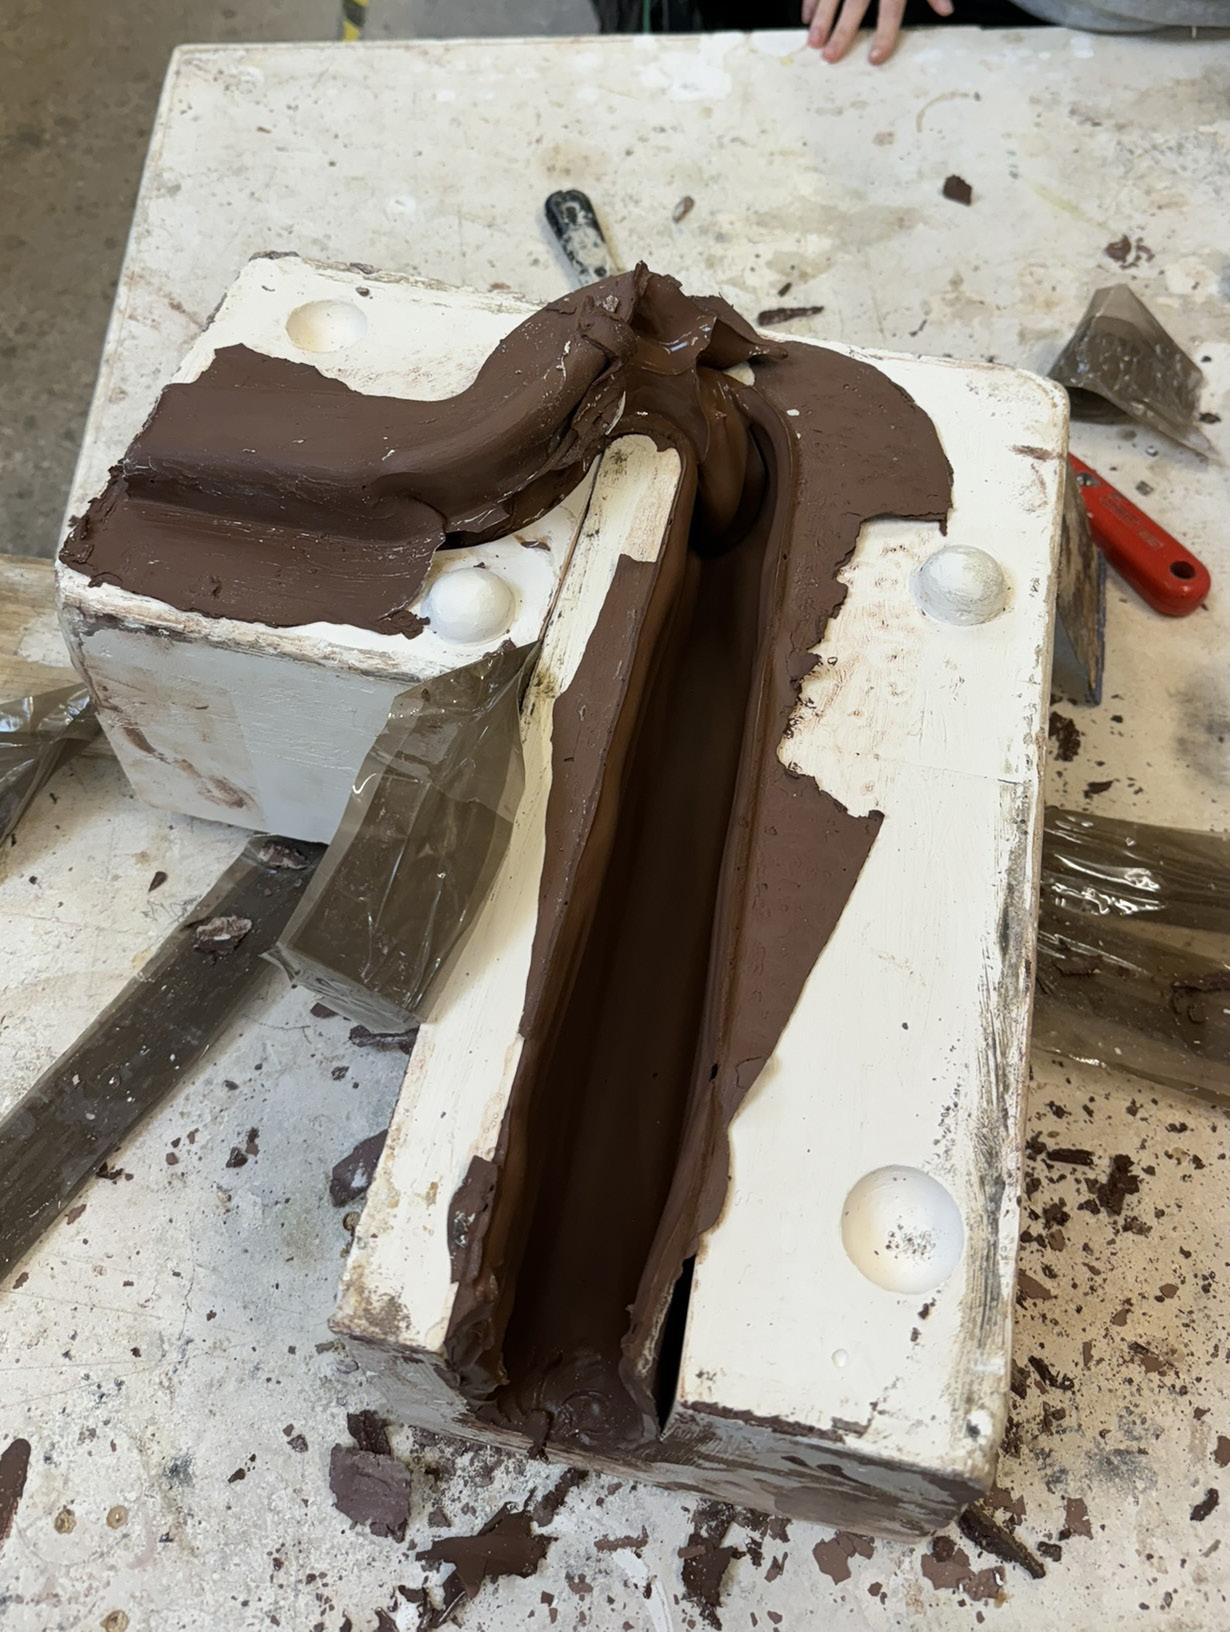
Once dried, the mould contains the negative of the desired shape, with keys to help align the 2 sides. Ratchet straps were used to hold the mould together.
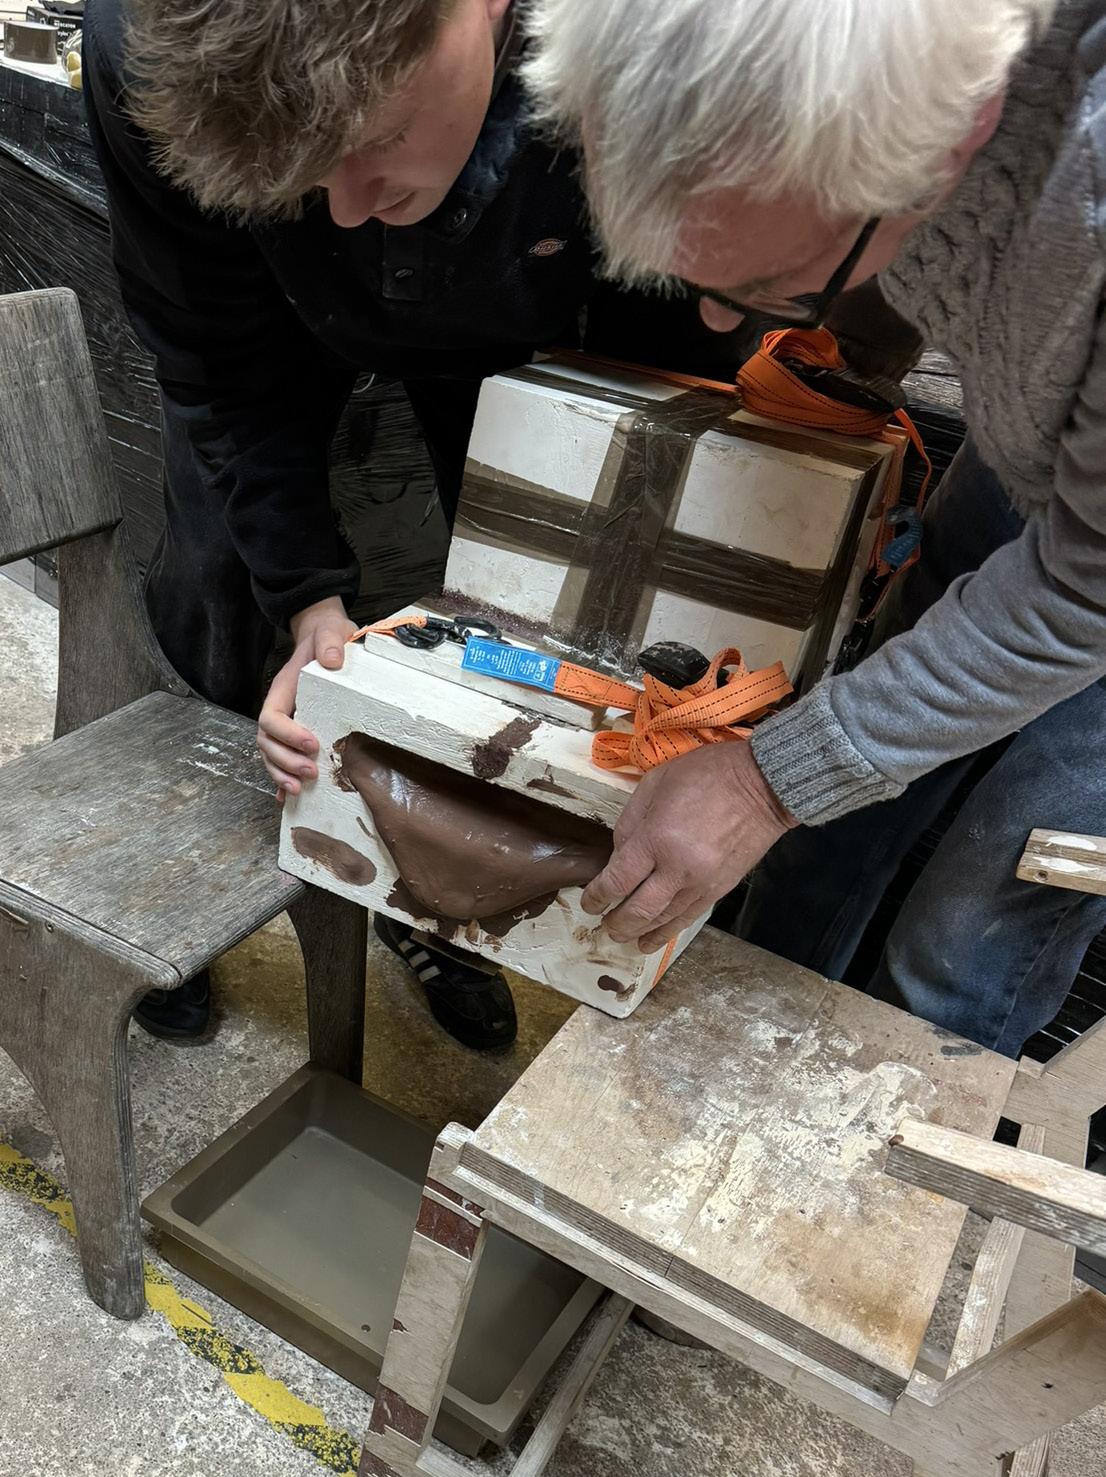
Lessons Learnt:
- The mould is exceptionally heavy, especially with slip inside and is hard to manoeuvre
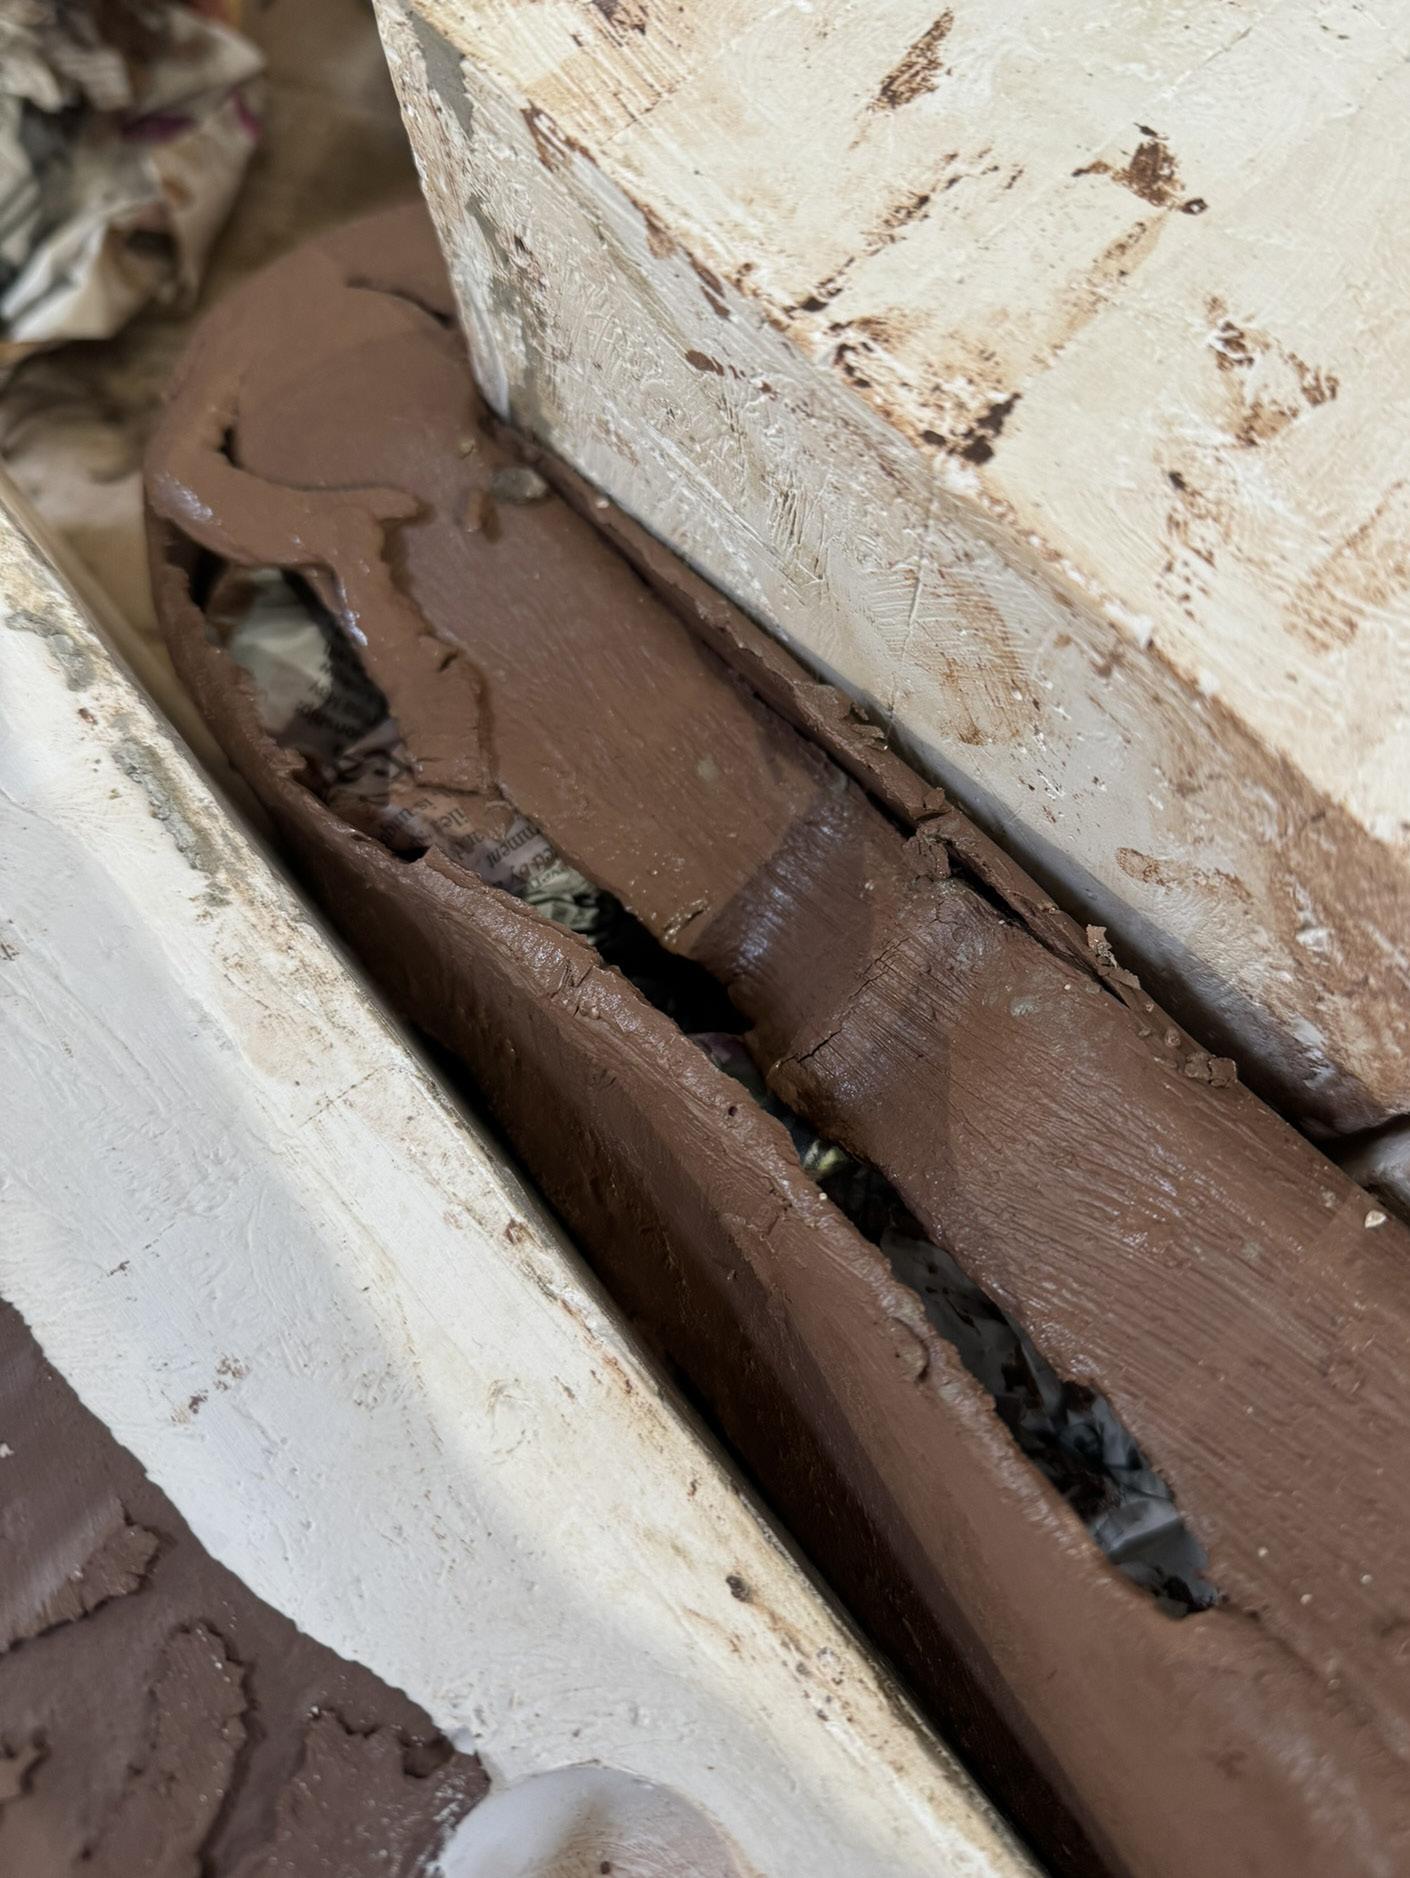
- The shapes are hard to line up and have lots of gaps that need to be plugged with clay
- For complex shapes, it is better to have multiple moulds with interlocking shapes
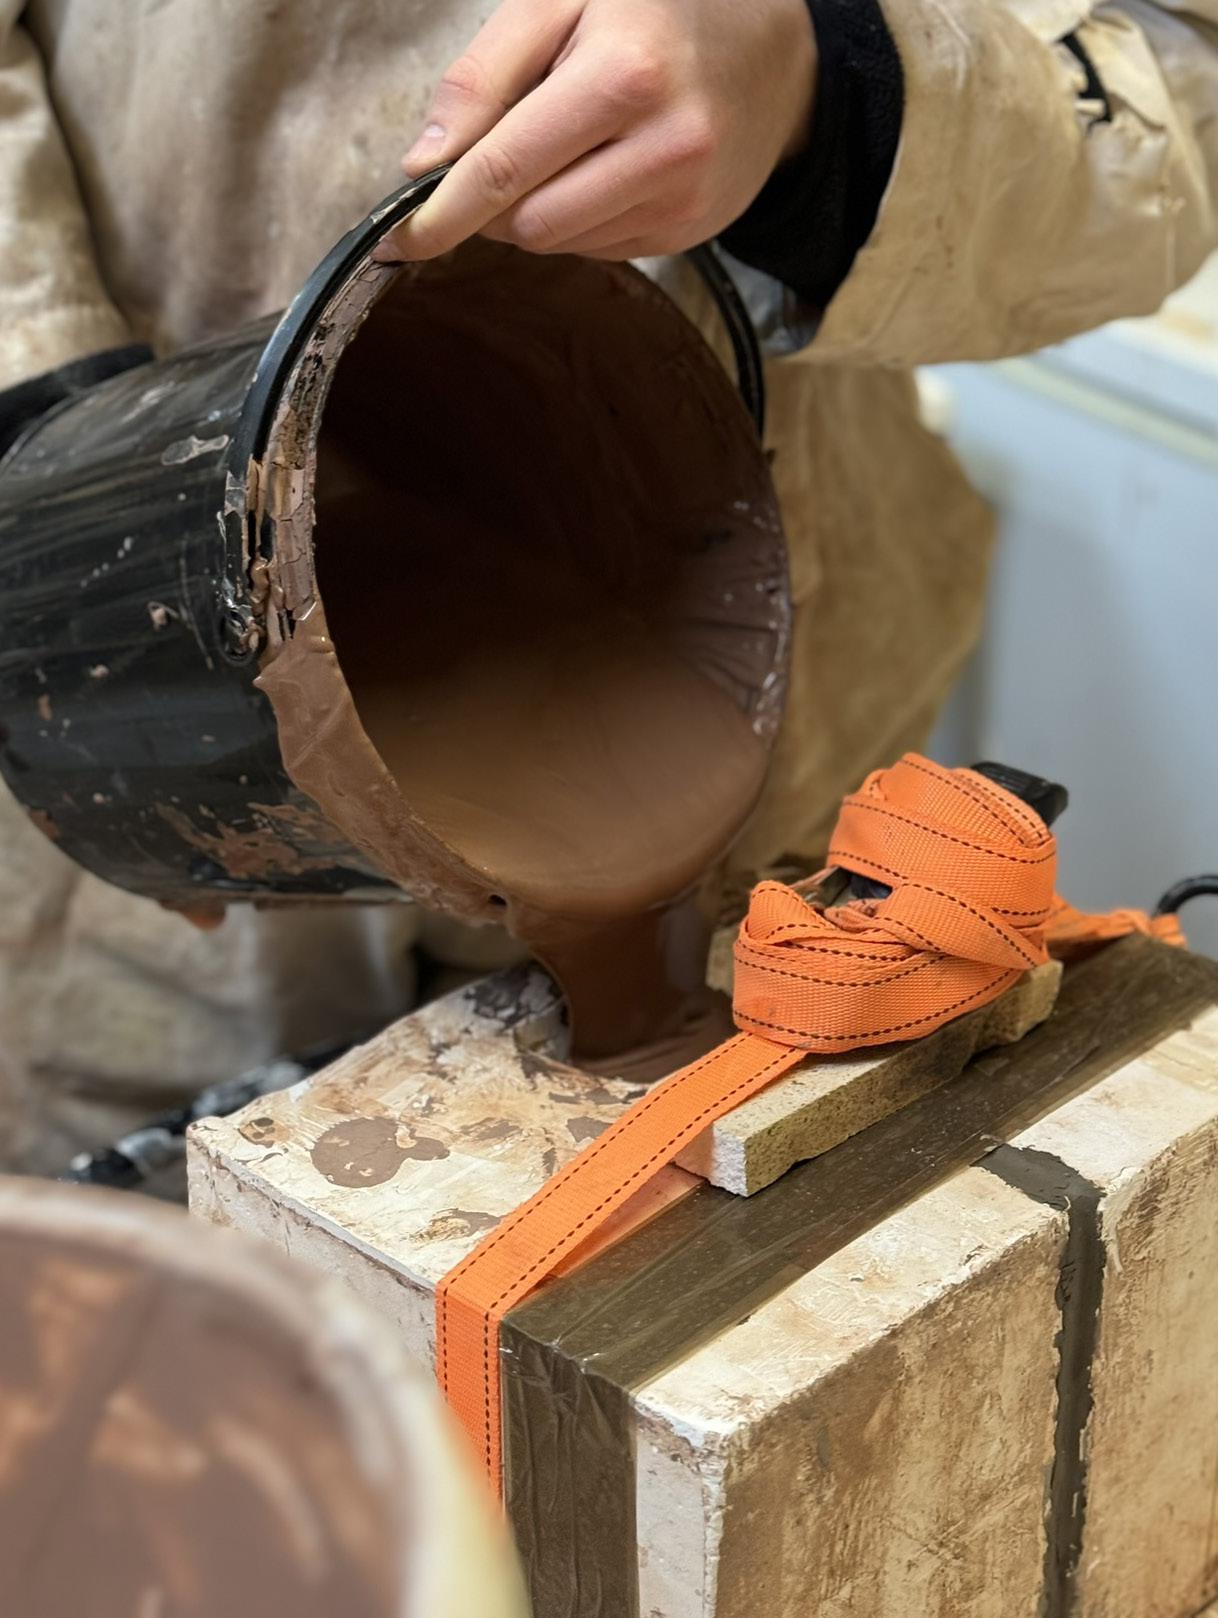
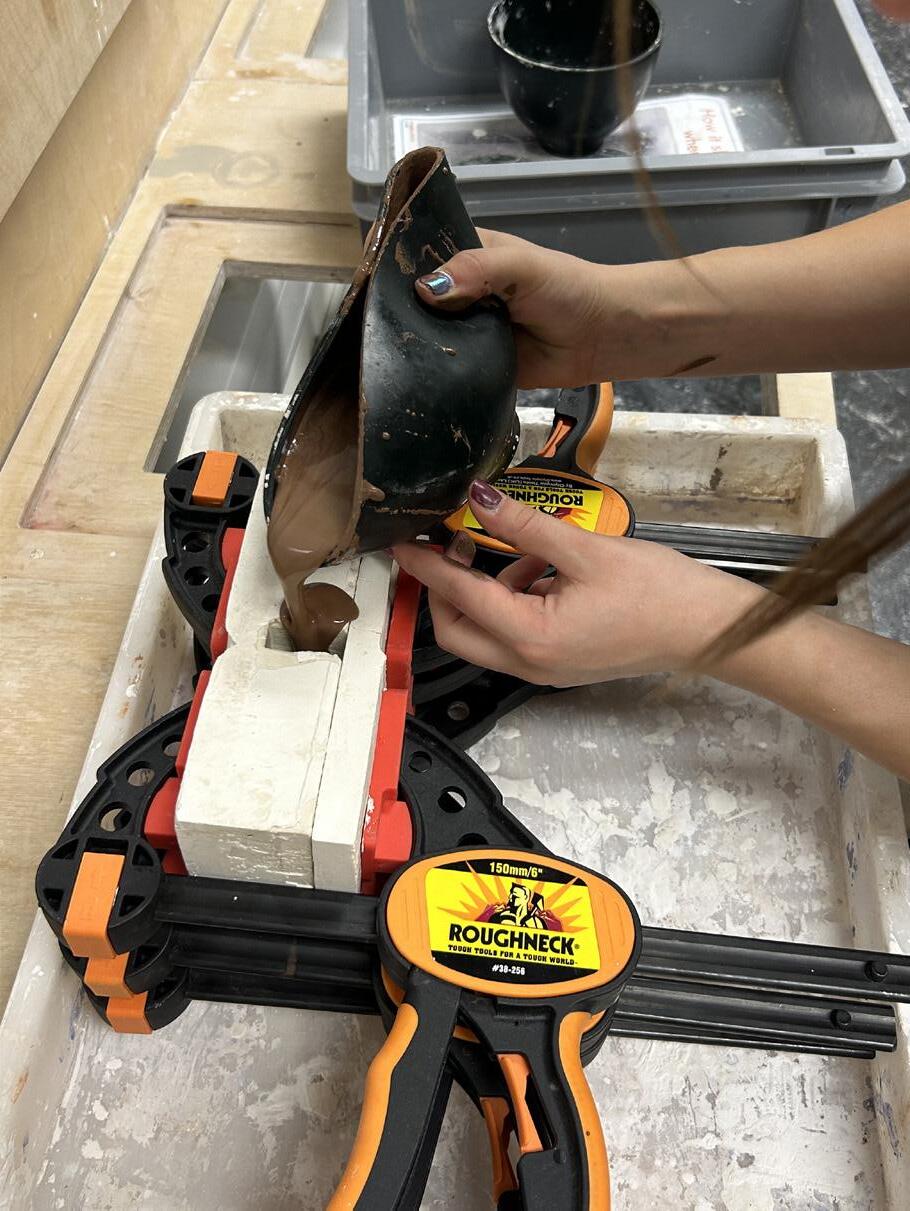
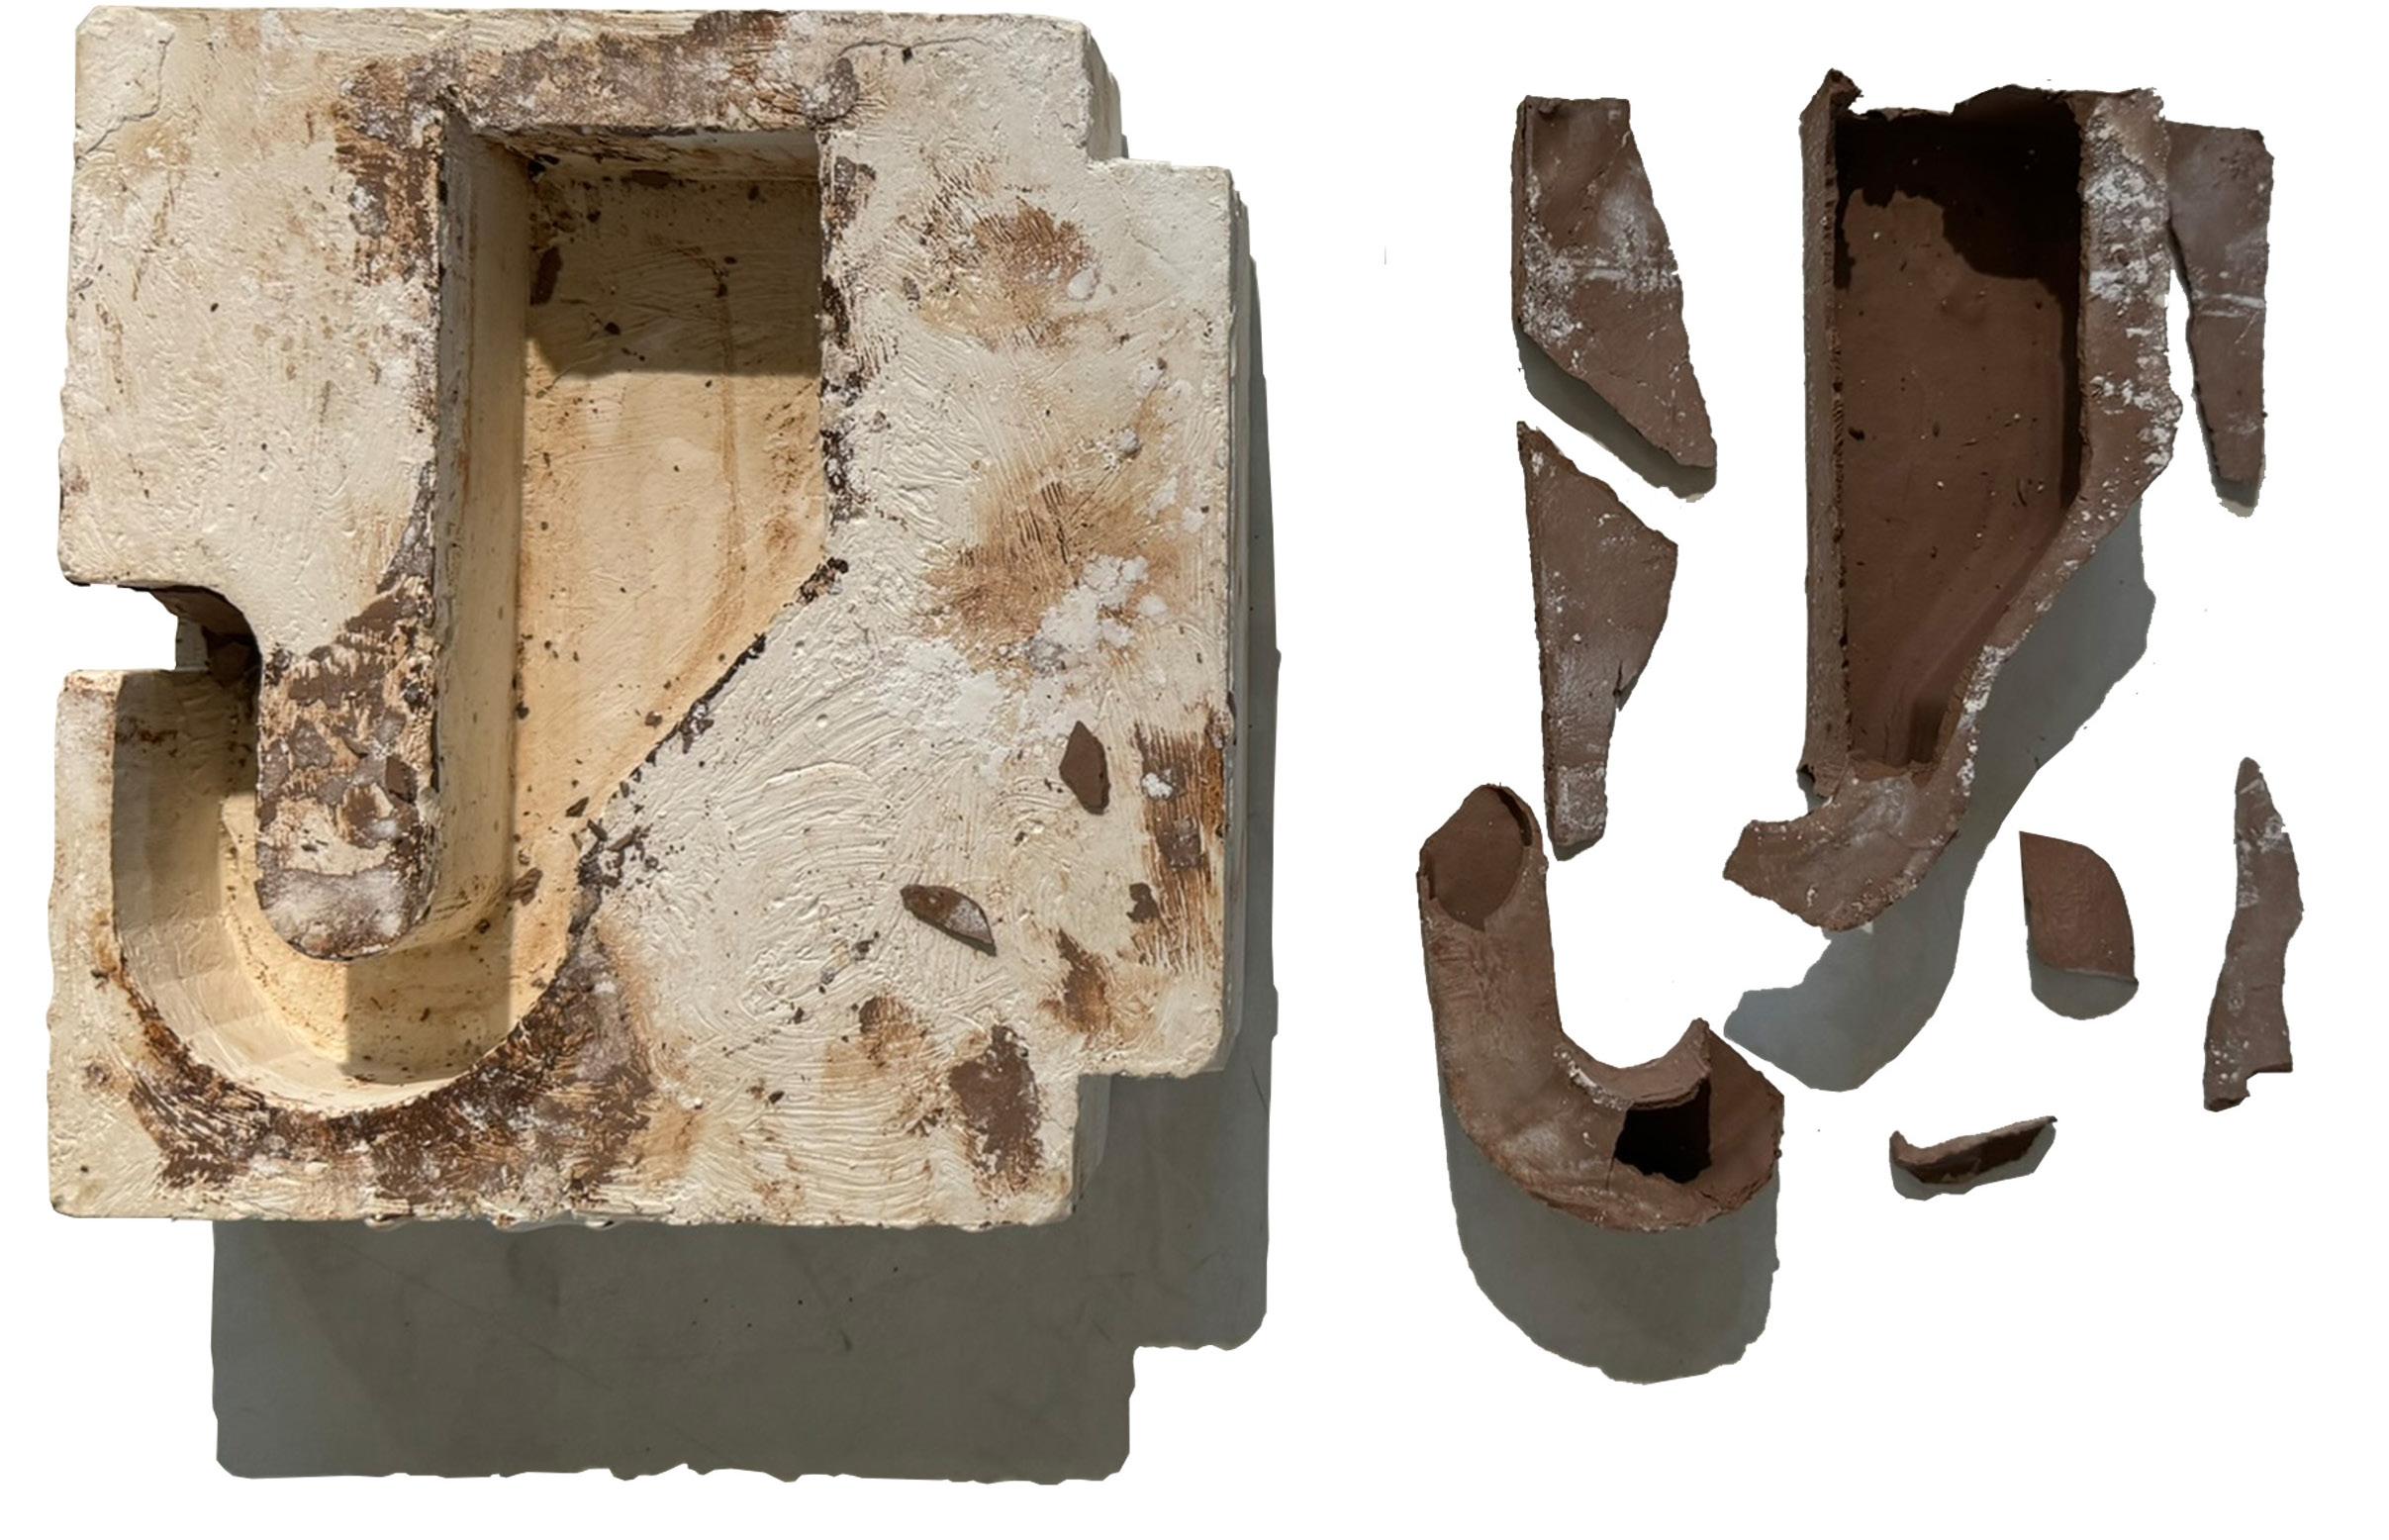
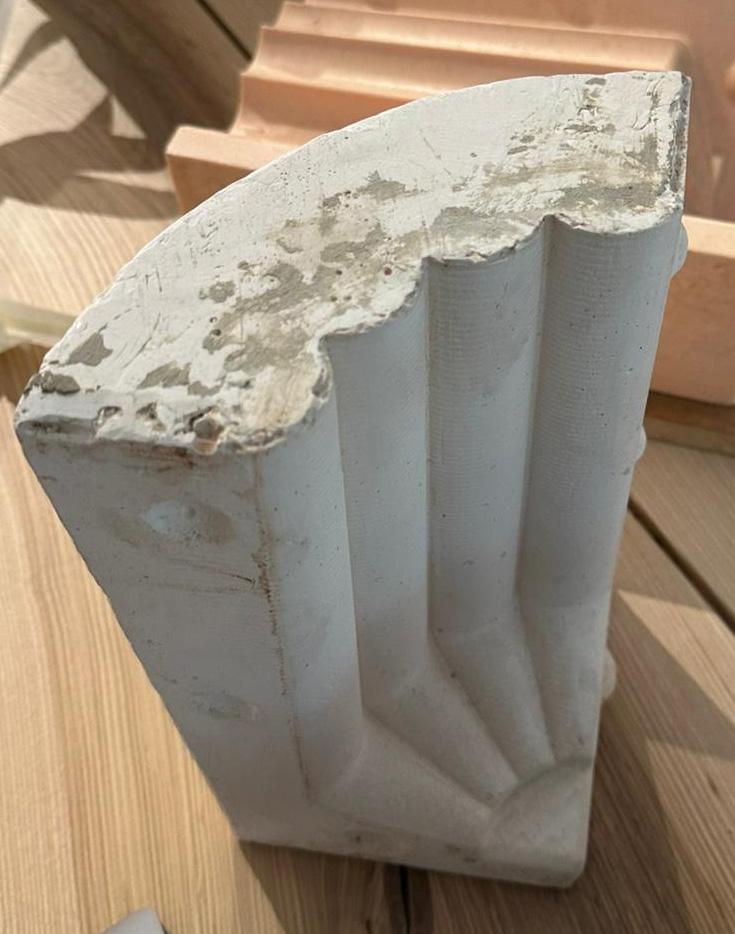
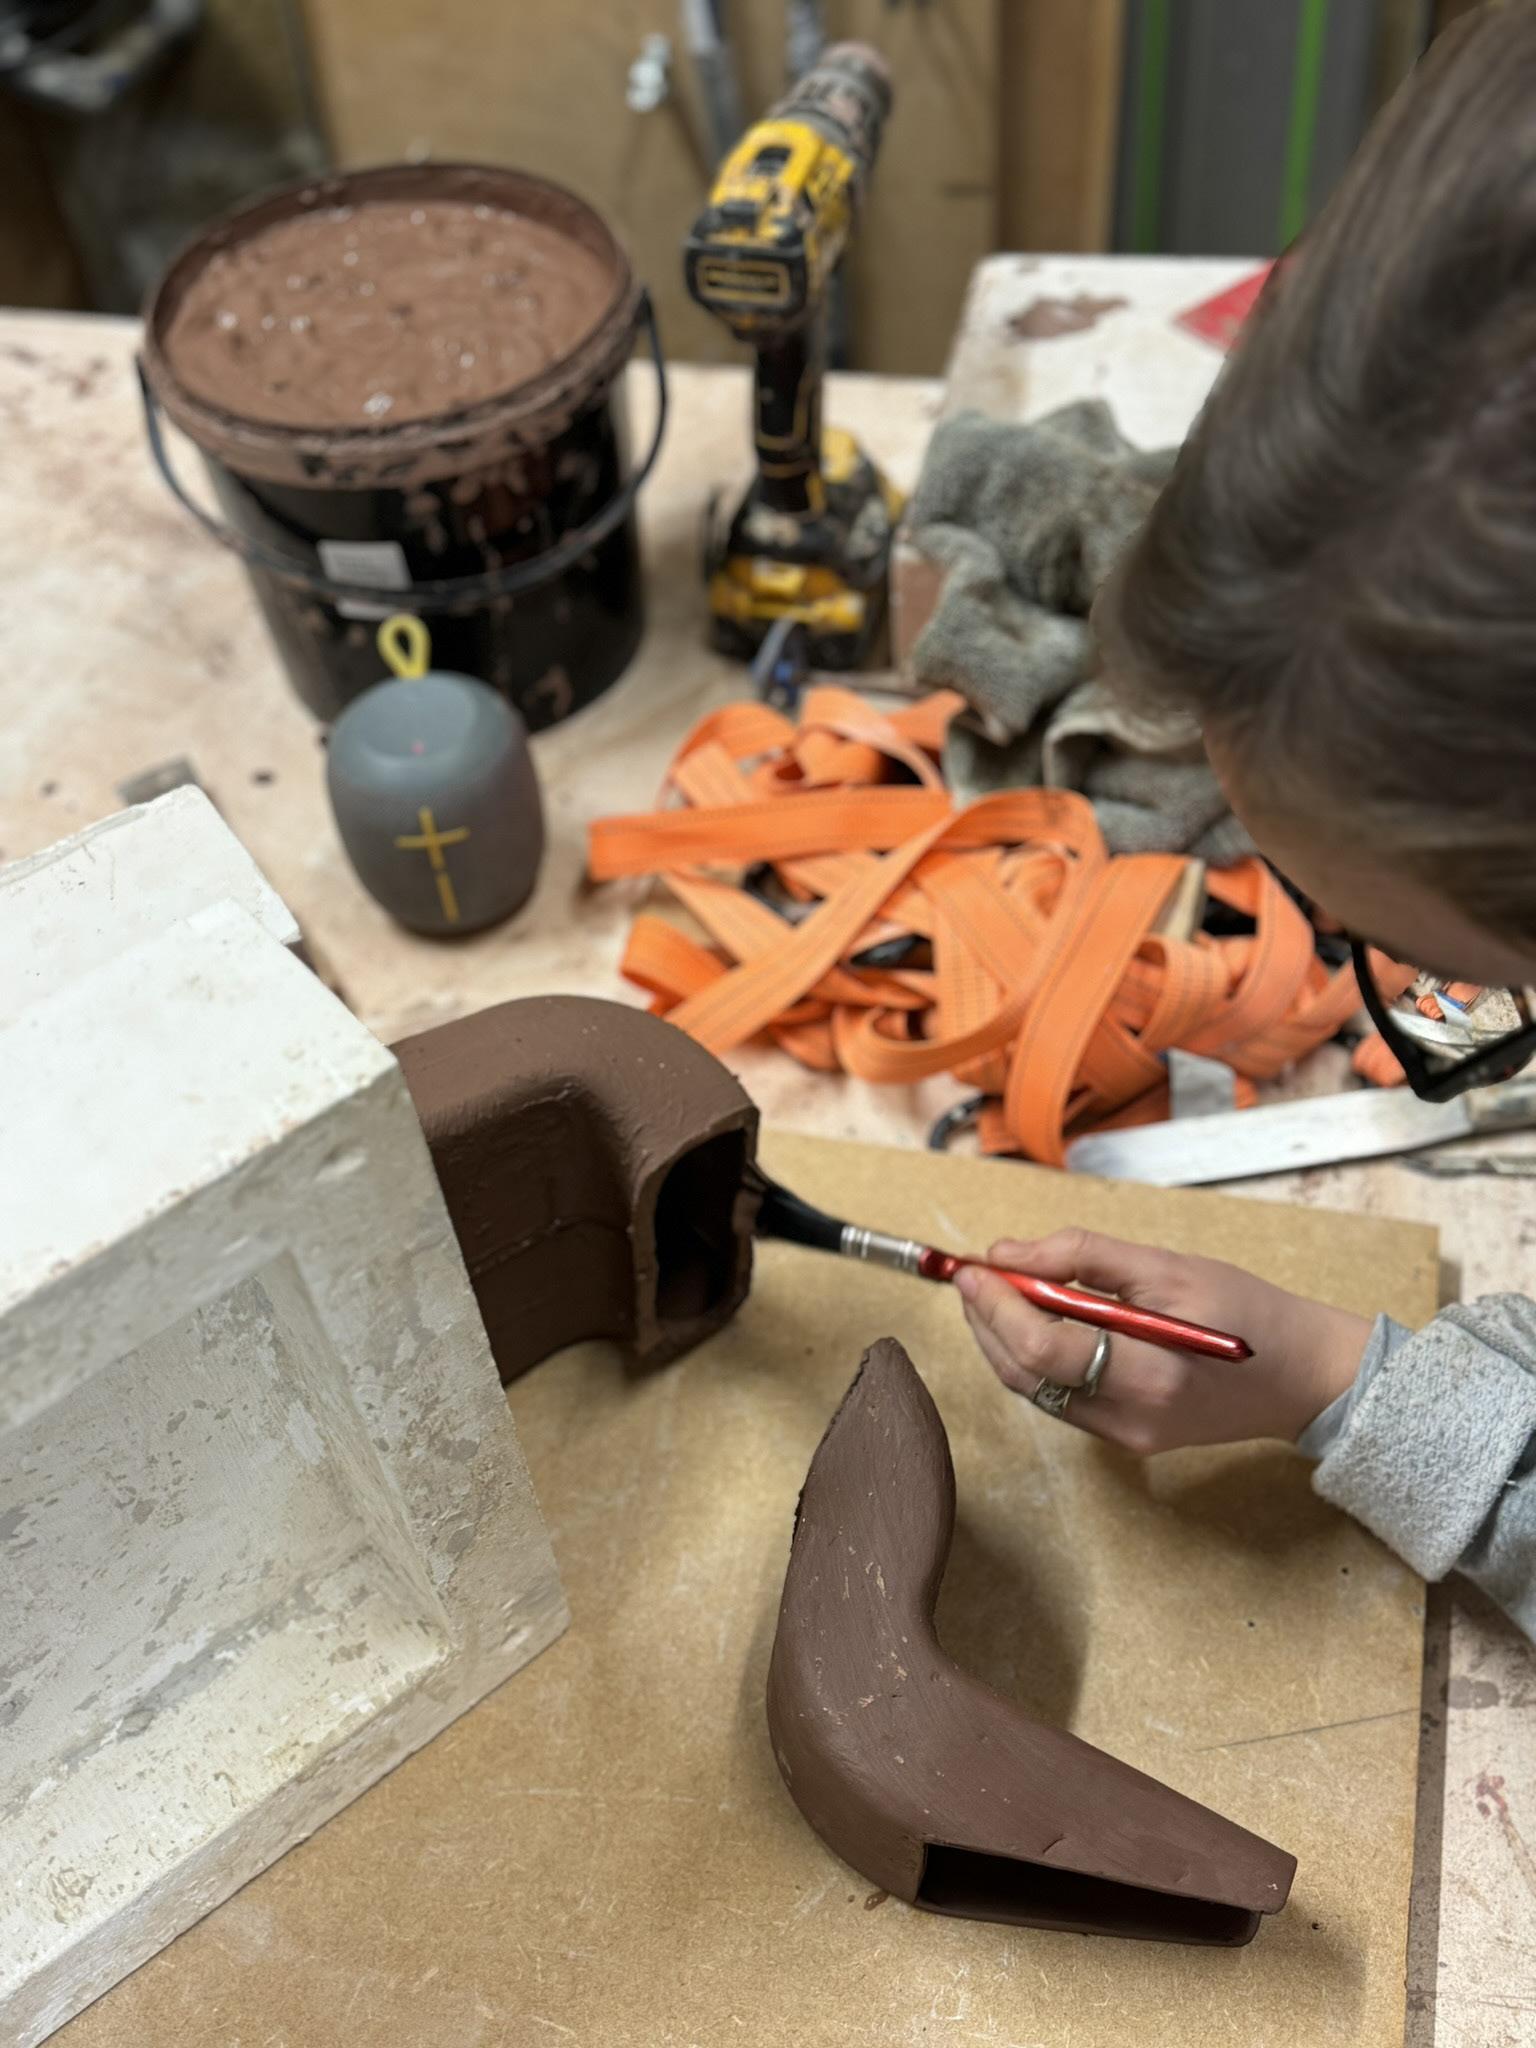
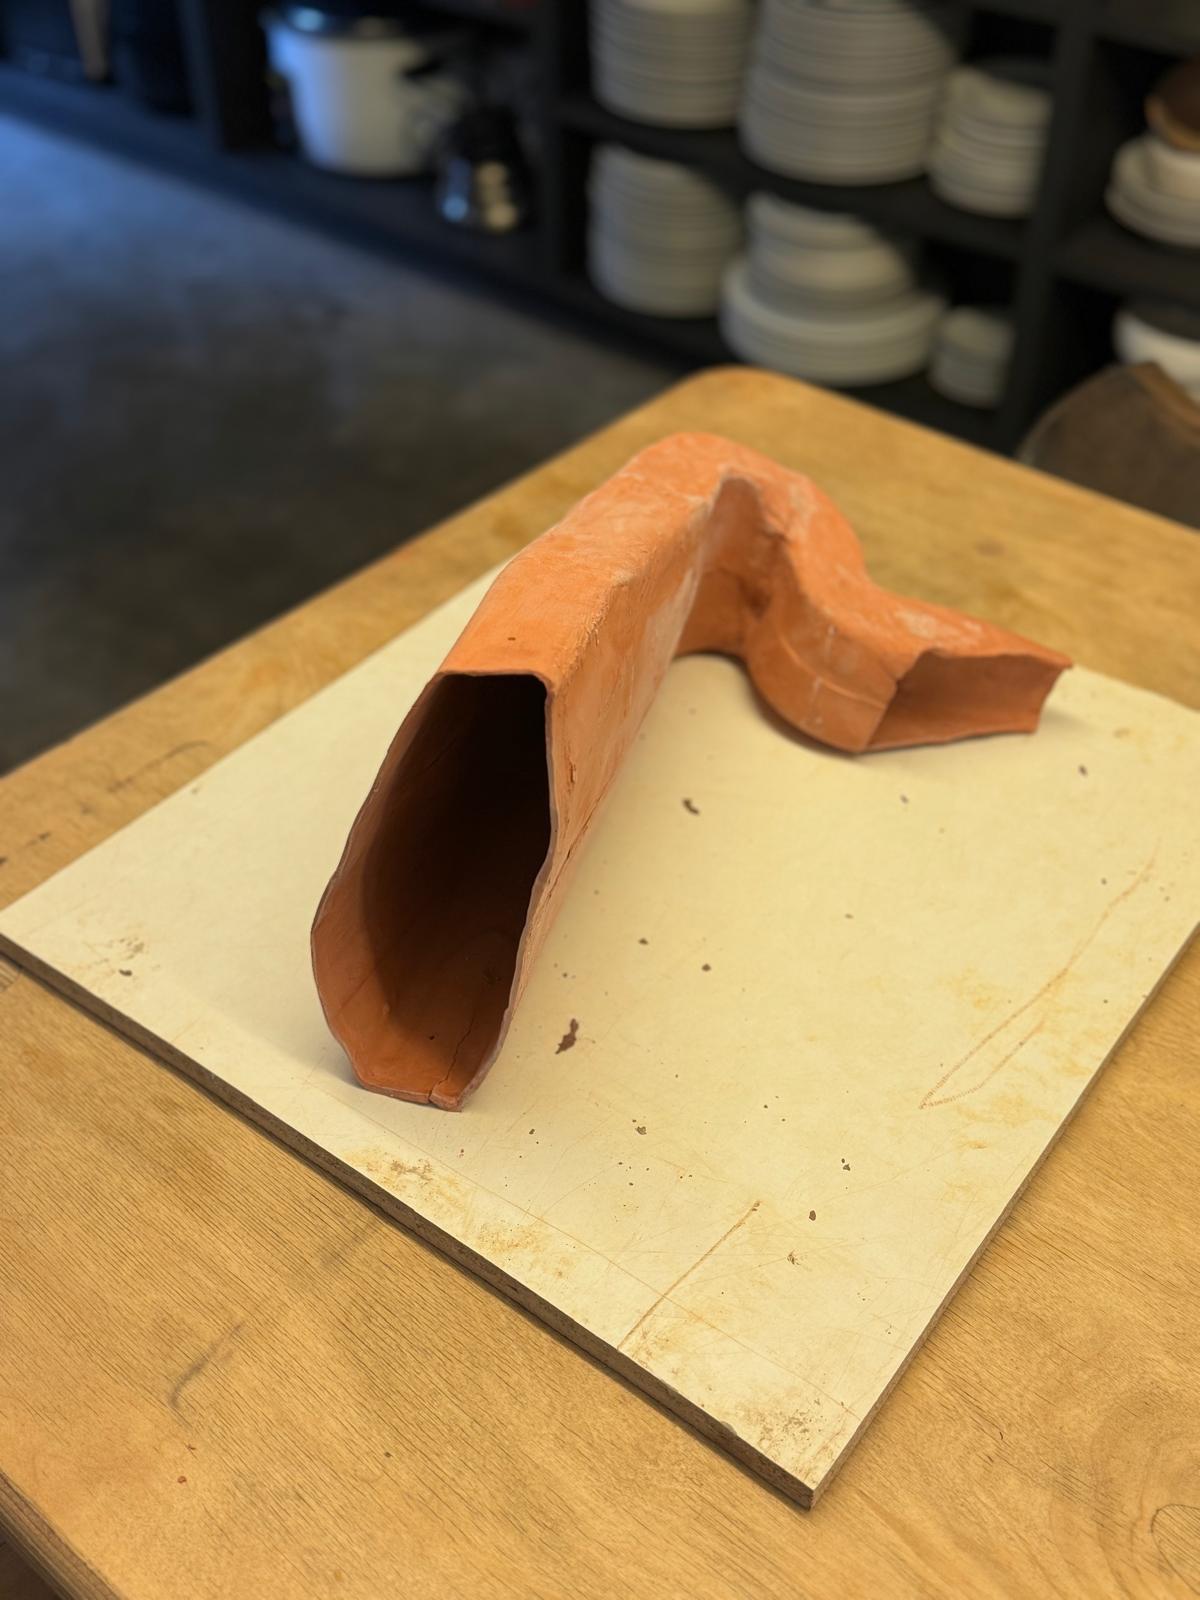
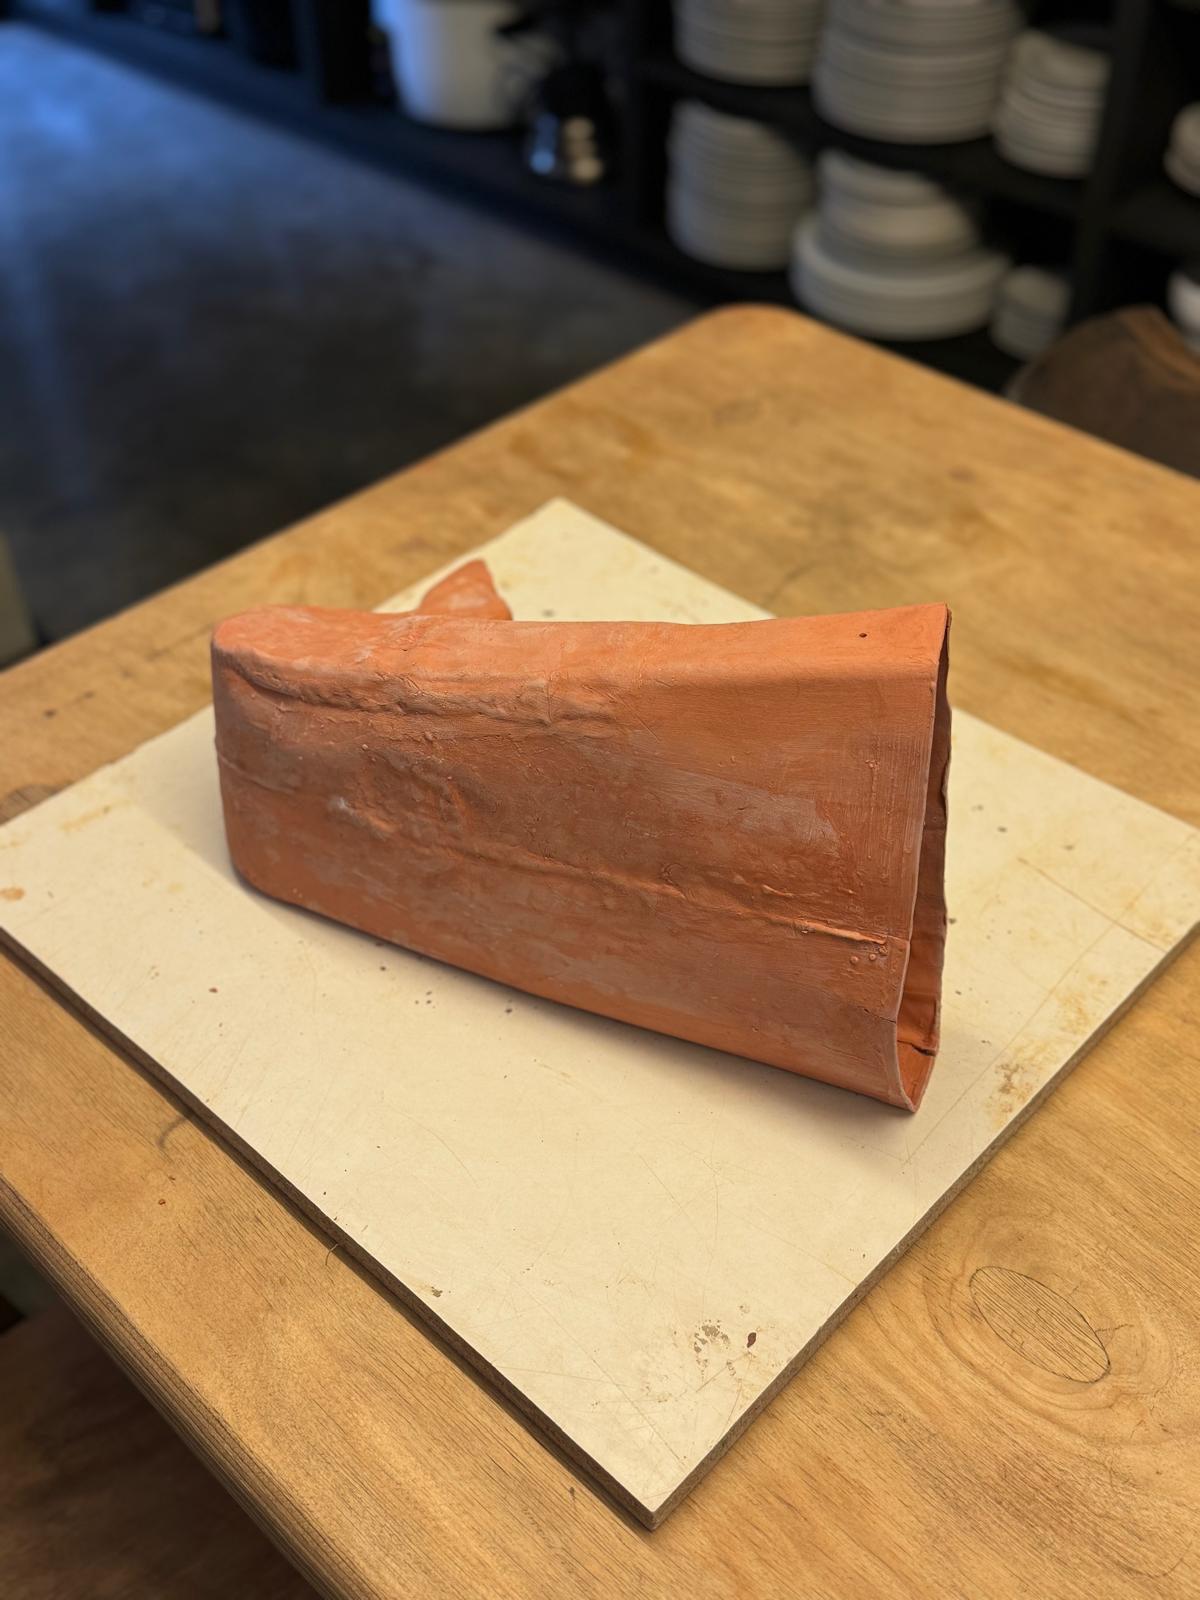
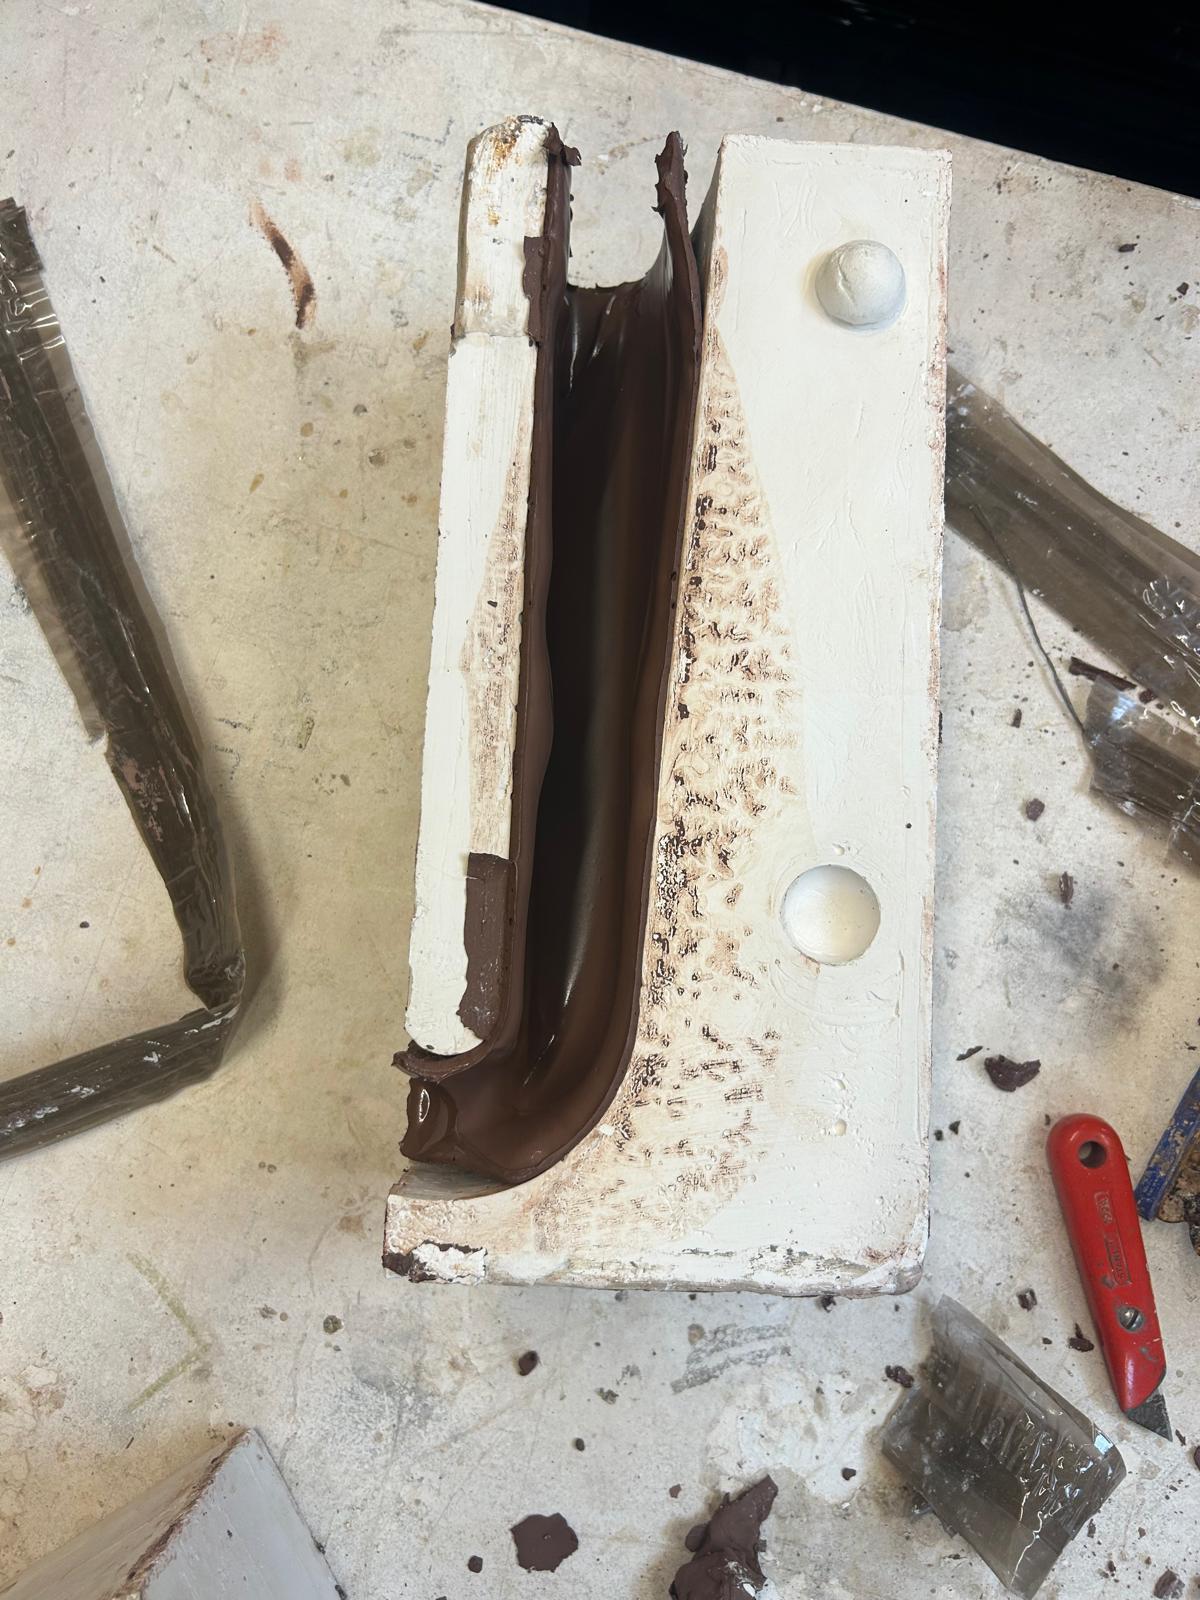
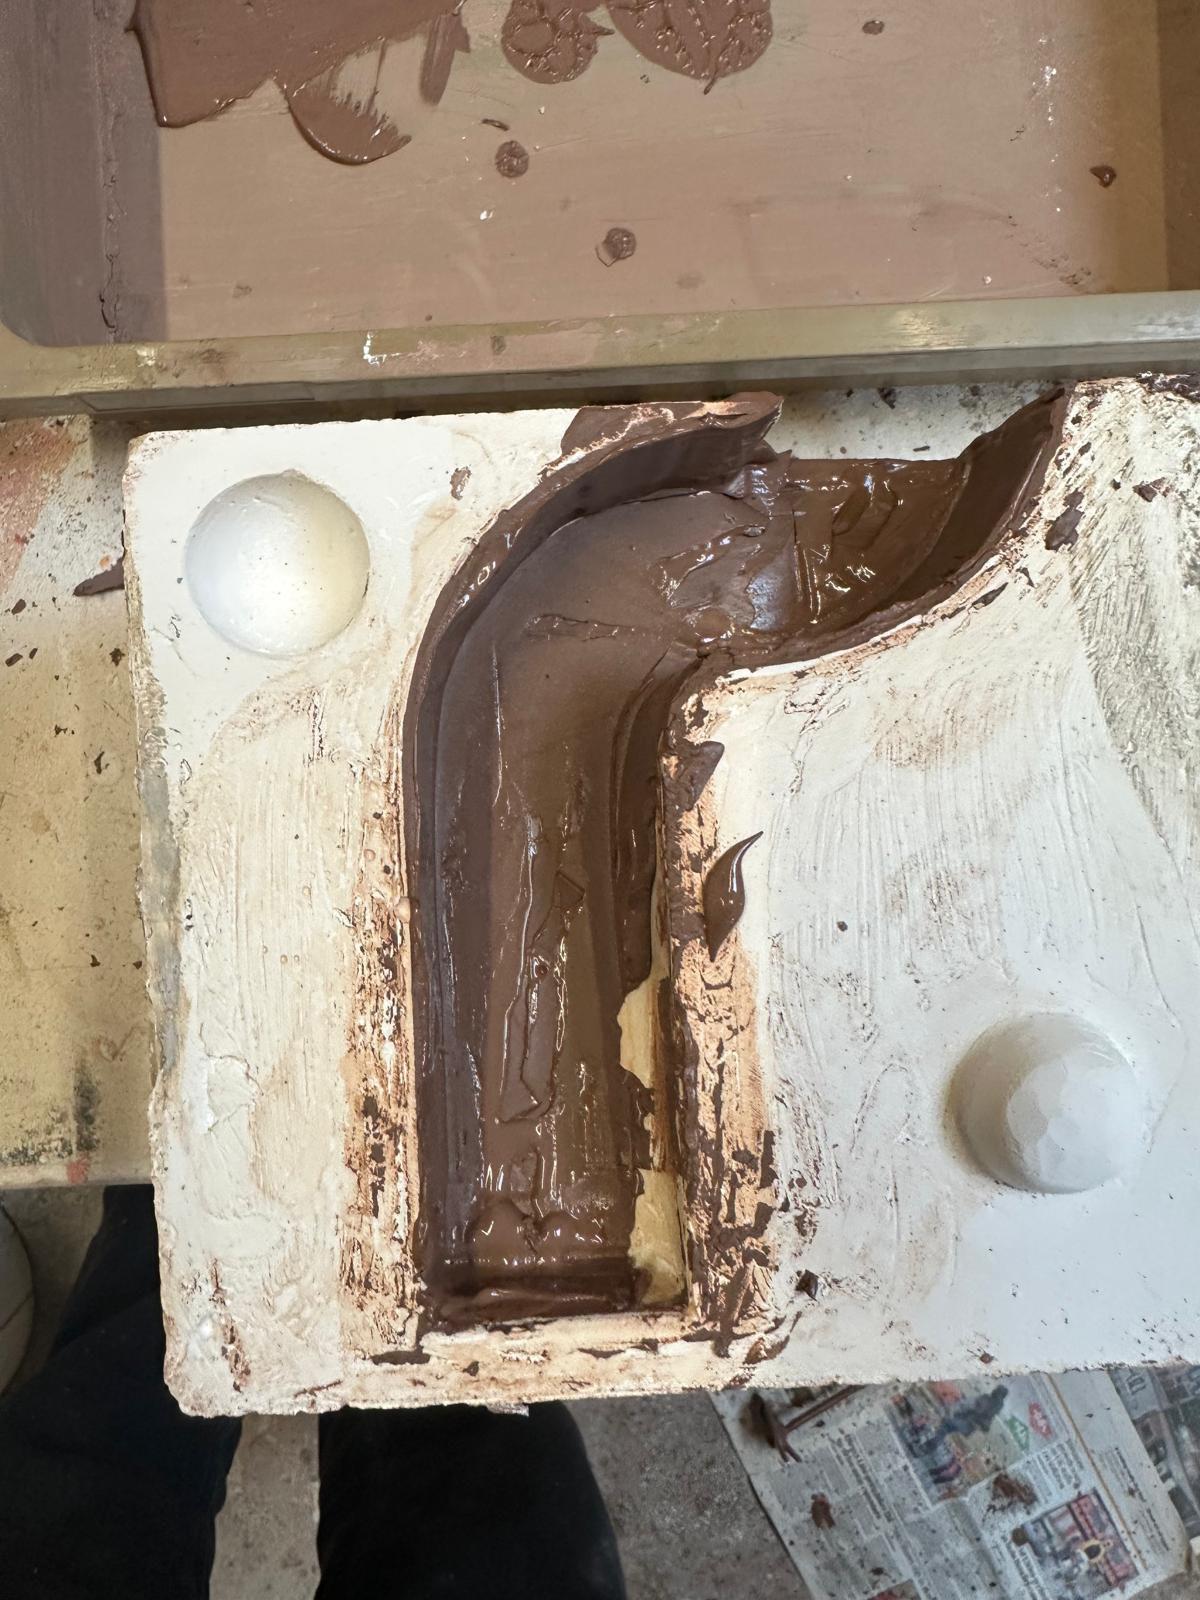
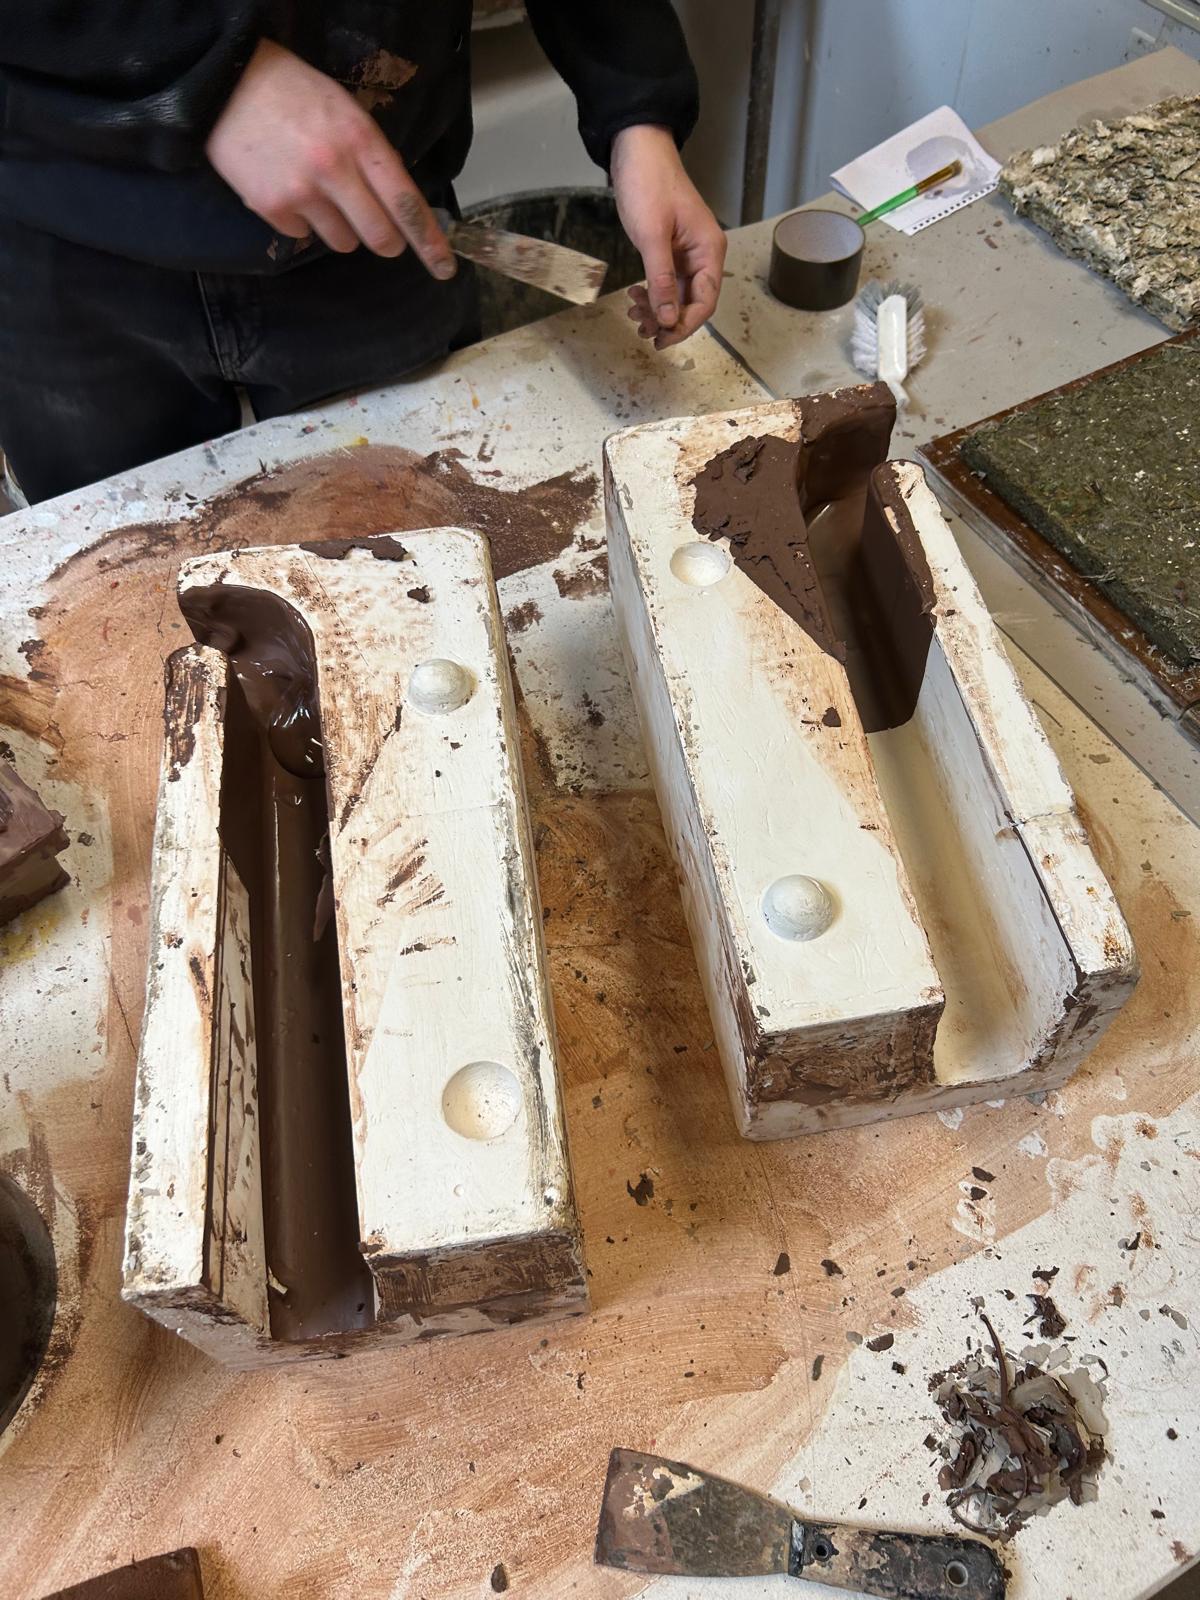
Slip
Once the slip is poured into the mould, it needs to sit for a little while for the sides of the shape to develop the desired thickness. Once this is done the slip is poured out and the mould and slip is left to dry. Once ready, the slip should come away from the mould.
Lessons Learnt:
- Many attempts were needed to understand the slip and experiment with how long we needed to leave it to have the right thickness
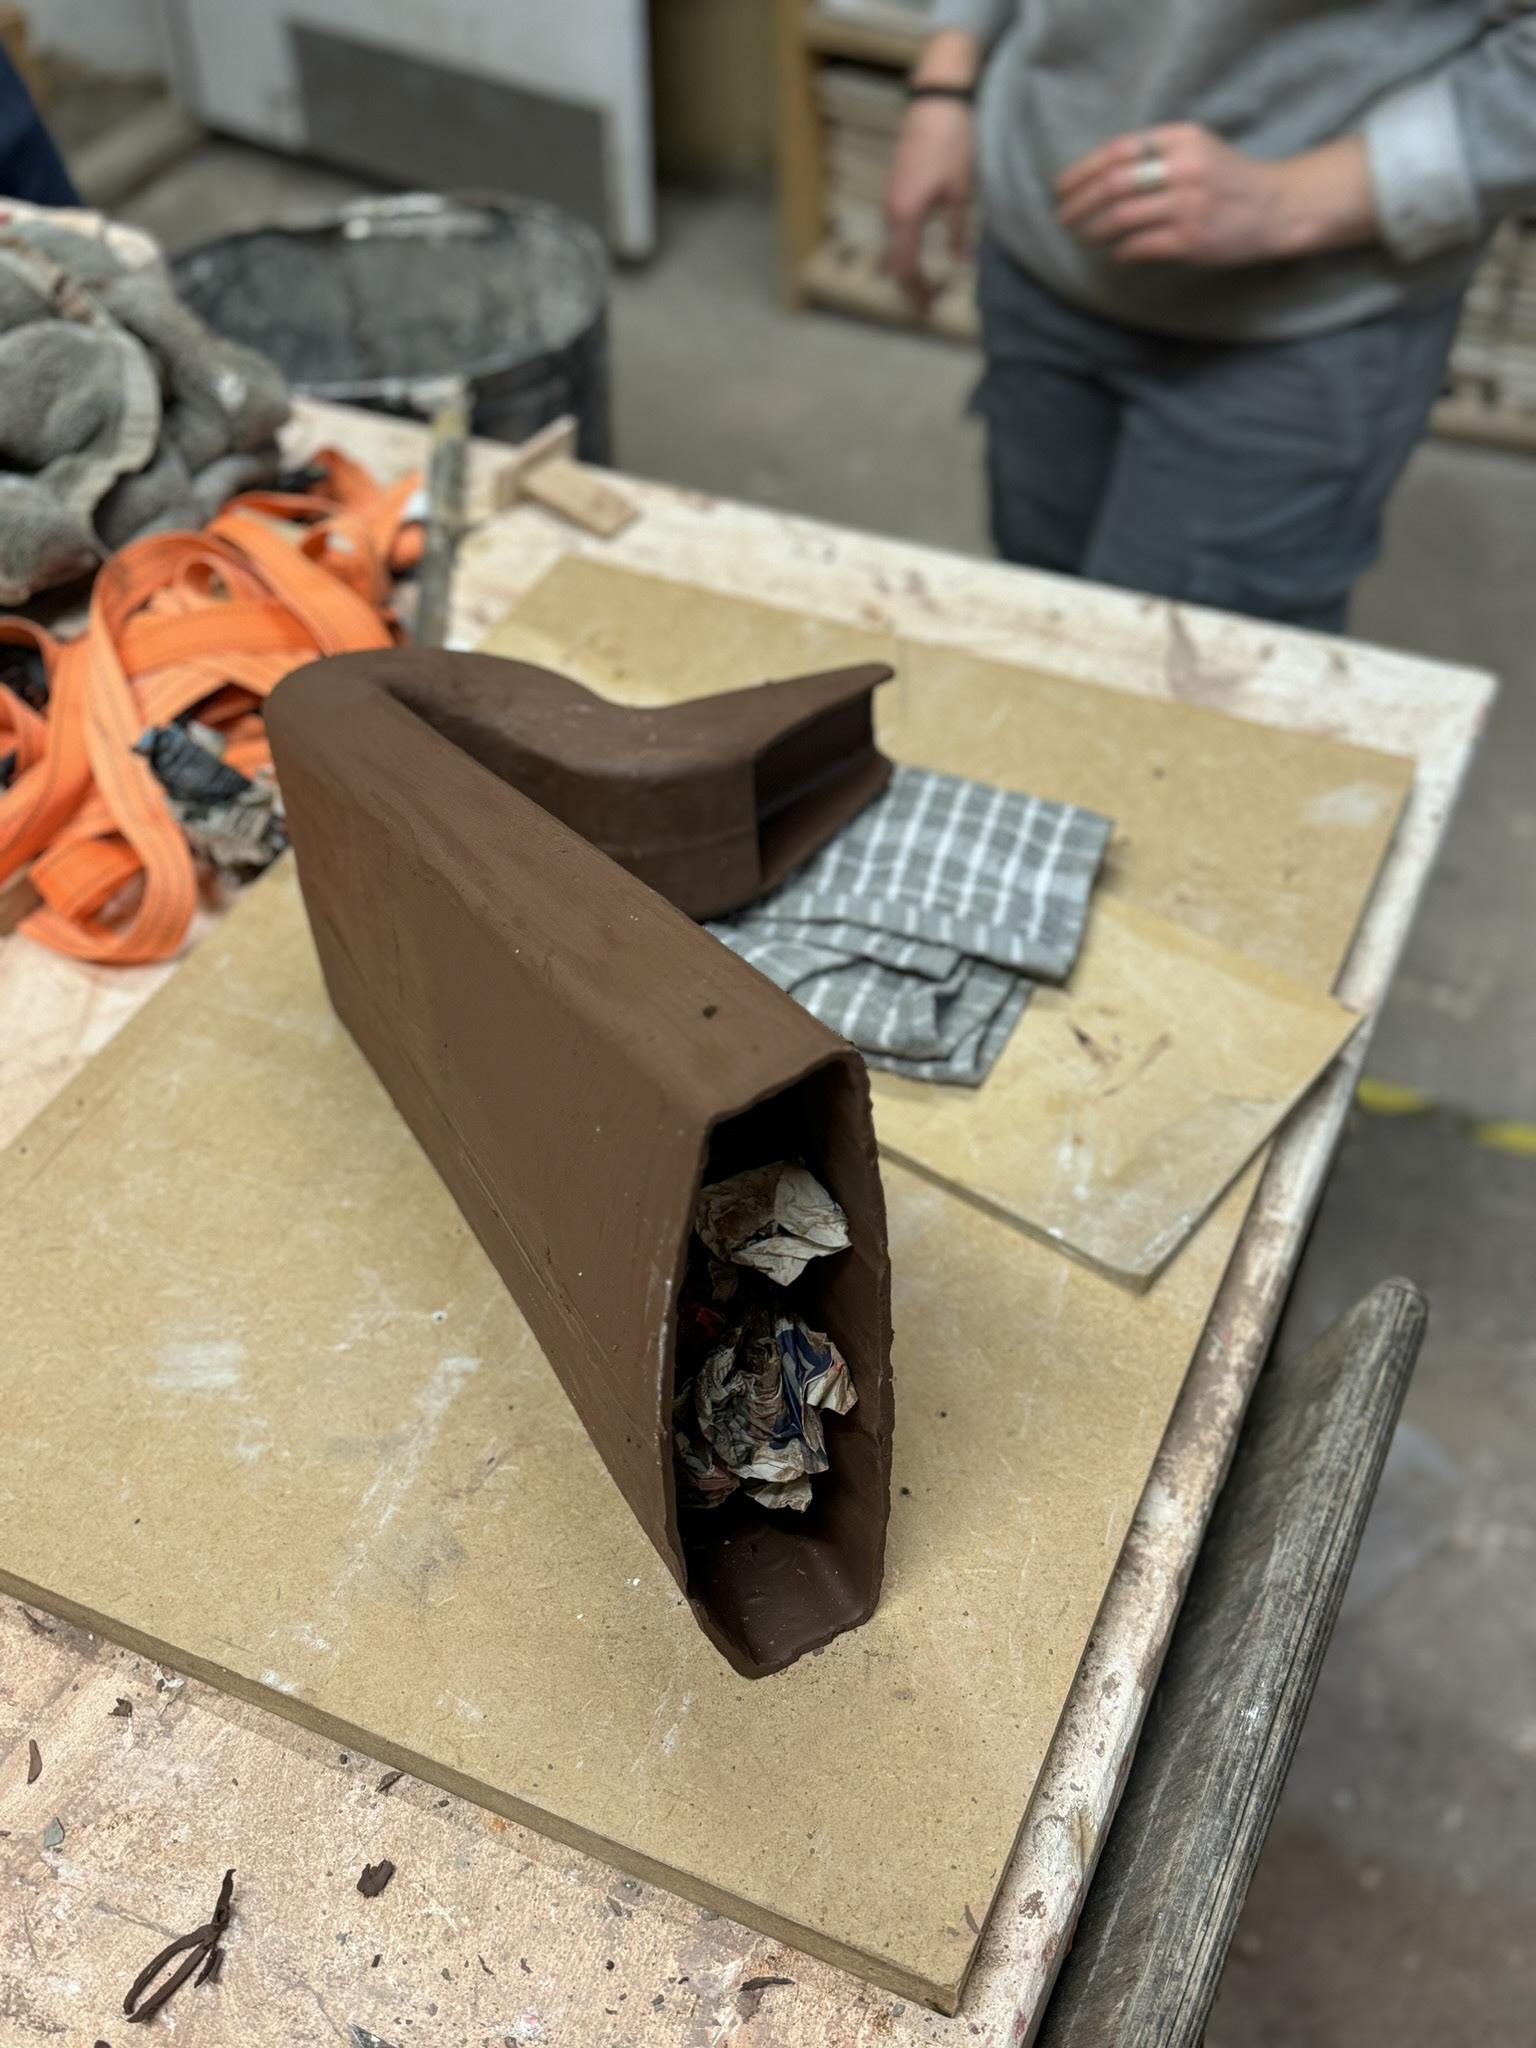
- Adding water can help to bring the slip to a pourable consistency, however this can make the shape weak and also means the mould is wet and needs more time to dry out before being used again
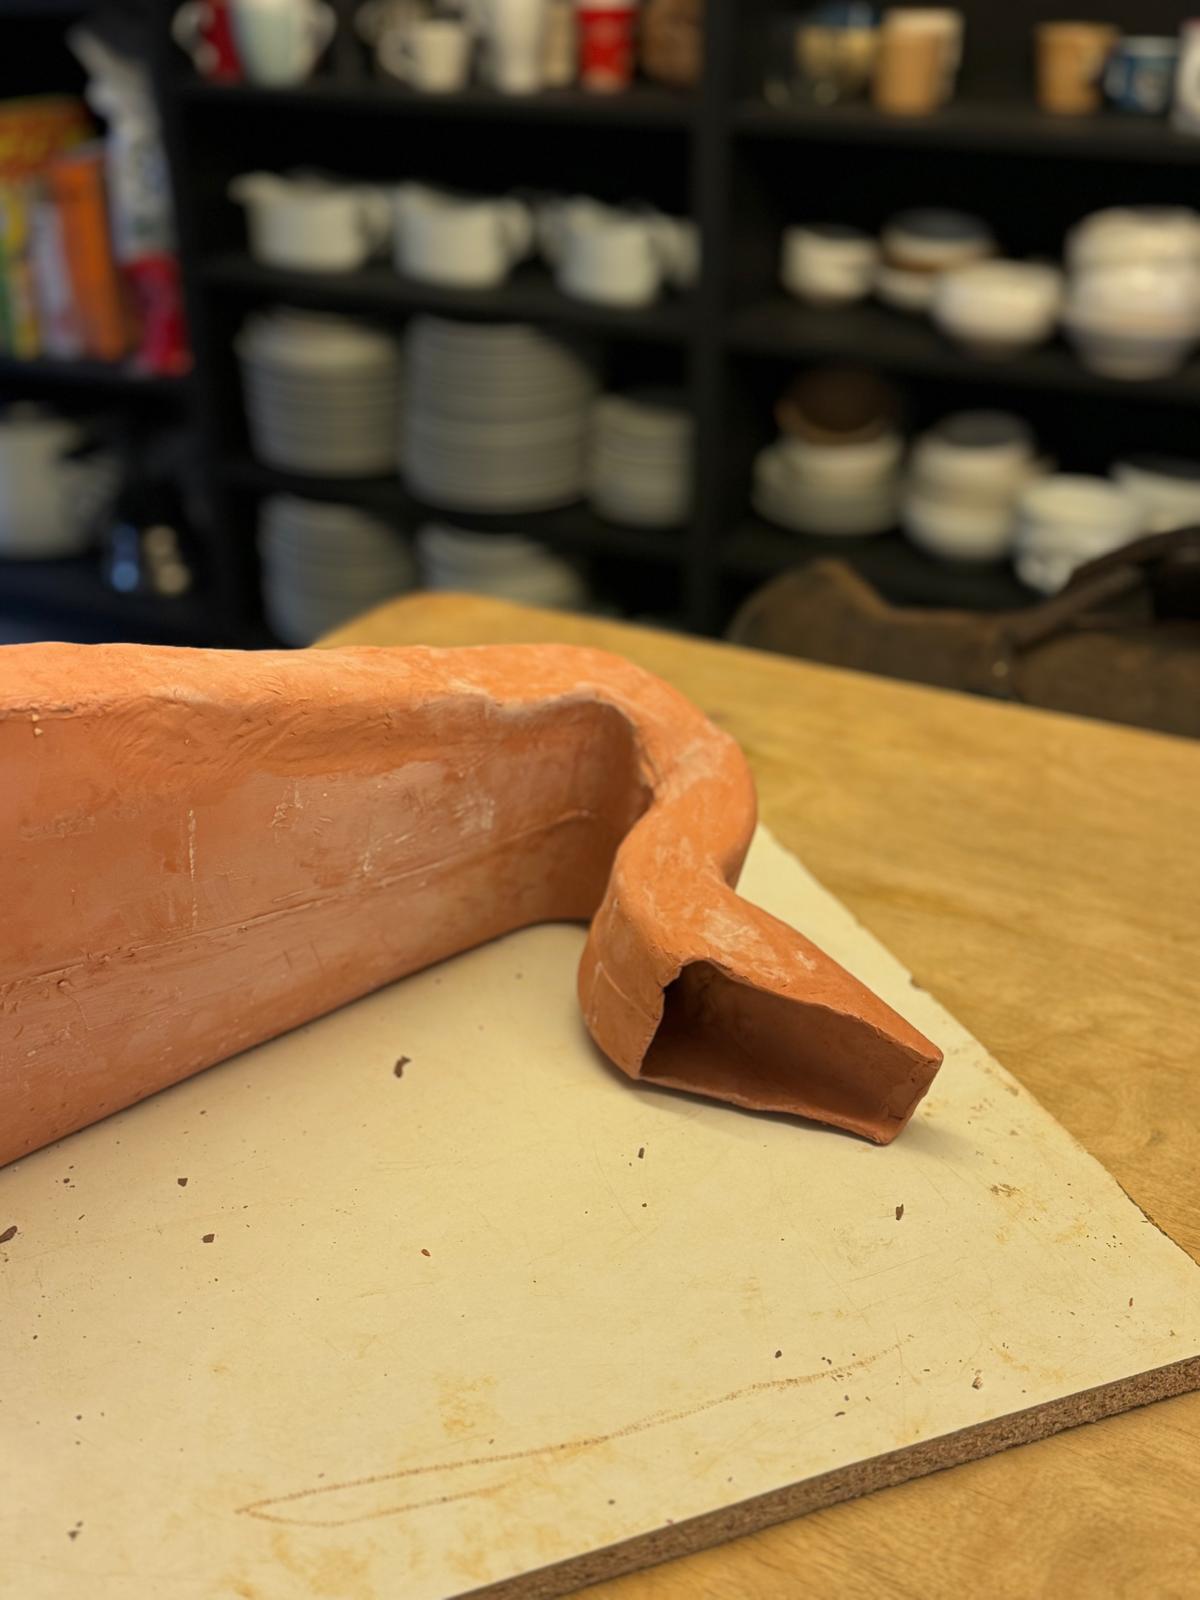
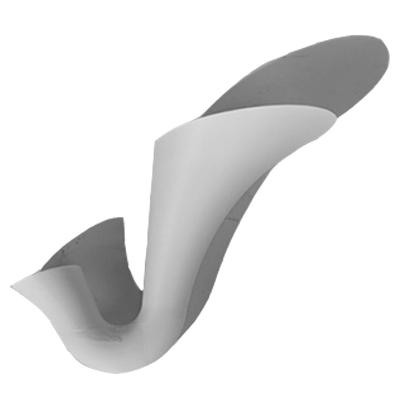
- The nature of the shape meant the walls were prone to slumping once out of the mould
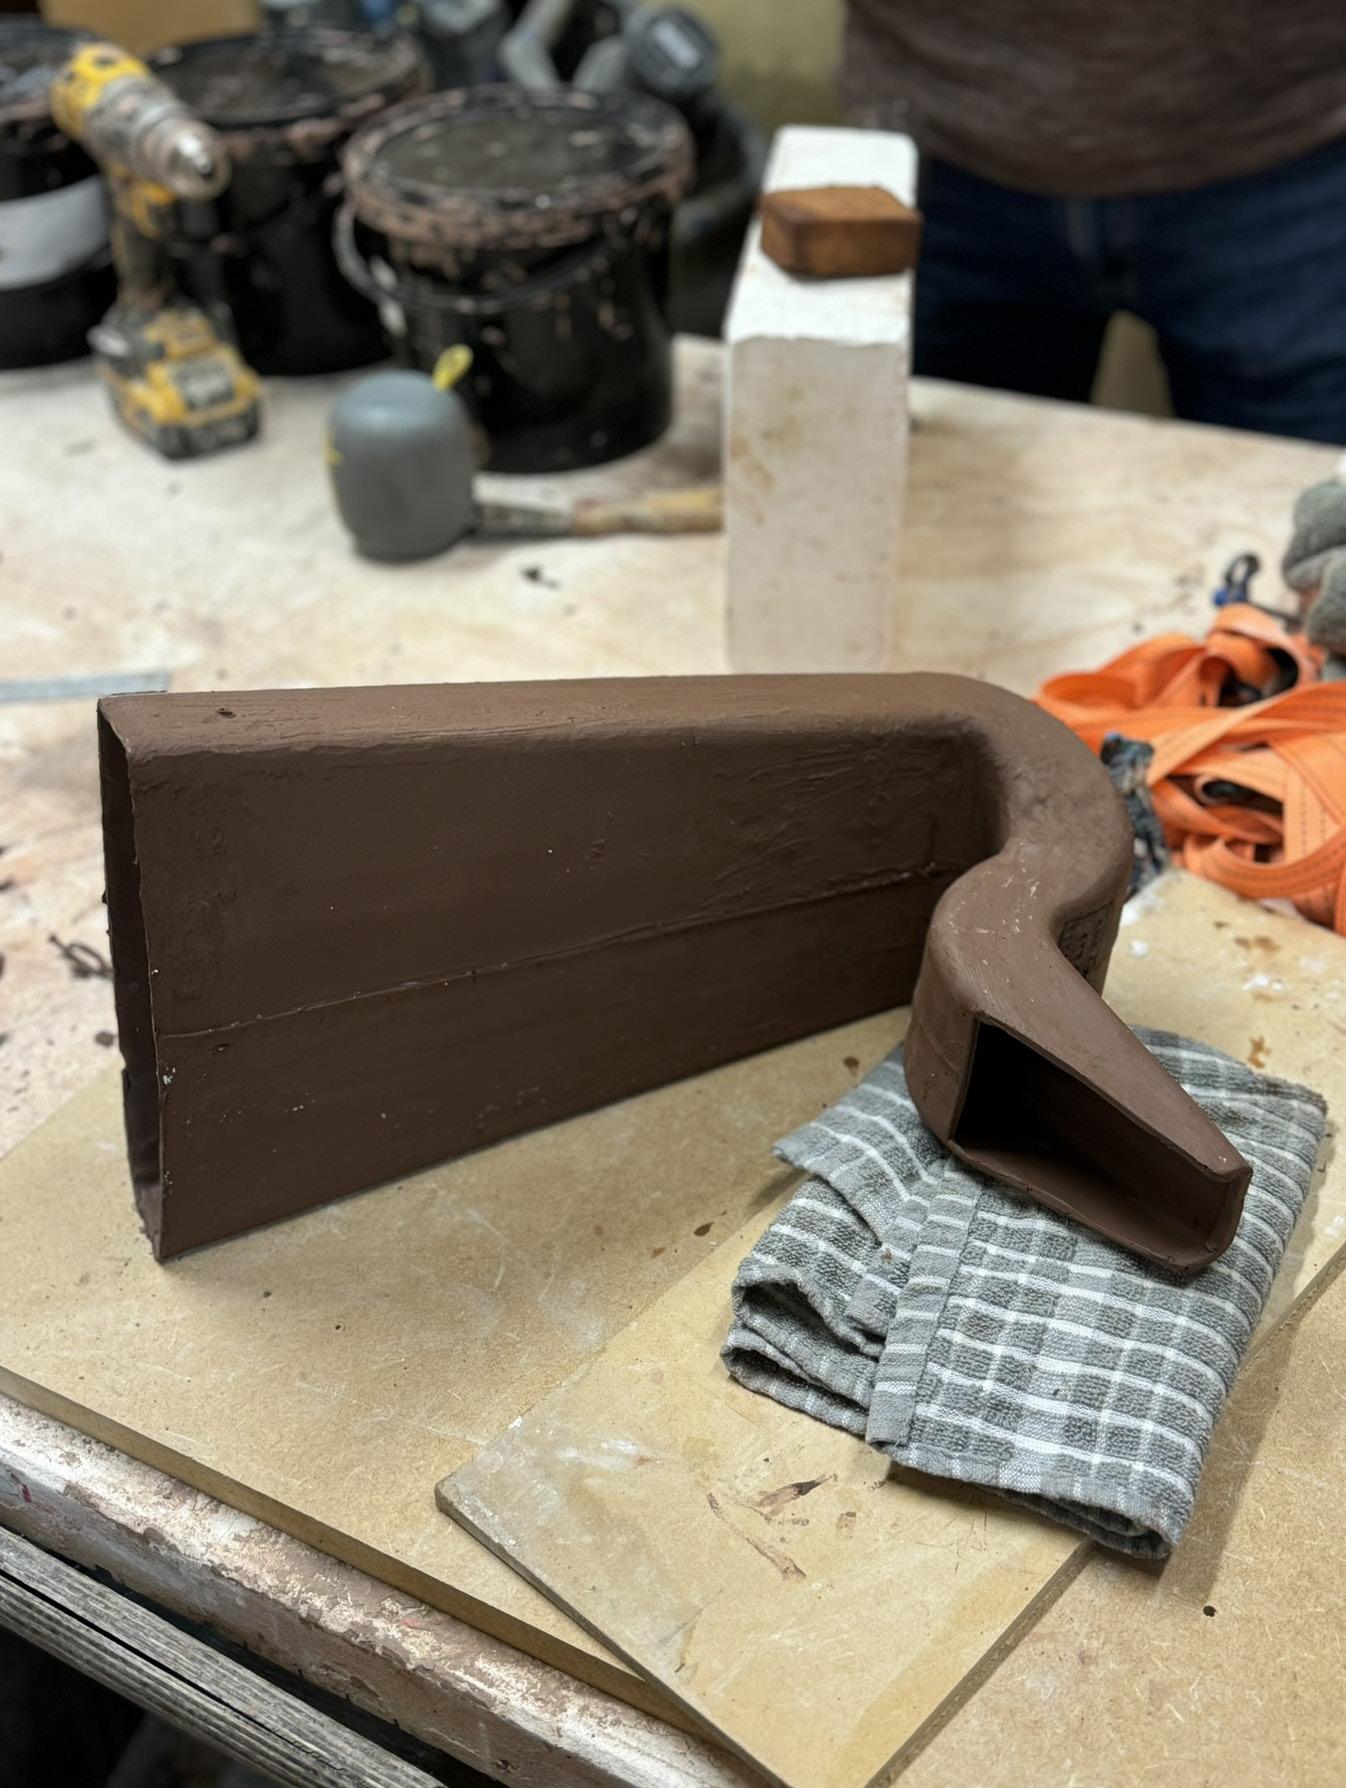
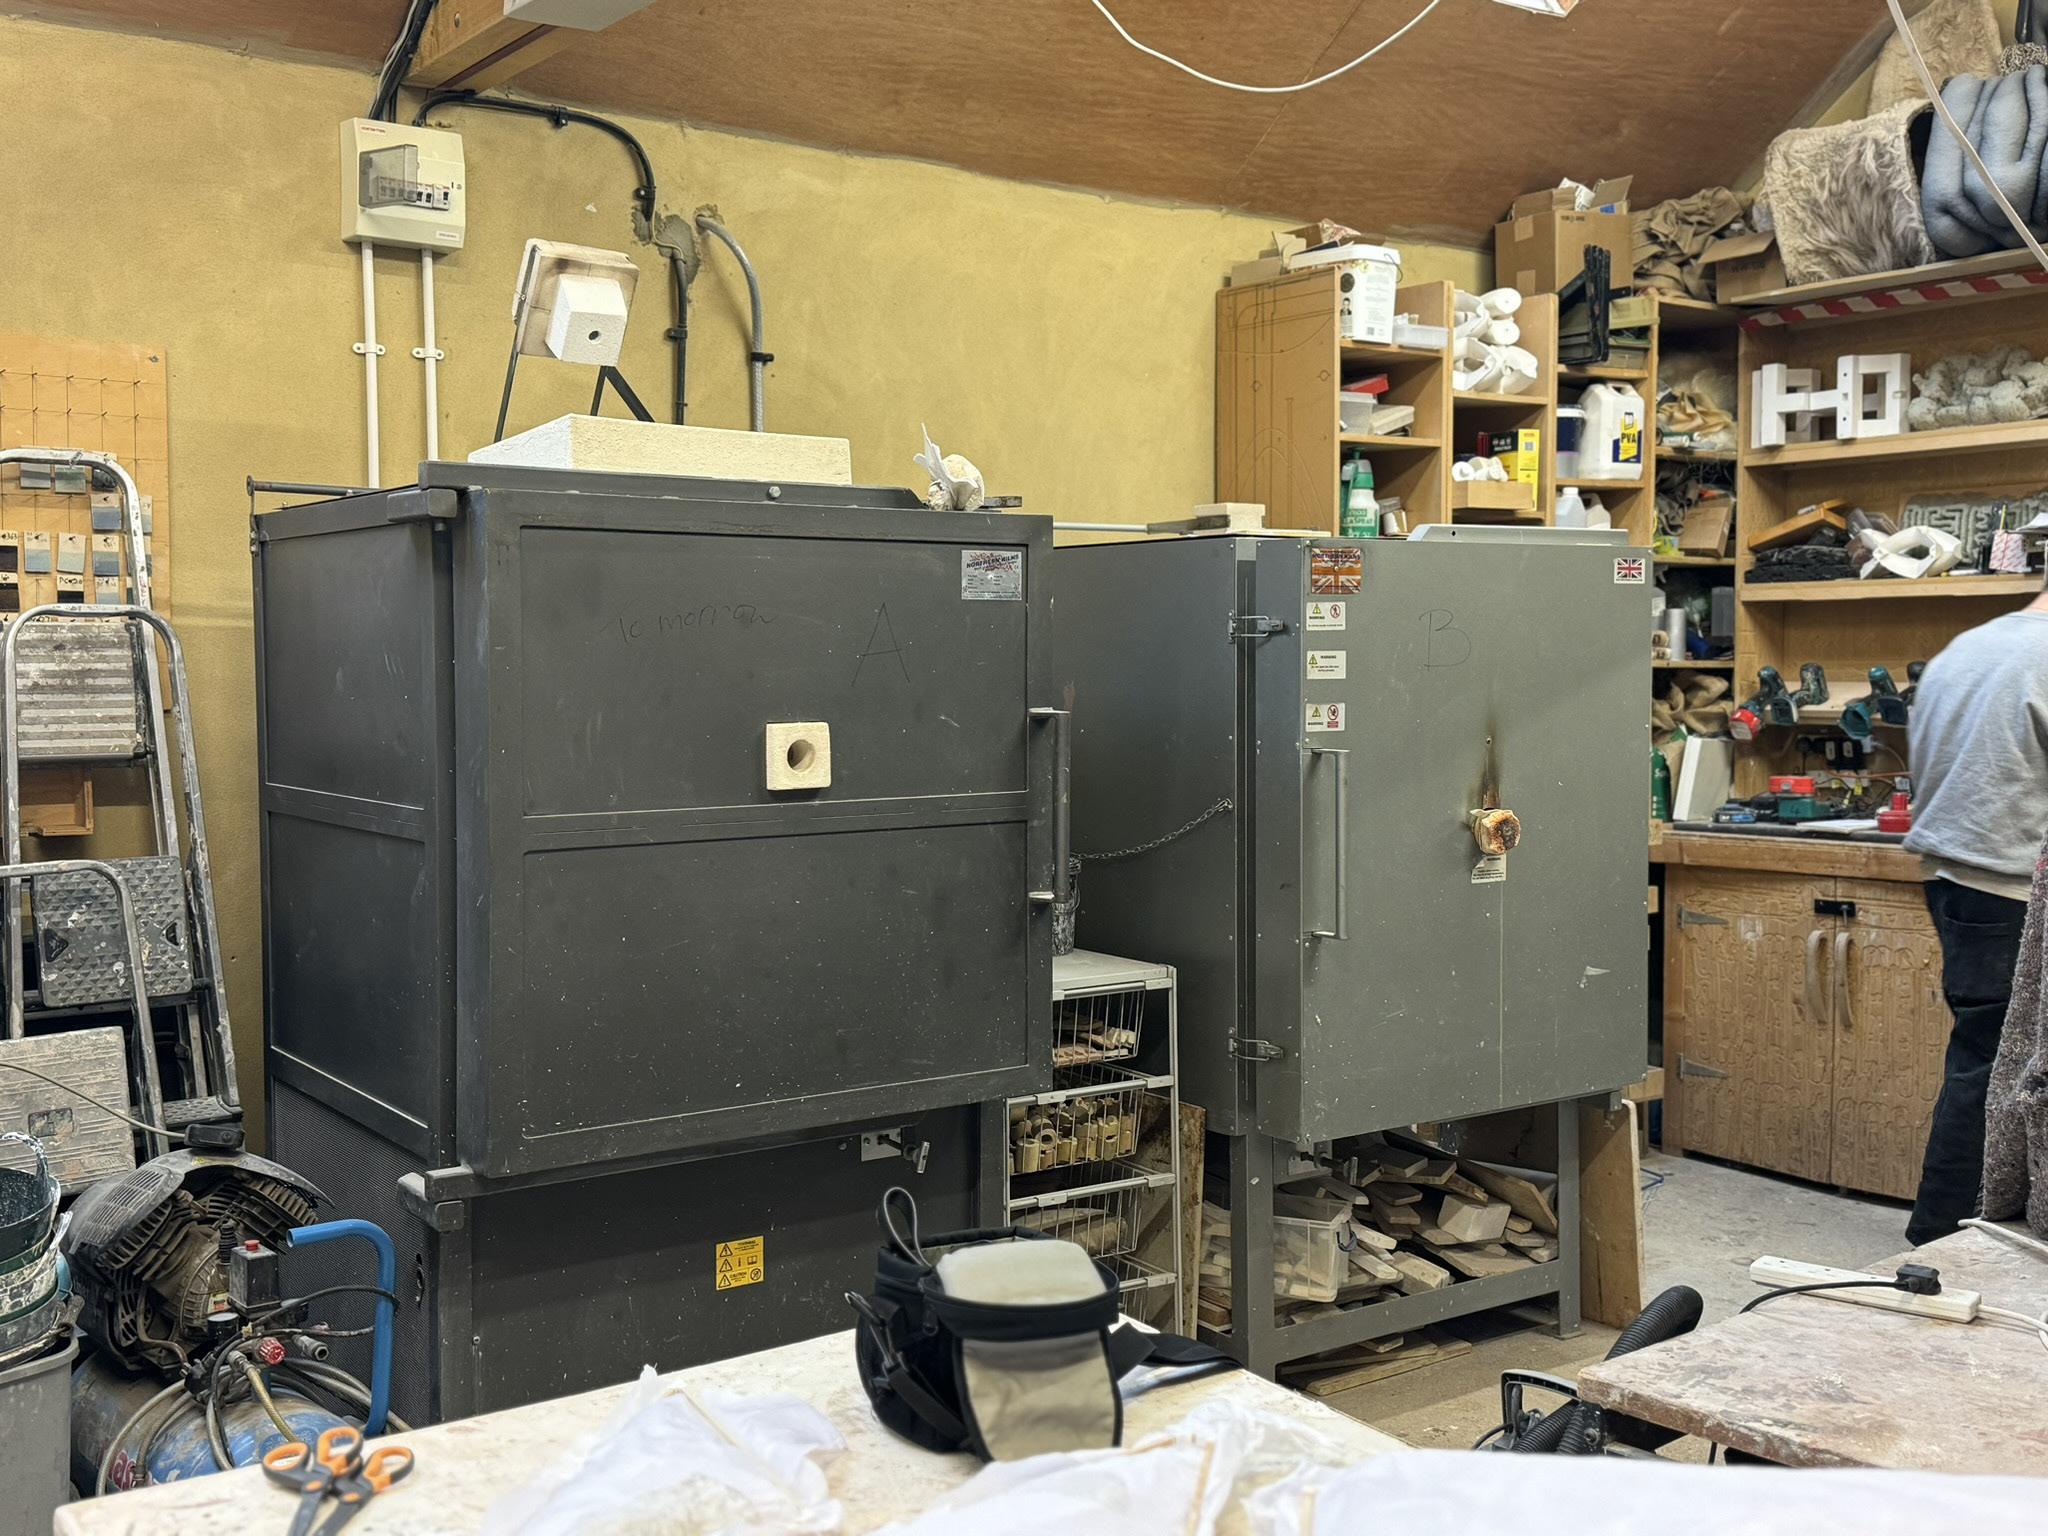
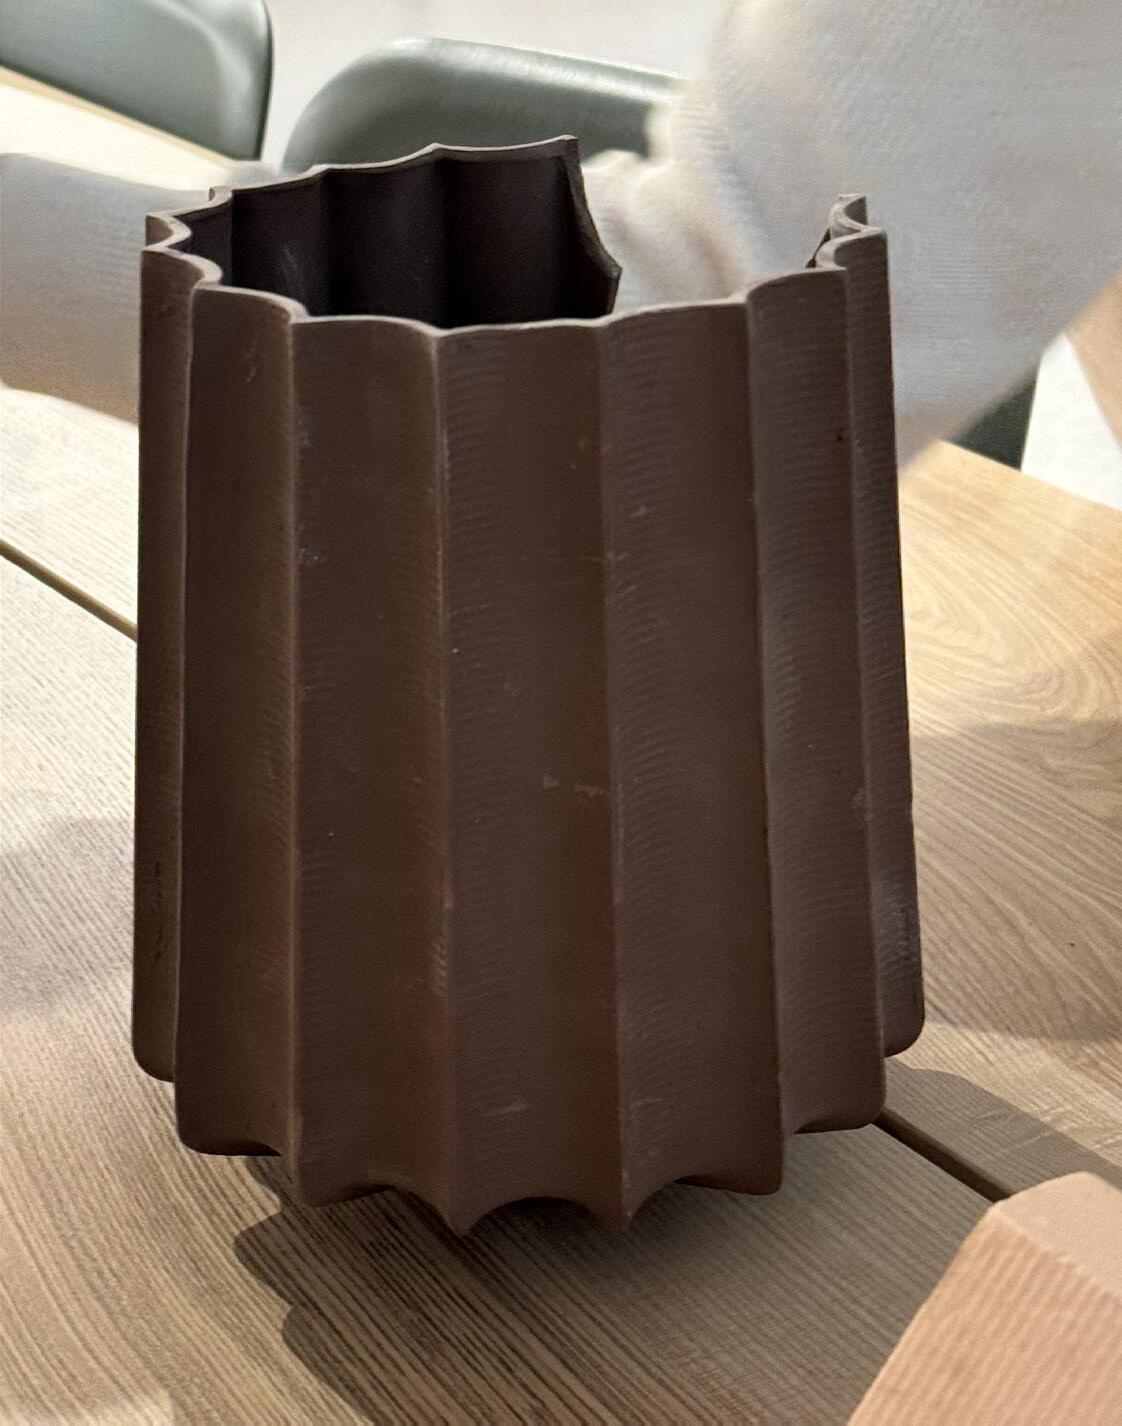
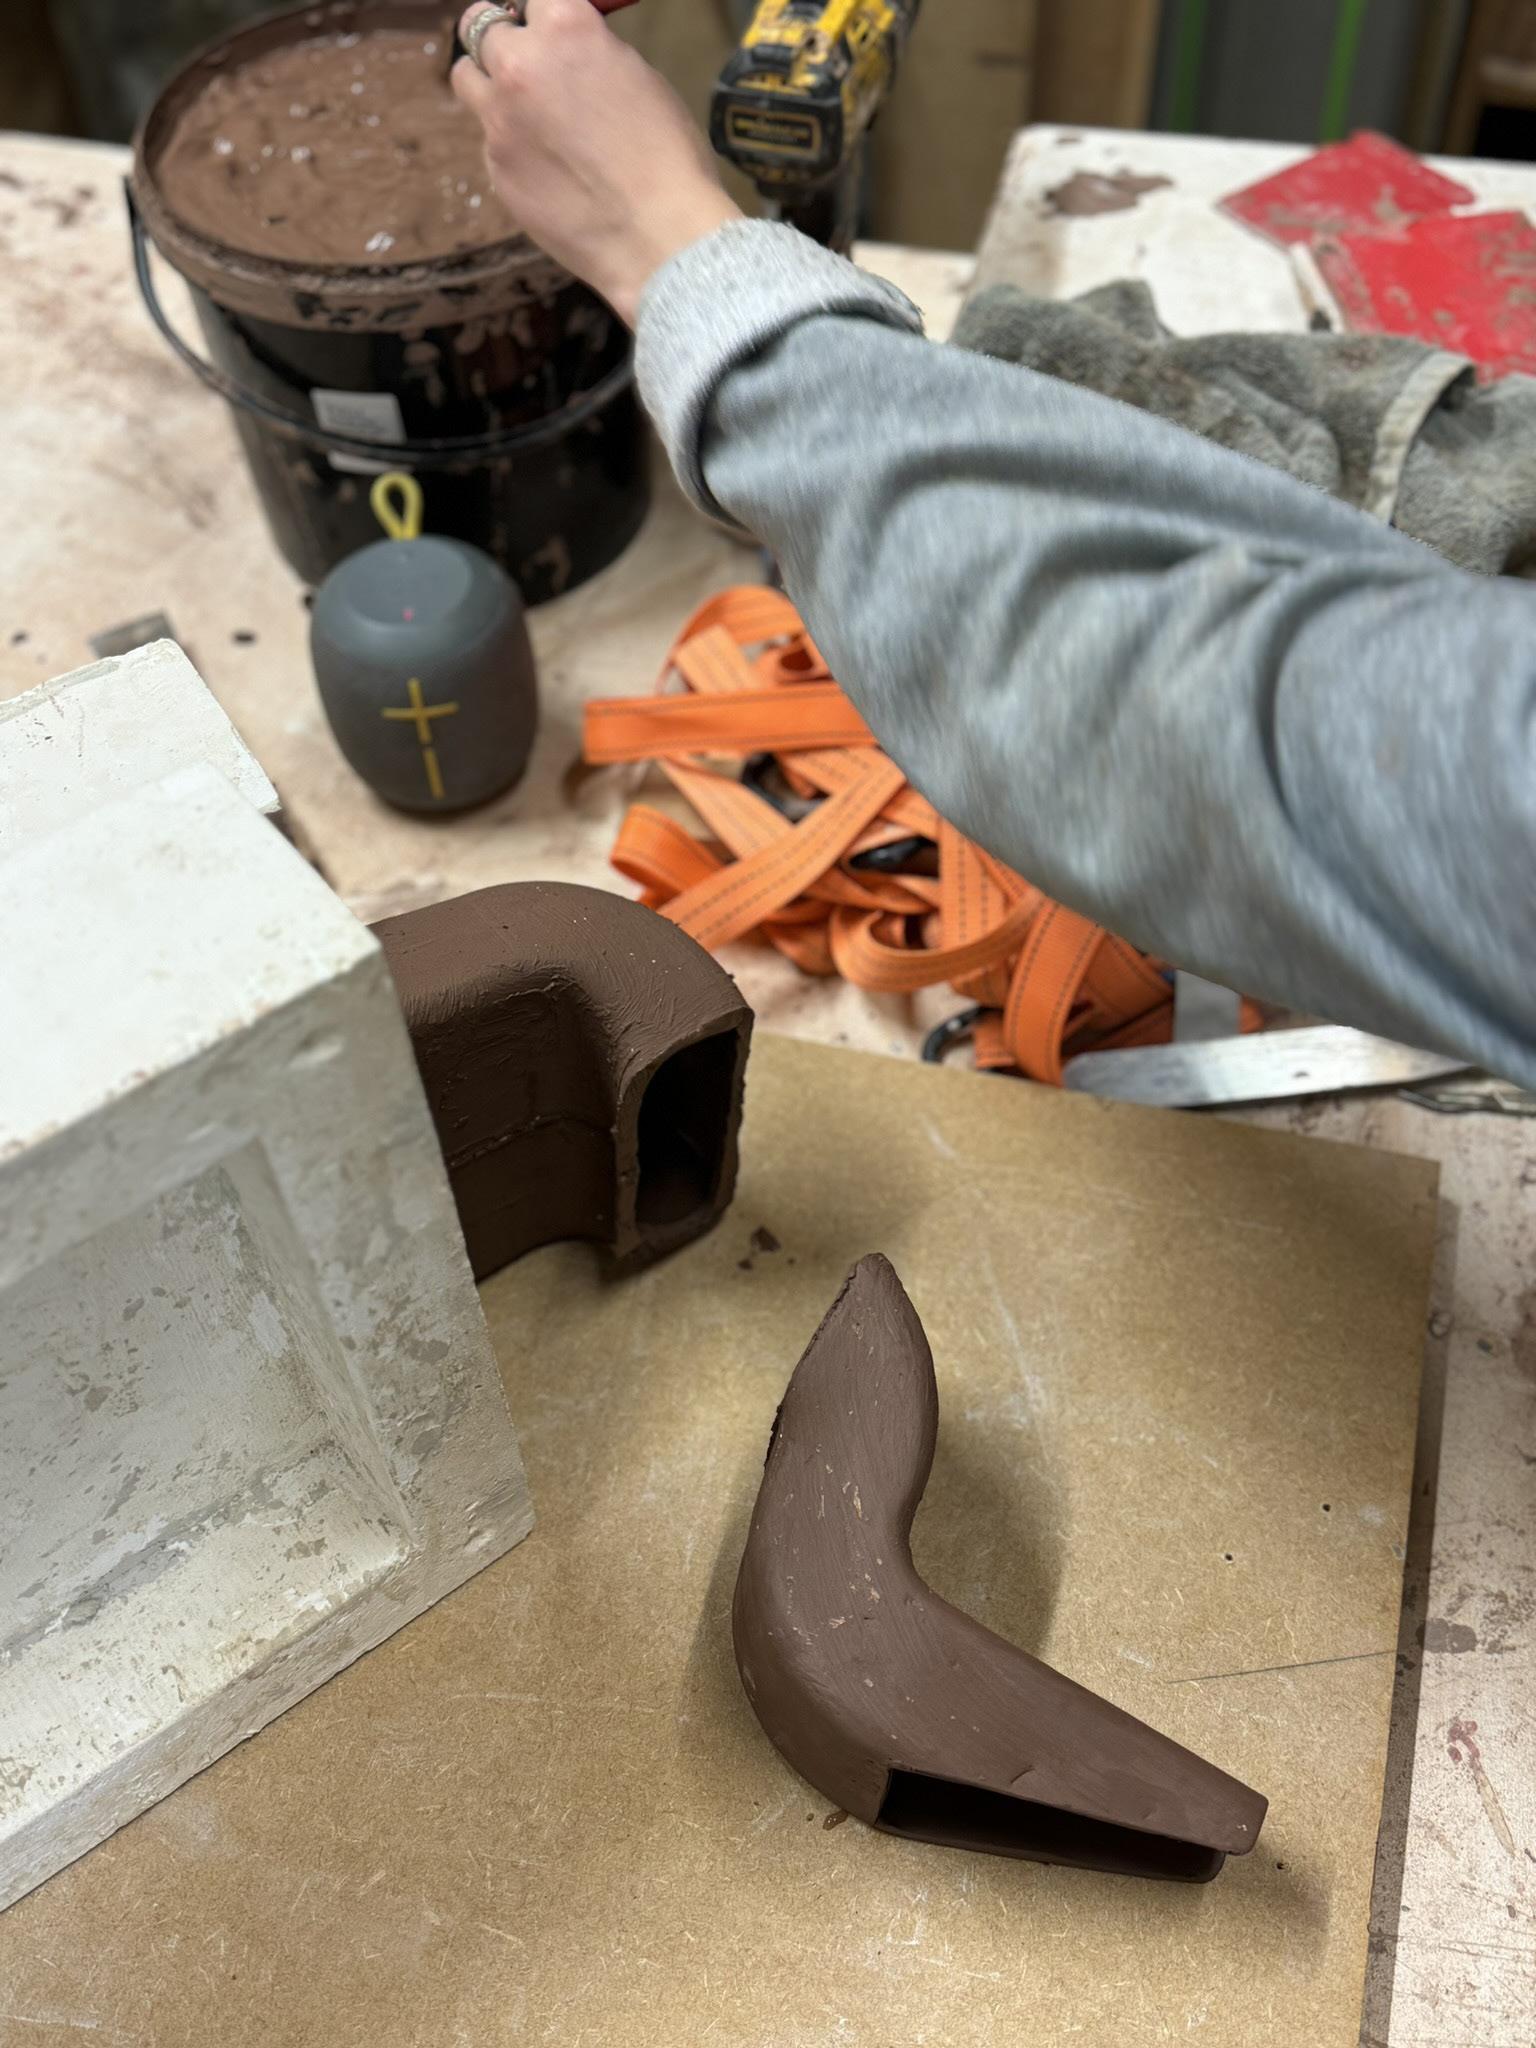
Firing
The shape needs to dry outside of the mould for a number of hours, ideally overnight. Once dry the shape can be bisc fired, this takes around 12 hours, glaze can then be added and the shape will have a final fire
Lessons Learnt:
- The walls of the shape need to be thick enough that they don’t crack
- Having 2 shapes that need to be joined means that the different slips dry at different rates due to their size/time of slipping, it is difficult to align all these factors and the connection creates a weakness more likely to crack when firing
- The shape needs many hours to cool after firing, this added extra time we had not accounted for
- The kiln also needs time to cool after being used
- The kiln has 4 temperature and time stages, other shapes cannot be simply added as and when they are ready
Learning Process
Many failed attempts have taught us more and more about the slipping process and the materials. Many prototypes / maquettes would have helped us to learn these lessons earlier and would have allowed us to have a more sleek final mould and slipping process.


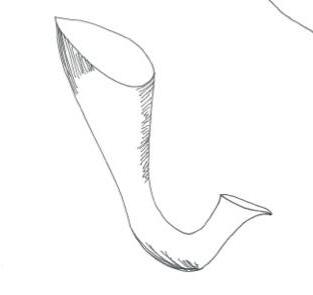
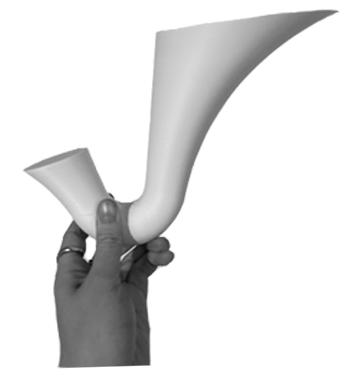
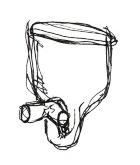
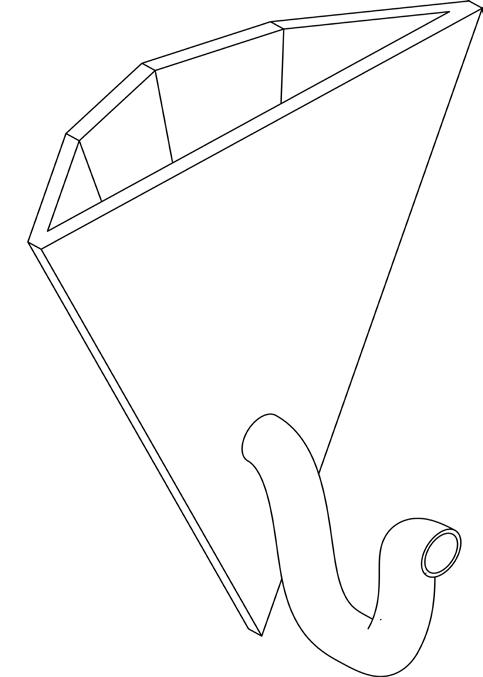
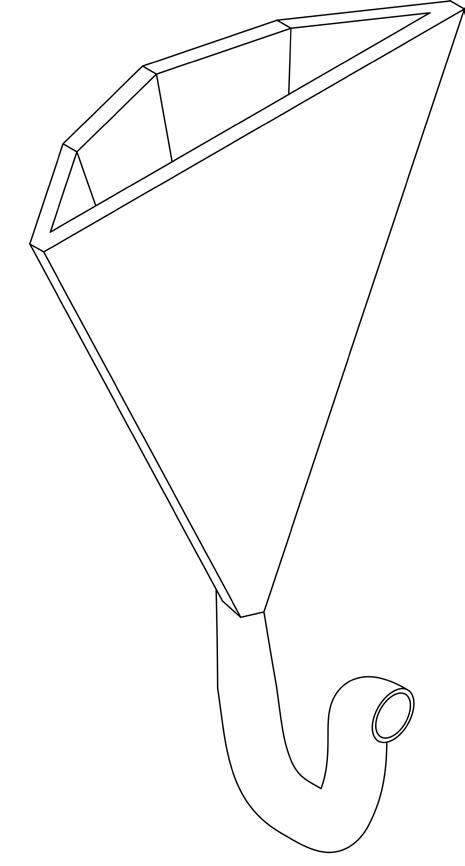
For this iteration we took inspiration from organic shapes, looking at specifically trumpet pitchers. These are flowers that collect rain water. Insects get attracted to the colourful veins of the flower and then they fall into the pitcher which is filled with water.
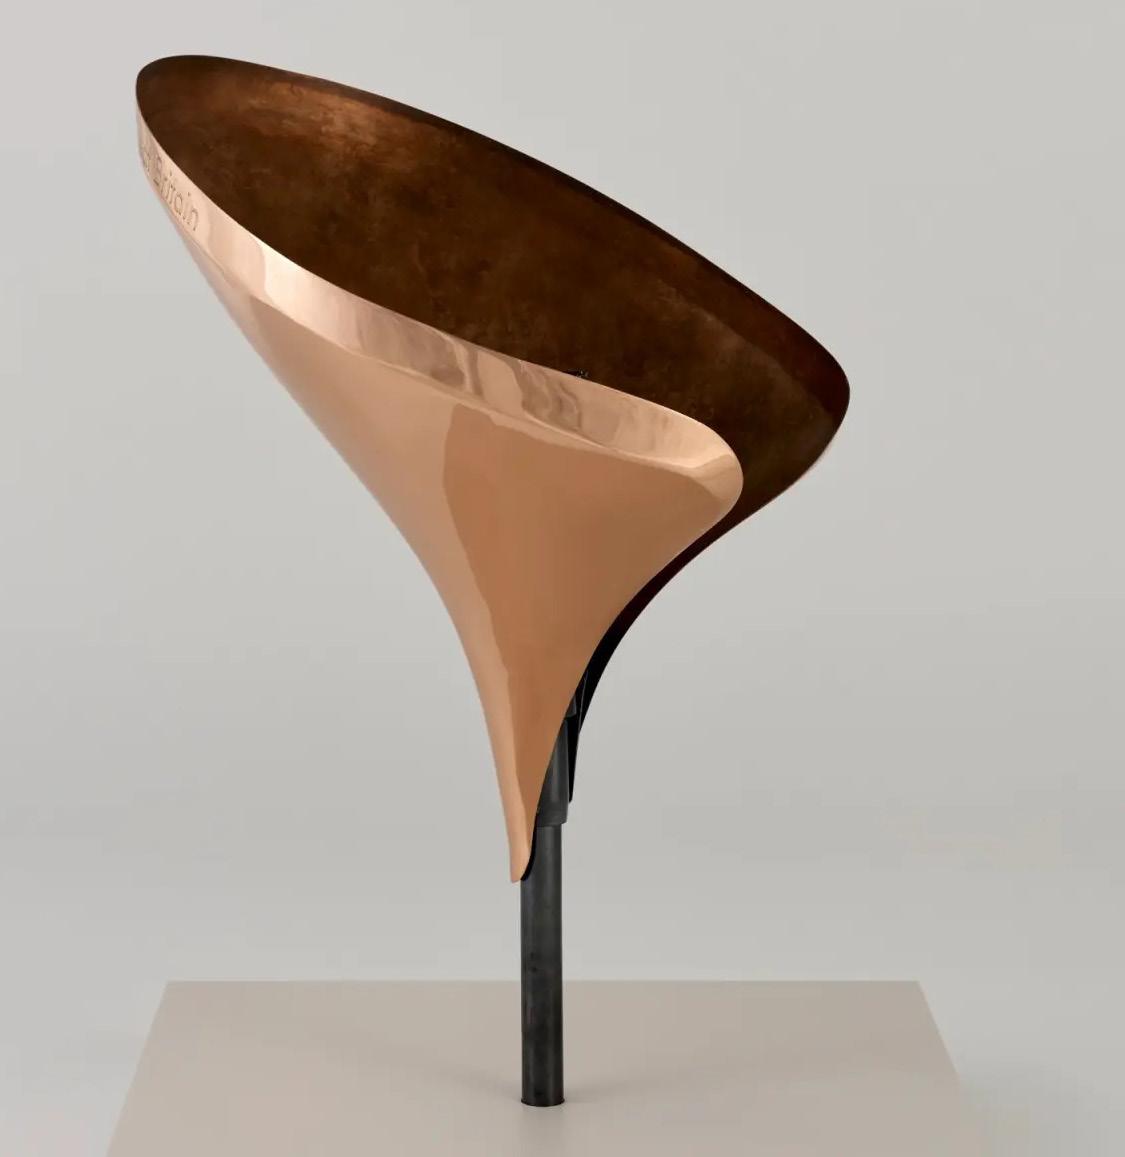
Petal like forms made from copper on top of steel stems. We took inspiration from the smooth, organic shape, as we were advised that straight lines are more difficult to take out of a slip cast mould.
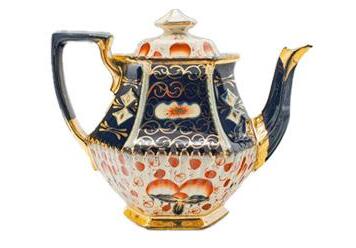
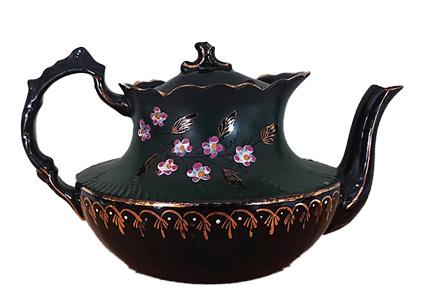
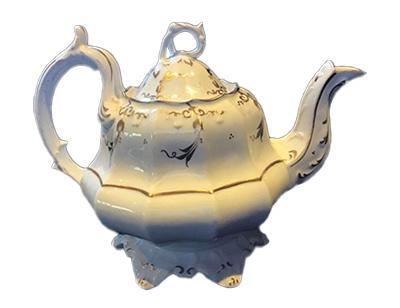
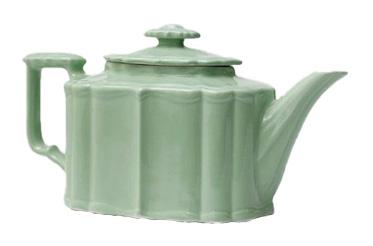
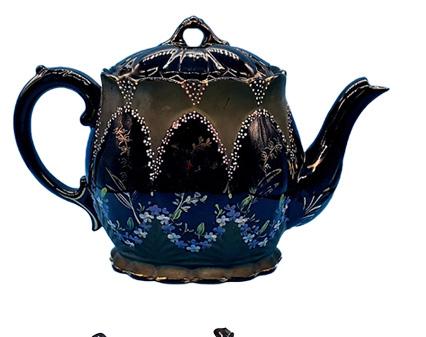
We took inspiration from Victorian ceramic
with the curvy spouts, and rounded body. We also took inspiration from some with more angular sides.