4 minute read
Step By Step


AN INTRODUCTION TO AluSplash BROUGHT TO YOU BY HÄFELE
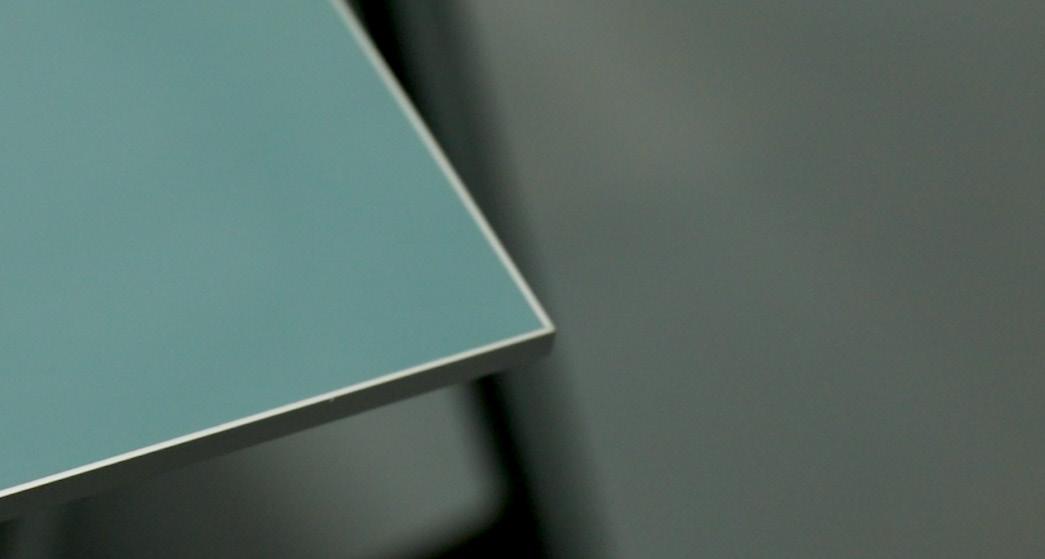
AluSplash is a new product from Häfele. It is an advanced aluminium based splashback and wall panel, which is eco-friendly, durable, cost effective and fire-resistant. Here is a brief overview of how you install it, its quick and simple to install providing you follow these instructions.
Advertisement
TOP INSTALLATION TIPS
1 2 3
1. ALWAYS remember your 1.5 expansion gap and USE packers! Not leaving sufficient expansion could cause the panel to bow, however this does not apply to joins. Once correctly joined this panel becomes one.
4
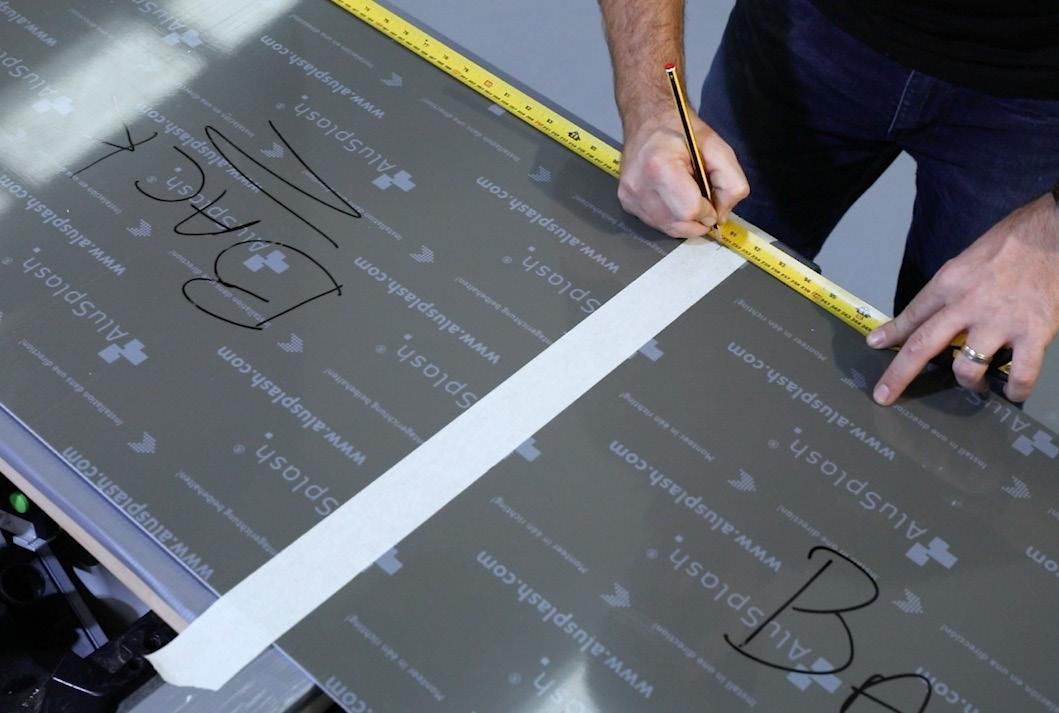
2. ALWAYS measure twice, cut once! Double check you’re measurements! As you’re working on the back of the panel it can become confusing. 3. ALWAYS work on the back of the AluSplash Panel! Working on the back of the panel will leave your “good” clean cuts on the face. It will also stop any surface scratches during fitting.
5
4. ALWAYS dry fit the panels and check the fit! We always encourage “dry fitting” this enables you to clearly check you’re work before final installation. 5. ALWAYS use the right kit & ensure you wear the correct PPE! Using the correct, sharp tools will ensure you have the very best work! Make sure you use the correct PPE throughout the installation. For the full video of how to install, please go to the Häfele UK YouTube Channel or click here.
HOW TO INSTALL
1
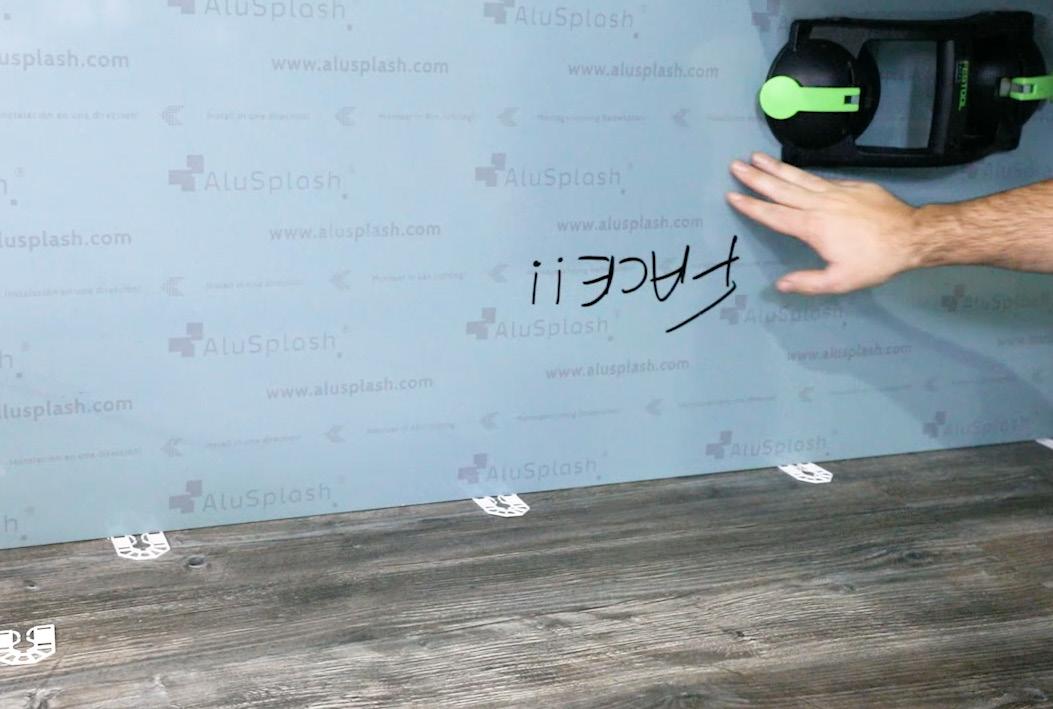
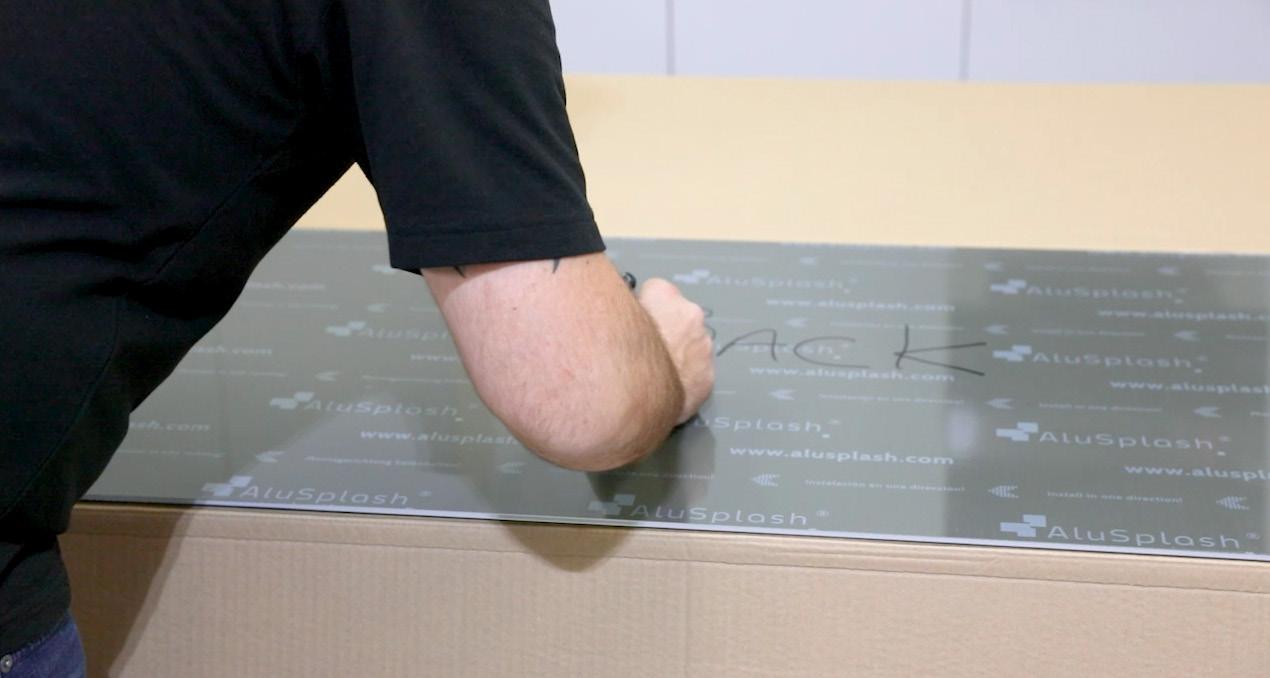
STEP 1. Preparation Be careful when lifting the panel, Alusplash is heavy & can bend easily. Open with care & check both sides of the panel for imperfections. Mark FACE & BACK on the panel to avoid making mistakes.
3
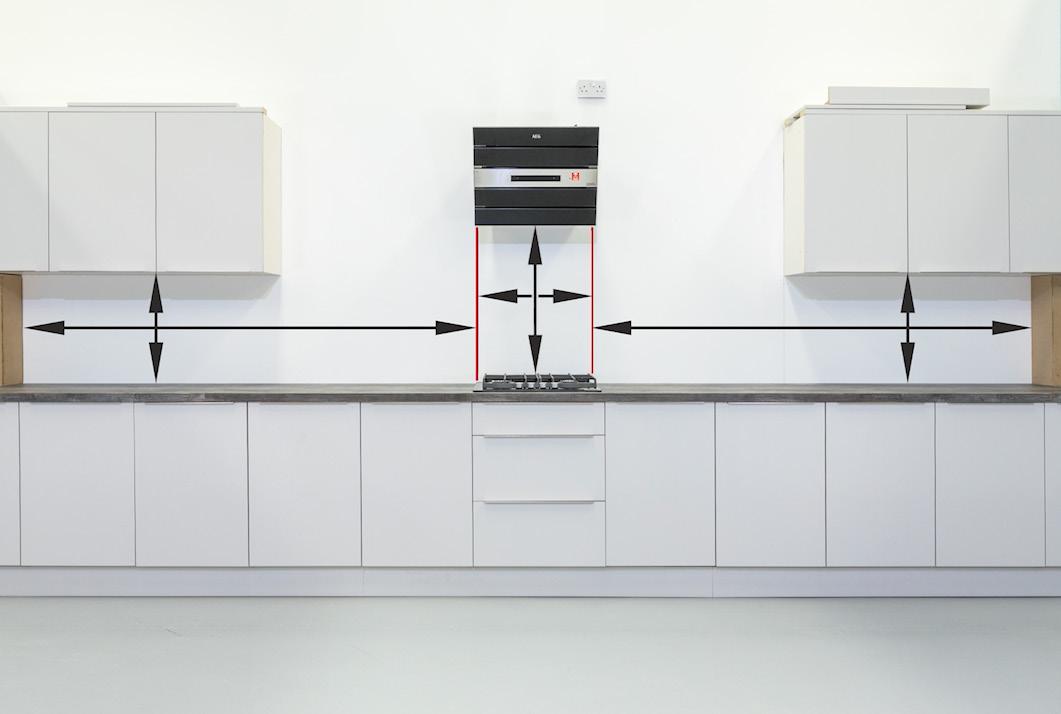
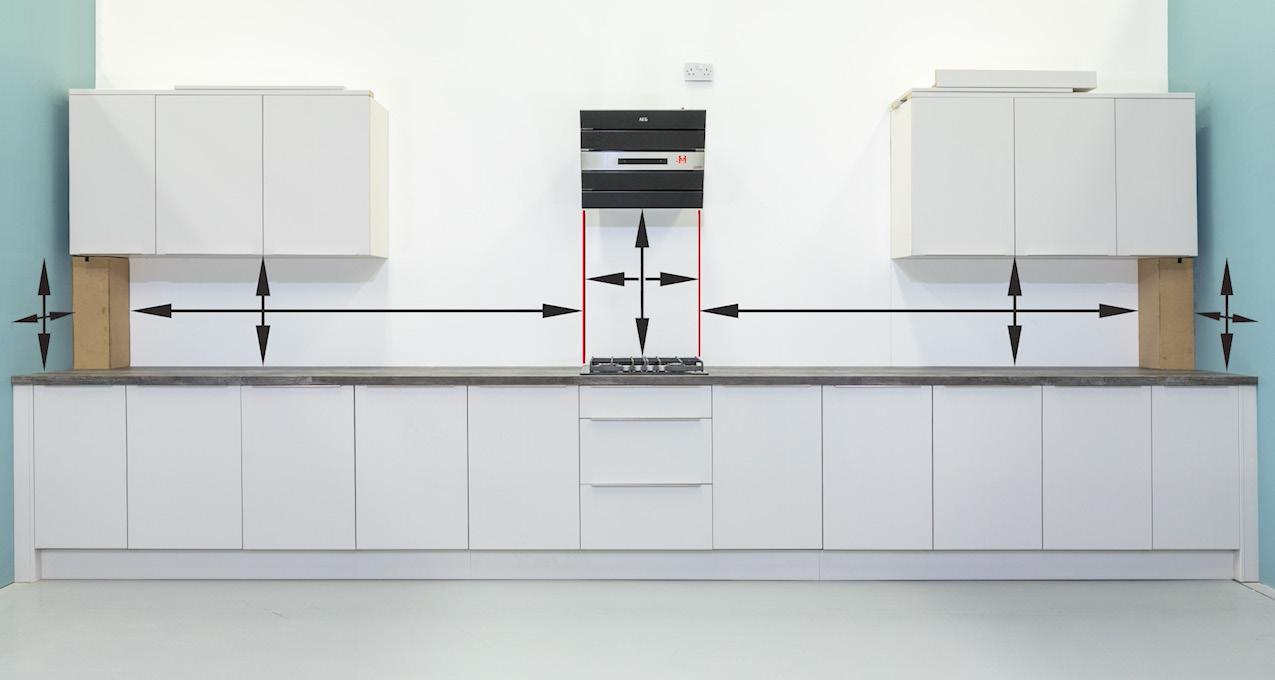
STEP 2. Measuring When you measure you need to ensure you measure ALLareas. Make sure you REMOVE 1.5mm for expansion. Expansion gaps are NOT required where you have a join. TOP TIP! Measure twice, cut once.
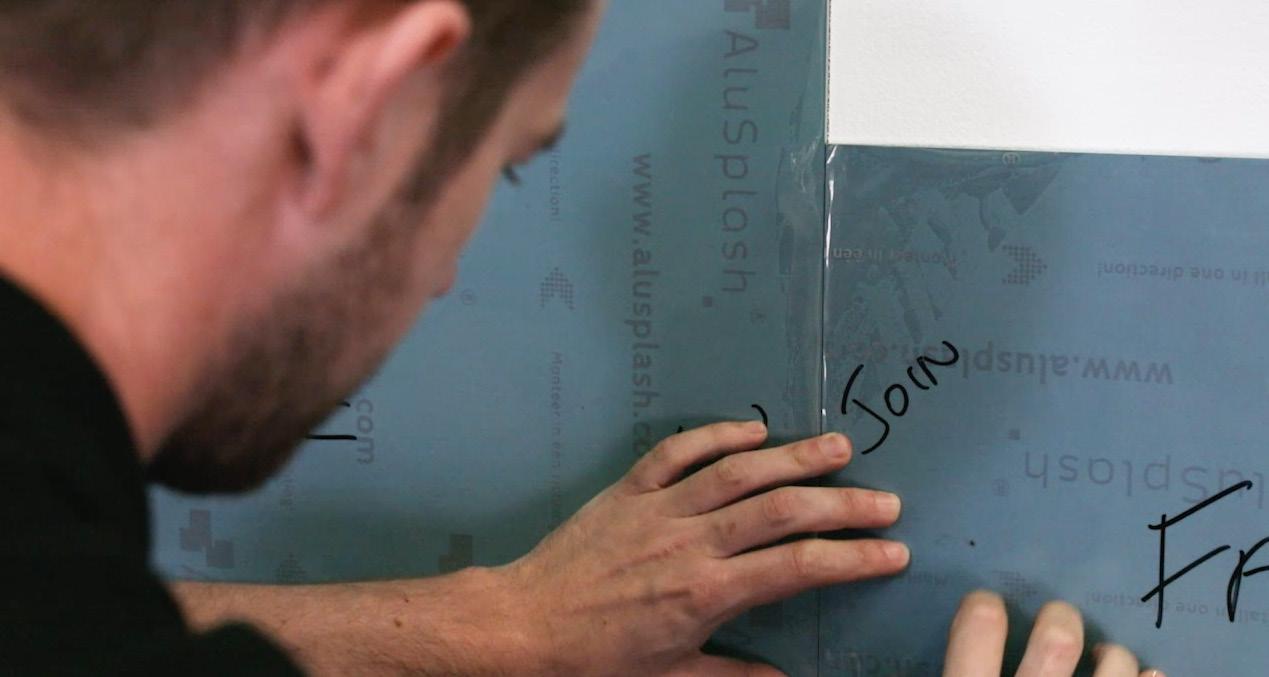
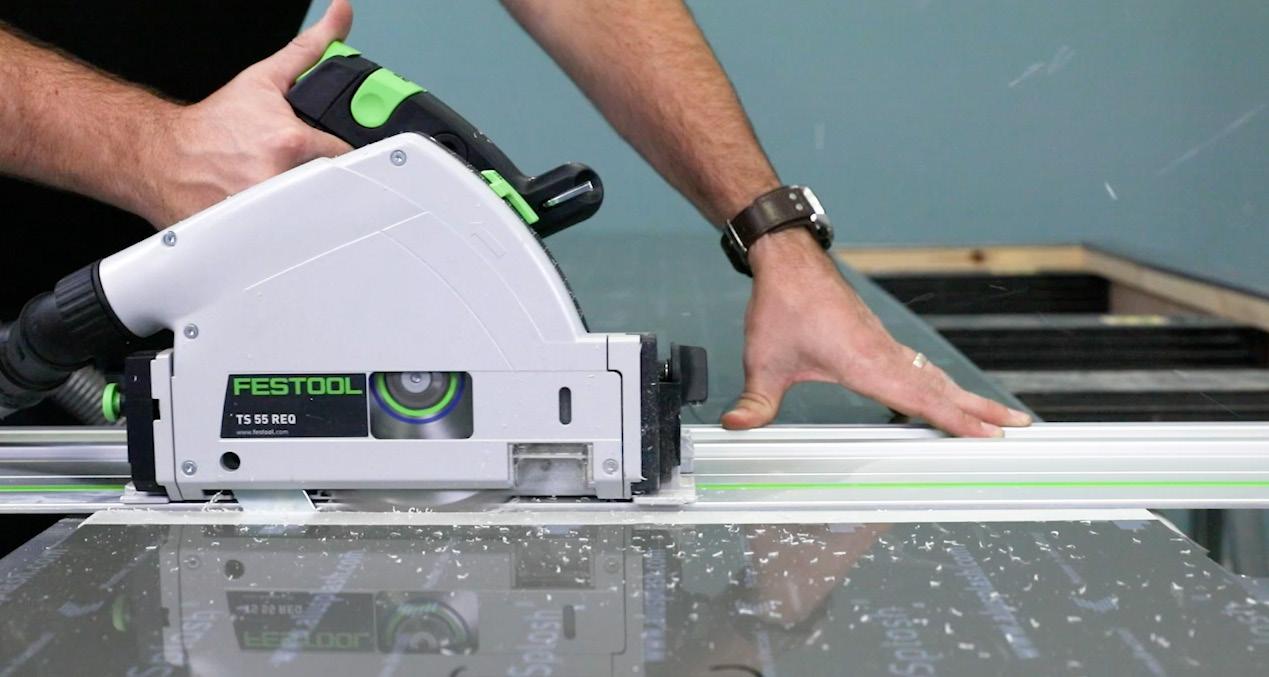
STEP 3. Cutting When cutting, always cut from the BACK of the panel. TOP TIP! Using an aluminium blade will ensure a precise clean cut. STEP 4. Joining Check you are happy with the join with the panels against the wall. If you require a joining strip, there are 2 ways of joining the panels together; either attach the joining strip to the panels when off the wall to create one, or attach it to one panel when off the wall and slide it behind the other once fitted to the wall.
5 STEP 5. Edging Profile Edging profiles add the finishing touch to the panels. Make sure you remove the protective film and dry fit the profiles, marking your mitres for a cut line. Use a chop saw to cut the profiles and dry fit before you attach.
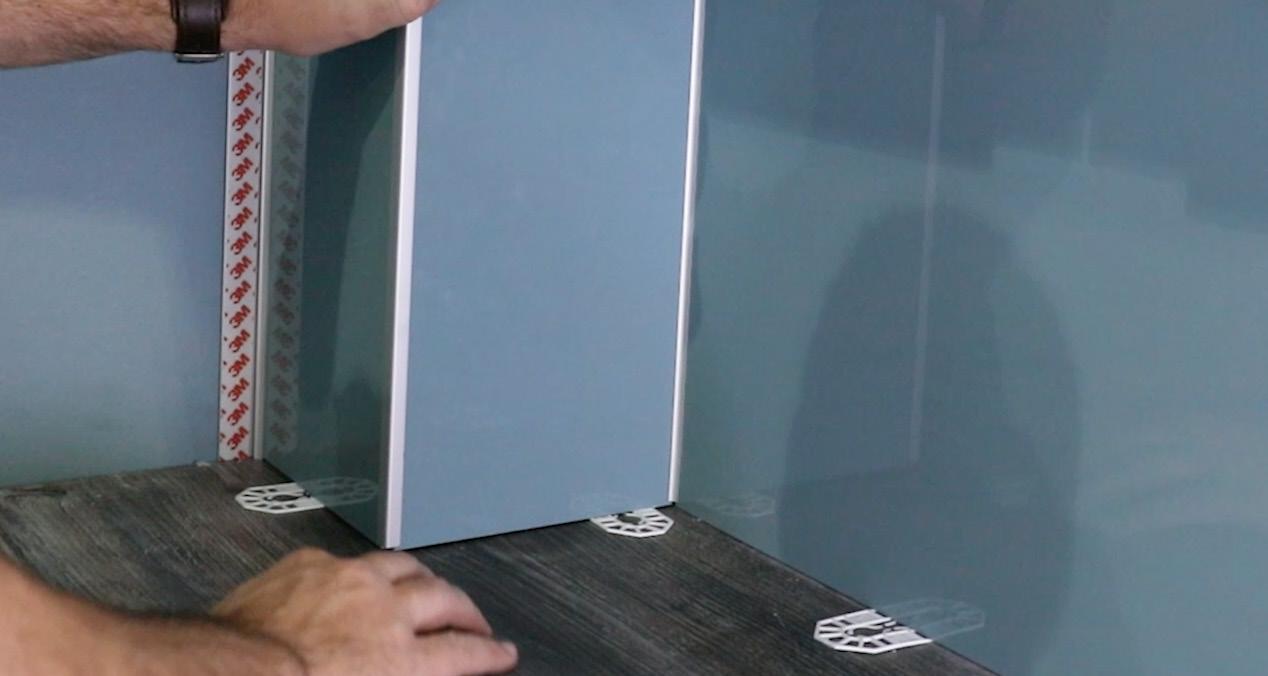
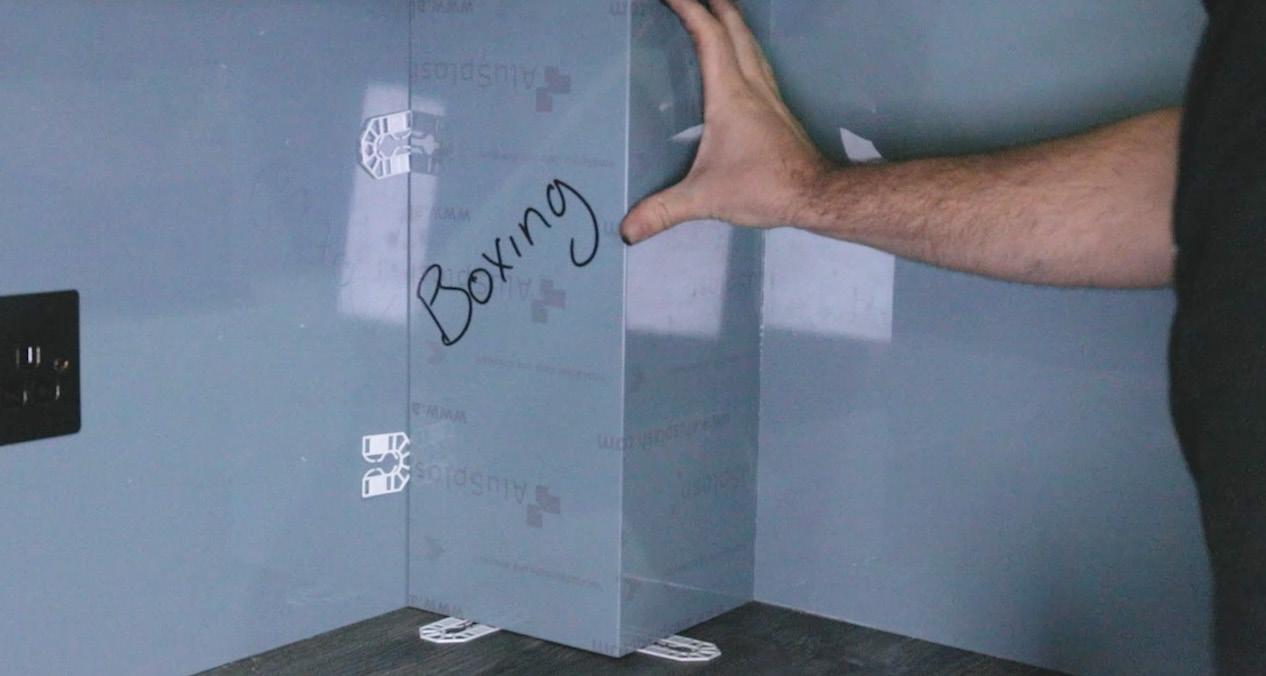
STEP 6. Seamless Boxing
This section is only required if you are boxing in concealed pipework or wiring etc. There are 2 different types of boxing you can create with AluSplash. 1. Seamless; where you bend the panel round to create a seamless edge. STEP 7. Trimmed Boxing 2. Trimmed; where you see the silver of the trim in your internal and external corner joins.
8 9a 9b
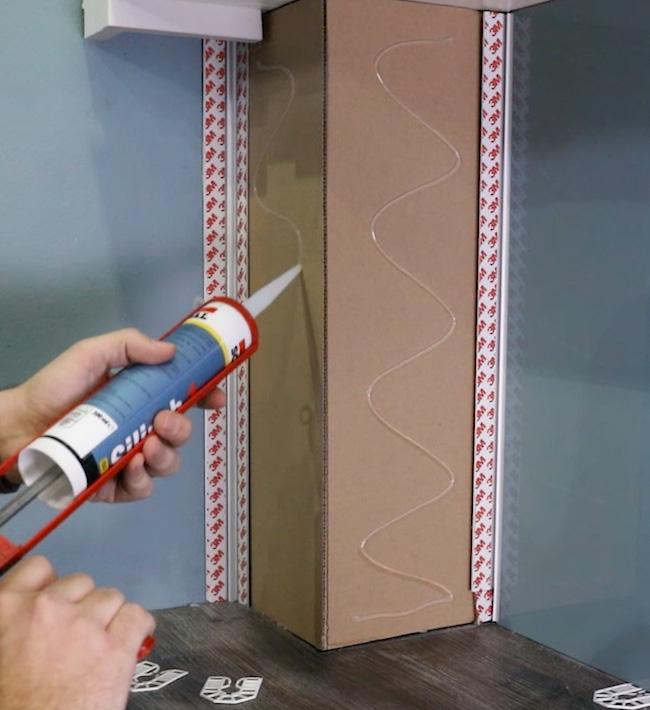
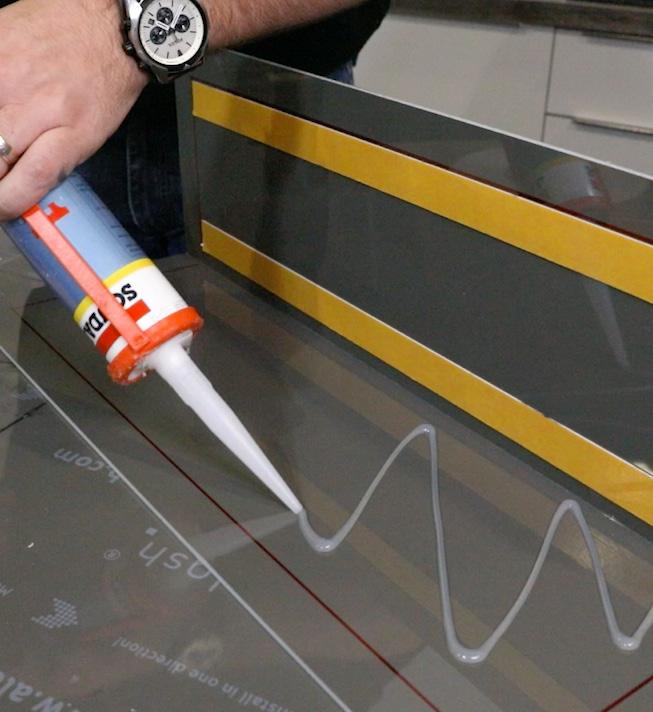
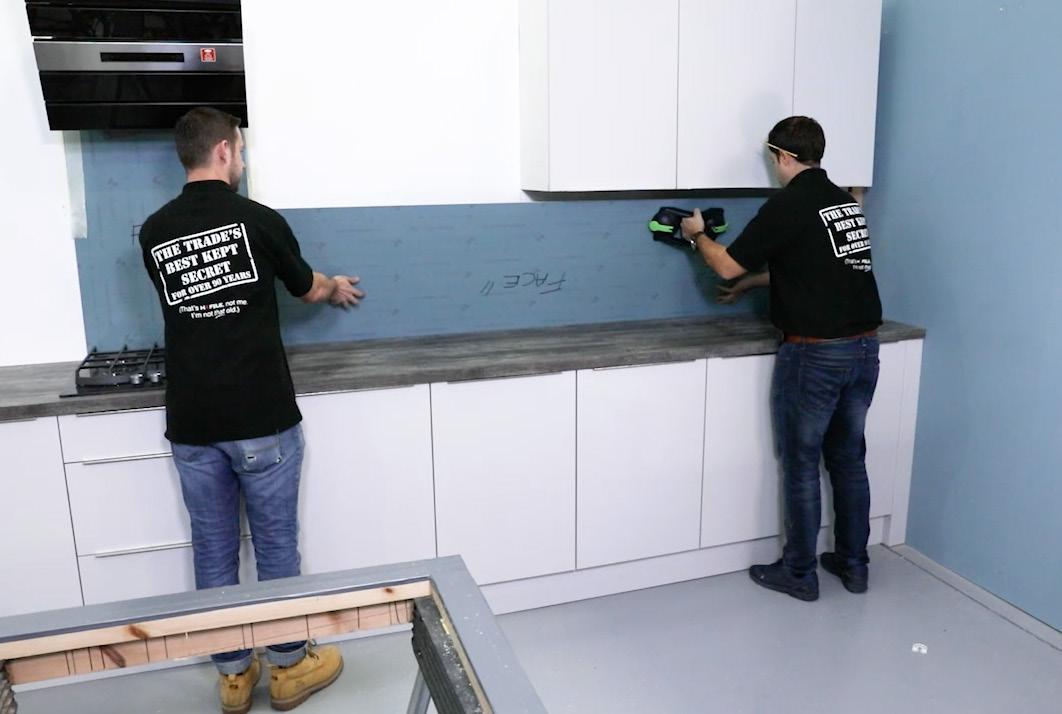
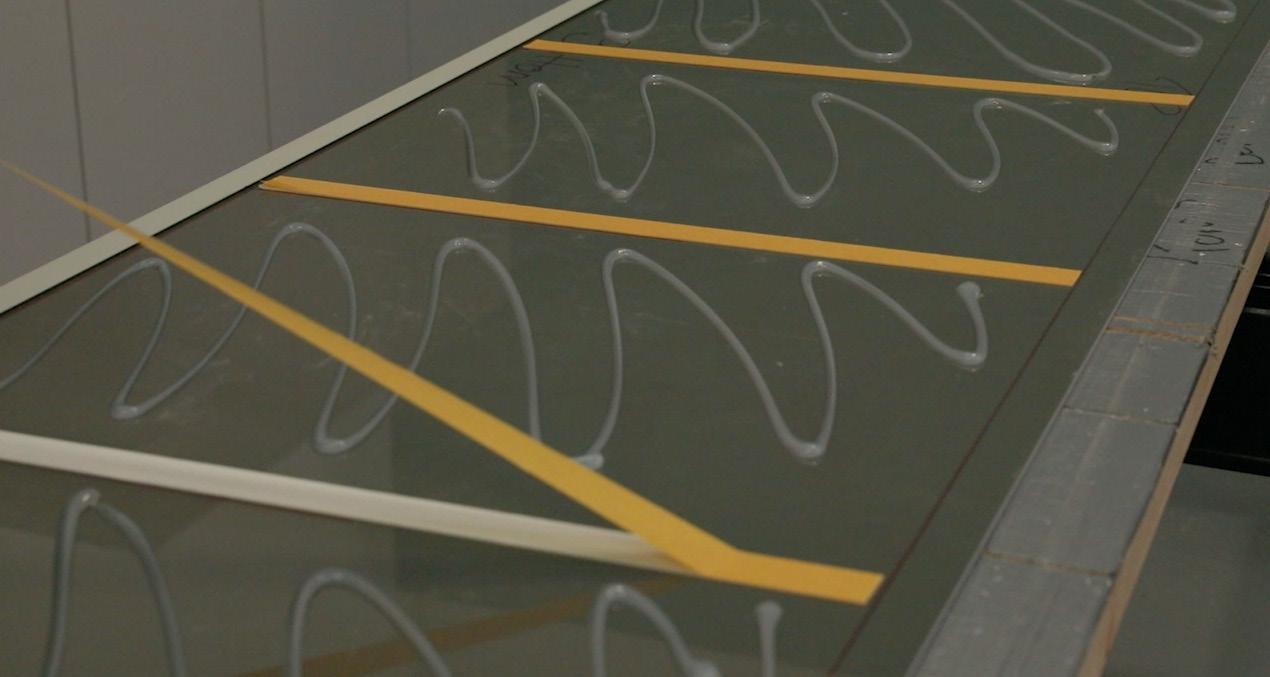
STEP 8 – Fitting panel When fitting, ensure the wall is clean. Measure and mark a 25mm line on all visible edges, and then mark 400mm across the panel for where you will apply the double sided tape, this allows the panel to hold in place whilst the silicone is sets. When setting the panel, always remember to use packers to allow for expansion. STEP 9a. Fitting of seamless boxing STEP 9b. Fitting of trimmed boxing
This section is only required if you are boxing in concealed pipework or wiring etc. Seamless; make sure you apply tape to one side and silicone the other. When setting the panel, remember to use packers to allow for expansion. Trimmed; attach the panels into the external trim, silicone both sides of the boxing and side the panels into place. When setting the panel, remember to use packers to allow for expansion.
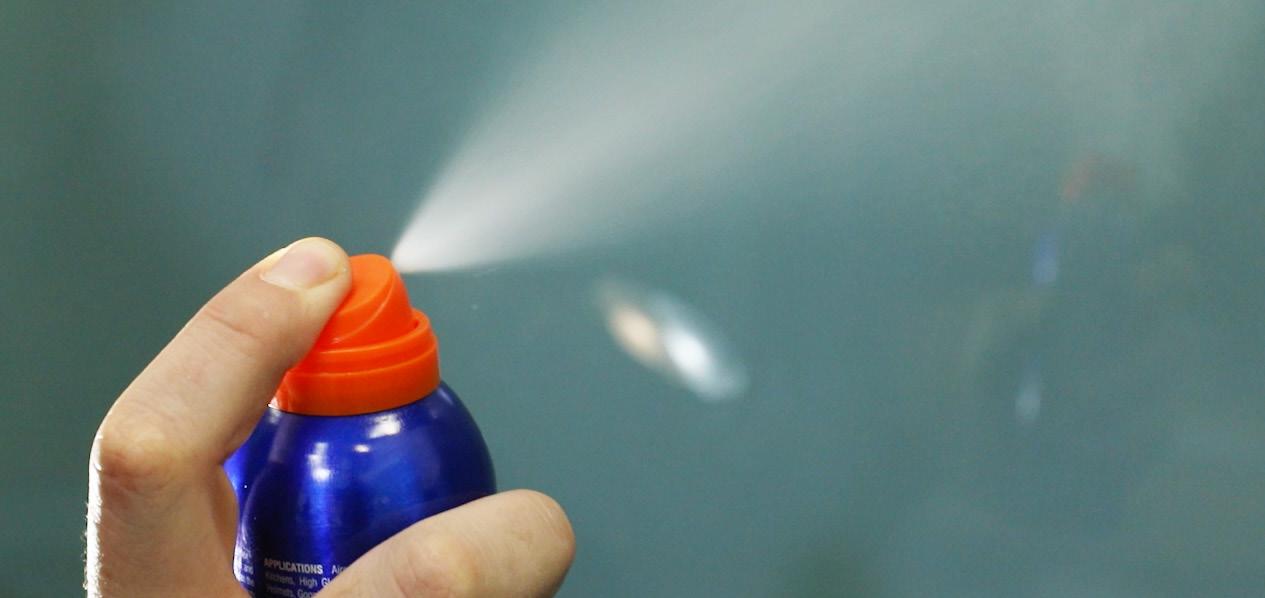
STEP 10 – Completion When the installing of the panel is complete, add any sockets back in place, remove the packers and clean the work surface. You can then apply the silicone and apply vuplex.
To find out where you can buy AluSplash, please go to www.alusplash.com


