100 Sweet & Simple Drawing Lessons for Creative Kids


KindKids Let’s Draw Cute Stuff © 2025 by Mandy Ford and Better Day Books, an imprint of Schiffer Publishing, Ltd.
Publisher: Peg Couch
Book Designers: Lindsay Hess and Llara Pazdan
Editors: Colleen Dorsey and Jules Hostetter
All rights reserved. No part of this work may be reproduced or used in any form or by any means — graphic, electronic, or mechanical, including photocopying or information storage and retrieval systems — without written permission from the publisher.
The scanning, uploading, and distribution of this book or any part thereof via the internet or any other means without the permission of the publisher is illegal and punishable by law. Please purchase only authorized editions and do not participate in or encourage the electronic piracy of copyrighted materials.
“Better Day Books,” the floral book logo, and “It’s a Good Day to Have a Better Day” are registered trademarks of Schiffer Publishing, Ltd.
“Schiffer,” “Schiffer Publishing, Ltd.,” and the pen and inkwell logo are registered trademarks of Schiffer Publishing, Ltd.
Library of Congress Control Number: 2025932108
ISBN: 978-0-7643-7007-6
Printed in China
10 9 8 7 6 5 4 3 2 1
Published by Better Day Books, an imprint of Schiffer Publishing, Ltd.

Better Day Books
Email: hello@betterdaybooks.com Web: www.betterdaybooks.com
Visit us on Instagram! @better_day_books
Schiffer Publishing 4880 Lower Valley Road Atglen, PA 19310
Phone: 610-593-1777
Fax: 610-593-2002
Email: info@schifferbooks.com Web: www.schifferbooks.com
For our complete selection of fine books on this and related subjects, please visit our website at www.betterdaybooks.com. You may also write for a free catalog.
Better Day Books titles are available at special discounts for bulk purchases for sales promotions or premiums. Special editions, including personalized covers, corporate imprints, and excerpts, can be created in large quantities for special needs. For more information, contact the publisher.


Welcome to the KindKids Let’s Draw series! Inside this book, you’ll find lots of fun drawing lessons to help you develop your artistic skills. You will learn to draw and color all different kinds of cute stuff, like animals, tasty treats, everyday objects, and much more. Throughout the book, you’ll also find fun facts, jokes, and activities to enrich your learning experience and make you giggle!


Even after you’ve completed every lesson, you can keep coming back to this book to draw the designs all over again. And before you enter a world of cuteness and color, don’t forget to check out all the ways you can be a KindKids artist! As people and as artists, we have a responsibility to be kind. Every act of kindness matters—no matter how small.
How to Use this Book • 10
Materials • 12
Drawing Basics • 13
MAKE ART, BE KIND • 14
Let’s Draw • 16
About Mandy • 118


You can use this book however you like—it’s yours! But it’s a good idea to try to find a comfortable place to sit and draw. If you’re comfortable, you’ll be able to learn better and, therefore, draw better!
You can complete the lessons in order or skip around all the different pages. Feel free to follow along with the lessons by either drawing directly in the book or using a separate sketchbook or pad of paper placed beside your book. You can even trace the designs if you’re feeling less confident or just want to quickly re-create what you see.
In each tutorial, there are suggestions of which colors to use, but you can always choose whichever colors you like. Being creative requires thinking outside the box, so don’t be afraid to use colors that don’t “naturally” occur in the object or animal you’re drawing. You can also add details that aren’t there, subtract ones that are, or combine drawing lessons to make a whole scene or collage! Your only artistic limit is your imagination.
Before you start drawing, you’ll need a few things to get you started. Here’s a quick overview of the supplies you might want to use.
You can draw directly inside this book if you want, but there’s not a lot of extra room in it. Use printer paper, scrap paper, a notebook, or a sketchpad to draw in. Or you can draw designs directly on your school binder or a greeting card to give to someone!
Colored pencils have a dry, waxy finish, which makes them perfect for layering colors on
It’s best to start each drawing with a regular pencil so you can erase if you need to. Once you’re sure you’ve got the drawing down and you’re ready to color it in, you can outline your drawing with pen, marker, or colored pencil if you’d like!
Pens are great for outlining your drawing or adding details to it toward the end. They have a fine point that creates thin, delicate lines. Just be careful, because pen can’t be erased!
Markers let you fill space on the page more quickly than most other tools because they have a thicker tip and more pigment than colored pencils or pens. Use markers when you want to quickly fill a drawing with vibrant color! Just be careful to check if the marker will bleed through to the backside of your paper.
If you simply follow the tutorials as presented, you’re sure to succeed. But there are things you can think about when drawing to set yourself up for success and to customize your finished drawings to be uniquely yours!
PRESSURE: Start with light pressure on your pencil so that you can erase if you need to, then press harder when you’re sure you’ve got your sketch right.
LINE WEIGHT: The thickness or thinness of your lines depends on how hard you press and which kind of tool you’re using. The most obvious example of this is with markers—if you press lightly and move the marker quickly, you’ll get a thin line, but if you press harder and keep the marker in place, you’ll see the ink move outward from where you’re pressing and create a thick line. Be careful about the ink bleeding through the paper if you press hard!

shadows by using a darker shade of the base color you’re using, or you can create highlights by using lighter tints of the base color. There are examples of this in most of the finished illustrations in this book, if you look carefully!
LINES AND SHAPES: illustrations in this book are made up of different combinations of basic lines and shapes. You can build dimension (which is what makes something look 3-D) by placing variations of lines and shapes over top of and next to each other. You’ll learn how to do this as you make your way through the book!
Anyone can be an artist! Here are some ways you can be a KindKids artist. A KindKids artist is a kid who is not only an artist, but someone who makes the world a better place through kindness, whether that’s
their life
Ask for help to bake cupcakes or brownies, and share them withyousomeone love
Hold the door open forbehindsomeone you Make a handmade card for someone appreciateyou using one or more of these lessons and give it to a loved one! Put things back where they belong when you’re done using them

Ask to visit a family member you haven’t seen in a while
Share your crayons, pens, or pencils at school
Help your parents with household chores
Invite someone who’s alone to play with you and your friends
Pick out a few toys you don’t play with anymore to donate to someone in need
Teach a friend a skill or trick you recently learned
Eat lunch with someone new— you might make a friend!

Tell someone a joke (there are plenty in this book!)
Ask howsomeone you can help them
Helpafriend with their homework
It’s finally time to get drawing! Remember, you can skip around to choose whatever design inspires you, or you can go through the book page by page to learn to draw all 100 designs in order. It’s totally up to you!
Grab your pencil and your colored pencils or markers, and let’s draw!


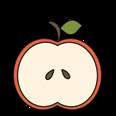
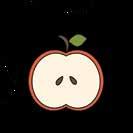
Start with the outline of the apple.


Draw a stem on top and two seeds inside.


Draw another apple shape inside the first one to represent the apple’s peel.

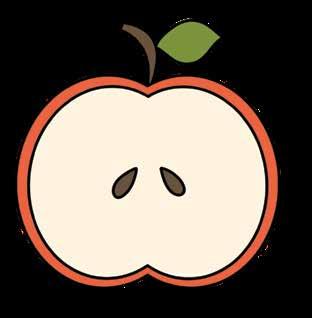
Add a leaf on the stem, then color in the apple with red, cream, brown, and green.

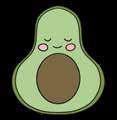
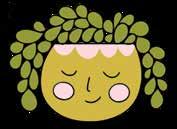
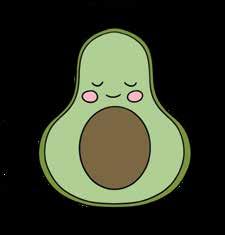
Start with the outline of the avocado.

Draw the pit inside the avocado.

Draw a thin outline around the existing outline to represent the avocado’s peel.
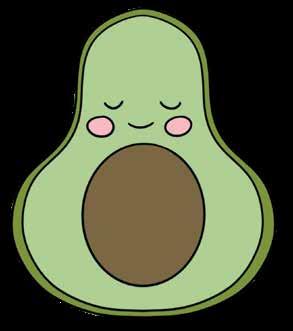
Add a face, then color in the avocado with brown, pink, and two shades of green.

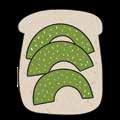
Start by drawing the outline of the slice of toast.

Draw the second slice of avocado.

Draw the first slice of avocado toward the bottom of the toast.
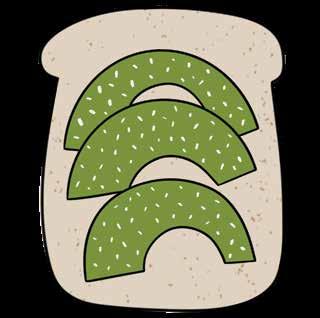
Draw the last slice of avocado, then color it all in with green and tan. Add dots to the avocado for texture.

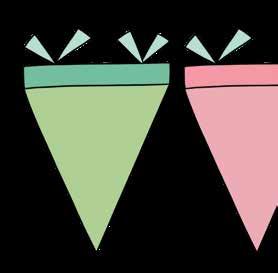
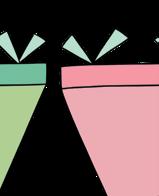
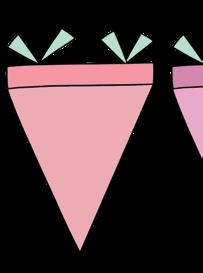
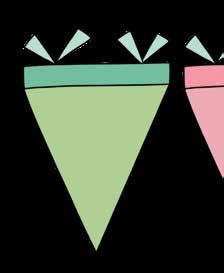
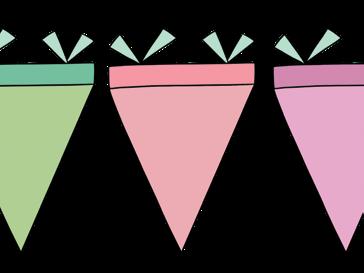
Start by drawing a curved rectangle.

Draw two curved lines connecting the rectangles.
Can you think of a special celebration you have coming up? Try creating a fun and colorful banner for it.

Draw another curved rectangle below the first one.

Add a spiky end at the top and bottom, then color in the banner with two shades of blue green.

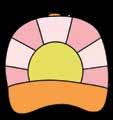
Start with a curved line for the top of the hat.

Draw the slightly curved brim of the hat.

Draw a line to connect each side of the first line.
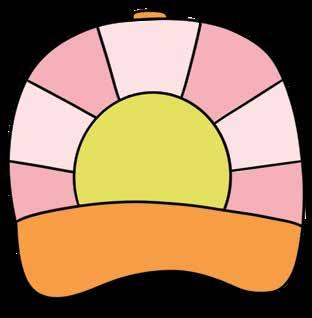
Add details to the front of the cap and a button on top, then color it all in with orange, yellow, and two shades of pink.
The first-ever baseball caps were made of straw.
Why can’t a bicycle stand up on its own?
Because it’s two-tired!

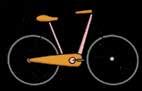
Start by drawing a pair of circles with another circle inside each one for the wheels.

Draw the bottom frame of the bicycle.


Draw sets of lines coming from the bottom frame that form two triangles for the seat and handlebars to sit on.

Add the seat and handlebars, then add details to the frame.
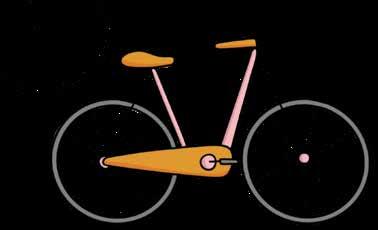
Add spokes to the wheels, then color in the bicycle with orange, pink, and dark gray.

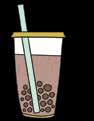
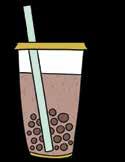
Start by drawing the cup.


Draw a thin lid on top of the cup.
Add a thick straw, making sure it appears behind the lid.
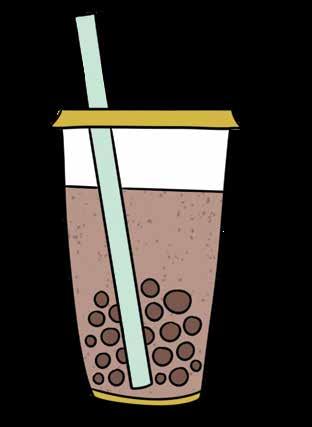
Draw a line for the tea, a line for the cup base, and circles for boba pearls, then color it all in with light blue, dark yellow, and two shades of brown.

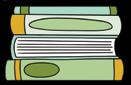
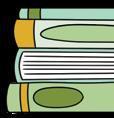
Start by drawing a rectangle for the first book in the stack.

Draw the second book in the stack, on edge so you can see the hardcover.

Draw two more simple books on top.
TRY IT!
Read a chapter or two of a good book today!
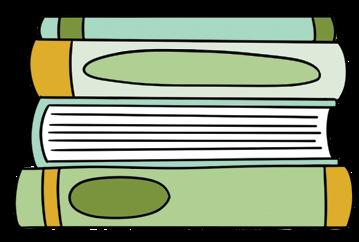
Add spine details and lines for pages. Color in the stack of books with blue, yellow, and two shades of green.

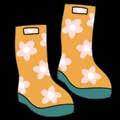
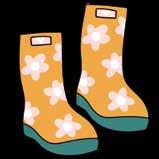
Start by drawing the outline of one boot.

Add a label at the top of the boot.

Draw a line along the bottom of the boot to represent the sole.
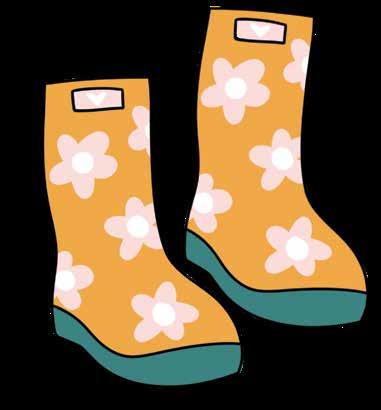
Repeat steps 1–3 to draw another boot. Add flowers and hearts to both. Color them in with orange, light pink, and dark turquoise.

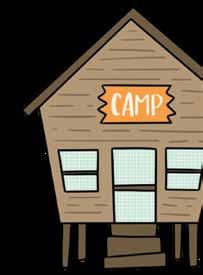
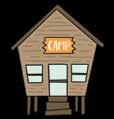
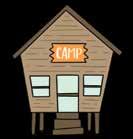
Start by drawing a basic cabin shape with five sides.


Add windows and a door.
Draw posts and a staircase underneath the cabin.
The biggest log home in the the US has 13 bedrooms!
Add a roof to the top of the cabin.
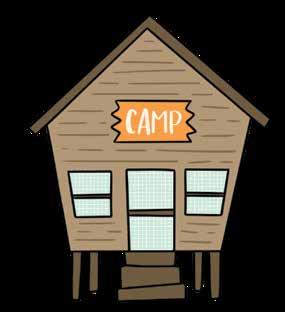
Add a “CAMP” sign, then color in the cabin with orange, light blue, and two shades of brown.

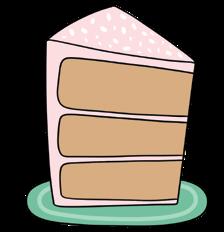
Start by drawing an uneven rectangle.

Draw layers inside the slice of cake.
LET’S LAUGH!
Why did the cake go to the dentist? To get a filling!

Draw a triangle at the top of the rectangle to create the slice shape.
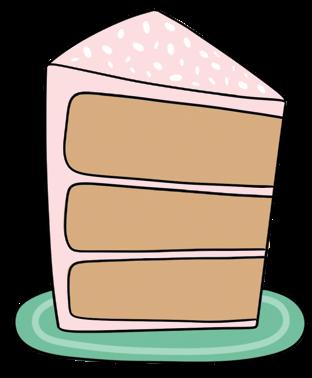
Add a round plate underneath the cake, then color it all in with light pink, light brown, and two shades of blue green. Don’t forget to leave white sprinkles!

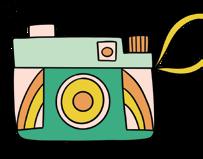
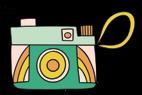
Start with a rectangle for the main body of the camera.

Draw the lens on the front, then add three rectangular buttons along the top.
TRY IT!
Next time someone you know is using a camera, ask if you can use it to take a picture of your own!

Draw the top part of the camera and add detail to the sides.
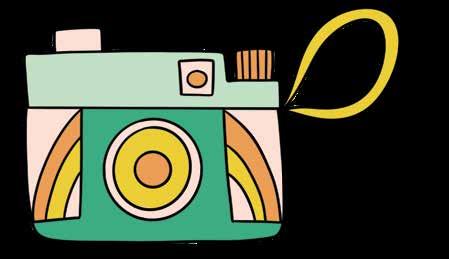
Add a wrist loop and details to the camera, then color it in with yellow, orange, pink, and two shades of blue green.

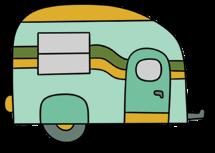
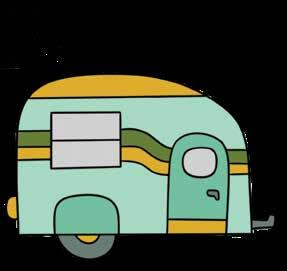
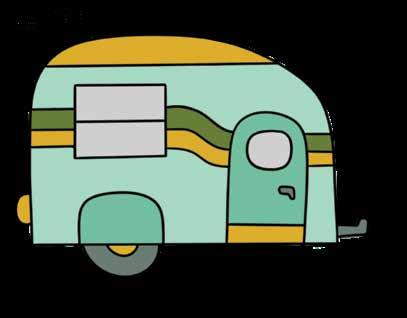
Start with the outline of the camper.

Add a window, door, and wheel cover.

Draw a wheel, brake light, and towing hitch. Add a line on the window and a round window on the door.
Most camper vans have their own built-in kitchens!
Draw decorative lines on the side and add a handle and a bottom to the door. Then color in the camper with green, dark yellow, two shades of gray, and two shades of blue green.

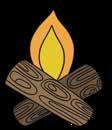
Start with the first campfire log.

Draw a flame with two layers between the logs.
LET’S LAUGH!
What does a campfire say after a long day of work?
I’m all burned out!

Draw another log behind the first one.
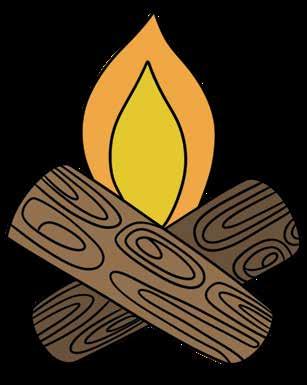
Add texture to the wood, then color in the campfire with orange, yellow, and two shades of brown.

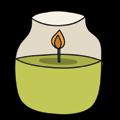
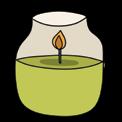
Start with the outline of the container.

Draw a narrow oval inside the container to represent the candle wax.

Draw an oval for the container’s opening.

Add a wick, flame, and shadow, then color in the candle with two shades of green, two shades of orange, and two shades of tan.

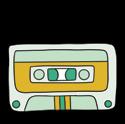
Start with a rectangle with rounded corners.

Add another rectangle and a line inside the inner rectangle.

Draw another rectangle and a smaller half rectangle inside the first one.
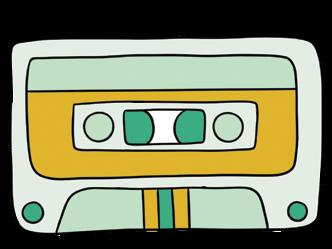
Finish the tape with accents, then color it in with dark yellow and three shades of blue green.
Cassette tapes hit their peak of popularity in the 1980s and 1990s.

Start by drawing the middle section of the back of the chair.

Draw a thinner section on each side of the middle.

Draw the base of the chair.
Why did the chair refuse to play poker?
Because it didn’t want to fold!

Draw the seat and armrests.
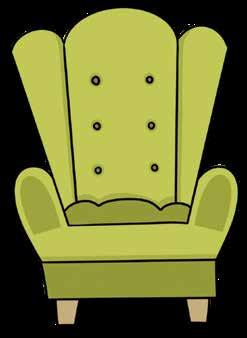
Add details on the back, a puffy cushion, and two legs, then color in the chair with light brown and two shades of green.

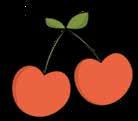
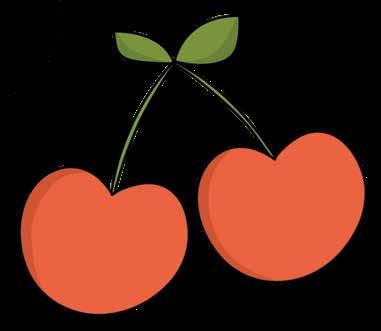
Start with a soft heart shape for the first cherry.


Draw a stem coming from the top of each cherry, making sure they connect at the ends.
Draw another cherry beside the first one.
Try drawing a sweet treat like cake or ice cream with a cherry on top.
Add two leaves where the stems meet, then color in the cherries with red and green.

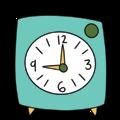
Start by drawing a square with slight bowed edges.

Add little legs underneath the clock, hands on the face, and a circle at top right.

Draw a circle inside the square.
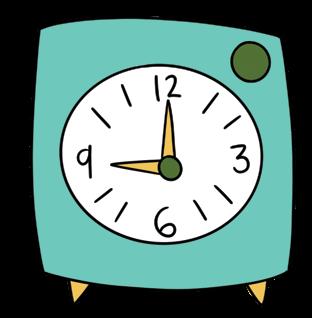
Add numbers and lines on the face, then color in the clock with yellow, green, and blue green.

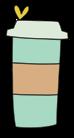
Start with the main part of the coffee cup.

Draw the top of the lid.

Draw the bottom of the lid.
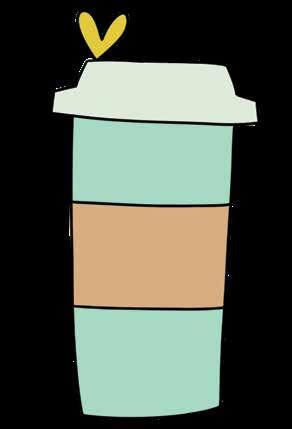
Add the sleeve and a heart on top of the lid, then color it all in with dark yellow, light brown, and two shades of blue green.

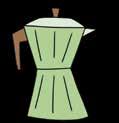
Start with a sharp hourglass shape.

Draw a spout and a little knob on the lid.
Draw a lid and a horizontal line in the middle of the pot.
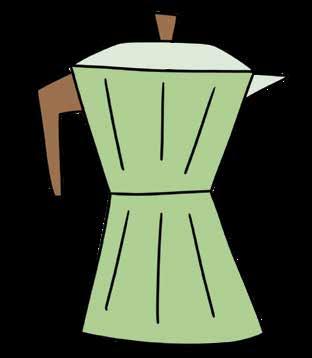
Add a handle and texture lines to the pot, then color it in with brown and two shades of green.

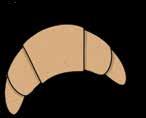
Start with the middle section of the croissant.

Draw the left section of the croissant, making sure it’s more rounded than the middle section.

Repeat step 2 on the right side.
Why did the croissants go to a new school?
To get a butter education!
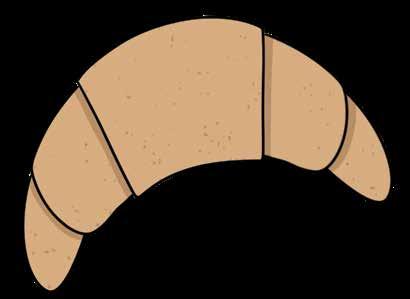
Draw one more small, rounded section on each side of the croissant, then color it in with two shades of brown.

Start by drawing the cupcake liner with a jagged top.


Draw the cupcake itself poking out from the liner.
TRY IT!
Draw a big heap of frosting on the cupcake.
Try coloring a fun design on the cupcake wrapper in your drawing.

Add lines on the liner, then color in the cupcake with green, cream, and brown.

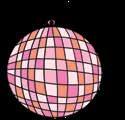
Start by drawing a circle.

Draw curved horizontal lines in the circle.
Many people associate disco balls with the disco music of the 1970s, but they were first popularized in the 1920s!

Draw curved vertical lines in the circle.
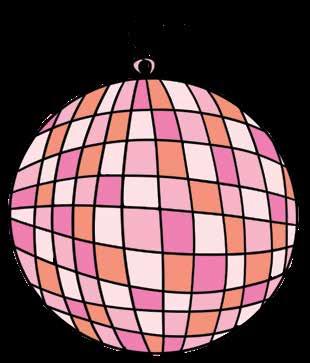
Add a loop and string at the top of the disco ball, then color it in with orange and three shades of pink.

Start by drawing the dog’s ears, leaving room for the head between them.

Add a nose and two curved lines for the mouth.

Draw the dog’s head.
TRY IT!
Find a pup you can give some pets to! Always ask permission before you pet someone’s dog.

Add more facial features, then color in the dog with tan, black, and two shades of brown.

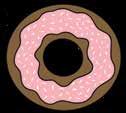
Start by drawing a circle.


Draw another small circle inside the first one.
Draw a squiggly circle around the center of the donut.
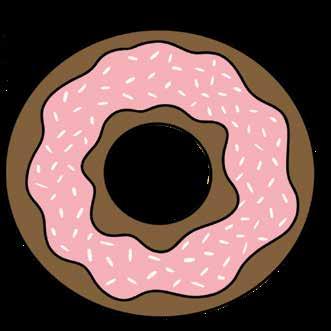
Draw another squiggly line close to the outer edge of the donut, then color it all in with brown and pink. Don’t forget to add sprinkles!

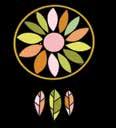
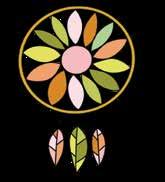
Start with a circle, then draw another one right inside it.

Draw a small circle in the center and a flower petal above it.

Draw lots more petals inside the circle.

Draw a short line coming out of the bottom with a feather on the end.
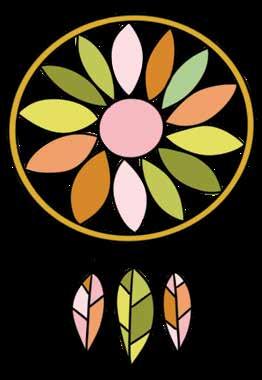
Draw two more dangling feathers and add line details to each one. Then color in the dream catcher with greens, pinks, and oranges.

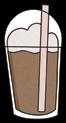
Start by drawing the cup.

Draw whipped cream inside the lid.

Draw a dome lid.
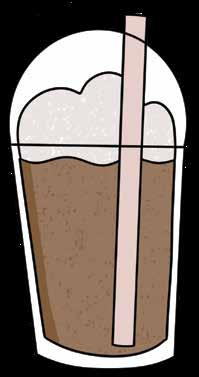

Draw the outline of the frappe inside the cup.
Add a straw, then color it all in with light pink, cream, and brown.
LET’S LAUGH!
Why was the coffee shop worker fired?
He kept showing up wearing a tea-shirt!

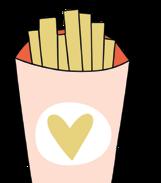
Start by drawing the front of the fry cup.

Draw lines for each fry.

Draw the outline of the fries.
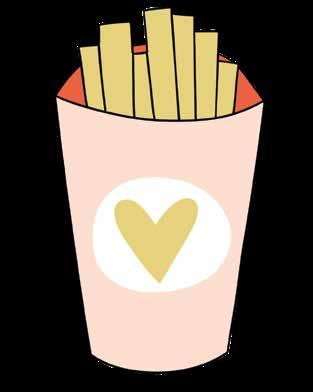
Draw the back of the fry cup and add a circle and heart on the front. Then color in the fries with yellow, red, and light pink.

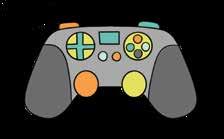
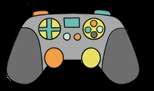
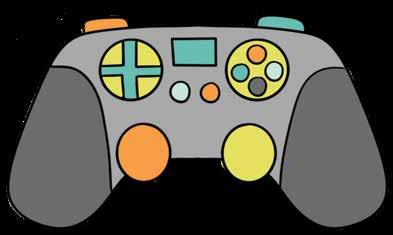
Start by drawing the outline of the controller.
Draw lines to accent the handles and add buttons on top.


Add buttons on the front of the controller.
Add more buttons, then color in the controller with green, orange, two shades of blue green, and two shades of gray.

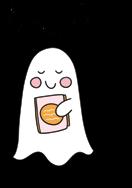
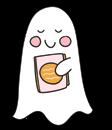
Start with a curved line for the outline of the ghost.

Add a face and an arm.

Connect the ends of the curved line with a squiggly line at the bottom.
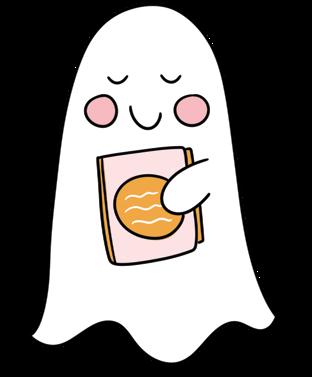
Draw a book under the ghost’s arm, then color in the ghost with orange and two shades of pink.

Start with an uneven rectangle to represent the box.

Draw a vertical ribbon across the box, underneath the first ribbon.

Draw a horizontal ribbon across the box.
TRY IT!
Make a thoughtful gift to give to someone you love this week.

Draw a big bow at the top of the box, then color in the gift with red and green.

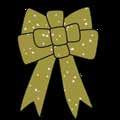
Start with five rounded squares for the center of the bow.

Draw a ribbon loop coming out of each side of the bow.

Draw another set of ribbon loops above the first set.
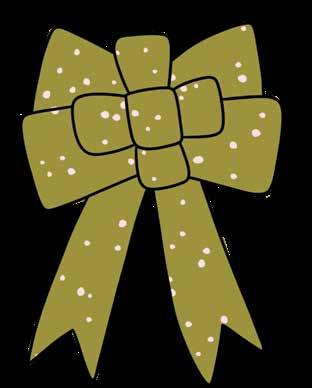
Draw two ribbon ends coming out of the bottom of the bow, then color it in with green and light pink.
Before the invention of tape, gifts were wrapped with paper, string, and sealing wax.

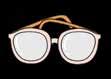
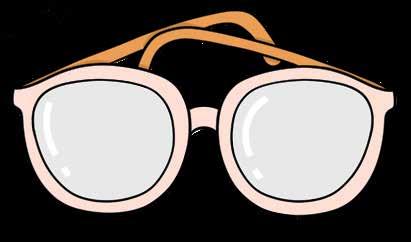
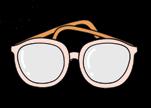
Start by drawing the left and right frames of the glasses.
Draw the inside of each frame.


Draw a bridge between the frames and the right arm of the glasses.
Draw the left arm, then color in the glasses with orange, peach, and gray. Leave a bit of white on each lens for light glare.

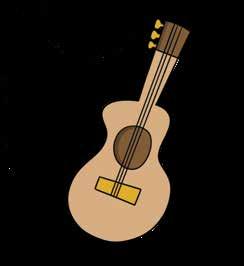
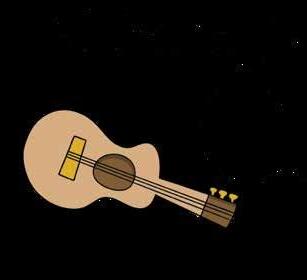
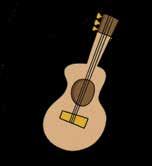
Start with the body of the guitar, leaving an opening at the top.


Draw the neck of the guitar.
Draw a line at the top of the neck and a hole and a rectangle in the body.
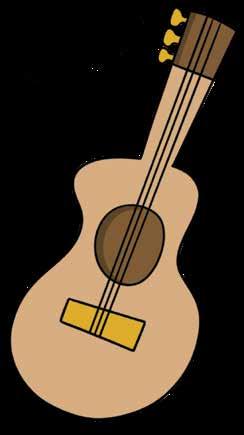
Add strings and tuning knobs, then color in the guitar with dark yellow and three shades of brown.

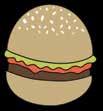
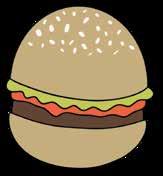
Start with the bottom bun of the hamburger.

Draw a wavy slice of lettuce underneath the top bun.

Draw the top bun.
LET’S LAUGH!
What do polar bears eat for lunch? Iceberg-ers!
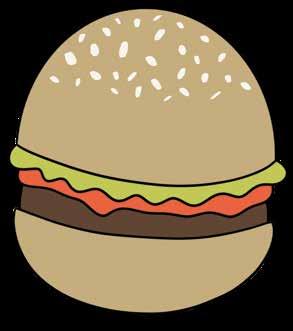
Draw a hamburger patty and a layer of ketchup, then color it all in with tan, brown, green, and red. Leave sesame seeds on the top!

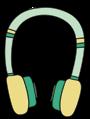
Start with the top band of the headphones.
The first headphones were invented in the 1880s and used by telephone operators.


Draw an earpiece on each side.

Add one more part to each earpiece and accents on the top band, then color in the headphones with yellow and two shades of blue green. Draw the inner part of each earpiece.

Start with a circle.

Draw the right heart eye.

Draw the left heart eye.

Draw a smile, then color in the emoji with yellow and red.

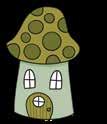
Start with a square for the main part of the house.


Draw the top of the house’s roof.
Add a circular window, a rectangular window, a door, and a chimney.
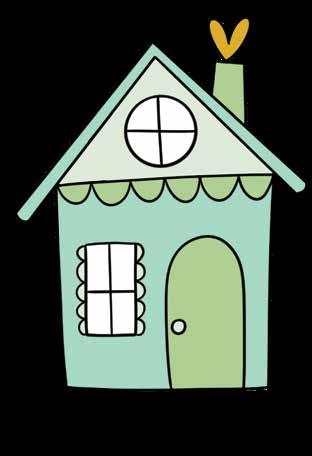
Add a doorknob, windowpanes, and decorations to the house, the color it in with dark yellow and two shades of blue green.

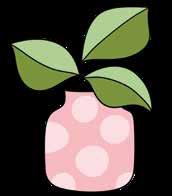
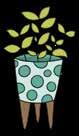
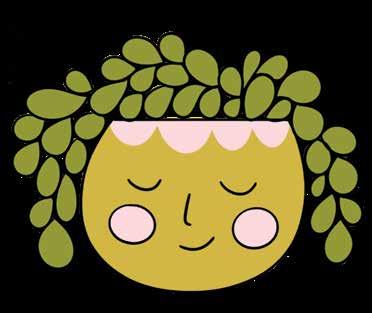
Start by drawing the pot for the plant.


Extend the stem and add another leaf to it.
Draw the stem and the first leaf.
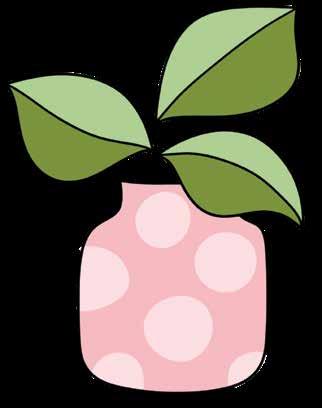
Draw a third leaf and a line down the middle of each leaf, then color it all in with two shades of green and two shades of pink.

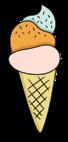
Start with the first scoop of ice cream.

Draw the cone underneath the scoops.

Draw another scoop of ice cream.
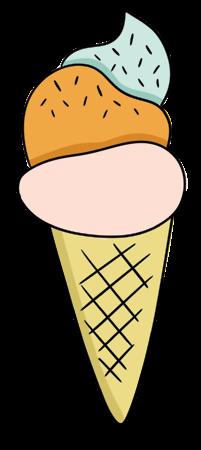
Add texture lines on the cone and sprinkles on the scoops, then color it all in with blue, orange, pink, and yellow.

Draw the top scoop.
LET’S LAUGH!
Why was the ice cream so bad at volleyball?
Because it had a soft serve!

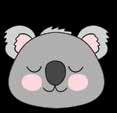
Start with the outline of the koala’s head.

Draw ears and a little tuft of fur on top of the head.

Add a nose on the face and lines in the ears.
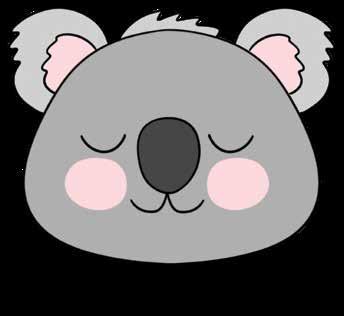
Add eyes and a mouth, then color in the koala with light pink and three shades of gray.
Koalas can sleep for up to 18 hours a day.

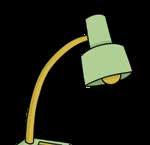
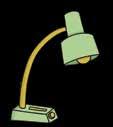
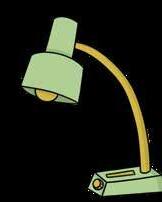
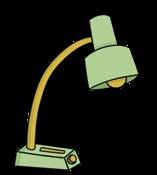
Start with a slightly curved rectangle.

Draw a lightbulb and the top part of the lamp.


Draw a thin neck coming down from the lamp.
Draw the base of the lamp.
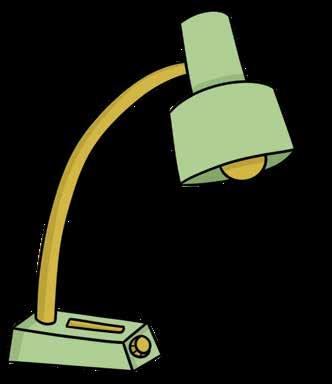
Add details to the base, then color in the lamp with green and dark yellow.
Why was the girl wearing a lampshade on her head? She was feeling light-headed!

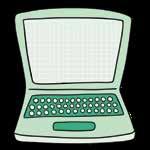
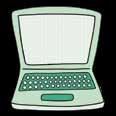
Start by drawing the outline of the open laptop.

Draw a line between the screen and keyboard and add a touchpad below the keyboard.

Draw the screen and keyboard.
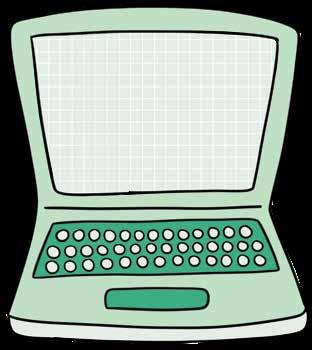
Draw a faint grid on the screen and add buttons to the keyboard, then color in the laptop with three shades of blue green.

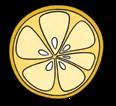
Start with a circle, then draw another one right inside it.

Draw five more segments in the slice.

Draw a rounded triangle to represent one lemon segment.
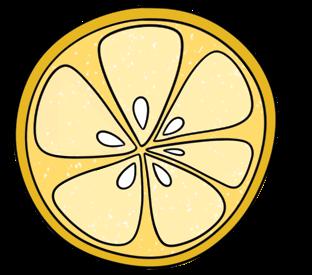
Draw a seed inside each segment, then color in the lemon slice with three shades of yellow.
TRY IT!
Ask an adult to help you make your own pot of lemonade.

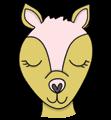
Start by drawing the llama’s head and ears.


Draw outlines in the ears and finish the top of the head.
Draw a nose, mouth, and lines on the llama’s face.
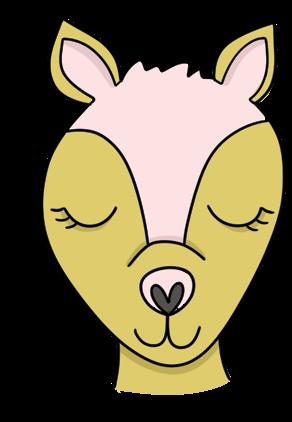
Draw eyes and a heart on the nose, then color in the llama with light pink, yellow, and gray.

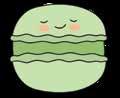
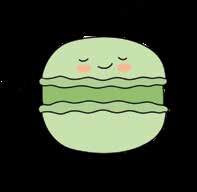
Start with the top of the macaron.

Add curvy layers of filling on the top and bottom.
France is famous for the colorful sandwich-style macarons you see in bakeries!

Draw the bottom of the macaron, leaving space for the filling.
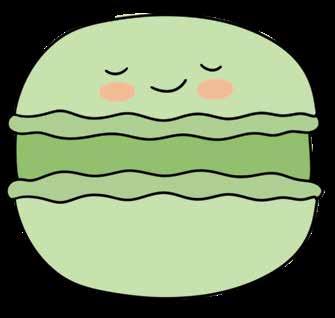
Finish the inner filling and add a cute face on the top of the macaron, then color it in with light pink and three shades of green.

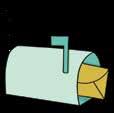
Start with the outer side of the mailbox.

Draw the other side of the mailbox and details on the envelope.

Draw an envelope sticking out of the mailbox.
TRY IT!
Send a physical letter to someone you love. Include a drawing from this book in it!
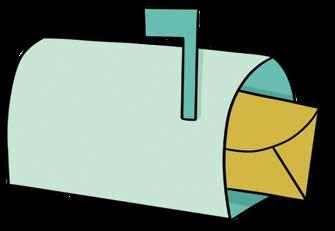
Add a flag to the mailbox, then color it all in with dark yellow and two shades of blue green.

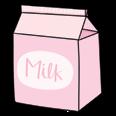
Start by drawing a square at an angle for the front of the carton.

Draw a long, skinny rectangle and a little triangle for the top of the carton.
Why do cows have hooves instead of feet?
Because they lac-tose!

Draw the right side of the carton.
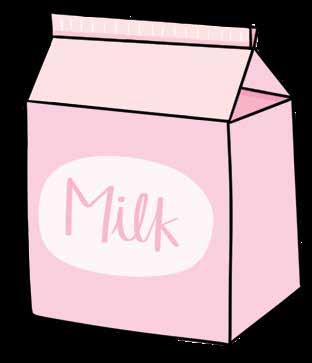
Add a strip at the top, a fold line in the triangle, and a label on the front, then color it all in with three shades of pink.


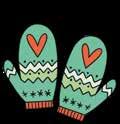
Start by drawing the first mitten. Draw the bottom of the mitten.

Draw details on the mitten.
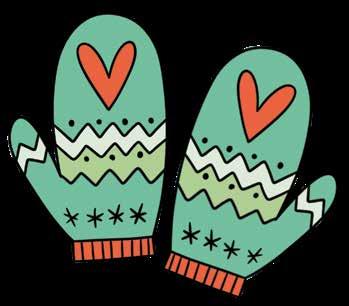
Repeat steps 1–3 to draw another mitten, then color them both in with red and three shades of blue green.
TRY IT!
Use the steps from this tutorial to design your own mittens!

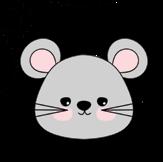
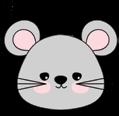
Start with the outline of the mouse’s head.


Draw accents in the mouse’s ears and add a nose on its face.
Why can’t cats work on computers? Because they always chase the mouse!
Draw the mouse’s ears.

Add eyes, whiskers, and a mouth, then color in the mouse with gray, black, and light pink.

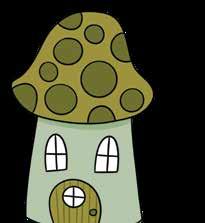
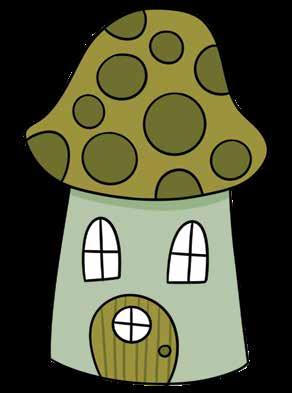
Start by drawing the roof of the house.

Add windows and a door.

Draw the base of the house.
Draw panes on the windows, a doorknob, and dots on the roof, then color in the house with blue green and two shades of green.

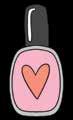
Start by drawing the outline of the bottle.

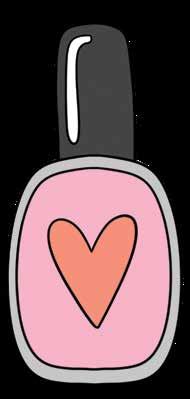

Draw the cap. Draw the light reflection on the cap and outline the polish inside the bottle.
Draw a heart on the bottle, then color in the nail polish with black, gray, pink, and red.
TRY IT!
Give yourself or a friend a creative manicure.

Start with a half oval.
Draw a curved line to represent the peel.


Draw three rounded triangles inside the orange to represent segments.
Add a seed in each segment, then color in the orange slice with three shades of orange.


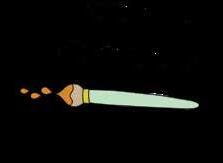
Start with the handle of the paintbrush.

Draw a metal ferrule on the end of the paintbrush.

Draw the bristles of the paintbrush.
How do you inspire a painter? Easel-y!

Add paint to the end of the brush and paint drops below it. Color in the paintbrush with light green, dark yellow, brown, and orange.

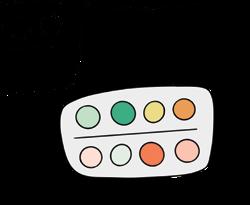
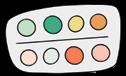
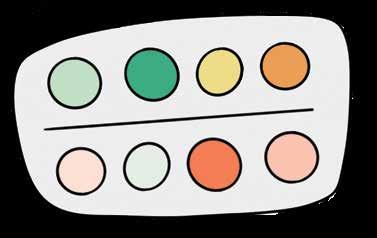
Draw a horizontal line to split the palette in half.

Draw four more paint circles below the center line, then color in the palette with gray and lots of different colors for the paints.
Start with the outline of the palette.

Draw four circles above the line to represent the top row of paints.

Start by drawing the tube outline.

Draw a label on the tube.

Draw the cap of the tube.
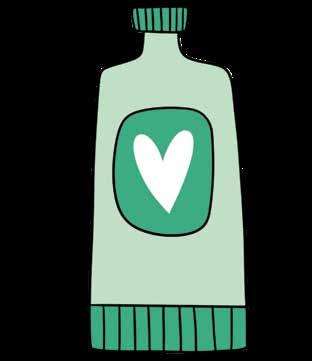
Add a heart on the label and accent lines on the end and cap, then color in the tube with two shades of blue green.

Start with the outline of the panda’s head.

Draw a nose and big ovals on the face for the dark fur around the eyes.
How did one panda ask another to be his valentine?
Will you be my bam-boo?

Draw the panda’s ears.

Add eyes and a mouth, then color in the panda with dark gray, black, and light pink.

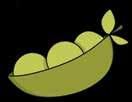
Start by drawing the pod.

Draw two more peas inside the pod.

Draw one pea in the center of the pod.
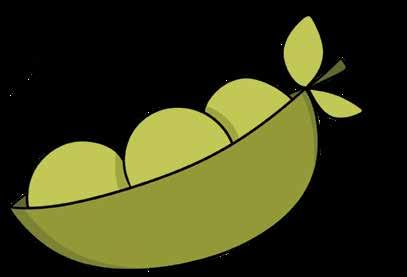
DID YOU KNOW?
A peapod is actually a fruit, and the peas inside it are seeds.
Add a tiny stem and two leaves on the right side of the pod, then color in the peapod with two shades of green.

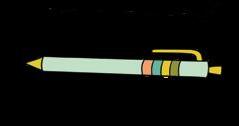
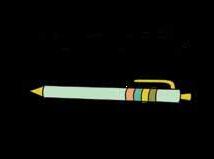
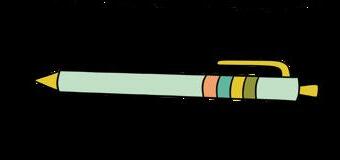
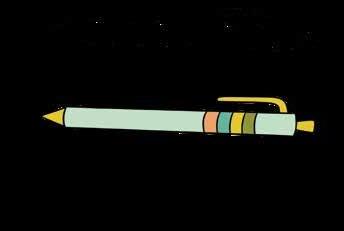
Start by drawing the shaft of the pen.

Draw the tip and the end of the pen.

Draw the clip on the side of the pen.
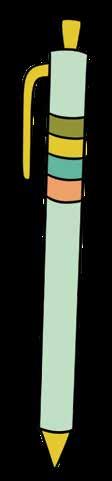
Add stripes to the pen, then color it in with yellow, orange, green, and two shades of blue.
TRY IT!
Use colored pens to doodle around your drawing.

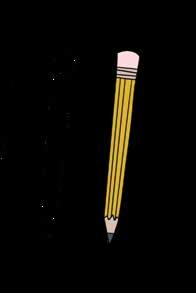
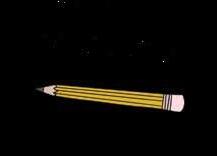
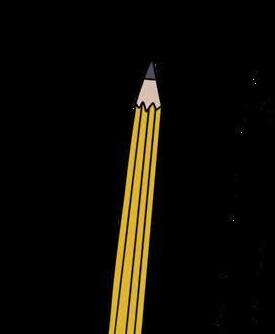
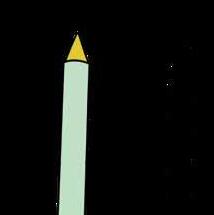
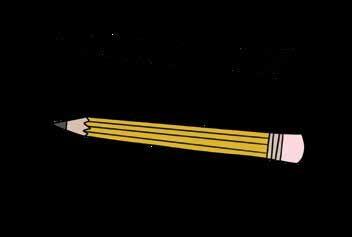
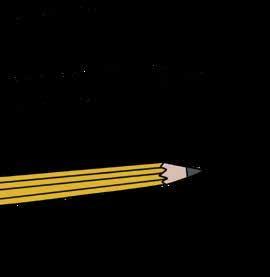
Start by drawing the wooden shaft of the pencil.

Draw the tip and lead of the pencil.

Draw the eraser and its metal holder.

Add detail lines to the shaft, then color in the pencil with pink, tan, yellow, and black.
Why did the pencil go to school?
To get sharper!

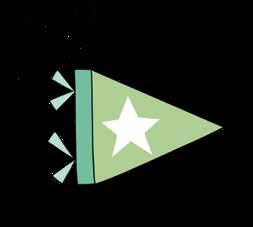
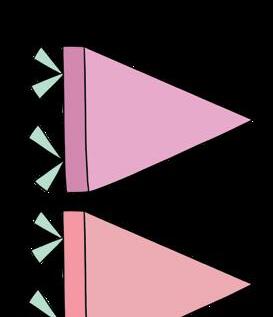
Start by drawing a triangle.

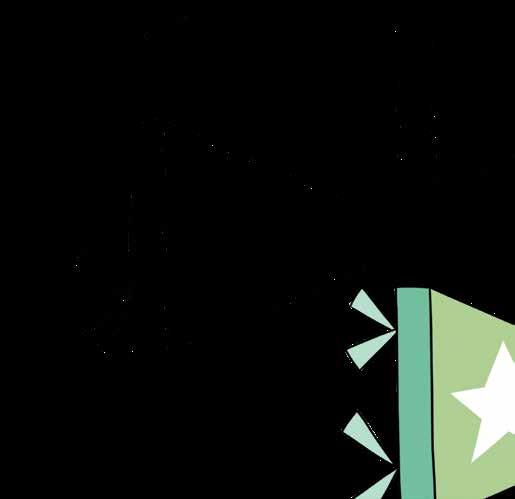
Draw a rectangle down the left side of the triangle.
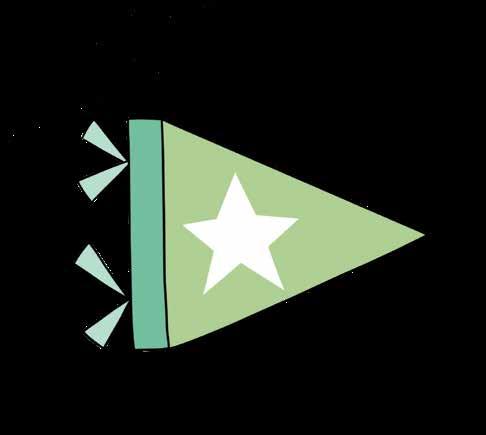
Draw a tying ribbon on the bottom left side.
Draw another ribbon above the first one and add a star in the center, then color in the pennant with light green and two shades of blue.

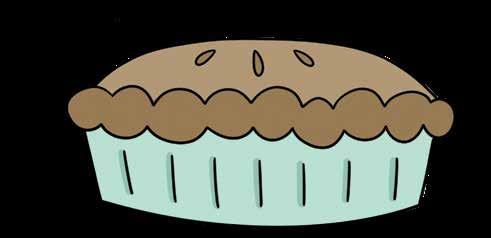
Draw the edges of the pie crust.
Start by drawing the pie pan.


Draw slits in the top of the pie and lines on the pan, then color in the pie with blue green and two shades of brown.
Draw the top of the pie.

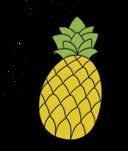
Start with an oval.

Draw the first row of segments at the bottom.

Keep drawing rows of segments until you have filled the pineapple.
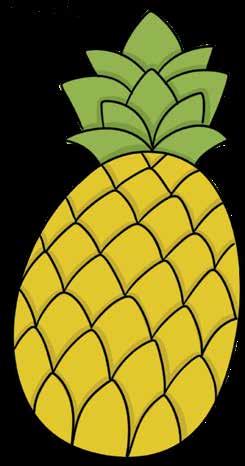
Draw a bunch of leaves on top of the pineapple, then color it in with yellow and green.

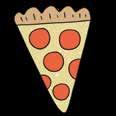
Start with a triangle for the slice of pizza.

Add texture lines to the crust.

Draw the crust.

Draw circles for pepperoni, then color in the pizza slice with tan, light brown, and red.

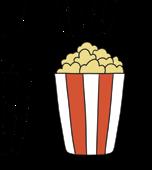
Start by drawing the popcorn bag.

Draw three popcorn kernels in the top of the bag.

Draw vertical lines on the bag.
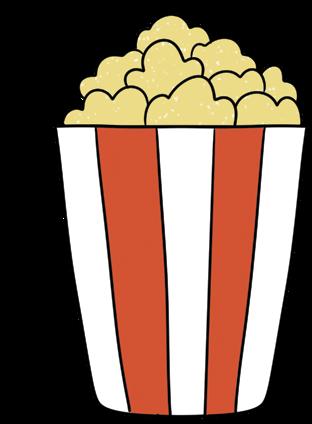
Draw more popcorn kernels in the top of the bag, then color it all in with yellow and red.

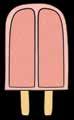
Start by drawing the outline of the popsicle.
Why couldn’t the popsicle finish his comedy set? He melted under the pressure!

Draw the right half of the popsicle.

Draw the left half of the popsicle.
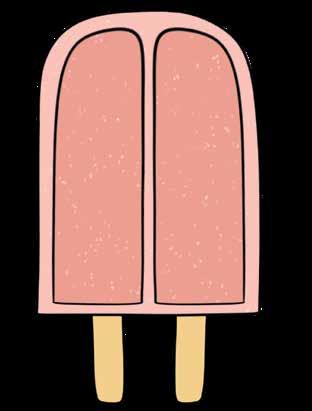
Add a stick coming out of each half, then color in the popsicle with tan and two shades of pink.

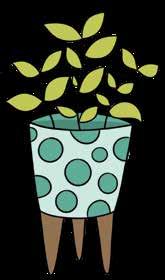
Start by drawing the pot.

Add lots of leaves to each stem.
TRY IT!
Get creative with these tutorial steps to draw a whole variety of potted plants!

Add three legs on the base of the pot.

Draw three stems coming out of the pot.
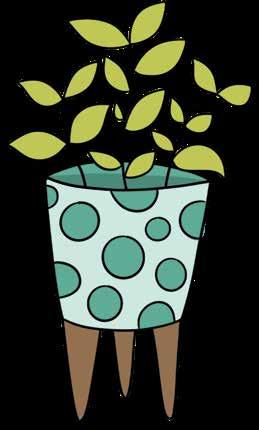
Draw the back of the pot and add spots, then color it all in with green, two shades of blue, and brown.

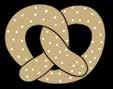
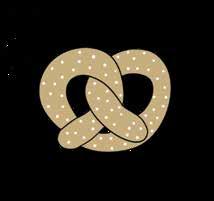
Start by drawing the top left part of the pretzel.

Draw one of the middle twists of the pretzel.

Draw the right side of the pretzel.
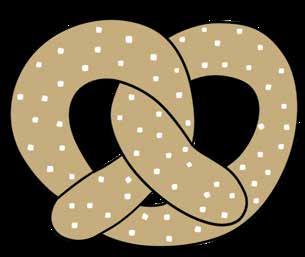
Pretzels were first made in Germany!
Finish the pretzel by drawing the second middle twist, then color it in with light brown, leaving white salt spots.

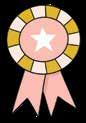
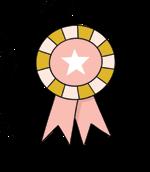
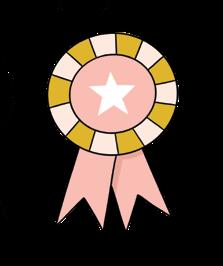
Start by drawing a circle inside another circle.
Create a prize ribbon to give to someone you’re grateful for.

Draw another ribbon partially behind the first one.

Draw the bottom left ribbon.
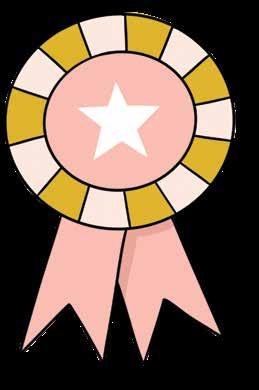
Add stripes around the edge and a star in the center, then color in the prize ribbon with dark yellow and two shades of pink.

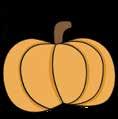
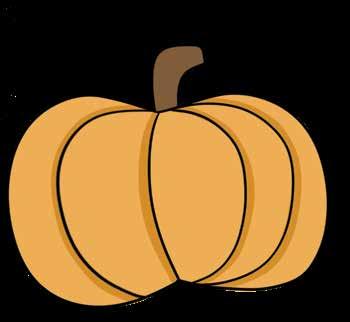
Draw curved lines to represent segments of the pumpkin.

Start with the outline of the pumpkin.

Add more curved lines for more segments.
Draw a stem at the top of the pumpkin, then color it in with orange and brown.

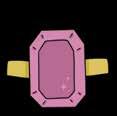
Start by drawing the gemstone outline.

Draw the inner edge of the gemstone.

Add line details along the outer edge of the gemstone.
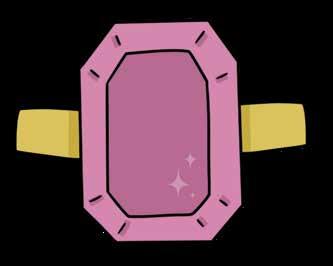
Draw the band coming out of each side and add little sparkles to the gemstone, then color in the ring with gold and two shades of purple.
The tradition of diamond engagement rings dates from all the way back to 1477!

Start with the main body of the rocket.

Draw fins on the rocket.

Draw accents on the top and bottom of the rocket and add a window in the center.
Draw flames beneath the rocket, then color it all in with red, blue green, two shades of gray, and two shades of orange.


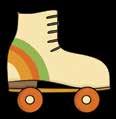
Start with the boot of the skate.

Add laces to the boot and a base below the boot.
The first patented roller skates were designed in 1819.

Draw a heel under the boot.
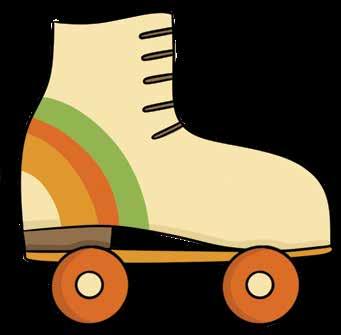
Add wheels, then color in the roller skate with cream, green, brown, and two shades of orange.

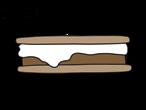
Draw the bottom graham cracker.
Start by drawing the top graham cracker.


Draw a layer of chocolate, then color in the s’more with two shades of brown.
Draw a layer of melted marshmallow.
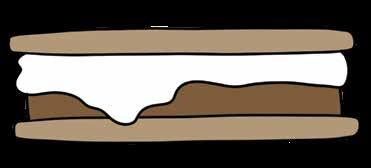
What’s a snake’s favorite part of camping? The sss’mores!

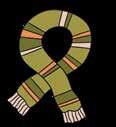
Start by drawing the main outline of the scarf.

Add curvy lines to detail the fringe.

Draw an outline of fringe on each end.
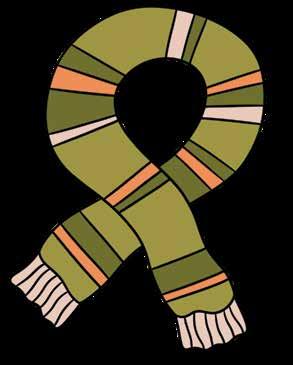
Draw stripes on the scarf, then color it in with orange, tan, and two shades of green.

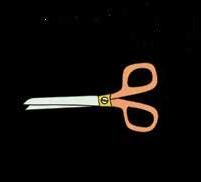
Start with the left handle of the scissors.

Draw the right handle.
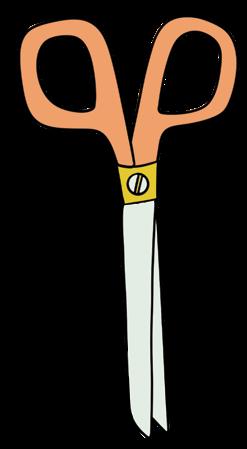
Draw the right blade and add a screw detail, then color in the scissors with orange, yellow, and light gray.

Draw a square below the handle and the left blade below that.
LET’S LAUGH!
What’s a pair of scissors’ favorite kind of technology?
Anything on the cutting edge!

Draw a line underneath the base to give it some thickness.
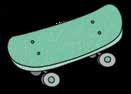
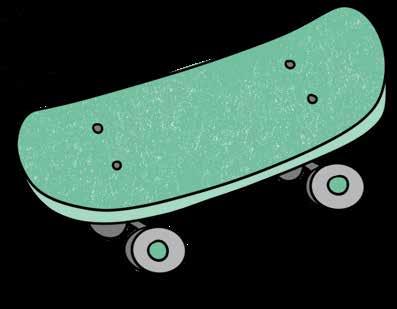
Start with the base of the skateboard.


Draw circles inside the wheels and lines that connect the two sets of wheels. Then color in the skateboard with two shades of blue green and two shades of gray.
Draw two partial wheels and two full wheels under the base. Add four screws to the top.

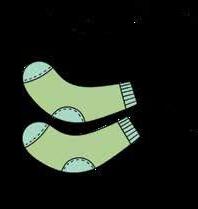
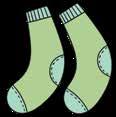
Start by drawing the outline of the first sock.

Draw patches on the heel and toe and a band at the top.

Add accent lines to each section.
TRY IT!
Do you have a lucky pair of socks? If you don’t, pick out a pair to wear on days you need some good luck!
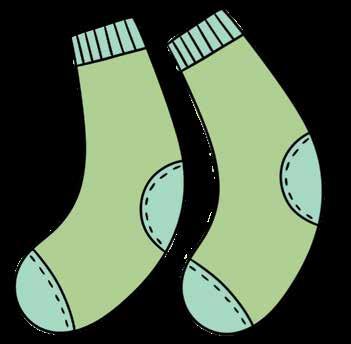
Repeat steps 1–3 to create a second sock, then color them in with green and blue.

Start with the main part of the mug.


Draw the mug’s handle.
Draw a cloud of steam coming up from the mug.

Add a heart to the front of the mug, then color it all in with green, tan, and two shades of blue green.

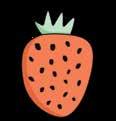
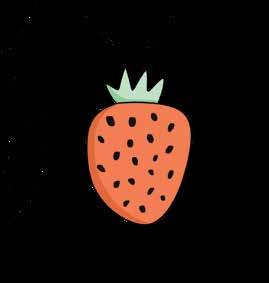
Start with the outline of the strawberry.

Draw lots of small black seeds on the strawberry.
LET’S LAUGH!
What do you call a sad strawberry? A blueberry!

Draw the top of the strawberry.
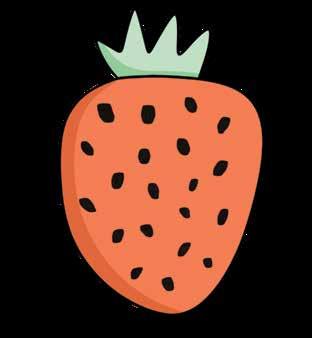
Color it in with two shades of red and two shades of green.

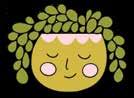
Start with the outline of a pot.

Draw lots of small succulent leaves coming out of the pot.

Draw a face on the pot.
Succulents need much less water than most other types of plants.
Draw more succulent leaves and add an accent pattern at the top of the pot. Then color it all in with green, pink, and dark yellow.

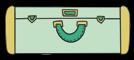
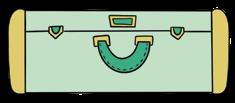
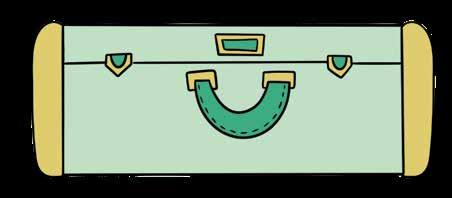
Start with a rectangle.
Draw sides to form the suitcase.


Draw a handle and two latches.
Add details to the handle and latches, a button above the handle, and a horizontal line to separate the top and bottom. Then color in the suitcase with dark yellow and two shades of blue green.

Start with the sundae bowl.

Draw a squiggly line on each scoop to represent hot fudge.

Add a base to the bowl.

Draw a cherry on top, then color in the sundae with red, brown, light pink, and orange.

Draw two scoops of ice cream in the bowl.
LET’S LAUGH!
Why did the ice cream truck break down?
Because it was driving down a rocky road!

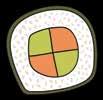
Start by drawing the outline of the sushi roll.
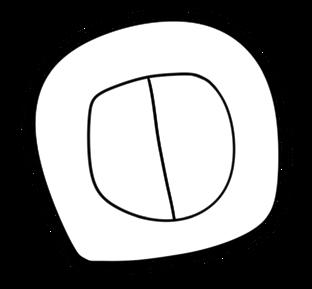
Draw a vertical line down the center shape.

Draw two shapes, one large and one small, inside the outline.
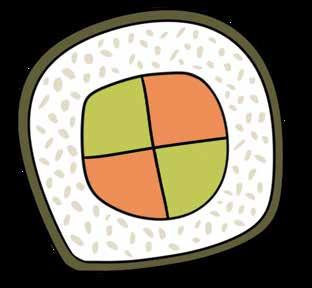
Draw a horizontal line in the center shape, then color it all in with orange and two shades of green. Add tan flecks to represent rice.
Sushi is often served with a side of pickled ginger intended to cleanse your palette!

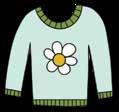
Start with a rectangle with an open top.


Draw the neck of the sweater and bands on the bottom and ends of the sleeves.
Draw the sleeves of the sweater.
TRY IT!
Following the steps from this tutorial, draw a sweater you would love to wear on a chilly day!
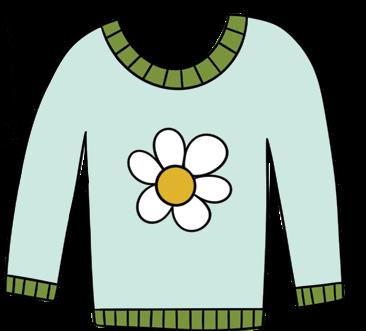
Add a flower on the front and stripes on the bands, then color in the sweater with yellow, green, and light blue.

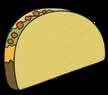
Start with one half of the taco shell.

Draw the other side of the taco shell.

Add fillings inside the taco by drawing squiggly lines.
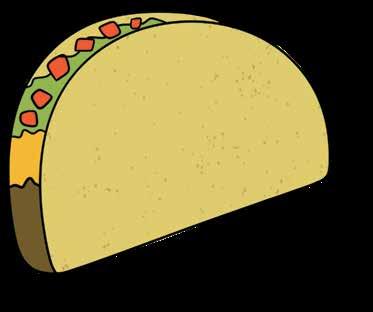
Add little chopped tomatoes on top, then color in the taco with tan, brown, orange, green, and red.

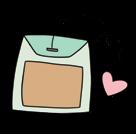
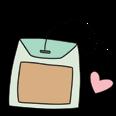
Start by drawing the outline of the tea bag.

Draw a rectangle on the front.

Draw the top flap of the tea bag.
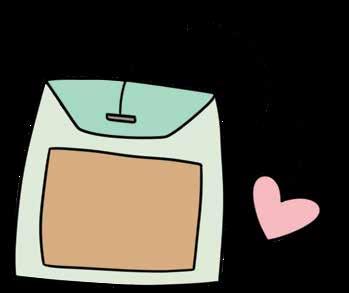
Draw a string with a heart on the end, then color in the tea bag with brown, pink, and two shades of blue green.
How long does it take for a shipment of tea to get from one country to another?
Oolong time!

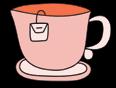
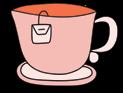
Start with the main part of the teacup.

Draw the outer edge of the saucer and the handle.
Tea is the second-most-consumed drink in the world!

Draw the back of the teacup and the middle of the saucer.
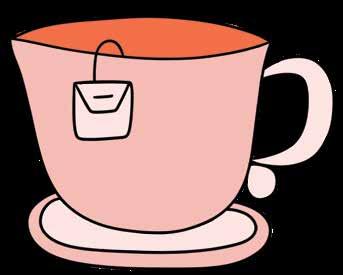
Add a tea-bag tab with a string coming out of the cup and an accent below the handle, then color it all in with red and two shades of pink.

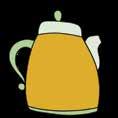
Start by drawing the main part of the teapot.

Draw the lid.

Draw a tiny knob on the lid, a spout, and the base of the teapot.
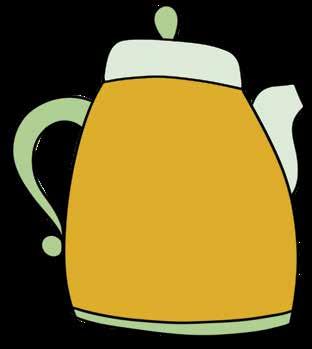
Add a handle on the side of the teapot, then color it all in with dark yellow and two shades of blue green.

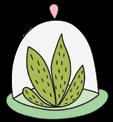
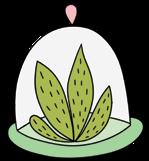
Start by drawing the dome of the terrarium.


Draw the leaves of the succulent.
DID YOU KNOW?
A terrarium is a closed or open glass container for plants to grow in.
Draw the base of the terrarium.
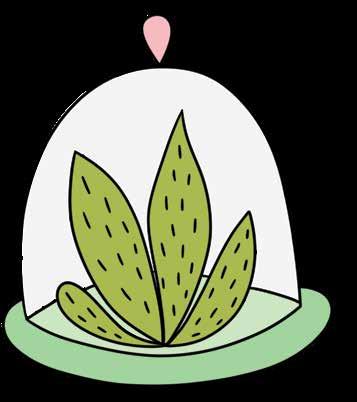
Draw texture lines on the leaves, a line for the back of the terrarium, and a little handle at the top. Then color it all in with green, pink, and two shades of blue green.

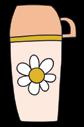
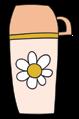
Start with a rectangle shape for the body of the thermos.

Draw the upside-down cup lid on top of the thermos.

Draw an accent on top of the thermos.
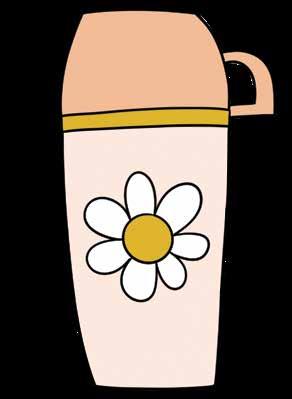
Add a flower on the front, then color in the thermos with dark yellow and two shades of pink.

Start with the left side of the trophy.

Finish the outline of the trophy.

Draw the left handle.
LET’S LAUGH!
Why was the trophy always annoyed? Because it kept getting held up!

Draw the right handle and a star on the front, then color in the trophy with two shades of yellow.

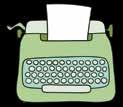
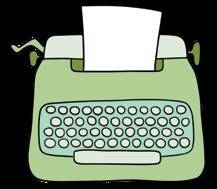
Start with the outline of the typewriter.

Add a handle on the left and a knob on each side.

Draw the top of the typewriter.
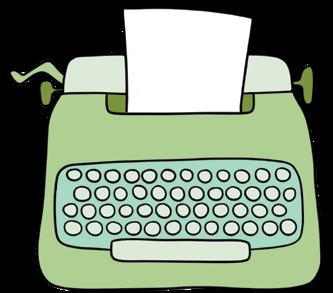

Draw the keys, space bar, and paper feed.
Add a piece of paper and an outline around the typewriter keys, then color in the typewriter with two shades of green and two shades of blue green.

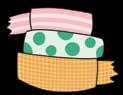
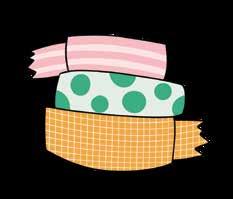
Start by drawing the bottom roll of tape.

Draw the top roll of tape.

Draw the middle roll of tape.
TRY IT!
Decorate something of yours with washi tape, like a pencil cup or a notebook.
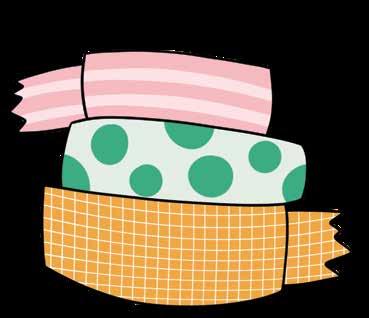
Add torn tape ends to the top and bottom rolls of tape, the color it all in with different colors and patterns.

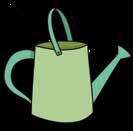
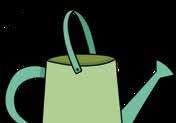
Start with the front of the watering can.


Draw a handle on the left side.
LET’S LAUGH!
Why did the watering can take a nap?
Because it was feeling drained!
Draw an oval at the top of the watering can for the opening.

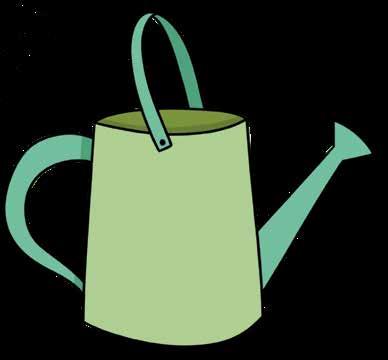
Draw a spout on the right side.
Add a carrying handle on the top, then color in the watering can with blue green and two shades of green.

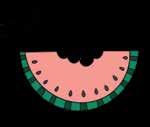
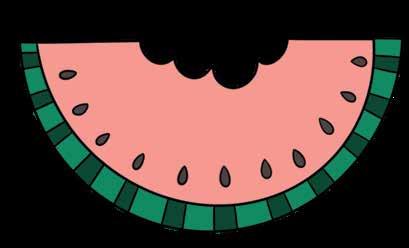
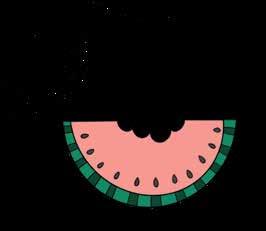
Start with the watermelon rind.
Draw the inside of the watermelon with a big bite out of it.


Draw a row of seeds inside the watermelon.
Add stripes to the rind, then color in the watermelon with pink, black, and two shades of green.

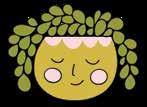
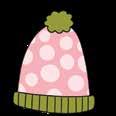
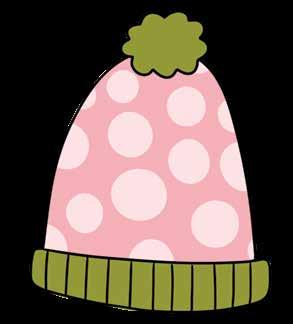
Start by drawing the main part of the hat.

Draw stripes on the brim.

Draw the brim of the hat.
TRY IT!
Try using the steps in this tutorial to draw a winter hat you already own.
Draw a bobble on top, then color in the winter hat with green and two shades of pink.

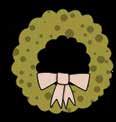
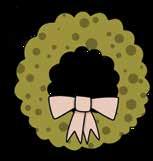
Start with the inner edge of the wreath.

Draw a bow toward the bottom of the wreath.

Draw the outer edge of the wreath.
LET’S LAUGH!
What do gingerbread men put on their beds? Cookie sheets!

Add ribbon ends coming from the bow, then color in the wreath with two shades of green and two shades of pink.

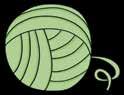
Start with a circle.

Draw four curved lines on the left side of the circle.

Draw three curved lines toward the top of the circle to represent strands of yarn.
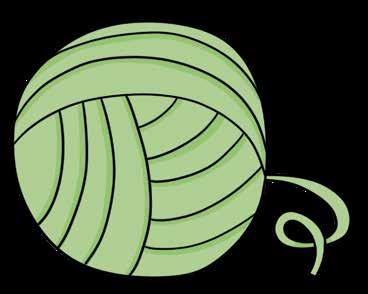
Draw five curved lines in the remaining space in the circle and add a loose strand of yarn sticking out of it. Then color it all in with two shades of green.
Yarn was invented over 7,000 years ago!

Mandy Ford is a licensed illustrator, lettering artist, graphic designer, and teacher who is passionate about using her creative gifts to make others feel seen, cared for, and loved. She is the founder of the Soul Care Creatives Club and the author of Field Guide to the Soul. In addition, Mandy has partnered with Spirituality & Health magazine, Mohawk Rugs, Paper House Productions, Inked Brands, Legacy Publishing, and Big Picture Classes. She resides in the Indianapolis, Indiana, region, where she runs on hope and coffee (sometimes in reverse order). To learn more, visit www.mandyford.co and @mandyfordart on Instagram.


HNow that you’ve completed the designs in this book, get out there and make the world a kinder place with your unique creativity!


Business is personal at Better Day Books. We were founded on the belief that all people are creative and that making things by hand is inherently good for us. It’s important to us that you know how much we appreciate your support. The book you are holding in your hands was crafted with the artistic passion of the author and brought to life by a team of wildly enthusiastic creatives who believed it could inspire you. If it did, please drop us a line and let us know about it. Connect with us on Instagram, post a photo of your art, and let us know what other creative pursuits you are interested in learning about. It all matters to us. You’re kind of a big deal.
www.betterdaybooks.com better day books

This charming kids’ activity book invites young artists to discover their creative side with 100 easy-to-follow drawing lessons inspired by cute pets, yummy snacks, favorite hobbies, fun fashions, and more. Illustrated by licensed artist and author Mandy Ford, whose kind and encouraging style makes kids feel supported every step of the way, this book is designed to spark confidence, creativity, and joy.
Here’s what’s inside:
100 easy step-by-step lessons featuring adorable animals, tasty treats, playful hobbies, and stylish outfits
Clear and encouraging instructions to help kids feel confident and proud of their progress
• Positive messages about creativity, kindness, and celebrating what you love
• Premium format with full-color illustrations and thick paper

From cuddly critters to delicious donuts, each delightful design helps kids grow their drawing skills while boosting their confidence and inspiring a love for creativity.
Be sure to also check out KindKids Let’s Draw Nature for even more