


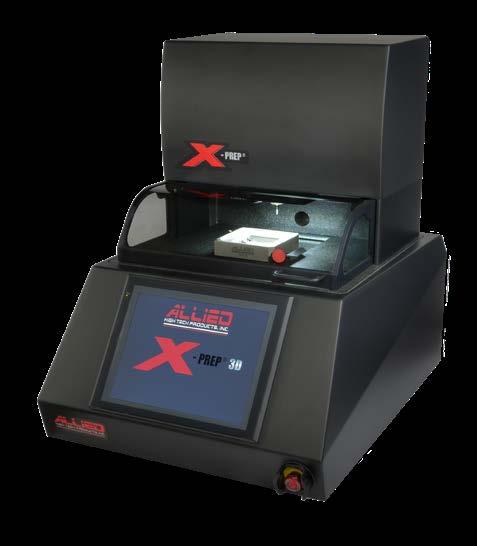
The X-Prep® is a specialized 5-axis CNC-based milling/grinding/ polishing machine designed to support electrical and physical failure analysis techniques and other applications requiring high precision sample preparation.
Unlike the typical CNC machine, the X-Prep® has a compact tabletop footprint that easily fits into the lab environment and is designed to minimize noise. Additionally, its 12" touchscreen GUI enables an easy process-based workflow to control the system’s powerful functions – no programming knowledge required!
The key design components feature granite construction with a wide RPM range spindle (3,000–100,000 RPM), a high precision closed-loop Z-Control (2.4 nm encoder resolution and 0.1 N force control) and large X/Y range of motion (100 mm x 140 mm).
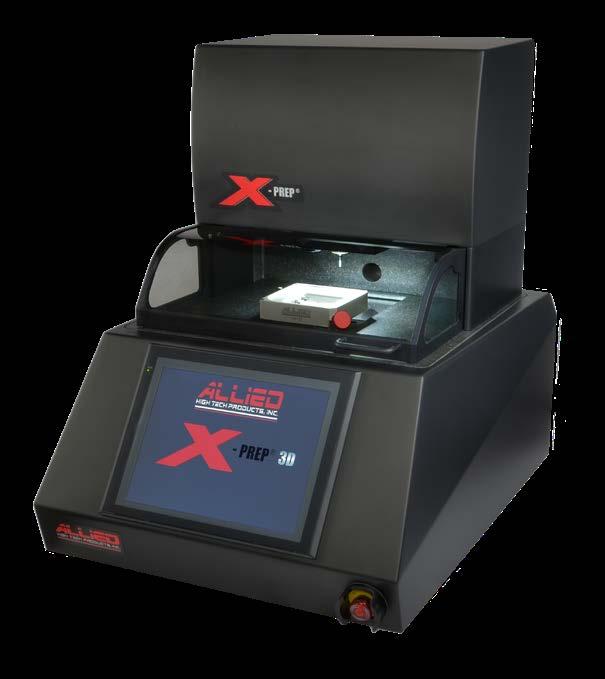
Highly versatile, easy to use!
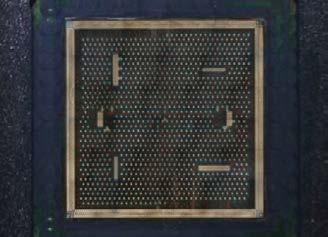
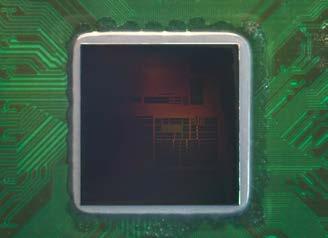
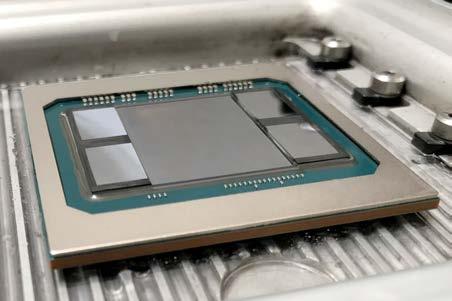

Package Level
TDR
GMR/SQUID Lock-In Thermography (LIT)
Die Level
Photon/Thermal/Laser/MagneticBased Response SEM-PVC, FIB (circuit edit) eBeam Probing Atomic Force Probing (AFP)/Nano-Probing

Package Level
Acoustic
Pre-Chemical Decapsulation
Substrate Delayering
Die Level
SEM
SIMS
Front-Side Delayering





The X-Prep® features an intuitive, user-friendly, process-oriented workflow interface. Each process screen provides instruction ensuring all parameters and functions are defined before operation.
High Definition Camera — The camera projects a magnified, razorsharp image of the sample onto the touchscreen for defining the X/Y region/boundary.
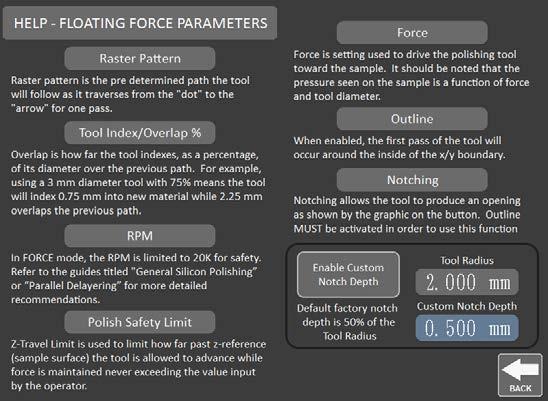
Help Screens — Help buttons on select screens provide access to additional explanation and instructions.
Leveling — Automated 3-point leveling adjusts the sample to be perpendicular to the milling plane.
Z-Axis — Multi-functional control modes switch between milling, grinding and polishing operations.
Process — Buttons with icons/graphics ease function identification.
Real Time Monitoring — While processing the sample, the active parameters displayed.
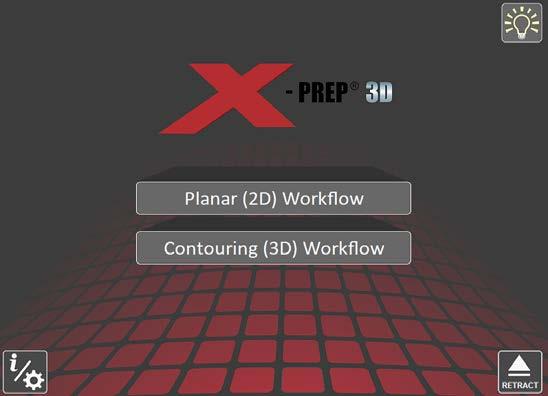

12" Touchscreen GUI
Easy to use
Process based workflows
2D flat processing
3D curved sample milling
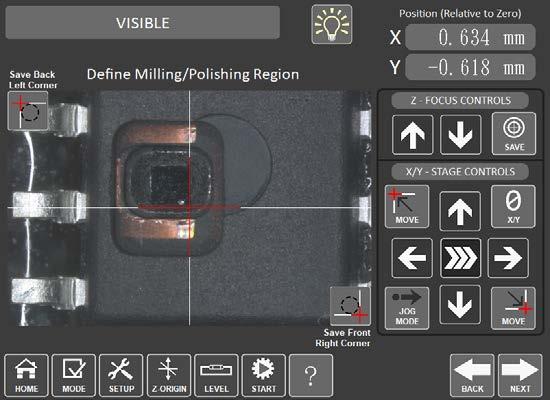

Live perpendicular view with targeting crosshairs
Four-way positioning controls with adjustable speeds
X/Y position display with zeroing function
Jog (step mode) feature
Help buttons provide access to additional explanation and instructions, conveniently providing a reference/reminder of the operation.
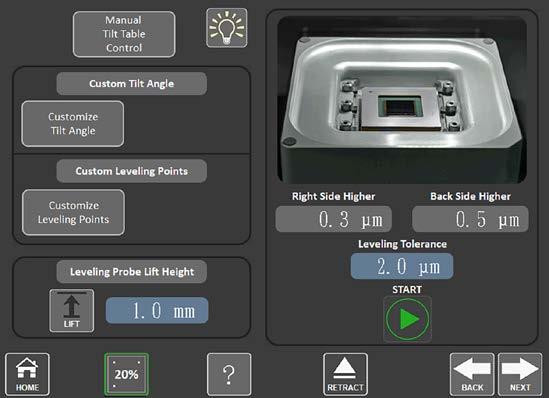
Dual-Axis tilt control down to 0.5 µm tolerance
Manual (open-loop) leveling controls
Custom leveling point definition

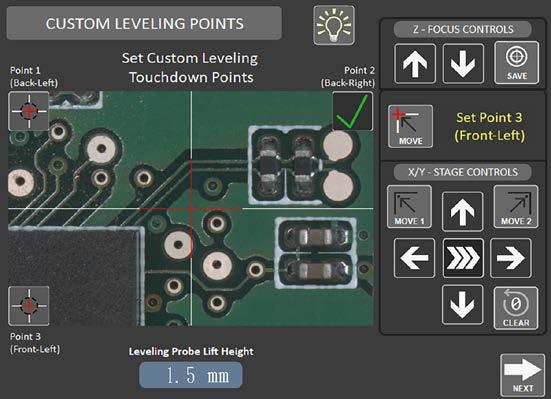
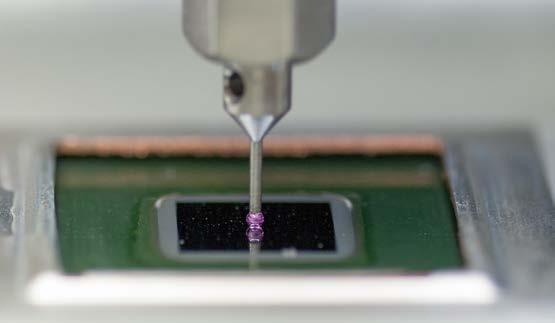
(Above) Custom leveling points can be set to help avoid features not in the desired milling plane. (Below) Low force physical contact with ruby tipped leveling probe to measure Z position.

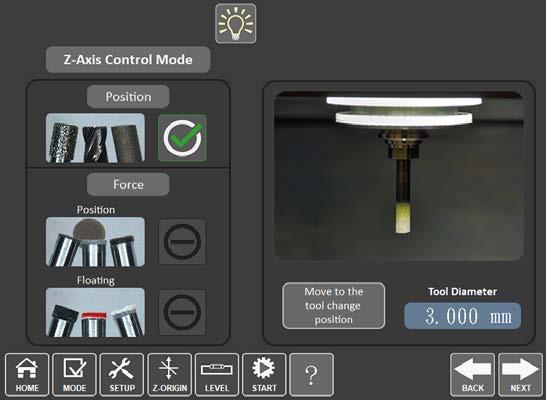
Three modes of Z-Axis control provide versatile processing functionality.
Position mode controls tool position by indexing the tool incrementally through the total Z distance. This mode is used for milling and grinding.
Force mode controls the tool position by limiting force. The operator can set a position limit for grinding/polishing or use the floating function for polishing.
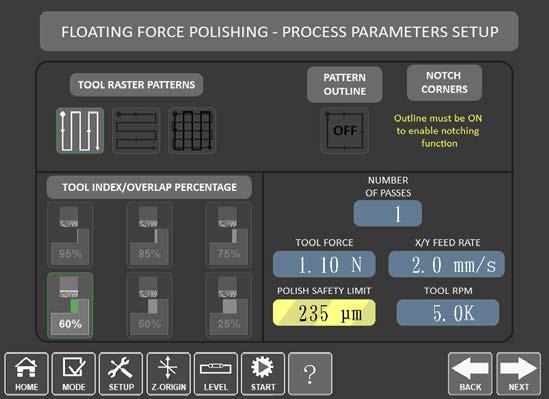
All screens feature graphic icons that assist in the visualization of tool motion to help with process setup.


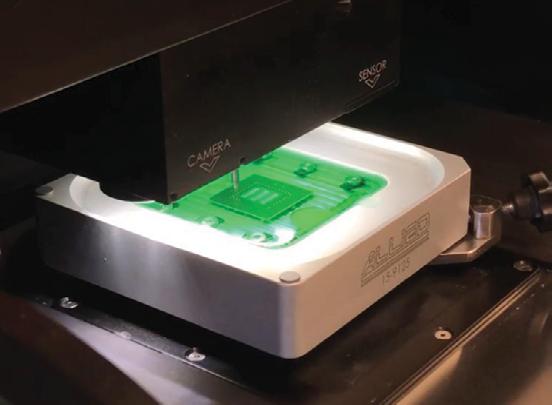
Real-time process status
User adjustment can be made to X/Y feed rate, force and RPM “on the fly” without interruption to cycle.
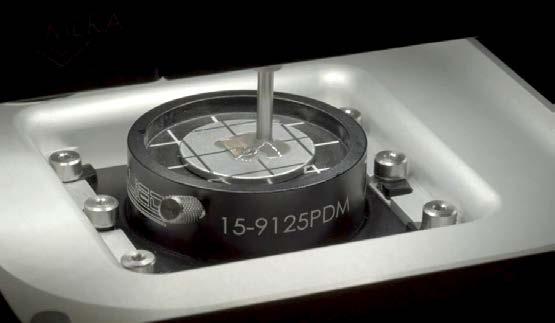
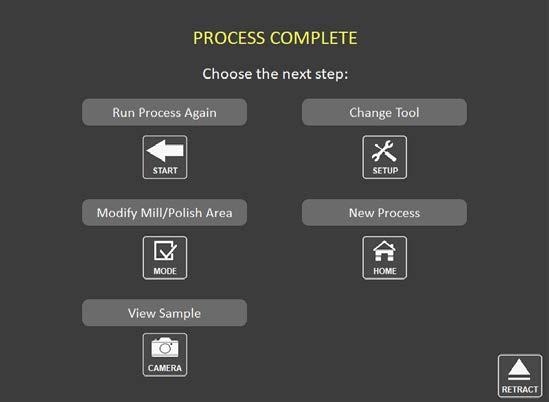
End of process presents user options for the following steps:
Repeat
Change tool
Modify/change X/Y region
Start over (home)
View sample

The X-Prep® is an ideal tool for any laboratory involved with precision sample preparation to support various analytical methods.
It is exceptionally useful in supporting microelectronic device failure analysis labs. Additional applications can be found in the medical, MEMS and optical device/component fields.
The table-top, compact footprint requires little space. The operation interface is simple to use, making it a more appealing tool to a greater number of people without any significant training.
The GUI interactive software guides the operator through a screen sequence to simplify use and reduce reliance on memory and skill.
15-9650 X-Prep® - 115 V
15-9650-230 X-Prep® - 230 V 15-9171 3D Software Module
• Adds both convex & concave deprocessing capability
• Can be purchased and added at a later time 15-92ASSORT Assortment Consumable Kit – see quote for details
If doing dry cutting, a dust extraction vacuum with HEPA filtration is available – please contact your Allied representative for further details.
Several options for training are available – please contact your Allied representative for further details.
See following pages for accessories and consumables.

Spindle:
3,000–100,000 RPM, 0.46 kW, 3-phase, with universal pneumatic
3 mm tool collet
X/Y Axis:
Servo-controlled
100 x 140 mm range
1 micron resolution
Z-Axis - Position and Force:
Air-bearing
Closed-loop 2.4 nm optical encoder
50 mm travel
1 micron accuracy
0.1 micron display resolution

12-inch diagonal touchscreen
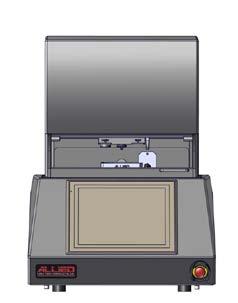
0.1 - 10 N, +/- 0.1 N repeatability Electrical Air Weight
Voltage, AC: 115 V or 230 V at either 50 or 60 Hz frequency
Current: 10 A Watts: 1,000 W
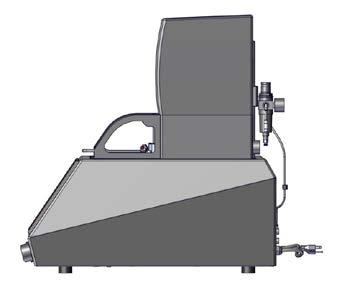
Required Tool Dimensions
Length: 38 mm (1.5") Shank: 3 mm Ø
Pressure: 90 PSI (~6 bar) minimum
Flow: 1.3 CFM (37 Ipm) minimum
Inlet Size: 0.25" or 6 mm OD Tubing (push-in/tool free fitting)
Quality: Class 3:4:3 - reference ISO 8573.1
235 lb. (107 kg)

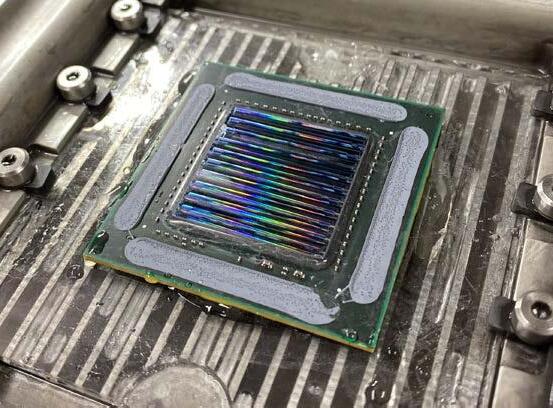
The 3D workflow software module adds/expands the capability of the X-Prep® to handle warped/curved substrates/samples, which is often required for uniform package deprocessing and die thinning.
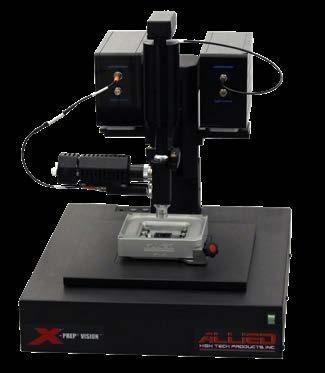
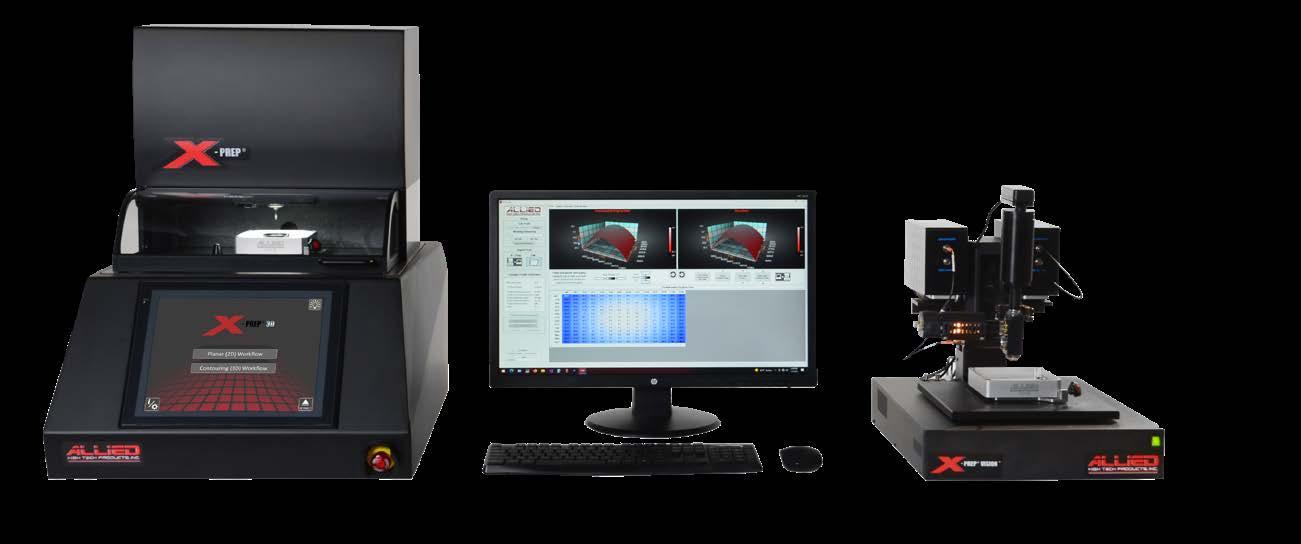
For backside die thinning (typically convex) the complete solution combines the X-Prep®, X-Prep® Vision™ and X-Correct™ software for tight tolerance applications. As relaxation occurs during thinning, RST mapping is done with the X-Prep® Vision™, and changes to the physical milling profiles are made using X-Correct™ software.
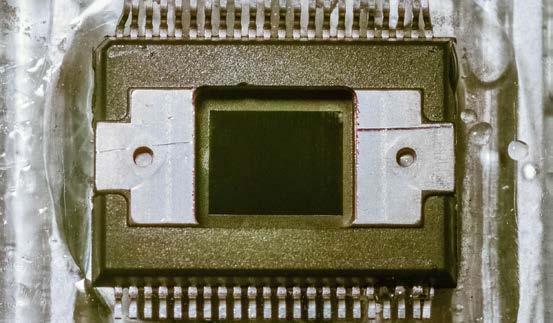
For package deprocessing (concave), the X-Prep® is used to collect the physical profile map as a tool control reference. Viewing of this profile and adjustments to the milling profile can be done using the X-Correct™ software.
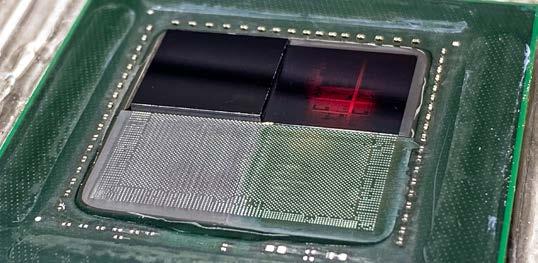
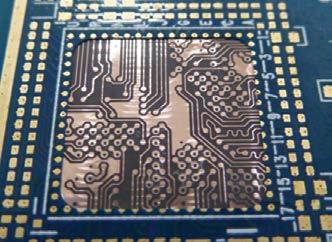
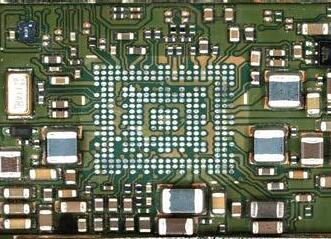
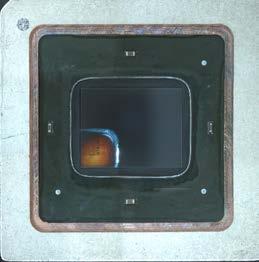
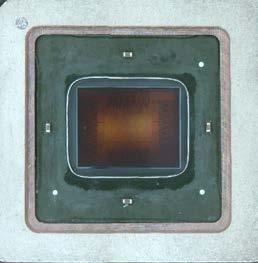
(Above) Flip-chip device processed to three (3) distinct targets – 5 µm RST, die to C4 bump interface and PCB (solder mask) bump interface. (Below-left) Globally to 20 µm RST with localized region to 5 µm RST. (Below-right) Globally to 5 µm RST.

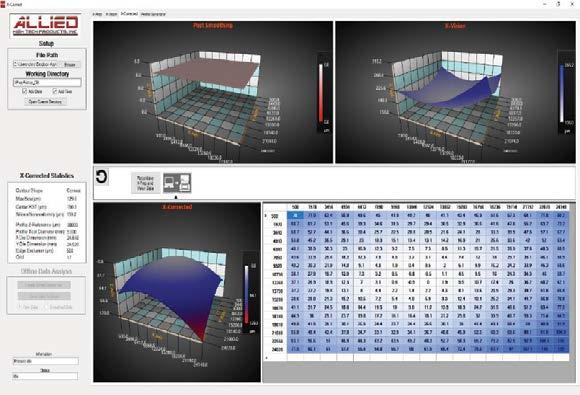
X-Correct™ is Allied’s proprietary software included with the 3D workflow software module. It provides offline data processing functionality to view and manipulate profiles at various stages of sample processing.
The X-Prep tab is used to visualize the starting physical profile, generated either from the X-Prep® (physical profile) or with the profile generator function in the X-Correct™ software.
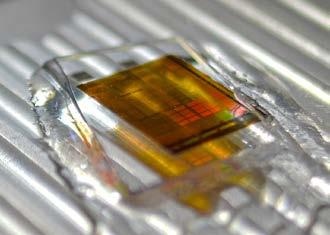
When thinning silicon, device relaxation that naturally occurs results in a nonuniform thickness. Uniformity is restored by using the X-Prep® Vision™ to measure the silicon on the same grid as the X-Prep® uses for tool control.
The X-Vision tab is used to process remaining silicon thickness (RST) measurement data files for review and/or modification that are used for profile modification in the X-Correct tab.
The X-Correct tab is a review screen that displays the new milling profile based on differences between the physical profile (X-Prep®) and measured thickness (X-Prep® Vision™) to restore uniformity.
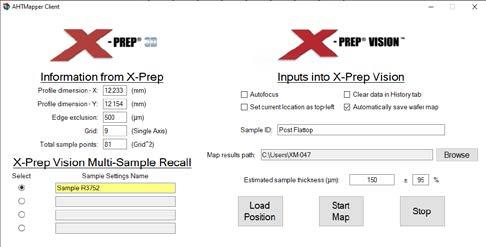
This system is a metrology tool enabling measurement of silicon and semitransparent substrates. It is necessary for 3D processing applications that require uniform thicknesses.
It’s optimized to measure most samples through rough surfaces (in process) and highly doped substrates (less than 80 µm) to ensure accurate targeted thinning.
Features:
• Visible and IR (1310 nm) spectrometers for measuring from >1 micron to 1 mm
• Motorized (100 mm square), automatic X/Y and Z for multipoint measurements on various patterns (square, rectangle, circle, line)
• Live camera view for measurement targeting
• Custom software to directly support up to four (4) X-Prep® samples/jobs
• Stage adapter for X-Prep® fixtures that ensures accurate registration between systems
• Includes a material library with over 130 materials (i.e., GaAs, InGaAs, SiC, Sapphire/Al2O3, InP, SiGe, GaN, photo-resist, etc.) for film stack measurements

15-50105 X-Prep® Vision™ Substrate Measurement System
100–240 V AC
Milling, Grinding and Polishing

Data analysis and file transfer software
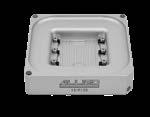
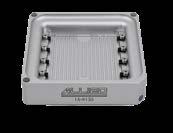
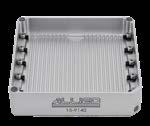
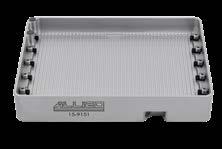
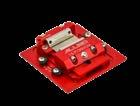
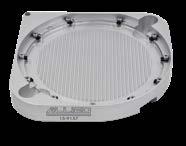
Each fixture is designed to accommodate a carrier insert onto which samples are mounted using wax. Wax offers an advantage over clamping when dealing with delicate samples, or for those so small that clamping is not an option.
Borosilicate (glass) carriers maintain their shape through thermal cycling required to melt and harden wax. It is easily machined using diamond tools to produce pockets to accommodate items such as leads on device packages, capacitors or flip-chip die.
Aluminum carriers can also be easily fitted into these fixtures and used as an alternative to glass for applications that require the carrier to provide electrical conductivity.
All fixtures allow the sample to be submerged in lubricant to maintain lower temperatures for improved tool life and sample preservation as well as capturing particulates from becoming airborne.
15-9125 2" x 2" (50 x 50 mm), with 20 borosilicate carriers (15-9126)
15-9125PDM Parallel Delayering Module (insert for 15-9125)
15-9135 3" x 3" (75 x 75 mm), with 10 borosilicate carriers (15-9136)
15-9135UCM Universal Mechanical Clamping Module (for 15-9135 fixture)
15-9140 4" x 4" (100 x 100 mm), with 10 borosilicate carriers (15-9141)
15-9142 4" x 4" (100 x 100 mm), flat plate
15-9151 4.5" x 6" (114 x 150 mm), with 10 borosilicate carriers (15-9152)
15-9157 Wafer Holding Fixture, (150 mm Ø x 3 mm), with 10 borosilicate carriers
Fixtures for a wide range of applications!



Mounting objects with complex geometries or those that are heat-sensitive is better done using silicone-based resin.
Black is a lower viscosity than green, offering better adhesion to more complex geometries. They are dispensed with the reusable handle through mixing tips (cannulas).
145-80000
145-80005
145-81000
145-81005

Dispensing Handle for 2-Part Cartridge Resins
Mixing Tips for 145-81000 & 145-81005 Resins
TP Black Silicone-based Resin Kit, 2 x 50 mL Cartridges
TP Green/Light Resin Kit, 2 x 50 mL Cartridges Each Pk/12 Pk/24 Pk/24
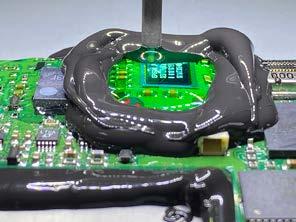
Resin can be used for both mounting and to create an isolated reservoir around the AOI for lubricant.
Whether examining samples between steps or gluing disc/pads onto polishing tools, the Carl Zeiss Stemi 305R is an invaluable stereomicroscope to support the X-Prep®. It features a variable intensity, built-in LED illuminator and adjustable width, focusing eyepieces. 12-S305R Stereomicroscope, 5:1 zoom range, 8.0x to 40x; field view 29 mm – 58 mm


Allied offers a variety of solid carbide end mills with coatings for material specific applications.
Solid carbide end mills offer extreme heat resistance, durability and higher stiffness for superior performance.
Two-flute end mills are ideal for milling soft metal alloys such as aluminum and copper and are available in diameters smaller than 0.7 mm.
15-922FS0.05
15-922FS0.10
15-922FS0.15
15-922FP0.2
15-922FP0.25
15-922FP0.5
15-922FP0.7
15-922FP1.0
15-922FP1.5
15-922FP2.0
15-922FP3.0
15-922FS0.2
15-922FS0.25
15-922FS0.5
15-922FS0.7
15-922FS1.0
15-922FS1.5
15-922FS2.0
15-922FS3.0
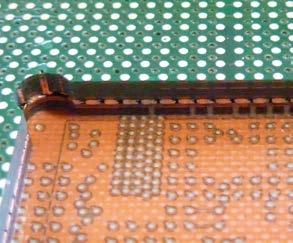
Cut through circuit board material (FR4) with ease.
Four-flute end mills are for “finishing” operations. Offering better rigidity than 2-flute, they produce a finer, cleaner finish when run at a slower feed rate.
15-924FP0.7
15-924FP1.0
15-924FP1.5
15-924FP3.0
15-924FS0.7
Long-reach end mills feature cutting flutes that extend up from the tip, approximately 3 times the diameter of the tip, to allow cutting into deep cavities.

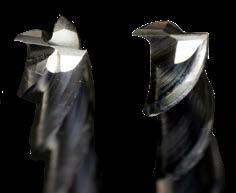
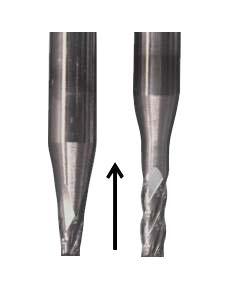
Standard end mills have tapered tips that may restrict the depth of the cavity they can produce when compared to long-reach end mills.

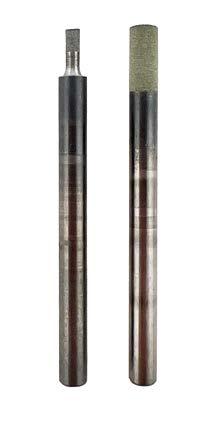
Bonded tools retain their shape and last longer than plated tools,because as the bond and diamond section wear, new diamond is exposed.
When compared with plated tools, bonded tools produce a finer surface finish and allow grinding closer to end point targets with significantly less damage.
Metal bond tools are for grinding non-metal alloys such as silicon, silicon carbide and mineral-/silica-filled resins in molded electronic devices.
Resin bond is recommended for grinding hard, brittle materials that have a higher chance of cracking.

15-92CMB3.0
15-92MRB3.0
15-92MRB1.5
15-92MMB1.0
15-92MMB1.5
15-92MMB3.0
15-92FMB0.55
15-92FMB0.70
15-92FMB1.0
15-92FMB1.5
15-92FMB2.0
15-92FMB3.0
15-92VFMB0.2
15-92VFMB0.4
15-92VFMB0.5
15-92VFMB0.70
15-92VFMB1.0
15-92VFMB1.5
15-92VFMB2.0
15-92VFMB3.0
15-92VFMB5.0
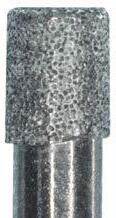
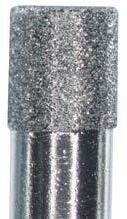
Plated diamond tools feature the coarsest diamond abrasive, which is useful for bulk material removal.
A silicon carbide dressing stick can be used to remove embedded material and extend the tool life. All tools are 38 mm in length.
15-92CP1.0
15-92CP1.5
15-92CP2.0
15-92CP3.0
15-92FP0.7
15-92FP1.0
15-92FP1.5
15-92FP2.0
15-92FP3.0
Nickel plating with superior resistance!

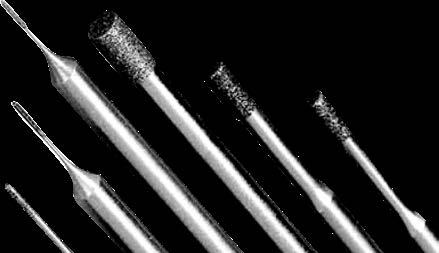

These abrasive discs are used as an alternative to bonded diamond tools for thinning silicon where higher throughput is desired on large die/substrates.
Discs are secured to mounts using LOCTITE® 460 or 454 and peel off easily when worn.

15-92CGD3
15-92CGD
15-92CGD9
15-92CGD12
15-92MCGD5
15-92MCGD9
15-92FGD3
15-92FGD5
15-92FGD9
15-92FGD12
15-92VFGD3
15-92VFGD12
Highly polished, mirror-like surface on silicon
Large diameter polishing discs are used for preparing larger samples to produce smooth, mirror-like, scratch-free finishes.
Each polishing disc is secured to a mount (pg. 24) using a high performance adhesive such as LOCTITE® 460 or 454.

Pad
Pad
Pad

These mounts are made of a special hardened grade of steel for rigidity. They are precision ground to eliminate vibration at high speeds and are used for supporting grinding and/or polishing discs.
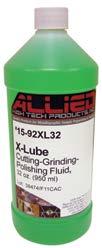
X-Lube™ is a solvent-free lubricant that is essential in helping maintain cooler cutting temperatures, trapping cutting debris and reducing tool wear. It can be recycled and used several times before it needs to be disposed. It is also used with diamond compound for polishing operations.


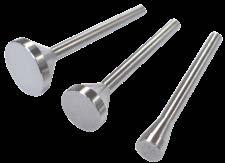
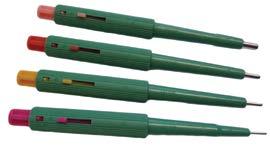
Small (3 mm or less) diameter polishing tools can be made by punching a small disc from the pad and adhering it to a polishing mount using LOCTITE® 460 or 454.
180-10950
180-10910
180-10930
180-10940
180-10960
180-10105
15-92P3-D
15-92P2-D
15-92P1.5-D
15-92P1-D
15-92P0.5-D
70875A41
Planar Pad
X-Pad II
Final-POL
Red Final C
Chem-Pol
Final A
Disposable Punch
Disposable Punch
Disposable Punch
Disposable Punch
Disposable Punch
Cloth & Grinding
Disc Punch Mat
15-92PM3
15-92PM2
15-92PM1.5
15-92PM1
15-92PM0.5
15-9161
15-92RTP 28-2060.5
Polishing Mount
Polishing Mount
Polishing Mount
Polishing Mount
Polishing Mount
Polishing Tool Disc Applicator
Ruby-Tipped Leveling Probe
Ruby Stylus Probe
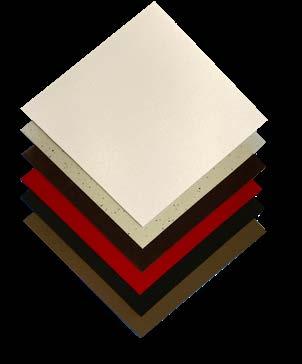
Disposable Punches
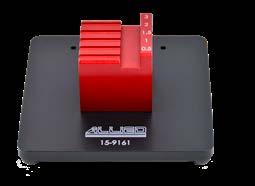
Polishing Tool Disc Applicator
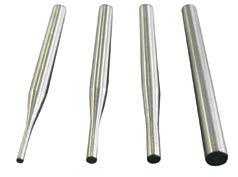
Polishing Mounts


Ruby Tipped Stylus & Leveling Probe
Diamond compound is used for intermediate and final polishing to remove damage/scratches after the final grinding/thinning step.
Polycrystalline diamond provides the best performance and surface finish. It’s recommended to use with X-Lube™ and is easily cleaned using water.
90-21040-S
90-21035-S
90-21030-S
90-21025-S
90-21020-S
90-21015-S
90-21010-S
90-21005-S
90-21000-S
90-20995-S

18 Gram Syringe
18 Gram Syringe
18 Gram Syringe
18 Gram Syringe
18 Gram Syringe
18 Gram Syringe
18 Gram Syringe
18 Gram Syringe
18 Gram Syringe
18 Gram Syringe
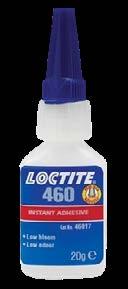
Available in either a liquid (460) or gel (454), both LOCTITE® products provide superior adhesion between the mount and disc to withstand the conditions of grinding and polishing.
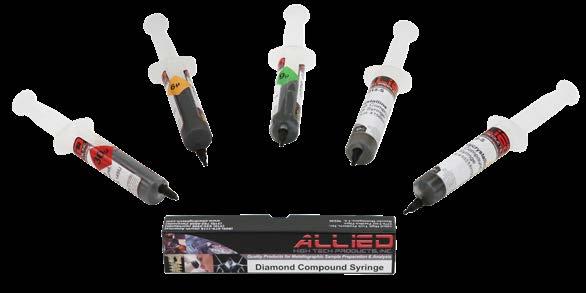
Diamond Compounds
