TULIP POPLAR

Growing Season
Field Protocols


YOU PROVIDE: Smartphone or tablet (required); binoculars, pocket knife (both optional)
*SOME kits include an increment borer, beeswax and paper straws, for locations that need tree cores.*
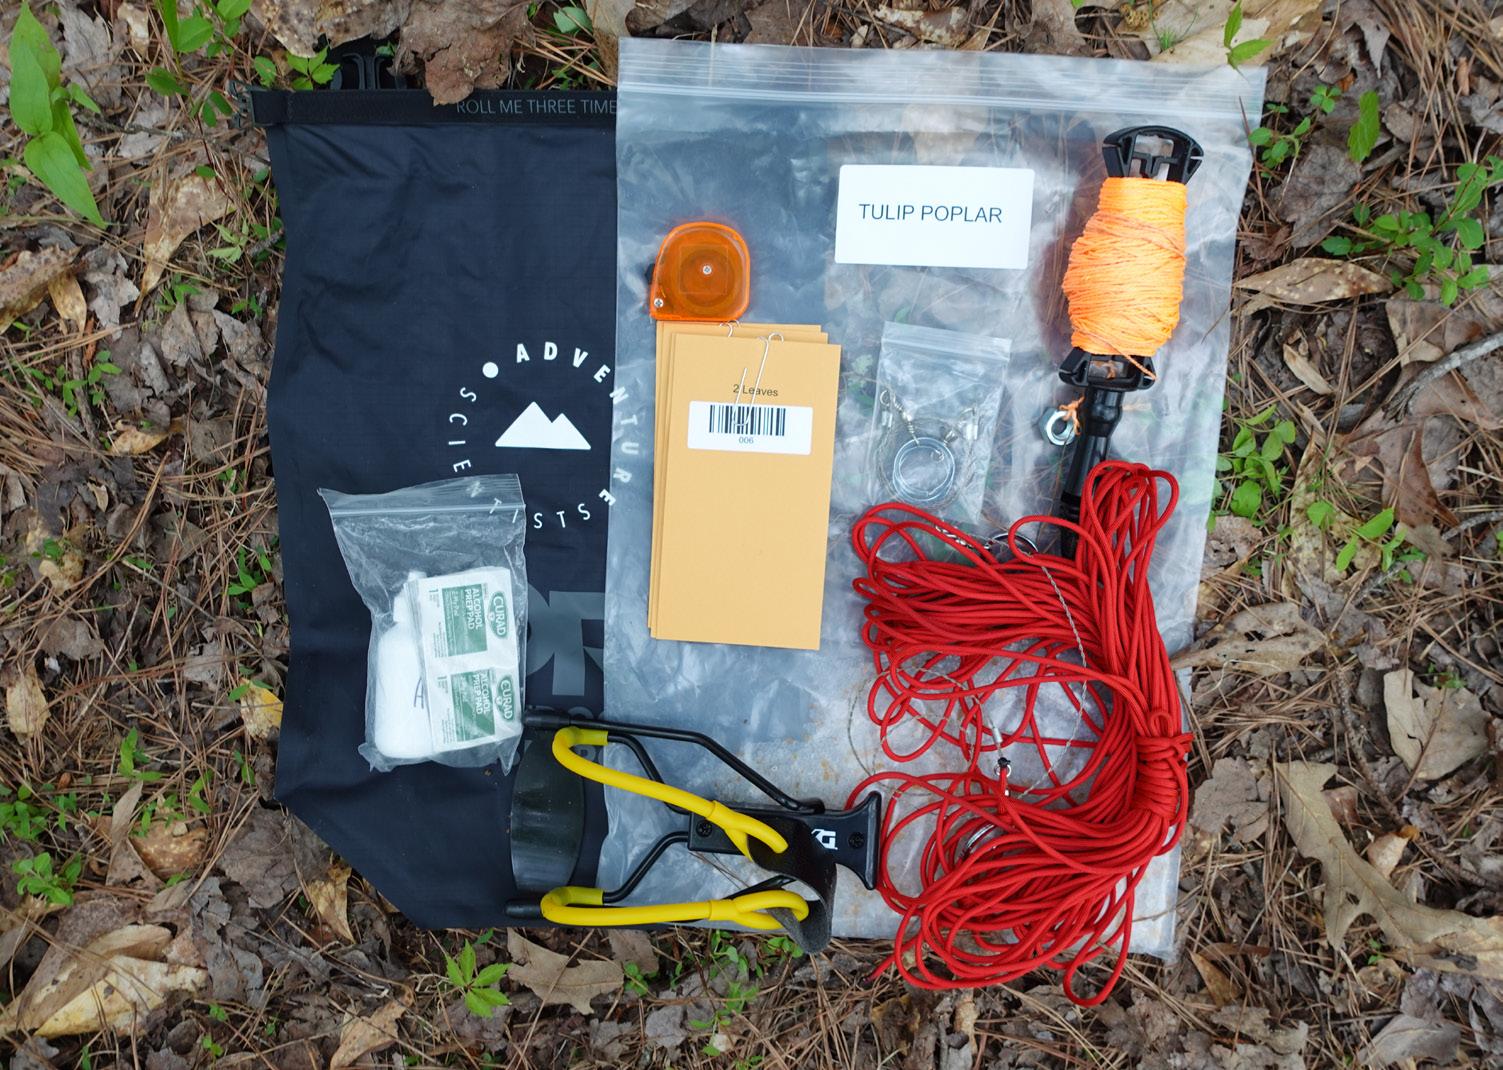
A
B Stuff sack
C Bag with silica desiccant
D Measuring tape
Envelopes for samples
E Extra chain for saw-toss
Spool with colored string and metal nut for weight
Alcohol kit for cleaning
H
Slingshot
G Saw-toss tool

Download or print permits or permission letters for the public land you are visiting. Make sure you've read thoroughly and are following the permit requirements.
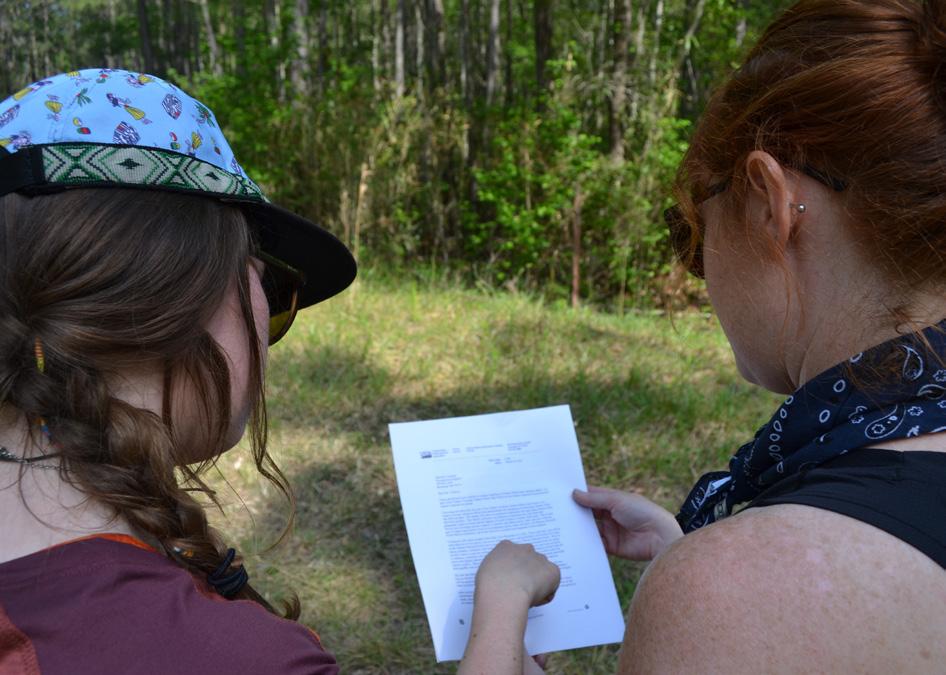
Verify the number of trees allowed to be sampled on the permit, if tree cores are allowed, and if anyone needs to be notified of your visit.
If you are collecting on private land, make sure you have explicit permission from the landowner (verbal or written).
Additionally, tulip trees are commonly planted and this project needs samples from wild growing trees. Make sure that any trees you sample on private land are
• within a forested area, not a landscaped area
• not located within 500 meters of buildings or other developed areas (picnic areas, major roads)
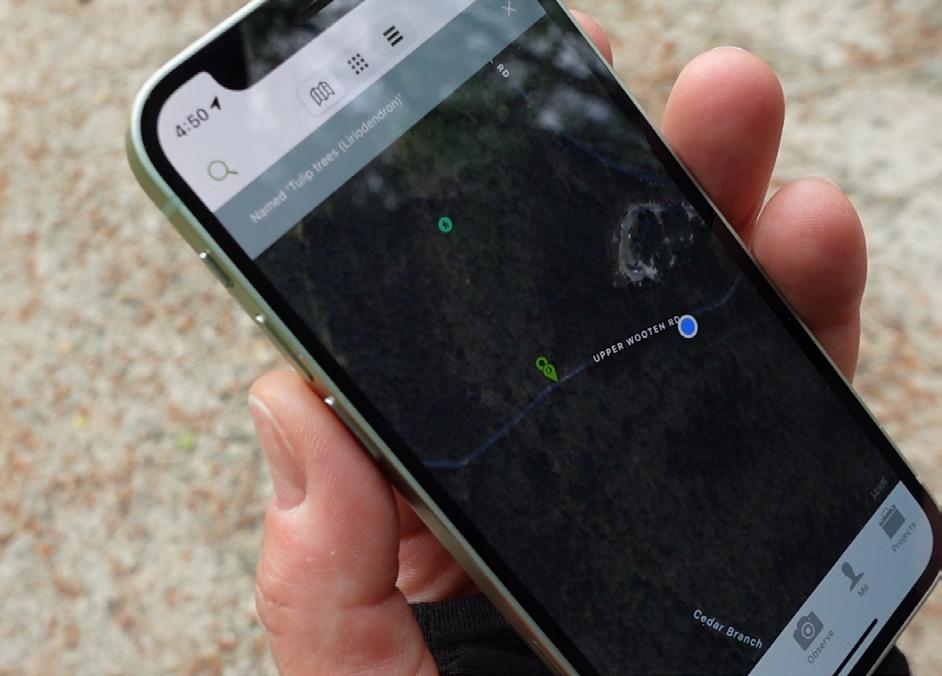
We advise using the app iNaturalist to guide you to trees. Scout before you head out in the field, use the map to guide you while in the field.

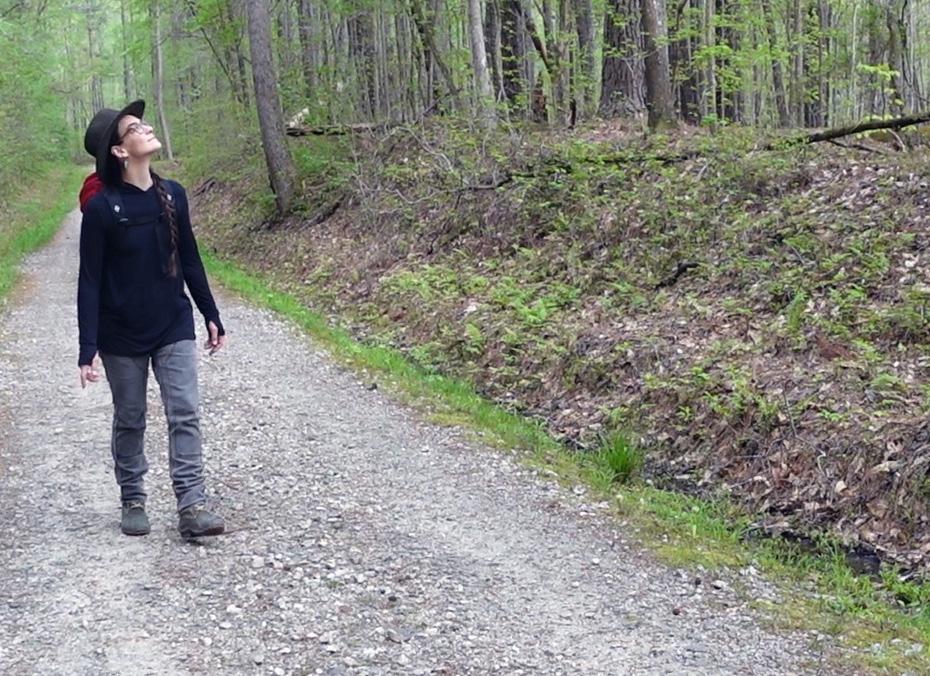
Look for the tree in suitable habitat: Tulip poplar prefers moderately moist to well-drained soils, north and east aspects on gentle slopes. They rarely grow above 4,500 ft.
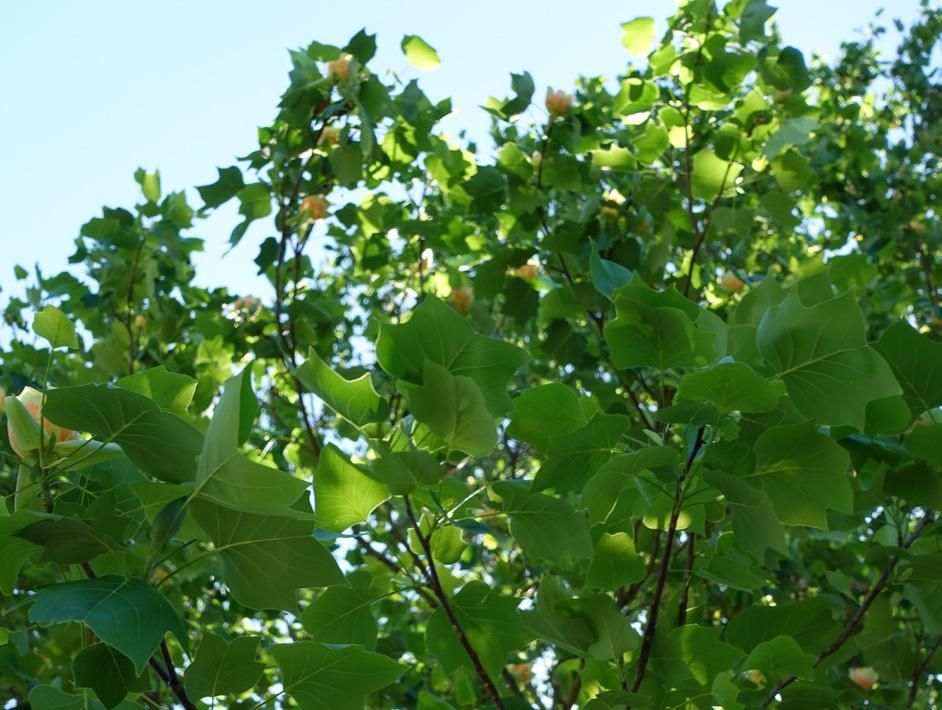
Tulip poplars are distinctive trees. Look up! These trees have tall, straight, light-colored trucks, often with the first branches occurring a high distance from the ground.
Scan the canopy for tulip poplar's distinct leaf shape. See the next 2 pages.
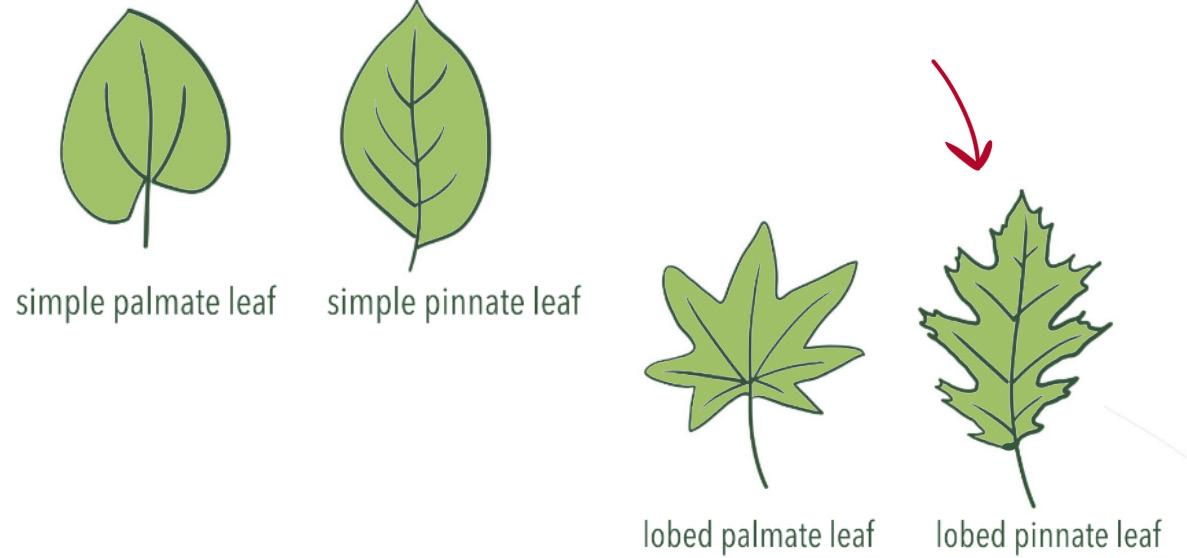
Look at the leaf veins to see if the leaf is pinnate or palmate. Palmate leaves have veins originating from a single point. Pinnate leaves have veins that branch off a central vein.
Tulip poplar leaves are simple, pinnate.
OVERALL SHAPE
Tulip poplar leaves don't look like any other leaf.
They have four lobes, and a shape reminiscent of a tulip.
If the leaf comes to a point opposite the leaf base, it's not a tulip poplar. If it looks like the top or tip of the leaf is missing, it may be a tulip poplar!
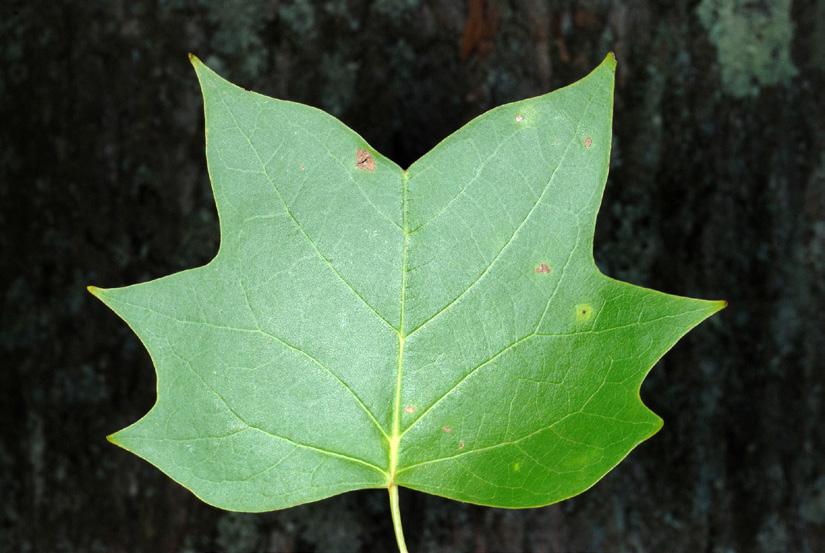
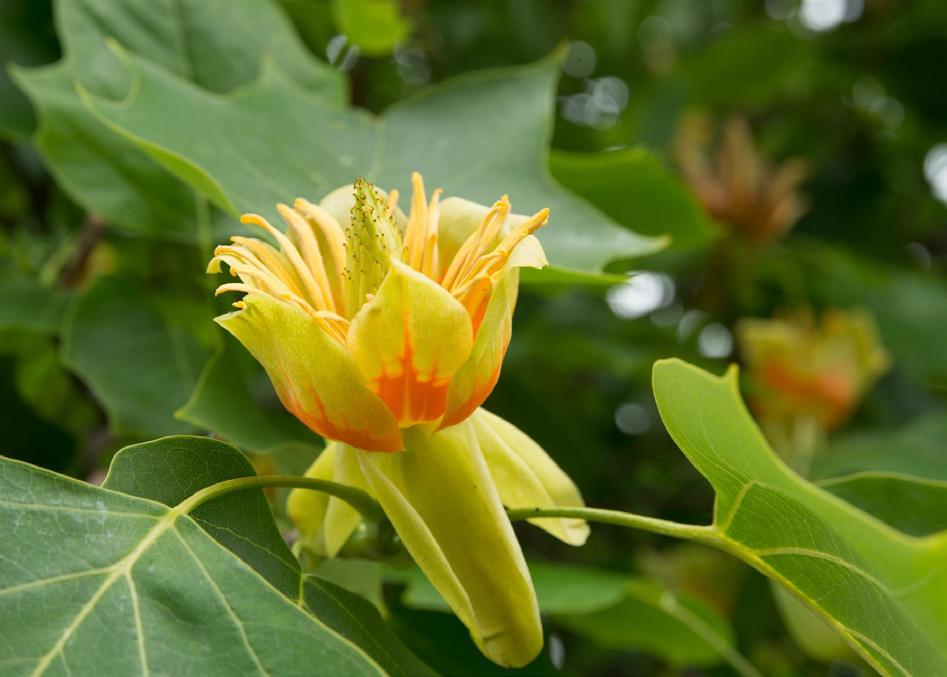
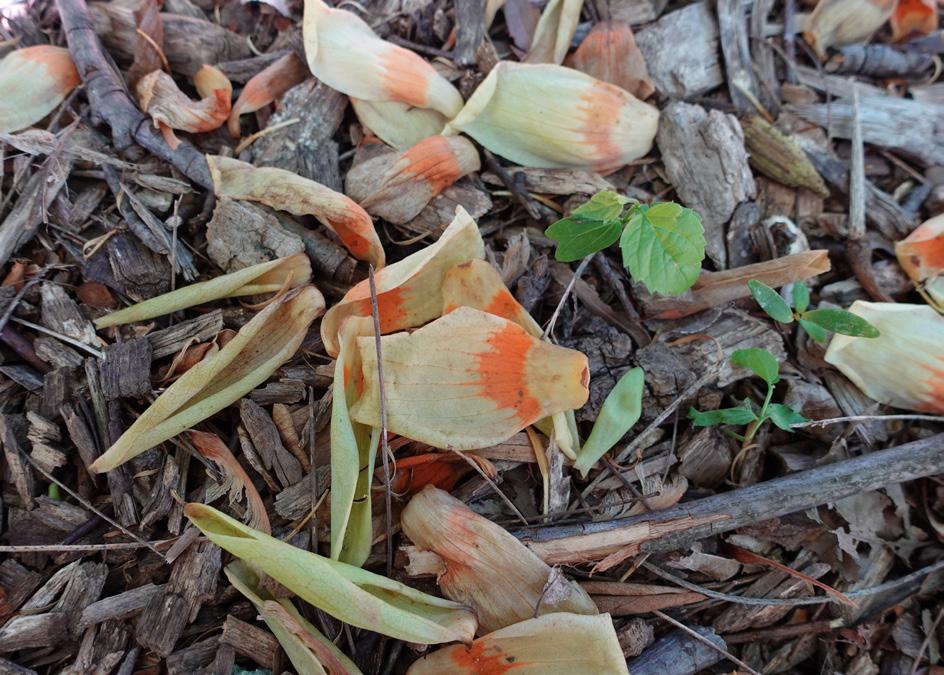
Large, distinctive leaves can be spotted from below if you look up. In late spring to early summer, the trees have yellow-orange flowers
Wind can bring down leaves, flower heads, and petals. Scan the forest floor as you walk.
You can use Seek, an app by iNaturalist, as additional ID help.
Open the Survey123 app. Tip: Use airplane mode while collecting data to save battery. Close the app when you aren't actively entering data.
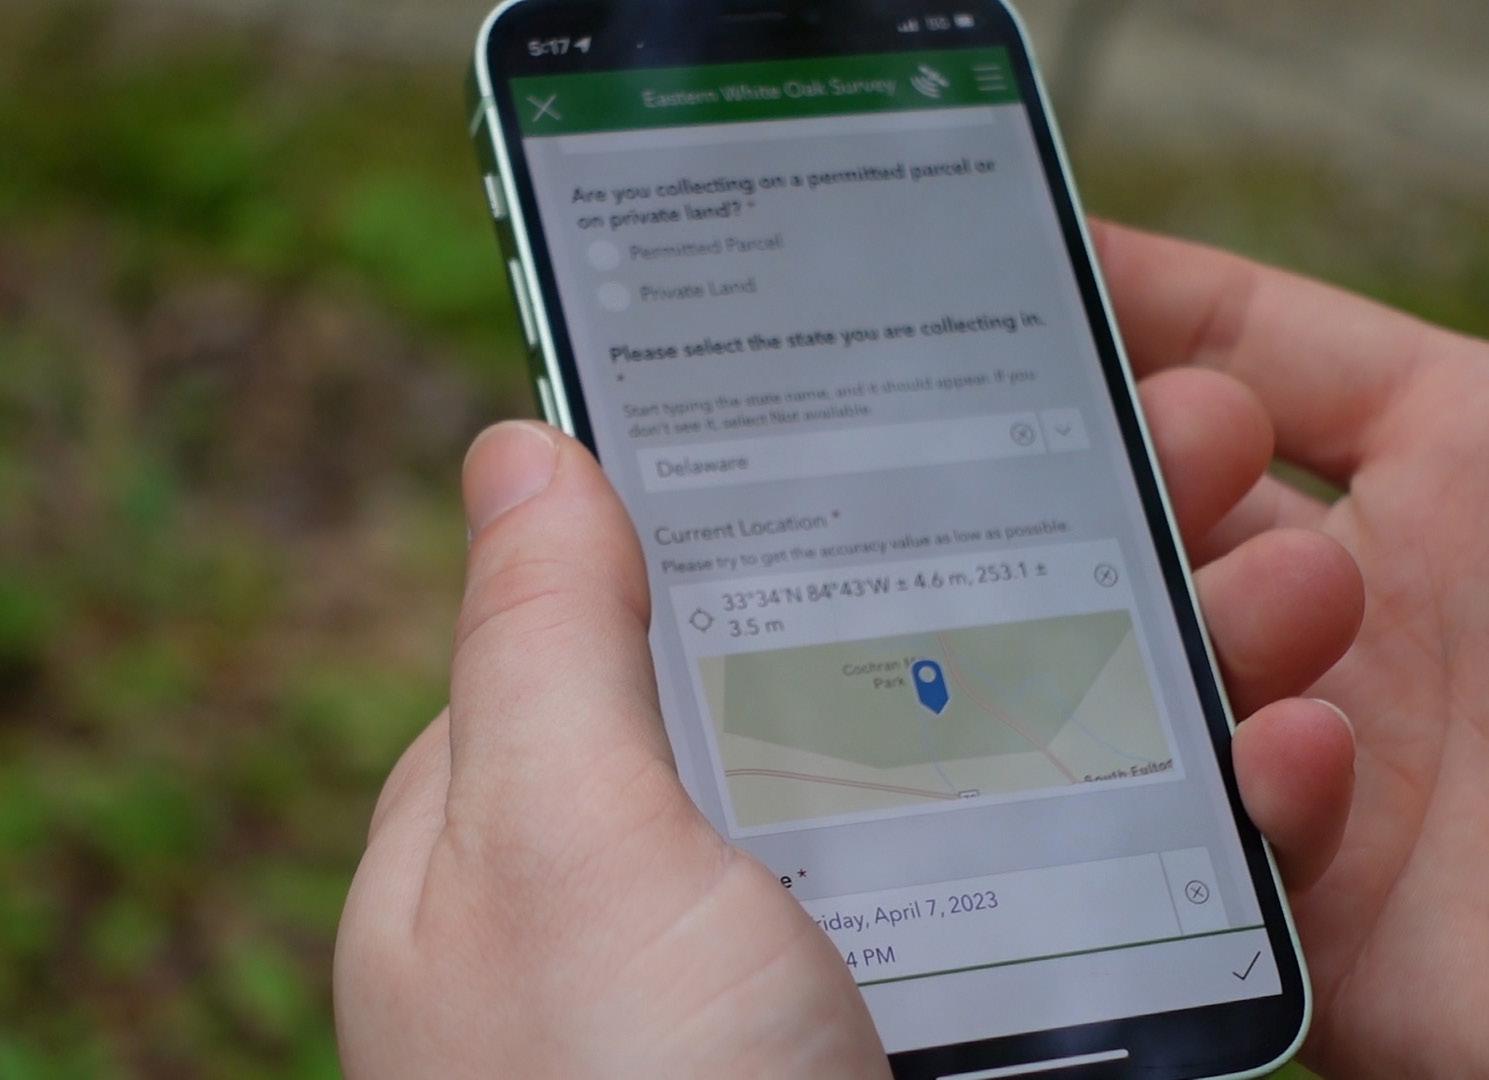
Select "Tulip Poplar and Ash Survey" and tap "Collect"
Follow prompts in the survey, including:
Mark your location: Look at the map and verify that the location is accurate. Click the target icon in the upper left to correct the location if needed. Tap and hold to increase accuracy to +/- a few meters or as low as possible. Tap again to stop.
Check that the date is accurate.

Did you look carefully and not find any tulip poplars in the area? Select "Yes" when asked "Is this record for absence data" and record notes about the area where you didn't find tulip poplars. This informs our partners and other volunteers.
Select "Yes" to indicate that your tools are clean before proceeding.
If this is your first tree, the tools arrived clean. If you sampled before and forgot to clean, do it now! See page 21.


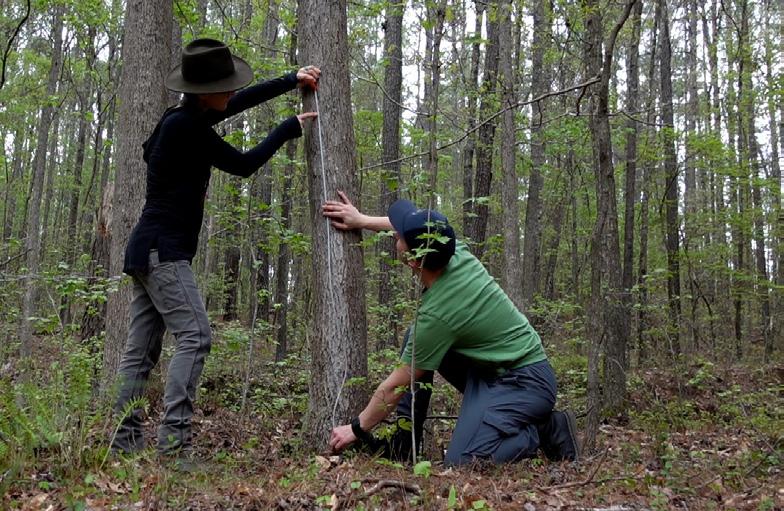
Measure the circumference at a height of ~137 centimeters (54 inches or 4.5 feet) up the trunk. Use the tape to find this height from the base of the trunk, as pictured.
If the tree is on a slope, measure from the uphill side at a height of 1.3 meters (4.5 feet).

inches centimeters
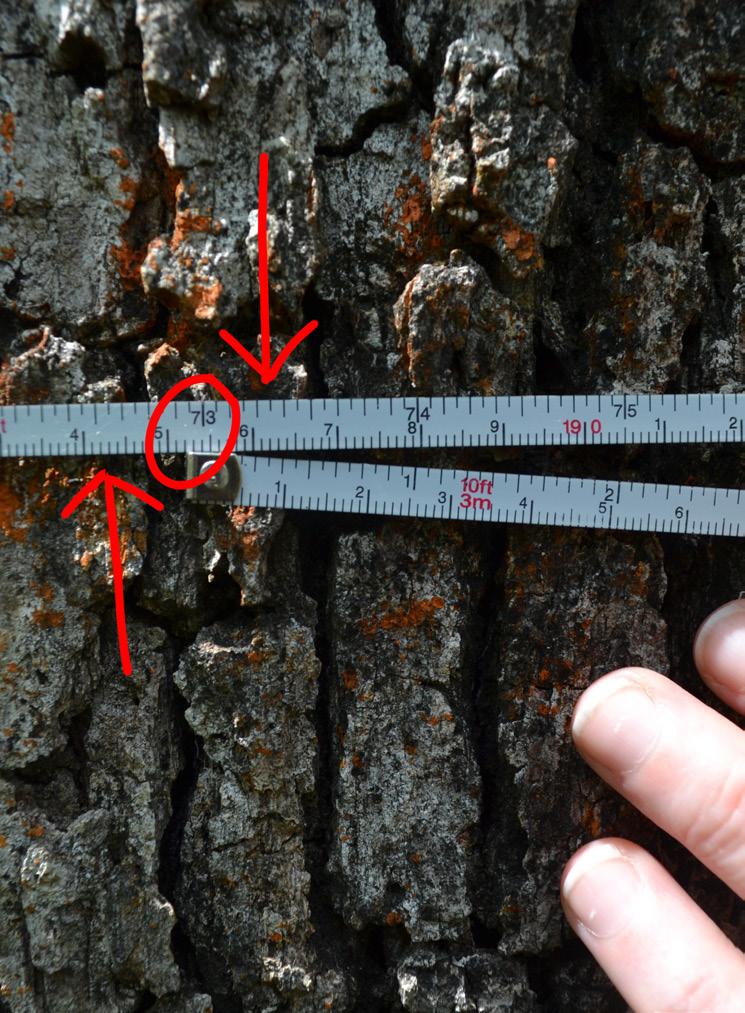
Wrap the measuring tape snugly around the tree. Adjust so that the tape is level for an accurate measurement. In Survey123, enter numbers only. The tape has both inches and centimeters. Check to be sure you report centimeters. Tip: centimeters will give you a higher number than inches, ie: 73 in = 185.5 cm.
TRUNK TOO BIG FOR THE TAPE?
Wrap the cord of the saw-toss around the tree instead. Note where the cord meets and measure the cord in sections with the tape.
A B
Collect 2 green leaves from your tree. Avoid leaves with damage that might indicate infection from fungi or viruses. Look for a leaves relatively free of blemishes.

First, figure out what strategy (A, B, or C) you will use, based on how accessible branches are on your tree.
A) BRANCHES WITHIN REACH?
Grab some leaves! Go to page 19.
B) BRANCHES OUT OF REACH, BUT WITHIN 30 FEET?
Use the saw-toss tool. See instructions p11-12.
C) BRANCHES HIGHER THAN 30 FEET ?
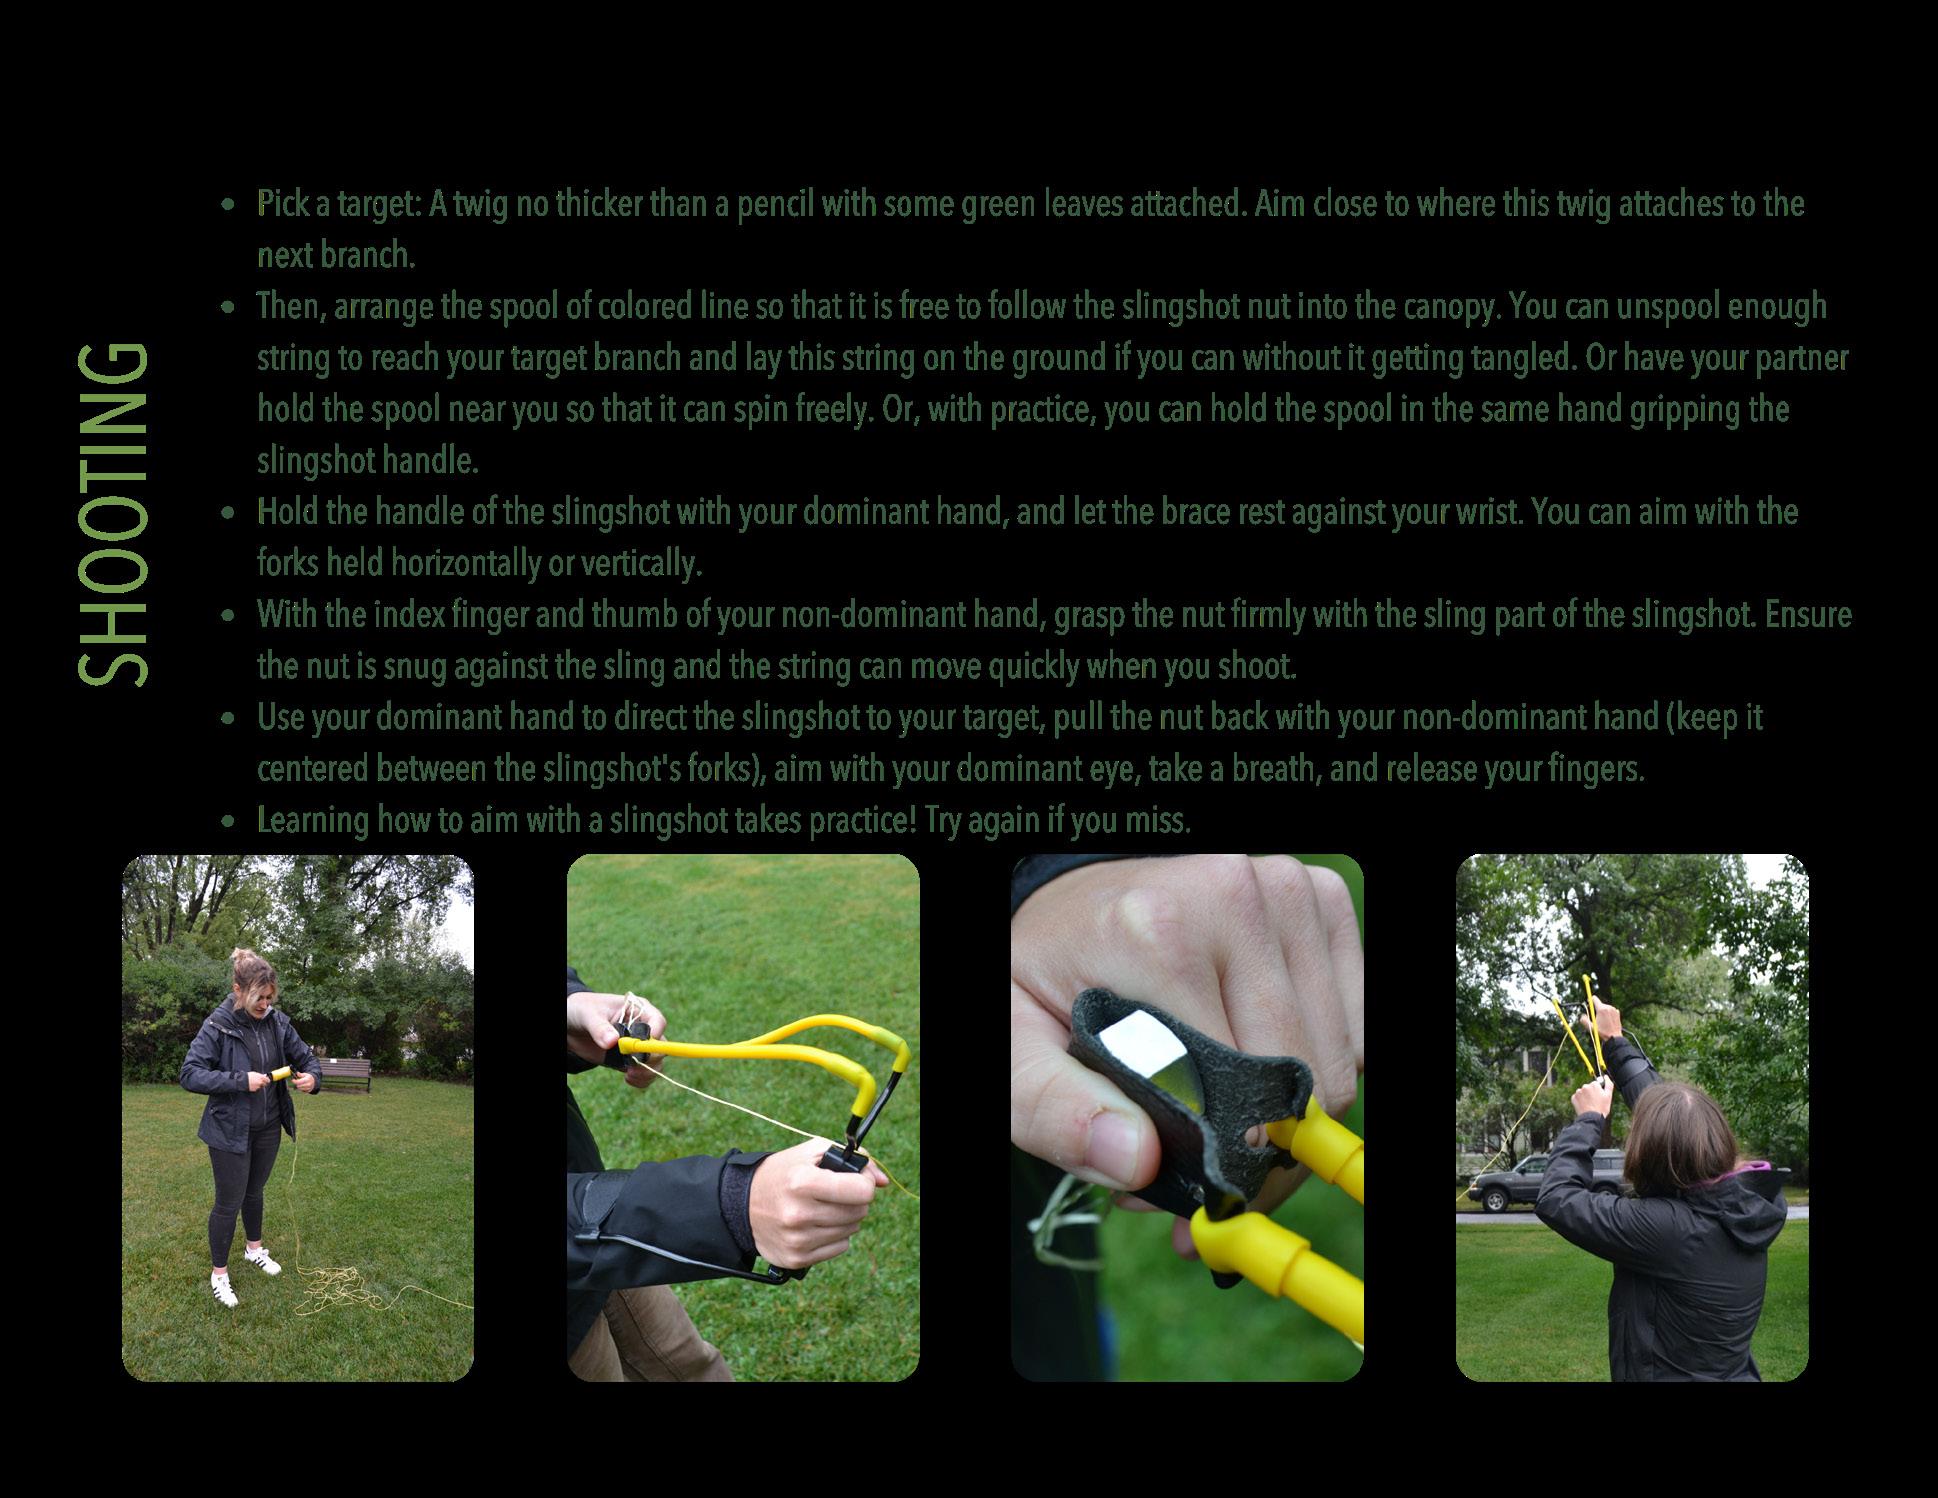
If the only branches are higher than 30 feet (or the distance you can toss up) use the slingshot and saw-toss. See instructions for the slingshot p13-14 and saw-toss p11-12 .
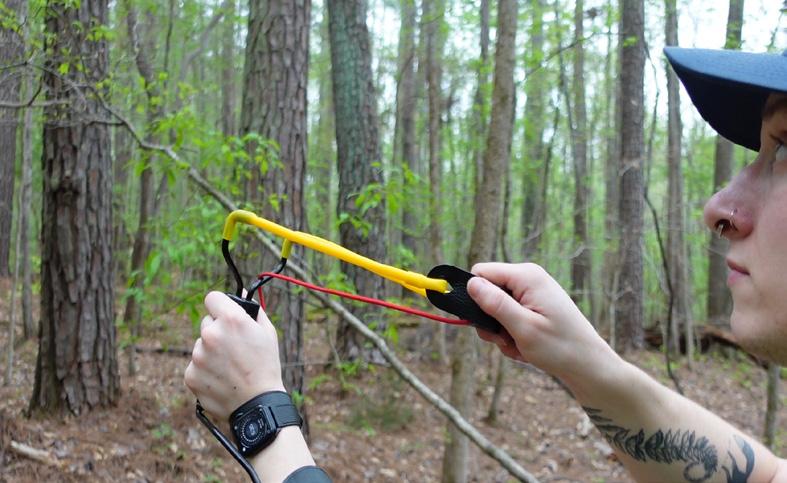
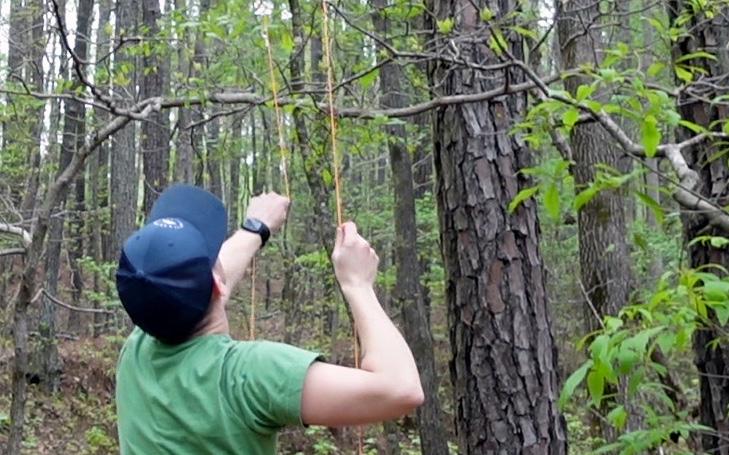
SELECT A WEIGHT
Tie one end of the cord to something small and heavy that you can toss: a rock, hefty stick, or a water bottle work well.
SELECT YOUR TARGET
Look for small branch that you can toss the weight over.
Select a twig you hope to get. Aim for a crux, where one twig joins the larger branch. The saw toss can only saw through twigs not much thicker than a pencil. And remember, you only need two leaves!
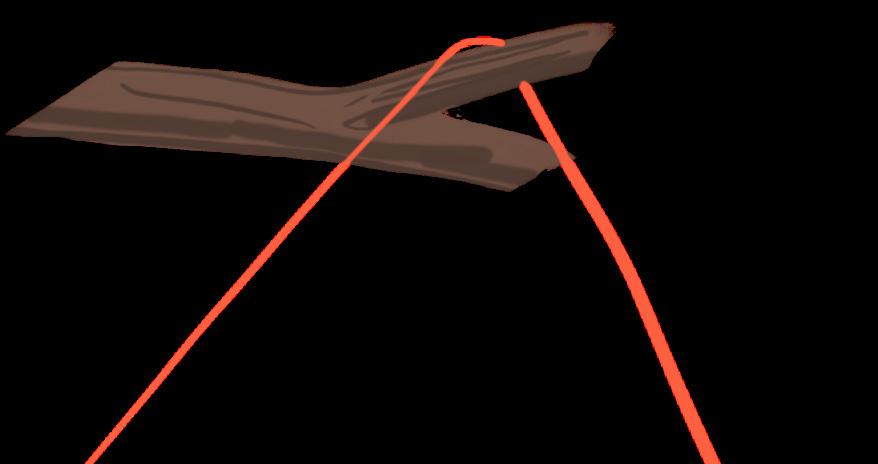
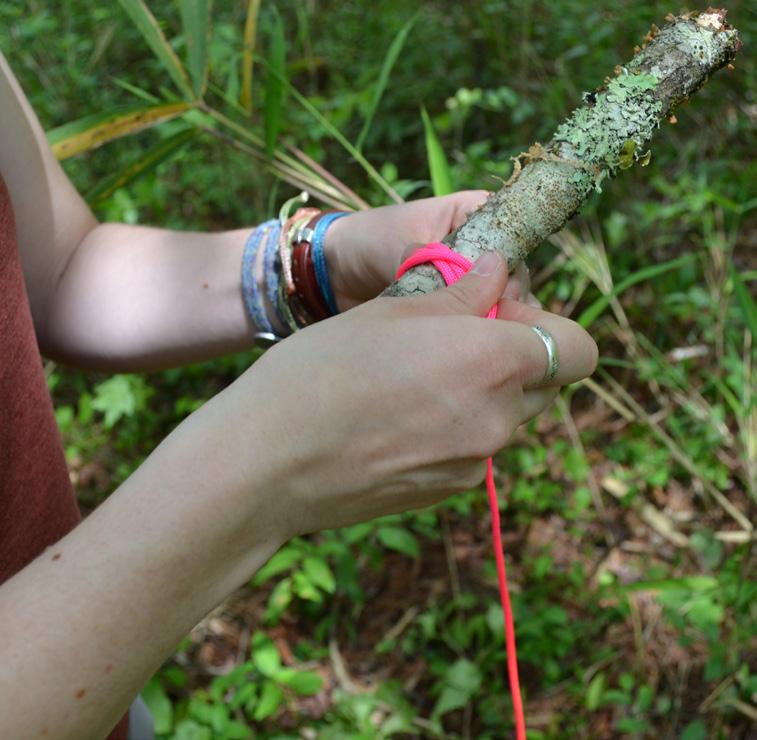
We've had success with underhand tosses but try overhand if that doesn't work for you. Make sure the paracord is coiled loosely at your feet, so the cord can follow your toss easily into the air.
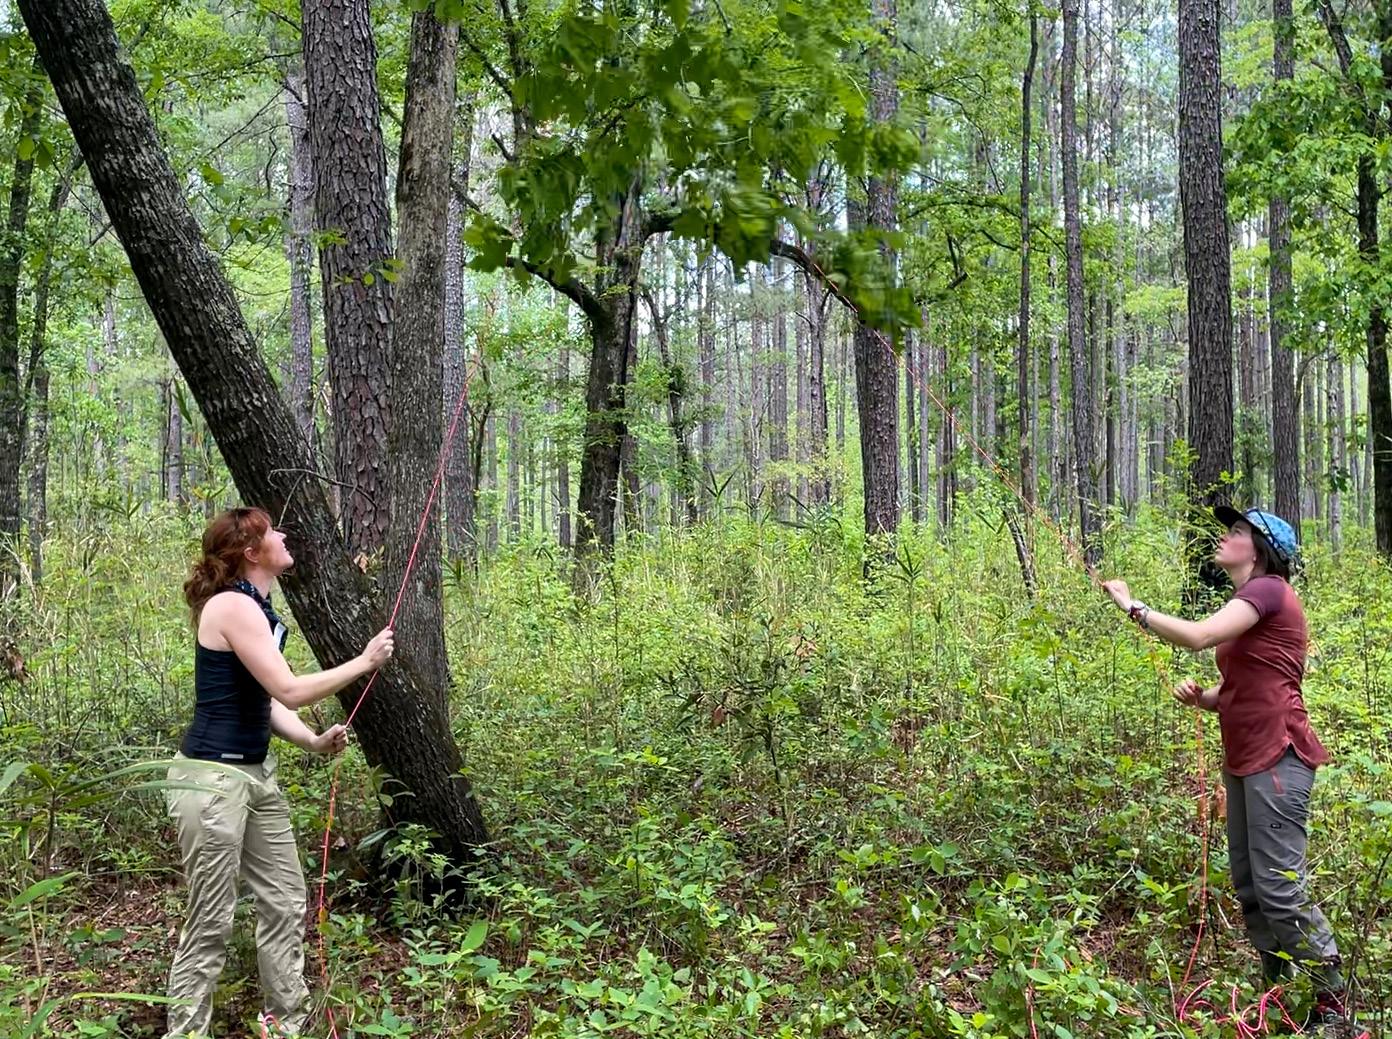
You will likely need to make multiple tries!
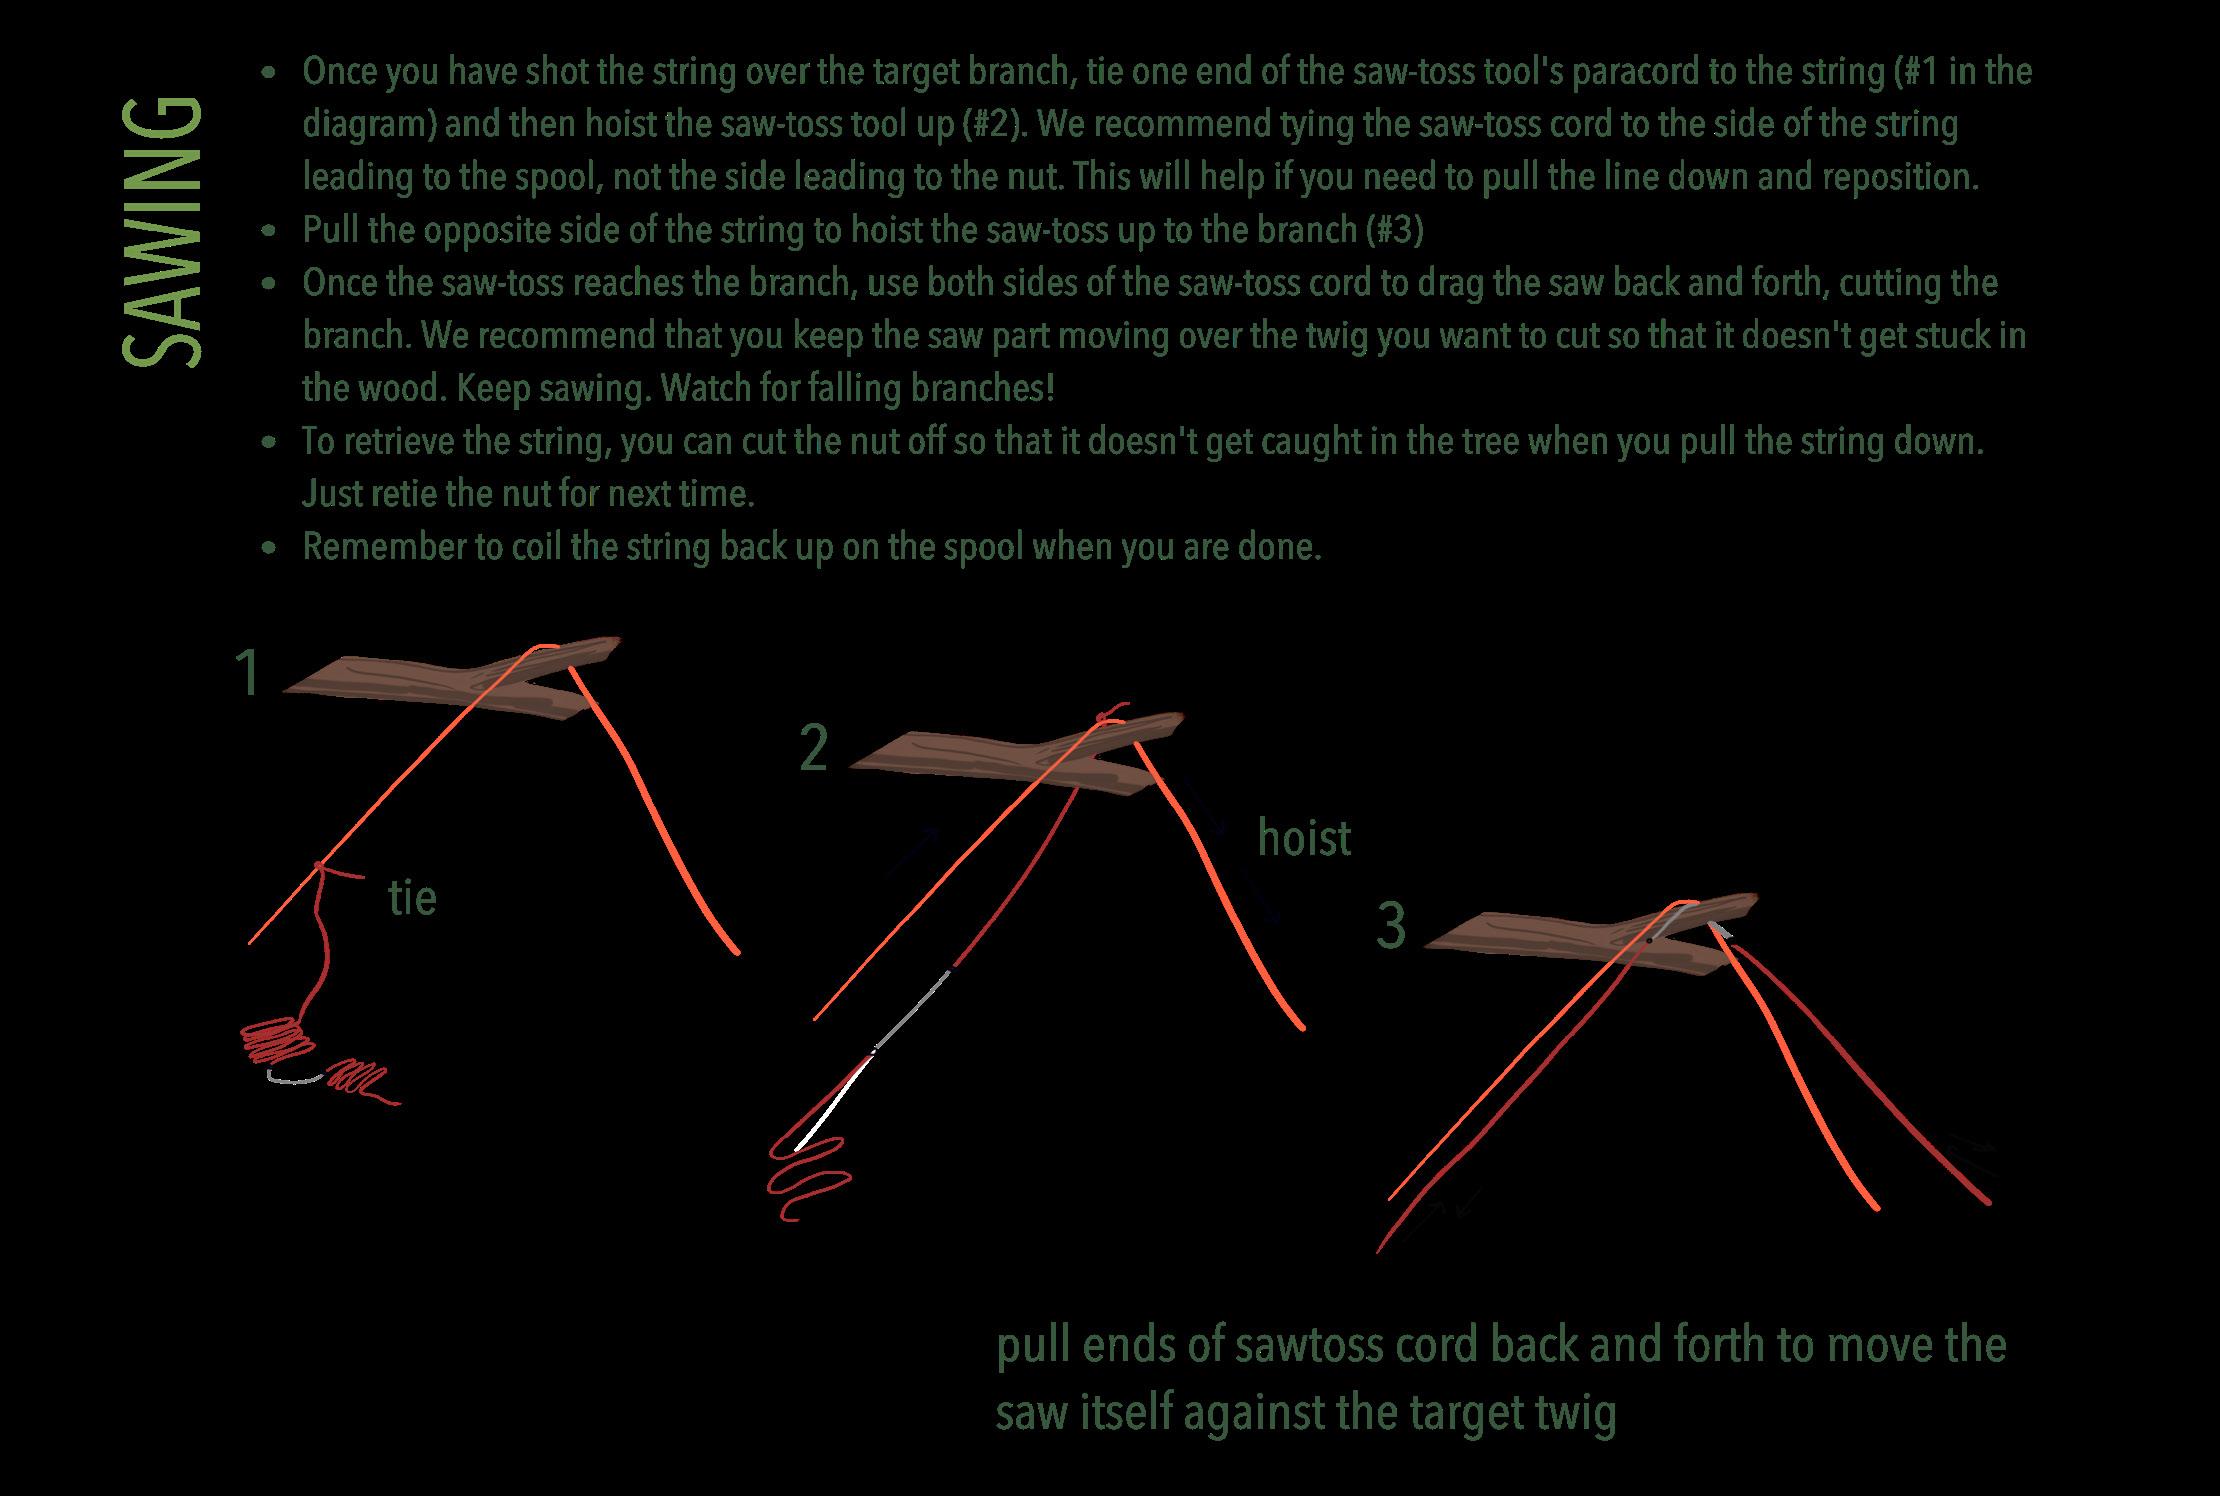
Once your line is over the branch, carefully pull the weighted side down until the metal part of the tool reaches the branch.
Keep tension on both sides of the saw, and move the metal chain back and forth over the twig. Once the metal bites into the wood, keep the chain moving in a sawing motion. Continuous movement helps to avoid getting the saw stuck.
Got your little branch with leaves? Go to p19.

Read all instructions before starting your first core. Your tree must have a minimum DBH of 18 inches (56.5 in circumference) to core. If you cannot get leaves from a large tulip poplar and you need to core, you can core a tree that meets minimum DBH and collect leaves from a nearby, small tree or sapling with more accessible leaves.
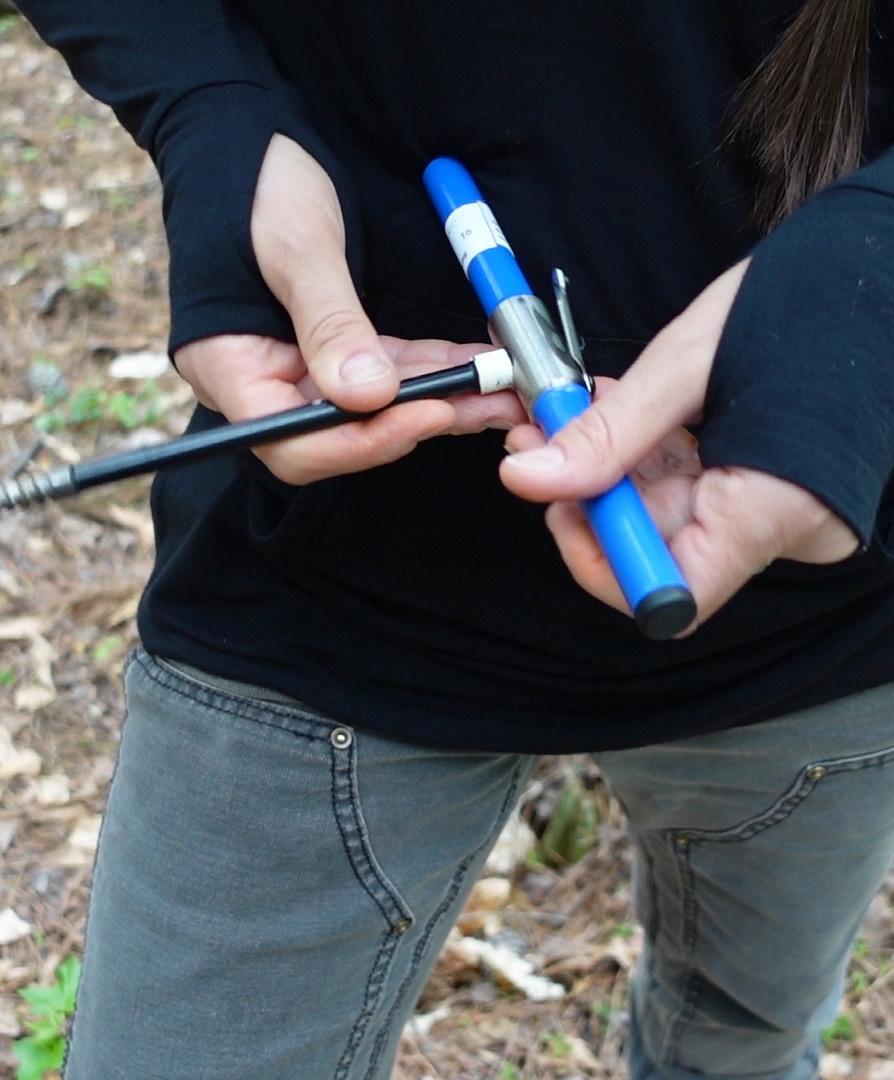
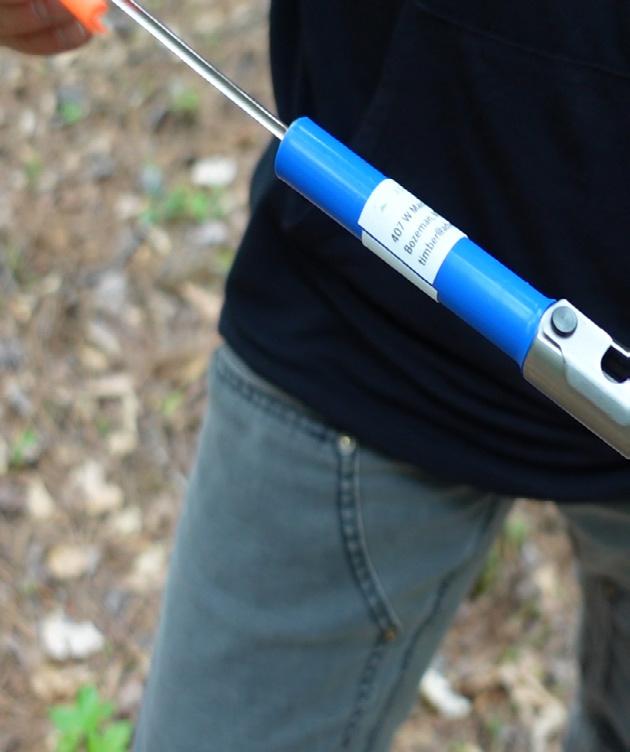
Grasp the ridged metal knob with orange flagging attached and untwist.
Remove the black borer bit from inside the blue handle.

Lift the latch on the handle. Insert the square end of the borer bit into the hole on the opposite side from the latch. Close the latch to lock in the bit.
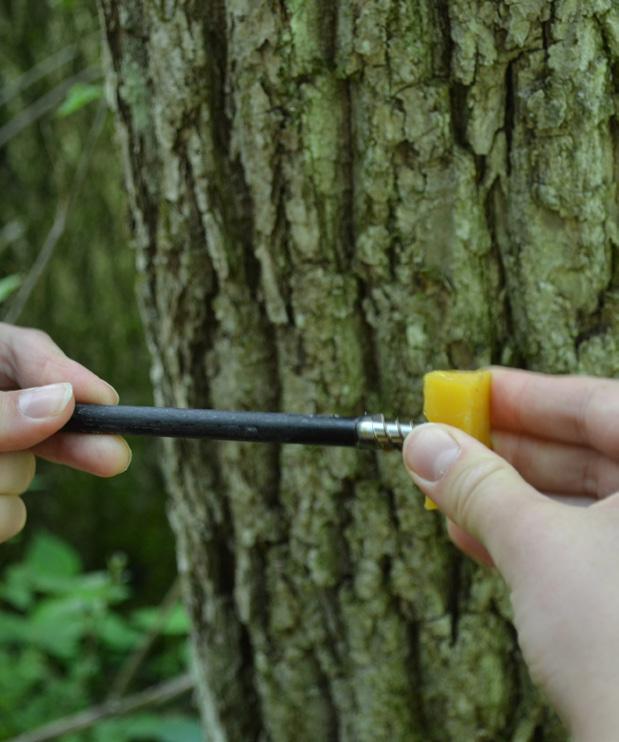
Coat the black borer bit and the silver threaded end into with beeswax to help the tool glide.
Take your core from approximately chest height (~137 cm/4.5ft).
Aim the bit at the very center of the tree. Hold the tool so the black part is level. See photo.
Use your weight to push the bit against the tree while you turn clockwise. Push hard! Once the bit moves through the bark and "bites" into the wood, you can stop pushing and just turn.
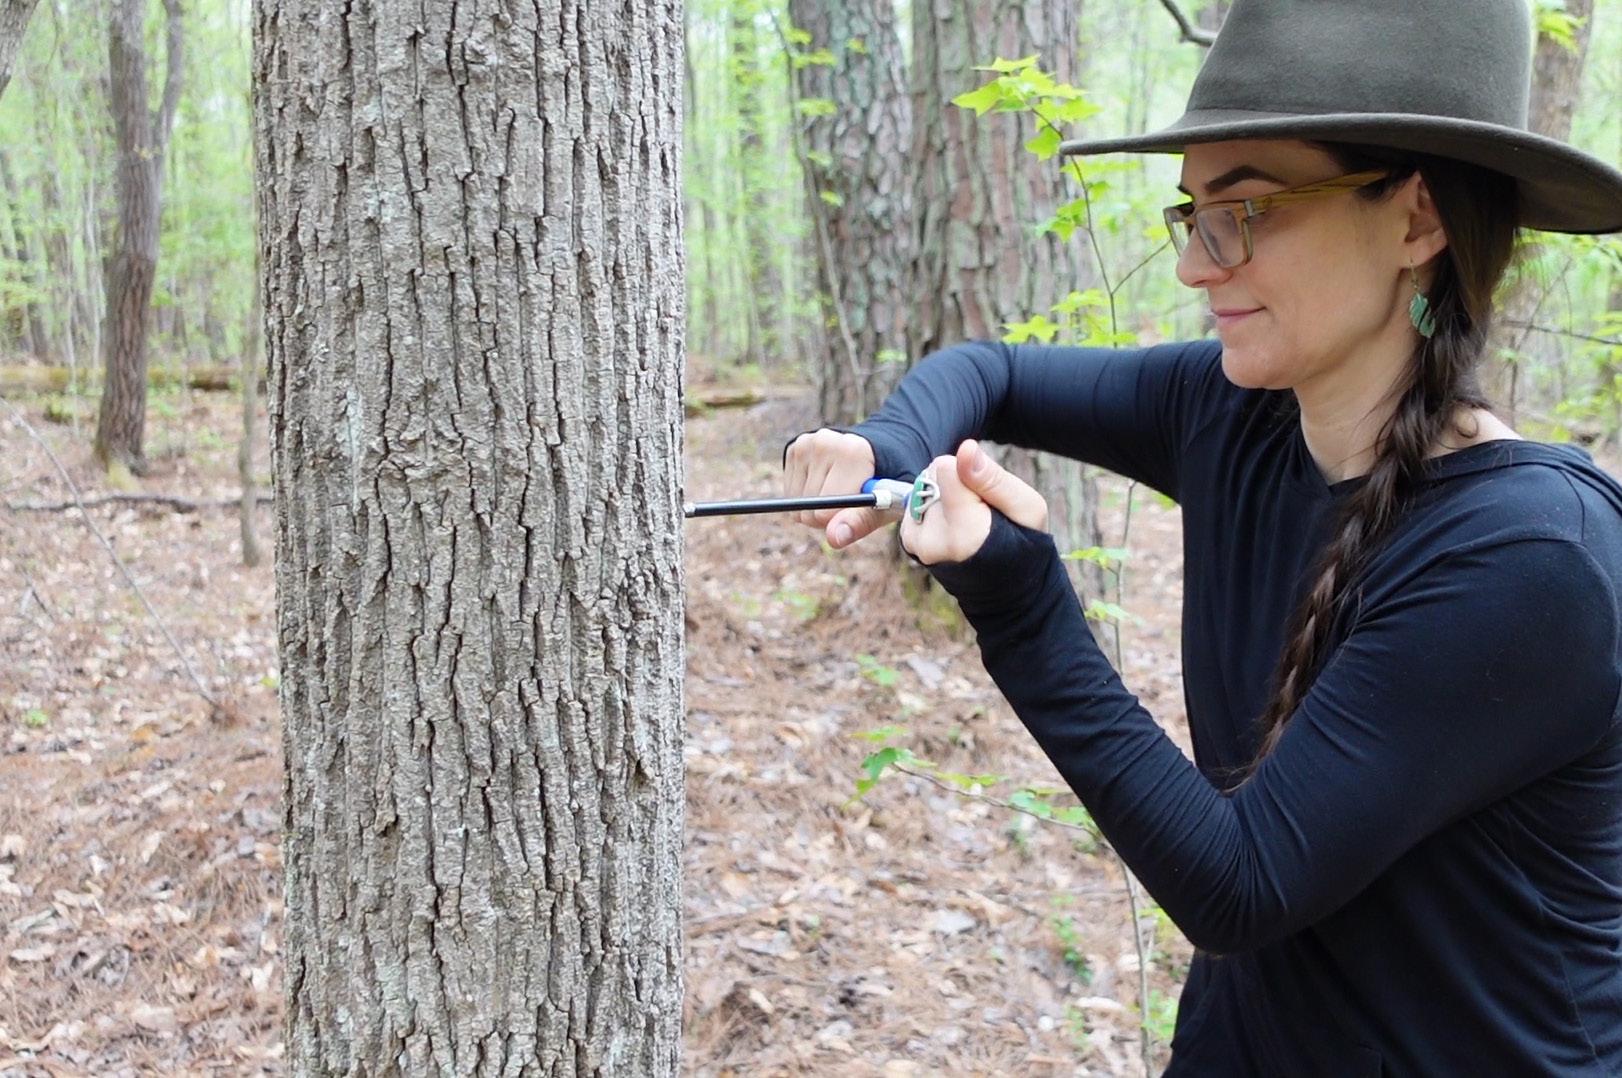
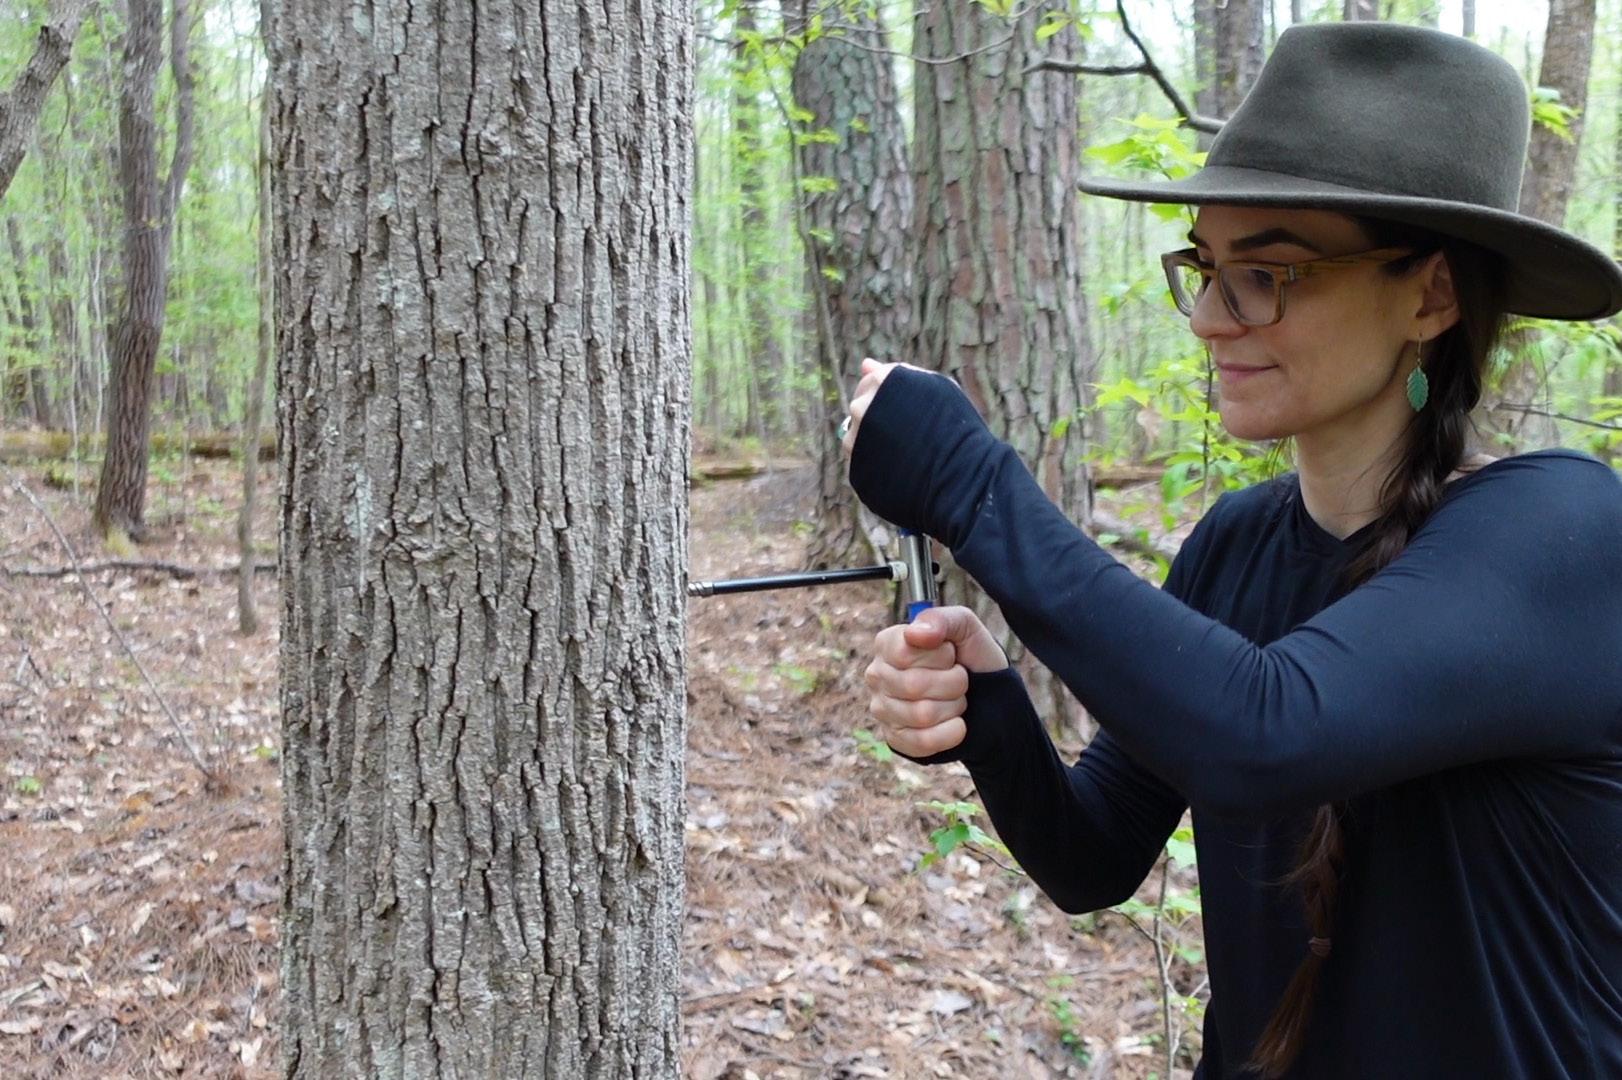
Keep turning the borer clockwise until you reach the white painted mark. This might be a workout!
Finish your last turn and end with the handle horizontal. Insert the extractor into the bit with the curved side up (like a spoon) in order to prevent the core from falling when you pull it out.
Push the extractor in as far as it will go with reasonable force. Don't break it! If you can get it flush with the handle, great. If not, get it as far as you can.
Grasp the blue handle and untwist the bit counter- clockwise for two turns.
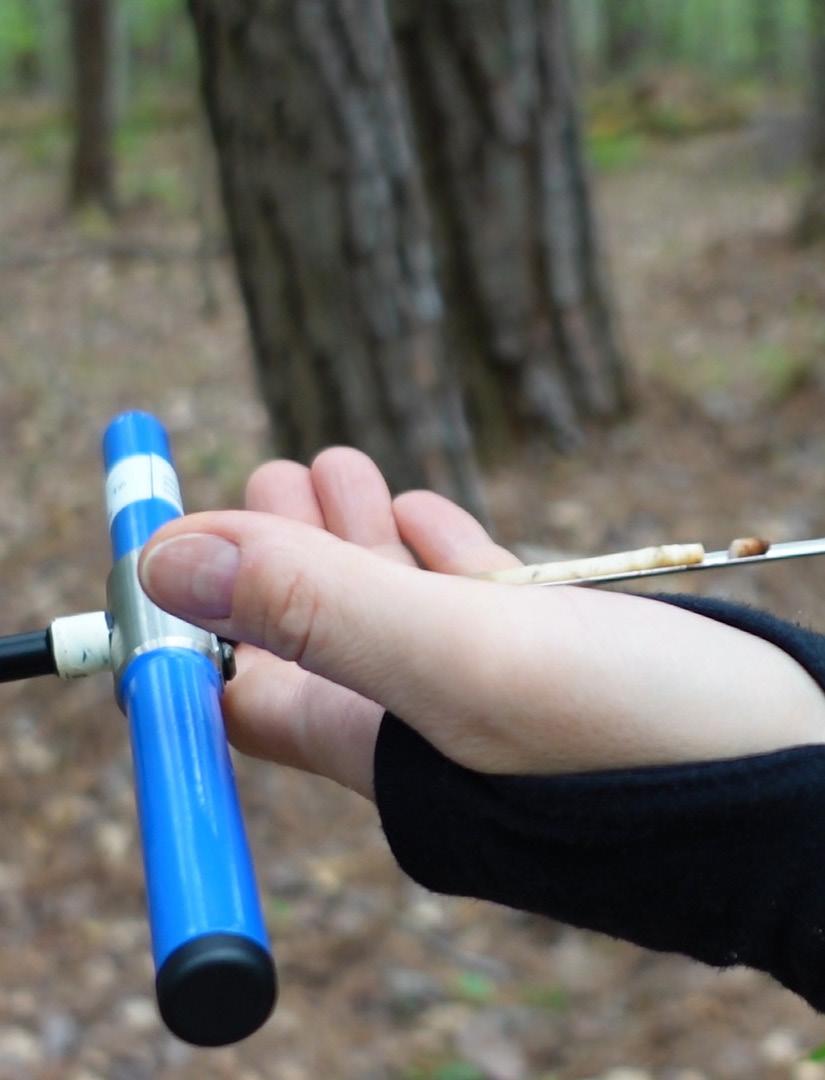
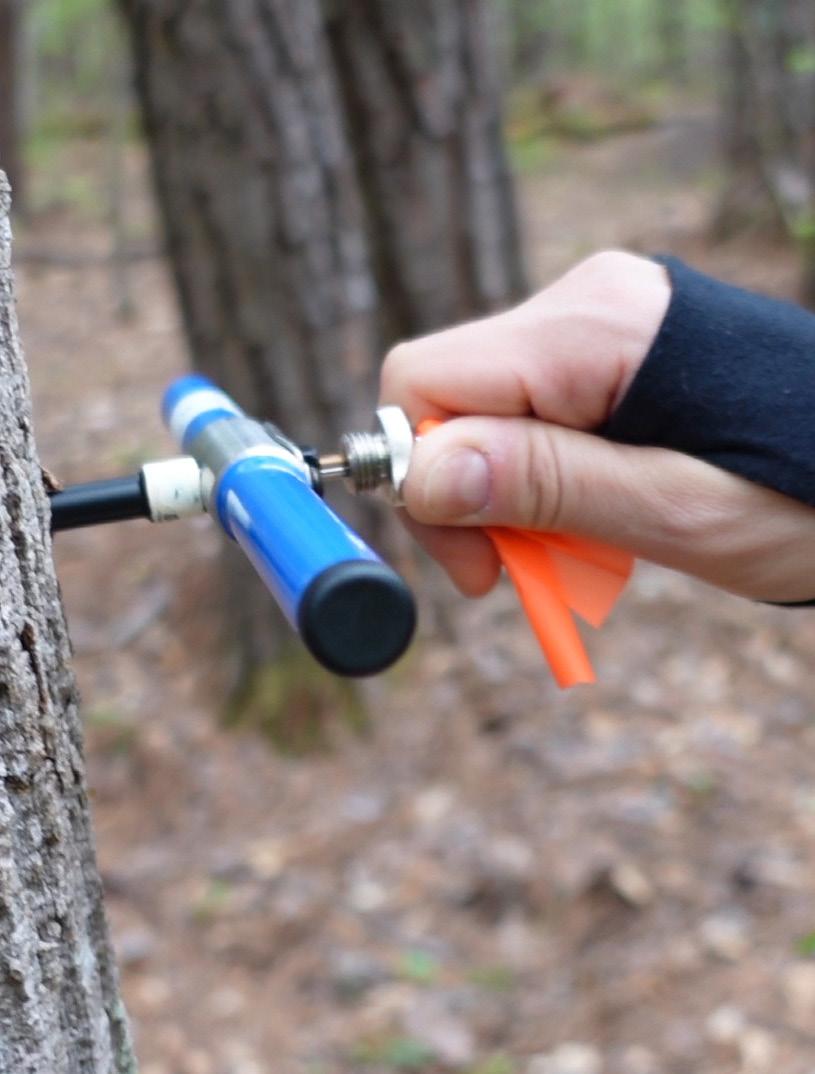
Slowly pull out the extractor with the tree core.
NOW, move to the next steps promptly: The bit can get stuck in the tree if you leave it for too long.
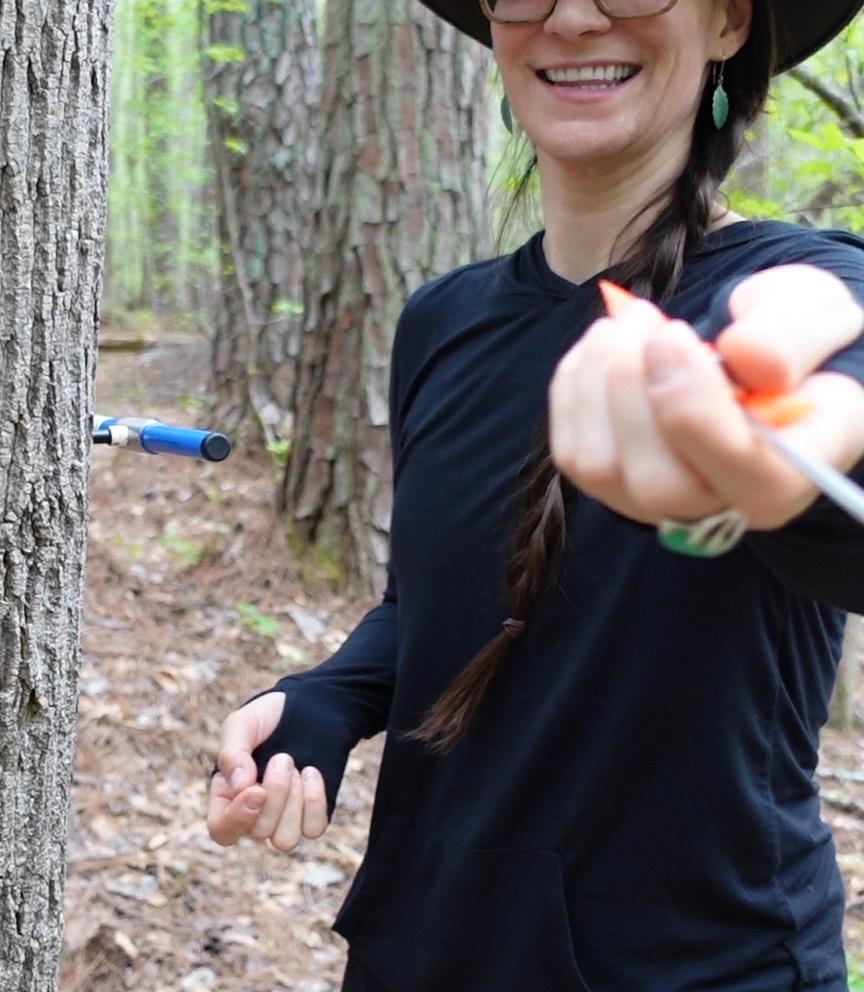
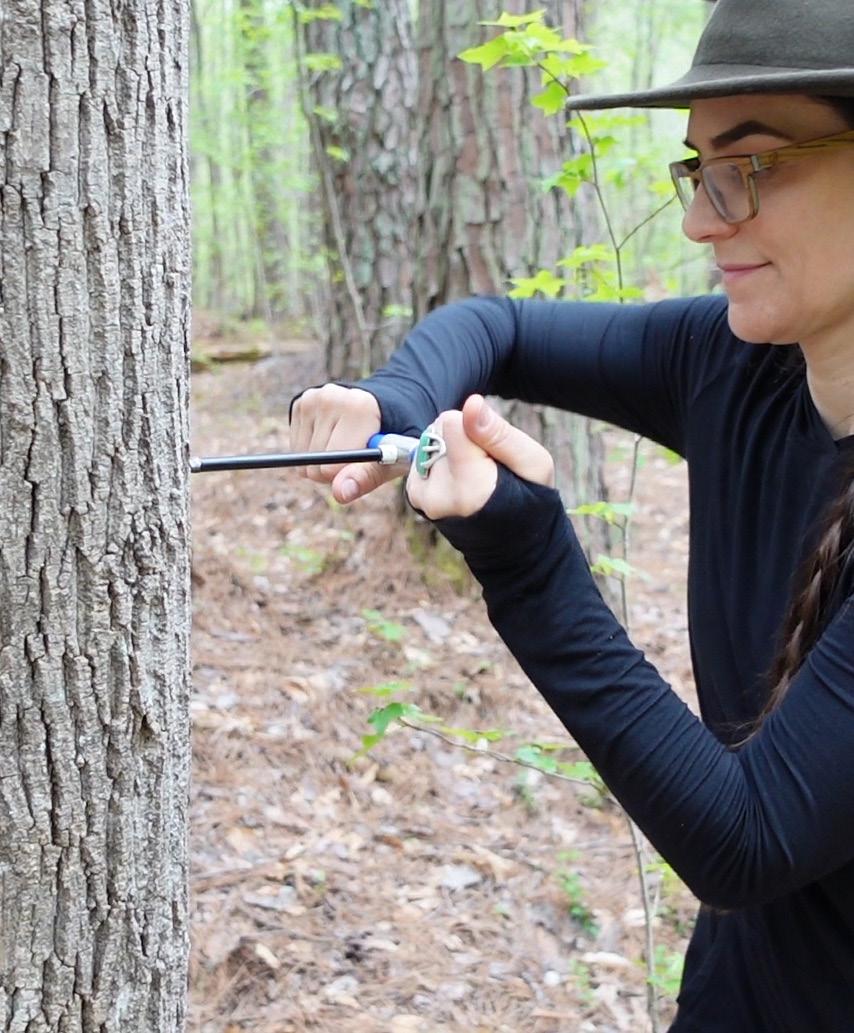
Carefully hand the extractor and its contents to your field partner or set on the ground. Remove the borer by turning the handle counterclockwise until it is free.
If the core gets stuck in the extractor, gently wiggle or use a tool, the borer, or a twig to loosen the core.
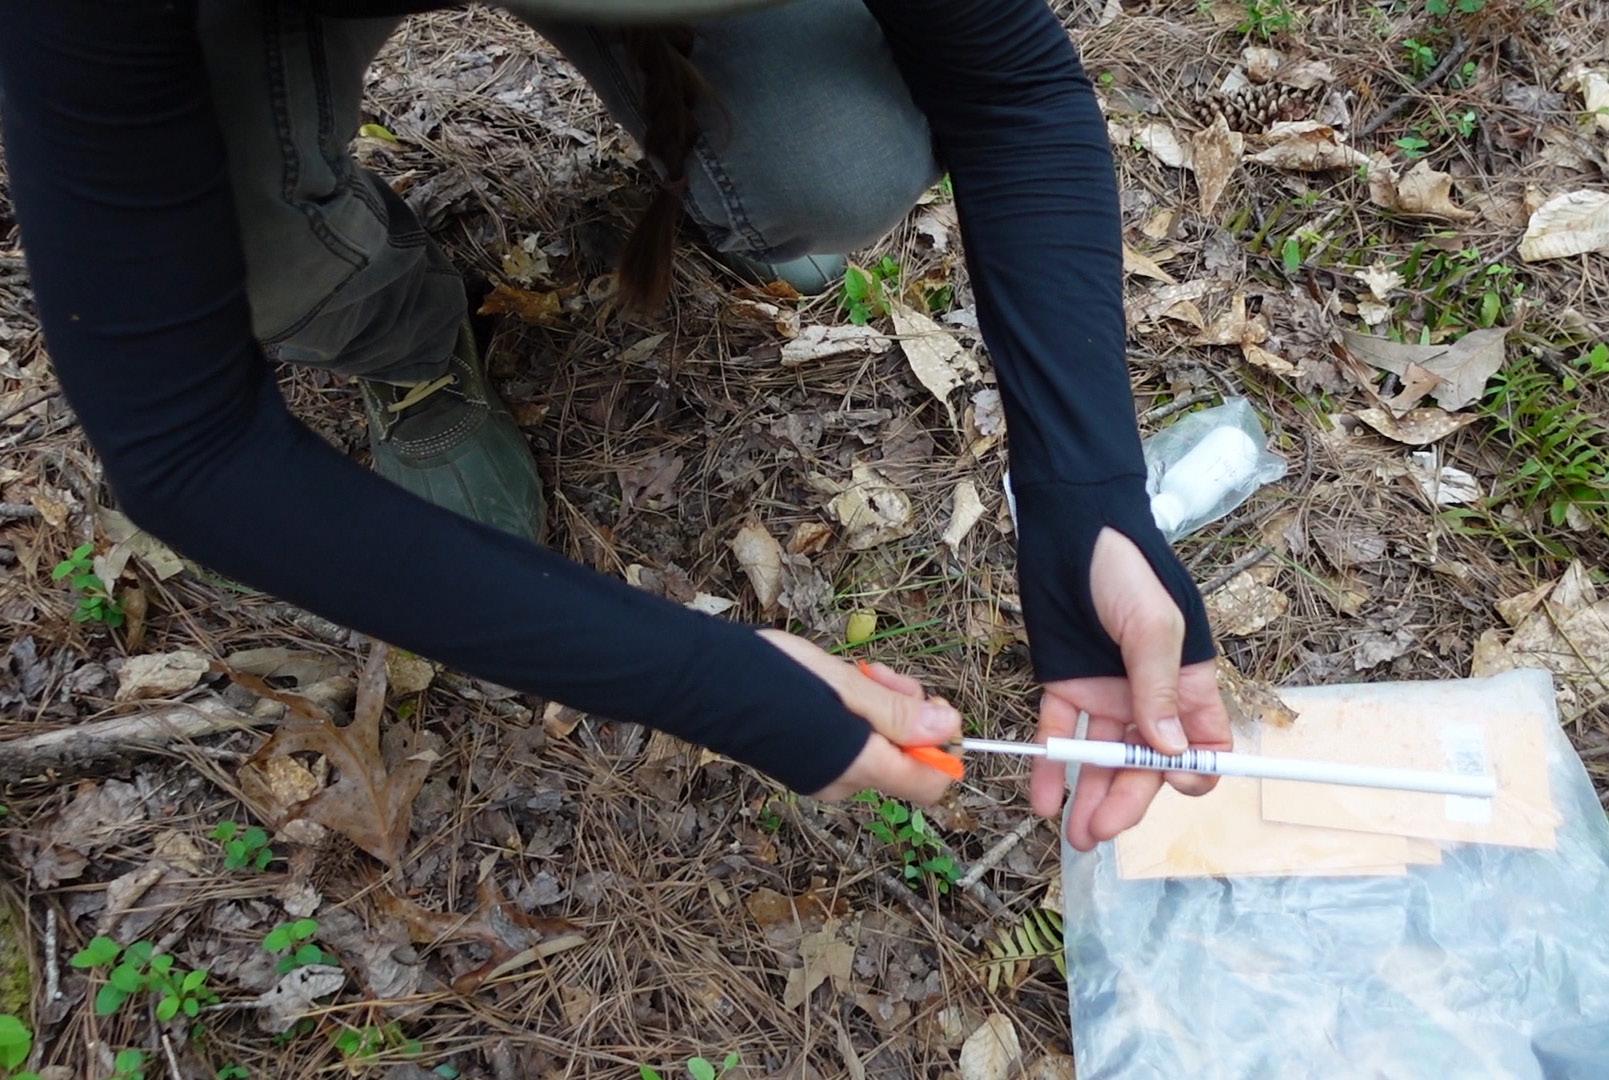
If part of the core gets stuck inside the borer, If the core is in multiple pieces, keep them in order. Place the core inside the paper straw, fold the ends of the straw to keep the core in place.
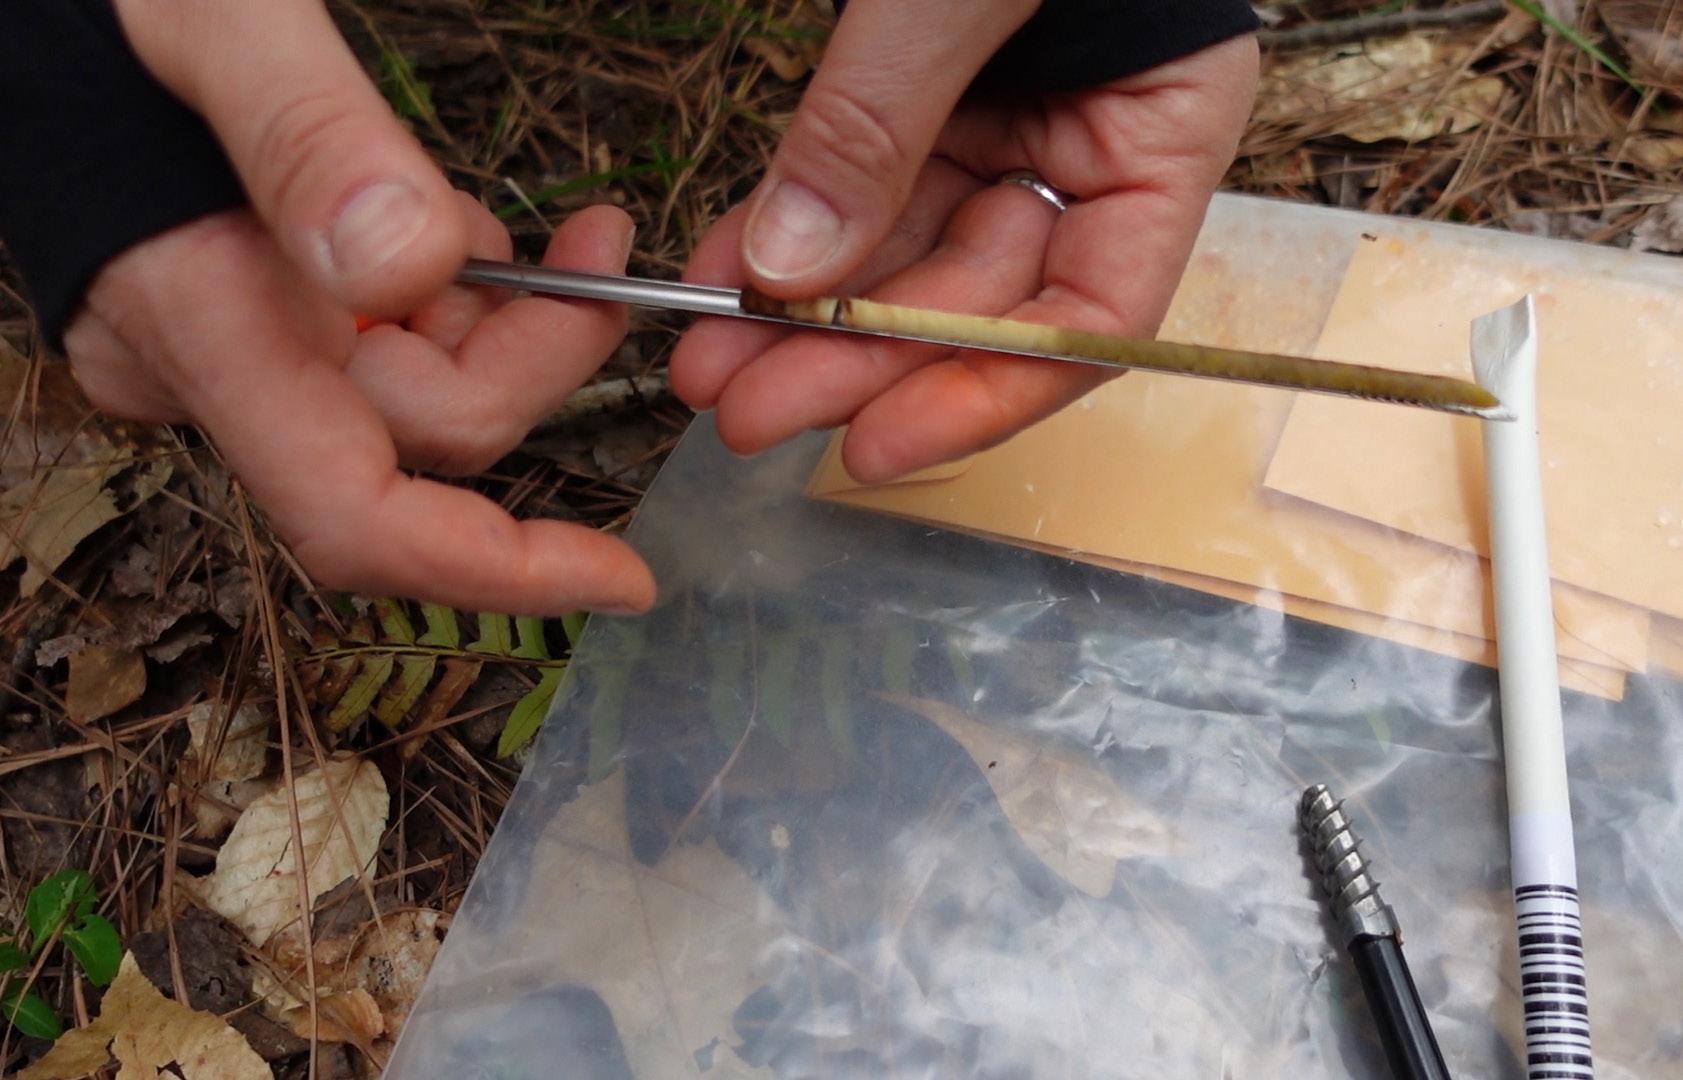
Separate two leaves from the twig they grew on. Get out sample envelopes for your tree. If you collected a tree core, get out the paper straw with a bar code that matches the envelope for your leaves.
Open Survey123. Scan the bar code on one of the sample envelopes. Verify that the number in the app matches the number on the envelope.
Fill out the survey: Indicate which samples you collected. Take photos of samples with the bar codes visible.
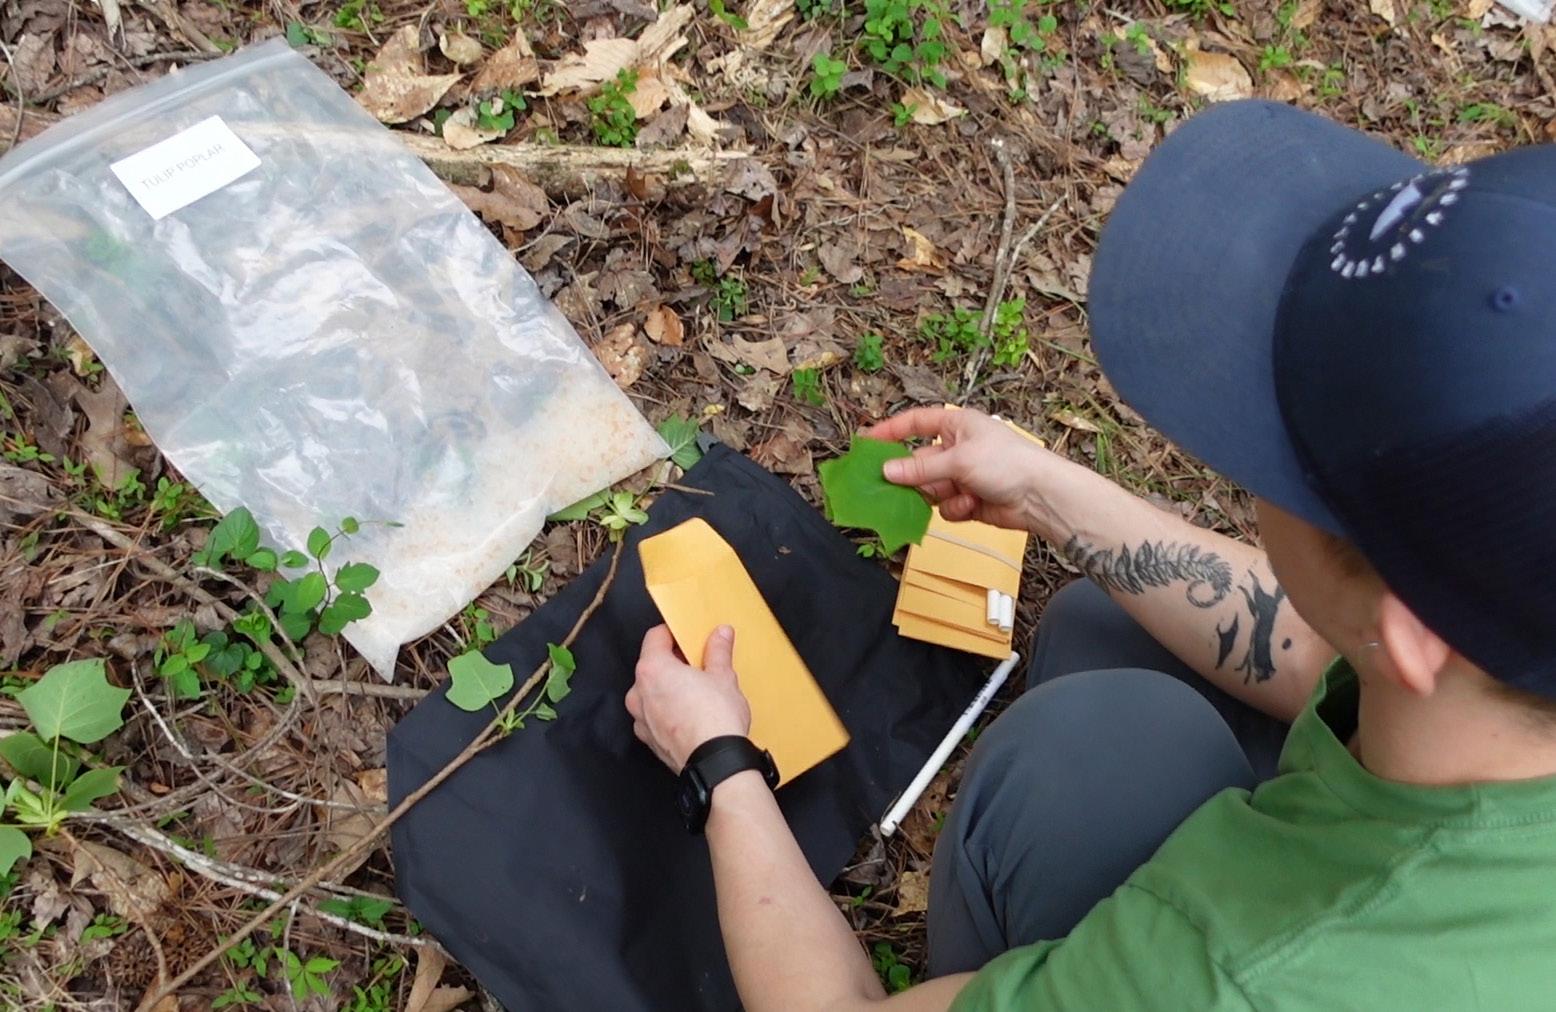
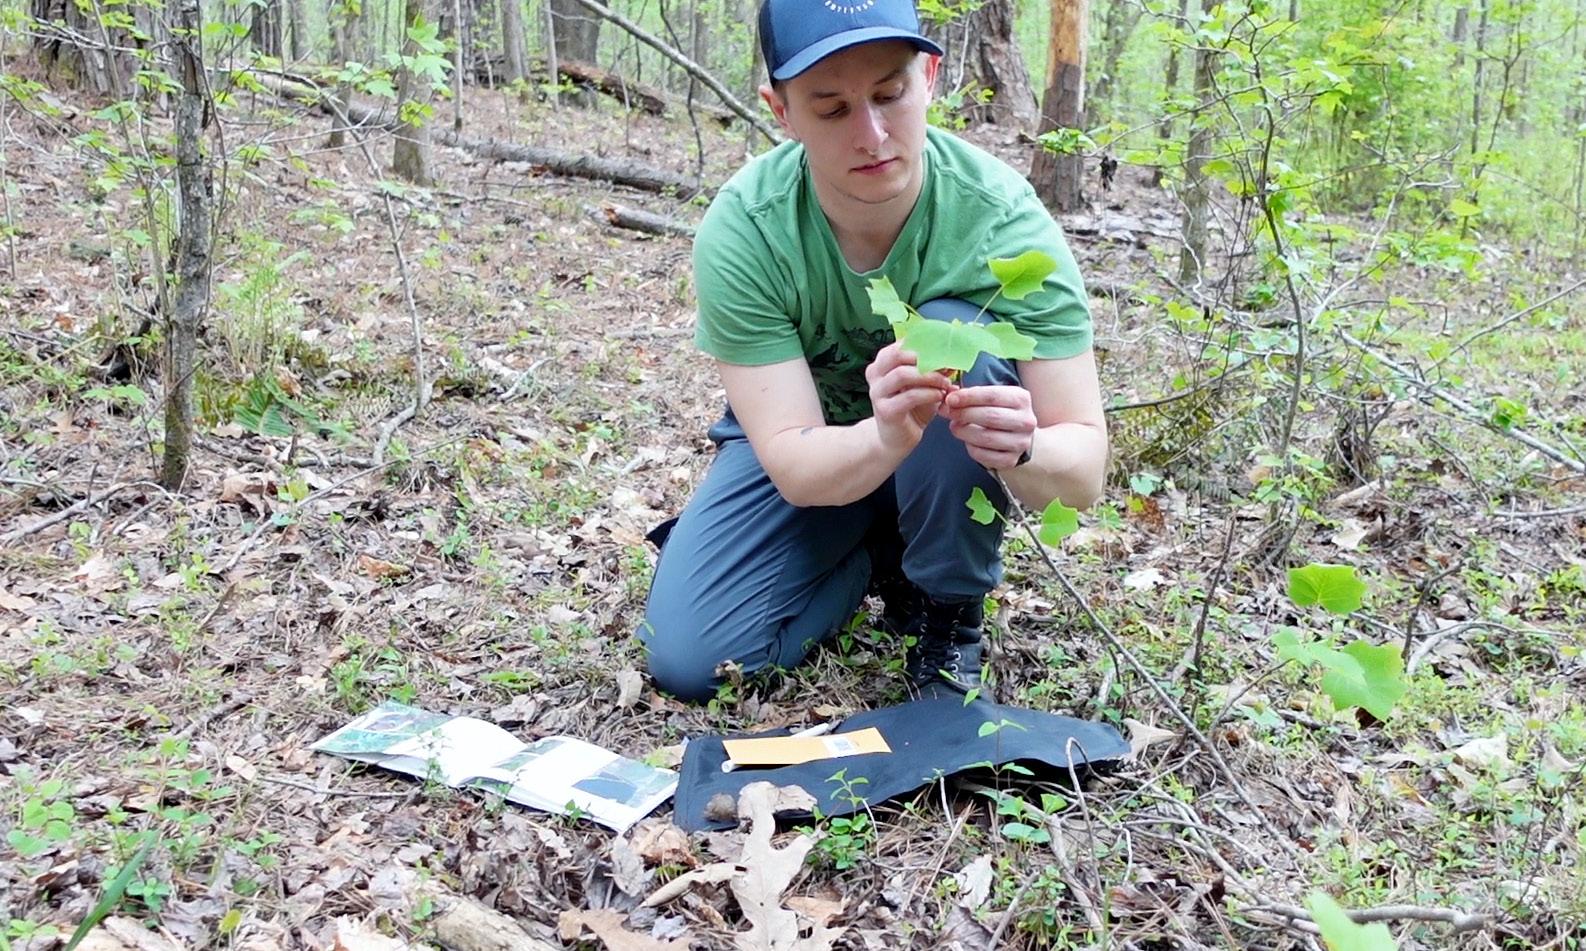
Put samples in the envelopes. If you need to tear leaves to fit, that is OK.
Do not seal the envelopes. Put the envelopes in the bag with desiccant.
WITH A PARTNER
Take a photograph of the tree from about 6 meters (20 ft) away. Have your partner stand next to the tree for scale.

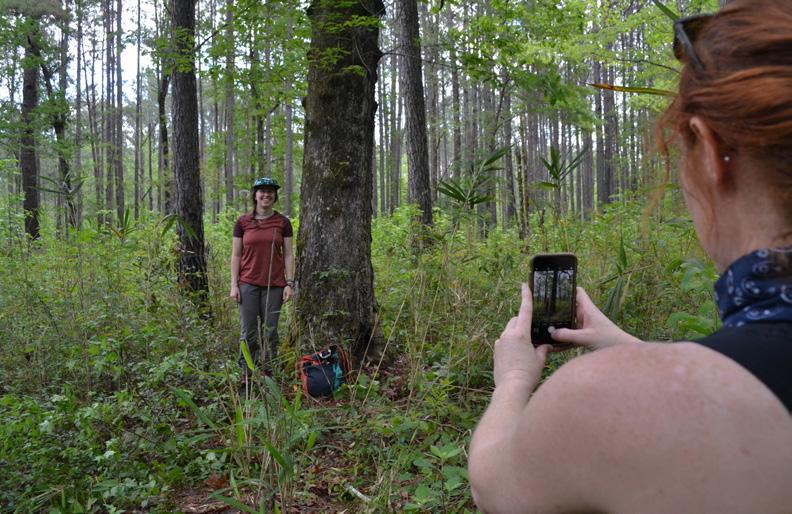
NO PARTNER?
Place a pack or your stuff sack with gear next to the tree for scale.
Record whether there was anything notable or unusual about your sample collection (focus on anything that may affect data quality).
Record any unique characteristics about the tree and where to find it.
Examples: Split trunk, height of large limb, a lightening scar, rotted area, distance and direction from a road or other marker.
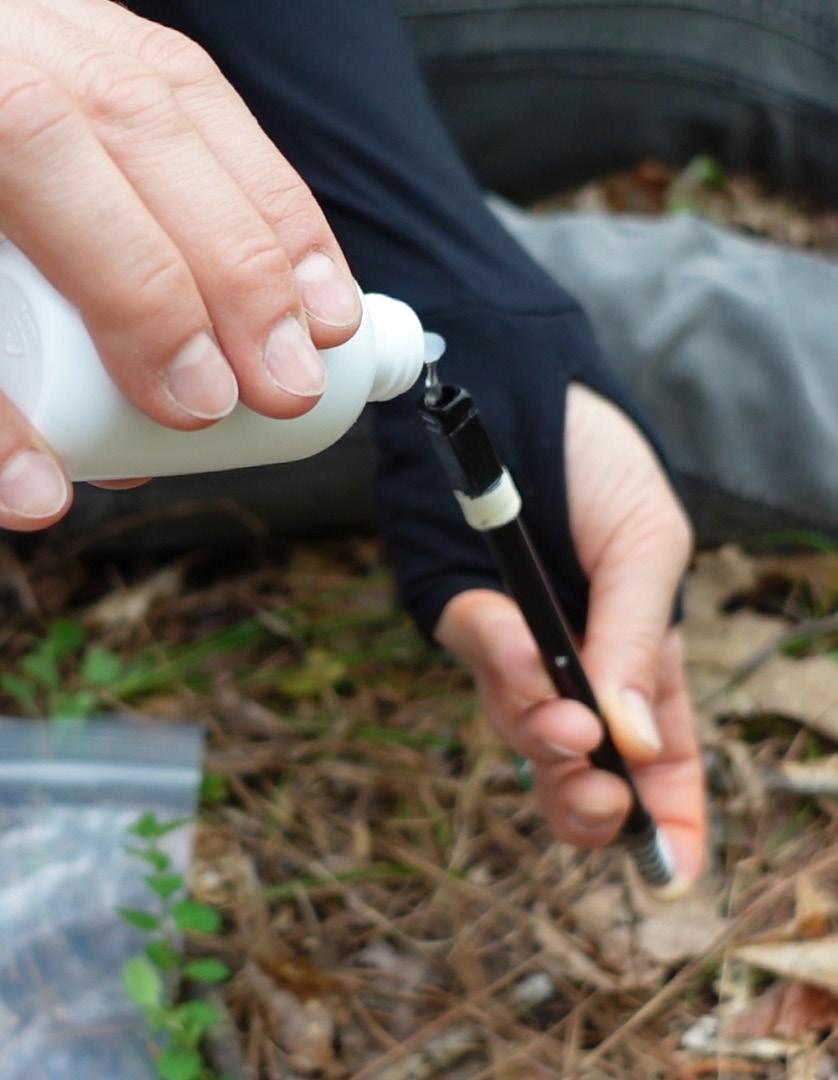
To prevent the spread of forest pathogens (trees get sick too!) you must clean your equipment after every tree.
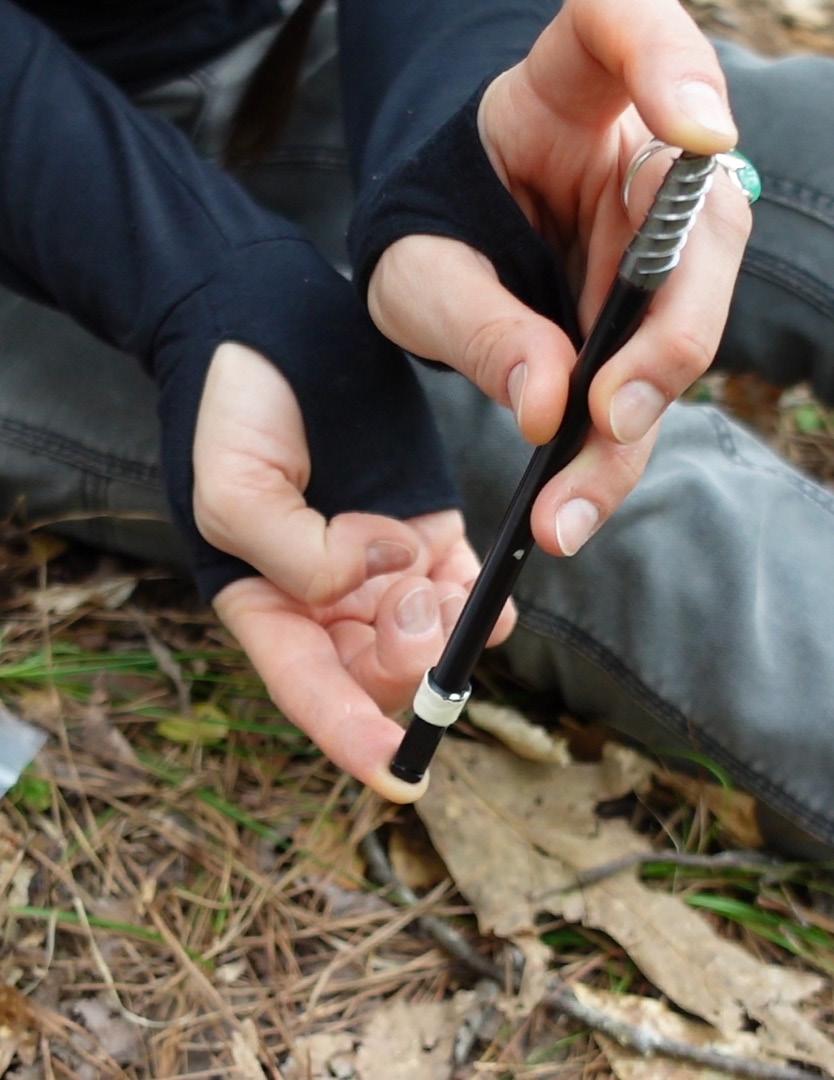
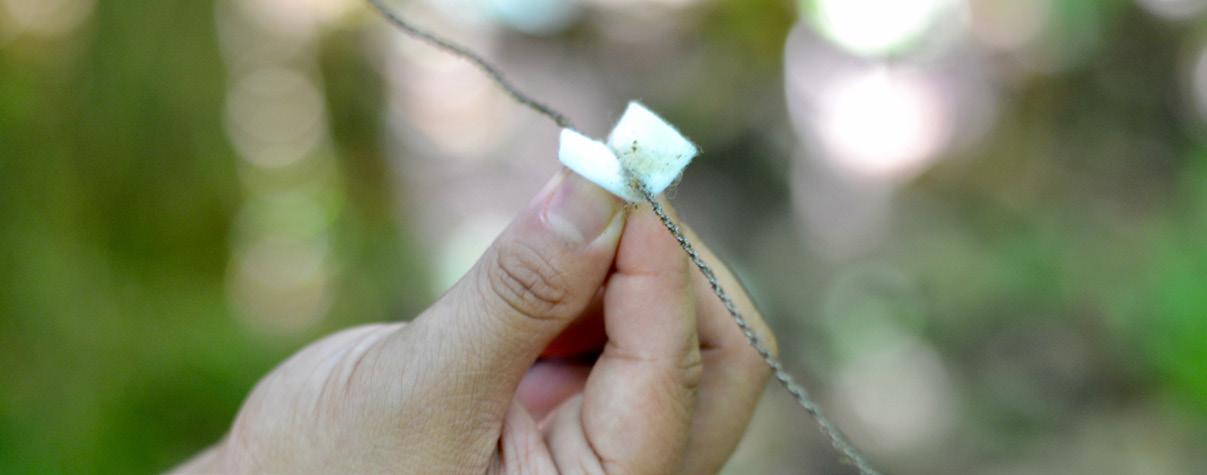
Use the alcohol dropper to drip along the braided metal of the saw (similar to lubing a bike chain). Use alcohol swabs to wipe.
IF YOU HAVE A BORER: Use alcohol wipes to clean the extractor and the exterior of the borer bit. Use the alcohol dropper to drip 5 drops of alcohol into the interior of the black borer bit. Cover both ends and shake back and forth before draining.
Tap the check mark on the bottom right-hand corner of the survey in your app. You have the option to either "Send Later" or "Send Now."
If you aren't in cell service or don't want to use data, select "Send Later."
Remember to send the record once you have WiFi or cell service. The records will be located in "Outbox."
AND REPEAT:
Finish collecting samples in the zone you've chosen for your adventure! Remember, each tree should be at least ~100 meters/328 feet apart to be sure we're getting the diversity in the area.
Ship all samples and gear back to Adventure Scientists when you have completed all collection trips. See the volunteer homepage for shipping instructions and address.

Once you are in a safe situation, after the emergency, alert Adventure Scientists staff about the incident by contacting: (406) 579-9702. ONLY contact this number if you are reporting an incident.
214 E Mendenhall St, Suite 203
Bozeman MT, 59715
Have project-related questions?
timber@adventurescientists.org
