You will need…
[8] An electric drill or impact driver.
[9] 3/8 nutsetter bit1 (extended version and standard both shown)
[10] Gloves
[11] Rodent baits (not shown). The ZIP Bait Tunnel can be used with either pellet baits or bait blocks.
1 https://www.mitre10.co.nz/shop/makita-impactx-magnetic-nutsetter-3/8-inch-65mm/p/348088
3
1. Select a suitable place to install the ZIP Bait Tunnel, away from possible puddles or flood zones. Clear vegetation at either end to maximise the chance that target animals will enter the tunnel.


2. Secure one of the tunnel sections to the ground, forming the base of the tunnel. Use the two 200mm TEK screws. You can use any two of the four holes shown below.
Note: Tunnel sections are identical.
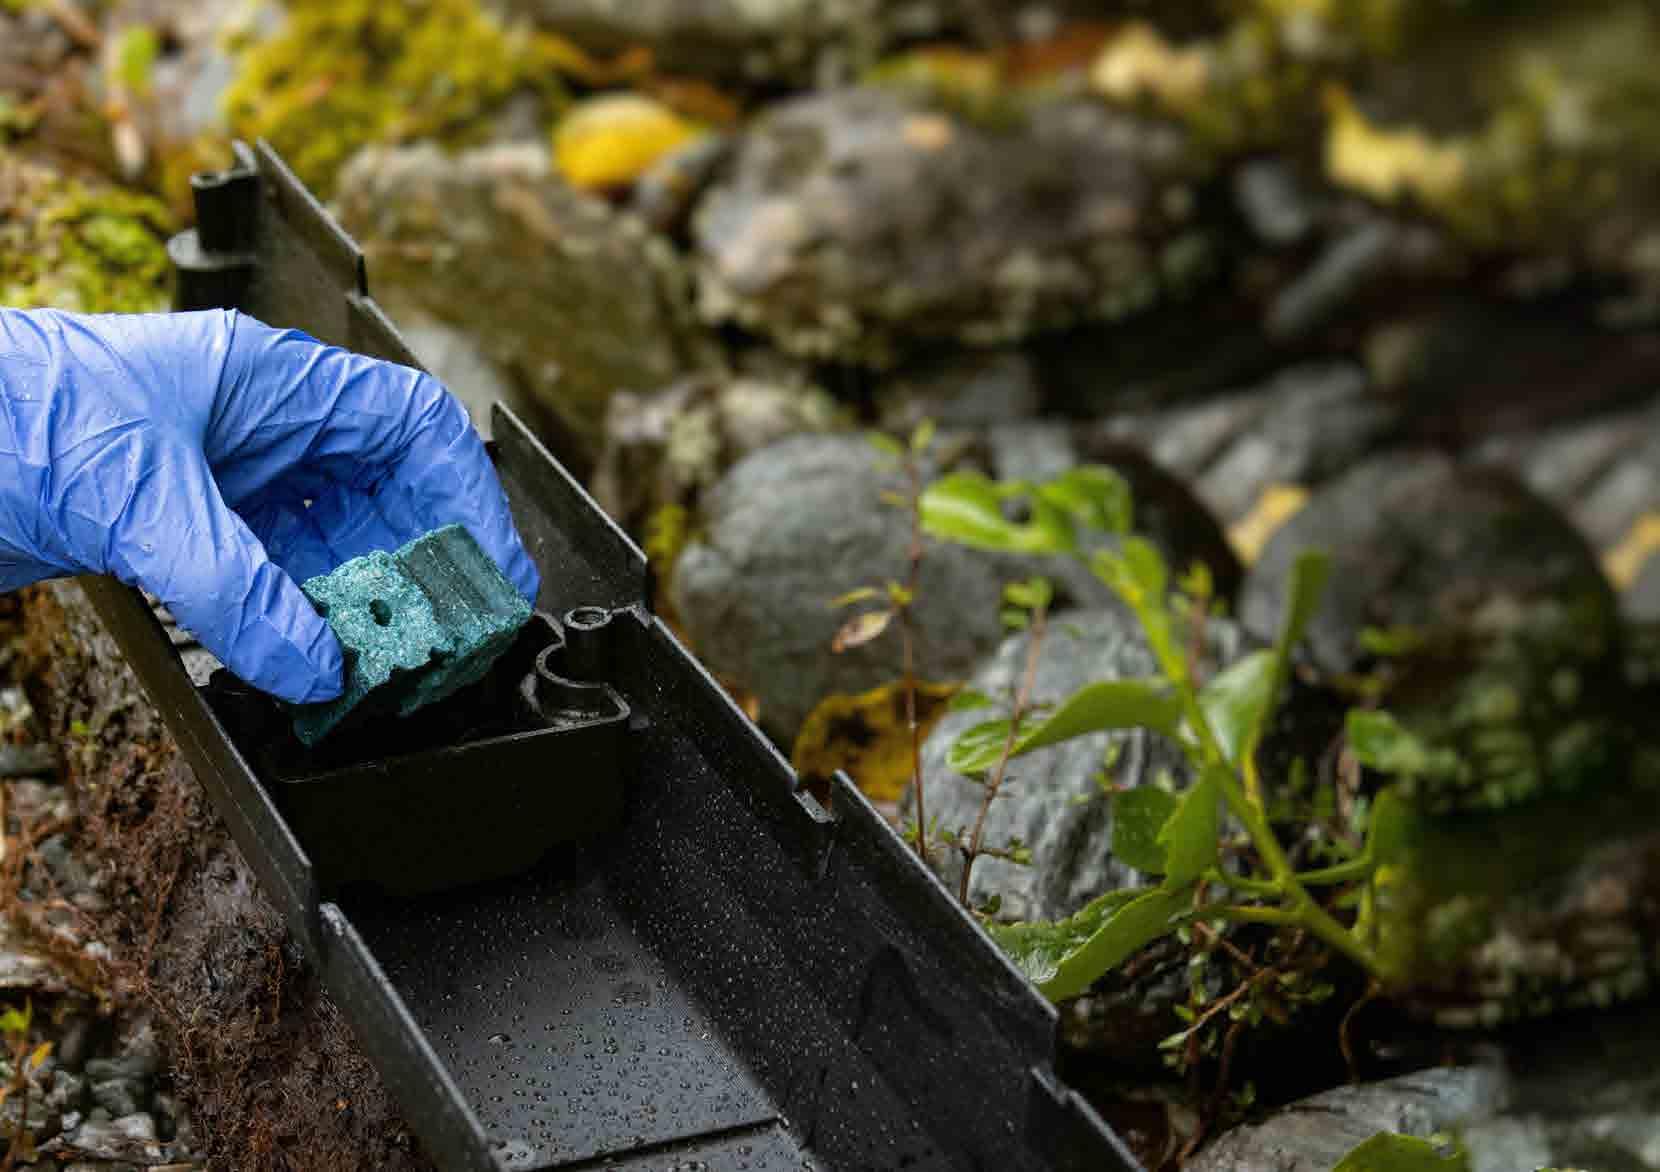
3. Place the bait cup into the centre of the lower tunnel section. In the right position the bait cup will sit above the base of the tunnel, meaning that the bait will remain dry if water enters the tunnel.

4. Place bait into the bait cup.

5
5. Prepare the second tunnel section, which will form the ‘lid’ of the tunnel. Place the O-ring in the central recess, as pictured. This will help to maintain a waterproof seal.

6. Place the saddle blank onto the tunnel lid. Ensure the receptors for the TEK screws are over the holes, as pictured.

7. Attach the saddle blank to the tunnel lid by turning the tunnel piece over. Attach the two 25mm TEK screws with neoprene washers from the inside of the lid. Ensure that the O-ring remains within the recess.
8. Turning the tunnel piece over, further secure the saddle blank to the tunnel lid using two of the 50mm TEK screws with neoprene washers.


7
9. Put lid on base
10. Attach the tunnel lid to the tunnel base by inserting the remaining 50mm TEK screws with neoprene washers into the four corners.


To check and/or replace bait, you will need to remove the four corner screws.

9
11. The tunnel is now complete.


1 4 7 2 5 8 3 6 9
Quick Guide
Secure one tunnel piece to the ground using the longest TEK screws
Put the bait cup in place
Put the bait into the bait cup
Place the O-ring on the lid
Place the saddle blank in position on the lid
Attach the saddle blank with shortest TEK screws, from the inside
Attach saddle blank with medium TEK screws, from top
Put the lid on Attach lid to base with medium TEK screws into the four corners
11
1 2 3 4 5 6 7 8 9
This installation guide is current as at 10 November 2019.
10 November 2019.
This installation guide is current as at 10v March 2023.
From time to time, we may make improvements – check out our website, zip.org.nz, for the latest version!
From time to time, we may make improvements – check out our website, zip.org.nz, for the latest version!
If you would like to share your feedback or suggestions, please contact us at products@zip.org.nz.
If you would like to share your feedback or suggestions, please contact us at products@zip.org.nz.
Printed on Rockstock™ – a tree-free mineral paper manufactured from milled quarry waste using no water and minimal energy –non-toxic and low GHG emissions.
Printed on 100% recycled paper zip.org.nz
Please recycle. 2 HDPE
zip.org.nz