XLOCK 30

Proxy Flex INSTALLATION GUIDE

1

1x 3,5x40mm countersunk screw
2x 4x25 mm countersunk screw

Closing part
3x screws for closing part

3x12mm lens head screw

Attention: Please order batteries seperataly
3V Lithium battery

2x AA Lithium battery
Always use lithium batteries!
 Lock XL30


Important!
The reading distance depends on the material of the door and the transponder. In case of concealed installation, the reading distance must be checked before mounting.


For EM4102 badges up to 3.5 cm, for EM4102 key fobs up to 3 cm. Please always check the reading range!


Wichtig!
If reading range is weak, the antenna must be embedded in the door or an external antenna must be used.


White with labelling

Black with labeling

Silver with labeling
XL-A4S
White with frosted glass

XL-A4W
Black with frosted glass

XL-A4B
Silver with frosted glass


XL-A4S
! Please order seperataly
Keychain with Transponder


Wristband with Transponder
Card with Transponder
Master cards are unique and will be programmed to each lock for each project/building. These cards are needed to program and delete Service Cards, Emergency Opening Cards and User Transponders. Up to 3 master cards, 5 emergency opening cards and 47 user transponders can be programmed per lock..


With a master card and the service cards 01..... to 10, the lock can be programmed in mode 01......to mode 10.


A blocked lock can be opened with an emergency opening card - only works with Freelocker Mode 7,8,9 and 10. The lock remains unlocked and can be locked again with the emergency opening card. The user ID that locked the locker remains stored. This means that the user card can open the lock again later.


With a master card and the service card 01, the lock can be programmed into mode 01. In mode 01 up to 47 transponders can be programmed per lock. This mode is also called "Fixcode. Only programmed data carriers can lock and unlock the lock. After an authorised data carrier has been identified, the bolt unlocks and automatically locks again after 2 seconds.
With a master card and the service card 02, the lock can be switched to mode 02 or programmed. In mode 02, up to 47 transponders can be programmed per lock. This mode is also called "Fixcode". Only programmed data carriers can lock and unlock the lock. After an authorised data carrier has been identified, the bolt moves to the open position and remains in this position for 5 seconds before it locks itself.
With a master card and the service card 03, the lock can be switched to mode 03 or programmed. In mode 03, up to 47 transponders can be programmed per lock. This mode is also called "Fixcode - open/close mode".


With a master card and the service card 04, the lock can be switched to mode 04 or programmed. In mode 04, up to 47 transponders can be programmed per lock.This mode is also called "Freelocker without emergency opening cards".

With a master card and the service card 05, the lock can be switched to mode 05 or programmed.In mode 05, up to 47 transponders can be programmed per lock.This mode is also called "Freelocker with up to 5 emergency opening cards".

Tighten the screws with care and avoid using a drill or cordless screwdriver
Relative mounting dimension


Hole positions

Tighten the screws with care and avoid using a drill or cordless screwdriver
Relative Mounting dimensions

Hole positions


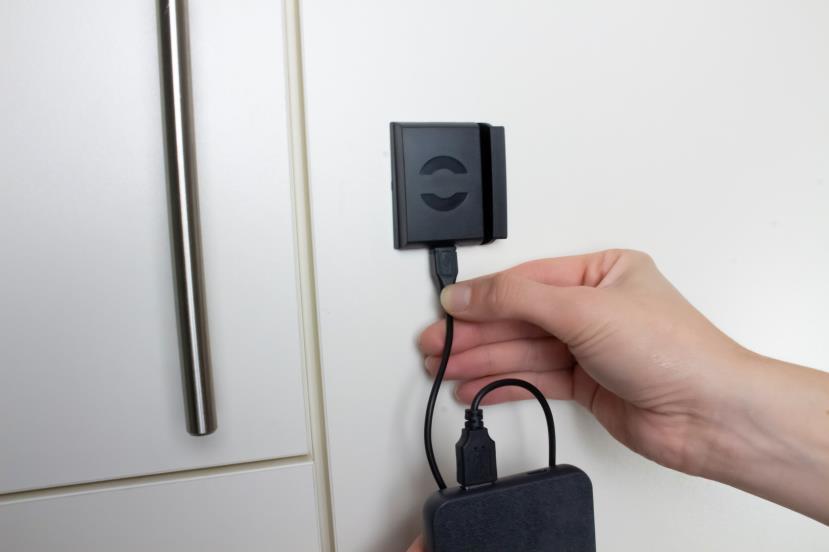
1) Remove battery strip = system active and the RFID field is activated.
2) Avoid overlapping reading field of the locks, otherwise the battery will be discharged quickly.
3) Do not activate batteries before installation.
4) Always isolate or remove batteries for transport!

Always use lithium batteries!
Open the battery compartment cover and insert the batteries with the correct polarity (+/-).
Battery inserted with correct polarity -> system and RFID field is activated
Close the battery compartment cover and fix it with the screw. Your lock is now ready for operation
Otherwise
If you ordered the locks With the battery
Battery strip is pulled out -> system and RFID field is activated
Reset the lock to the factory settings.This step is not necessary if the locks have never been programmed.
Long audio signal


Important:
If the reset button is only pressed briefly, the sound is switched off = short signal. If this happens, the reset button must be pressed again briefly = long tone, tone on


Resettaste auf der Rückseite vom Schloss
3 Sekunden lang vorsichtig drücken.
1. master card is held up to the antenna field

Hold the 2. master card to the antenna field while it is ticking.
Hold the 3. master card to the antenna field while it is ticking

Hold the master card to the antenna field
Teach in service cards
ticks for approx. 5 seconds
Während es tickt die Servicekarte an das Antennenfeld halten.
User Transponder


teach in only possible in mode 1 or 2
Masterkarte an das Antennenfeld halten
ticks for approx. 5 seconds

Hold the Transponder against the antenna field, while it is ticking.

Emergency opening card programming (Mode 5)
Emergency opening card programming
(Mode 5)
A maximum of 5 emergency opening cards can be programmed in Freelocker mode
ticks for approx. 5 seconds
Emergency opening with an emergency opening card
Hold the master card against the antenna field
Halten Sie während des Tickens die Notöffungskarte an das Antennenfeld. Für weitere Notöffnungskarten wiederholen Sie den Vorgang.
The emergency opening card can be used to unlock and lock the lock (open/close mode).
The latch retracts -> the lock is unlocked.*When you hold the emergency card against the antenna field a second time, the lock locks again.
Hold the master card against the antenna field

Hold programming card against the antenna field
ticks for approx, 5 seconds
Hold the programming card against the antenna field 2 more times while ticking

The latch retracts -> lock unlockedno longer hold the card towards the antenna field.
Attention:
After the lock has been unlocked, the master card should no longer be held up against the antenna field. Otherwise, all master cards will be deleted and must be relearned..


User
Transponder individually deleting

ticks for approx.
5 seconds
Hold the programming card to the antenna field
While it is ticking, hold the transponder up to the antenna field.
All Users
Transponder
Deleting
ticks for approx.
5 seconds
Hold the programming card to the antenna field
Hold the programming card against the antenna field 2 more times while ticking.
The latch retracts -> lock unlocked.
Hold the programming card against the antenna field 2 more times while it is ticking. Remove the card from the antenna field.
Attention:
Do not hold the master card to the antenna field anymore. Otherwise, all master cards will be deleted and must be taught in again.
Hold the programming card to the antenna field.
ticks for approx. 5 seconds

Hold the programming card against the antenna field 2 more times while ticking.
The latch retracts -> lock unlocked.
Hold the programming card against the antenna field 4 times while ticking.
The master cards are deleted after a long beep. The lock then waits to be programmed with new master cards
User Transponders are still saved on the lock

Attention: After deleting the master cards, the lock waits for new programming cards. 1-3 new programming cards must be taught-in!
Switching sound on and off

Reset button is pressed briefly for 1 second -> sound on.
Reset button is briefly pressed once for 1 second -> sound off.
Reseting the lock completly
Press the reset button for 3 seconds until a signal sounds..
Important: After a reset, the mode of the lock remains stored.

