

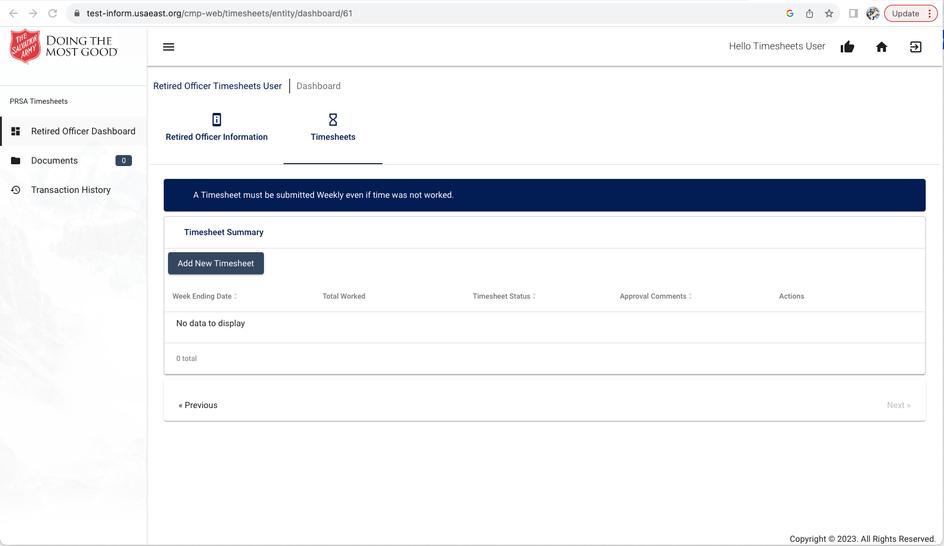
7. Select Add New Timesheet or select an existing timesheet under the Timesheet Summary section.

Select ADD NEW TIMESHEET or select an existing timesheet under the Tim esheet Sum m ary section
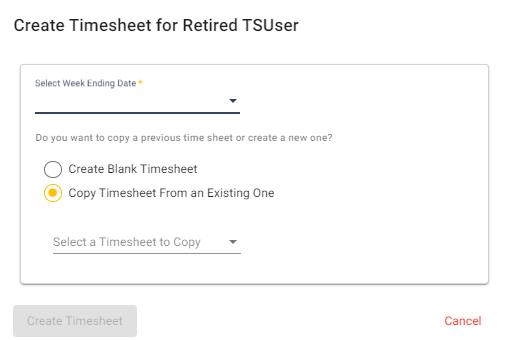
8. A pop-up window will appear. Select a Week Ending Date from the drop-down menu

WEEK ENDING TIPS!
8
Select a WEEK ENDING DATE from the drop-down menu
- The week ending dates that appear in the drop-down filter are populated based upon your PRSA contract start/ end dates.
- Week ending dates are Sundays.
- Six weeks of timesheets are listed.
9. After you select a weekendingdate, you can either Create a Blank Timesheet. Select Create Timesheet.
(You can also createa timesheet for theselected weekendingdatewhich would bea copyof an already existingtimesheet.) Select CREATE BLANK TIMESHEET and click CREATE TIMESHEET

9

10. A pop-up window will appear prompting you to enter the time worked by day and date IMPORTANT! When entering your time worked, you must complete both the Locat ion / Supervisor and Worked fields

Retired Officers with a PRSA are required to enter both a Location / Supervisor and a number of days or hours worked. Note that the amount entered under the Worked column (days or hours) will be validated against the unit of allowable entries maintained on the agreement.
Example:
1. If a Retired Officer has1260 hoursin their PRSAcontract, then 40 hours of workover a weekperiod maybe entered.
2. If a Retired Officer onlyhas156 daysallocated, then thehighest number ableto be enter is1 per day.
In this example below, 8 hours (per day worked) is entered for 4 days and the Location / Supervisor field is completed.

Note: If enter time worked without the Location / Supervisor field completed, you will receive an error message.
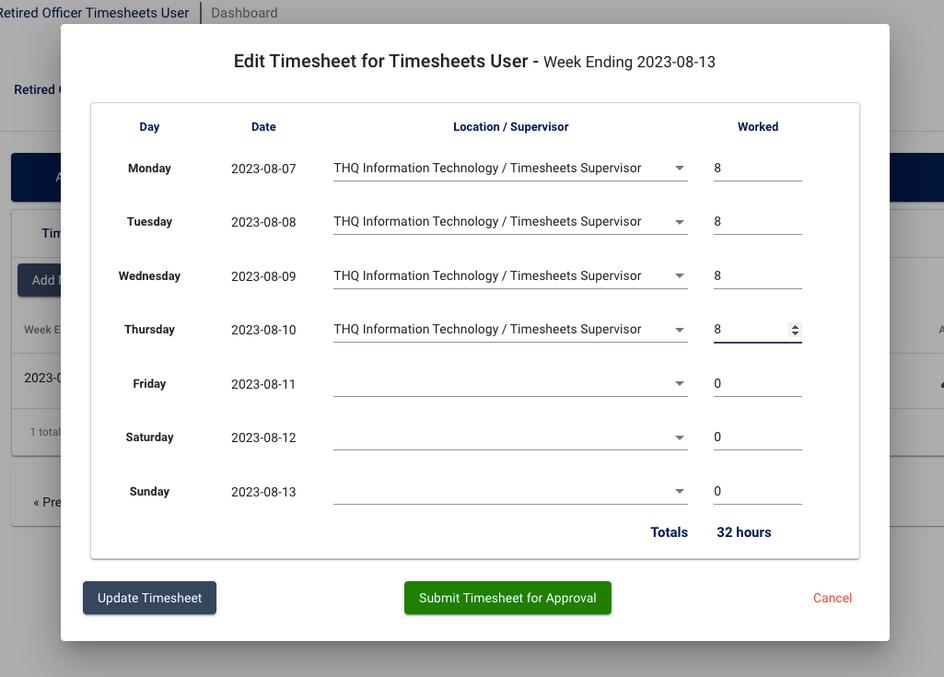
11. Once the Location / Supervisor is added, enter the time. Select Update Timesheet or Submit Timesheet for Approval (or Cancel).
If you select Update Timesheet, you will receive a notification that your timesheet was successfully updated. Click OK.

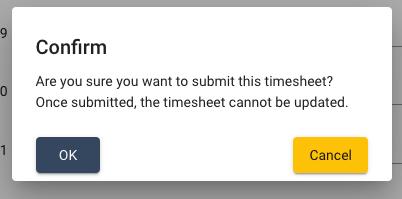
If you select Submit Timesheet for Approval, you will be prompted to confirm that you want to submit your timesheet. Select OK.

QUICK TIPS!
- You can view current t im esheet s ent ered in t he Tim esheet Sum m ary sect ion.
- Tim esheet s w ill appear w it h a st at us of CREATED, PENDING or APPROVED.
- Tim esheet s are list ed in descending order by new est t o oldest w eek ending dat es
CREATED
PENDING APPROVED
12. To edit a timesheet (not submitted for approval yet), navigate to the timesheet you want to edit and click on the corresponding pencil icon 12

Make the necessary changes and select either Update Timesheet or Submit Timesheet for Approval
If you select Update Timesheet, you will receive a notification that your timesheet was successfully updated. Click OK.

If you select Submit Timesheet for Approval, you will be prompted to confirm that you want to submit your timesheet. Select OK.
- You cannot edit or change a t im esheet t hat has already been subm it t ed for approval or has a PENDING st at us

RETIRED OFFICER DOCUMENTS
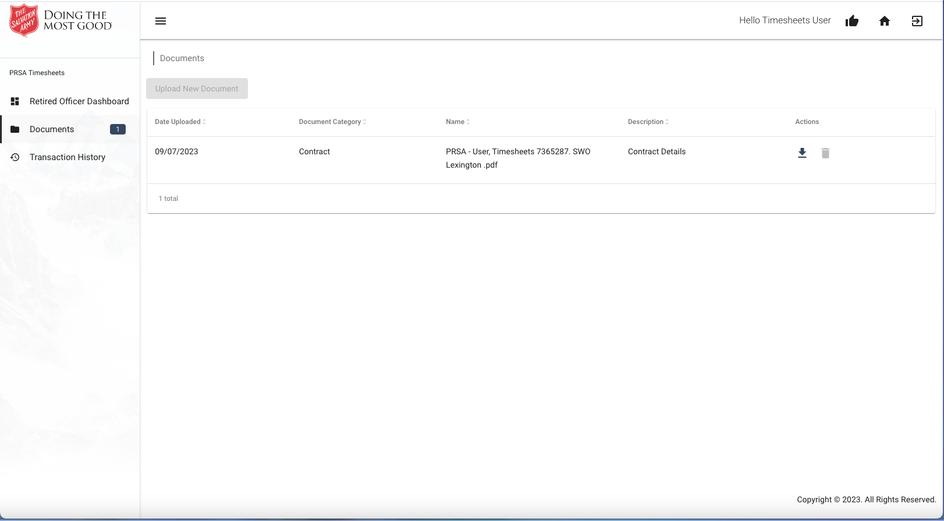
a. On the Retired Officer Dashboard (which is the landing page after logging in), select Documents.

b. Your PRSA agreement and any other pertinent documents will appear in the documents section.
c. You can view documents that are listed in the Documents section or download documents by clicking the download icon.
Pleasecontact your direct supervisor and/or refer to Minute4N if you haveanyquestions about your Post Retirement Service Agreement. If you havetechnical questionsabout completingyour timesheet, email theHelp Deskat:usehelpdesk@use.salvationarmy.org.
