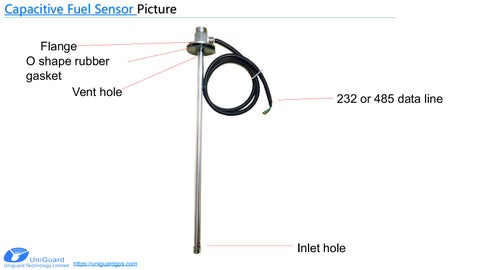

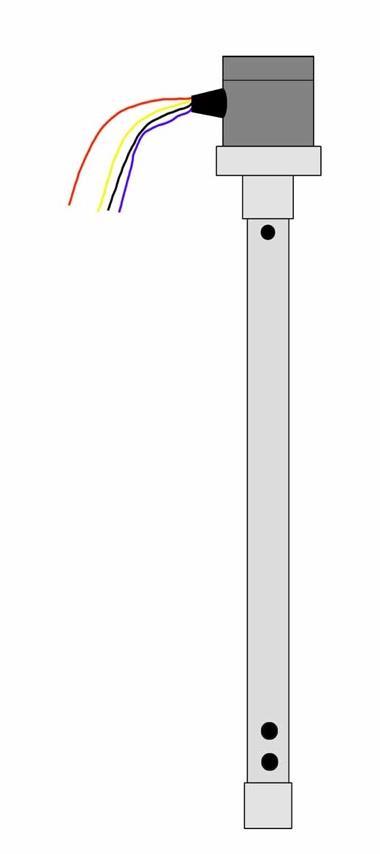
Capacitive Fuel Sensor Picture


232 or 485 data line
Inlet hole
Vent hole
O shape rubber gasket Flange
Sensor Working Example


Sensor specification

Working Range 0mm~1000mm
Output 485、232 digital、0 to 5V
Working voltage 5V or 9 to 36V
Accuracy 0.5%
Working temp.
Time delay 1 to 1800s
Endurance As long as possible
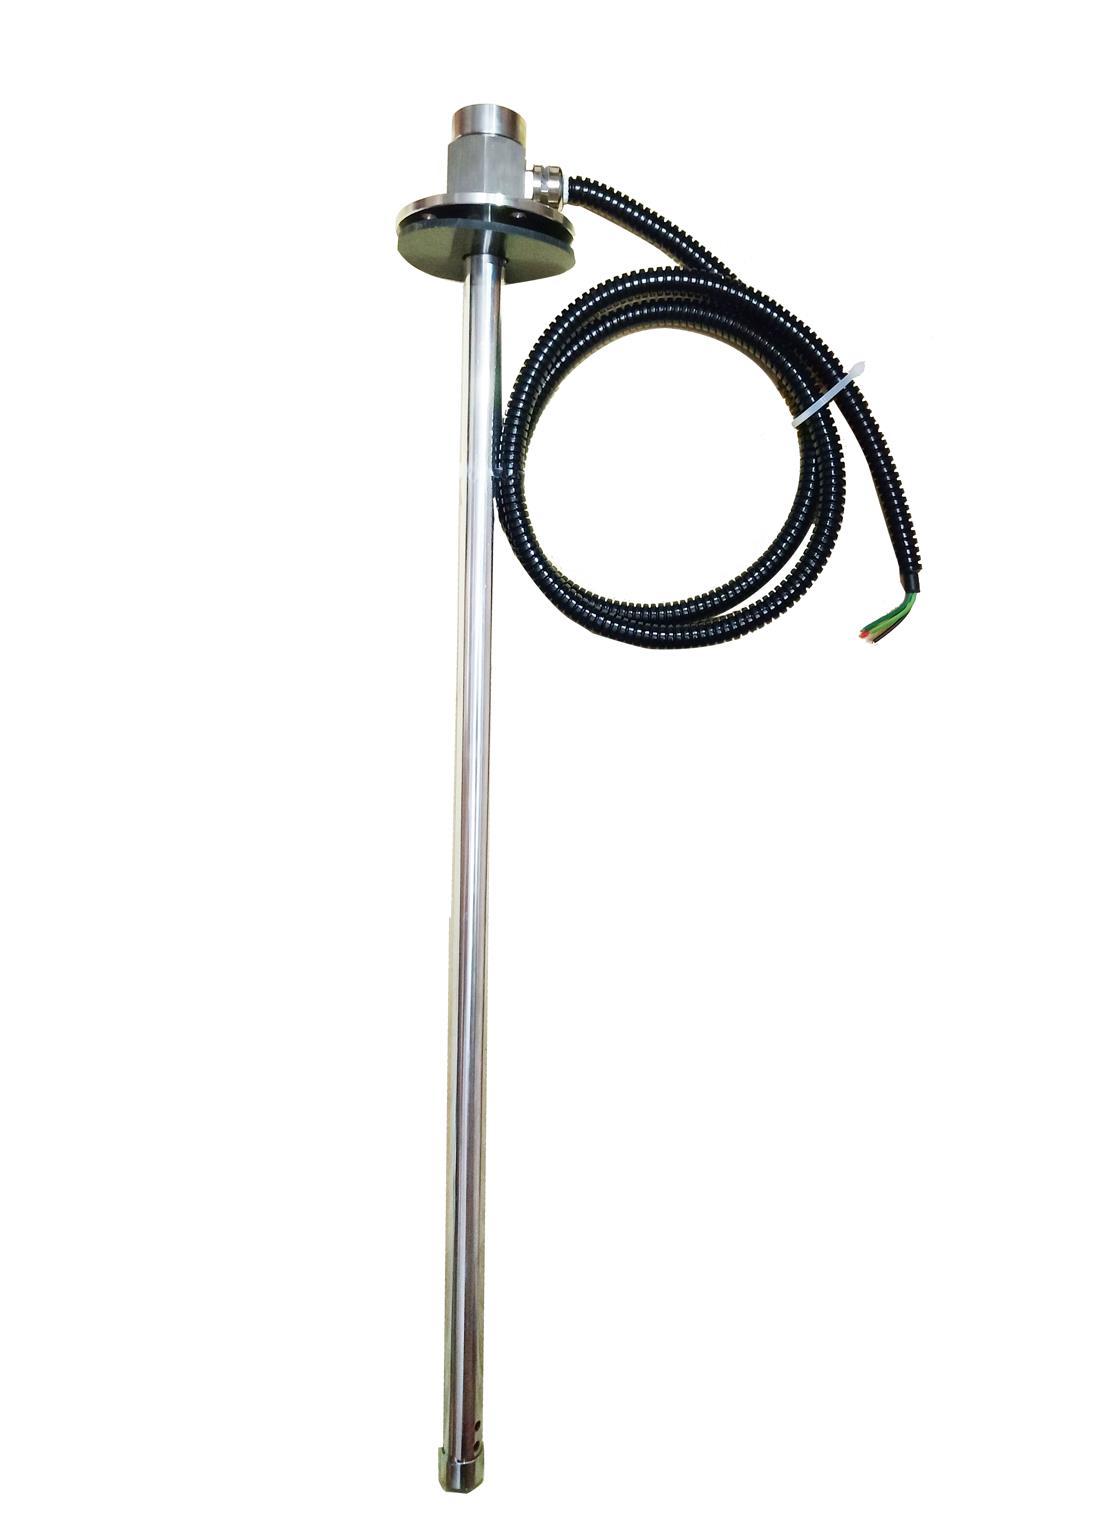
Structure Column
Material
Flange installation
304 stainless steel or aluminum alloy
OD 70mm—ID 20mm
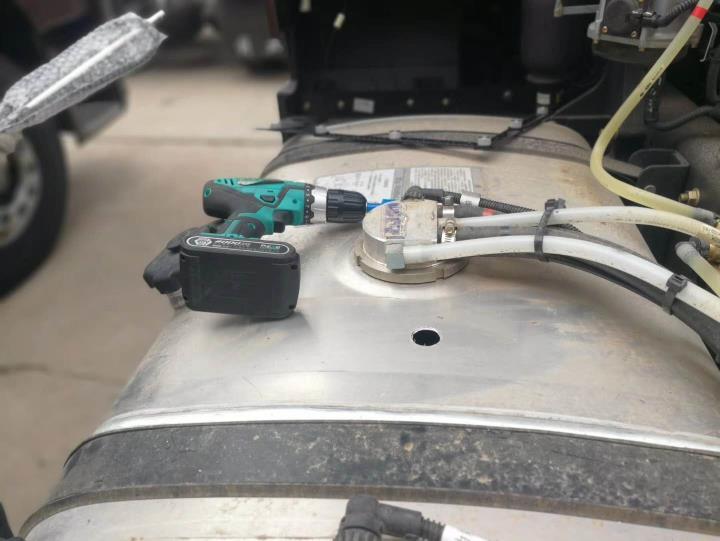
Installation Top of the tank
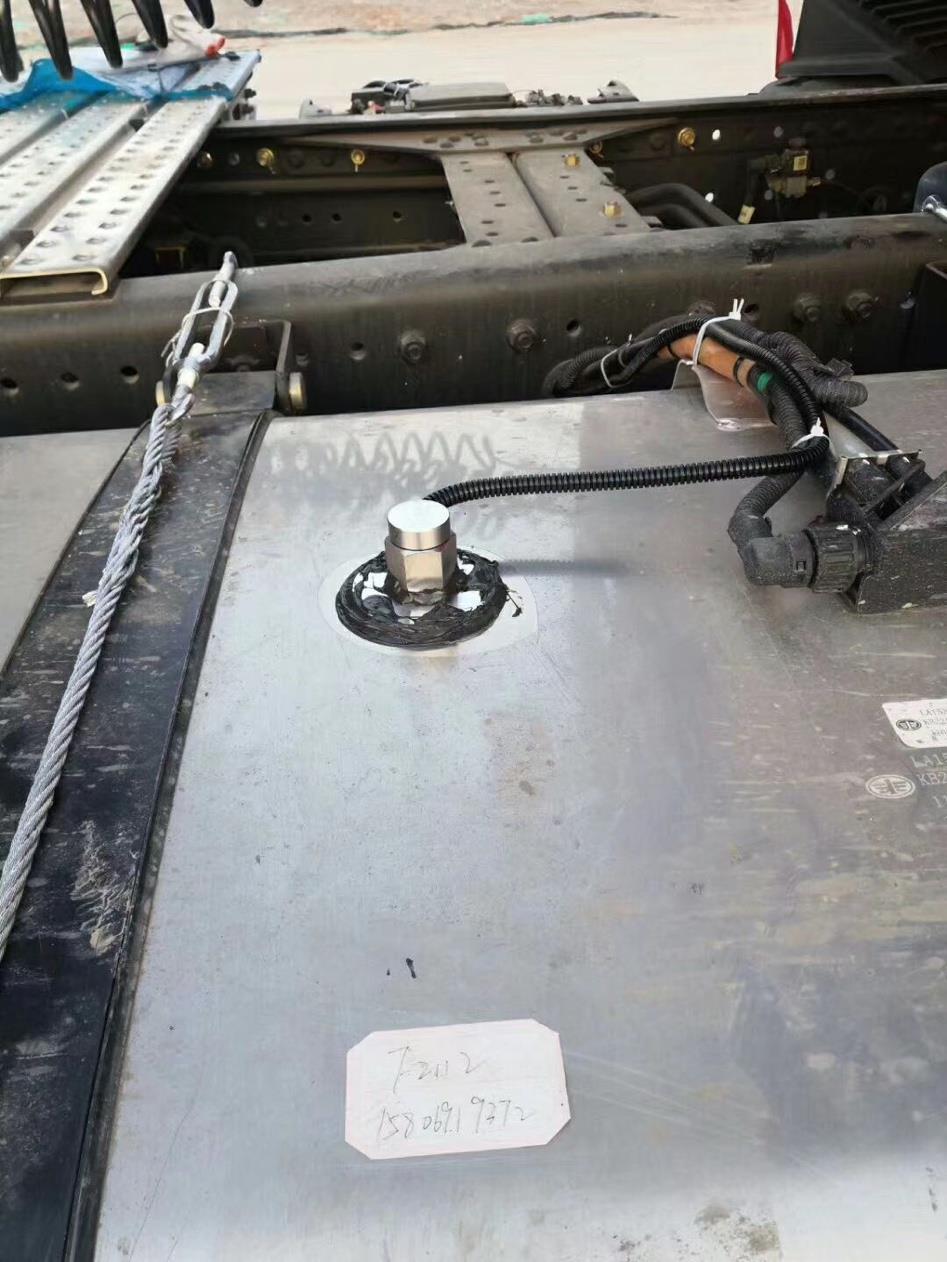
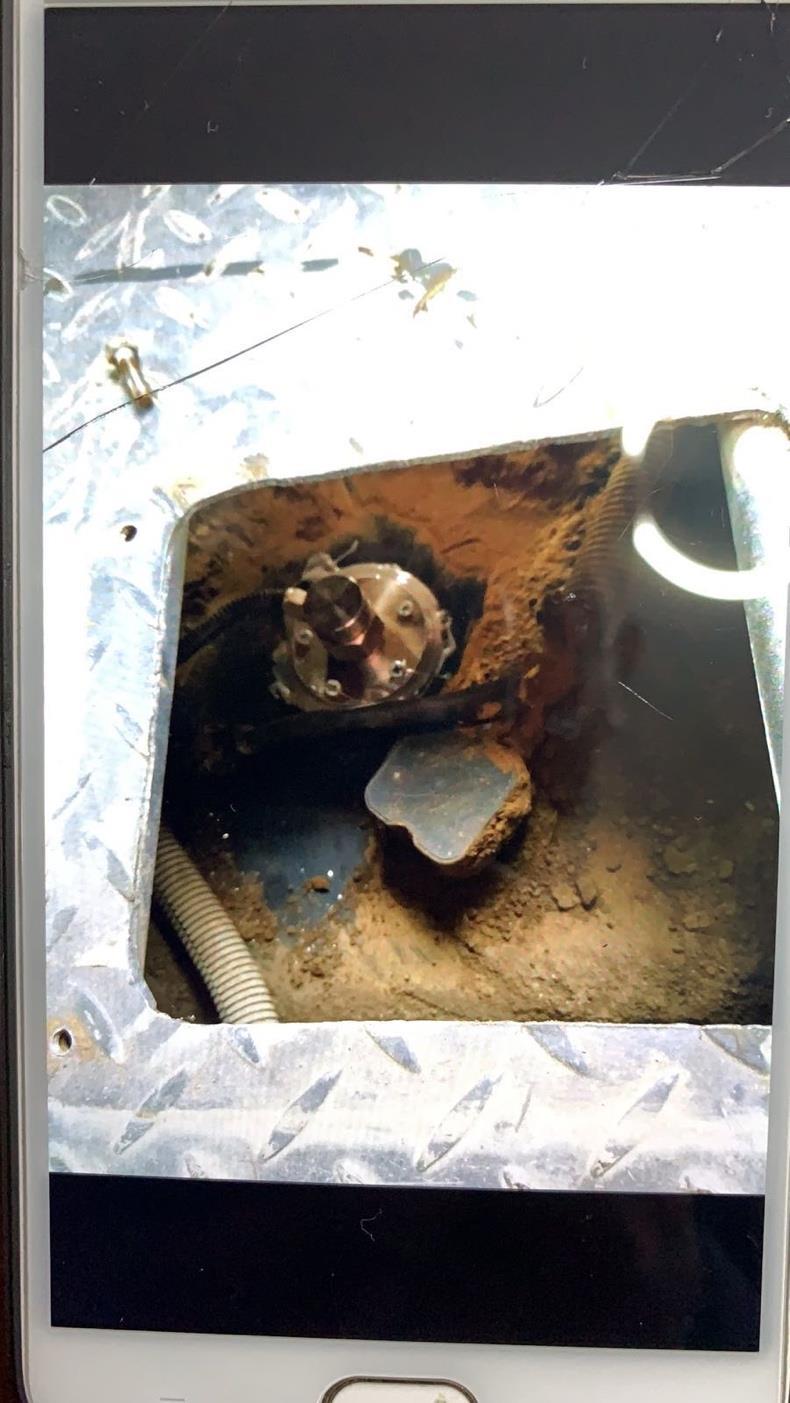
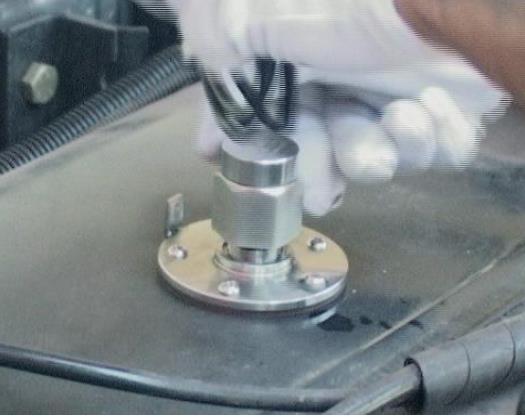
Sensor installation 1

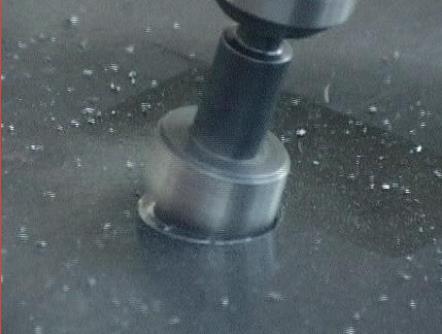
Use a 22mm metal hole drill bit, connect the power supply, and drill in the middle of the positioning volume (note, the speed should not be fast, and stop when it is about to drill through (the drilling is close to 95%), and use a screwdriver and needle-nose pliers to drill. the drilled metal flakes off and prevents it from falling into the volume)
Use a metal file to remove the burr of the opening; use a magnet with a wire to put it in the volume, and suck out the iron chip.
Drill holes according to the hole position of the flange (the inside of the volume must be pierced), apply the car sealant to the 5 self-tapping screws respectively, and fix the mounting flange on the inside of the volume with the car sealant
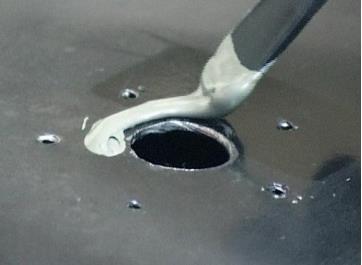
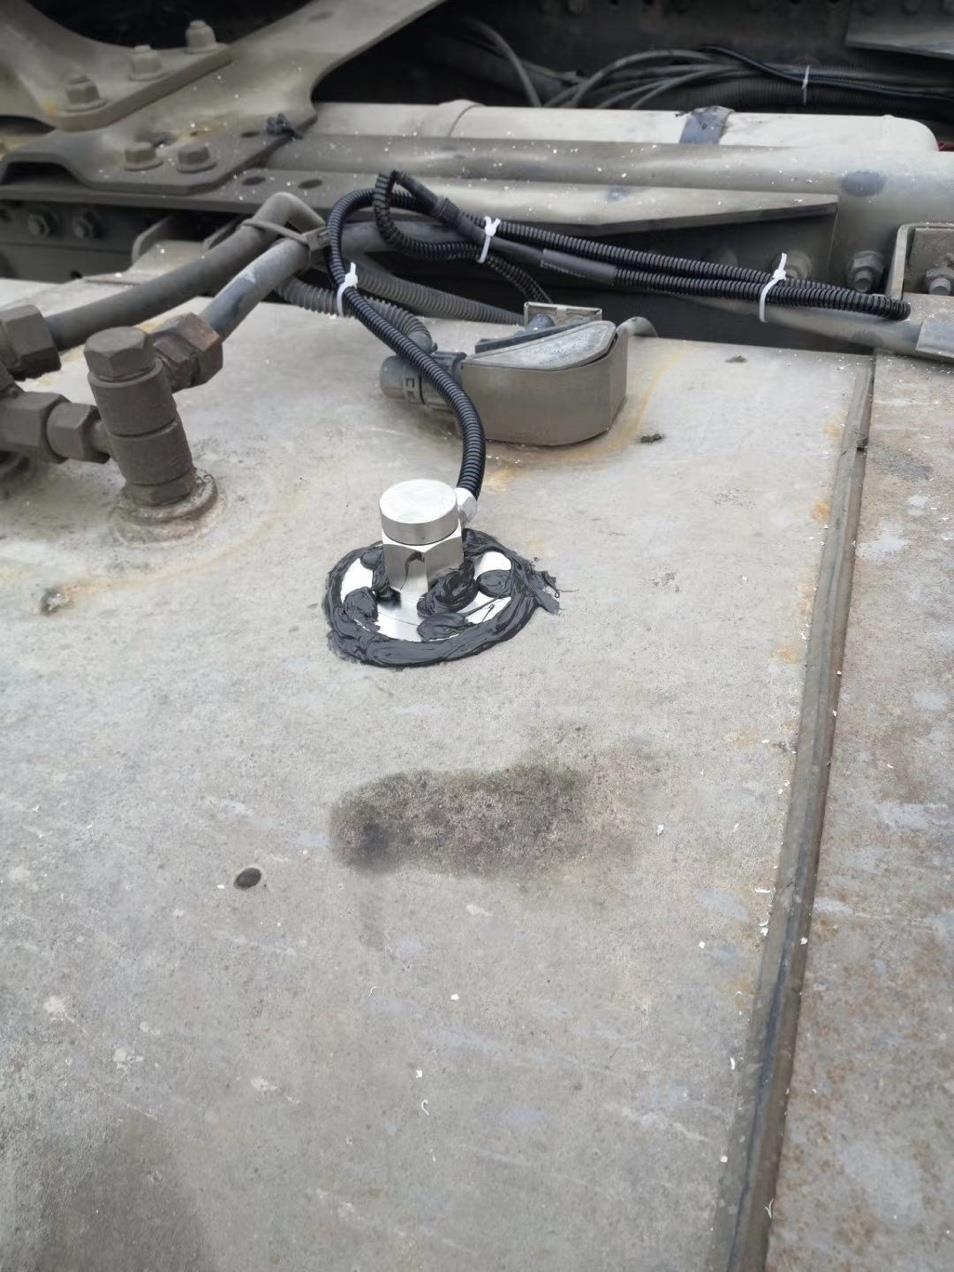
Sensor installation 2
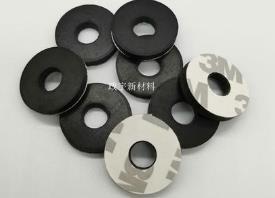
The rubber gasket is pasted with glue and placed under the flange

Mount the flange and tighten with 5 screws. Seal the joint between the flange and the inside of the fuel tank with automotive sealant
Screw the sensor into the flange.
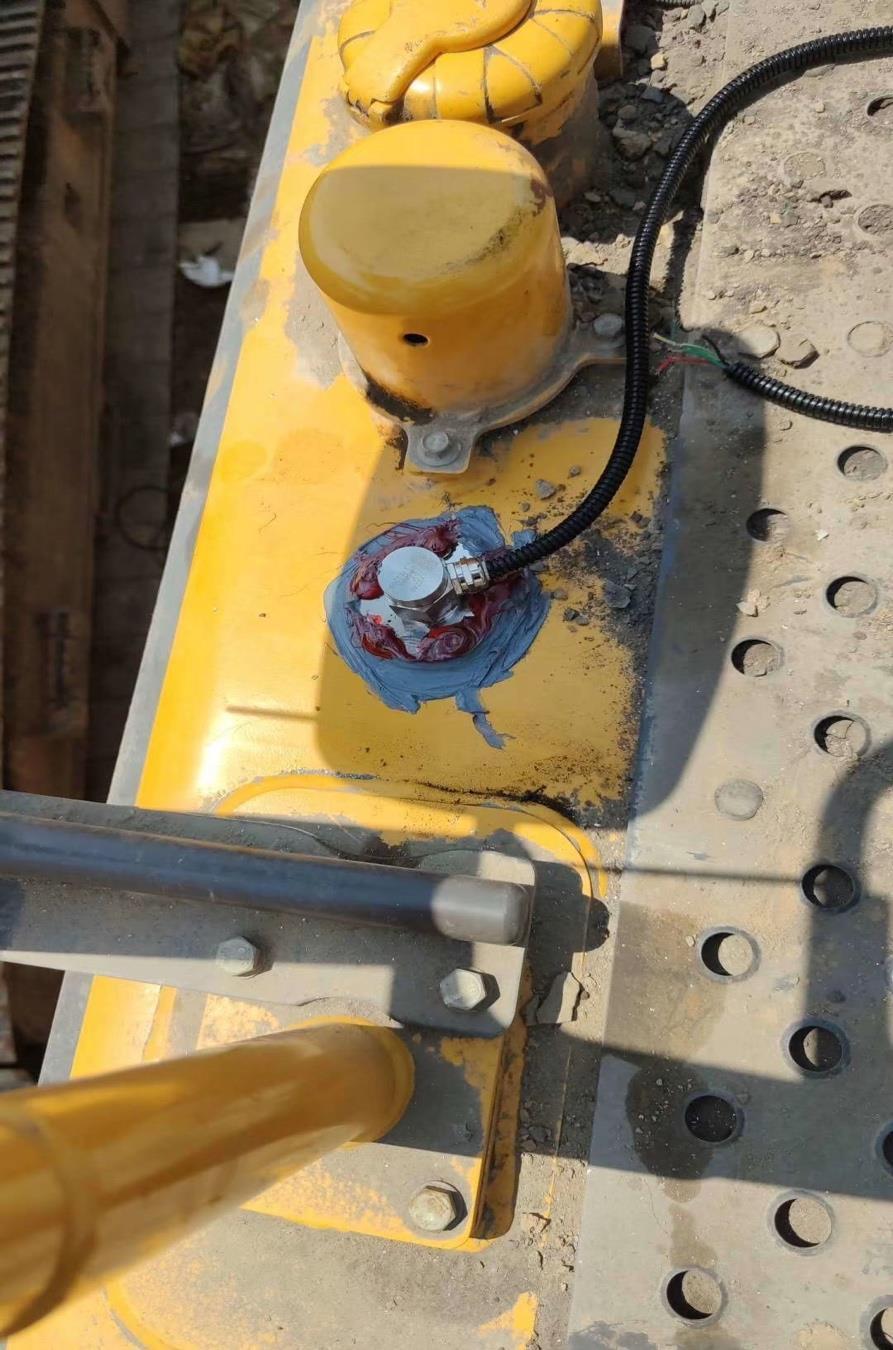
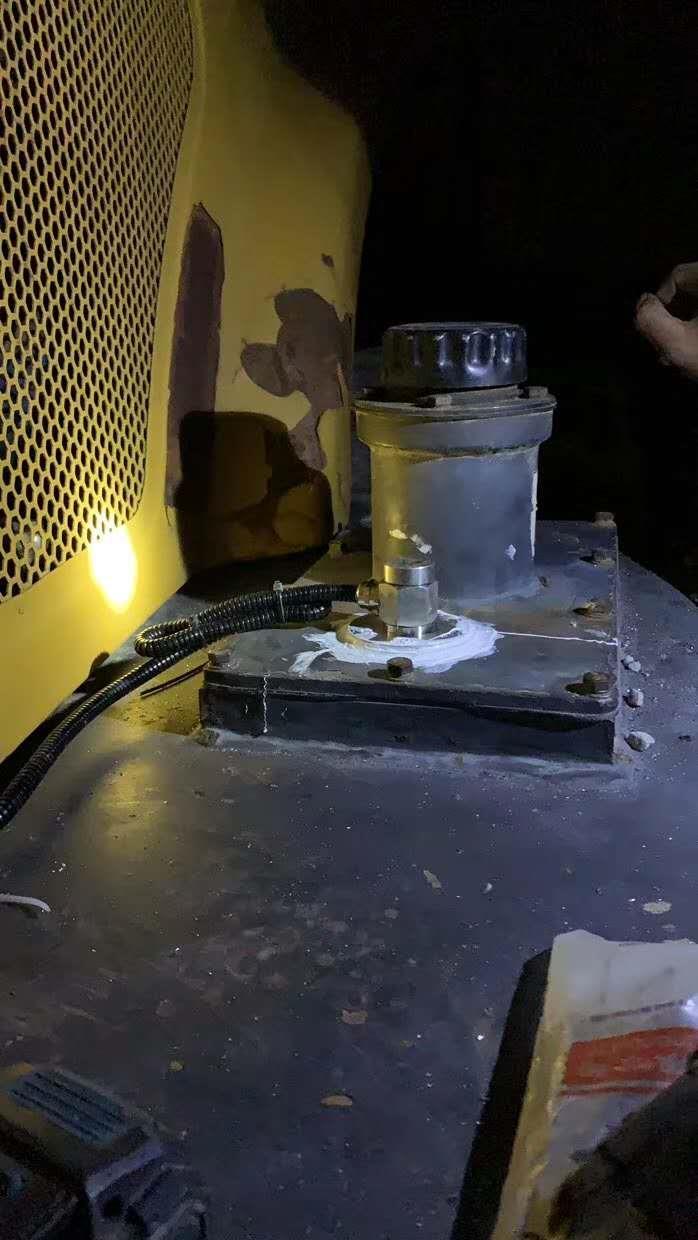
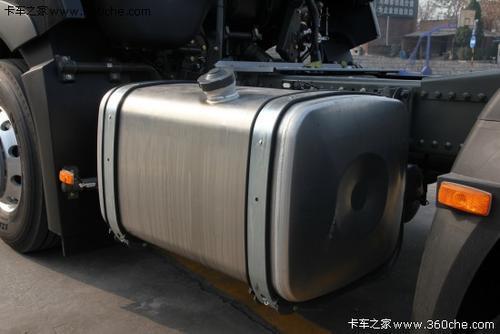
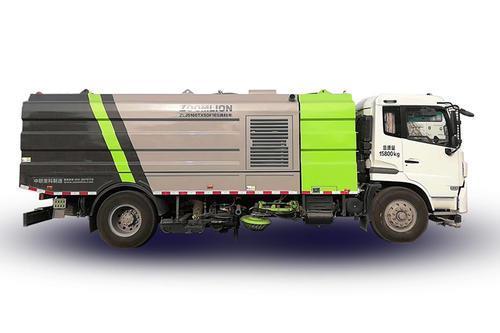
Sensor applications


Fuel Sensor Installation Video
Sensor application


Installation pictures