
CO-DESIGNED BY GIANT FAMILIES AT THE IVES MAIN LIBRARY
CO-DESIGNED BY GIANT FAMILIES AT THE IVES PUBLIC LIBRARY

COPYRIGHT © 2025 THE GIANT ROOM

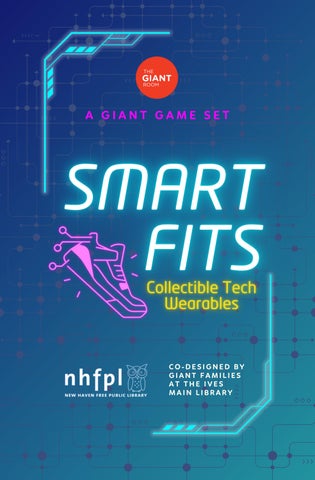
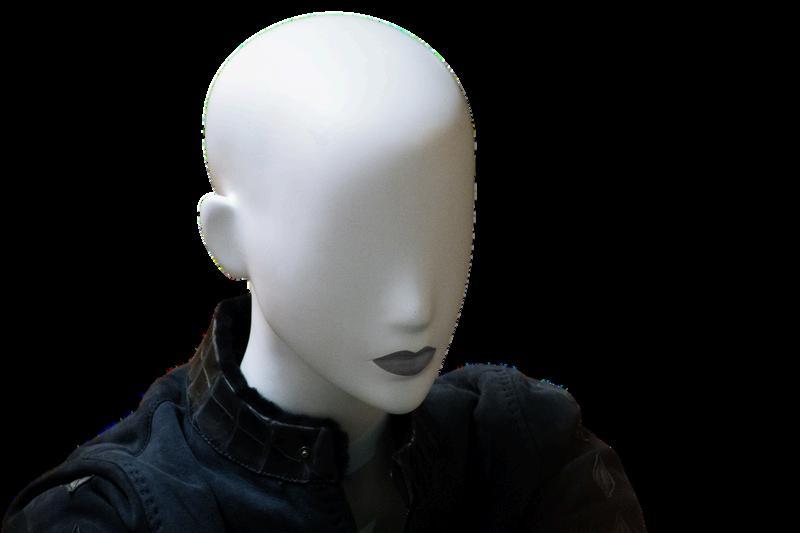
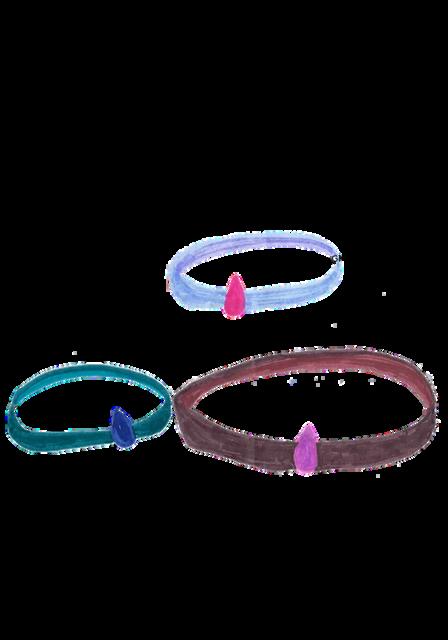
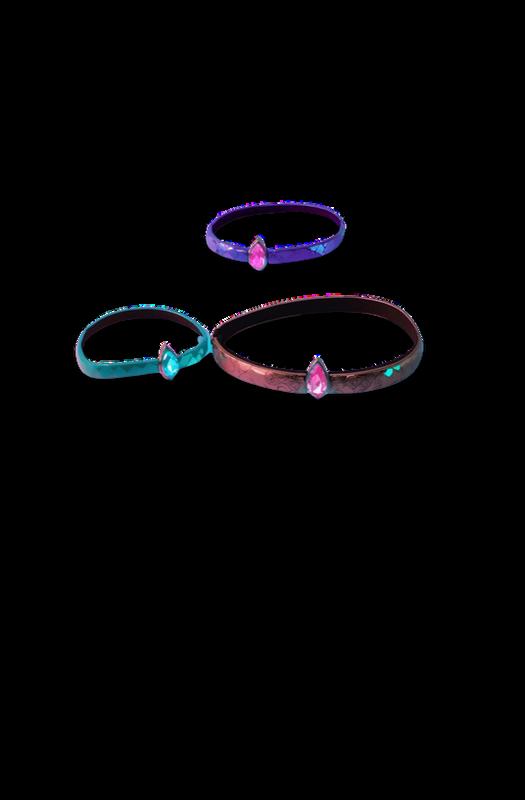
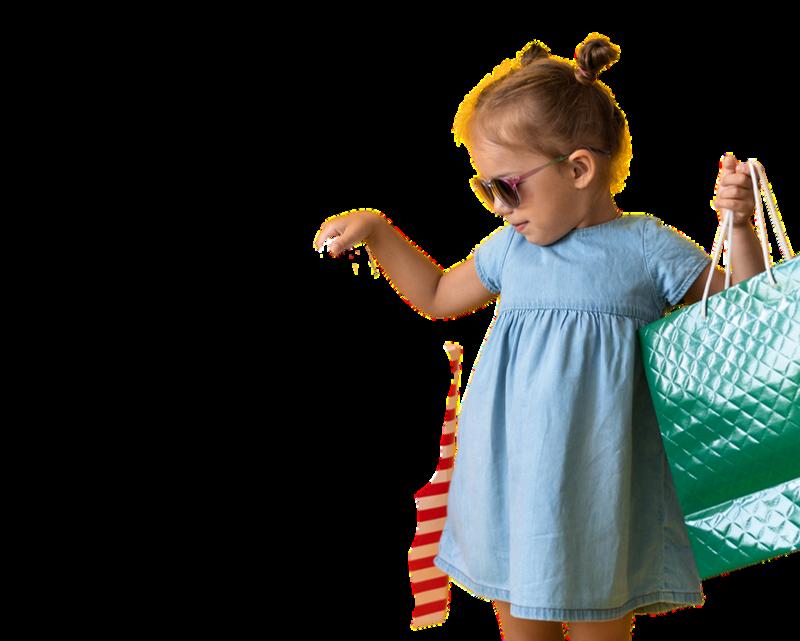
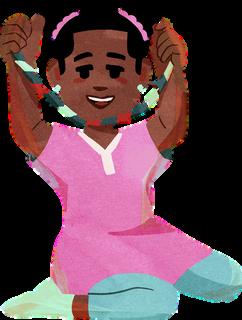
Something super weird (and oh, so wonderful!) is happening in this lookbook! Our smart wearables are getting mixed and remixed into a deck of cards that you can trade, collect, share, and use to design the coolest outfits! Then, follow the CREATE activities in Sections 2 and 3 to bring your wearables collection to life!
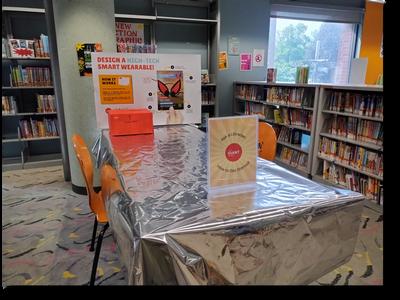
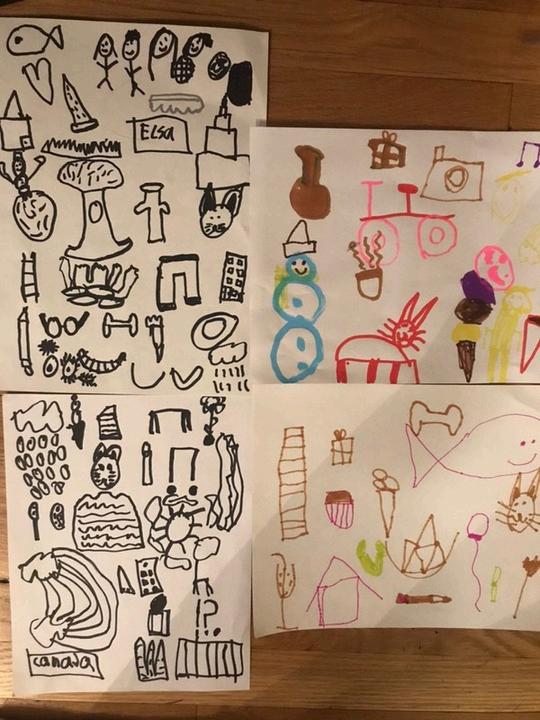
We are extremely honored to partner with Connecticut State Libraries and bring GIANT creative STEM experiences to the Connecticut community at the Ives Main Library. We implemented a Remix Station with Ives’ librarian, Matt Ulman.
Families participated, dreamed, created, and shared. Here, we have “remixed” their creations into a one-of-a-kind lookbook and game set inviting all kids (and adults) to collect the tech wearables, mix and match outfits, build a brand, think like an entrepreneur, and create the high-tech fashion of the future!
I want to thank the librarians and staff from Ives Main Library for their partnership. Funding for this program was made possible by the Connecticut State Library and Library Services and Technology Act (LSTA), provided through the Institute of Museum and Library Services (IMLS).
Let’s get designing!
Azi Jamalian Founder of The GIANT Room

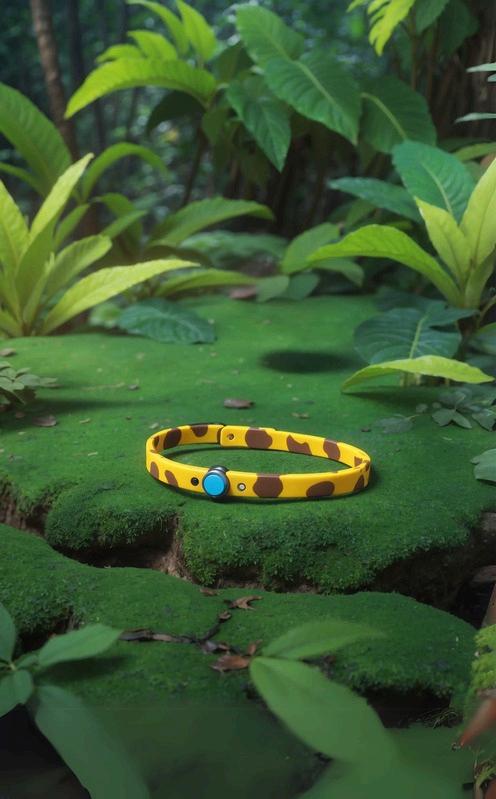


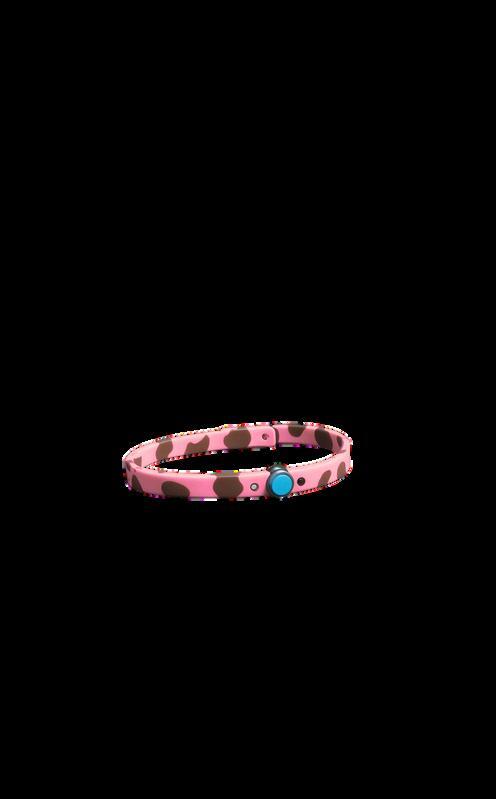

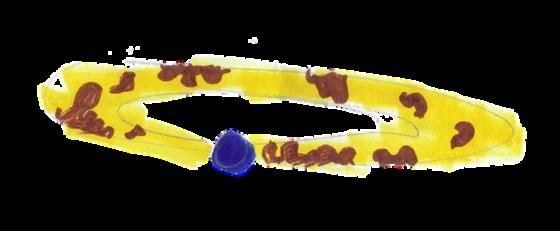
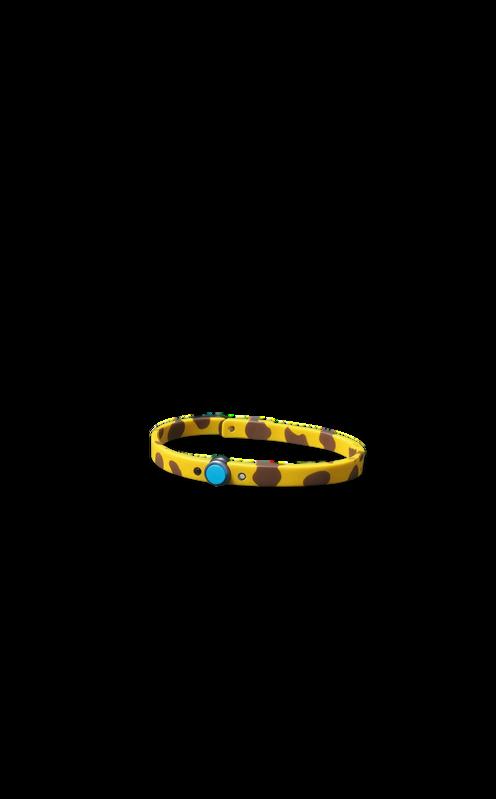
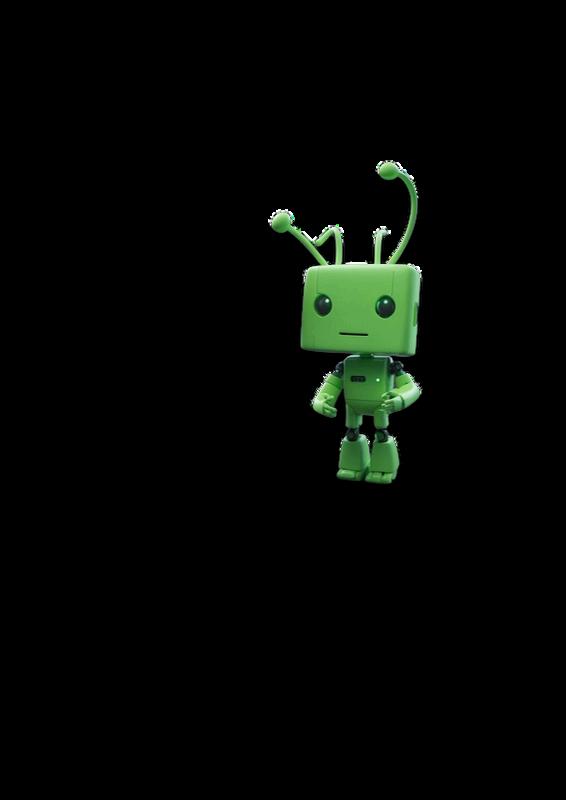
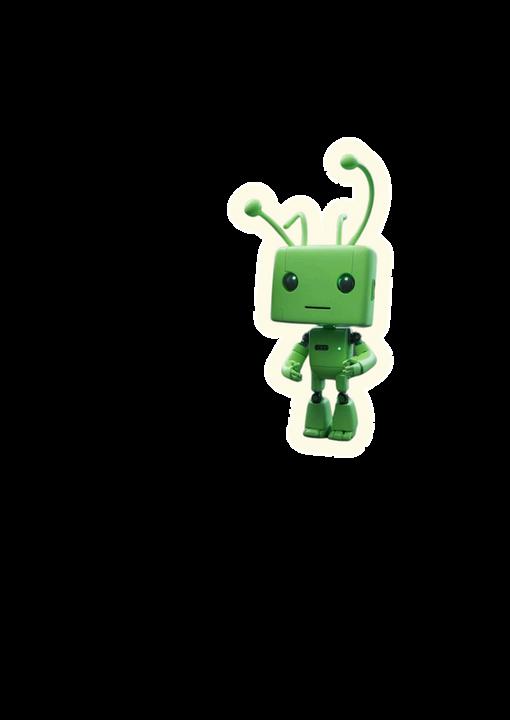
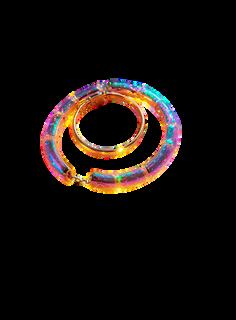
It can turn you into an animal or allow you to speak animal.
Do not wear more than 5 hours a day.
Designer’s signature

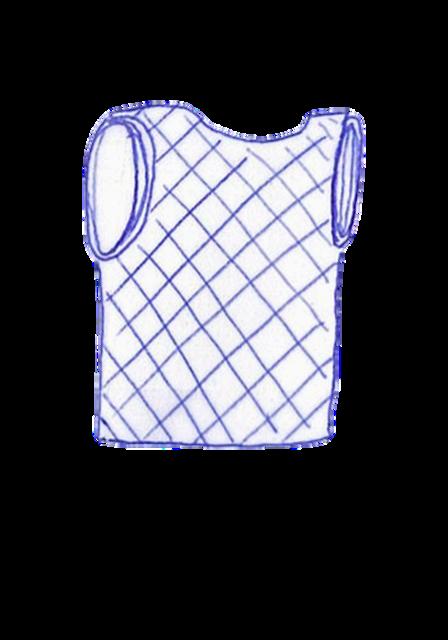
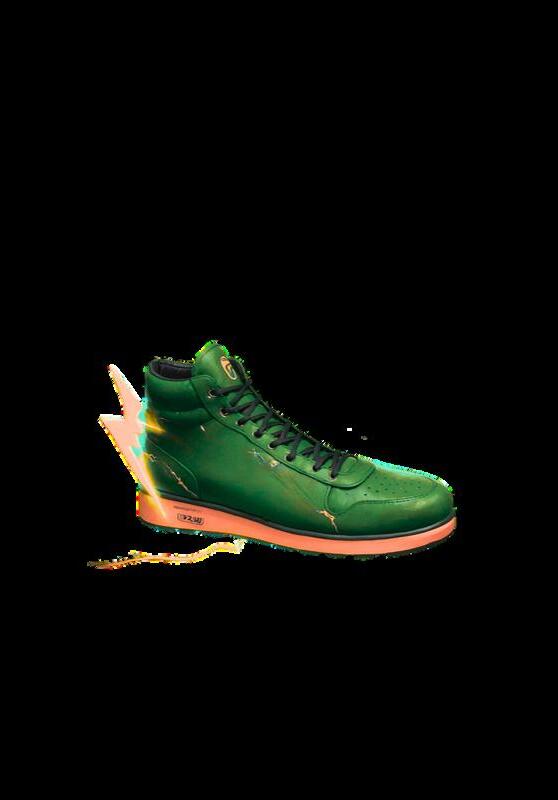
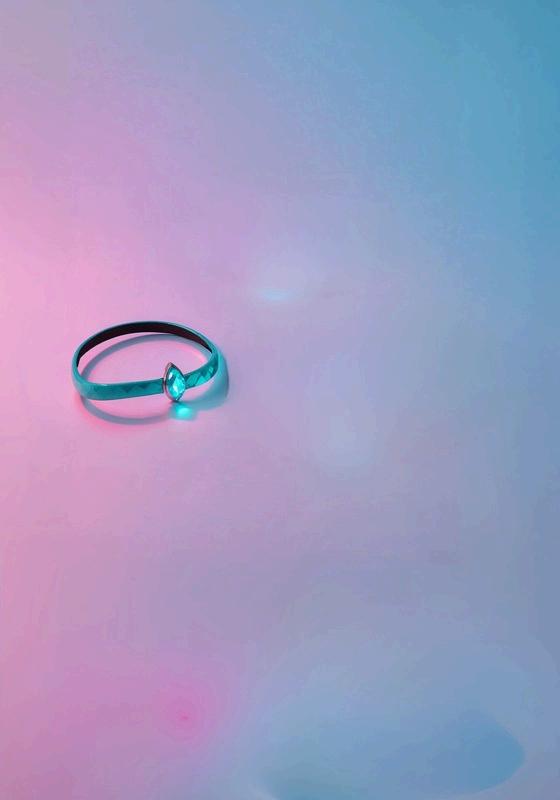
The blueprint
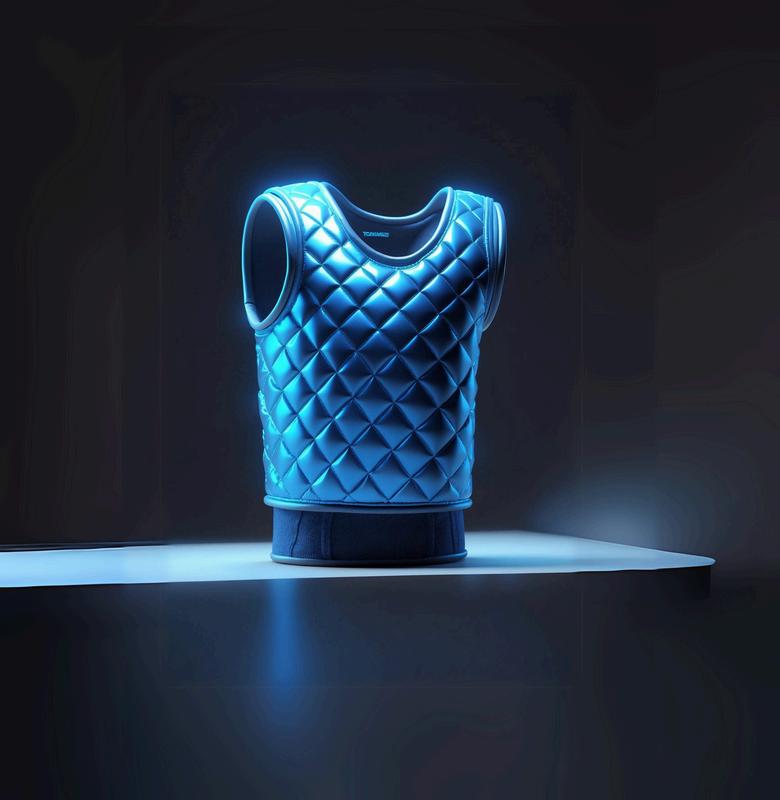
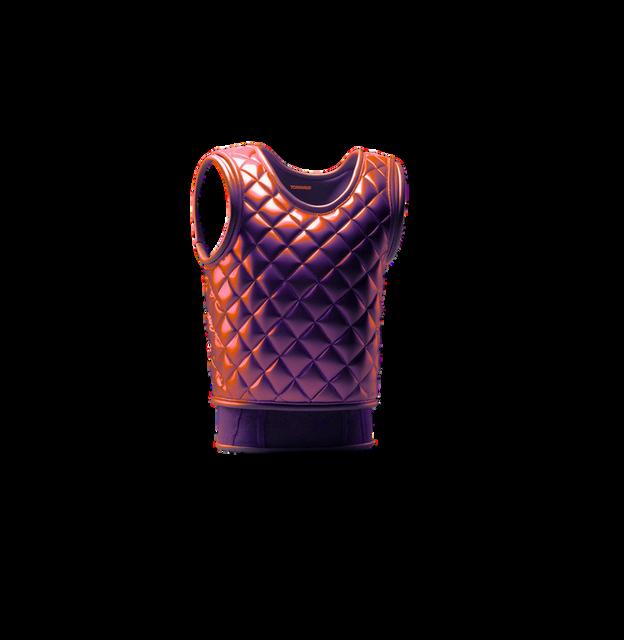
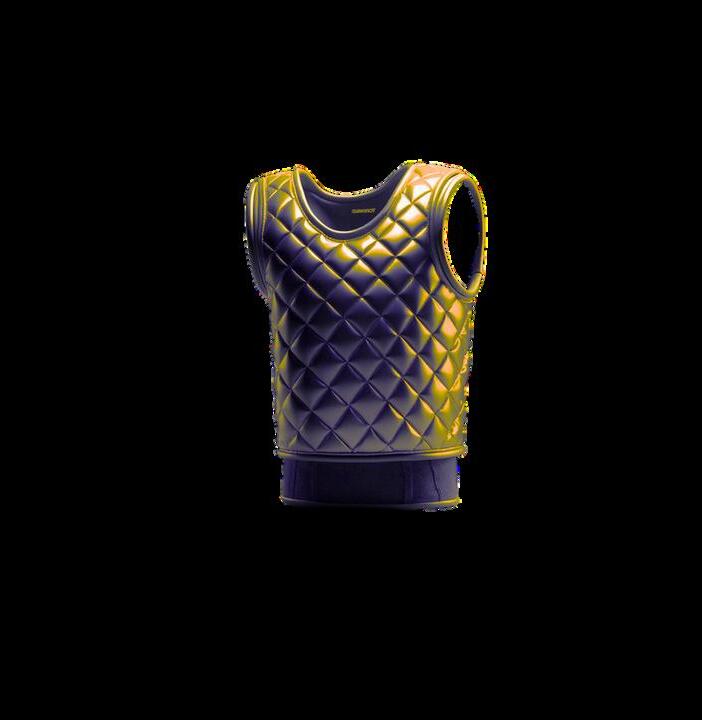
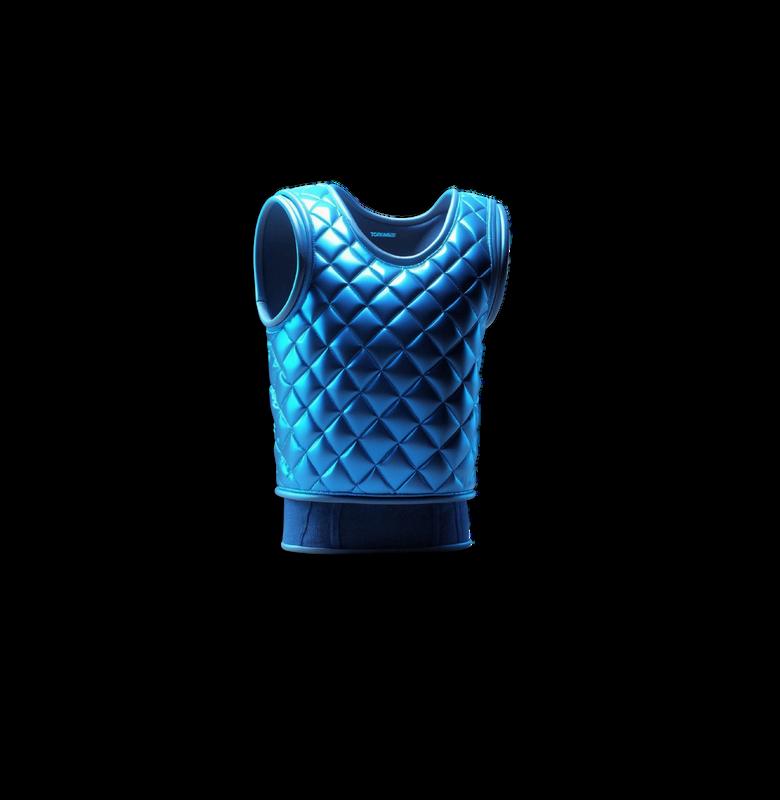
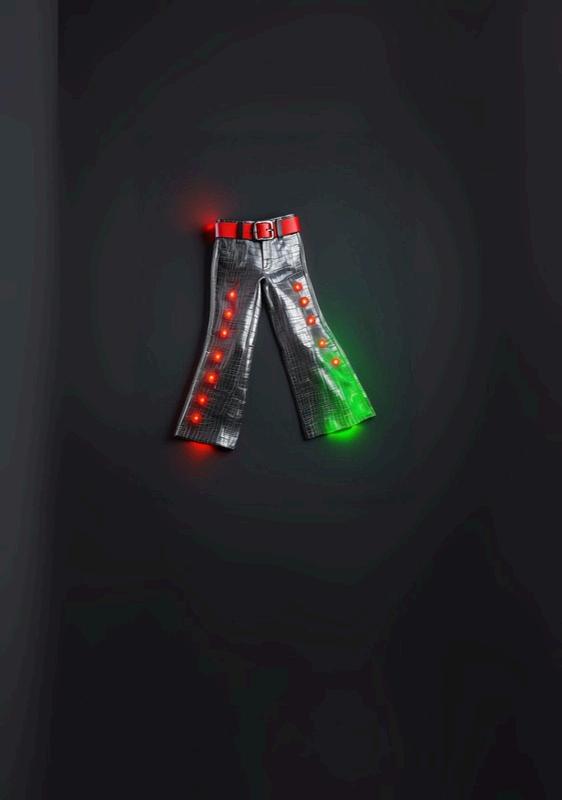
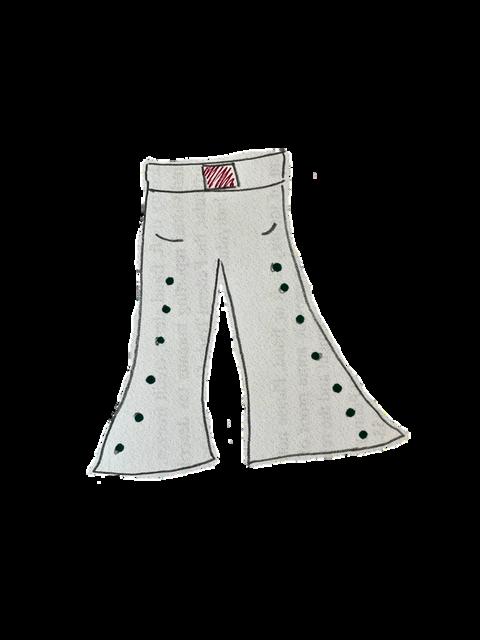
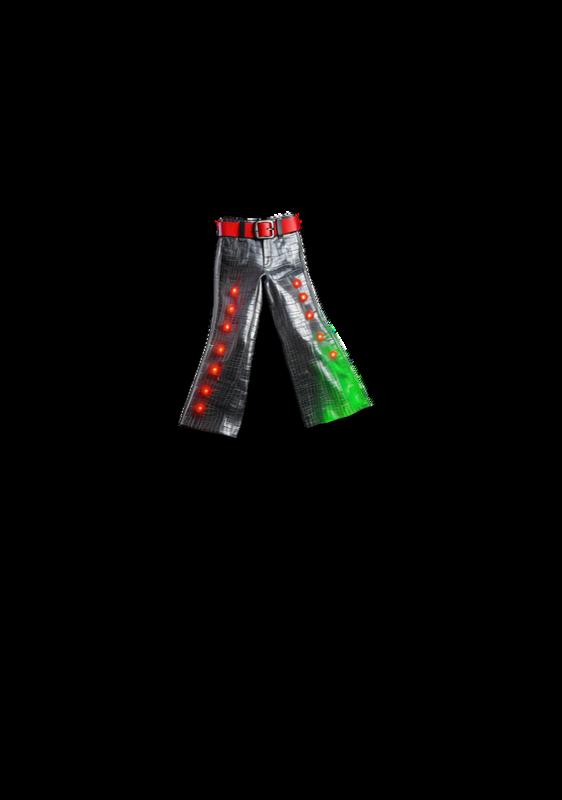
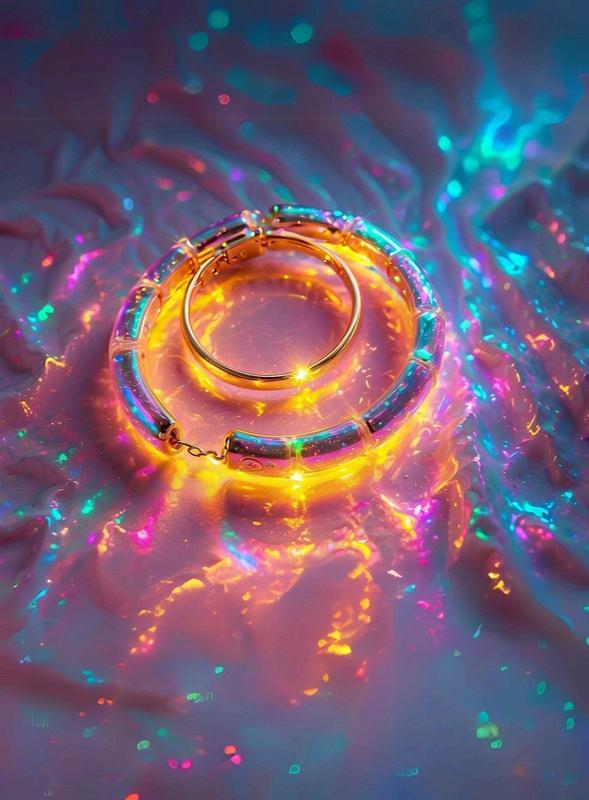
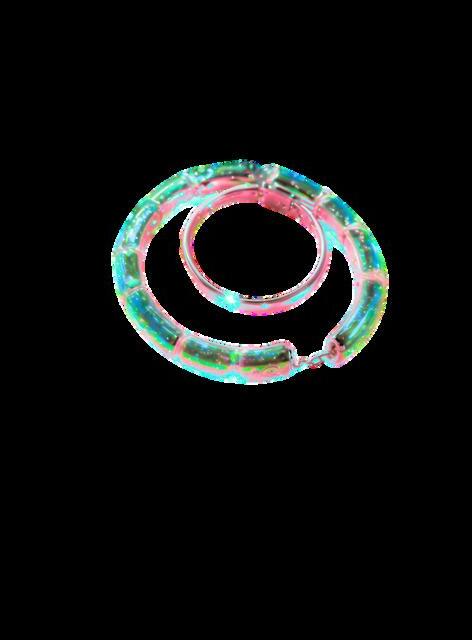
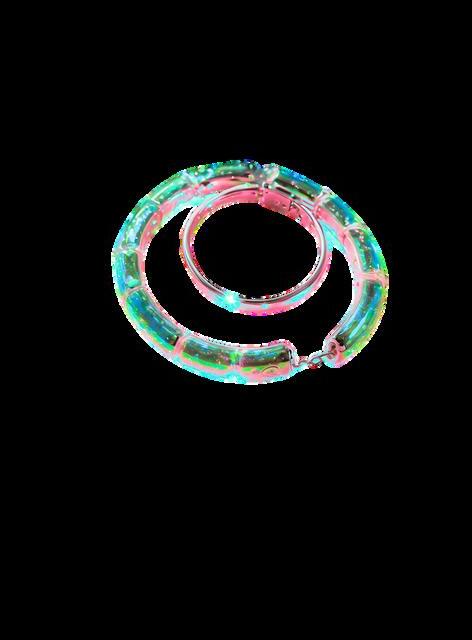
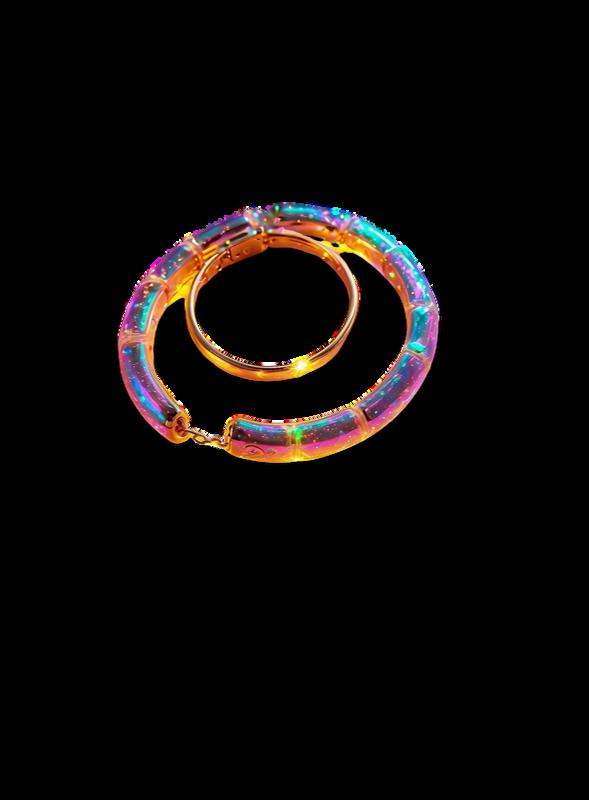
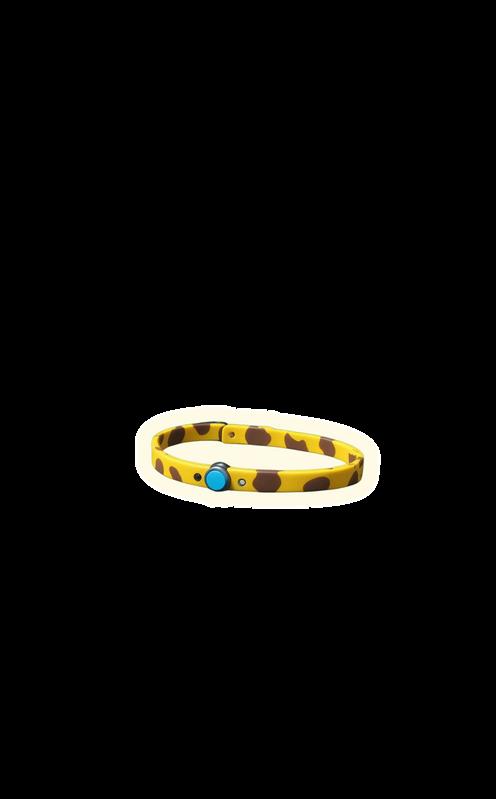
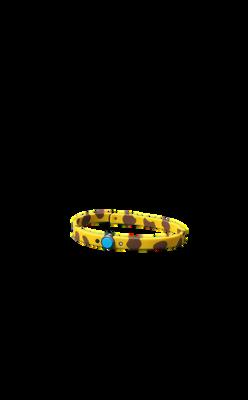
Heart-rate monitor
Muscle-tension detector
Cooling nanotubes
Charge once per week
Machine-washable / air dry

Blueprint
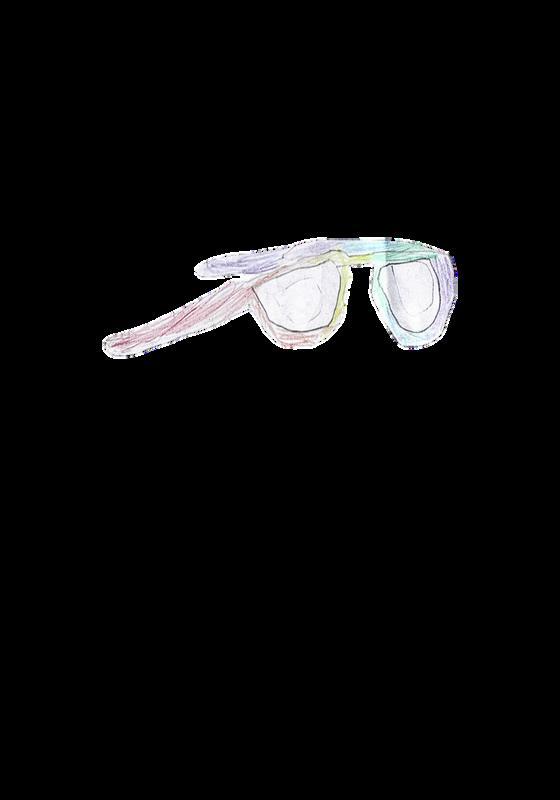
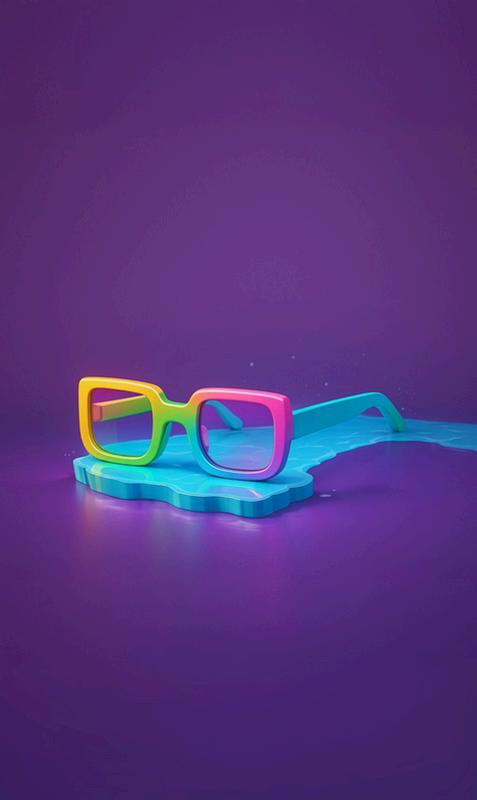
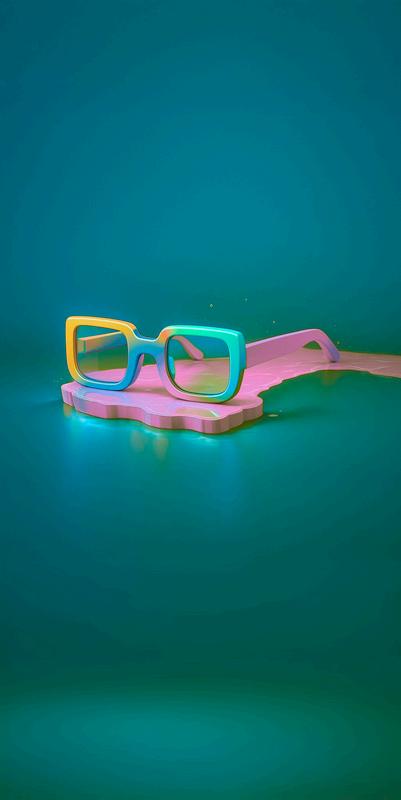
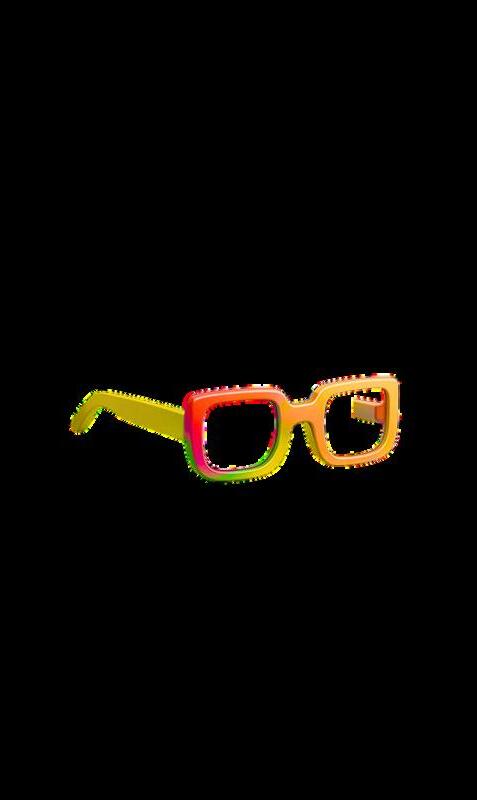
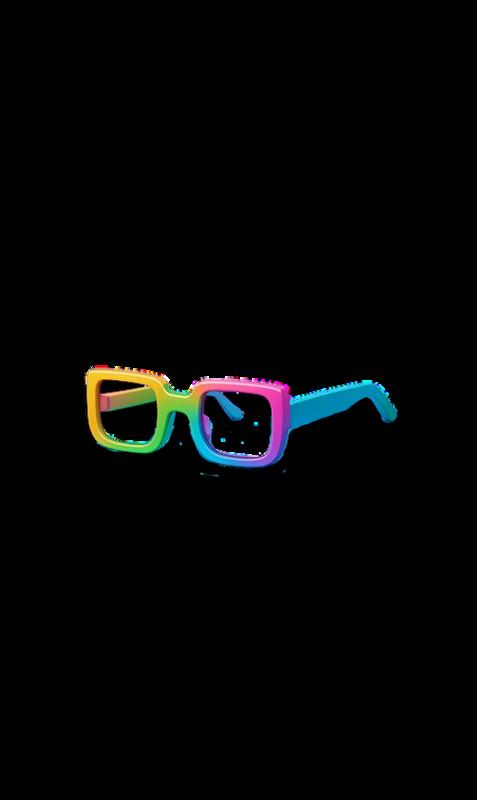
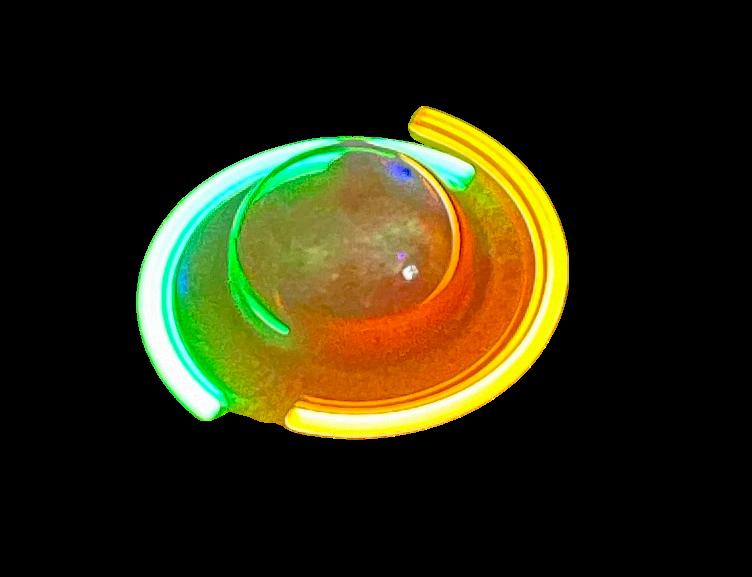
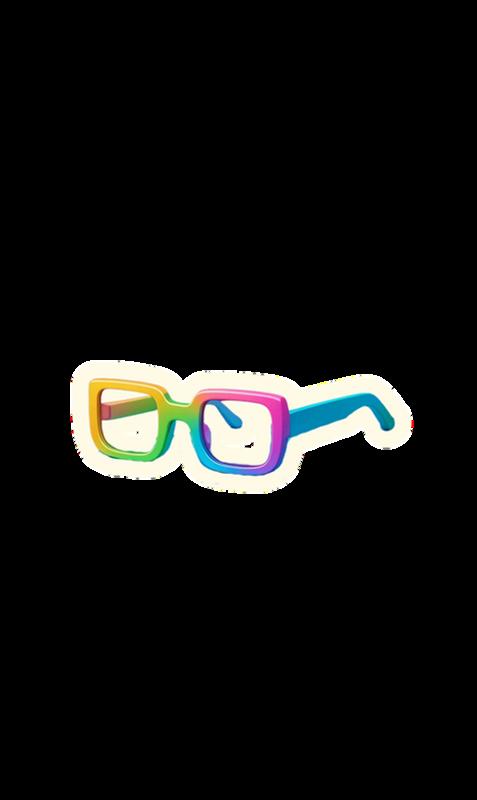
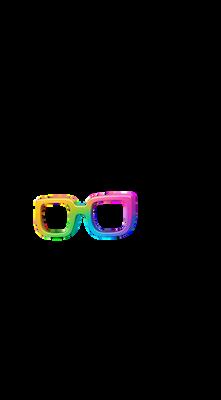
The glasses look at an object that has words like in books and reads it aloud. It also has sensors that tell you when someone is coming.
They clip on so you can go on a trampoline, and you can where them in a pool.
Designer’s signature
AI Render


Designer’s signature
AI Render


Designer’s signature
AI Render
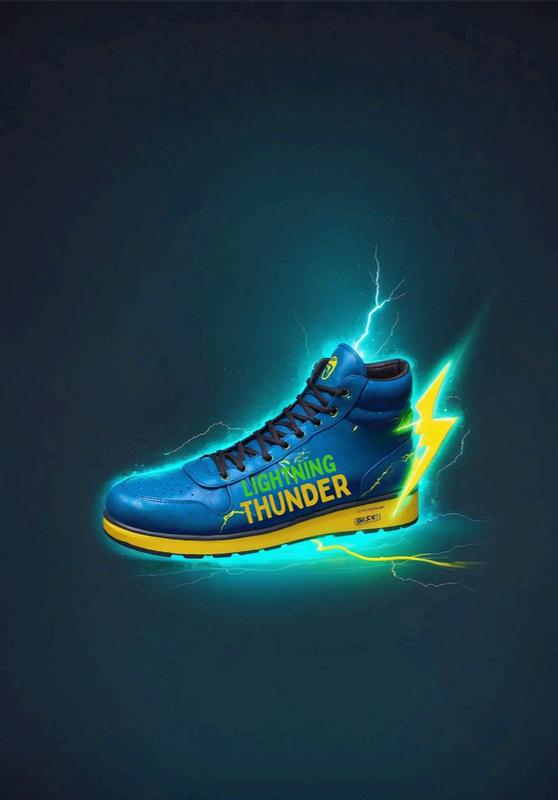

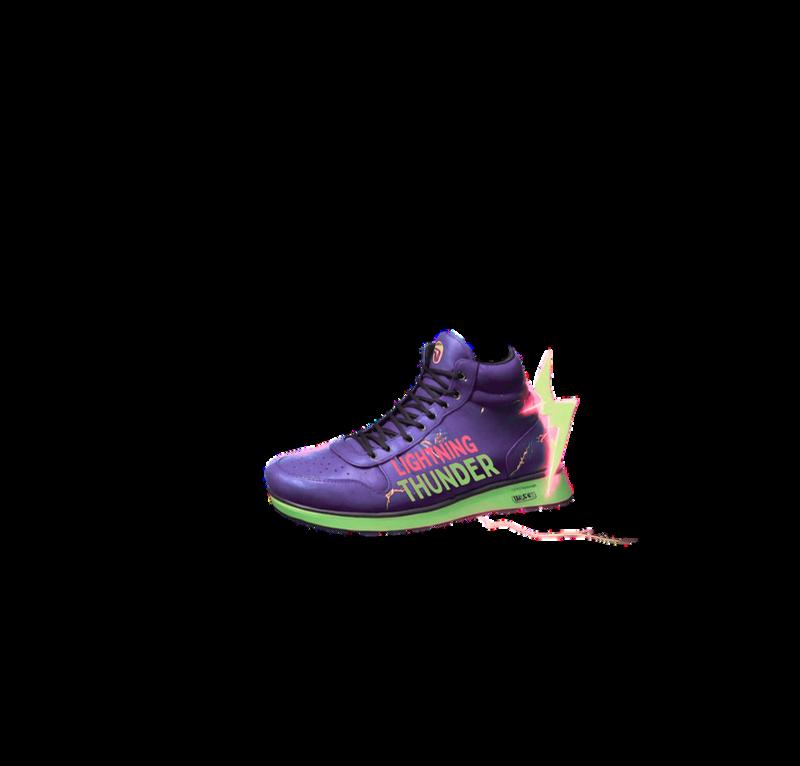

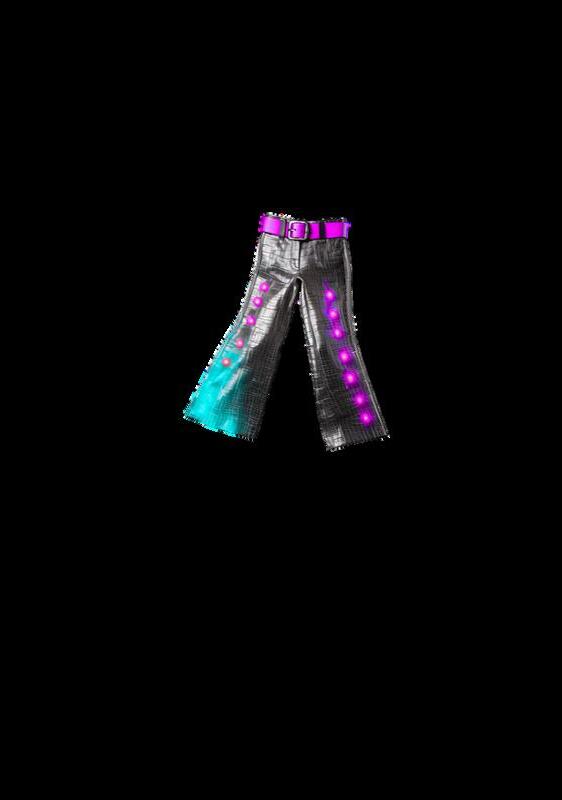
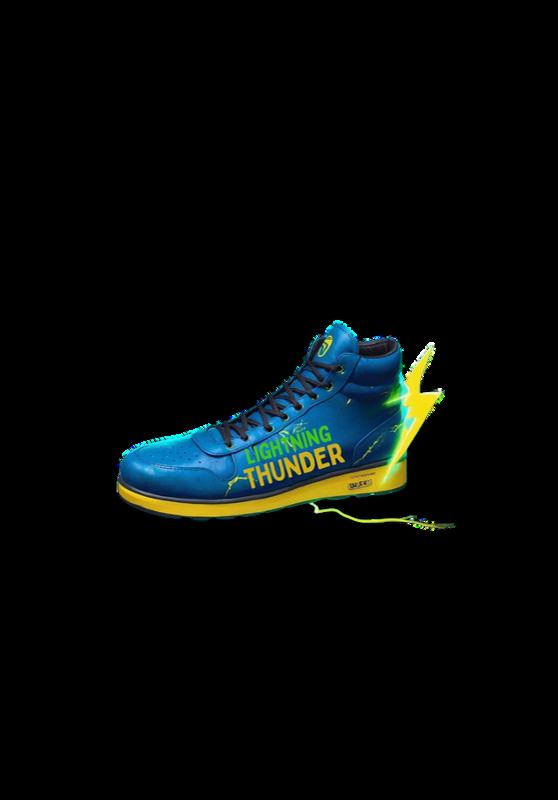
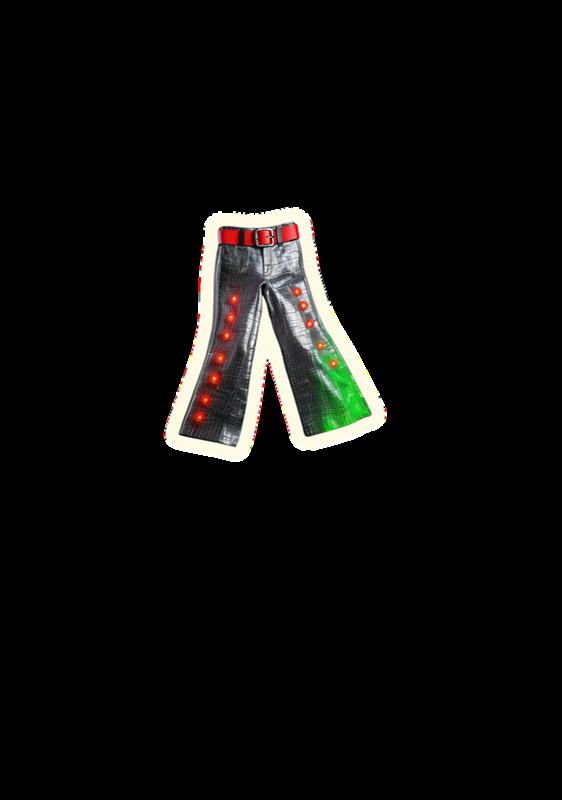
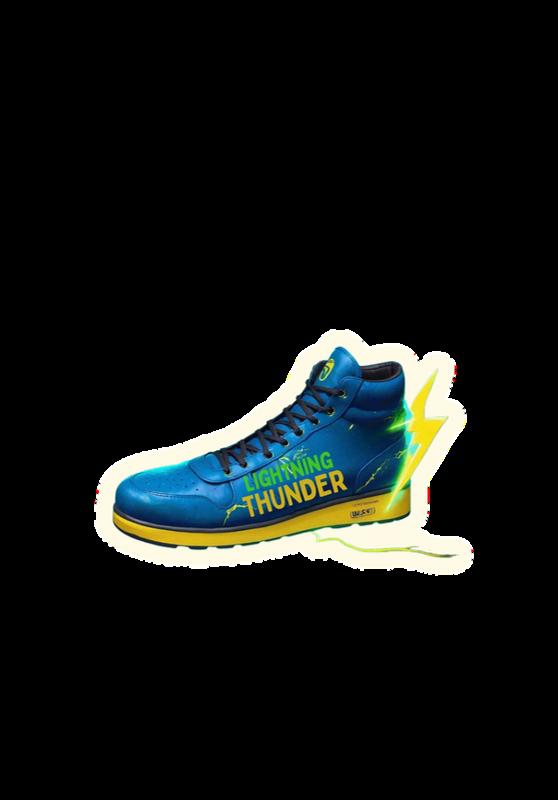
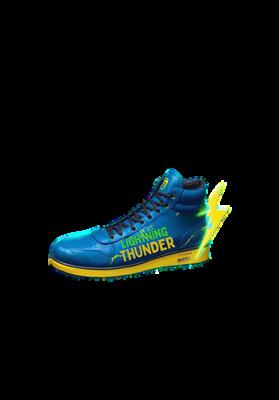
Bluetooth radio to play music
Laser
Wifi
Danger sensor
Super Nitro Speed
Night lights
Waterproof
Nighttime cleaning
Designer’s signature
AI Render
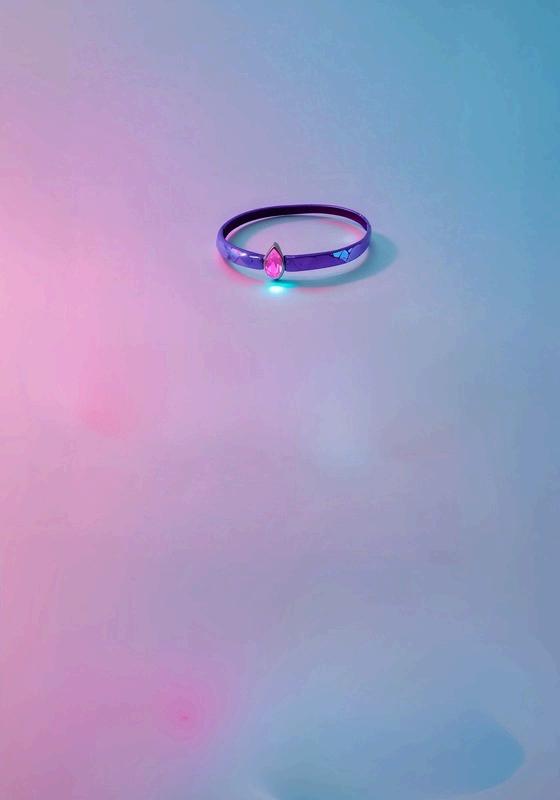
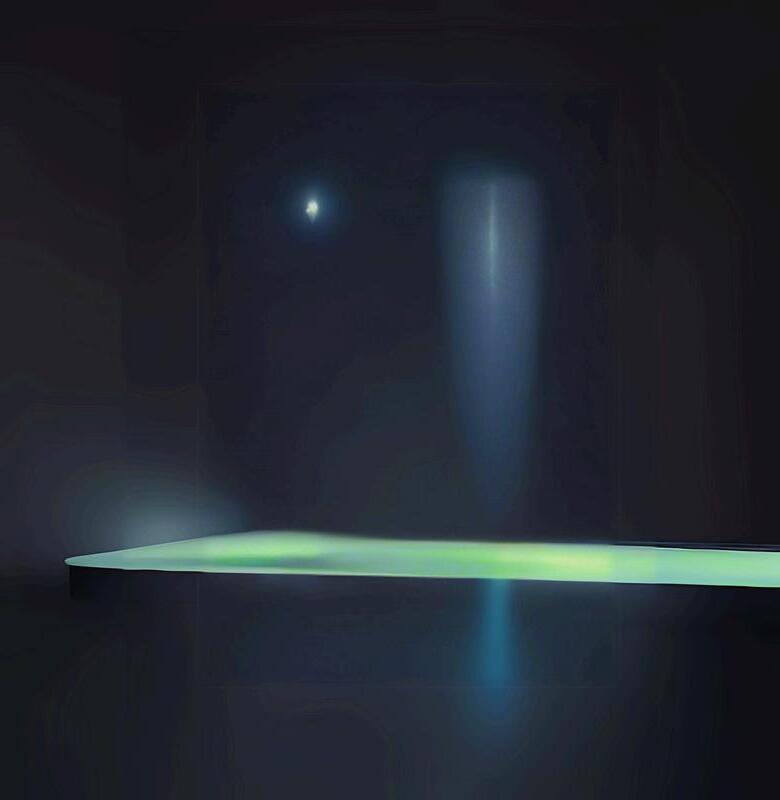
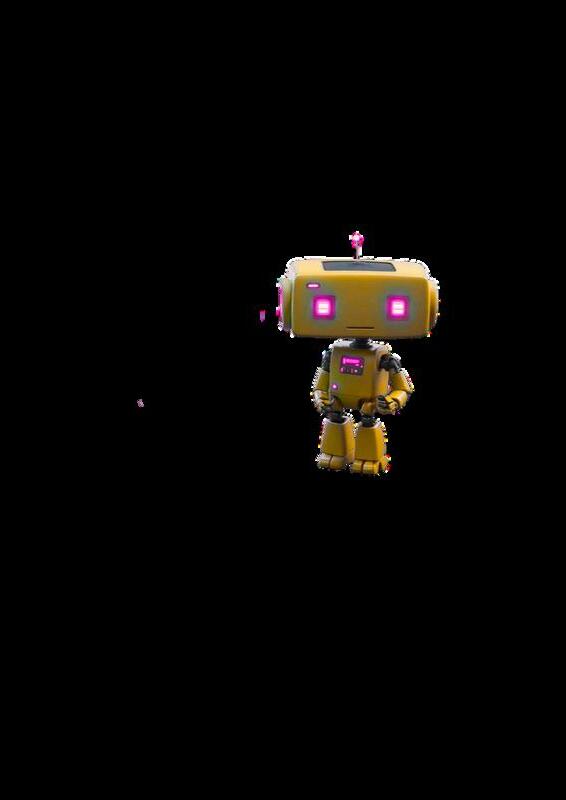
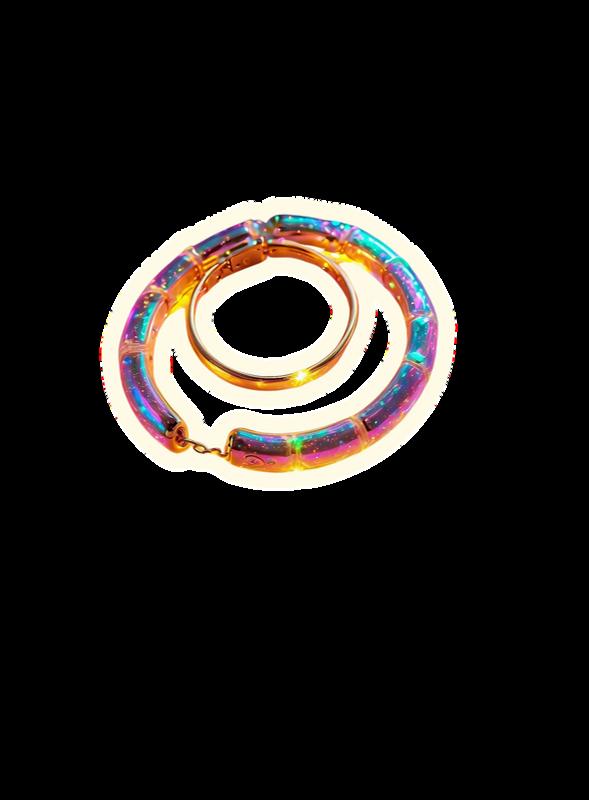
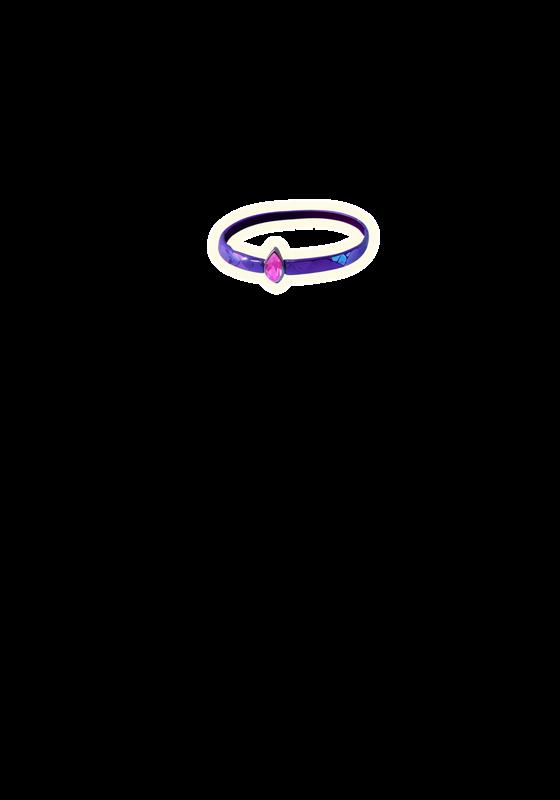
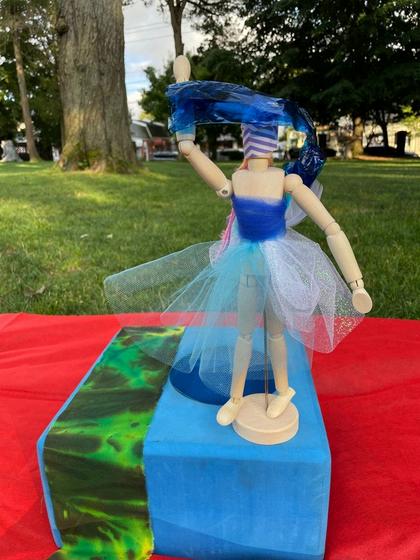
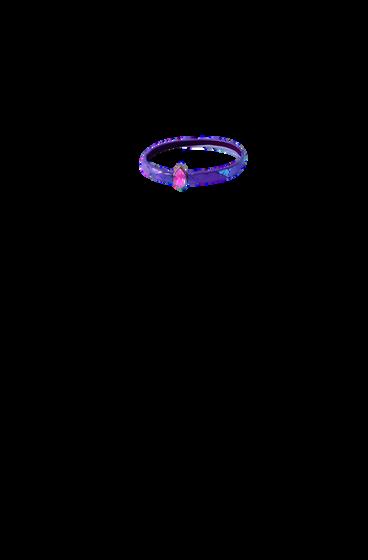
There is a camera in the gem that gives feedback to AI, then gives advice to the earpiece hidden in the circle. They give advice about dangers and advice on how to continue. You can use it for driving, cooking, flights, or just daily life.
Don’t wear in super hot temperatures, because the gem will melt. Clean annually with a washcloth.
Designer’s signature


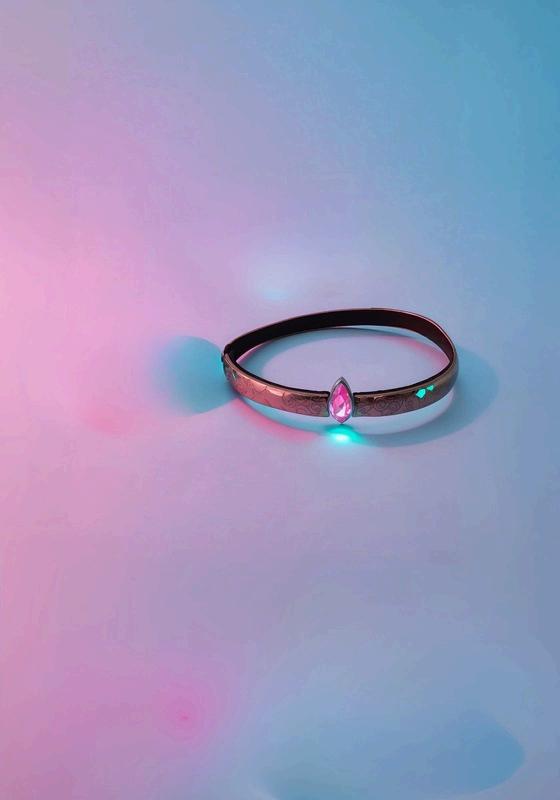
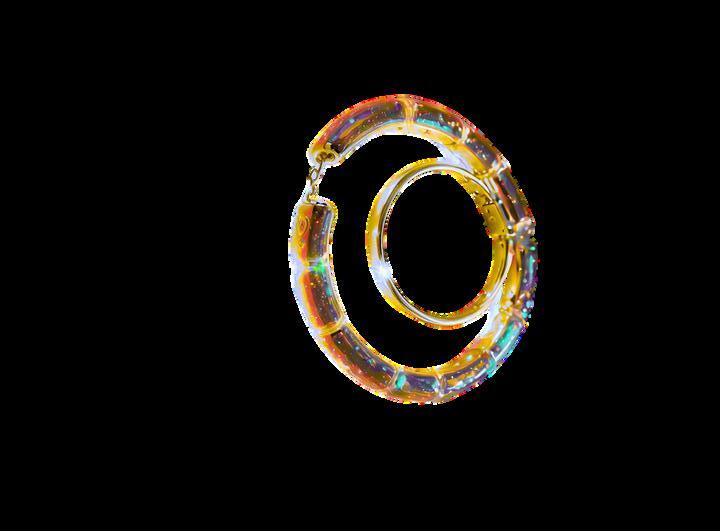
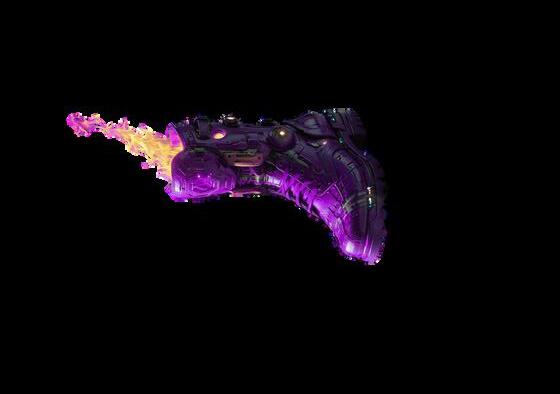
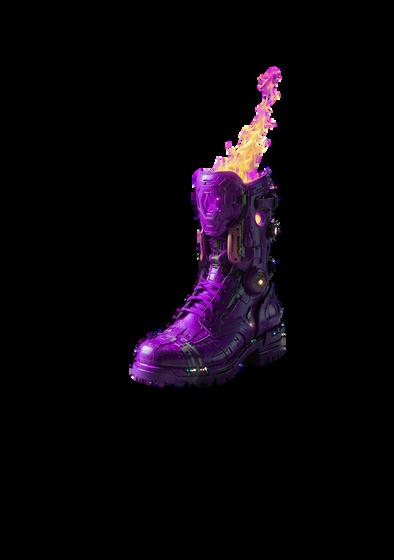
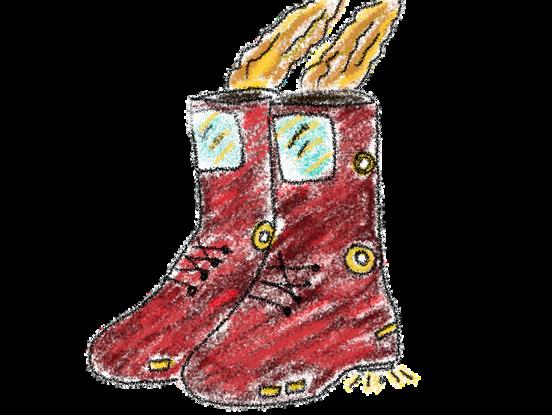
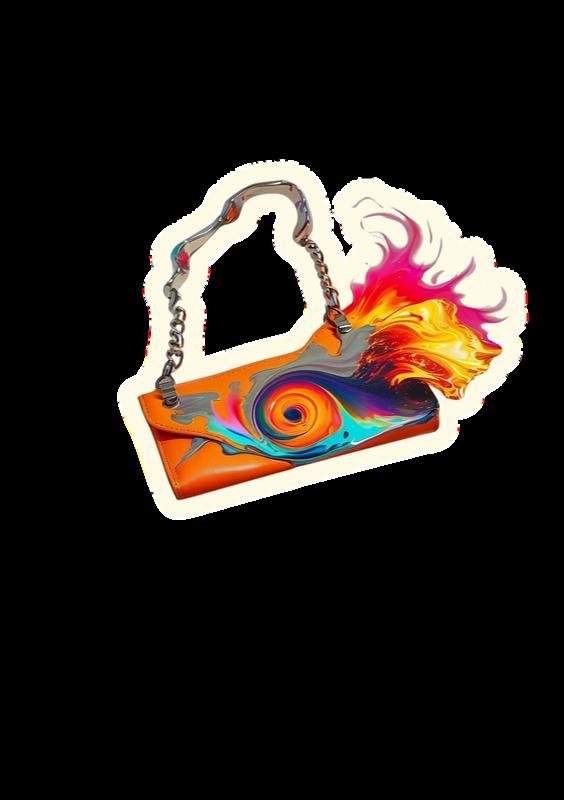
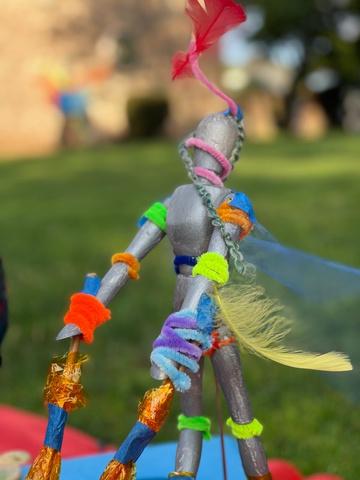
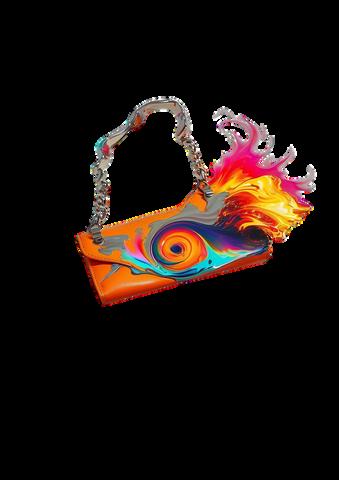
The Blueprint

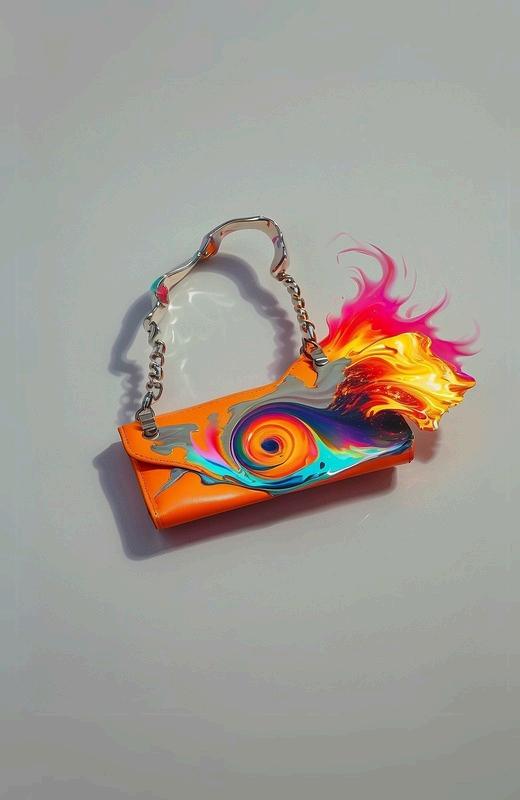
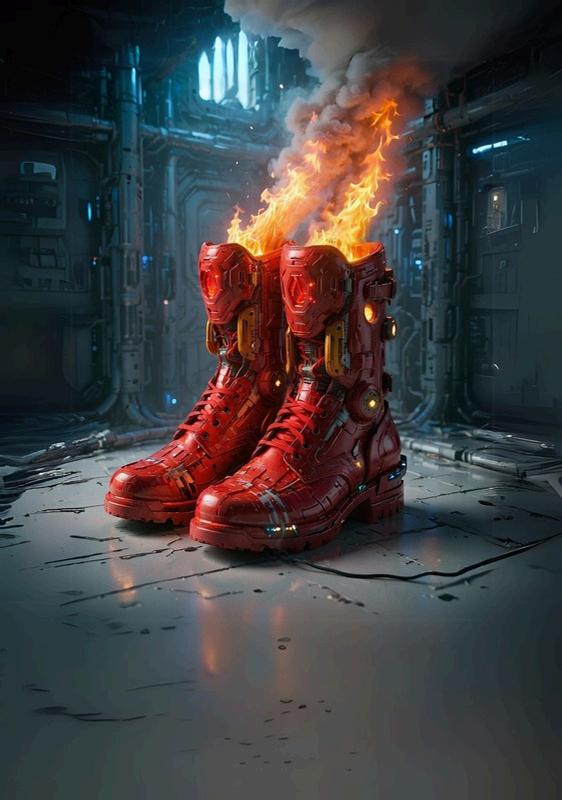
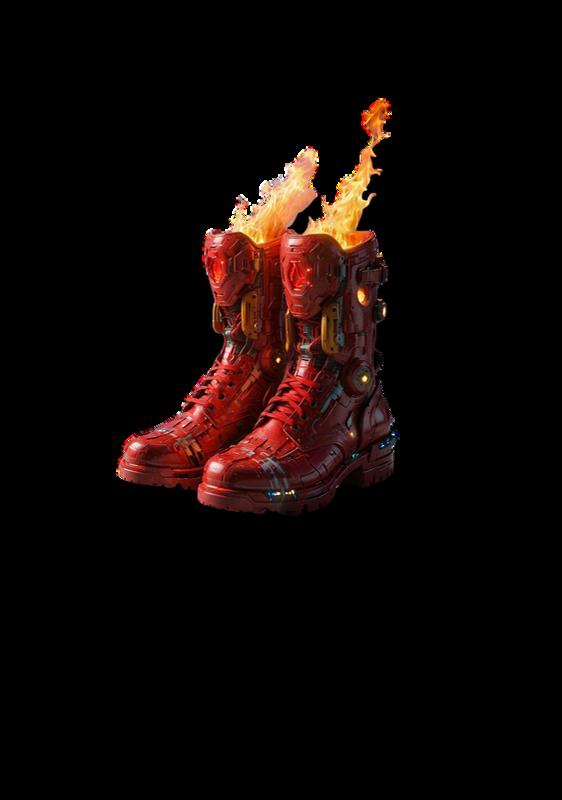
Small flame shooter
Danger detection
Keep away from soft fabric and water.
Designer’s signature
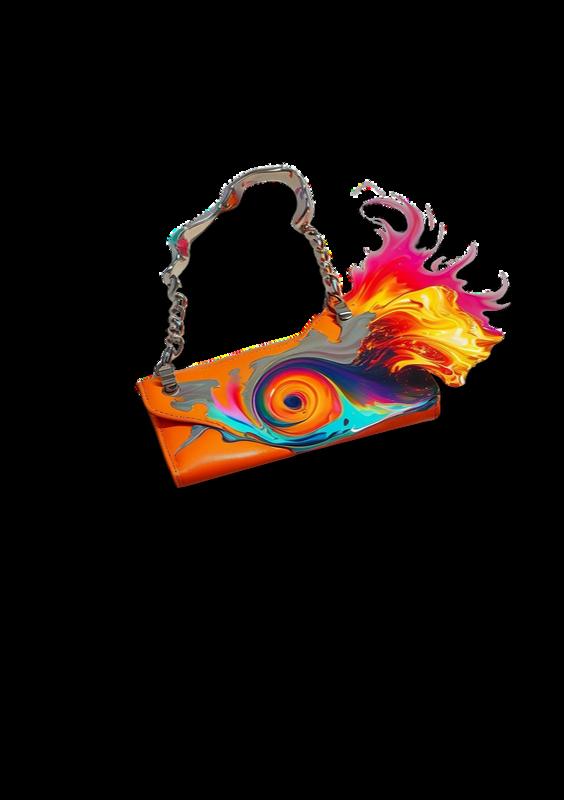
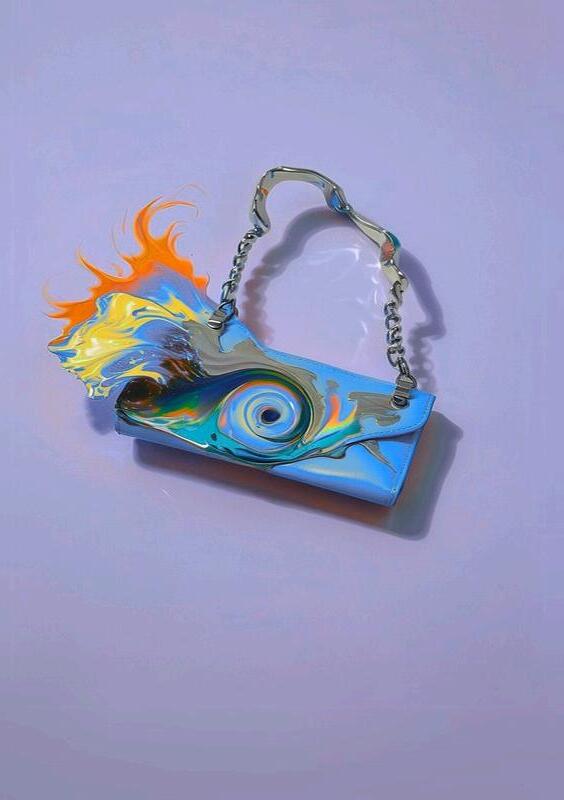
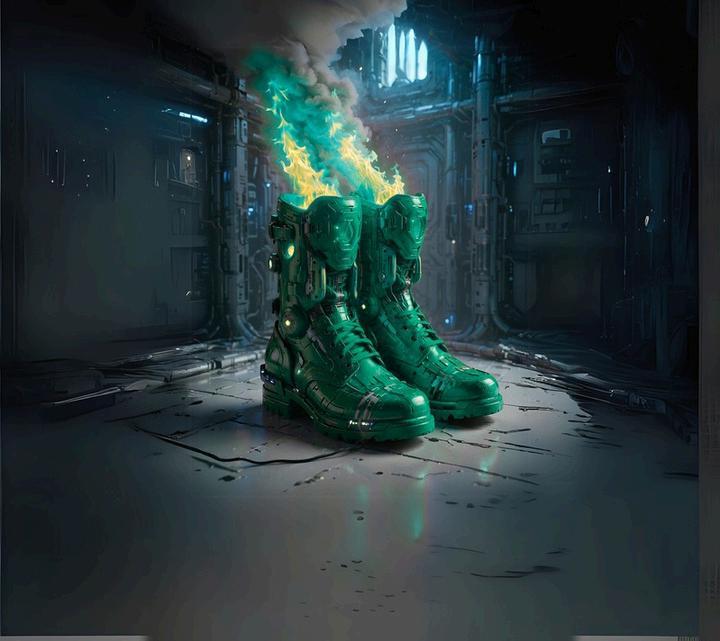
The Blueprint
Monitors
Keep
Render Designer’s signature


YOUR WEARABLE’S TECH SPECS:
YOUR WEARABLE’S CARE INSTRUCTIONS:
YOUR WEARABLE’S TECH SPECS:
YOUR WEARABLE’S CARE INSTRUCTIONS:

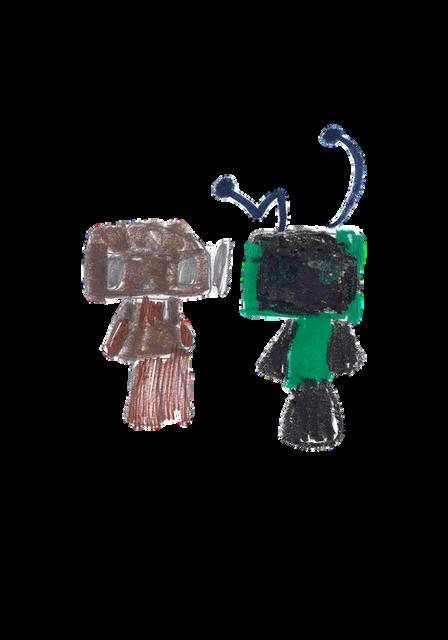
Gather paper, markers, fabric or felt, scissors, and tape or glue.
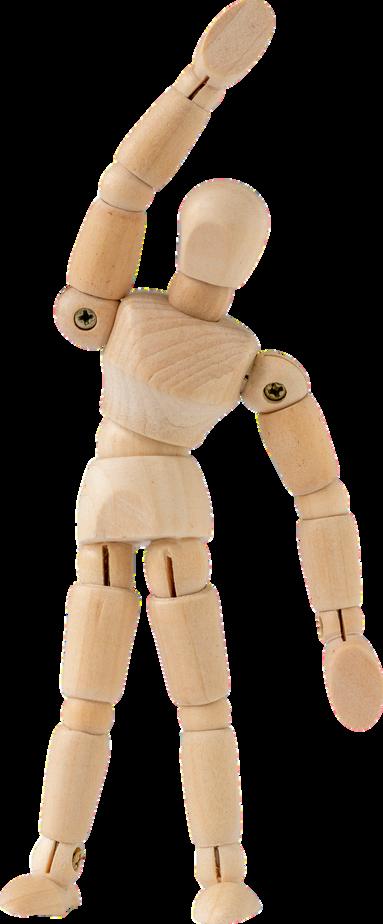
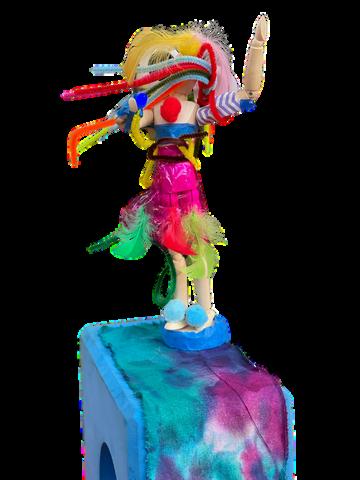
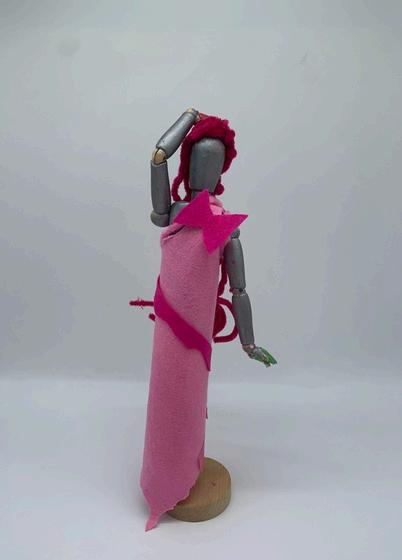
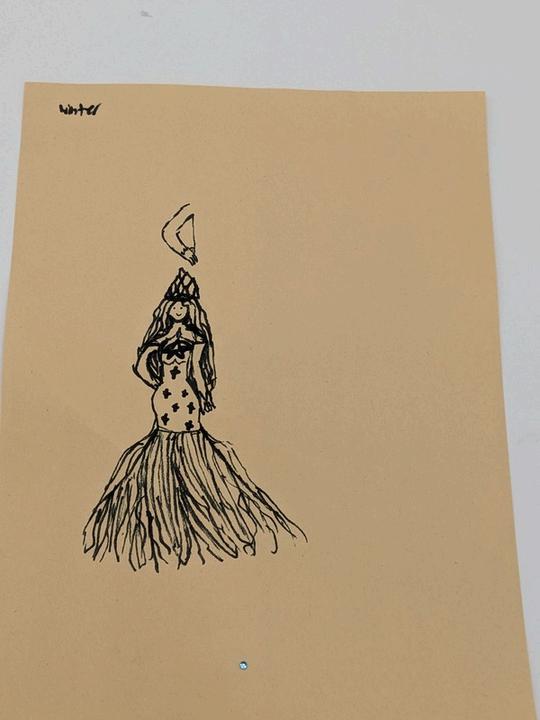
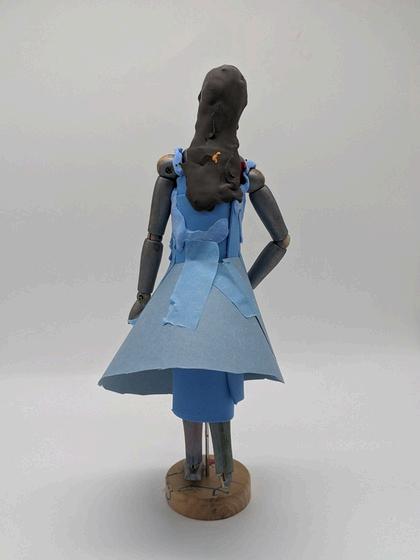
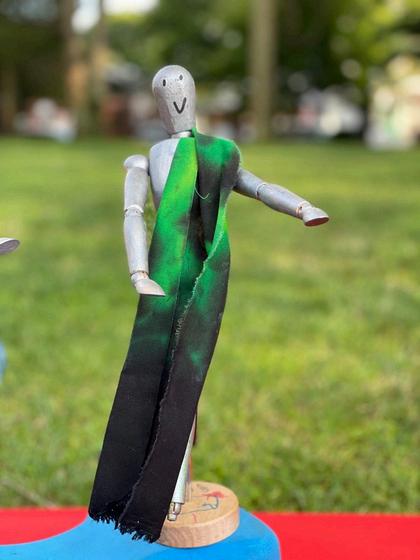
Use your materials to turn your sketch into a wearable outfit for a mini wooden model, doll, action figure, or another toy.
Attach your clothing to the model using tape or glue. Maneuver the toy into a modeling pose that best shows off your outfit.
After the design of a wearable is created, it’s given to a pattern-maker. First, the pattern-maker makes a prototype of the design. Then, they create a template for each element of the clothing item to make sure that every piece is cut to the correct size and shape. This template or pattern is used to make hundreds or even thousands of the same design to sell in stores all around the world!
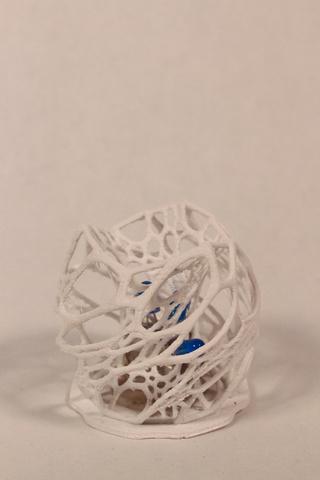
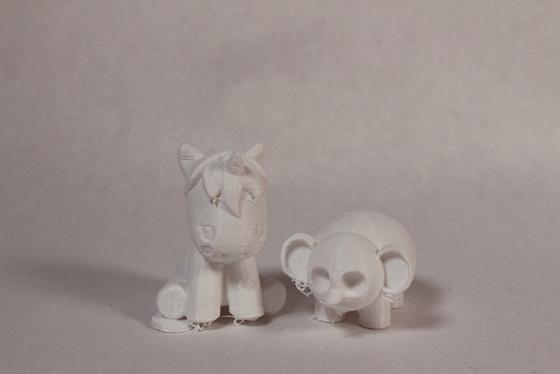
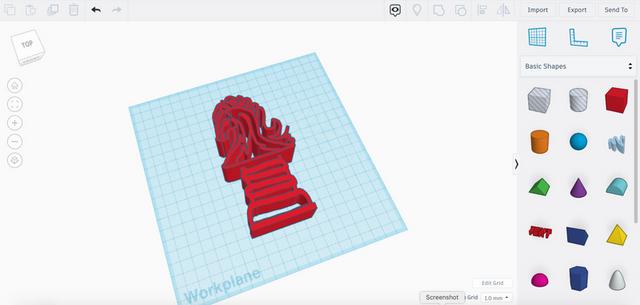
tinkercad.com
Go to the Tinkercad website on your computer.
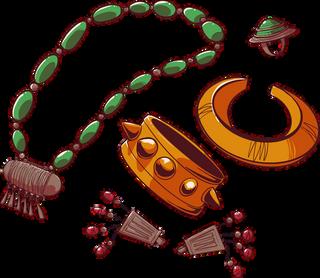
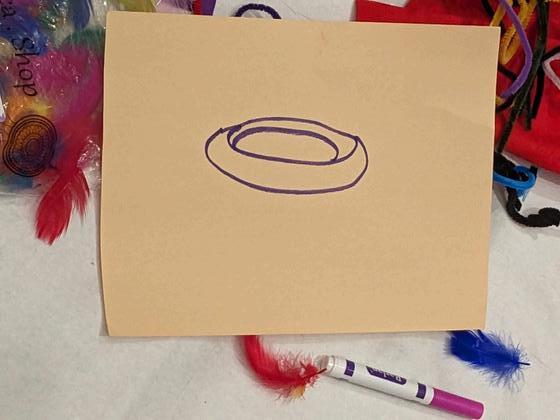
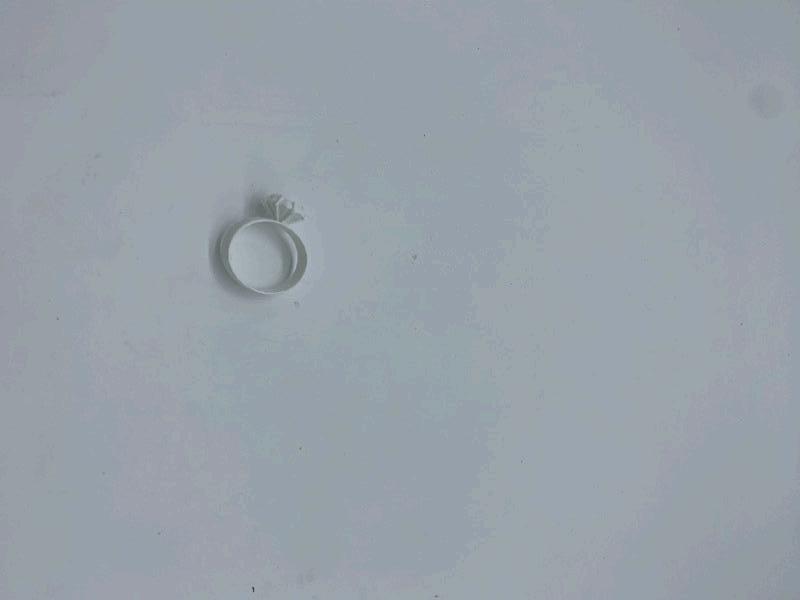
Design a 3D prototype of a smart jewelry wearable! Will it have special gems or stones on it that measure your heart rate? Will it be for everyday use or for a fancy Met Gala outfit?
Export your file in .STL format and prepare for 3D printing!
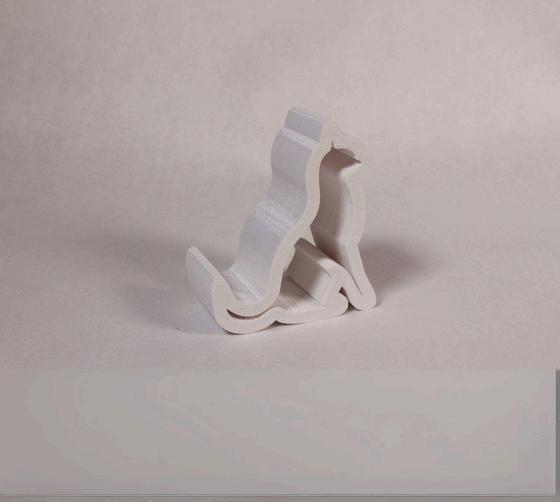
Most 3D printers use plastic to create their models, but did you know that there are 3D printers that work with all sorts of materials? You can print with gold, silver, titanium, wood, ceramics, and even food! WiibooxSweetin is an invention for 3D printing food, including dark chocolate, white chocolate, mashed potatoes, fruit jam, biscuits, candy, and more!
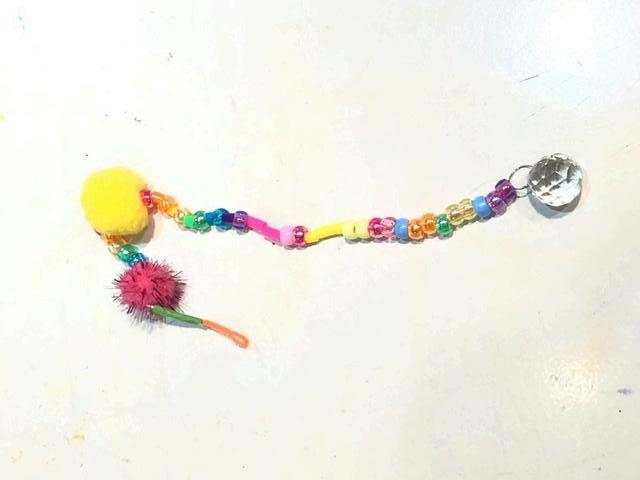
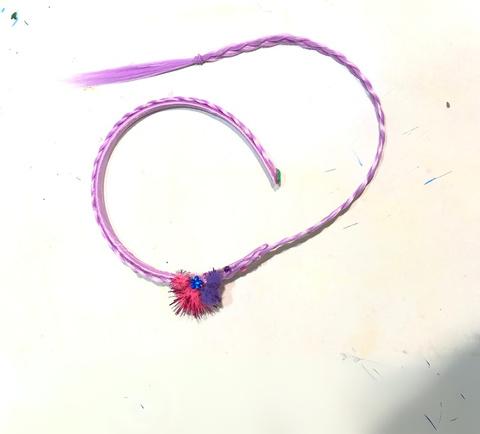
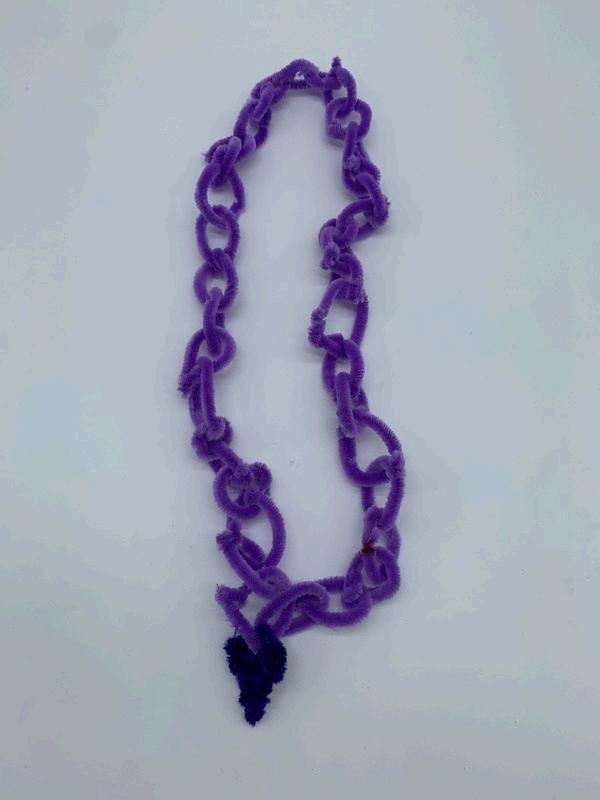
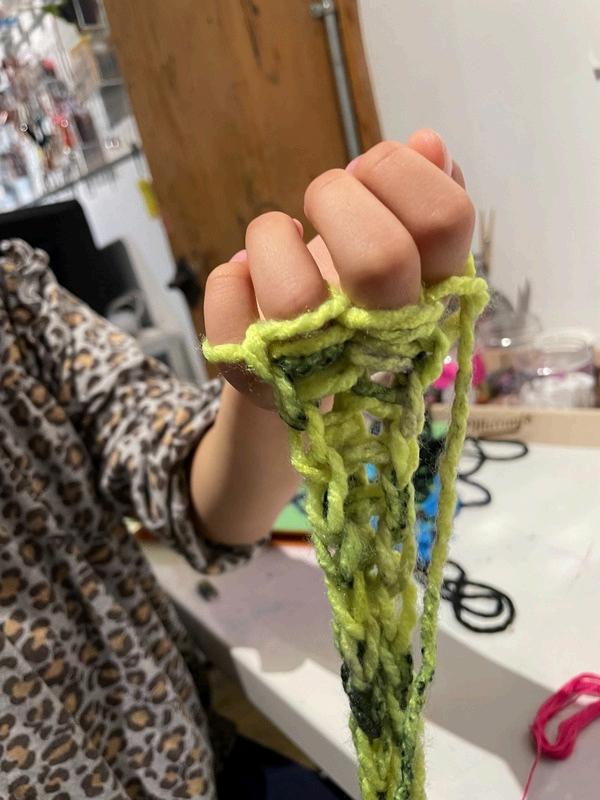
Gather scissors, pipe cleaners, yarn, paper, tape, and any recycled materials.

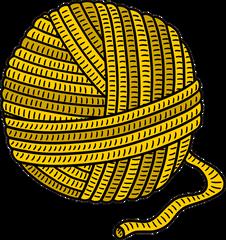

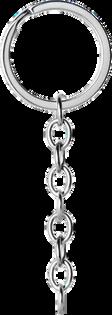
Form the chosen material into a ring shape.
Interlock the rings to create a connected chain.
Repeat these steps until you create a bracelet, necklace, or another accessory!
Many complex designs we see around us are composed of simple modules. Designers think of a series of simple building block they can connect in different ways to create more complex designs. Think of LEGO!

Watch
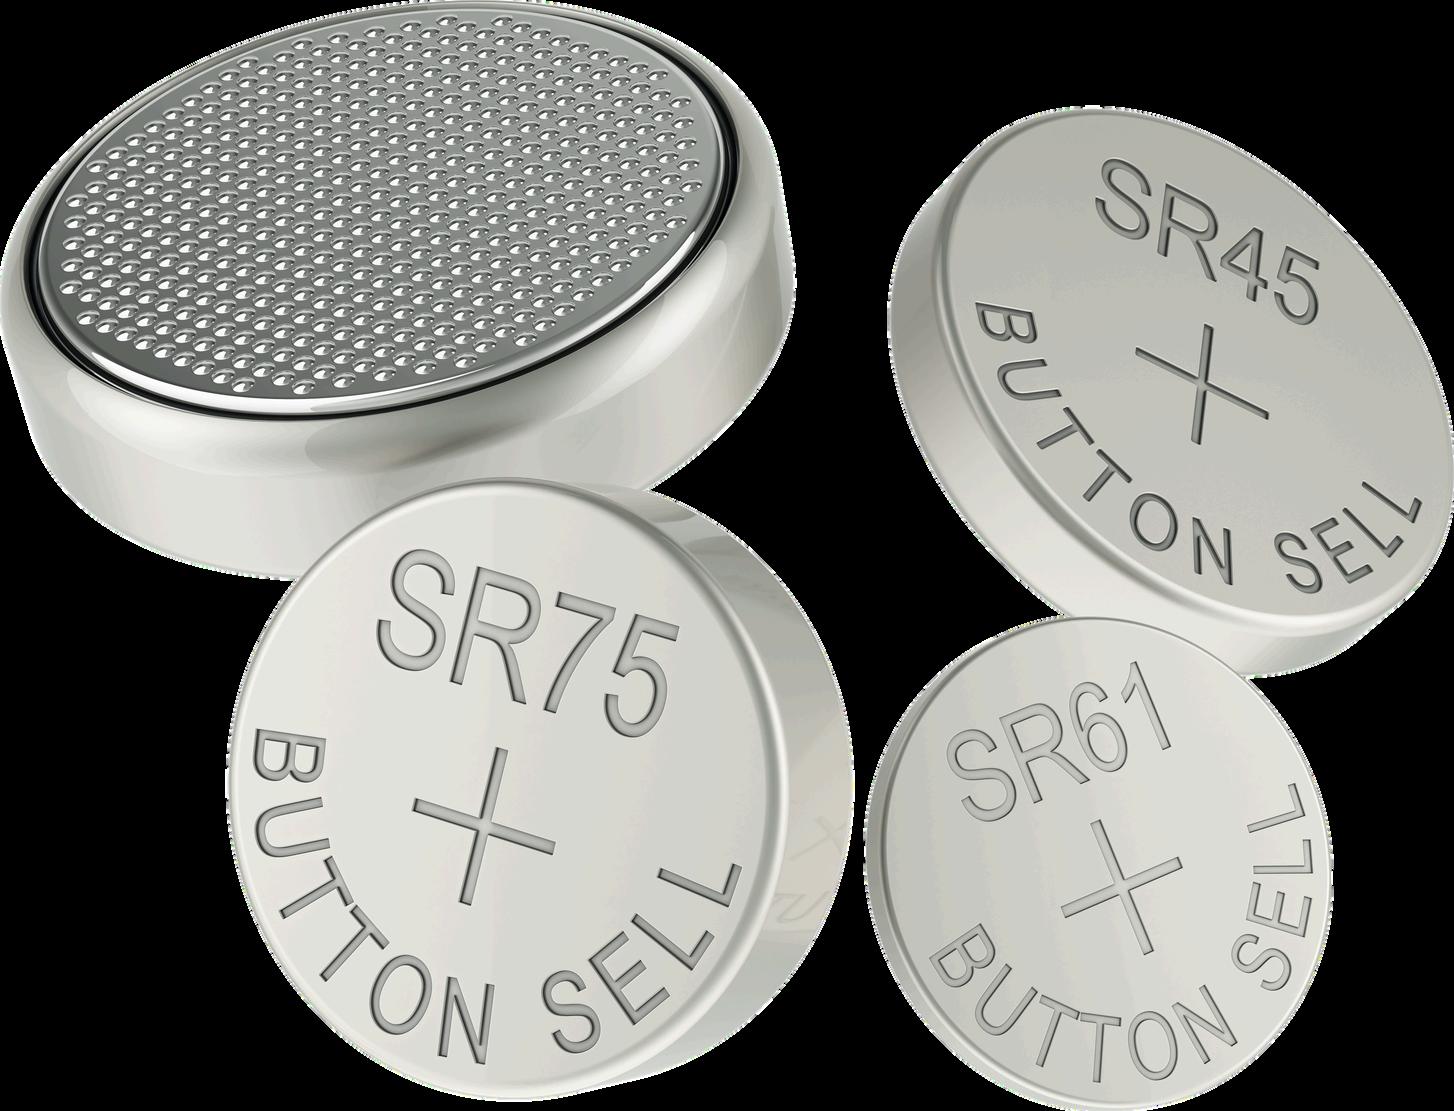
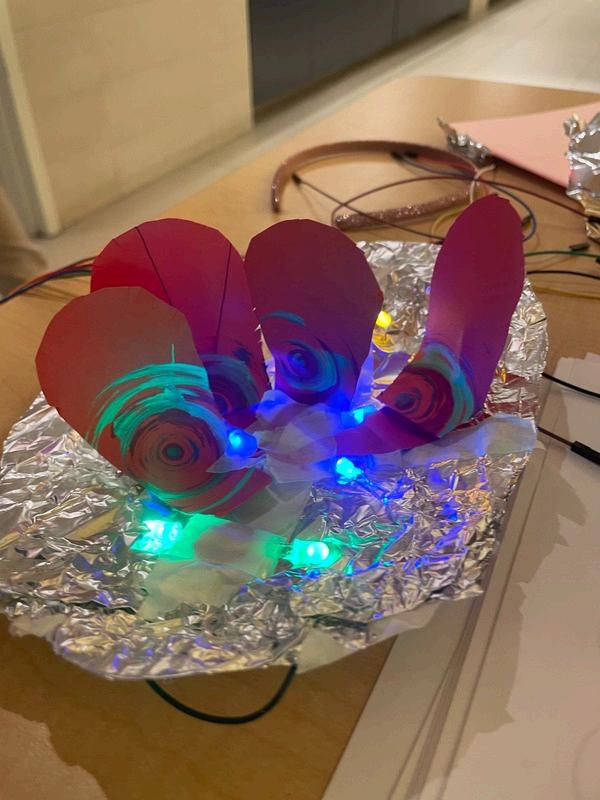
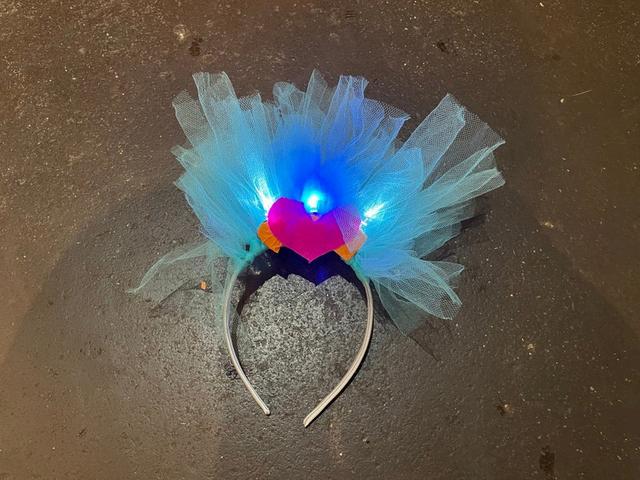
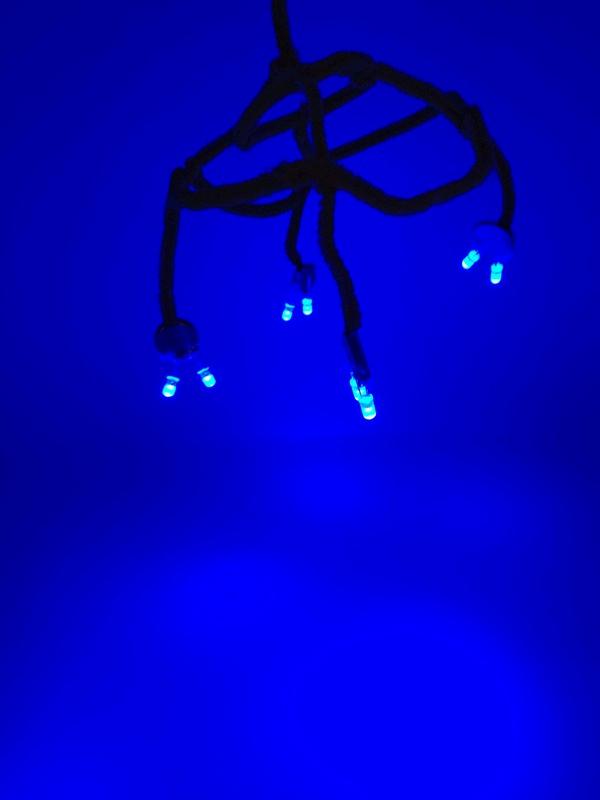
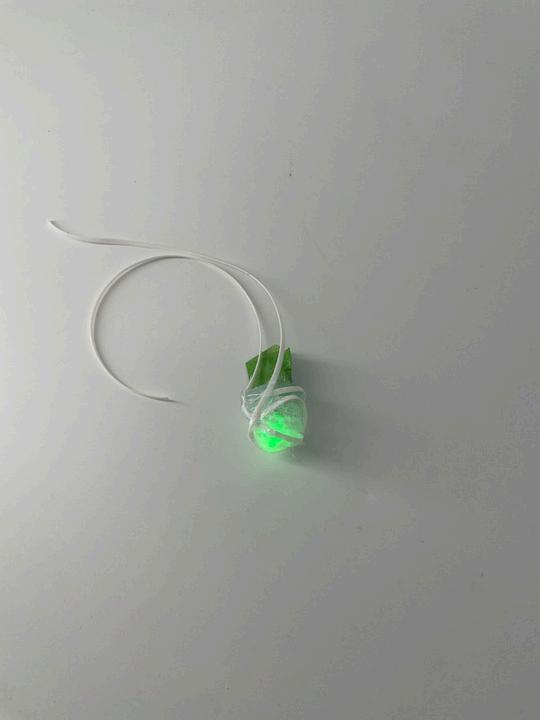
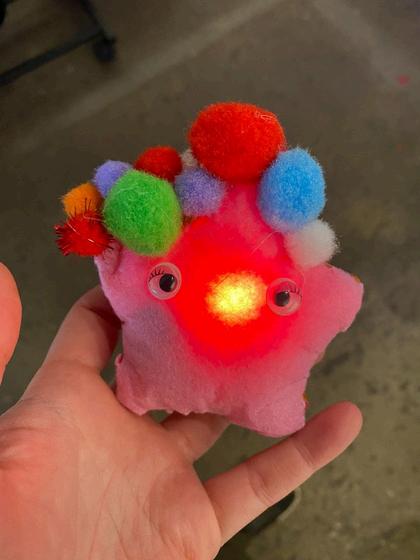
Gather an LED and a coin battery.
Slide the LED onto your coin battery with the longer leg on the + side of the battery and shorter leg on the - side. You should make a battery sandwich!
Add the LED to your design to light it up!
Experiment with adding multiple color LEDs to a single battery.

How else can you use light in your smart wearable design?
To turn on a light, you need a power source. Here, a coin battery is our source of power. Every battery has a + and a - side. When you touch the legs of the LED to the sides of the battery, you create a closed circuit for tiny electrons to travel from the - side to the + side of the battery. These tiny electrons are always there, waiting for a power source to give them energy and a closed path for them to travel through. While traveling along the path, they turn on everything in their way, as long as they have enough energy.


Gather some paper, scissors, and tape.
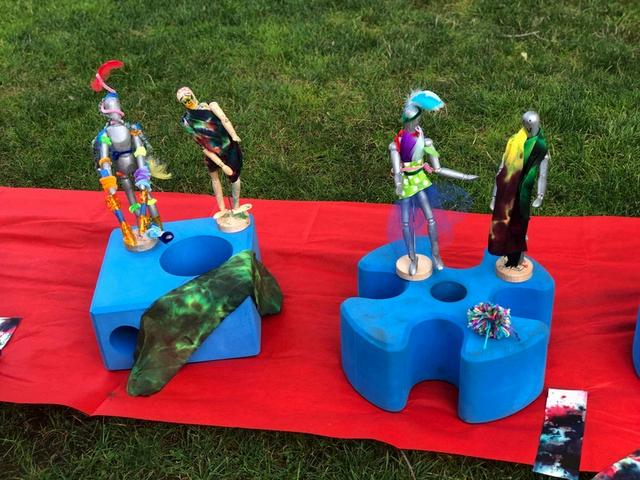
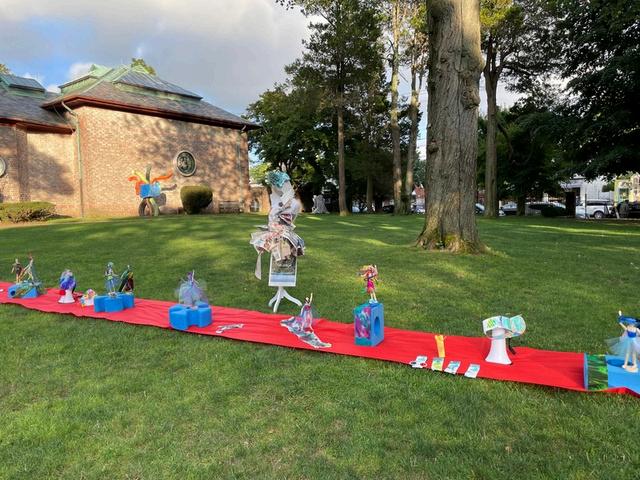
Cut out a strip of paper to make the catwalk. The longer the strip of paper the longer your models will need to be on stage.
Tape the strip to the floor or table surface to keep it in place.
Think about Carolina Herrara's signature polka dot look. Include a fun pattern on or around your runway to give it an iconic look and create the right vibe to feature your collection!
Here are some fun facts about fashion shows:
1.The most famous fashion show events are in New York and Paris.
2.The first New York Fashion Week was held in 1943.
3.Models are often told not to smile. The designers want all of the attention on the clothing.
4.Almost all trends start from new designs premiered at fashion shows!
Go to pages 83-90.
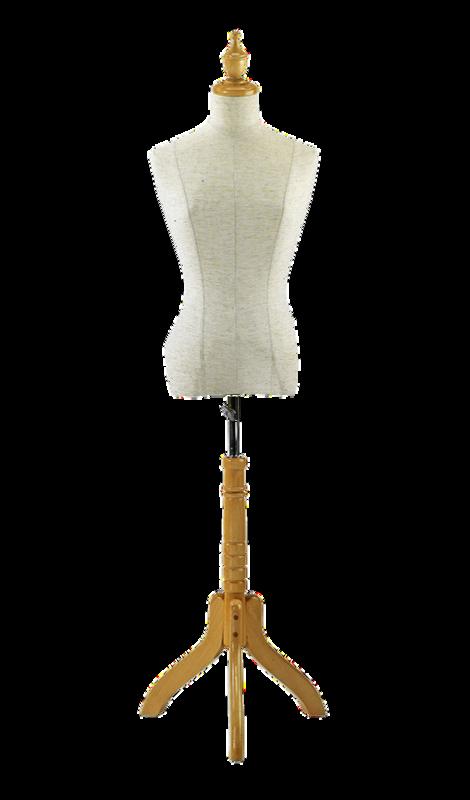
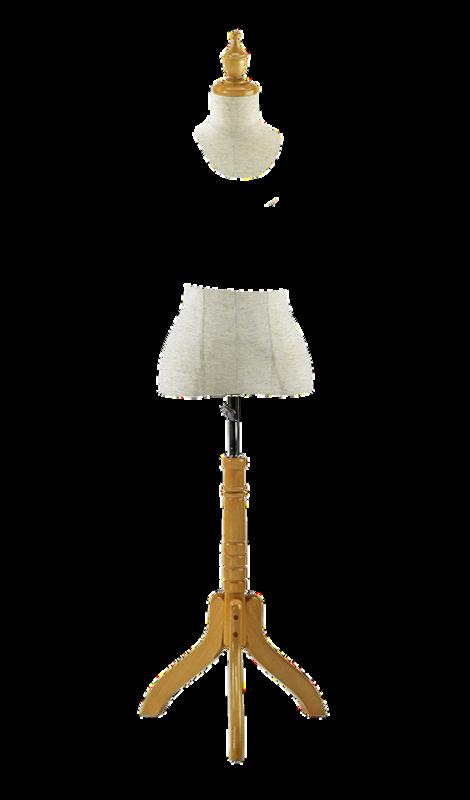
Cut out the wearables.
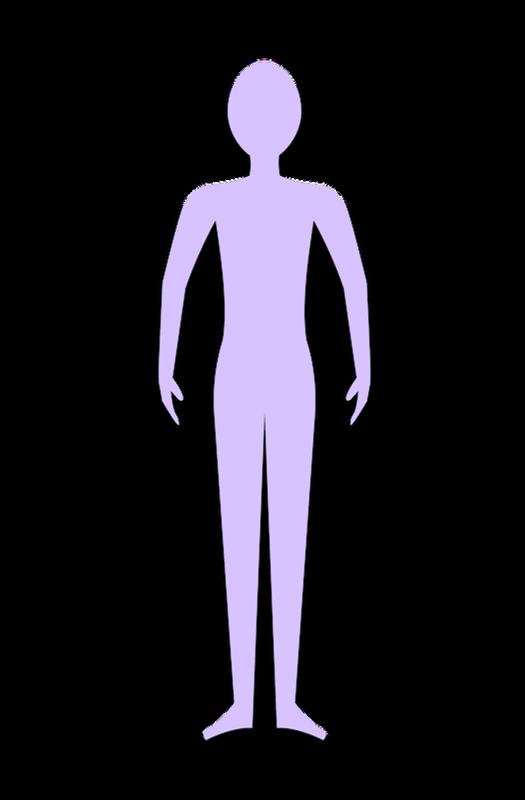
Stick them on the model to create an outfit!
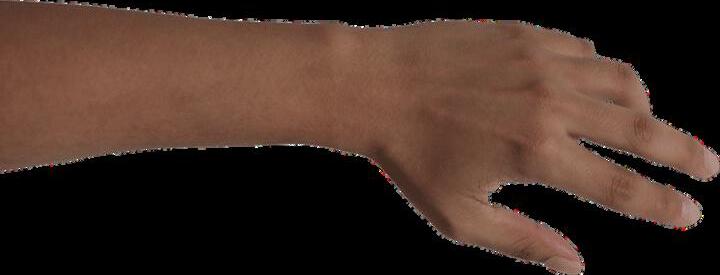
D E S I G N A N O U T F I T
Gather paper and markers.
Write or draw all the words, images, ideas, and designs that represent your company brand. Is your fashion brand...cool, bold, wacky, weird, colorful, high-tech, innovative, creative, or...?
Pick a name for your company. A good company name is usually simple and catchy.
Design a logo using your company name. The logo can also include icons, doodles, or images.
DID YOU KNOW?
When designers are creating a logo, they think A LOT about its colors! Color plays a huge part in how people think about and connect to a brand. Did you know that blue is the most common color used in the logos of successful companies? Pink, on the other hand, is hardly used at all! This is based on color psychology, how color makes people feel and think. Depending on the type of brand, certain colors may better express what the company represents.
Go to pages 83-90.
Cut out the wearables.
Stick them on the model to create an outfit!
D E S I G N A N O U T F I T
Gather a cardboard box, recyclables, paper, scissors, tape, glue, and other craft materials.
Transform your cardboard box into a clothing store! Add a doorway for customers to enter and exit by cutting an opening or flap on one of the sides of the box.
Build tables, clothing racks, or mannequins to display your wearables and give them each price tags.
Add a sign on the outside of your store featuring your brand's logo and name.
Hooray, you ' ve launched your collection! Have a grand opening party in your brand new store!
A company decides the price of a wearable by adding up all the costs needed to make the item. These are called the " expenses. " Expenses can include materials, design, marketing, shipping, and paying the people who make the wearable. Then, they add a "profit margin," so that they can pay for all of the expenses AND make money for the company to help it grow. This could double or triple the price! They also consider what similar products cost and what customers are willing to pay. For example, a shirt that costs $10 to make could be sold for $30 or more in the store!
Go to pages 83-90.
Cut out the wearables.
Stick them on the model to create an outfit!
D E S I G N A N O U T F I T
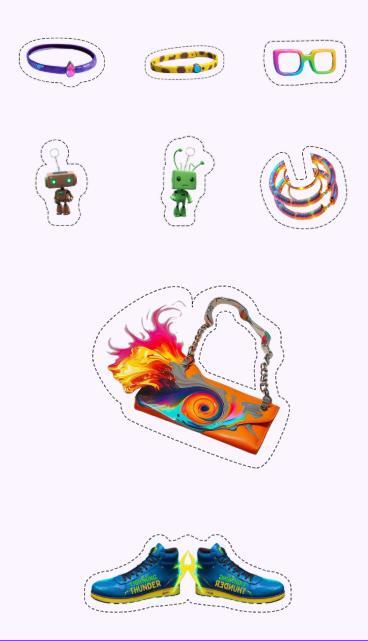
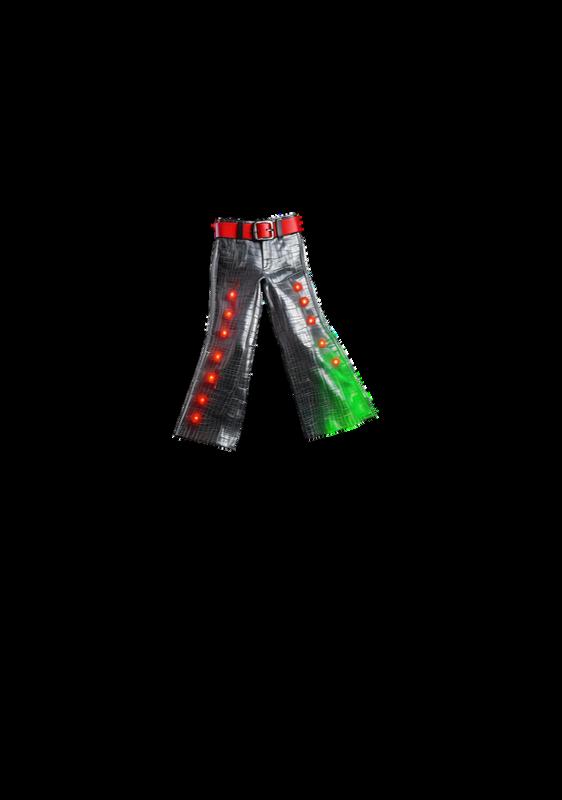
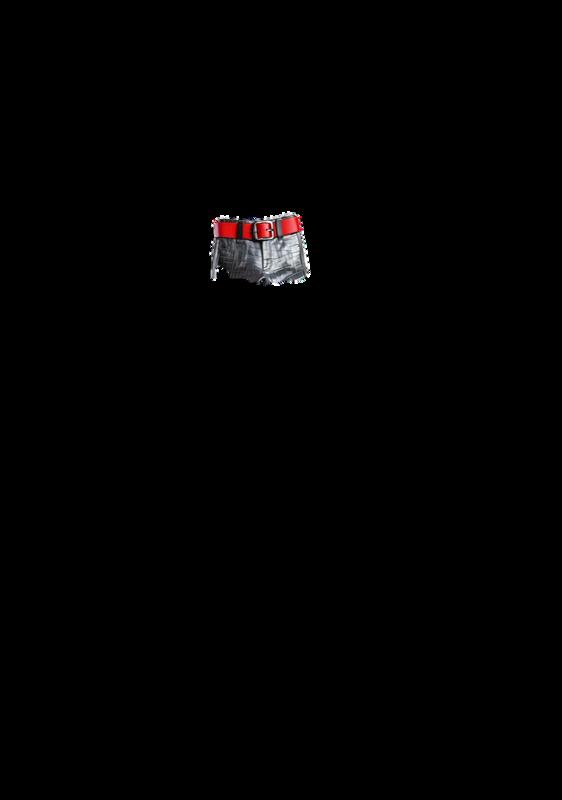
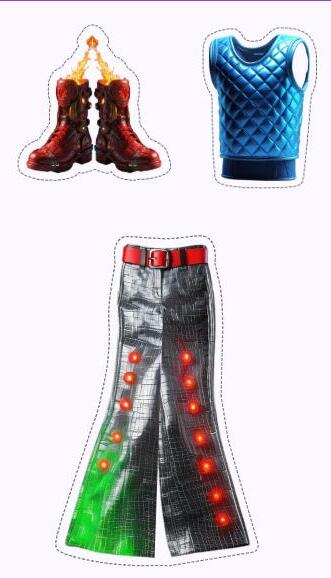
On the next couple of pages, you’ll find the wearables in this collection ready to be cut out and combined into the most HIGH-TECH outfits!
Cut out the wearables following the dotted lines that surround each one.
Use velcro, tape, glue, or something else to stick the wearables onto the models on pages 73, 77, and 81.
Combine the wearables, switch them up, and even draw and cut out new wearables to add to the outfits and the collection!
Find all the materials mentioned in this book's activities here:
GIANT thank you to the Ives Main Library, community participants, and GIANT team members who made this publication possible.
Concept & Planning
Azadeh Jamalian, PhD
Matt Ulman
Rebecca Schifilliti
Rama Deshpande
Design & Development
Rama Deshpande
Paulina Quezada M.
Rebecca Schifilliti
Bridget Wainaina
GIANT Participants
Avi, GG King, Dontax, London, Librarian Matt, d others
The GIANT Room is a creative co-design lab that provides opportunities for children, families, and educators to collaborate with designers, policymakers, scientists, artists, and engineers.
In addition, on our GIANT Remix platform, we provide opportunities for children to co-design and co-publish books and games they can read and play with their friends and family.