

STEM EXPLORATION
Playful Experiments, Powerful Ideas Activity Book

STEM EXPLORATION
Activity Book

Acknowledgements
Academic Authors: Binny Singhal, Diksha Sharma
Design & Production: Satish, Mangal Singh Rana, Wajahat Khan, Sneha Sharma, Vishesh Agarwal
Project Lead: Bhavna Tripathi
VP, Learning: Abhishek Bhatnagar
All products and brand names used in this book are trademarks, registered trademarks or trade names of their respective owners.
© Uolo EdTech Private Limited
First edition 2026
This book is sold subject to the condition that it shall not by way of trade or otherwise, be lent, resold, hired out, or otherwise circulated without the publisher’s prior written consent in any form of binding or cover other than that in which it is published and without a similar condition including this condition being imposed on the subsequent purchaser and without limiting the rights under copyright reserved above, no part of this publication may be reproduced, stored in or introduced into a retrieval system, or transmitted in any form or by any means, electronic, mechanical, photocopying, recording or otherwise, without the prior written permission of both the copyright owner and the above-mentioned publisher of this book.
Book Title: STEM Exploration 1
ISBN: 978-93-49697-43-0
Published by Uolo EdTech Private Limited
Corporate Office Address:
91Springboard, 3rd Floor
145, Sector 44, Gurugram, Haryana 122003
CIN: U74999DL2017PTC322986
Printed by: Printpro Solutions
Illustrations and images: www.shutterstock.com, www.stock.adobe.com and www.freepik.com
All suggested use of the internet should be under adult supervision.
Preface
In today’s dynamic world, nurturing curiosity, critical thinking and creativity in learners is essential for preparing them to be the innovators and problem-solvers of tomorrow. STEAM education—integrating Science, Technology, Engineering, Arts and Mathematics—offers a holistic and experiential approach to support this endeavour. By encouraging learners to ask questions, make predictions and experiment, STEAM transforms learning into a joyful process of exploration and discovery while building essential life skills such as problem-solving, analytical thinking and collaboration.
At Uolo, we recognise the transformative potential of STEAM learning. The Uolo STEM Exploration series is based on the vision of the National Education Policy (NEP) 2020 and the National Curriculum Framework (NCF) 2022–23 , reflecting the shift from rote memorisation to experiential, multidisciplinary and competency-based learning. By making learning joyful, discovery-driven and rooted in real-life contexts, the series encourages inquisitiveness, creativity and the spirit of teamwork to enable learners to explore scientific and mathematical concepts in visual and creative ways. Through interdisciplinary connections, the use of accessible materials and a focus on real-world applications, it ensures that the learning remains inclusive, meaningful and lasting.
In line with global perspectives, STEAM is recognised as a pathway to nurture innovation and adaptability while contributing to the United Nations Sustainable Development Goals (SDGs). The STEM Exploration series embraces this global mission, ensuring that learners are prepared to contribute to a sustainable and equitable future.
The STEM Exploration series features age-appropriate, visually engaging and well-structured activities that integrate one or more disciplines of Science, Technology, Engineering, Arts and Mathematics. The book has been thoughtfully designed to spark curiosity and foster inquiry-driven learning through hands-on experiences that connect core concepts with the real world. Each activity inspires learners to observe, test and reflect, giving them the ability to think critically and apply their learning to every day situations.
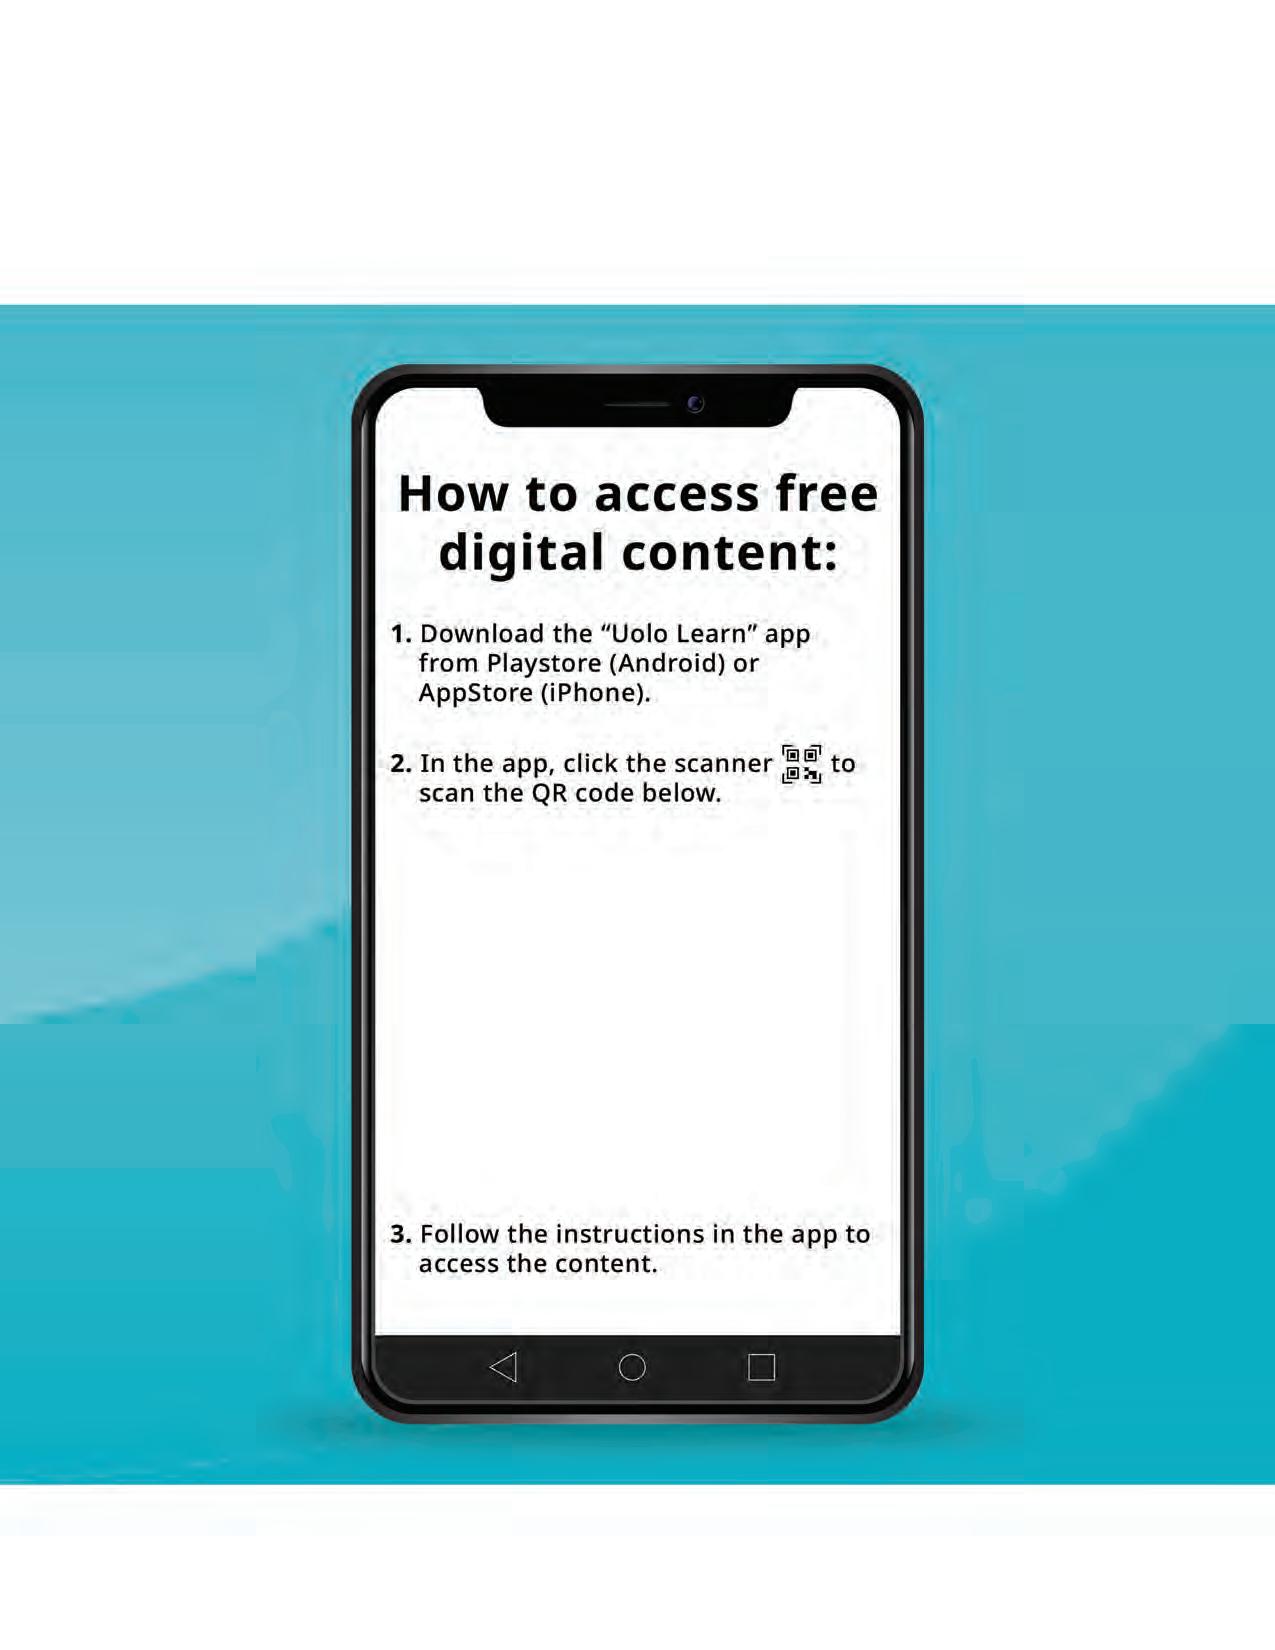
To further enrich the learning experience, the series comes with digital content, provided free of cost, to ensure a seamless and holistic learning experience for learners. This content is accessible through QR codes, offering live demonstrations of activities for visual and self-paced learning. Together, these components nurture a dynamic learning journey that connects knowledge with skills, preparing children to innovate and thrive.
Uolo is accredited by STEM.org, one of the world’s leading STEM education research and credentialing organisations. This recognition validates the quality, authenticity and impact of our educational offerings. The content has been reviewed and approved by STEM.org’s rigorous standards, underscoring our commitment to delivering globally benchmarked educational resources.
By integrating artistic expression with scientific exploration, the STEM Exploration series nurtures learners to be inquisitive, confident and competent—ready to question, innovate and contribute meaningfully as global citizens.
We extend our warmest wishes to educators, parents and learners as they embark on this journey of discovery and innovation. Together, let us make learning an adventure that sparks imagination and inspires lifelong curiosity.
Key features of the book
Hands-on and Inquiry-based learning
The STEM Exploration series sparks curiosity through hands-on, inquiry-led activities that align with the NEP 2020. Children observe, question, explore and solve, thereby, building scientific temper, creativity and problem-solving skills.


STEAM Alignment
The activities in the book integrate Science, Technology, Engineering, Arts and Mathematics, encouraging interdisciplinary connections.
Visually Engaging and Fun
The book features vivid colours and lively illustrations to engage learners. A real-life image is provided at the end of each activity, helping learners connect concepts with practical outcomes.
Easy-to-Access Resources
All experiments are safe, age-appropriate and use low-cost and easily available materials, with clear step-by-step instructions for easy execution.

Critical and Creative Thinking
The activities encourage ‘learning by doing’. The Science Behind It section includes simplified explanations of the underlying principle while the Find Out More section offers extension activities for deeper exploration.

Real-World Connections
Experiments and worksheets connect learning to daily life and local contexts, making it practical and meaningful. The Real-Life Connect highlights direct applications of the concepts, showing learners how classroom concepts are relevant in the world around them.

Digitally Powered and Application-Based
Each activity is followed by a fun, application-based worksheet that helps learners revise and reinforce the key concepts. QR codes provide experiment videos for better clarity and self-paced learning.

integrate the domains of STEAM—Science, Technology,
activity in this book is thoughtfully designed
Arts and Mathematics. The table illustrates how activities align with one or more STEAM areas, ensuring that learning is interdisciplinary, engaging and competency-driven, in line with the NEP 2020 and NCF 2022 –23.
Smart ScIentIfIc TIps Before You ExperIment

Gather Your Materials First
Before you begin, collect everything you need for the experiment. Having your materials ready saves time and keeps the process smooth.
Ask Questions Often
Good scientists are curious. Don’t just follow the steps—stop and ask ‘Why did this happen?’ or ‘How does this work?’ The more questions you ask, the deeper your understanding will be.

Take Your Questions Further
Use each experiment as a starting point. If something surprises you, try it again with a change. New questions lead to new experiments, and that’s how real discoveries happen!
Failure Is Part of Science
Not every experiment works the first time, and that’s okay. Instead of feeling discouraged, think about what might have gone wrong and what you can adjust. Failure often teaches you more than success.
Make a Journal
Maintain a journal for all your experiments. Record observations, results, sketches and reflections. Journalling helps organise your thoughts, track progress over time and sparks ideas for future experiments.
Have Fun and Stay Curious
Science and experimentation is all about enjoying the process of discovery. Even small results can be exciting if you pay attention. Look for the ‘Aha!’ moments and celebrate them.

Walkthrough of Key Elements
Letters
Reveal
a secret message using a
Magic Colour Spinner
QR Code: Video demonstration of the activity to support self-paced and visual learning
Wax Letters Reveal
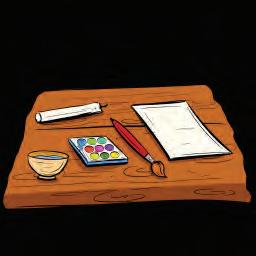
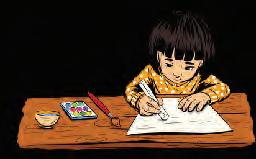
In this fun activity, we will write a secret message using a candle and reveal it by painting over it.
Objective: A clear statement of the purpose and intended learning outcome of the activity


Let’s Begin
1. Take a white wax candle and write ‘HELLO’ using it on a white sheet.


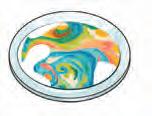
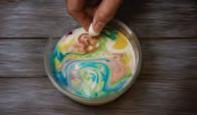
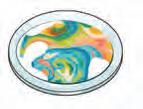

STEAM alignment: Integration of one or more disciplines of Science, Technology, Engineering, Arts and Mathematics







activity for further exploration






Wax Letters Reveal
In this fun activity, we will write a secret message using a candle and reveal it by painting over it.
What We Need
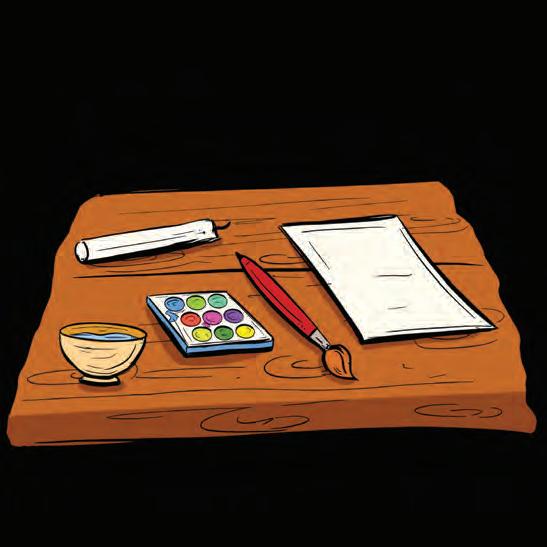
A white wax candle
A white sheet
A paintbrush
A small bowl of water Watercolours
Let’s Begin
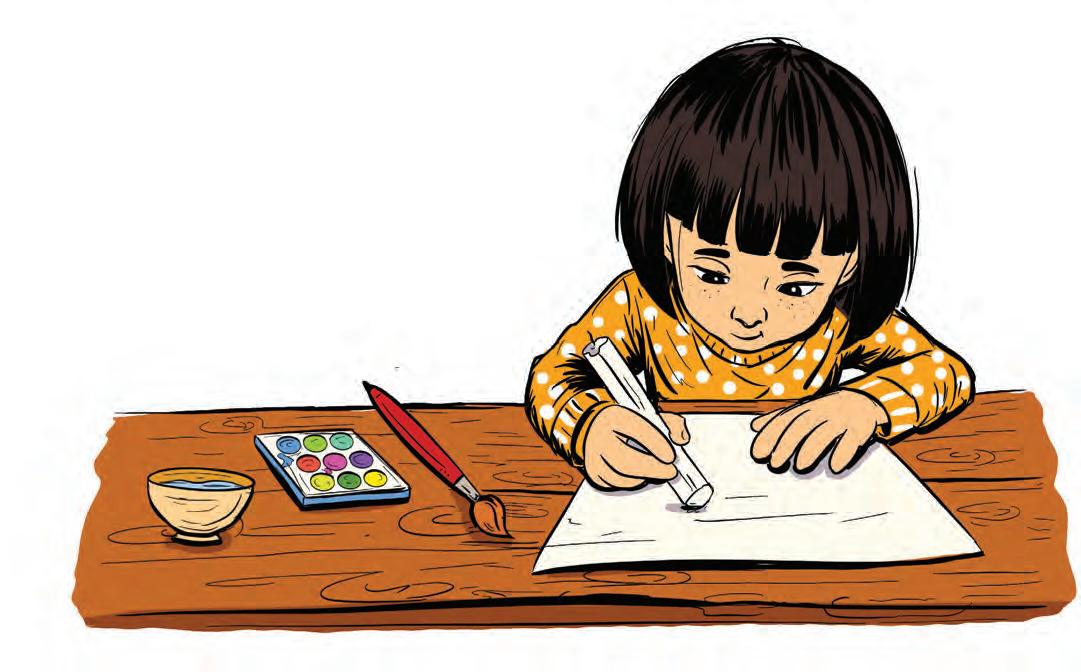
1. Take a white wax candle and write ‘HELLO’ on a white sheet.
Mix a little water with the colour using a paintbrush.
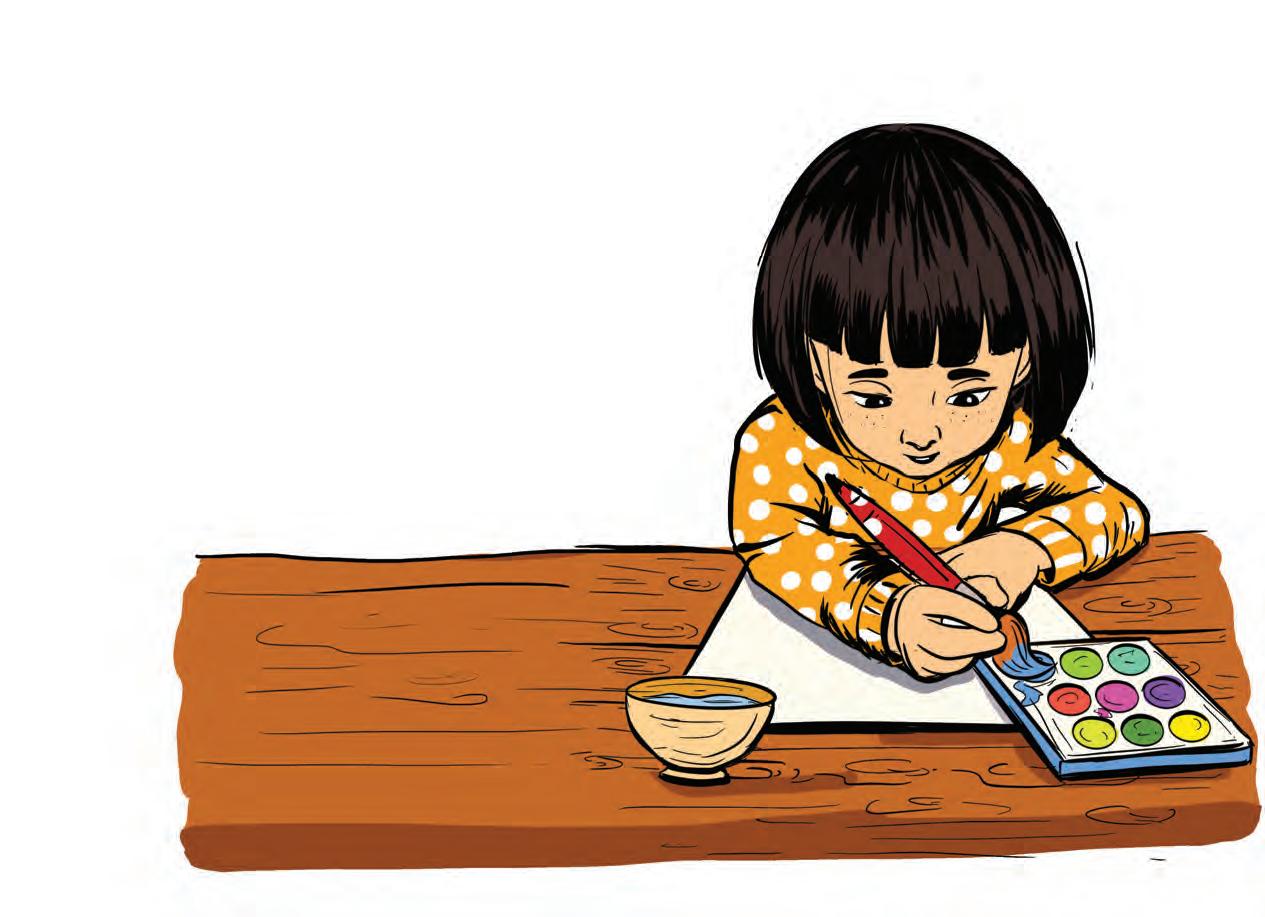
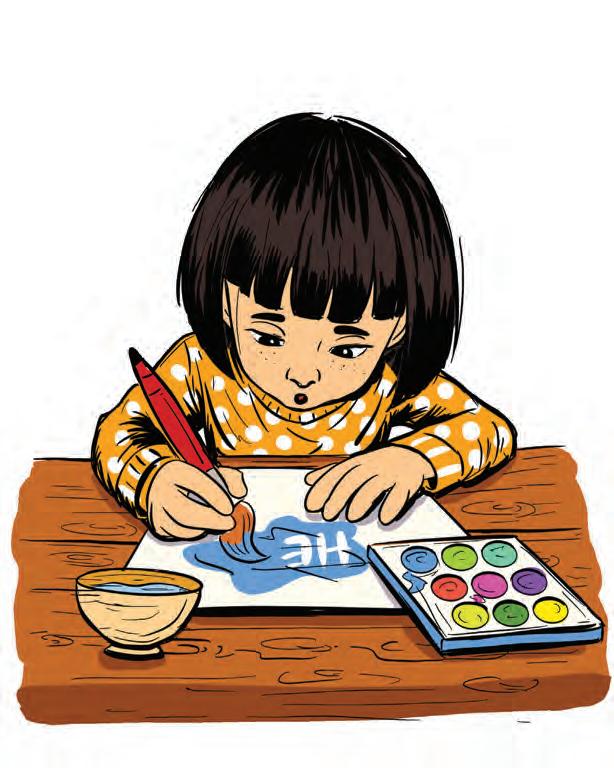
Gently paint on the sheet.
Press lightly while painting so that the paper doesn't tear. Watch out

Watch closely! The hidden word will appear like magic. 4.
ScIence BehInd It...
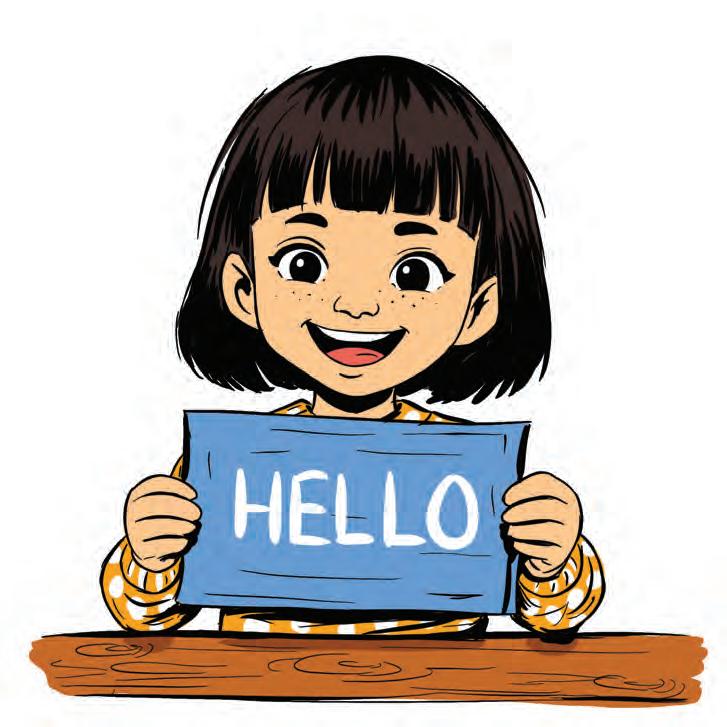
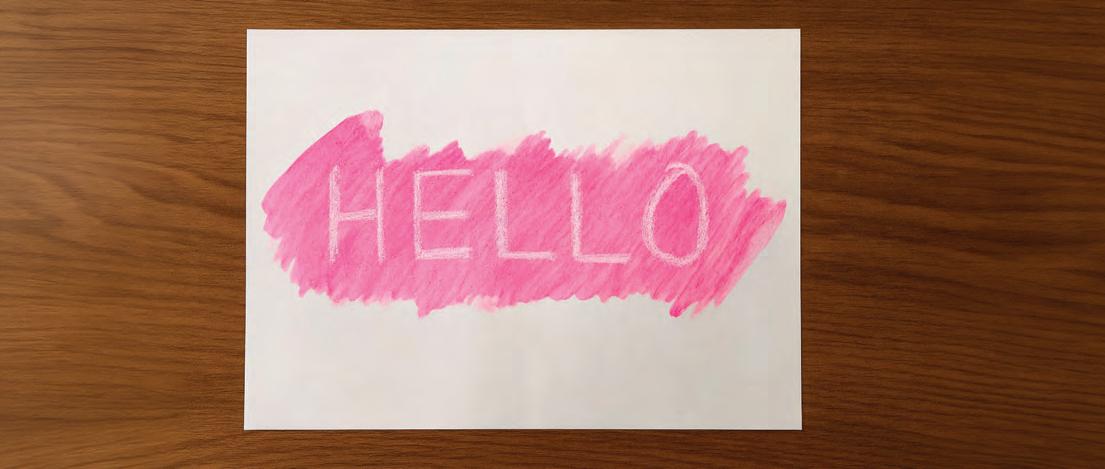
Wax and water do not mix with each other. When paint is added, the colour sticks to the sheet but slips off the wax. That is why the secret message shows up clearly in white.
Activity in Action
Find Out More !
Try making different shapes with a wax candle. Paint over them to see the hidden shapes appear!
Check your learnIng!
1. Look at the pictures carefully. Number them in the correct order.


2. Tick ( ) the correct answer.
Riya wants to perform the secret message experiment, but she does not have a wax candle at home. What else can she use to write the message?
Pencil
3. Think and write.
Crayon
Marker
I can burn to give you light, Or hide your words, kept out of sight. Use some paint, the trick is done, Your hidden message is shown for fun! What am I?
4. Tick ( ) True/False.
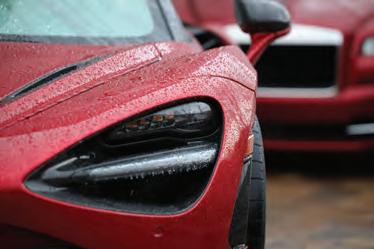
When it rains, water rolls off a car because the shiny wax polish does not let water stick to it.
True False


My DaIly TIme Wheel
In this activity, we will make a Time Wheel to understand what we do at different times of the day.
What We Need Let’s Begin

• A pair of scissors
• Two paper plates
• A toothpick
• Activity cutouts
• Glue stick

1. Take one paper plate and draw lines to make four equal parts.
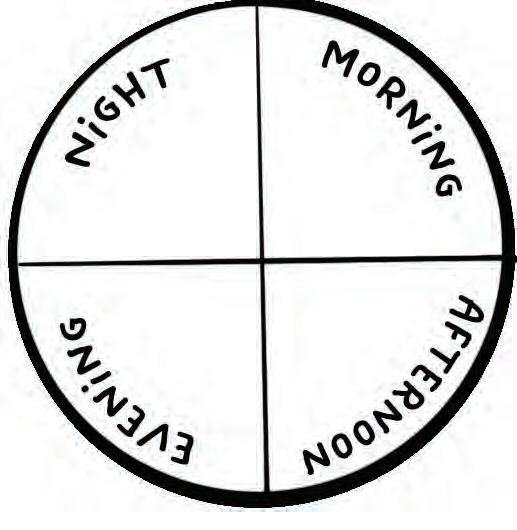

2. Write ‘Morning, ‘Afternoon’, ‘Evening’ and ‘Night’ in each part.
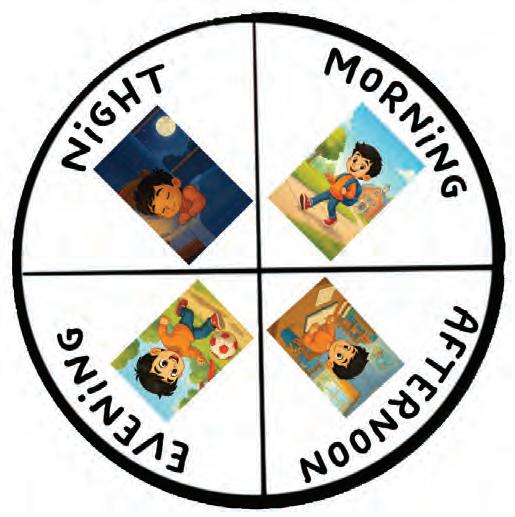
3. Draw or paste a picture in each part to show what you do at that time of the day.
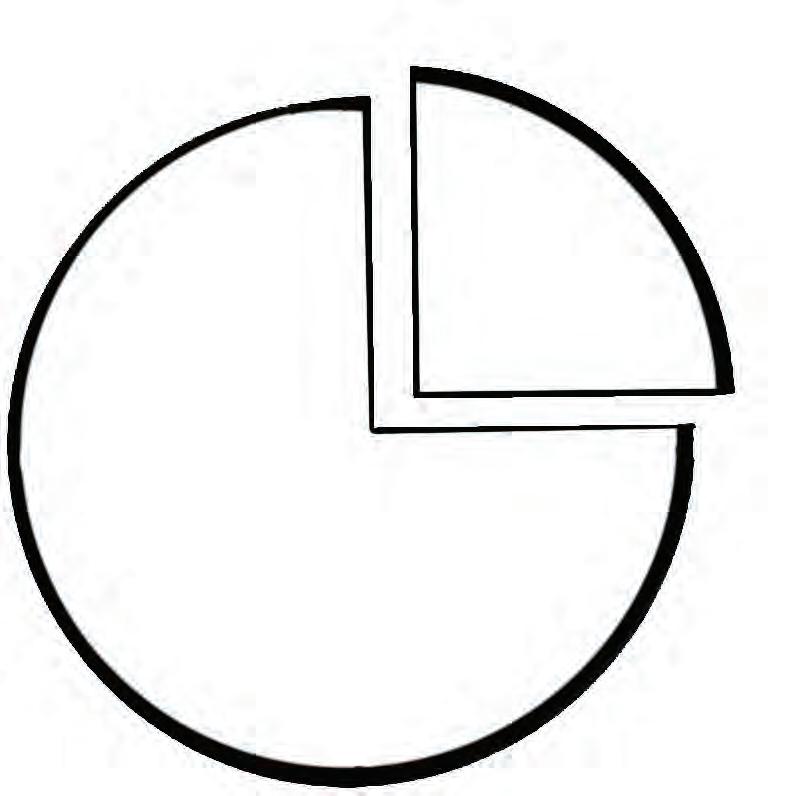
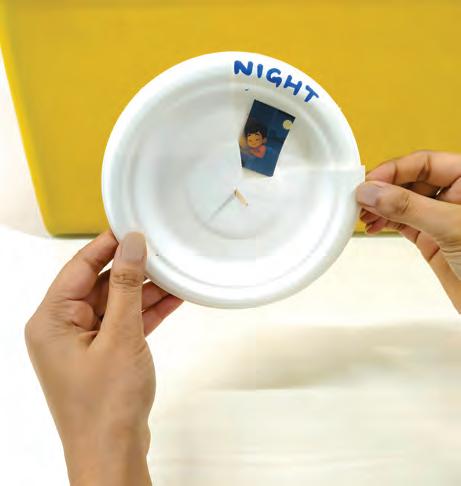
4. Take the second paper plate and cut out a small window from the sides towards the center.
Watch out
Do not cut the plate right up to the center.
5. Place the second plate on top of the first one. Use a toothpick in the center to join them.
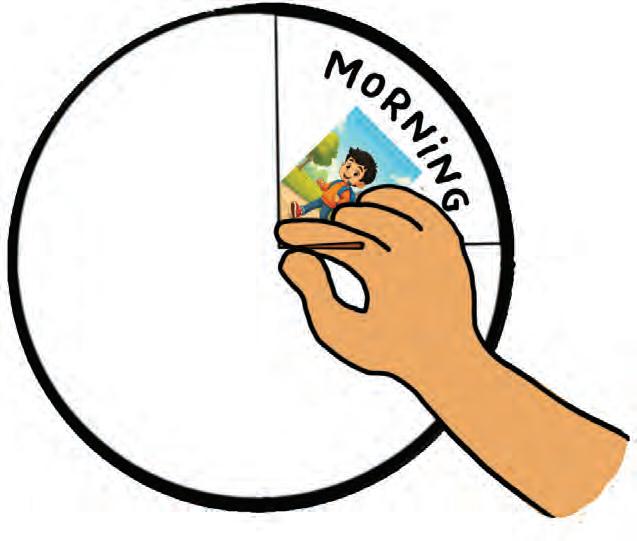

7. Share with your friends about what you like to do at that time of the day.
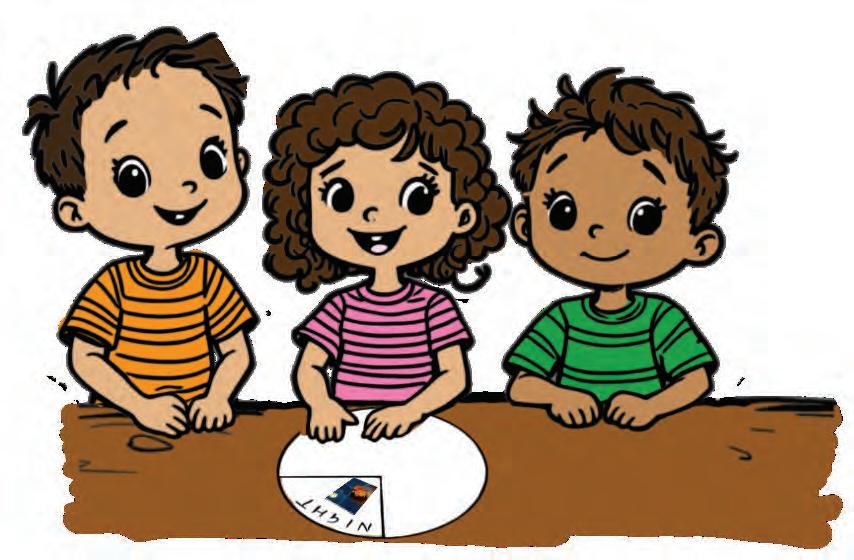
Activity in Action
ScIence BehInd It...
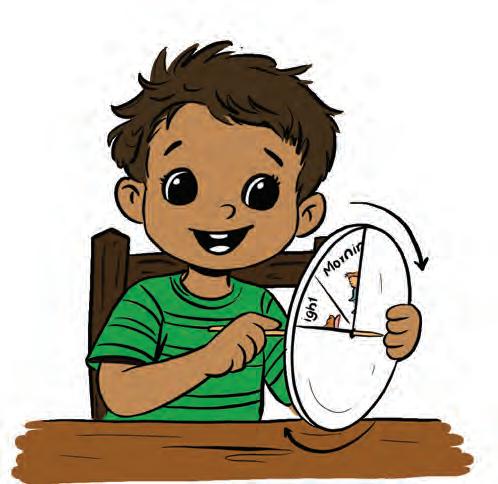
The Time Wheel helps us understand how our day is divided into morning, afternoon, evening and night.
6. Turn the top plate and look through the window at the different times of the day. In each part of your wheel, draw what the sky looks like: a sun rising in the morning, a bright sun in the afternoon, sunset in the evening and the moon and stars at night.
Find Out More !
Check your learnIng!
1. Think and write.
I come out at night and twinkle above.
What am I?
2. Tick ( ) the correct answer.
A. Which activity does NOT match the time of the day?
(a) Morning: Brushing teeth
(b) Afternoon: Watching Television
(c) Evening: Playing outdoor games
(d) Nig ht: Flying a kite
B. Lo ok at the picture and choose the time of the day.
(a) Morning
(b) Evening
(c) Night
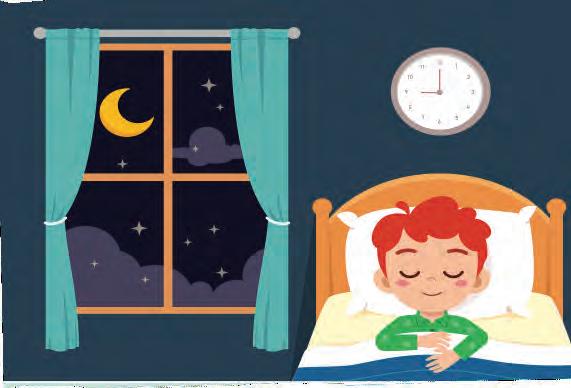
3. Match the time of the day and the correct sentence.
Time of Day
Morning
Afternoon
What You Say
Let’s eat lunch and take a rest.
Time to sleep. Good night! Night Good morning! Time to get ready.

MIrror MagIc
In this activity, we will learn how a mirror changes the sides of an image.

What we Need
• A small mirror
• A white sheet

Let’s Begin
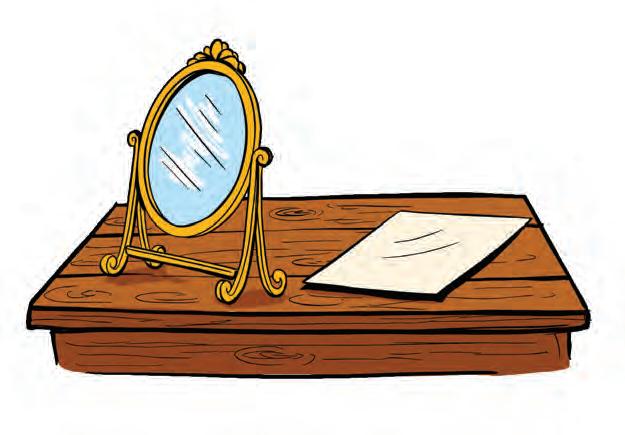
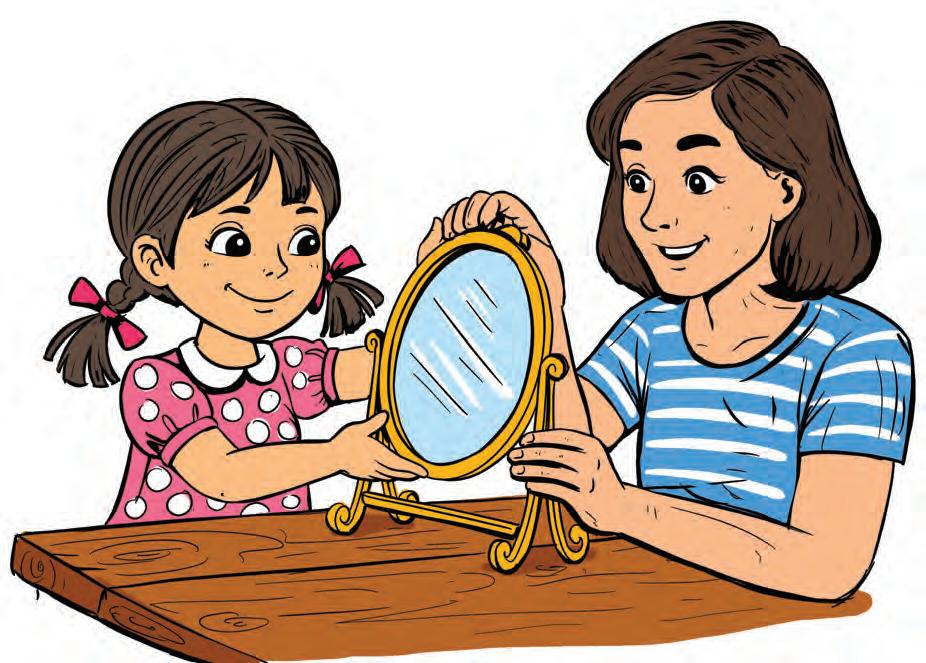
1. With the help of an adult, place a mirror standing up straight on a table.
2. Draw a square on a white sheet. Write the letter ‘B’ inside it and cut out the square. Watch out Handle the mirror carefully—it can break if dropped.
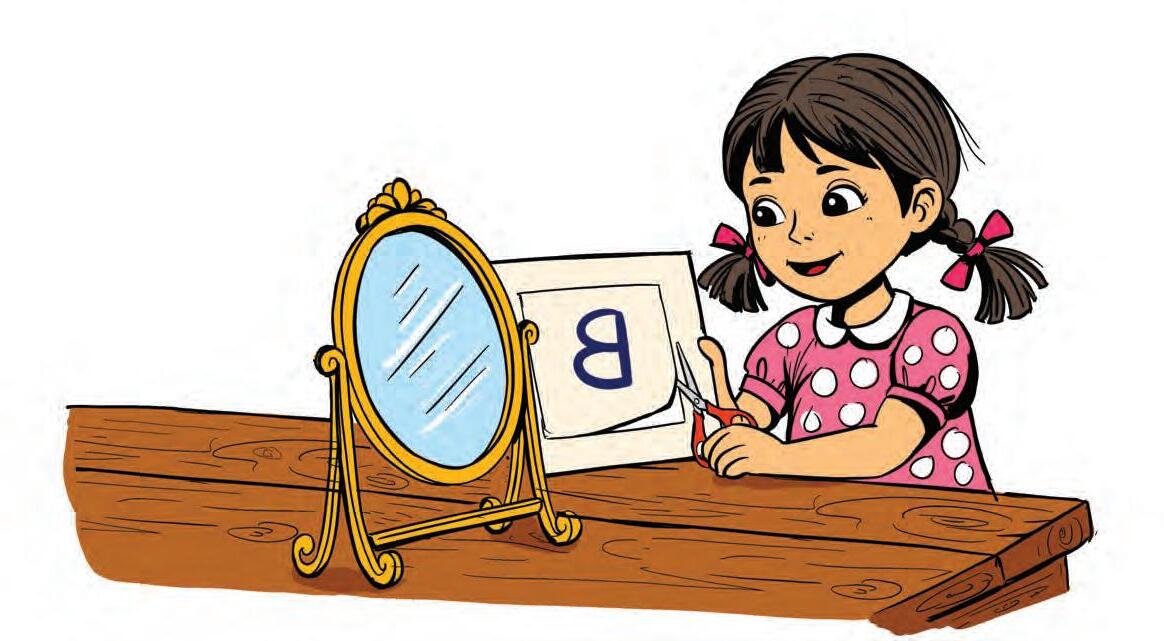
3. Pick up the letter cutout and hold it in front of the mirror.
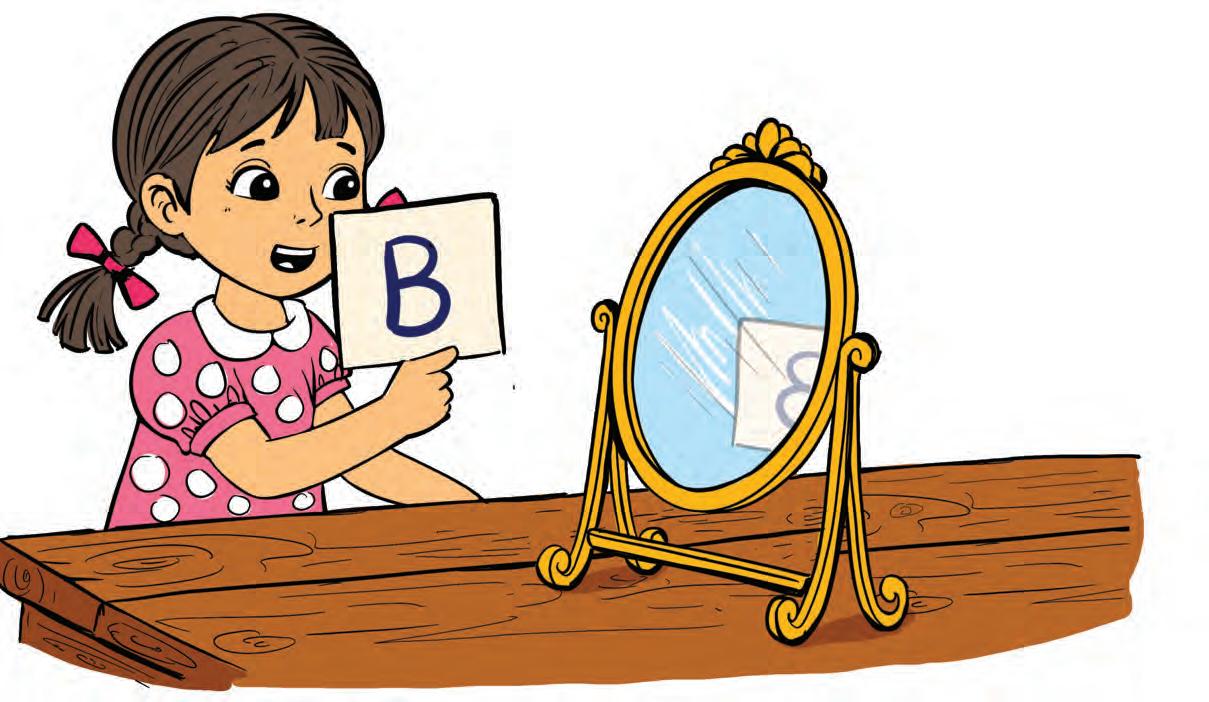


Look in the mirror. ’ looks
ScIence BehInd It...
A mirror shows what is in front of it. It flips the picture and makes left look like right, so the letter B looks as if it is turned the other way.
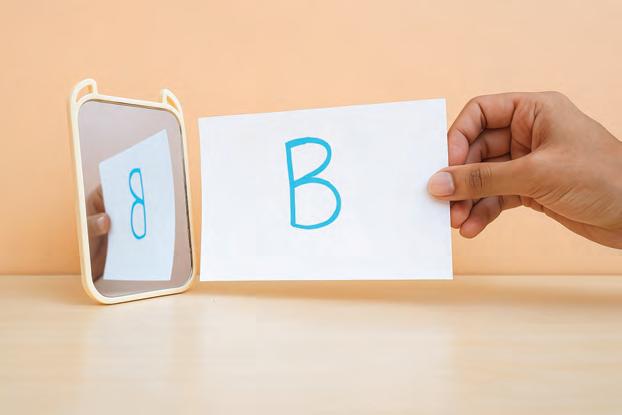
Write the letter J backwards and hold it in front of the mirror. Can you see it the right way now? Find Out More !
1. Think and write.
I help you see your face.
RRMORI
2. Circle the correct mirror image of the object.
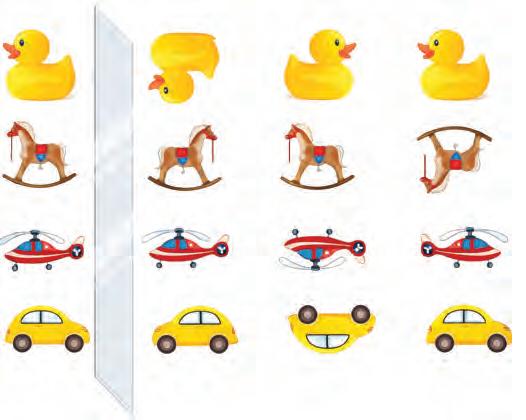
3. Co mplete the house by drawing its mirror image and colour it.

Texture DetectIVes
In this fun activity, we will understand different textures by using our sense of touch.
What We Need
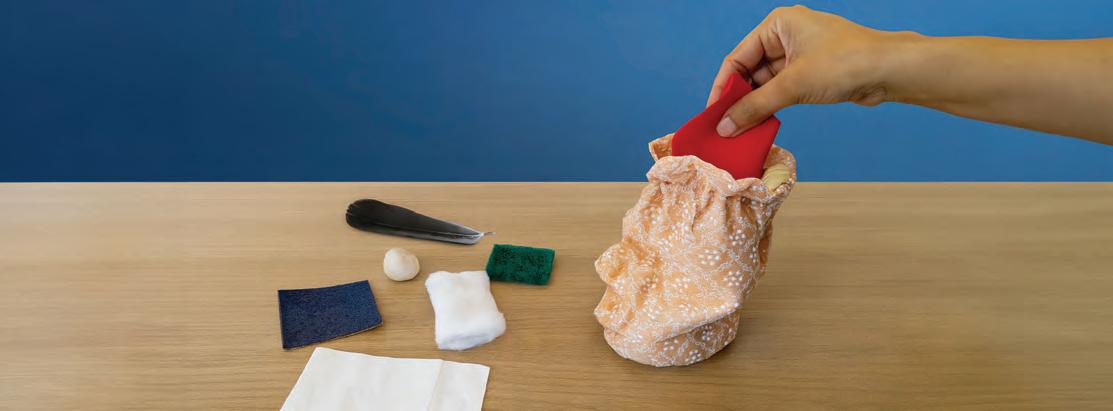
• A bag
• Some items like:
Cotton Sandpaper
Tissue paper
Cloth
Scrub pad
A pebble
A feather

Let’s Begin
1. Put your hand in a bag full of different things.
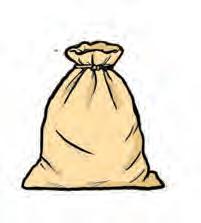


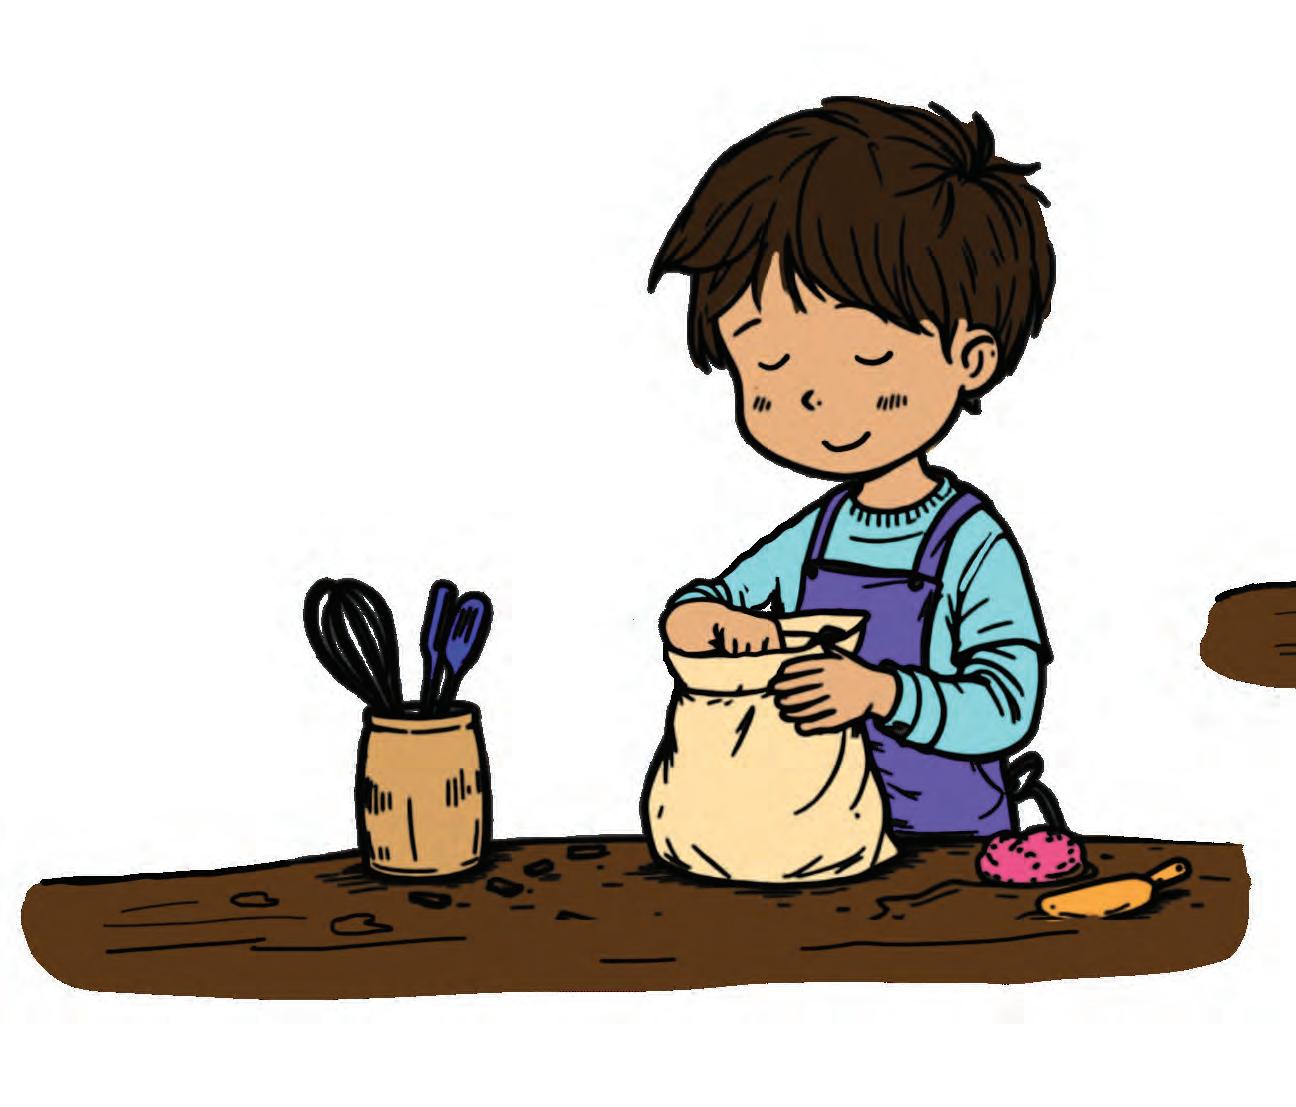
2. Do NOT peek! Only use your hand to feel.
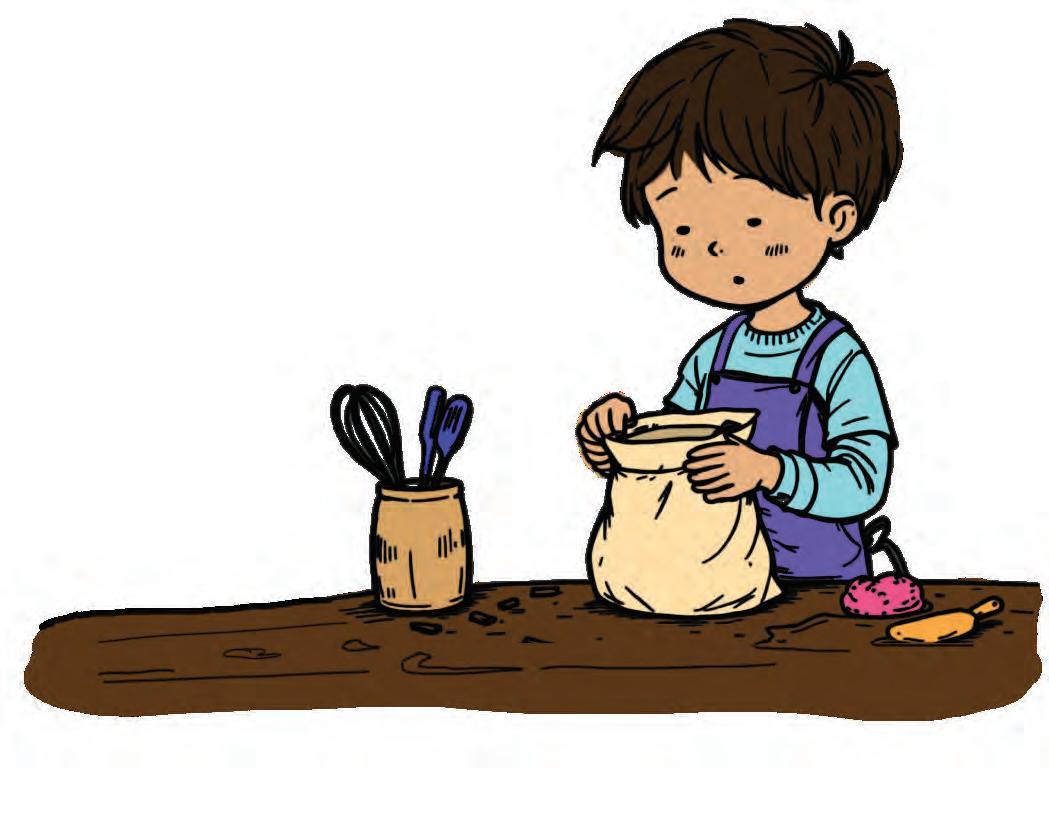
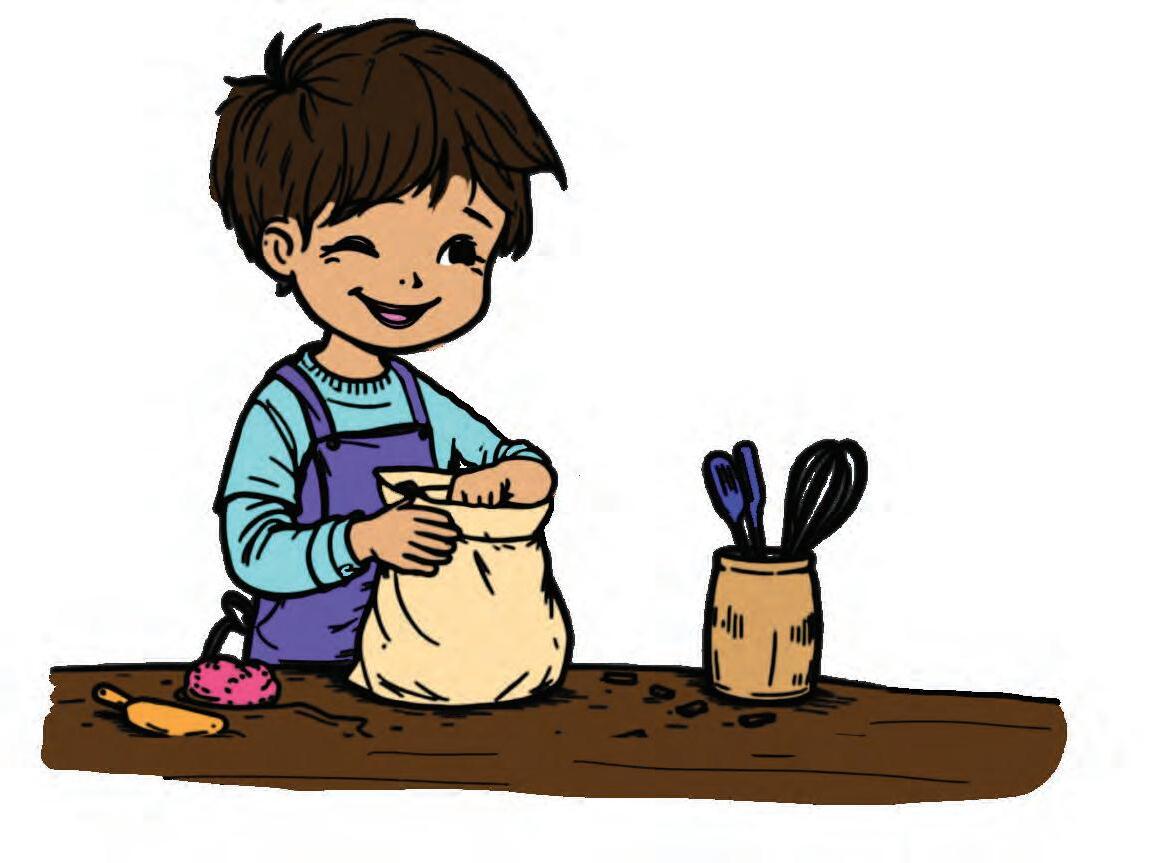
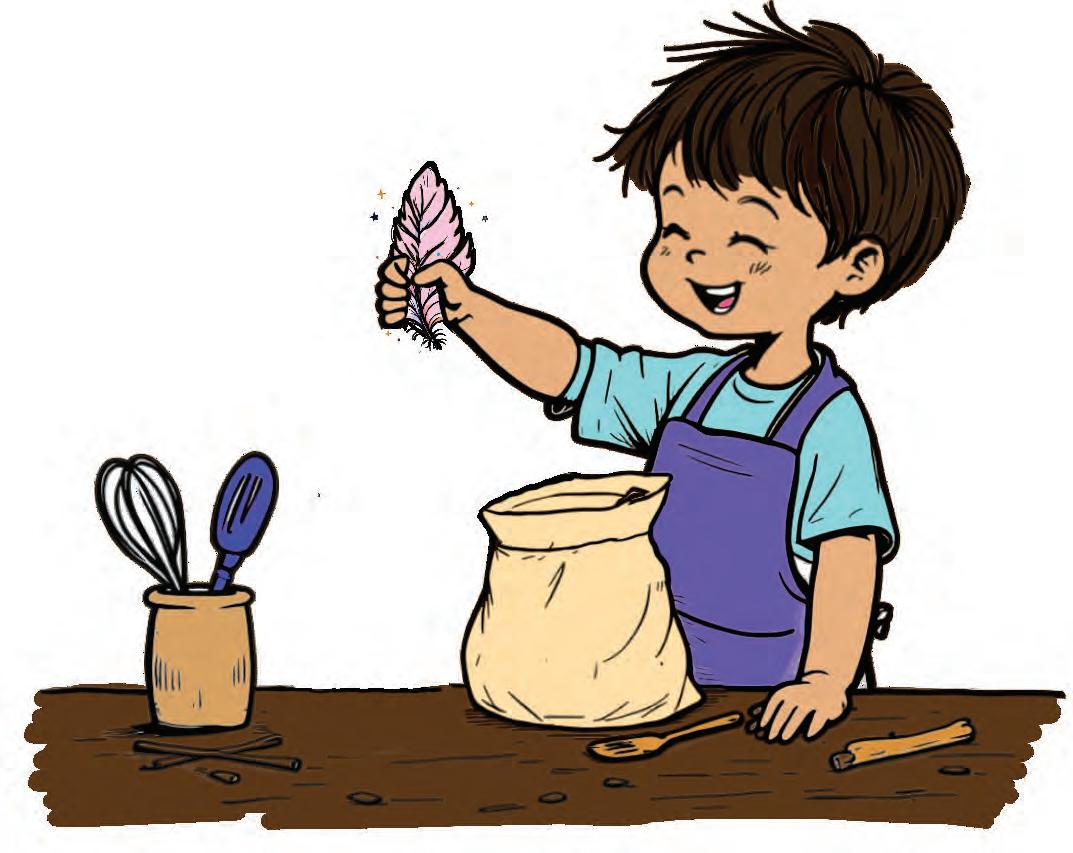
4. Take out the object from the bag. Say the texture aloud.
3. Touch the object and feel its texture. Ask yourself—is it soft or rough?

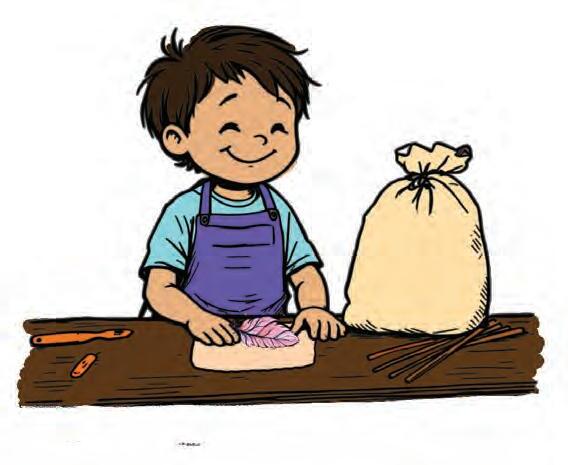
ScIence BehInd It...
Even when we cannot see inside the bag, our hands help us feel the textures.
Activity in Action
Identify the objects carefully. Tick ( ) ‘Rough’ or ‘Soft’ in the given table.
Objects
Cotton
Sandpaper
Tissue paper
Scrub pad
Pebble
Cloth
Feather
Soft Rough
Find Out More !
Go for a nature walk. Touch the leaves, tree bark, stones and flowers. Feel if they are soft or rough.
1. Lo ok at the pictures. Write ‘S’ for soft and ‘R’ for rough in the given boxes.
2. State True/False.
(a) We can feel textures using our hands.
(b) All objects have the same texture.
(c) A sp onge feels rough.
(d) Foil is soft and smooth.


Magnet Hunt
In this fun activity, we will understand which objects a magnet can pull and which ones it cannot.
What We Need
• A small magnet
• Some objects like a: Paper clip Eraser Coin Pencil Key

Let’s Begin

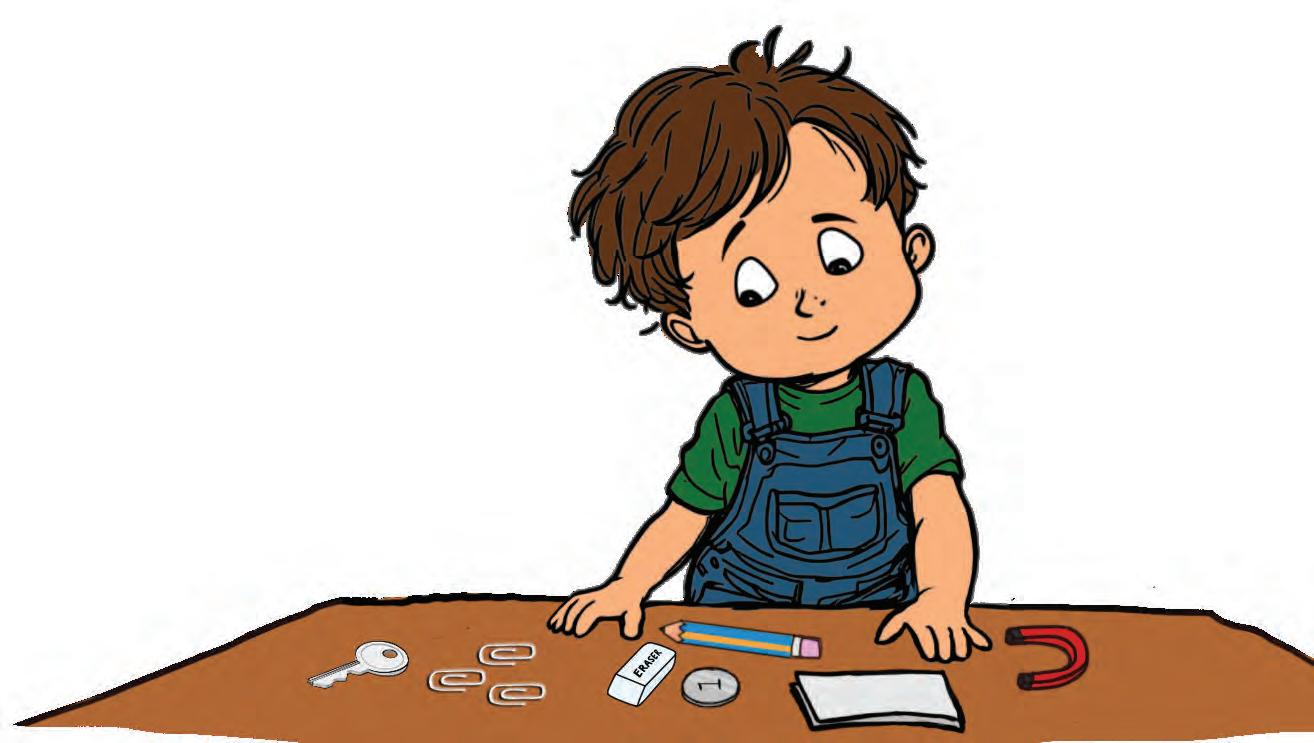
1. Place all the objects on a flat surface, leaving a little space between them.
Watch out
Do not use any sharp objects.
2. Take the magnet near the paper clip. You will see that it sticks to the magnet.
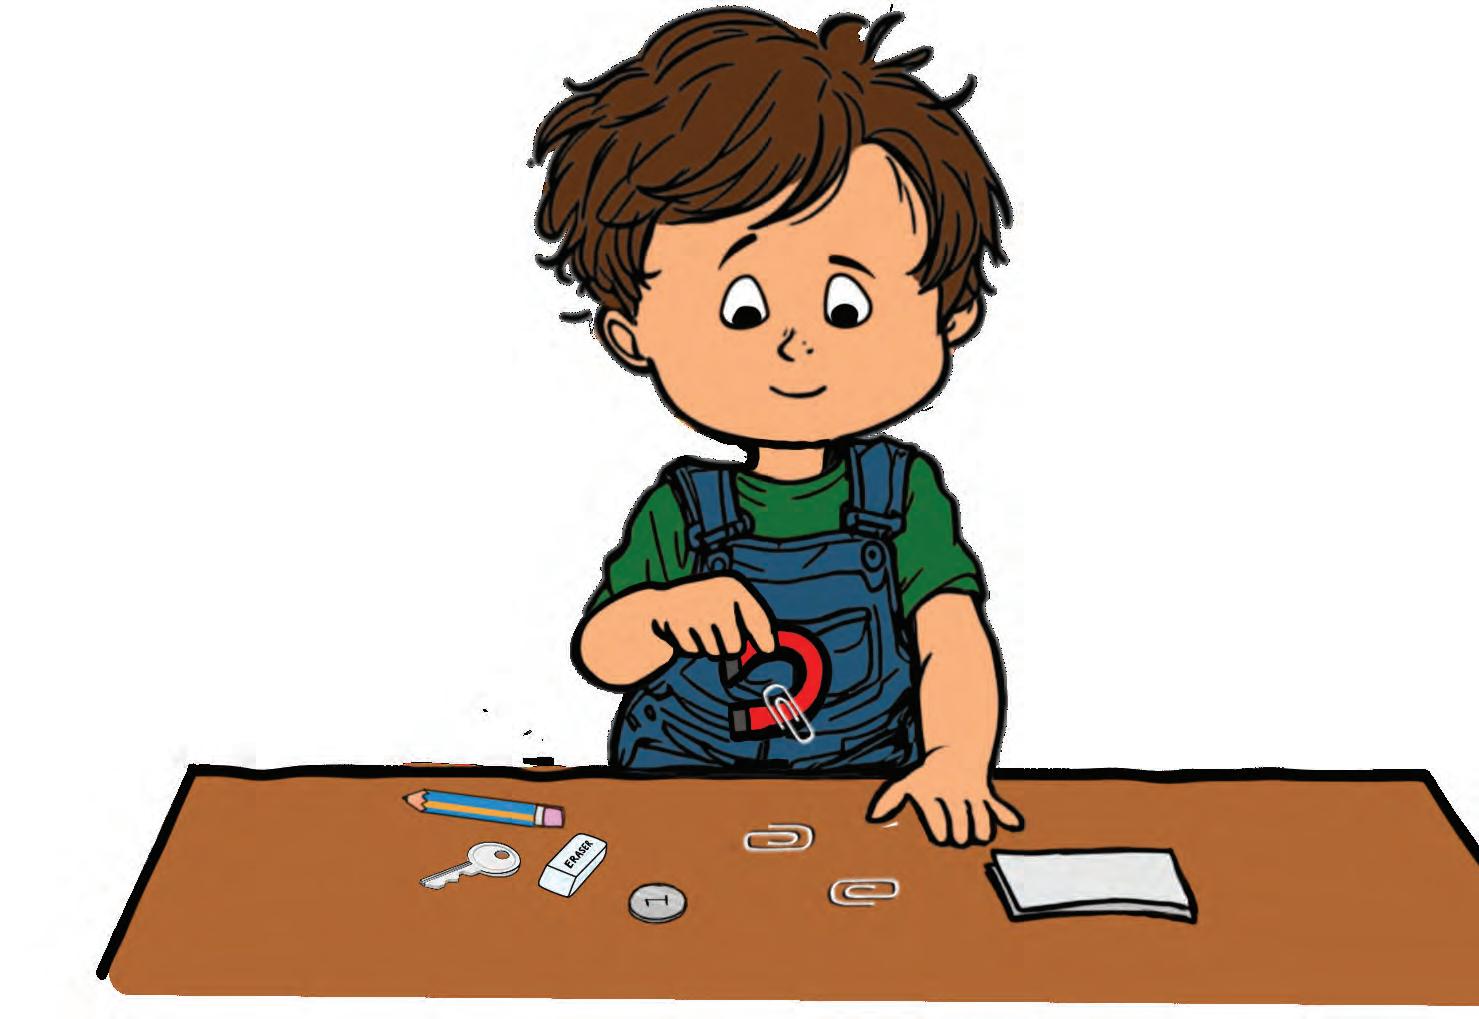
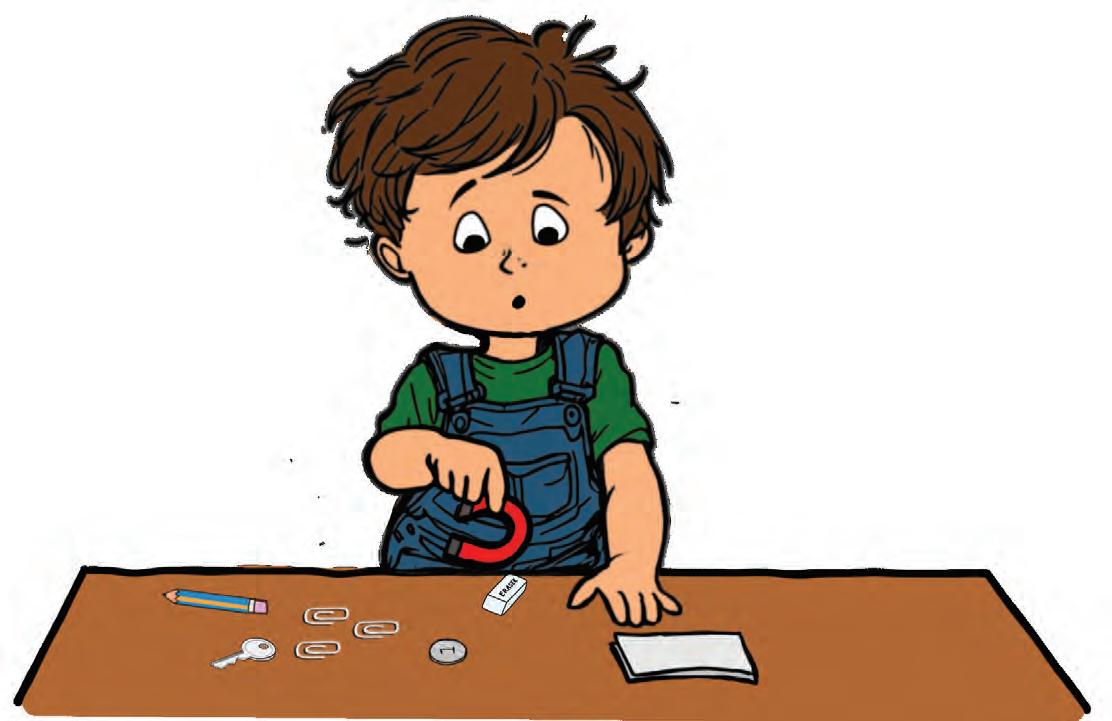
3. Now, try the magnet on another object like the eraser. Does it stick? You will note that it does not.

4. Repeat the steps with each object. Put a tick ( ) if the object sticks to the magnet and a cross ( ) if it does not.
Object
ScIence BehInd It...
Magnets have the power to pull objects made of iron or steel towards them.
Activity in Action
Does it stick? ( / )
Paper Clip
Eraser
Coin
Pencil
Key
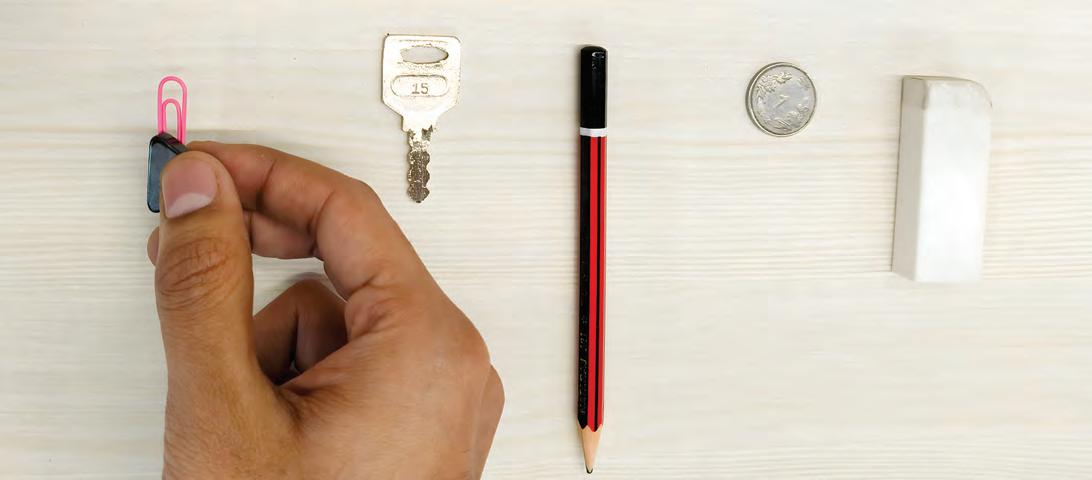
Find Out More !
Test your magnet on other things. Before you try, write if it will stick or not!
Check your learnIng!
1. Lo ok at the objects. Colour a happy face if it sticks to the magnet or a sad face if it doesn’t.
2. The trash picker is using a magnet to clean the park. Tick ( ) the things that the magnet can pick up.


Coin Straw Paperclip
Banana peel
Key

WHAT stays on top?
In this activity, we will pour two different liquids together to see if they mix or not.
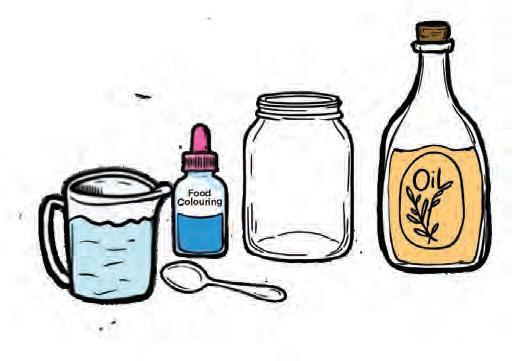
What We Need
• 1 clear glass or jar
• Water
• Cooking oil (any type)
• Food colour (optional)
• A spoon
Let’s Begin
1. Pour water into the jar until it is half full.
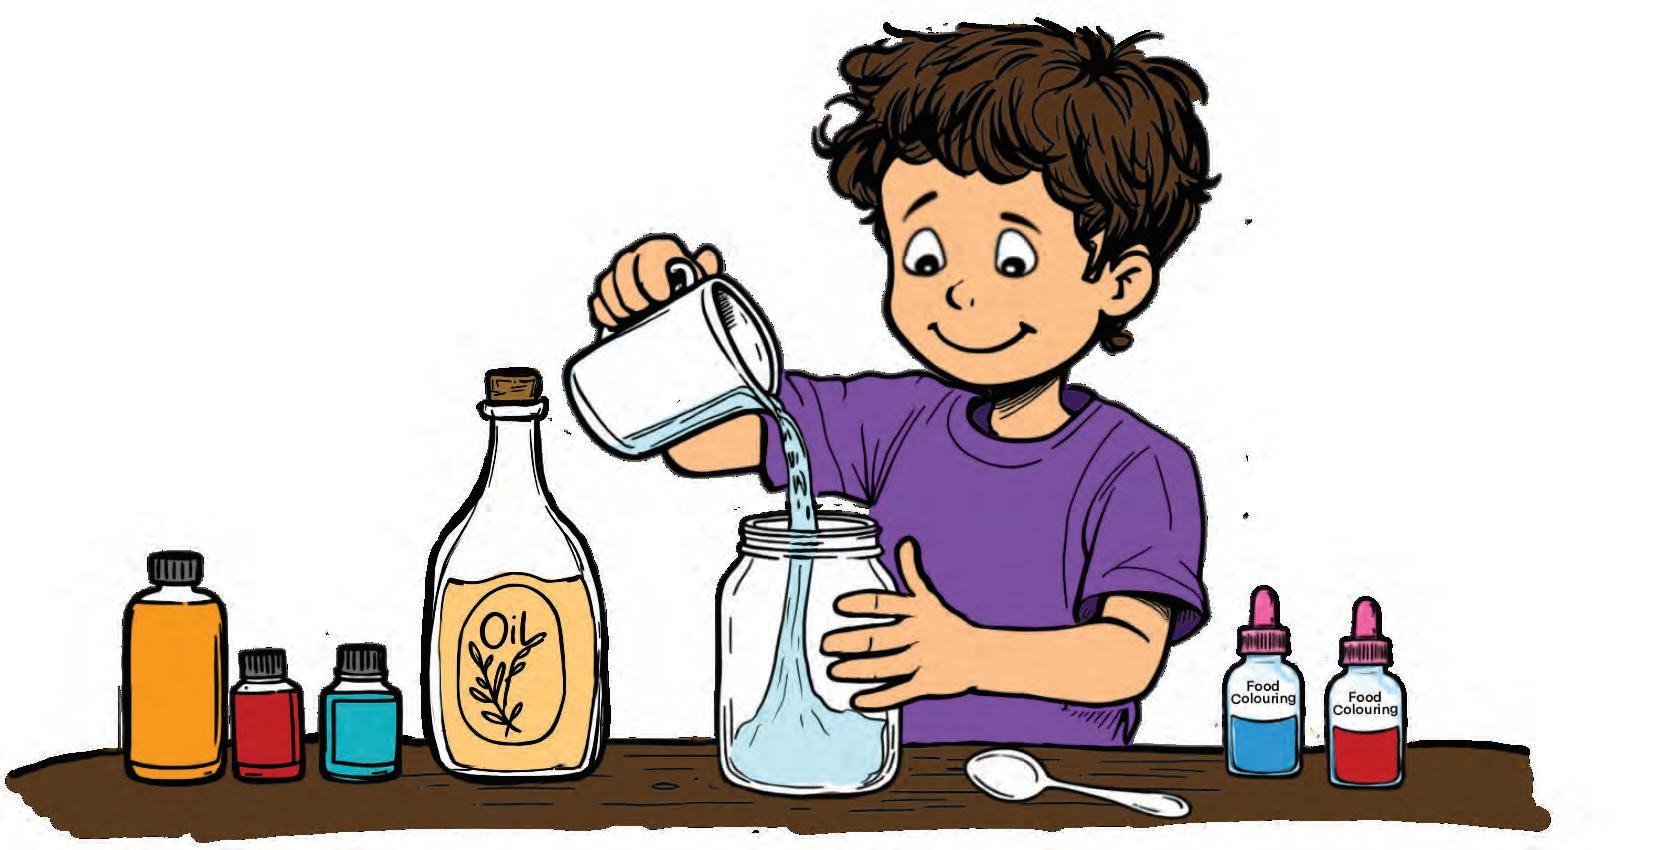
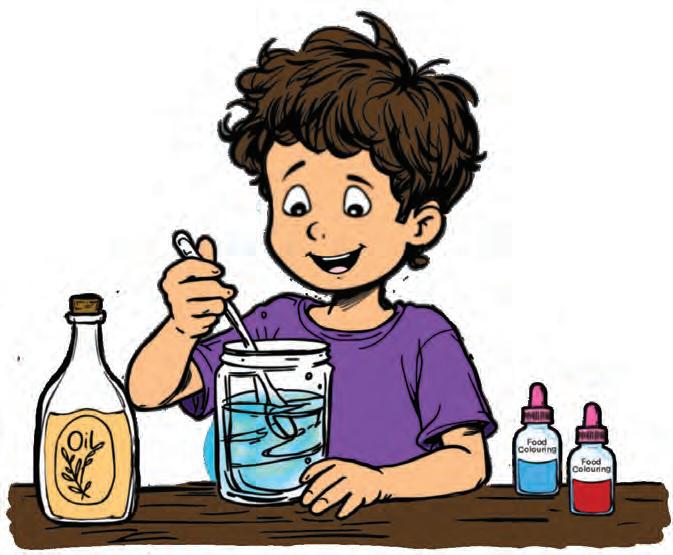
2. Add a few drops of food colour to the water and stir it.
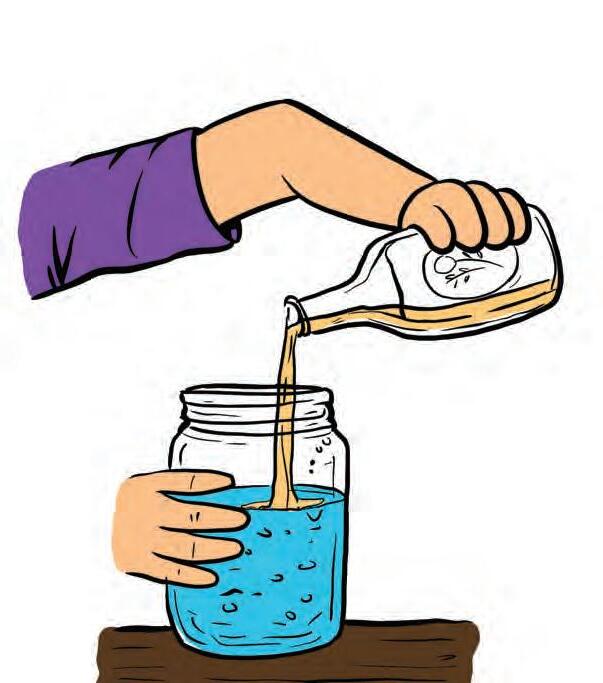
Pour the oil on top of the coloured water.
Watch out
Pour the oil slowly to avoid spills.


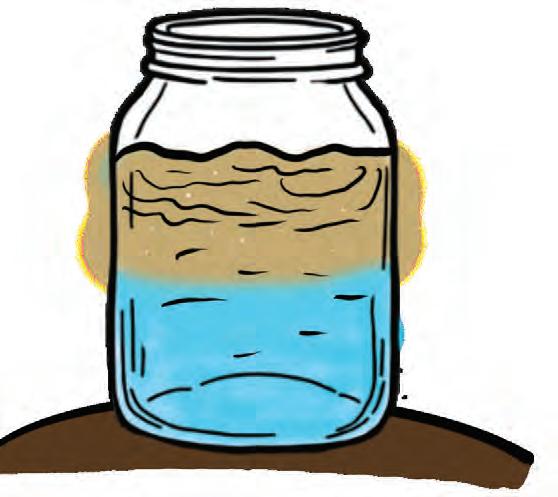
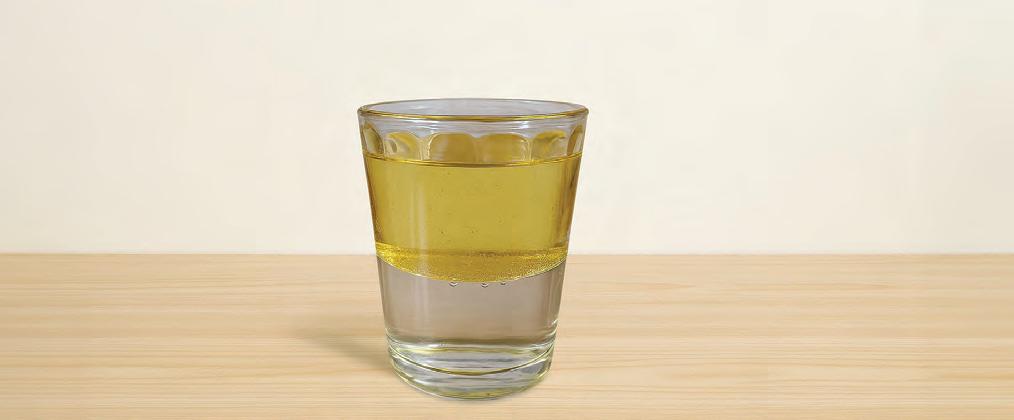
5. Wait for a few minutes and watch the oil float on the water.
Activity in Action
ScIence BehInd It...
Oil and water do not mix with each other. Oil is lighter than water, so it stays on top and we see two layers in the glass.
Find Out More !
Pour honey, water and oil one after the other into a glass. See how many layers are formed.
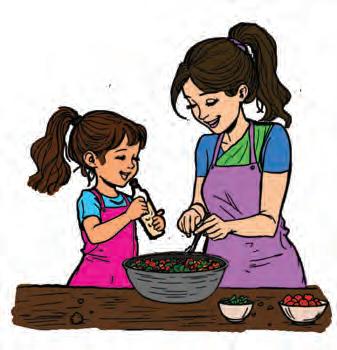
1. Mira is helping her mom to cook. Mom pours oil and vinegar (which is mostly water) into a bottle. Mira shakes the bottle hard. After some time, Mira sees something interesting!
A. What will Mira see in the bottle after she stops shaking?
(a) The oil and vinegar will mix together.
(b) The oil floats on top and the vinegar stays at the bottom.
(c) The vinegar floats on top and the oil stays at the bottom.


3. Think and write.
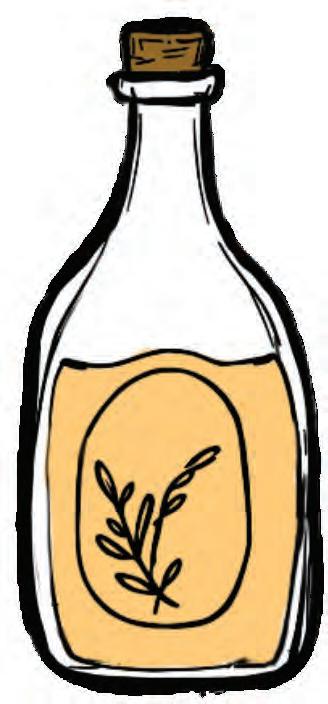
2. Which of the following does NOT mix with water?
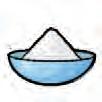
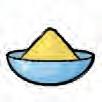
I am u sed in cooking, smooth and bright,
I float on water, feeling light.
What am I? Check your learnIng!
You shake me up, I will not combine, I stay on top every time!


Craft StIck Colour MIxIng
In this fun activity, we will mix coloured craft sticks in water to see how new colours are formed.
What we need
• 3 cups
• 6 ice cream sticks
• Water colours - red, blue and yellow
• A paintbrush
• Water Let’s Begin

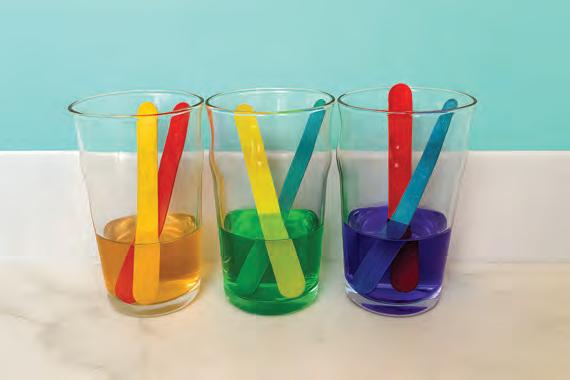
1. Take three cups. Fill them halfway with water.
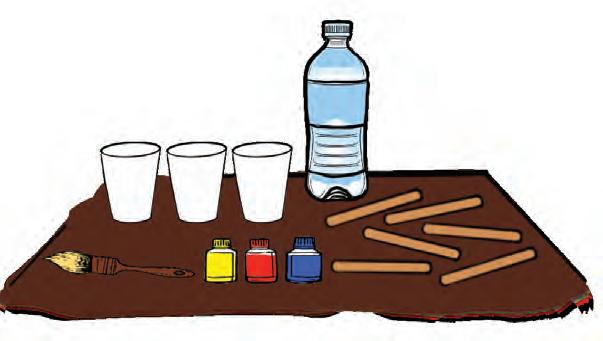

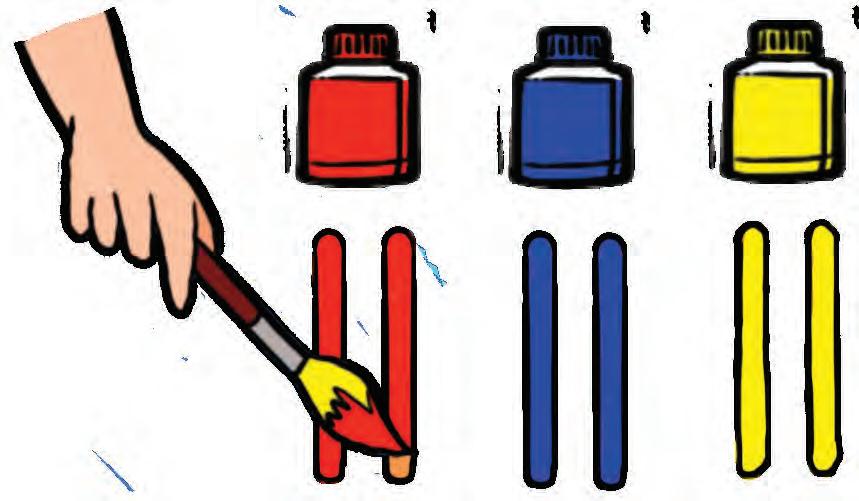
2. Paint 2 sticks red, 2 sticks blue, and 2 sticks yellow using a brush.
3. Put 2 coloured sticks in each cup. Use these colour pairs:
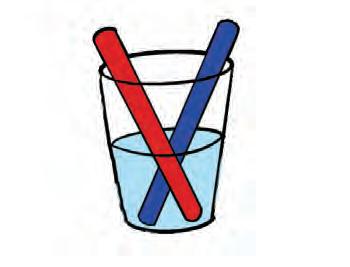

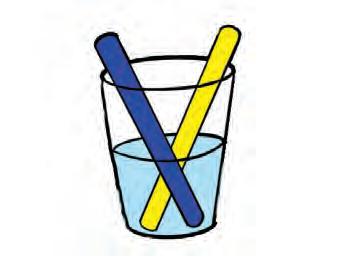
Cup 1: Red + Blue Cup 2: Red + Yellow Cup 3: Yellow + Blue
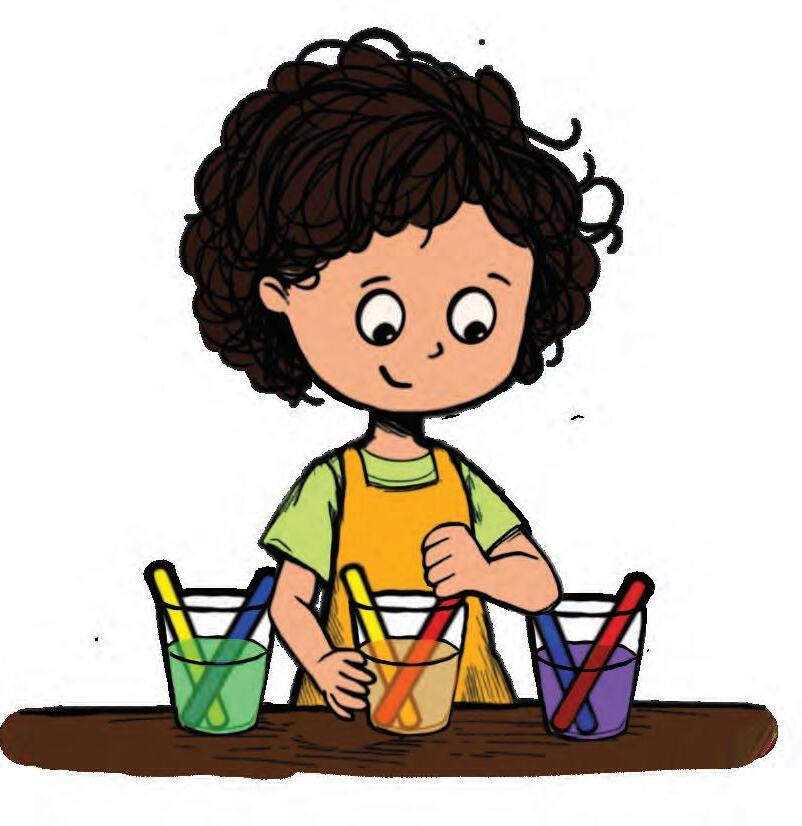
Let the cups sit for 15–20 minutes. Gently stir the sticks and take them out of each cup.
Watch out
Do not take the sticks out very quickly.

5. Look at the colour of the water:
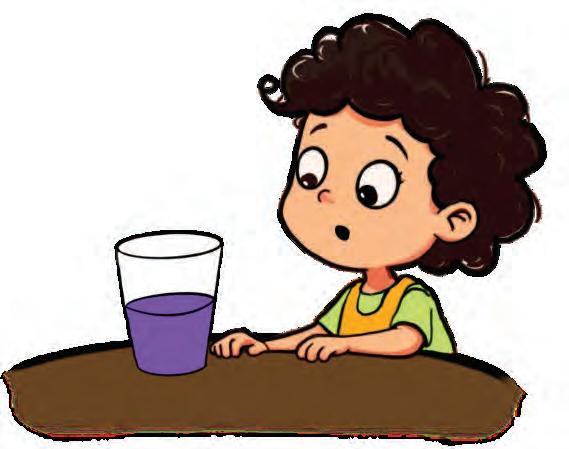
(a) Red + Blue Purple
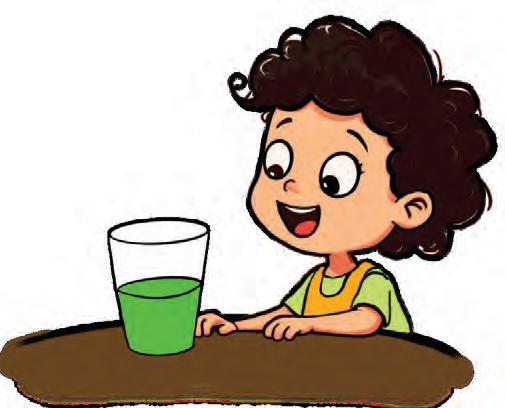
(c) Yellow + Blue Green
Activity in Action
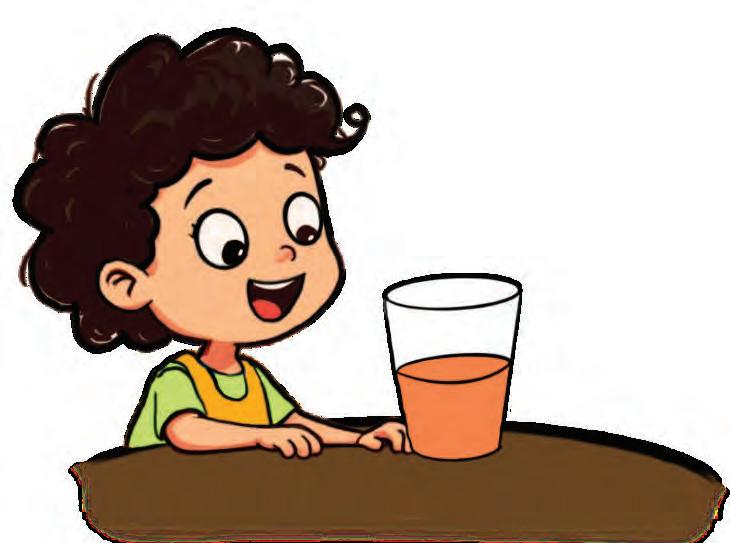
(b) Red + Yellow Orange
ScIence BehInd It...
When two colours mix, they make a new colour. Red and blue make purple, red and yellow make orange, and blue and yellow make green!
Find Out More !
Place the red, blue and yellow sticks together in one cup. What colour do you see?
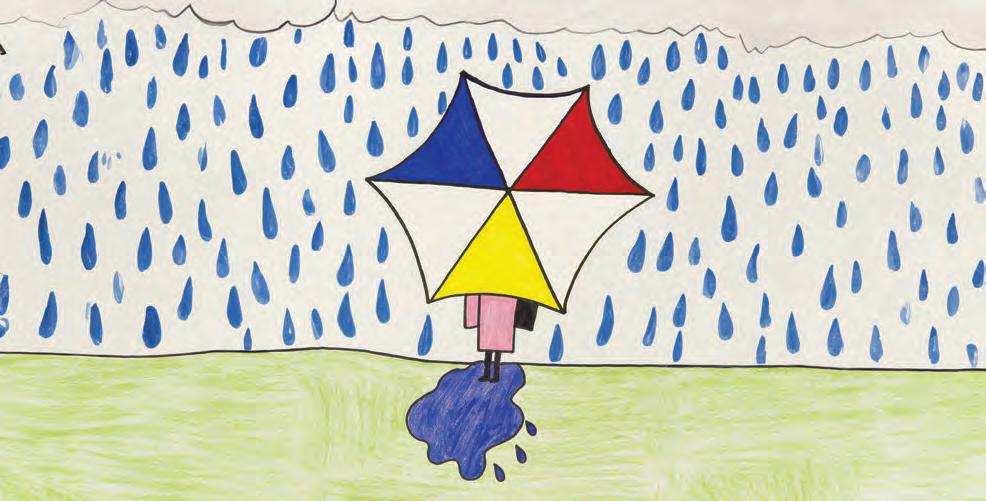
1. Colour the Umbrella!
Tina’s umbrella is missing some colours! The missing colour is made by mixing the two colours on either side.
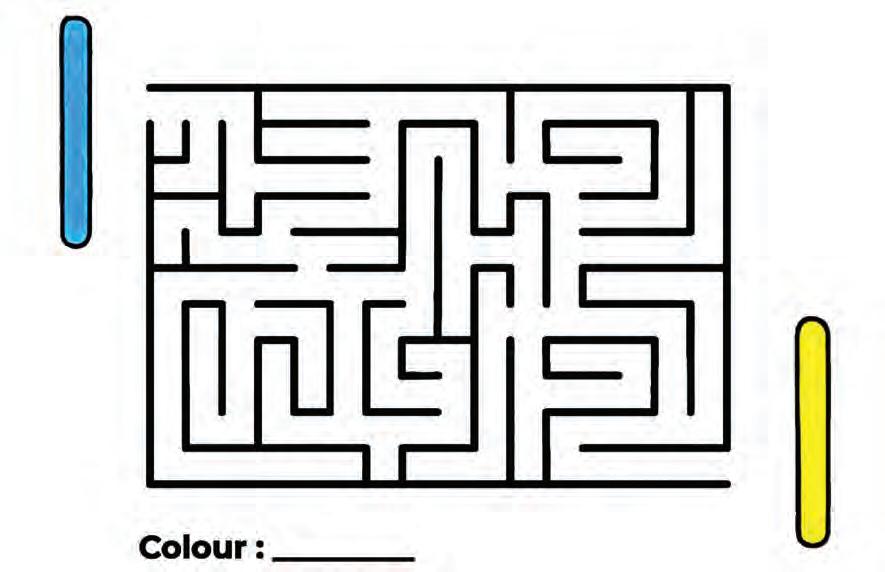
2. Help the blue stick find the yellow stick through the maze. Write the colour they make when they meet. Check your learnIng!
Colour:

WeIgh the balloons
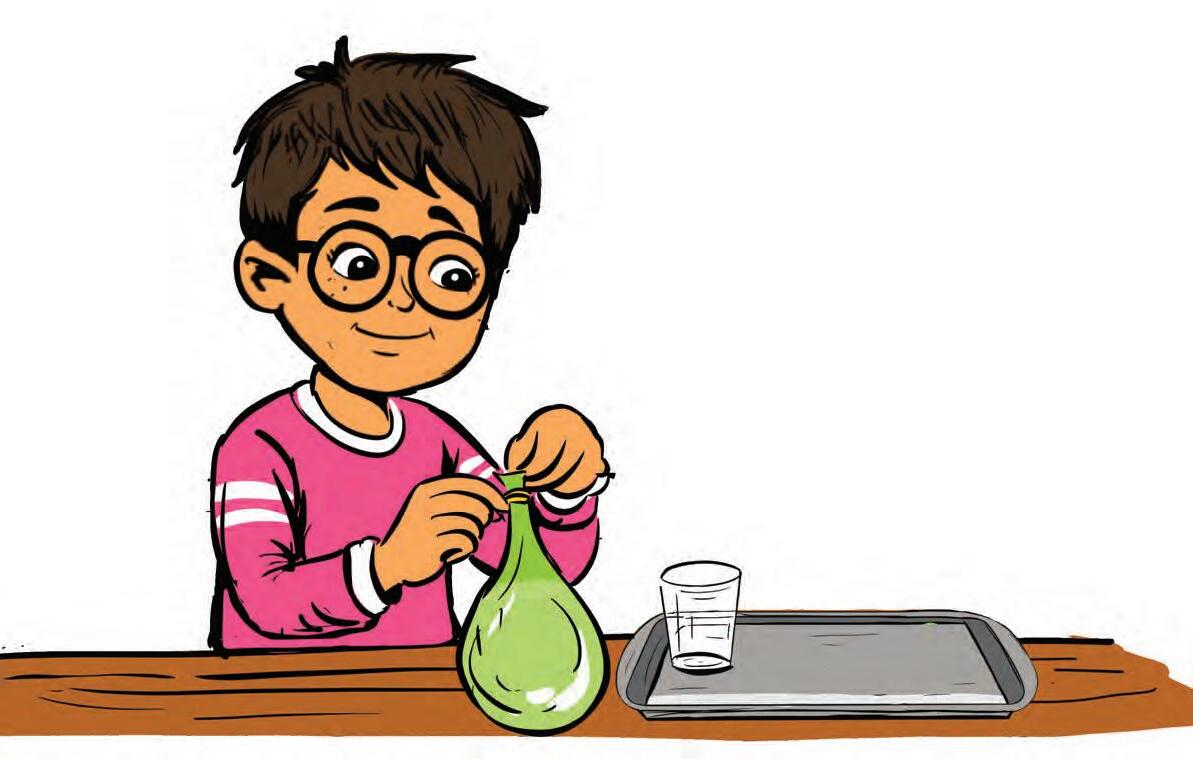
In this activity, we will compare two balloons to find out which one feels heavier—one with air or one with water.

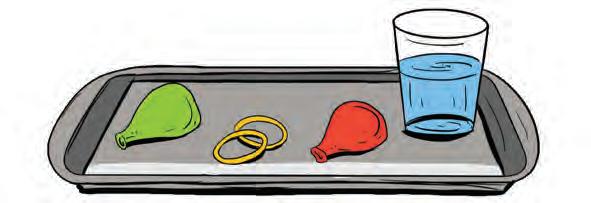
• 2 balloons
• 2 rubber bands
• Water What We Need
Let’s Begin

2. Tie it using a rubber band.
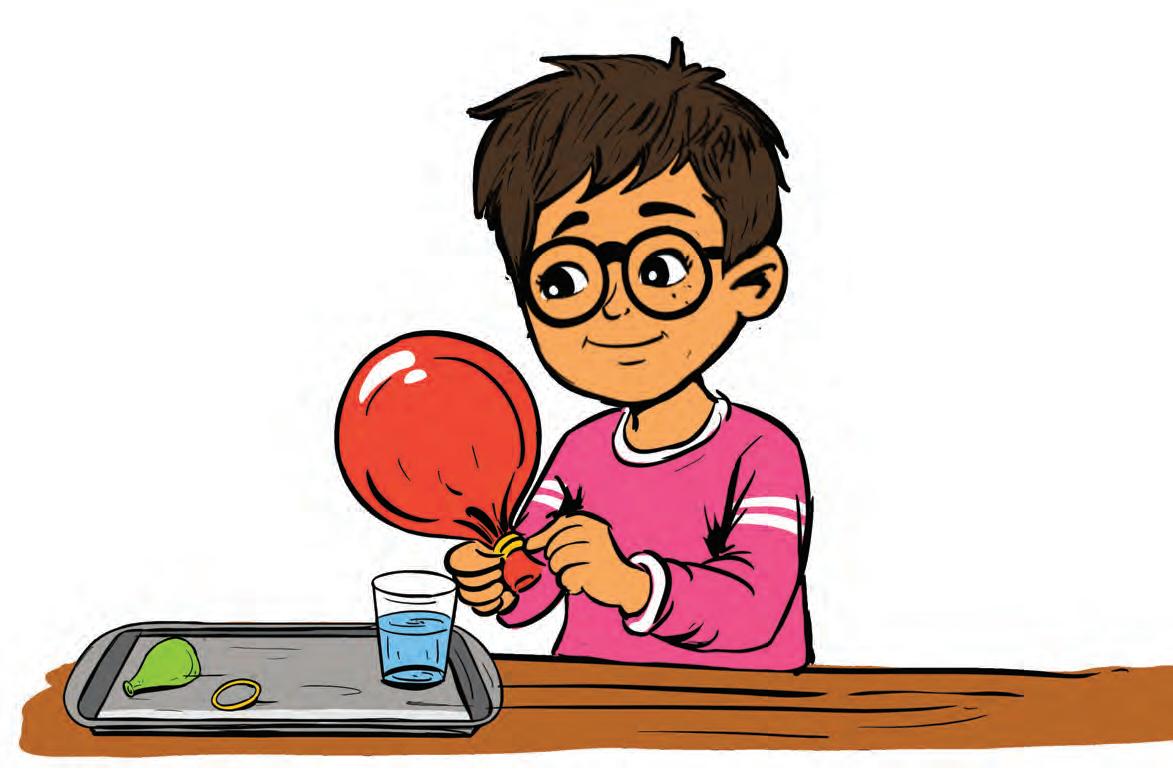
3. Now, fill the second balloon with some water and tie it too.
Watch out
Do not fill the balloon with too much water—it might burst!


Activity in Action
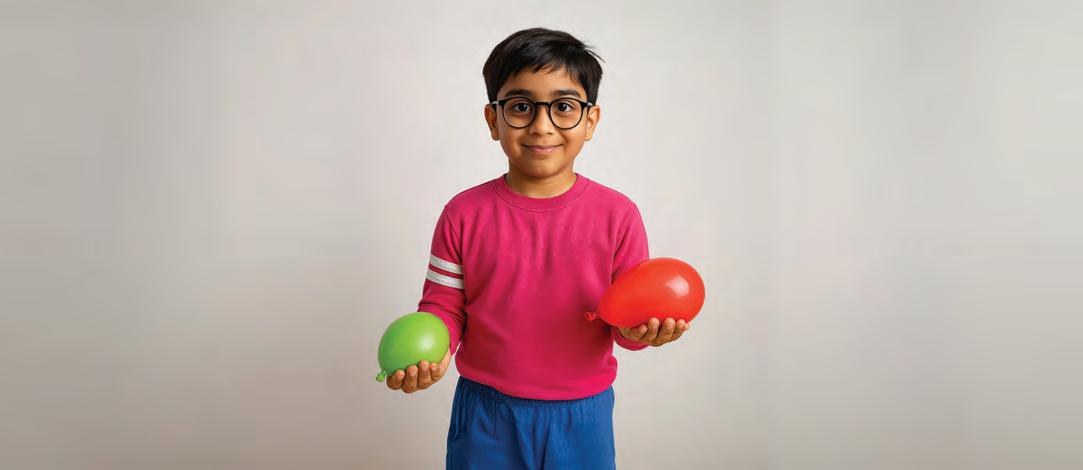
Hold one balloon in each hand. Which one feels heavier?
ScIence BehInd It...
Water and air both take up space, but water is much heavier than air. That is why the balloon filled with water feels heavier than the one filled with air.
Find Out More !
Drop both balloons from the same height. Observe what happens when they hit the ground. Which one bounces more?
1. Think and write.
(a) I am invisible, I fill up balloons. What am I?
(b) I am clear and cool, I splash and pour. I fill up bottles and weigh much more. What am I?
2. Diya is helping her mom clean the kitchen. She picks up a dry sponge and dips it in a bowl of water. The sponge is heavier this time when she lifts it.
Answer the questions below.
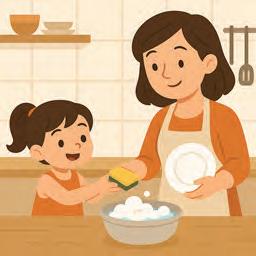
A. Ho w did the sponge feel before Diya put it in the water?
(a) Wet and dripping
(b) Dr y and light
B. What happened when Diya dipped the sponge in water?
(a) It g ot heavy
(b) It g ot light
C. What did Diya learn from this?
(a) Water can make things heavier.
(b) Water can make things lighter.


MagIc Colour SpInner
In this activity, we will see how rainbow colours can turn white when we spin them fast.
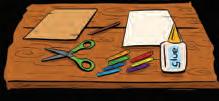
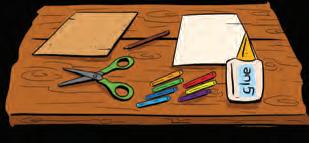
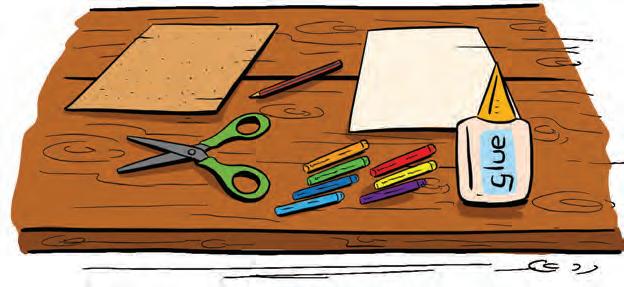
What we Need
• A cardboard
• A pencil
• A white sheet
• A pair of scissors
• Glue
• Crayons: Violet, Indigo, Blue, Green, Yellow, Orange, Red.

Let’s Begin
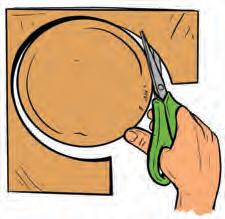
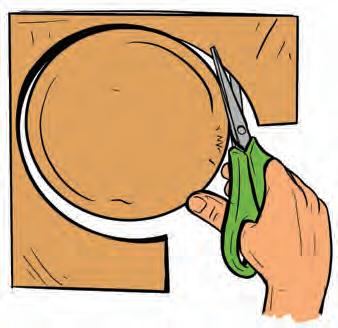
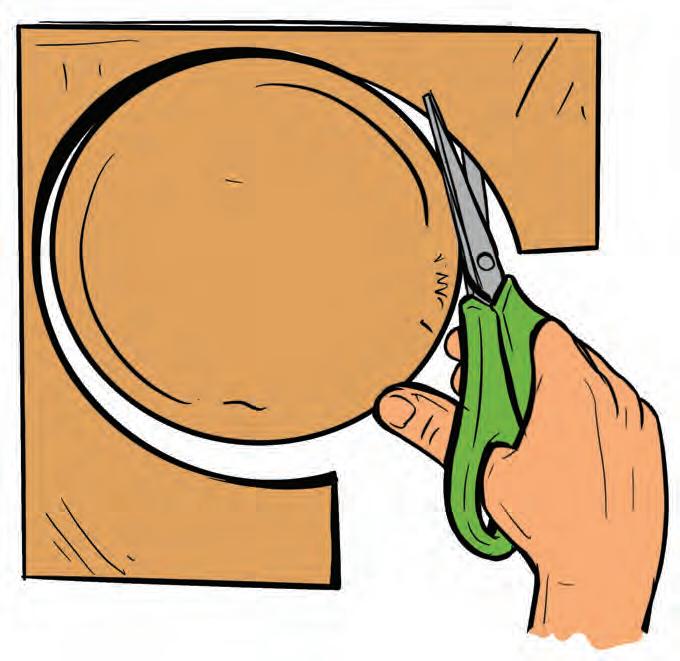
1. Ask an adult to cut a circle from cardboard.
Watch out
Do not use scissors by yourself.
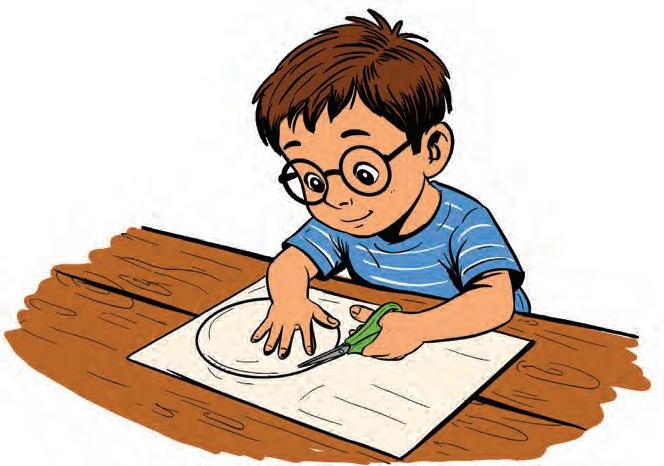
2. Then, cut a white paper circle of the same size.
3. Paste the white paper on the cardboard circle.

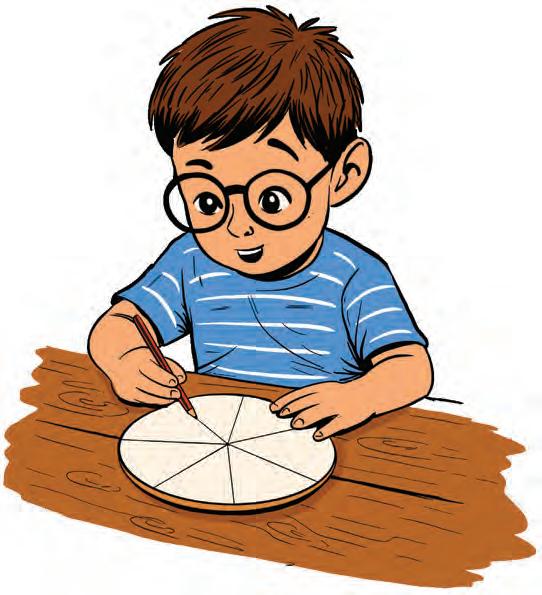
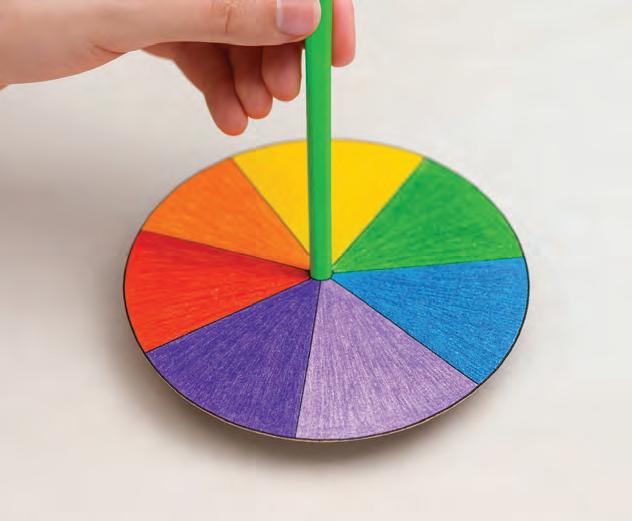
5. Colour the seven parts with rainbow colours: Violet, Indigo, Blue, Green, Yellow, Orange, and Red.
With the help of an adult, draw 7 lines on the circle to make 7 equal parts.
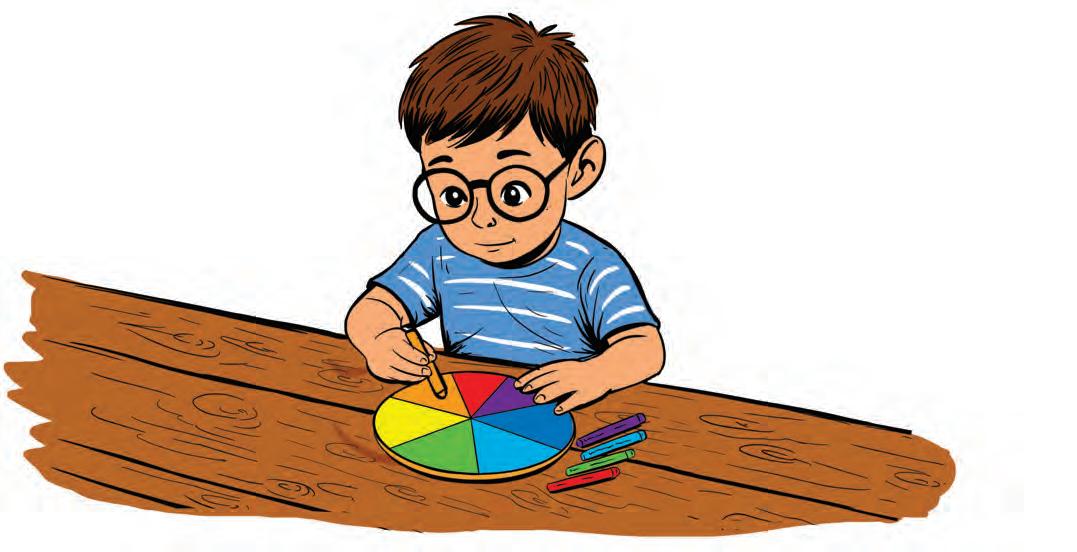
6. Make a hole in the centre of the circle and pass a pencil through it.
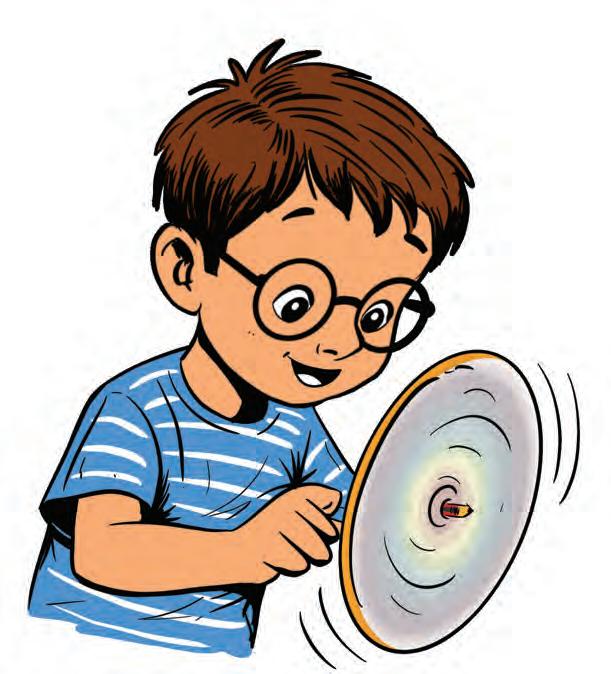
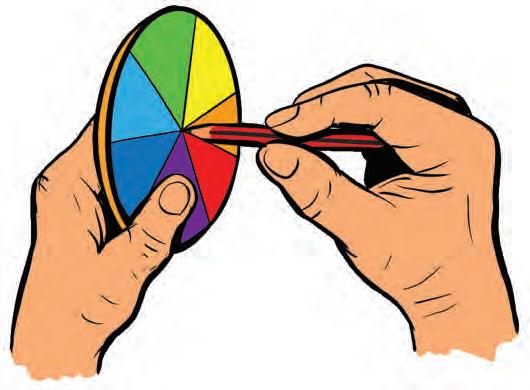
Spin the cardboard fast and watch the colours change!
ScIence BehInd It...
When we spin all the rainbow colours quickly, they mix together and look white.
Activity in Action
Find Out More !
Spin the wheel slowly, then spin it fast. See how the colours change.
Check your learnIng!
1. Trace and colour the rainbow.
2. Tick ( ) the correct answer.
A. How many colours are there in a rainbow?
(a) 5
(b) 6
(c) 7
B. What happens when we spin the colour wheel very fast?
(a) The colours fade away.
(b) The colours look white.
(c) The colours stay the same.
C. Which of these is NOT a rainbow colour?
(a) Red (b) Pink (c) Green

SwIrly MIlk Art
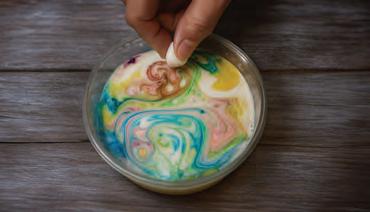
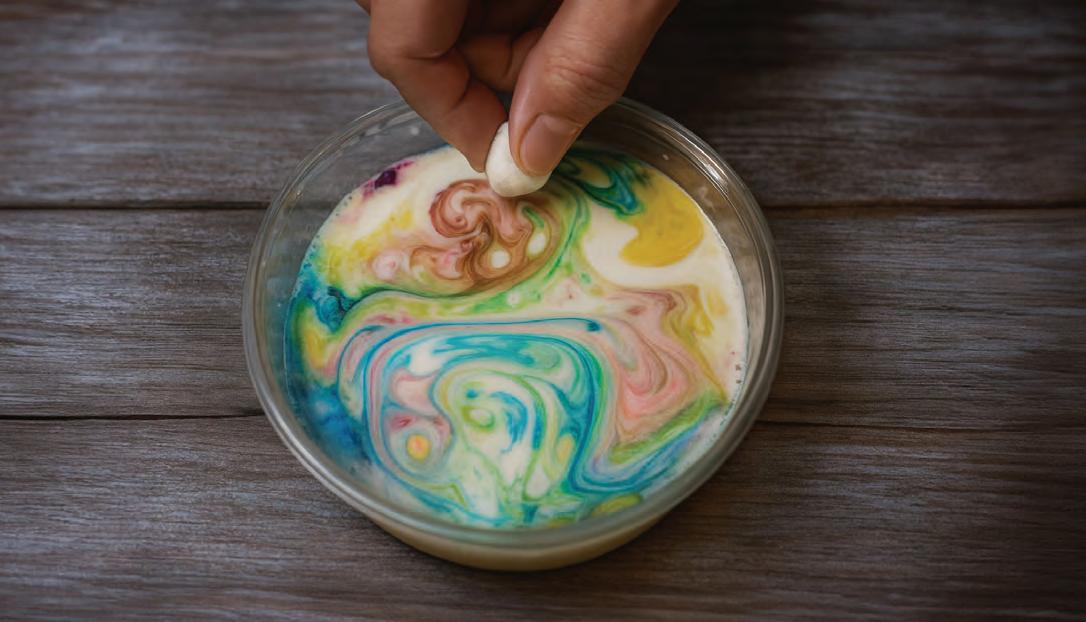
In this activity, we will use food colouring and dish soap to make beautiful, swirling colours in milk!
What We Need
• A plate or baking dish
• 1 small cup of milk

swirls
• Food colouring of 2-3 different colours
• Liquid dish soap
• Cotton ball


Let’s Begin
1. Pour a thin layer of milk onto a plate.
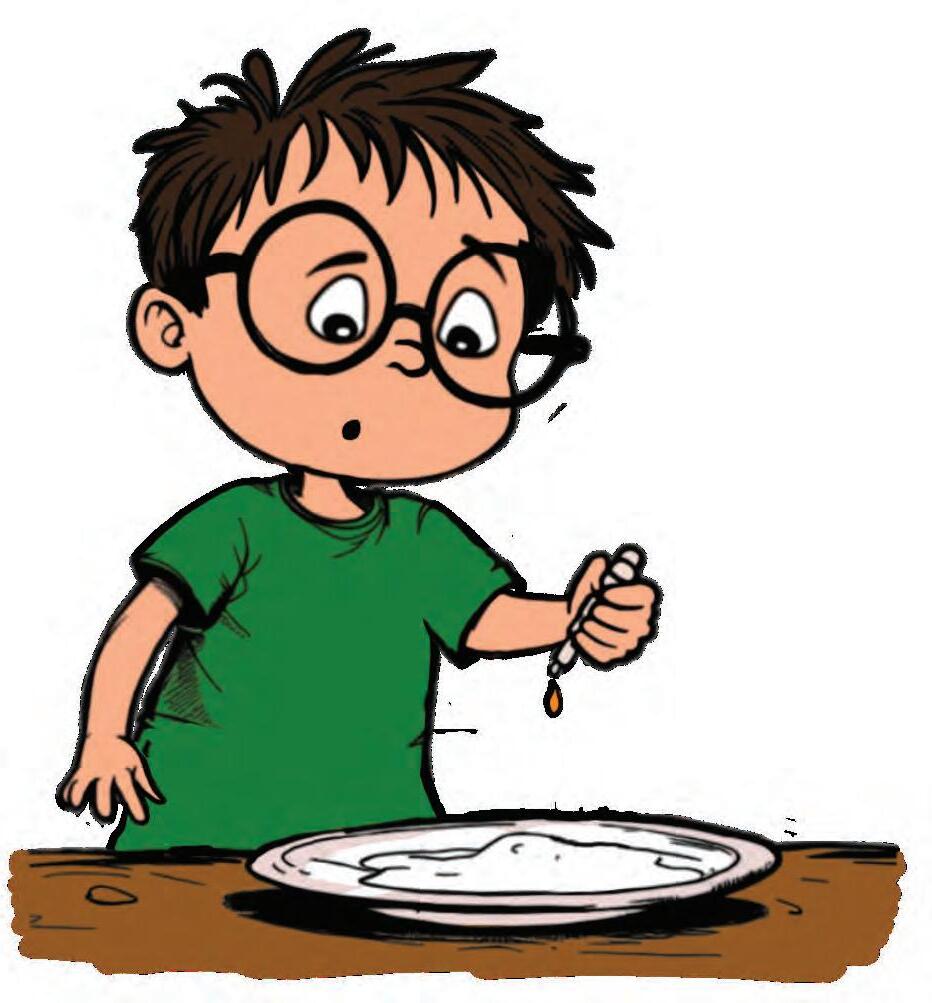
2. Add a few drops of food colouring in different spots on the milk.
3. Soak a cotton ball in the dish soap.
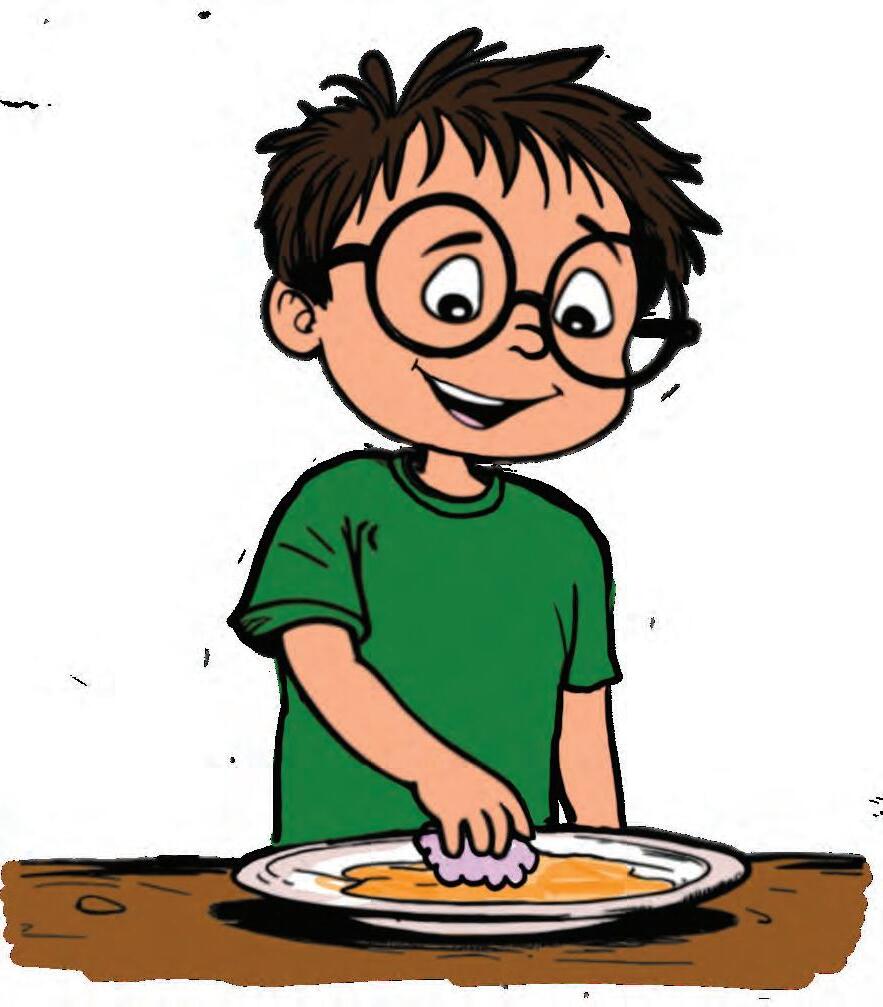
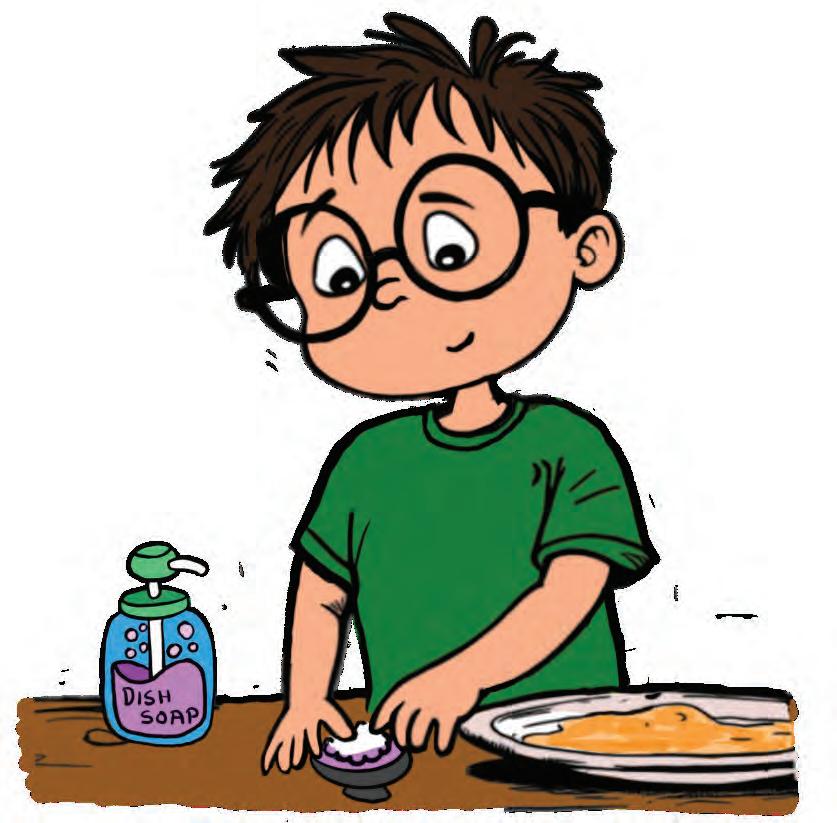
Watch out
Do not use too much dish soap—just one drop is enough.
Place the soaked cotton ball in the center of the plate.

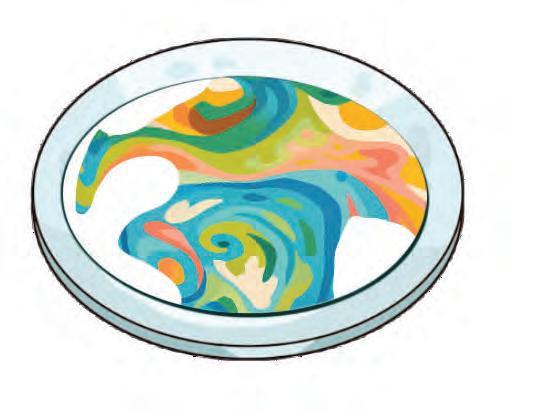
5. Watch the colours swirl and dance!
Activity in Action
ScIence BehInd It...
The soap breaks the surface of the milk and pushes the colours around to make beautiful patterns.
Try using water or juice. Do the colours still move and swirl like they do in milk? Find Out More !
Check your learnIng!
1. Tick ( ) the correct answer.
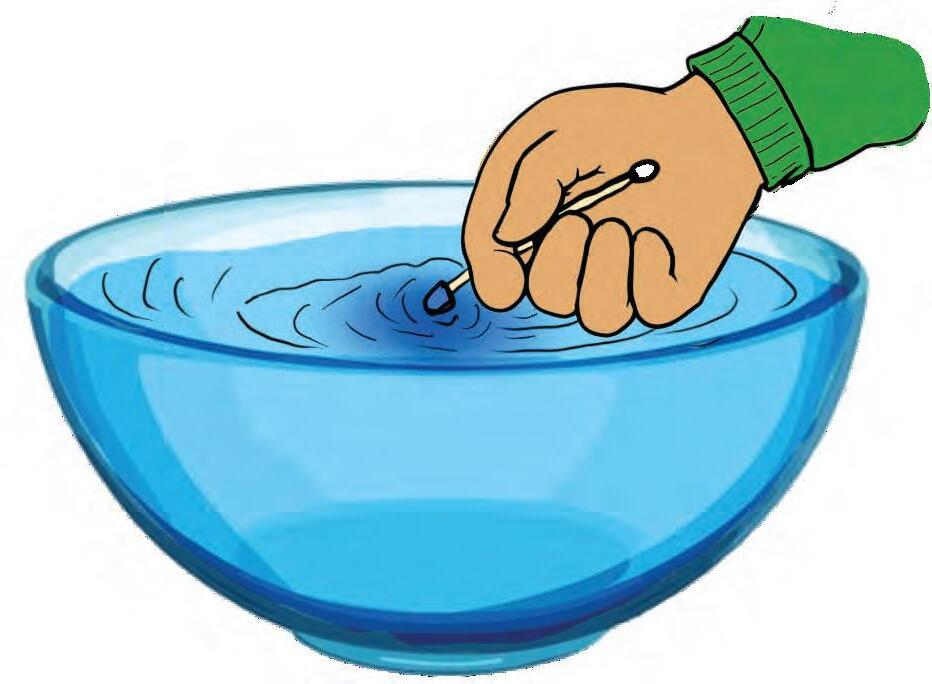
Rohan di d the Magic Milk experiment, but he did not see any swirls when he touched the milk with the soaked cotton bud. What do you think Rohan might have NOT used?
A. Oil
B. Dish so ap
2.
You saw your friend use 10 drops of food colouring in the milk and only 1 drop of soap. What might happen to the colours in the milk?
(a) The colours will not move.
(b) The colours will mix too much.
(c) The colours will move slowly.
(d) The milk will disappear.
3. Circle the object that does NOT help in the Magic Milk experiment.


Paper AEROplane
In this fun activity, we will make a paper aeroplane and learn how its shape helps it fly.

What we Need
• A4 size paper or origami sheet
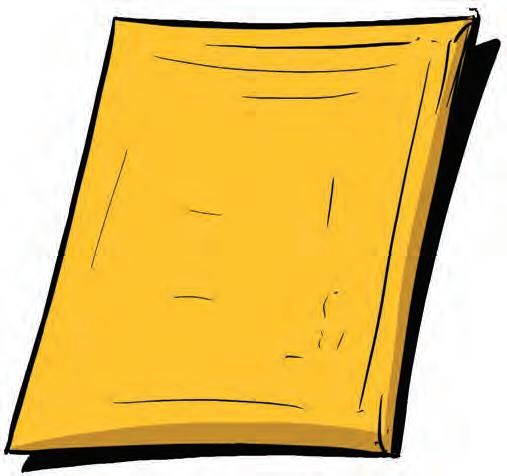
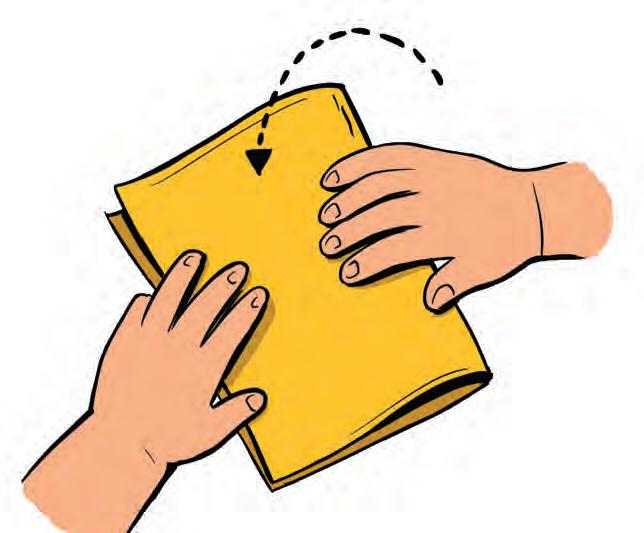
1. Fold the paper in half just like closing Let’s Begin

2. Open the paper to see the centre line. Fold both top corners down to touch the line.
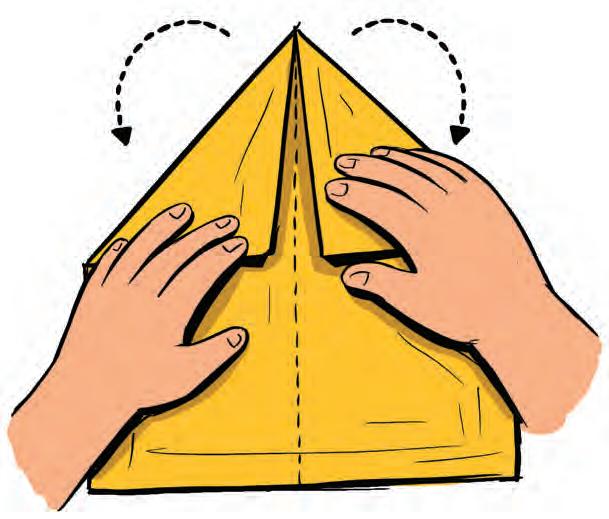
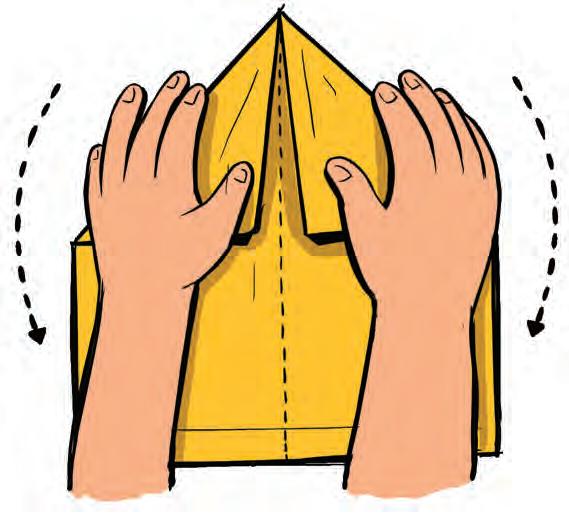
3. Fold the triangle down.
4. Fold the new top corners in again so they meet at the middle.

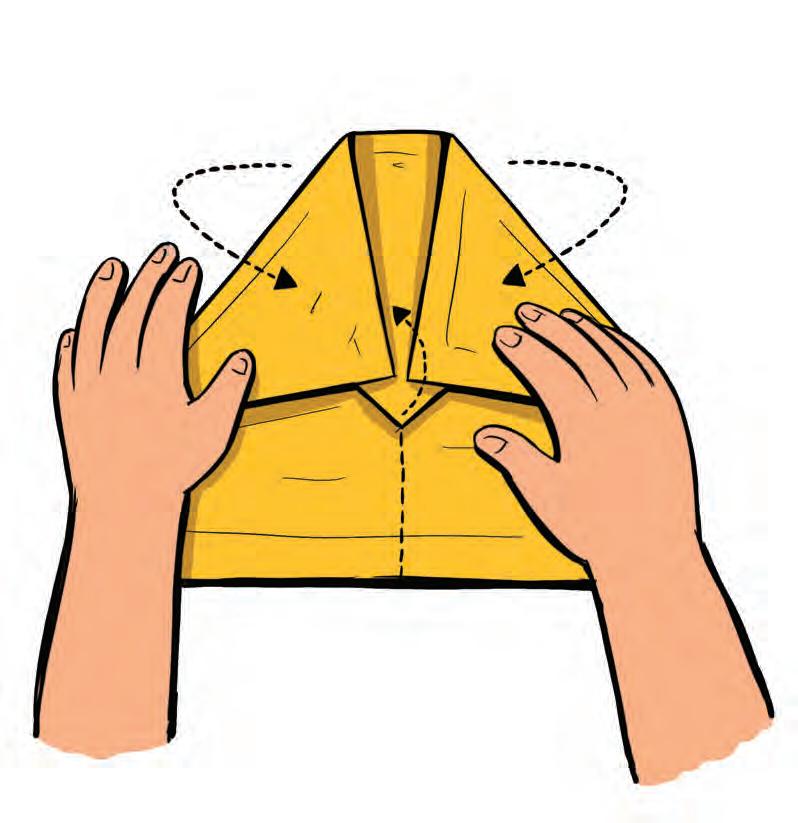
6. Fold the paper in half along the middle line. Fold one wing down, then the other.
5. Fold the small tip up to lock the folds.
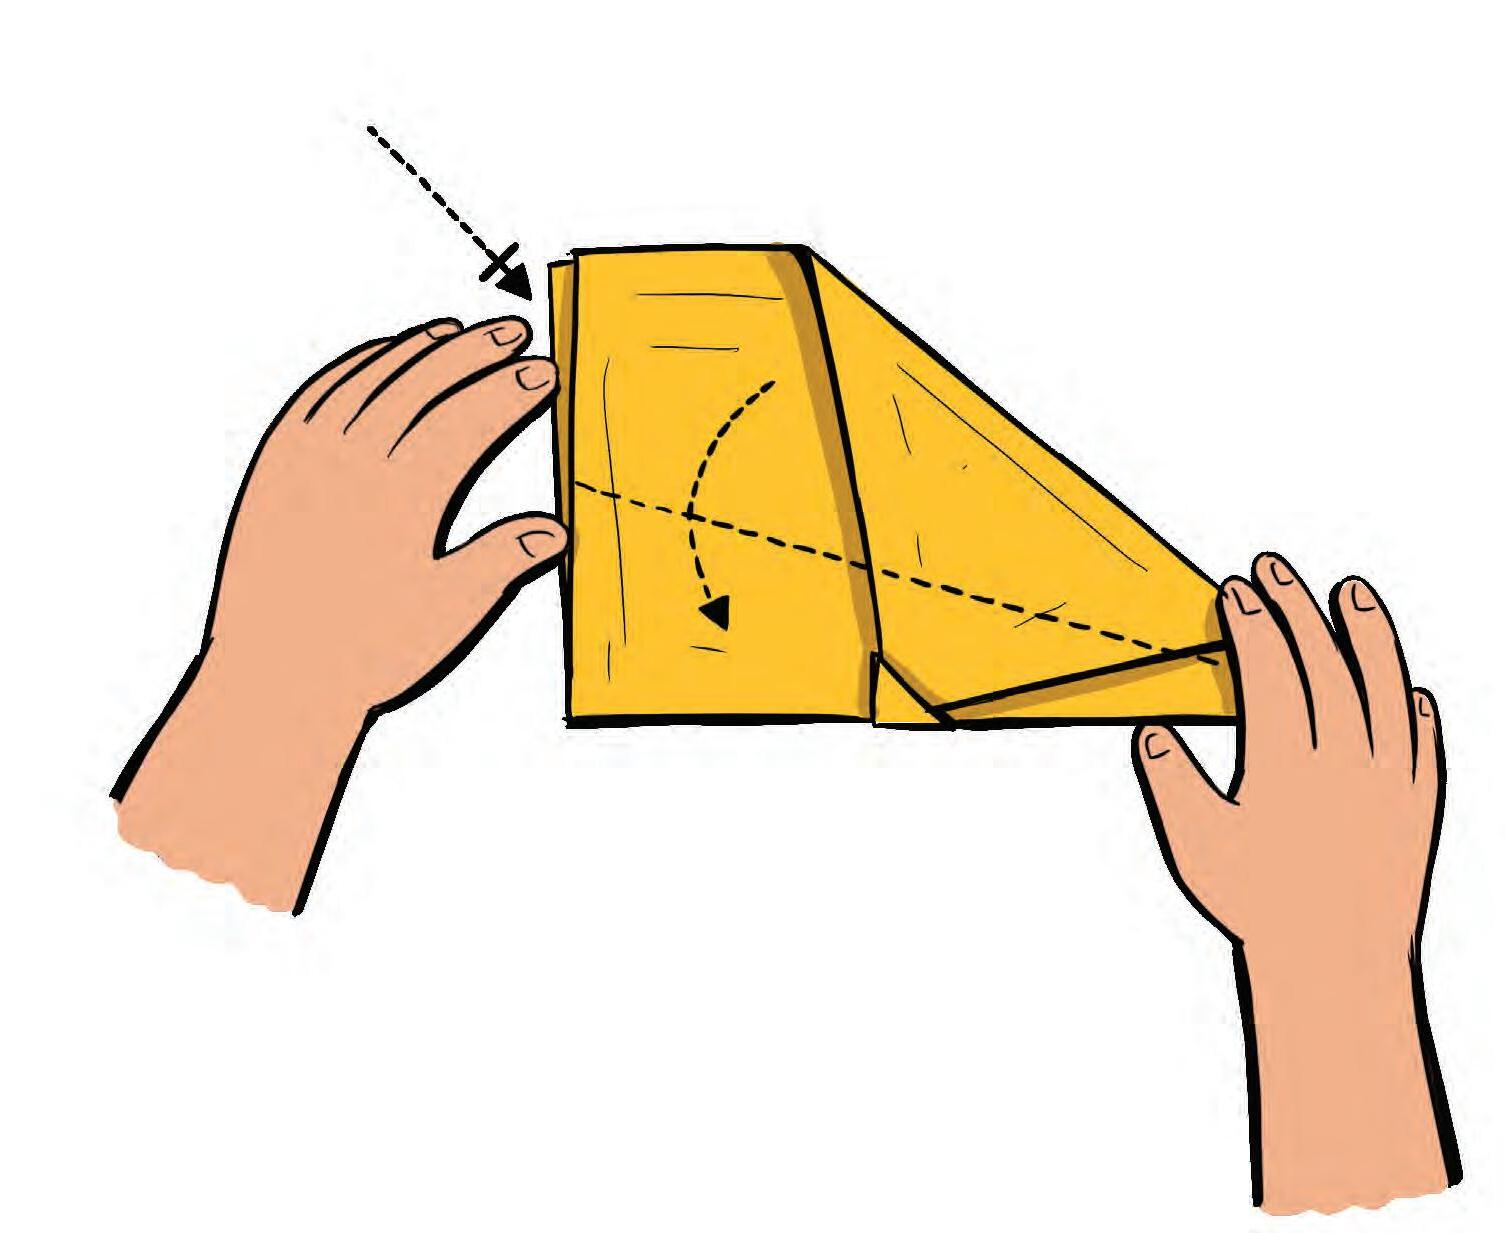

7. Open the wings and straighten them. Your paper plane is ready to fly!
Watch out
Do not aim the plane at anyone’s face or eyes.
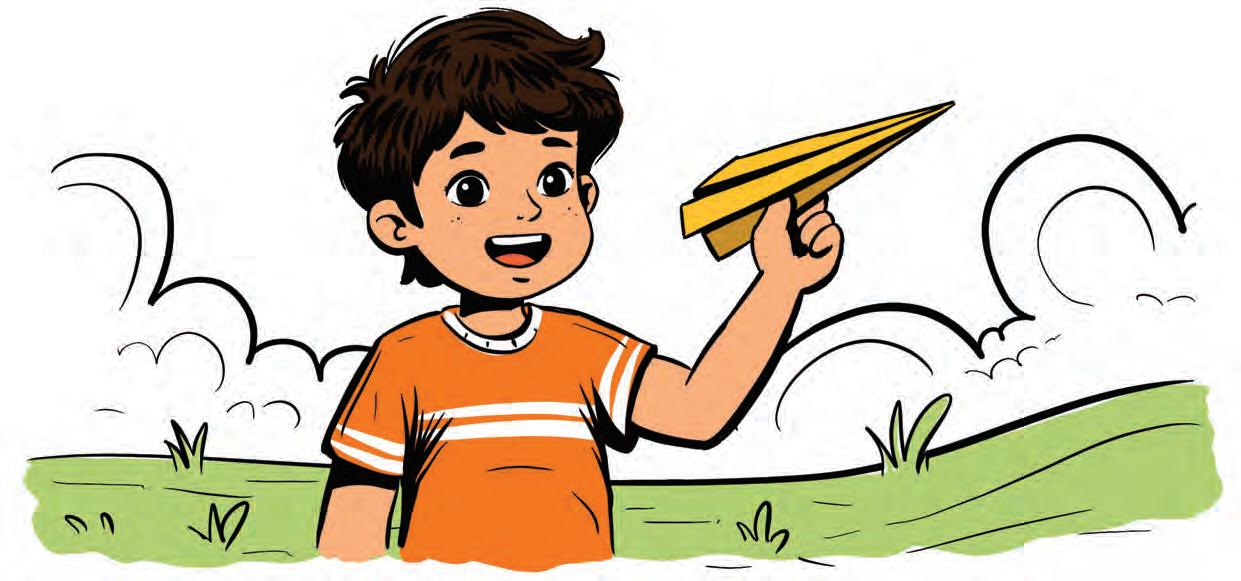
Activity in Action
ScIence BehInd It...
A paper aeroplane moves through the air when you throw it. Its shape helps it go far and stay in the air longer.
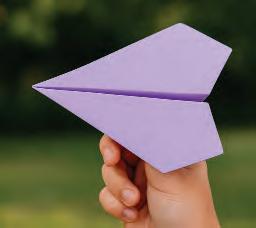
1. Tick ( ) the correct option.
(a) Which of the following can fly?

(b) Which of the following helps an aeroplane fly?

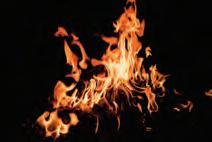
2.
Help the plane fly safely to the air port.

Colourful Patterns
In this fun activity, we will learn how to form patterns using bindis of different colours!
What we need
• 4 ice cream sticks
• Bindi stickers in 2 colours

Let’s Begin

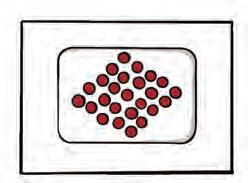

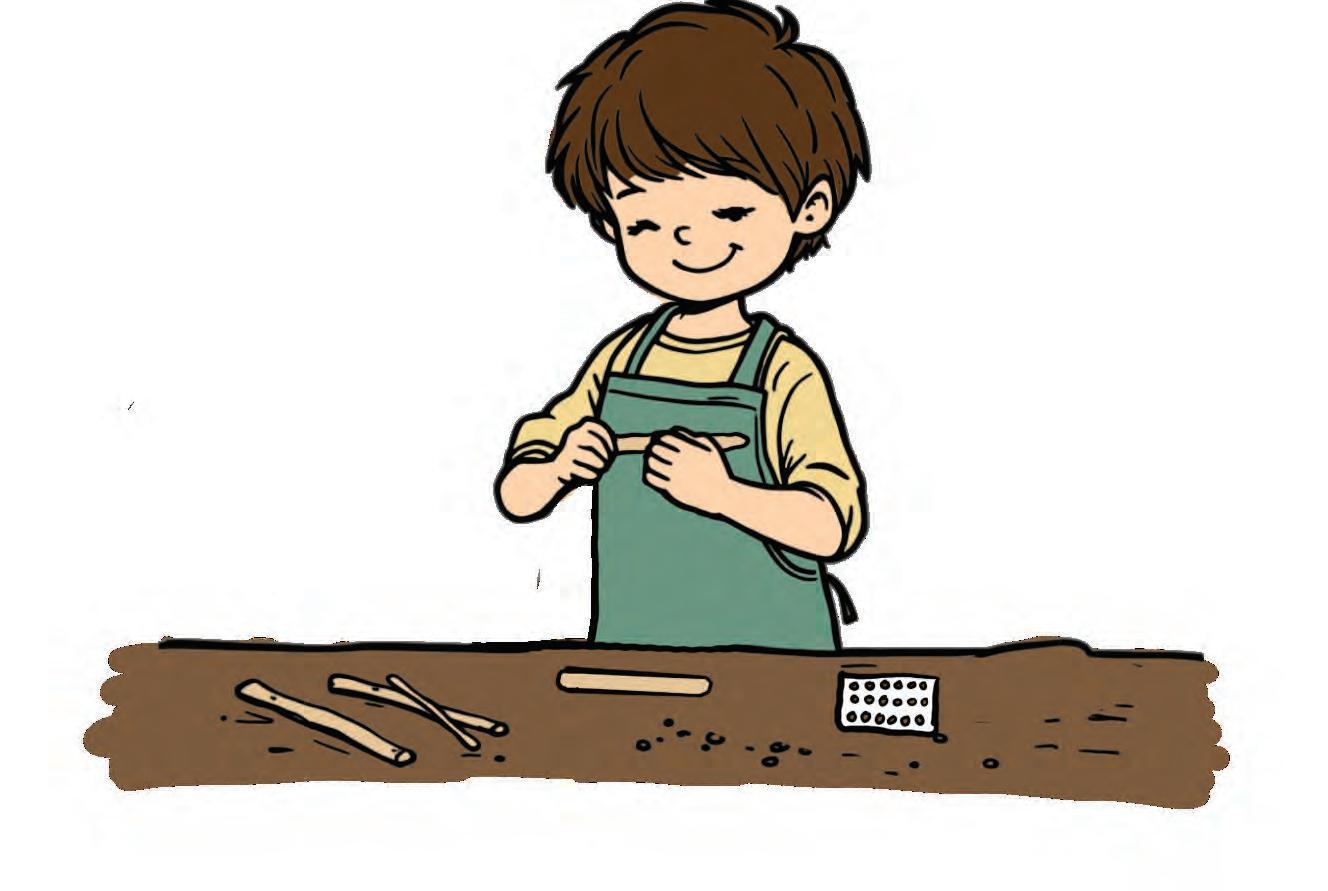
1. Take one ice cream stick.
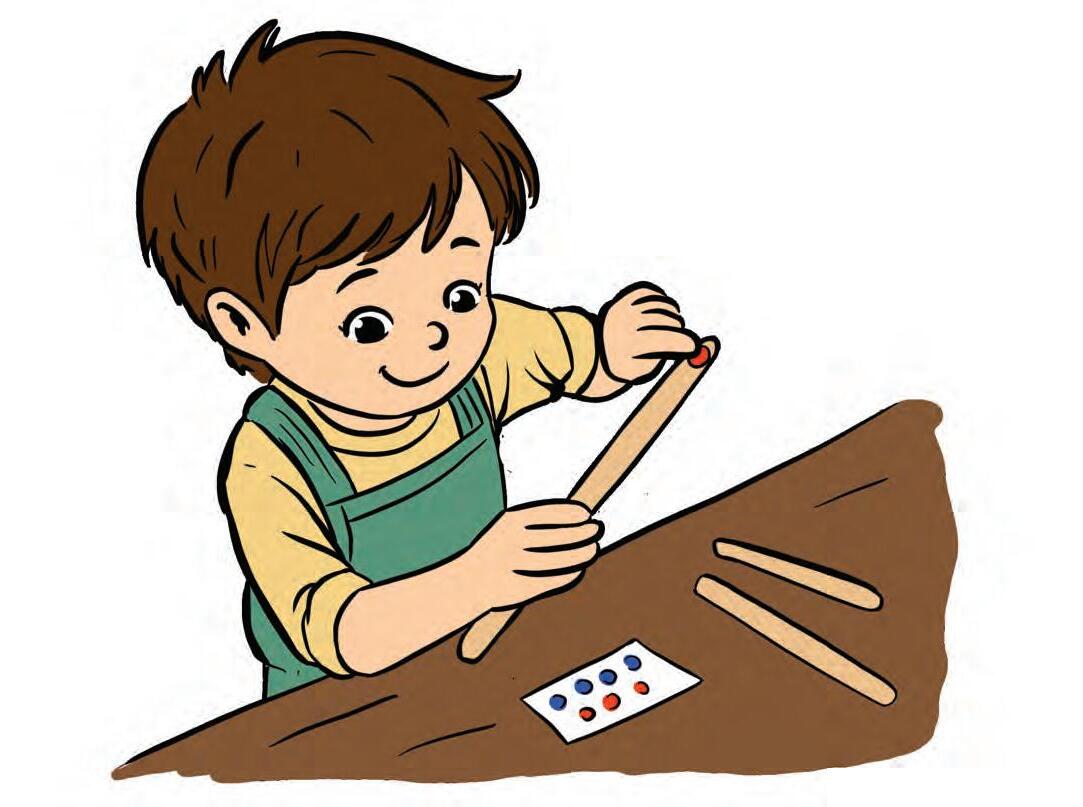
3. Stick a bindi of another colour next to it.
2. Stick a bindi of any one colour on one end.
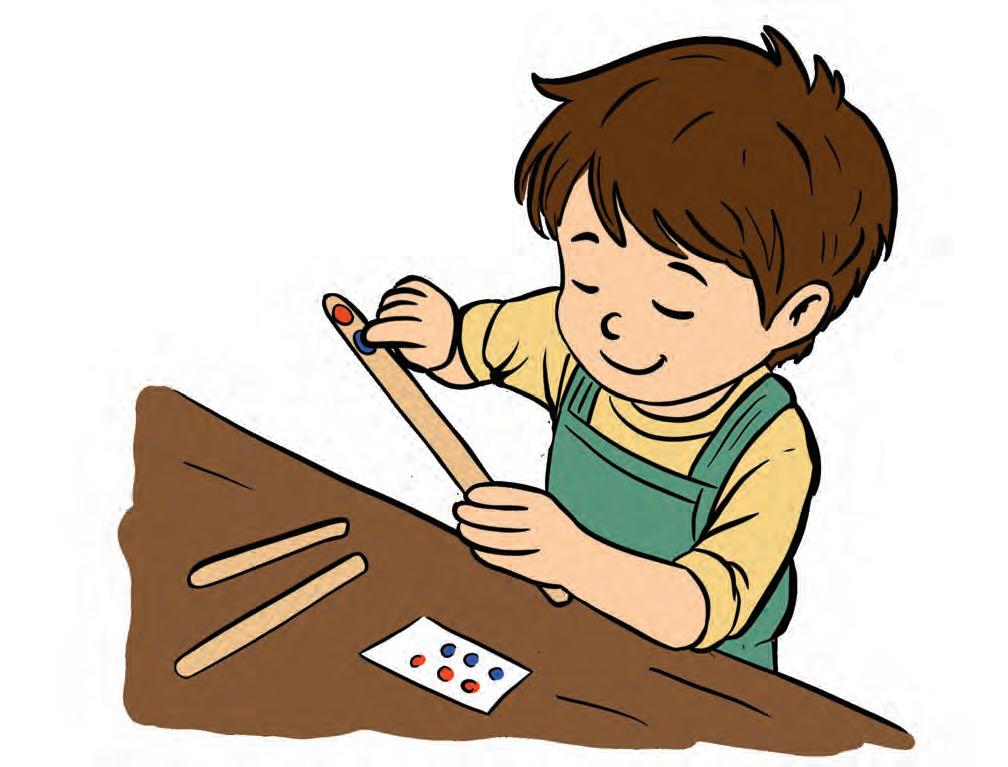


4. Keep sticking both colours one after the other. The colourful pattern is ready.

Watch out
Do NOT pull off too many bindis, they might stick together.
Activity in Action
ScIence BehInd It...
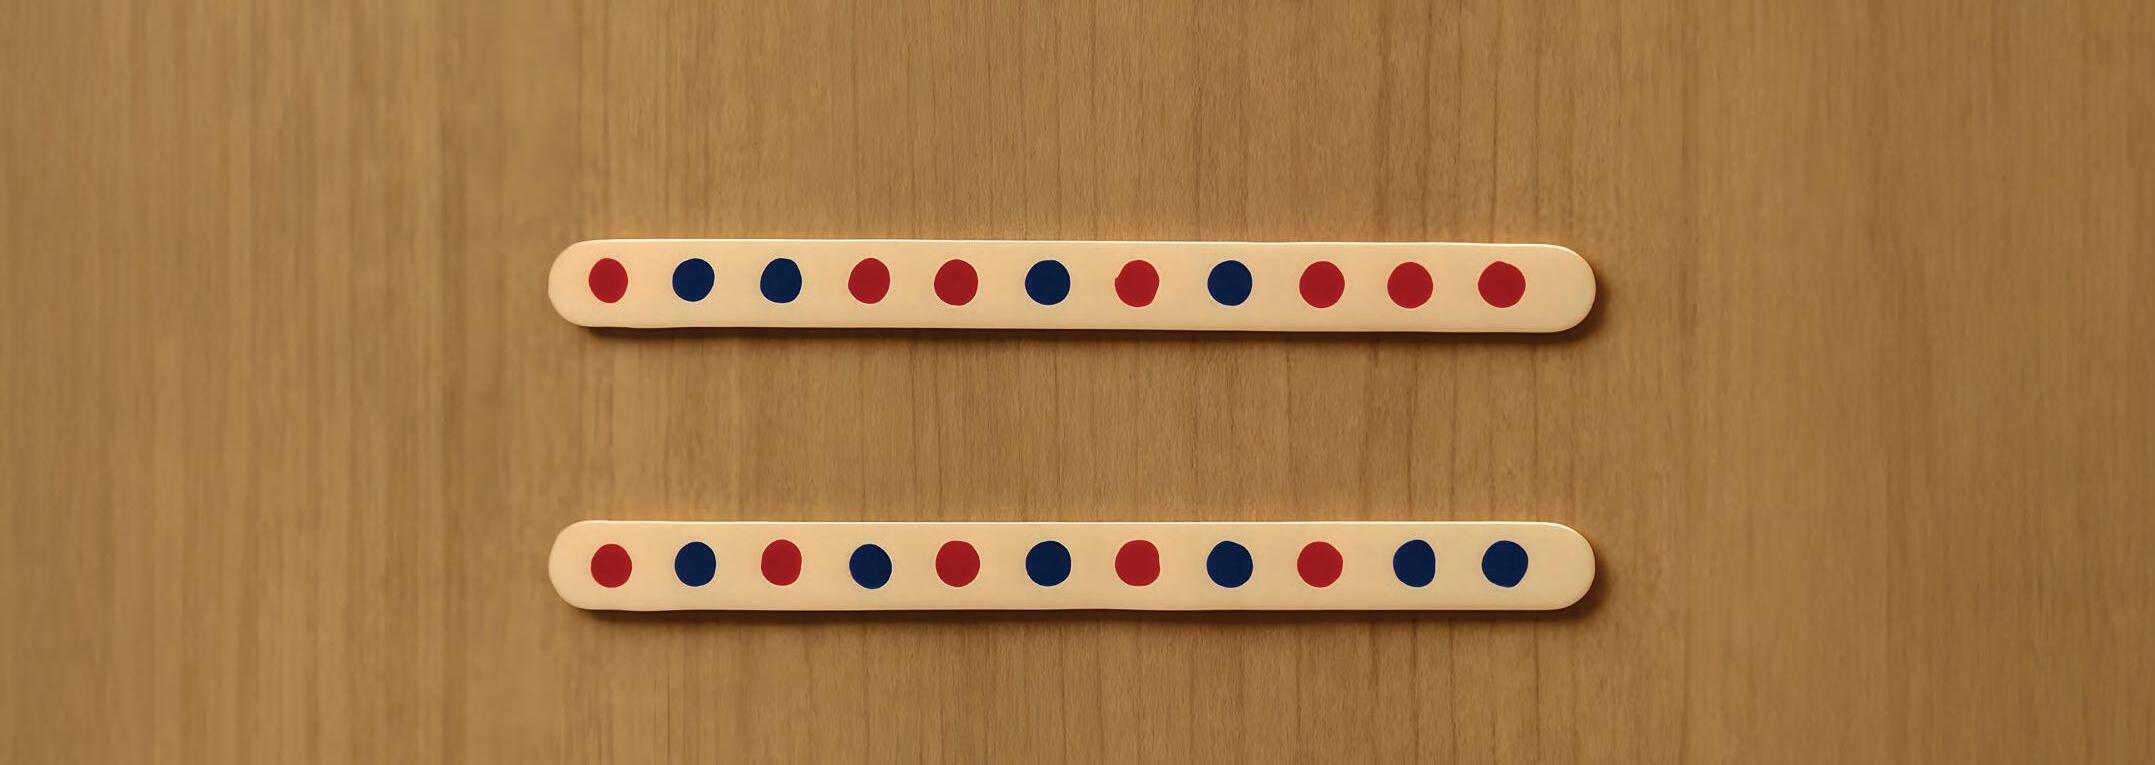
We can form patterns using different colours by repeating them in order.
Find Out More !
Take more ice cream sticks and make your own fun patterns like red, red, blue, red, red, blue!
Check your learnIng!
1. Circle the shape that comes next.
2. Colour the circles according to the given pattern.

Float wIth FoIl
In this experiment, we will see how the shape of an object can help it float or sink in water.
What We Need
• Aluminium foil
• A plastic or glass bowl


• A table or flat surface
• Water
Let’s Begin
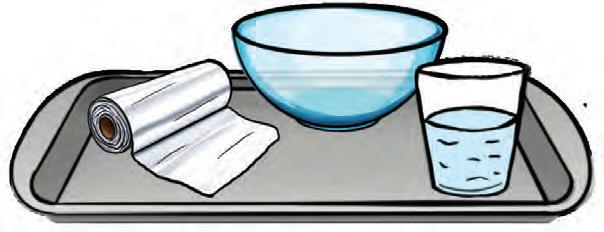

1. Fold a small piece of aluminium foil into a tiny boat. Put it in the water.
Watch out
Be gentle while placing the foil boat in the water.
2. Put 1 or 2 coins in the foil boat and watch it float.

Real-lIfe Connect
Some animals like otters and seals can float in water. They have special fur and body shapes that help them stay on top.
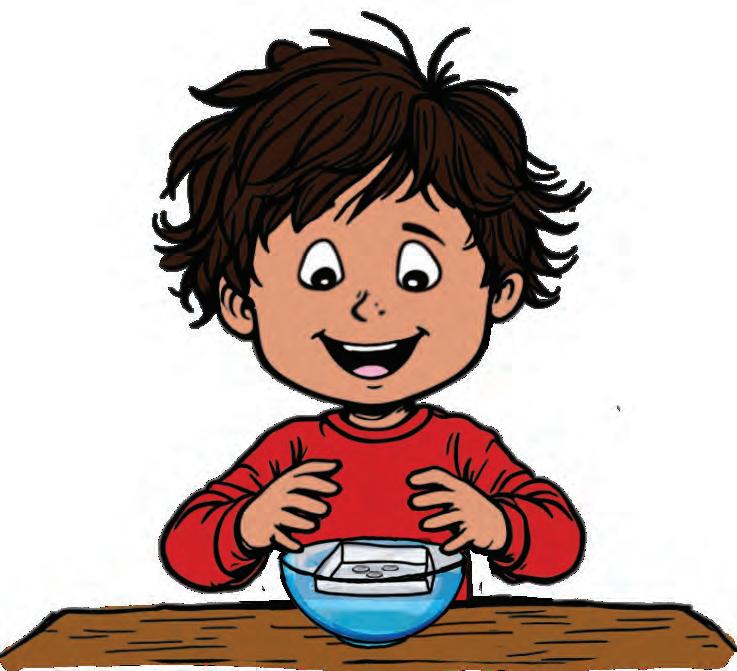
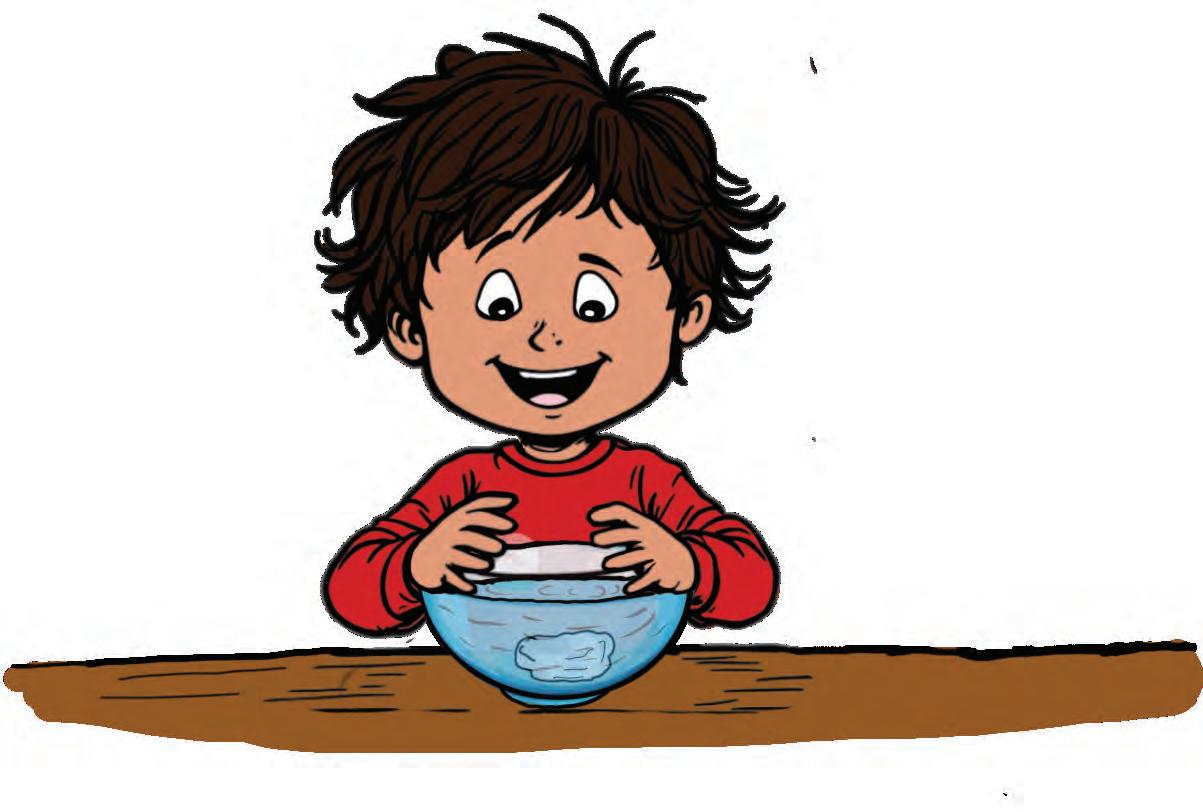
3. Take out the foil boat. Carefully crumble it into a small ball with the coins inside.


4. Drop the foil ball in water and see it sink.
Activity in Action
ScIence BehInd It...
Objects float or sink depending on their shape and what they are made of. A foil boat or bowl shape is spread out and floats on water while the crumpled ball is small and heavy, so it sinks.
Find Out More !
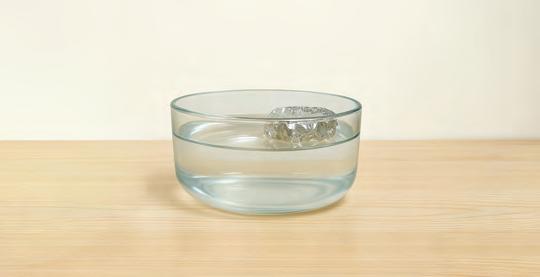
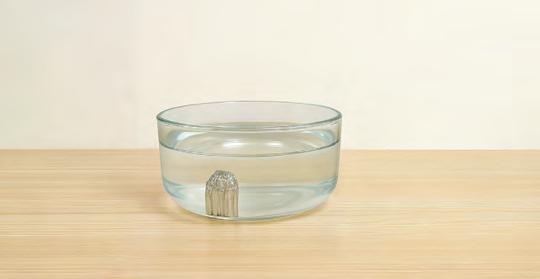
Try making a ball or boat out of paper and see if it sinks or floats in water.
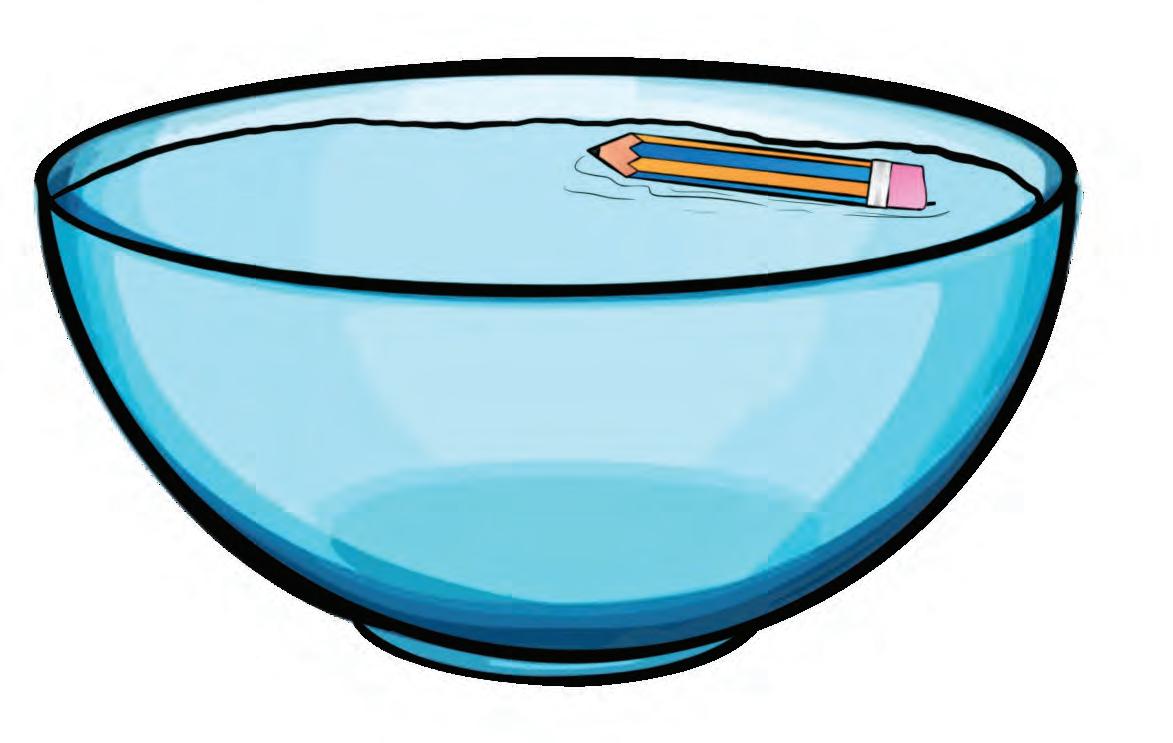
1. Draw and colour the things that will float or sink in the water bowl. One has been done for you!
Pencil Wooden block Coin Ring
2. Look at the pictures. If the object floats on water, write ‘F’. If the object sinks in water, write ‘S’. Check your

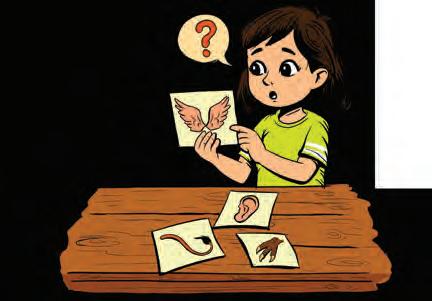
Whose Part Is It?
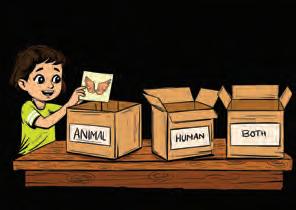
In this fun activity, we will look at different body parts and decide if they belong to humans, animals or both!
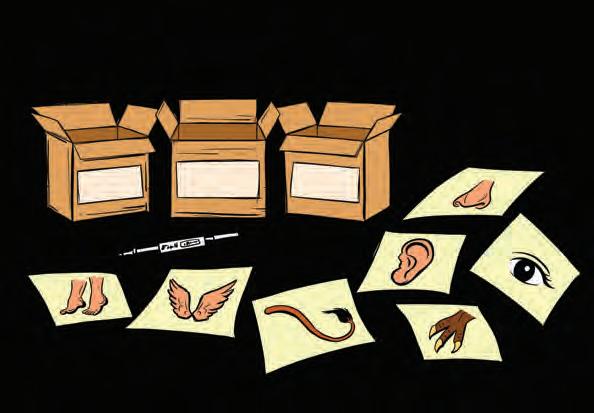
What We Need
Let’s Begin
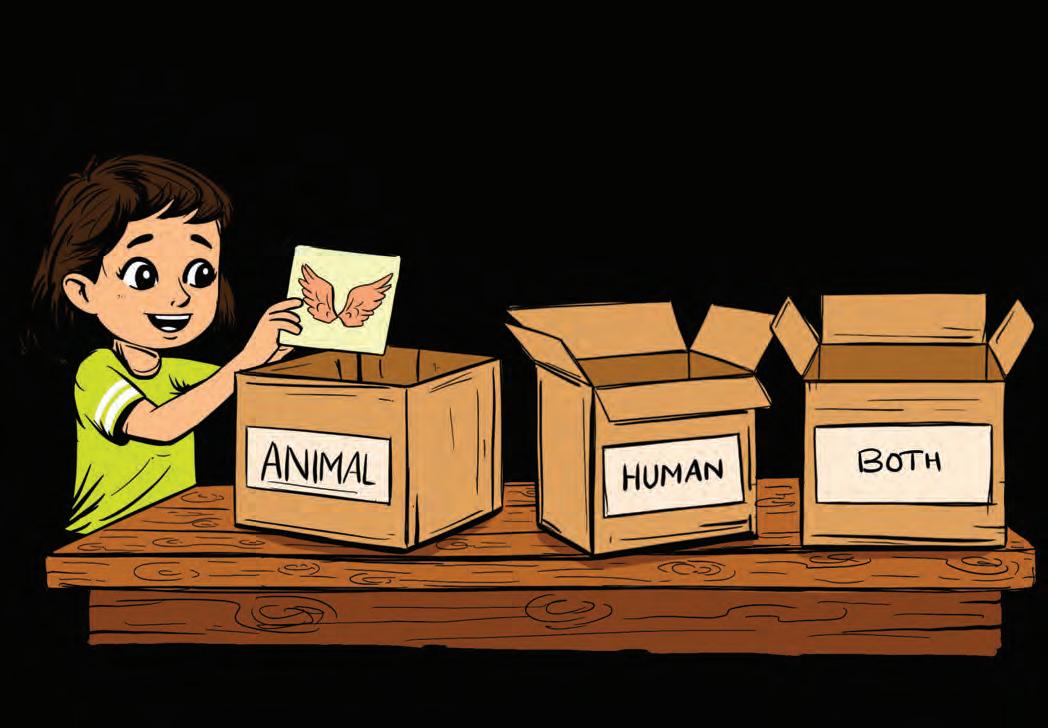
3 small cardboard boxes A marker Picture cards of body parts (e.g. a tail, wings, legs, ears, a nose, arms, eyes, claws,etc.) 1.
Take 3 empty cardboard boxes and ask an adult to help you label them: HUMAN ANIMAL BOTH
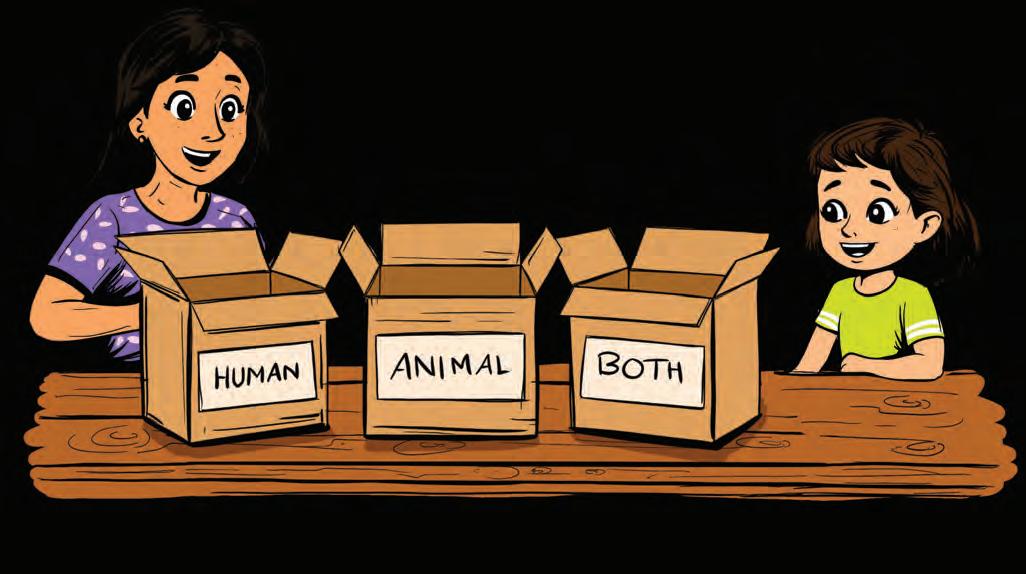
Pick a picture card and look at the body part. Ask yourself, 'Is this found on an animal, a human or both?'
Be gentle with the cards – do not bend or tear them. Watch out
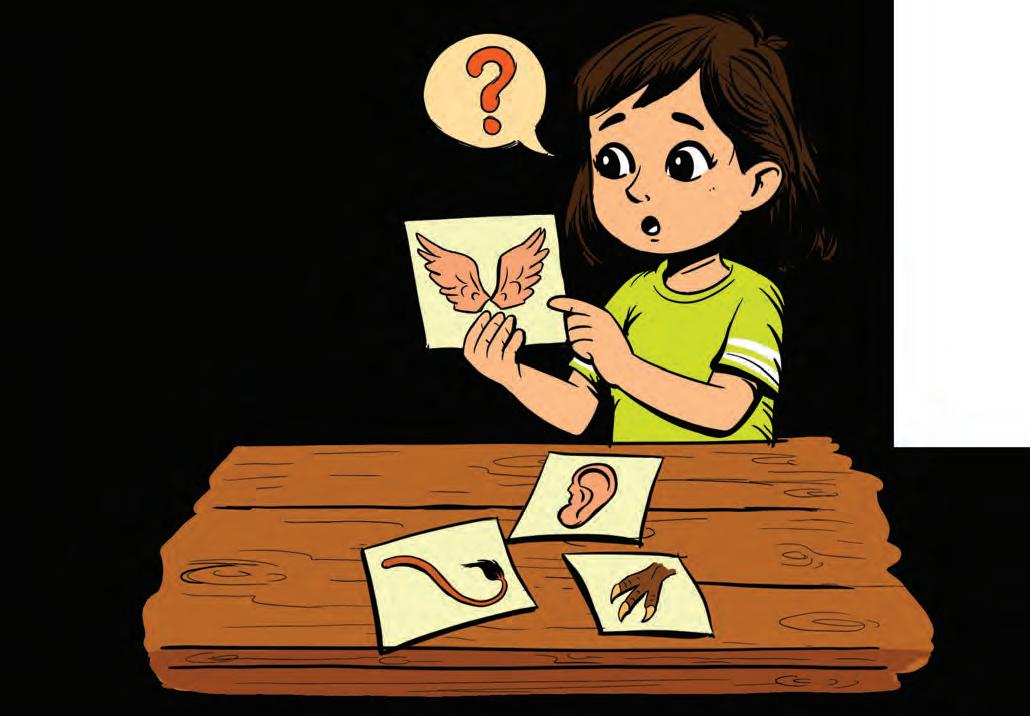
Decide where it belongs, then drop the card into the correct box and say it out loud! Example: 'Wings — animals!' 3.
Humans and dogs both have noses, but a dog’s nose is about 40 times better at smelling! DId You Know?


4.
Take turns with your friends until all the cards are sorted.

Find Out More!
4. Activity in Action
ScIence BehInd It...
Humans and animals have some body parts that are the same and some that are different, based on how they live and what they do.
Take turns with your friends until all the cards are sorted.
List different body parts of animals and humans. For example, feet, ears and eyes in humans. Similarly, tails of dogs and wings of birds. Try to group these body parts by what they do. For example, eyes help humans and animals to see and wings help birds to fly.
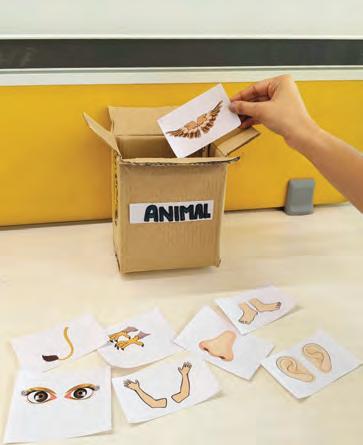
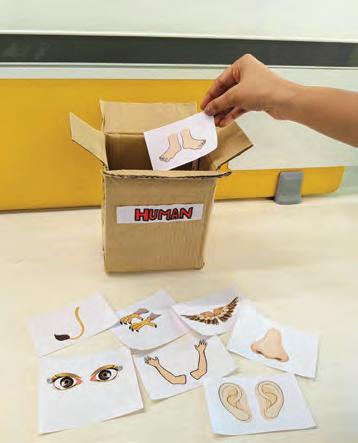
Find Out More!
ScIence B
Humans and animals have some body parts that are the same and some that are different, based on how they live and what they do.
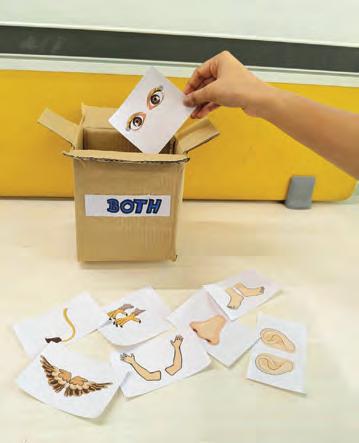
List different body parts of animals and humans. For example, feet, ears and eyes in humans. Similarly, tails of dogs and wings of birds. Try to group these body parts by what they do. For example, eyes help humans and animals to see and wings help birds to fly.
1.
2. Check your learnIng!
Tick ( ) the correct answer.
Look at these claws! Who do they belong to? A.
Both (a) (b) (c)
Human Animal
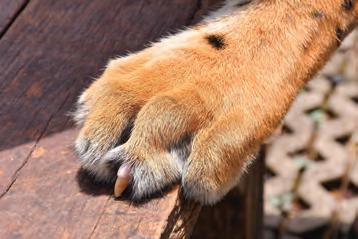
Arms
Nose Tail Legs (a) (b) (c) (d)
Fill in the blanks.
Both birds and humans have legs, but birds also have ________ (wings/tails) to fly.
Both humans and animals use their ________ (ears, nose) to hear sounds.
Humans use their arms and hands to ________ things. (hold / smell)
3. Tick ( ) True/False.
A dog and a human can both smell with their nose.
Which of these is found only in animals? B. True False

AnImal Foot Race
In this activity, we will use animal footprints to measure the length of different objects.
What We Need
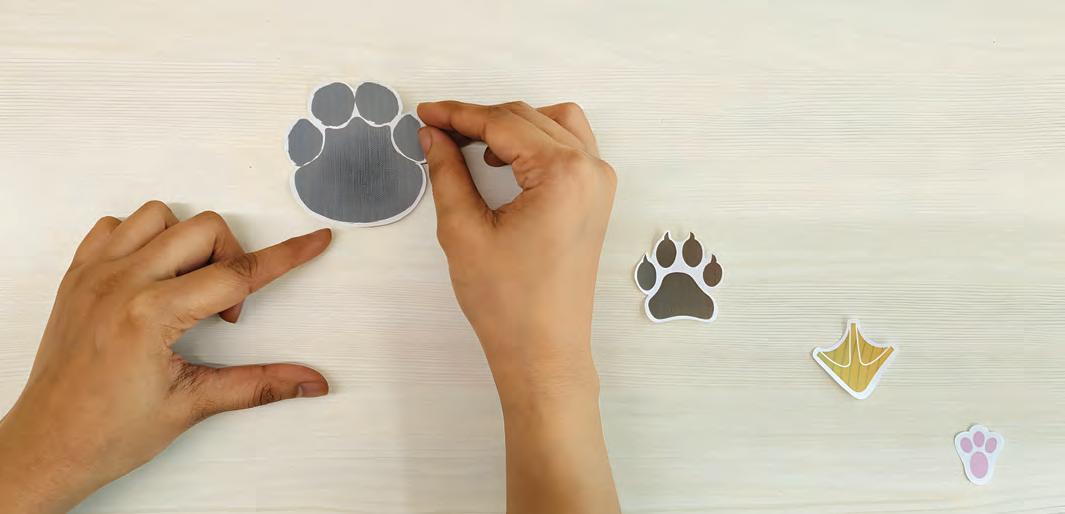
• Cutouts of animal footprints: lion, elephant, rabbit, duck

• Objects to measure: A table A desk A blackboard
Let’s Begin
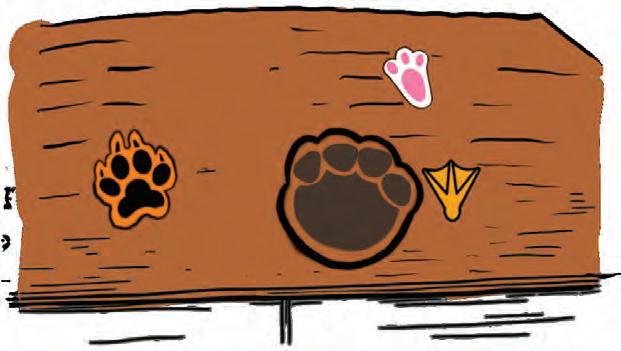
1. Take an animal footprint to start measuring.
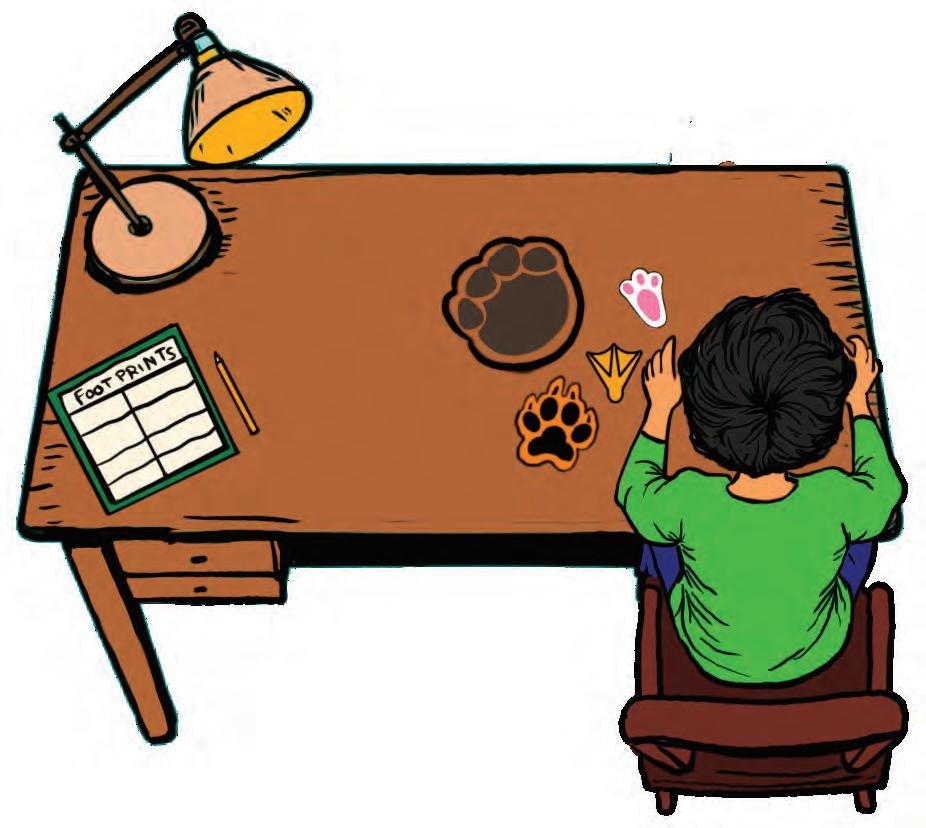
2. Place the animal footprint at one end of the object (e.g. the table). Place the prints one after the other in a straight line without leaving any gaps.
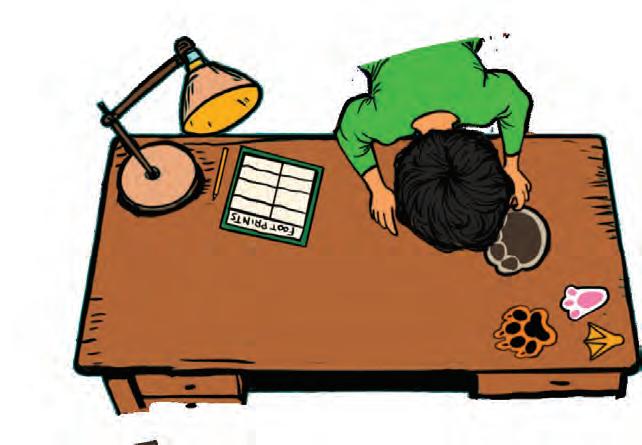
3. As you place each footprint, count out loud — ‘1, 2, 3…’ to see how many footprints it takes to reach the end of the table.
Watch out
Place the footprints without leaving gaps. Do not let the footprints overlap.

4. Repeat the steps with other animal footprints for each object. Write how many steps each animal footprint took to measure the objects in the given table.
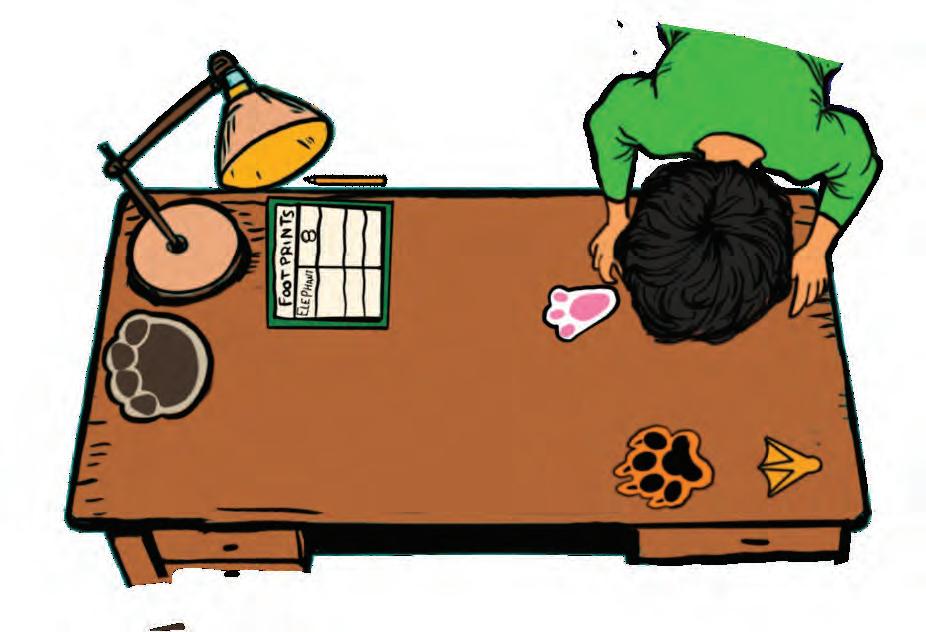

Animal Lion Elephant Rabbit Duck
Table Blackboard Desk
5. Discuss which animal footprint took more steps or fewer steps to measure the same object.
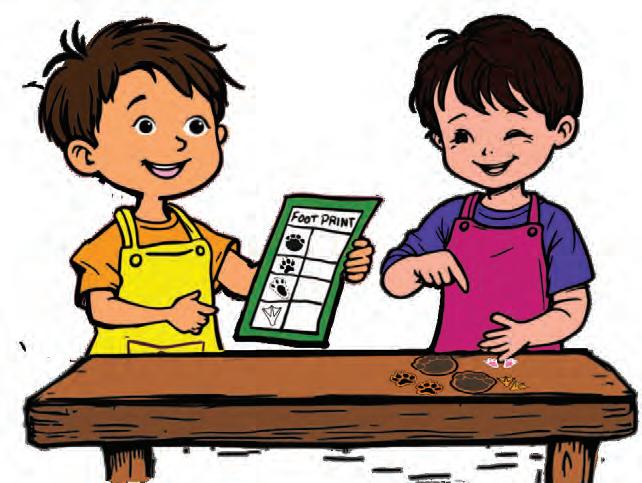
Activity in Action
ScIence BehInd It...
Different sizes of footprints give different counts for measuring the same object. This activity helps us understand measurement using non-standard units.
Find Out More !
Draw your footprint and your parent’s footprint. Use both to measure the same thing, like the length of a sofa or a table. Compare the number of steps taken.
Check your learnIng!
1. Arrange the animal footprints by size. Write 1 for the smallest and 4 for the biggest one.
Footprint Animal
• Elephant
• Rabbit
• Lion
• Mouse
2. Tick ( ) the correct answer.
Step Order
A. Ar yan used mouse footprints and elephant footprints to measure a mat. Mouse footprints took 15 steps and elephant footprints took 6. What can we say about the mouse footprints?
(a) They are longer than elephant footprints.
(b) They are shorter than elephant footprints.
(c) Both are the same size.
3. Tick ( ) True/False.
The bigger the footprint, the more steps it takes to cover the distance.


Shadow Fun
In this activity, we will learn how light makes shadows.
What We Need
• A torch or mobile flashlight
• Pencil Let’s Begin


1. Turn off the room lights.
2. Switch on the flashlight and shine it on the wall.

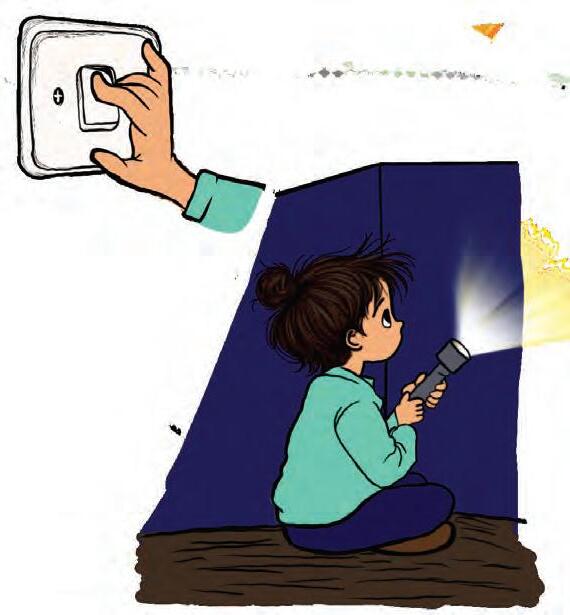
3. Hold the pencil in front of the light.

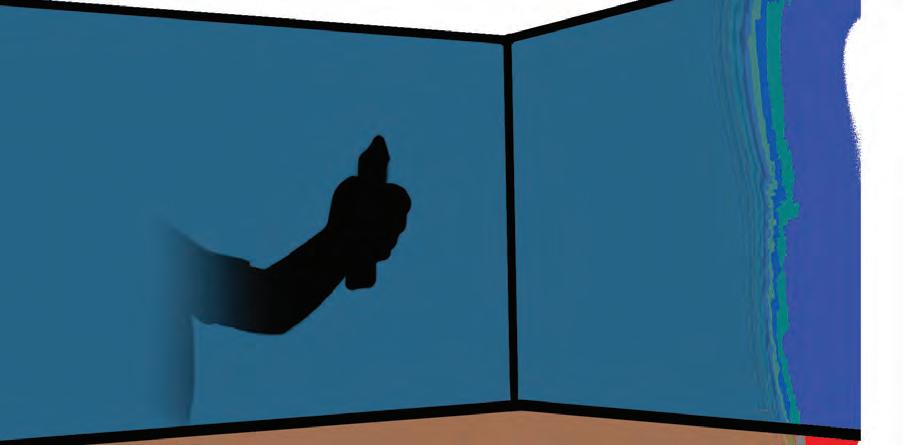
4. Look at the wall! You will see the shadow of the pencil!
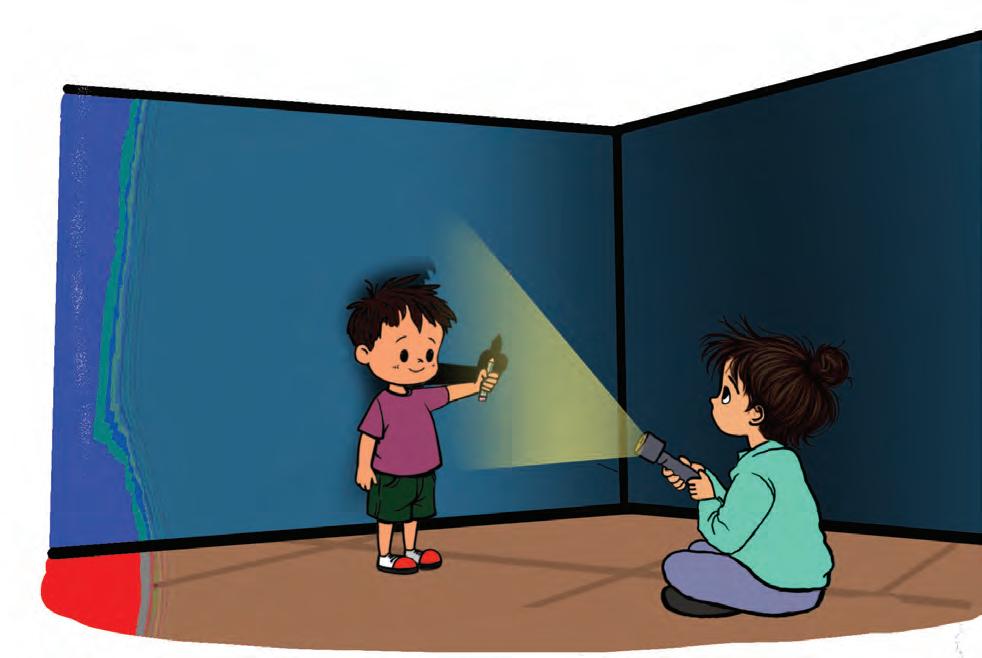
5. Move the pencil closer to the light. The shadow becomes bigger.

Activity in Action
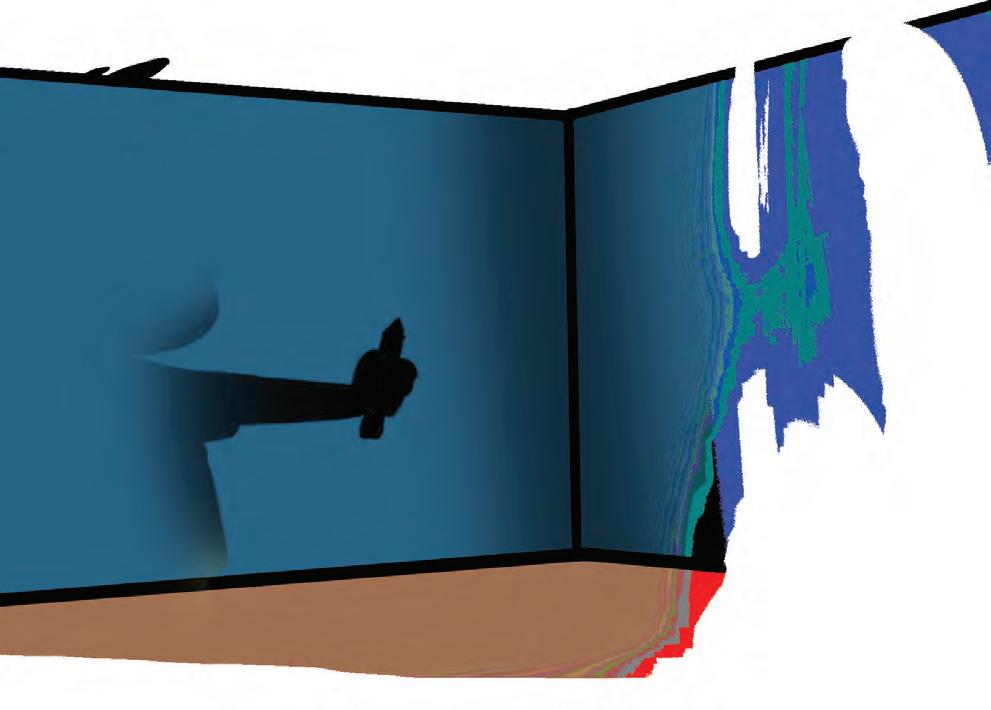
6. Now, move the object farther away. The shadow becomes smaller.
ScIence BehInd
It...
When something blocks the path of light, it makes a shadow.

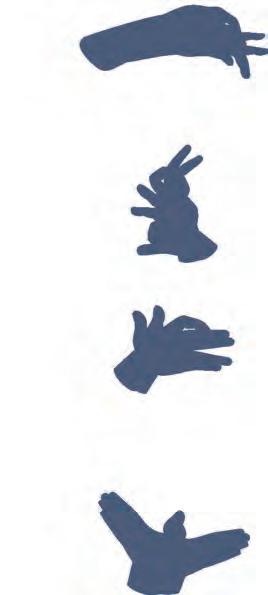
Use your hands to make fun shadow shapes like a butterfly or a bird! Find Out More !
Check your learnIng!
1. Draw a line to match each hand with its shadow.

2.
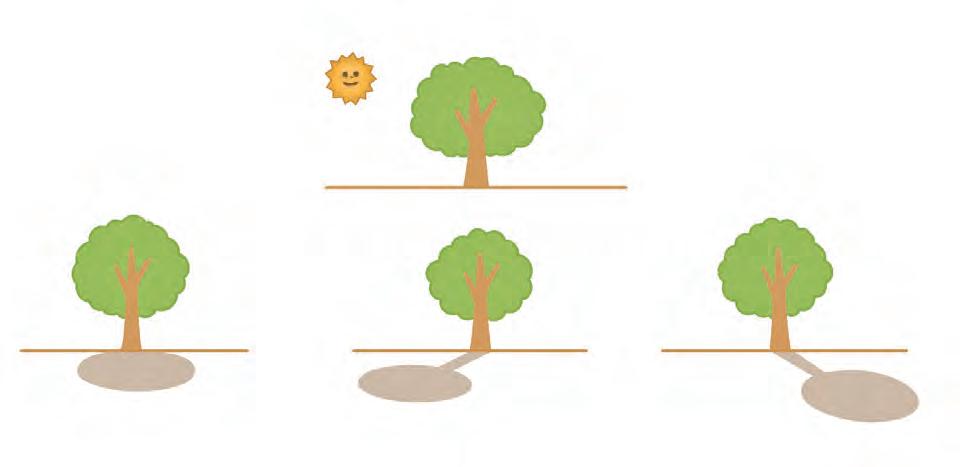
Cho ose the correct shadow of the tree.

Bubble Blast Art
In this fun activity, we will blow coloruful bubbles and use them to make beautiful prints on paper.
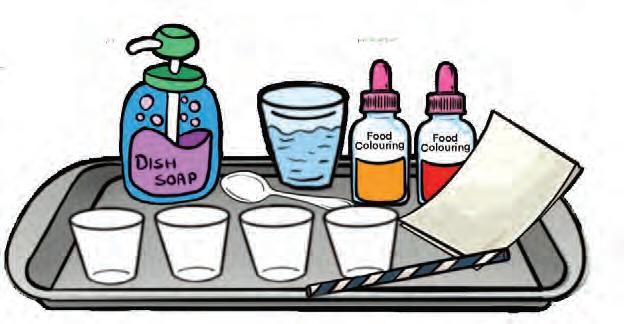
What We Need
• Dish soap
• Water
• Food colouring

• Straw
• Paper
• 3-4 cups
• Spoon
• Plate or tray
Let’s Begin
1. Fill a cup halfway with water and put it on a tray.
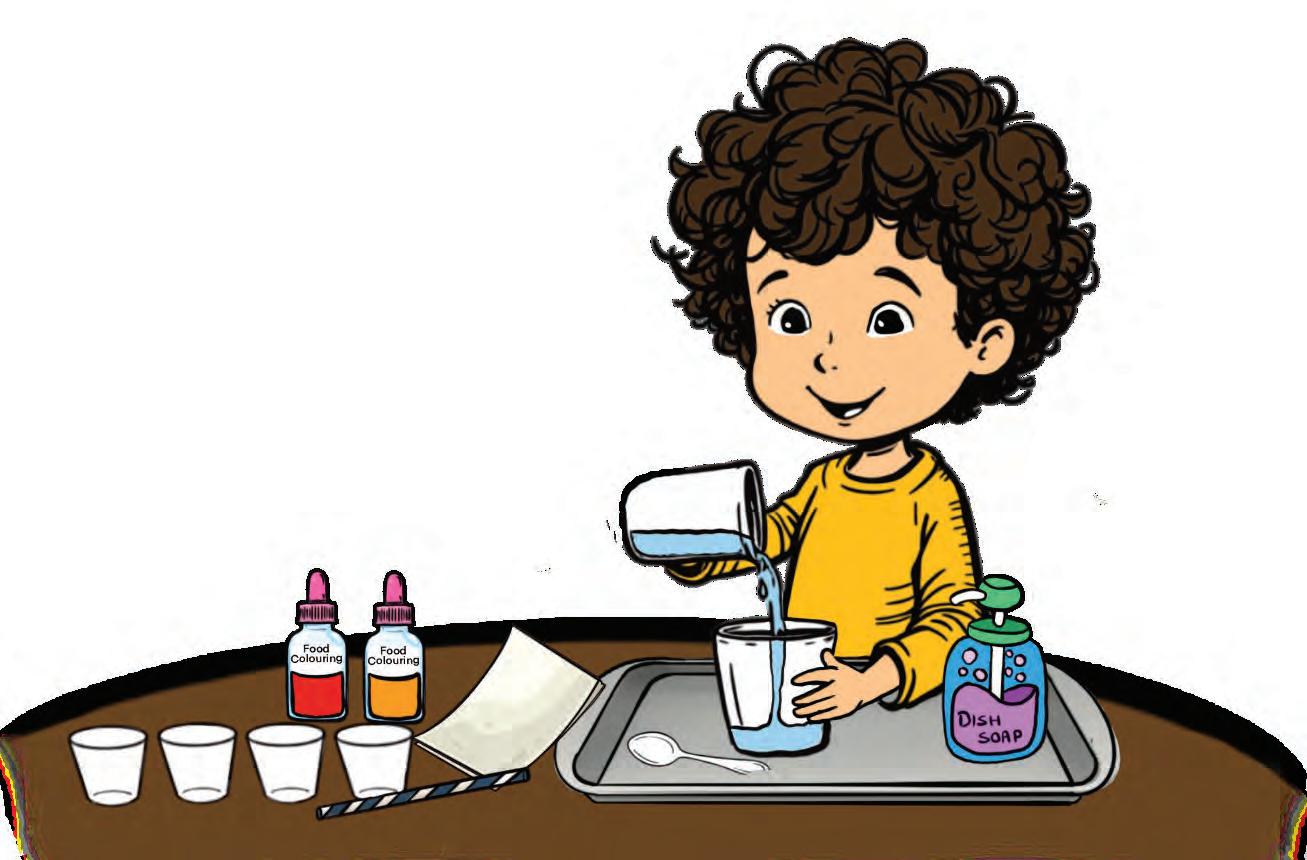
2. Add 1 teaspoon of dish soap and 2–3 drops of food colouring. Stir it gently with a straw.
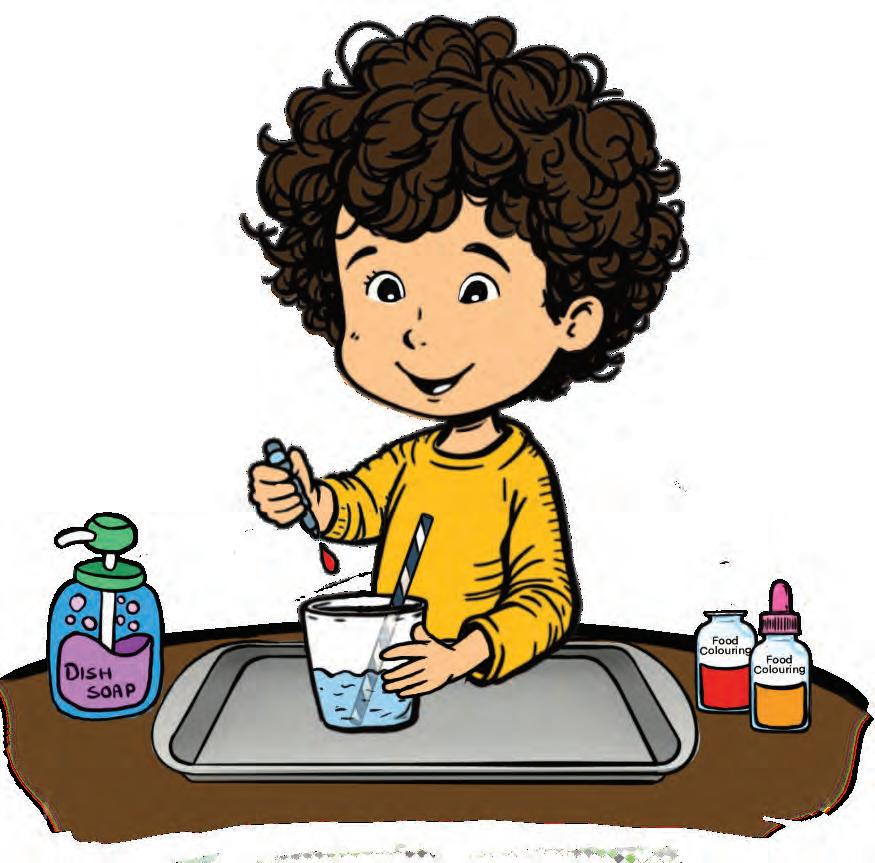
Watch out
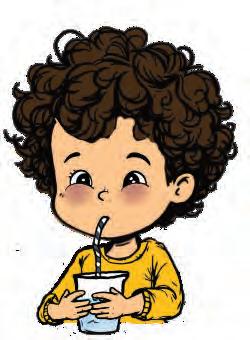
Use the straw to blow, not to sip.
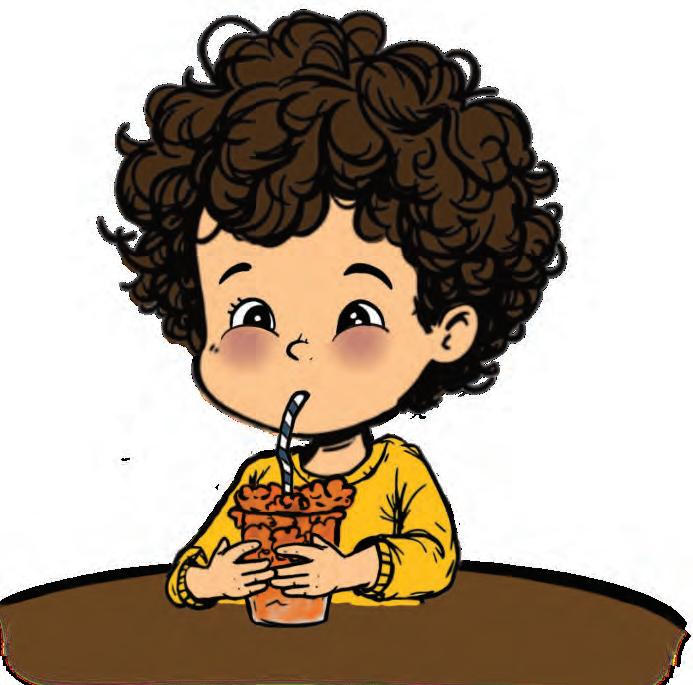
Place a straw into the cup. Now gently blow to make bubbles until they rise above the top.
4. Remove the straw and carefully press a piece of paper on top of the bubbles.

DId You Know?
Bubbles can be big and small but they are always round.

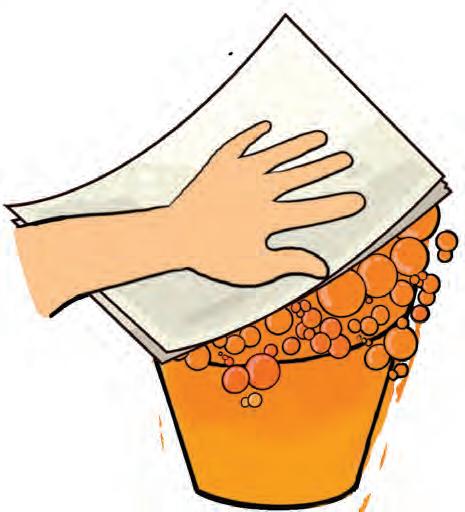

5. Lift the paper to see the bubble print! Try different colours to create beautiful designs.

Activity in Action
ScIence BehInd It...
Bubbles are made when soap mixes with water and traps air. When a bubble pops on paper, it leaves a colourful print behind!
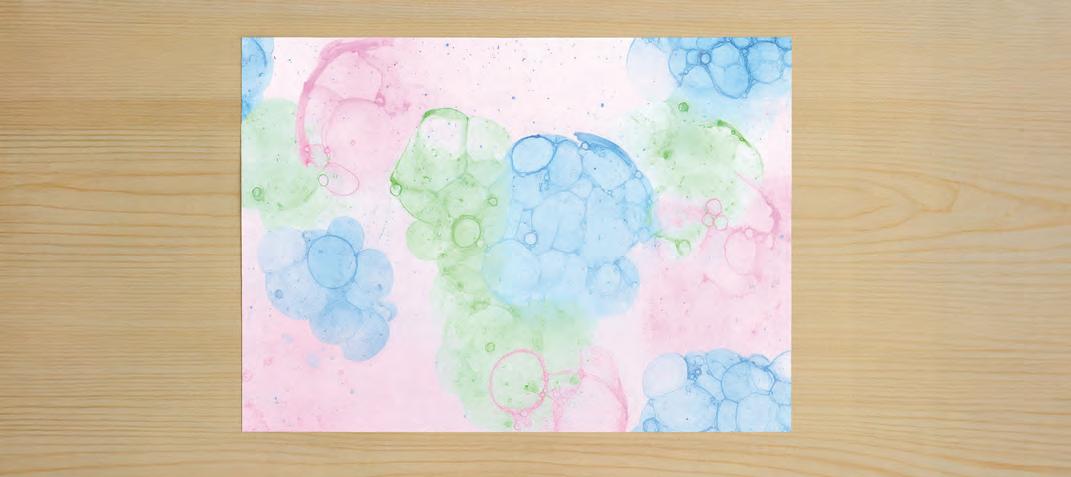
Try using different straw sizes to change the bubble size and print designs. Find Out More !
Check your learnIng!
1. Think and write.
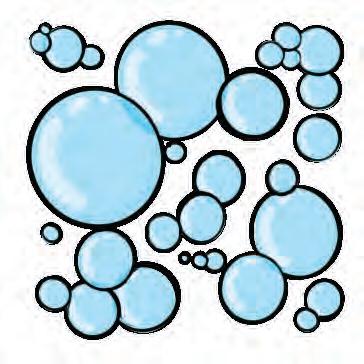
A. I am full of air, round and light, I p op and vanish out of sight! I help you make art that’s bright. What am I?
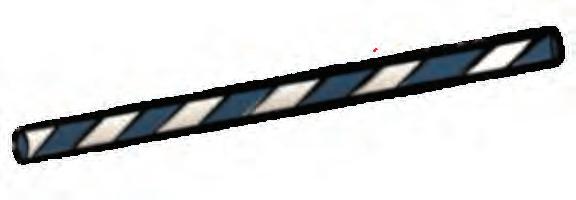
B. I’m long and thin, With me, bubbles begin! Put me in a drink or a cup, Blow through me — the bubbles go up! What am I?
2. What happens if you try to blow bubbles in a cup without soap?
A. No bubbles will form
B. Small bubbles will form
C. Large bubbles will form
3. Ria mixed red and yellow food colours in a soap and water mixture to form bubbles. Which painting will she get?
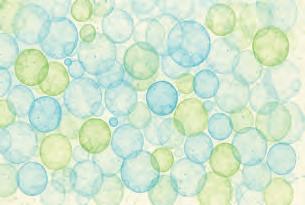
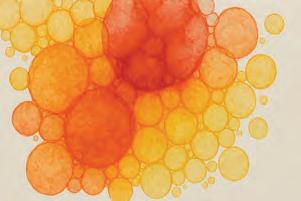


Straw Flute
In this activity, we will make a musical instrument using straws to create different sounds.
What We Need
7 to 10 drinking straws
A pair of scissors A tape
Let’s
1.
Begin
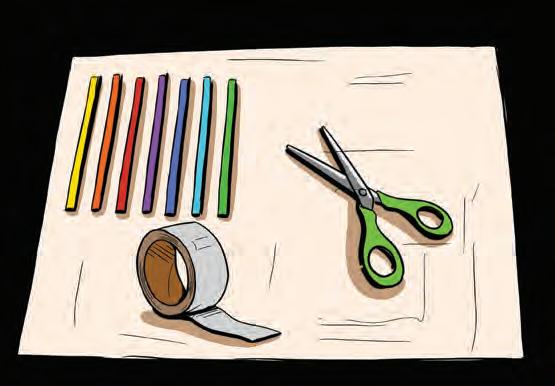
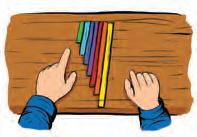
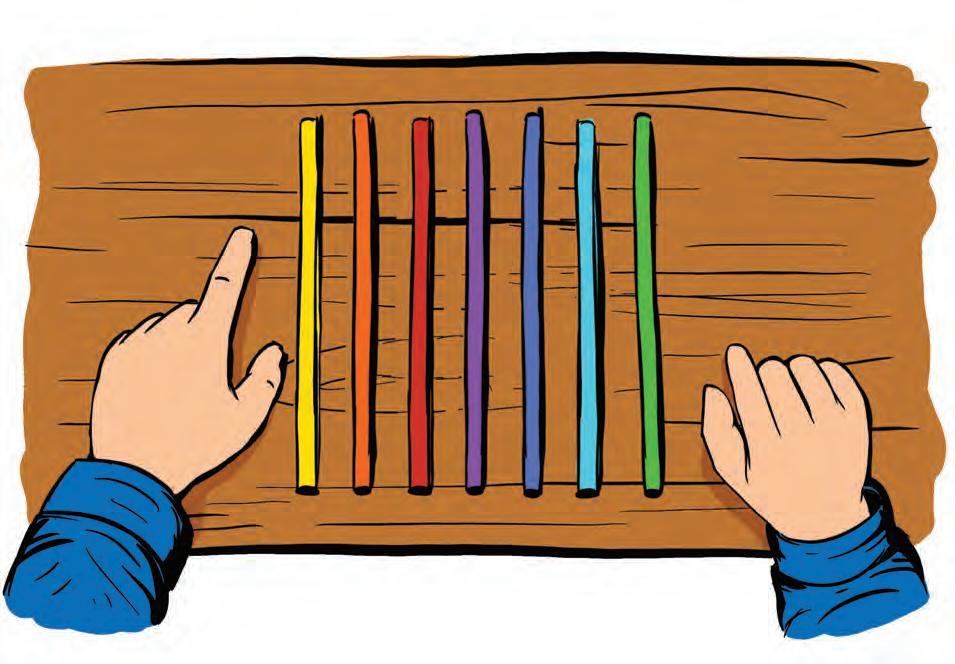
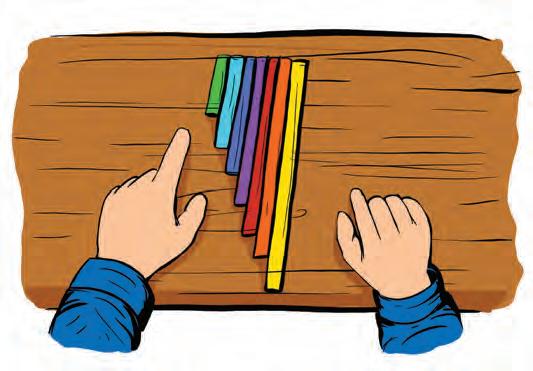
Line up the straws on a table to cut them one by one.
Watch out
Ask an adult to cut the straws for you. Do not mix up the order of the straws.
3.
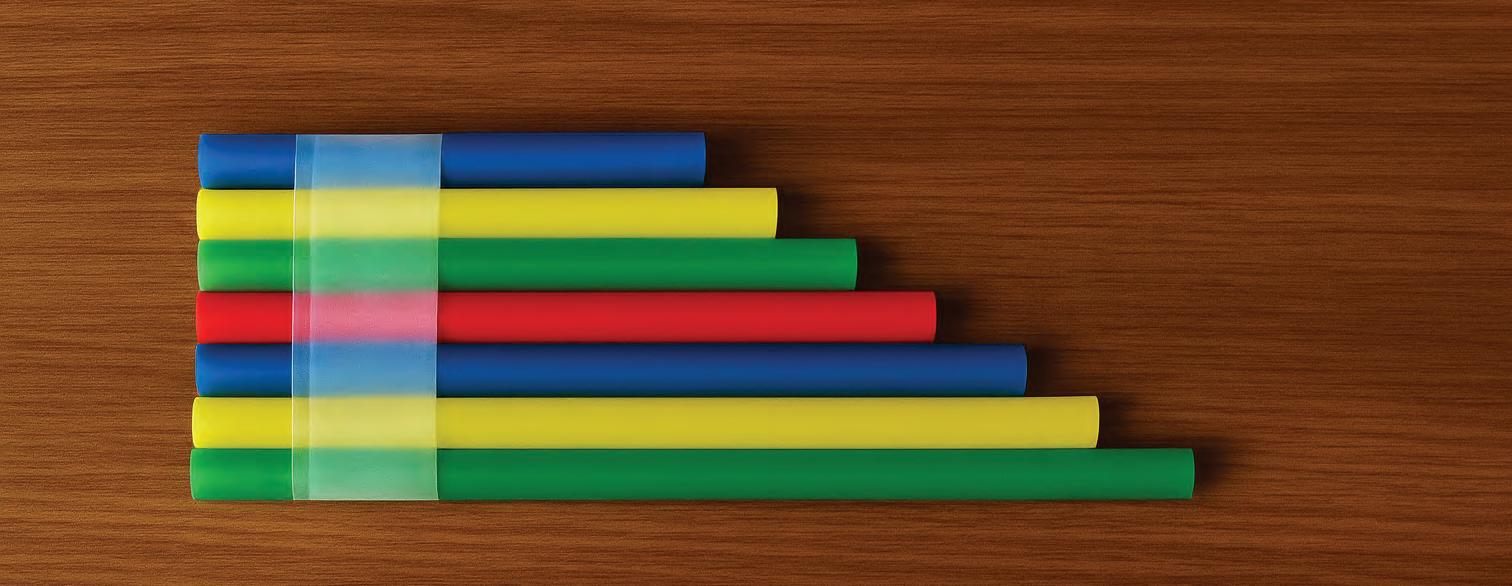
Cut each next straw half an inch shorter than the one before.
5.
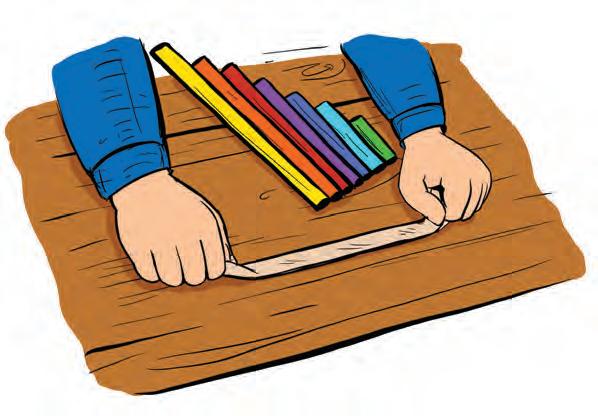
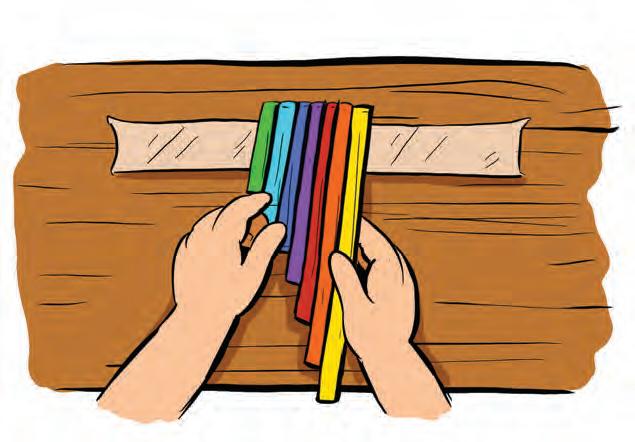
Place the straws on the tape, from longest to the shortest. Make sure the tops of the straws are even in a line.
2.
Leave the first straw as it is.
Ask an adult to cut the second straw a half inch shorter than the first.

4.
Stick tape to the table with the sticky side up.

Real-lIfe Connect
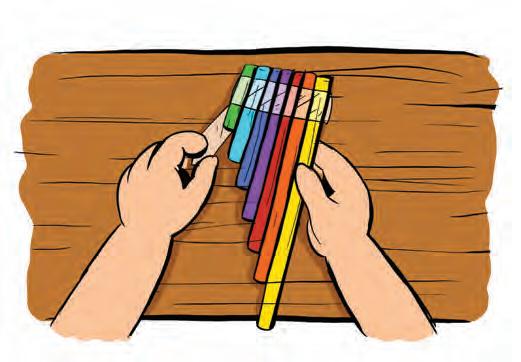
This straw flute is like a real musical instrument such as a flute, mouth organ or trumpet. They also make sound when we blow air into them.

Fold the tape over the straws to hold them together. 6.
7.
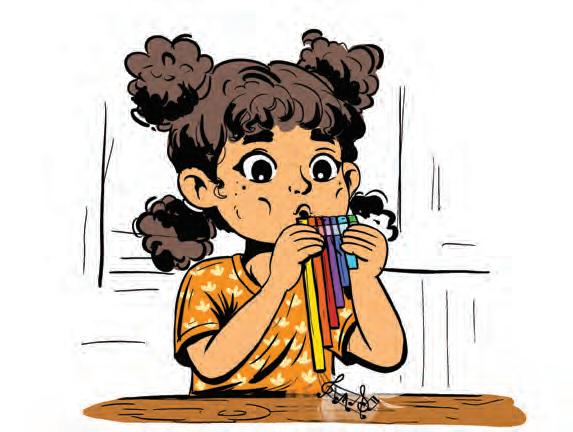
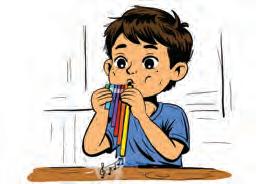
Blow across the top of the straws and hear the music!
Activity in Action
ScIence BehInd It...
When you blow air across the straws, they vibrate and create sound. Long straws make low sounds, and short straws make high sounds.
Find Out More!
Try blowing harder or softer across the straws. Observe how the sound changes.
Check your learnIng!
1. Colour all the musical instruments that need air to make a sound.
2. Number the straws from 1 to 5 from longest to shortest just like you would place them to make your flute.

3. Tick ( ) the correct answer!
A. Yes No Yes No Riya made her flute from straws of the same length. Will she hear different sounds?

B. Aarav blew gently into the straws and then tried again, blowing harder. Did the sound change?

Coloured Flowers
In this activity, we will observe how water moves through a plant’s stem and helps it grow.
What We Need
• White flowers (carnations, daisies or roses)

• Liquid food colour (any colour)
• A pair of scissors
• A cup
• Water
Let’s Begin

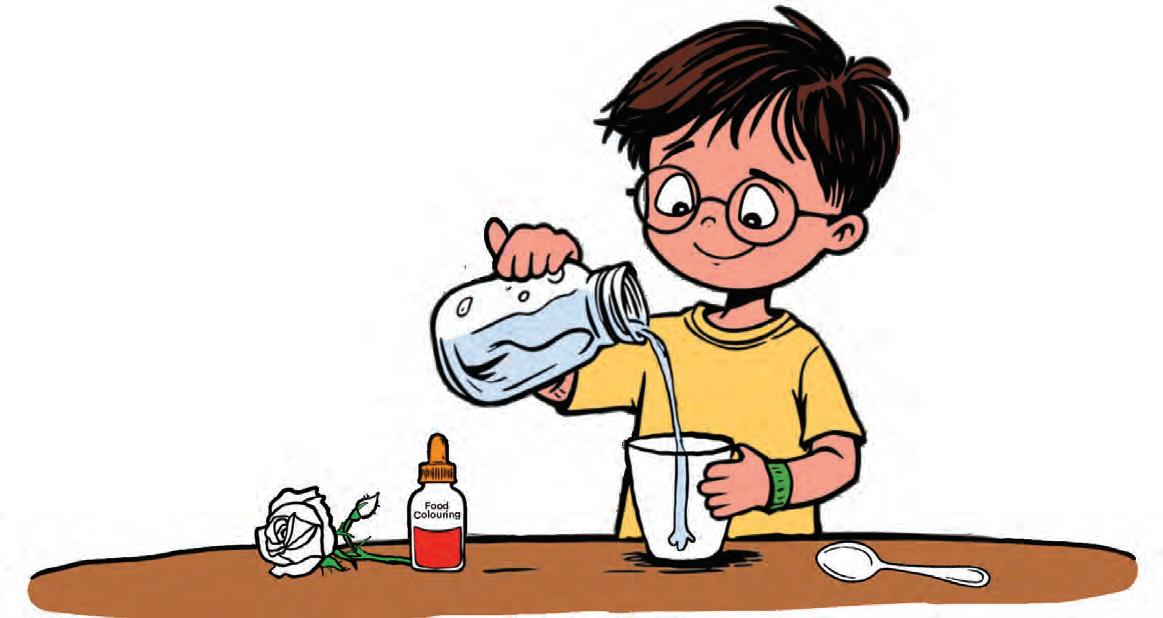
1. Fill the cup with some water.
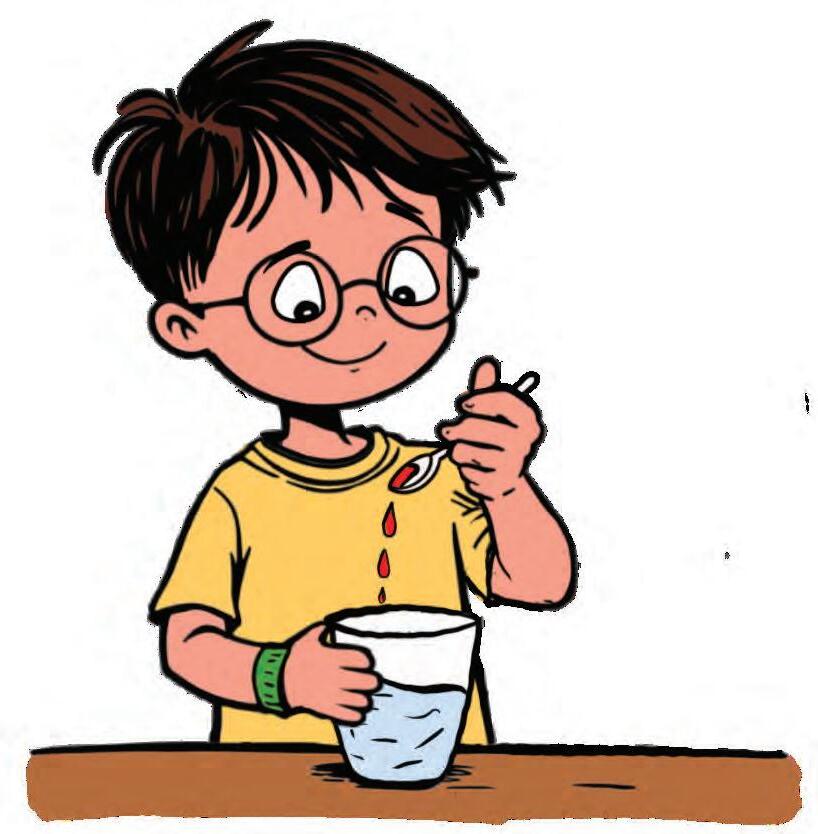
Add a few drops of food colour to it.
Cut the stem of the white flower at an angle.
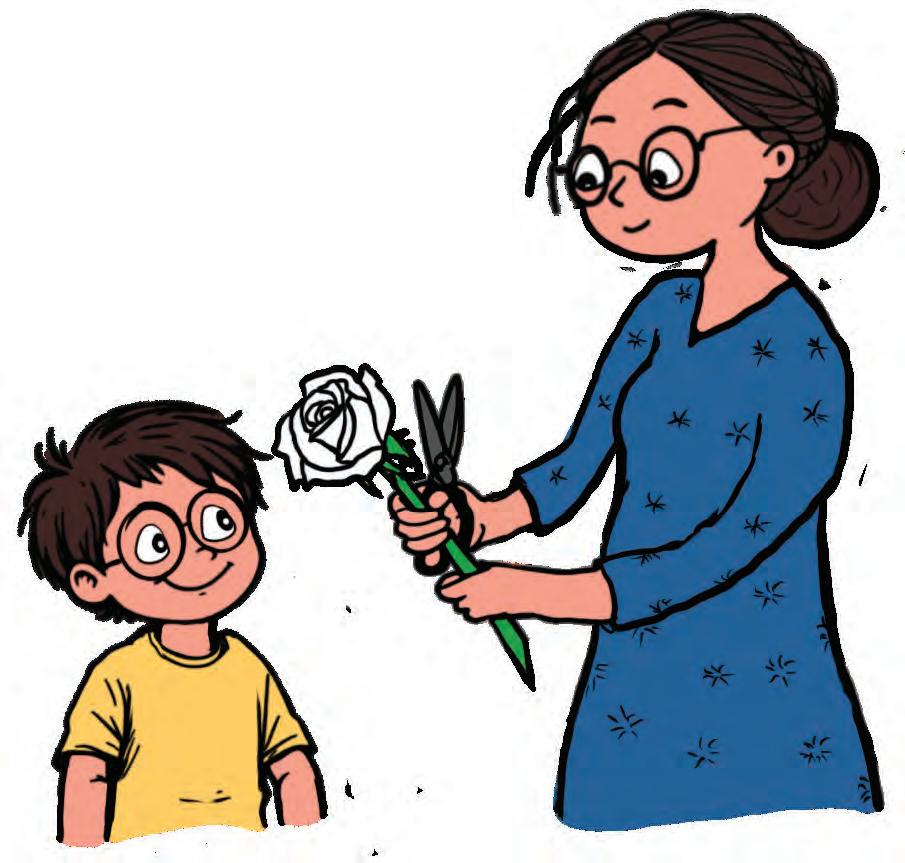
Watch out
Ask an adult to help you cut the stem of the flower.
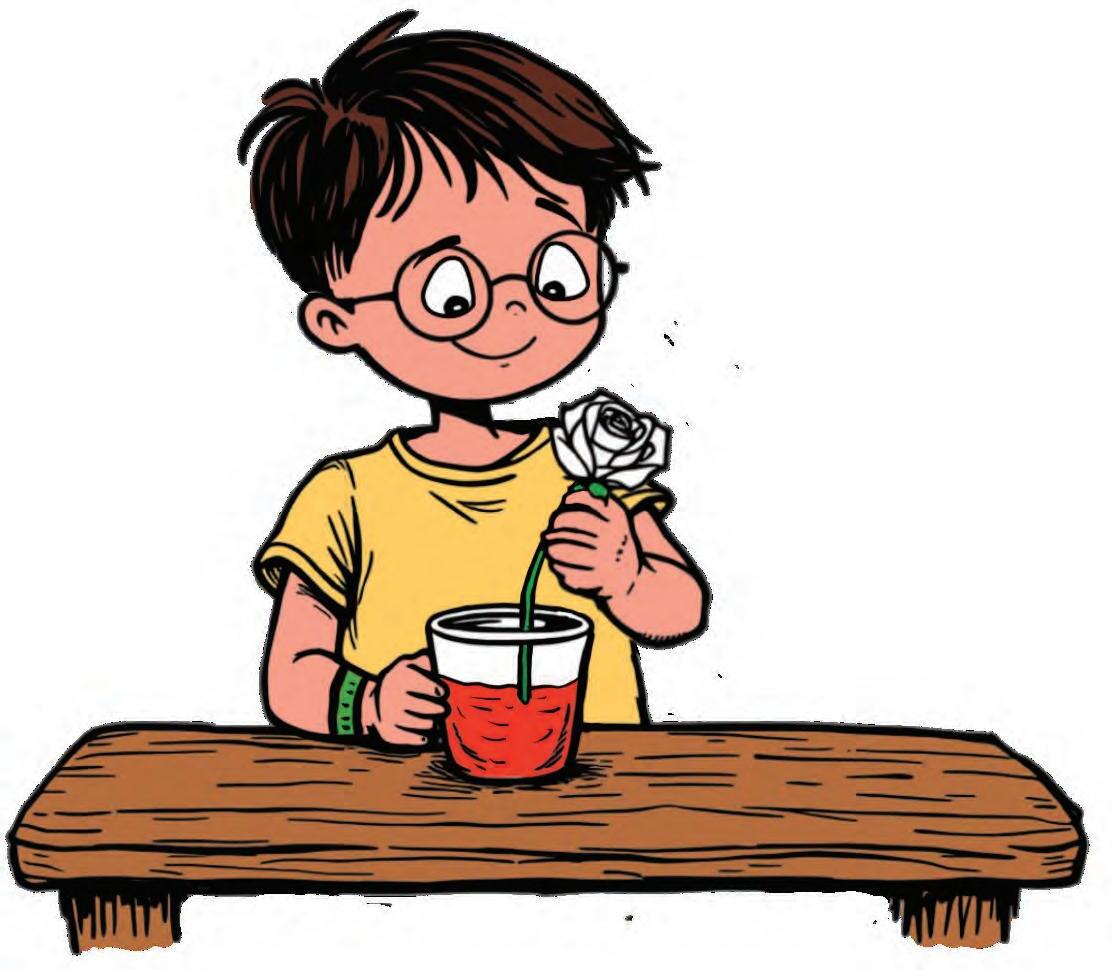
Place the flower in the coloured

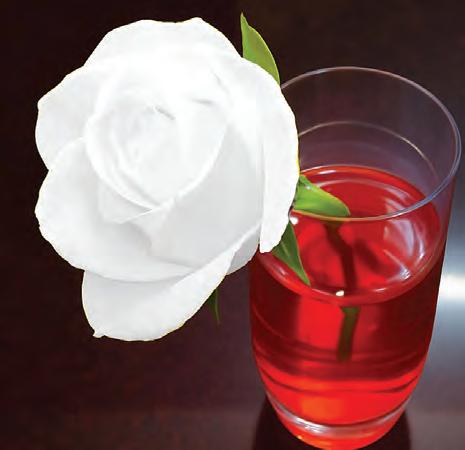
5. Check the flower after every few hours. Watch the petals slowly change colour as the flower absorbs the coloured water.

Activity in Action
Find Out More !
ScIence BehInd It...
Plants have tiny tubes inside their stems. These tubes pull up the water and carry it to the petals. If the water has colour in it, the petals slowly change and show that colour too.
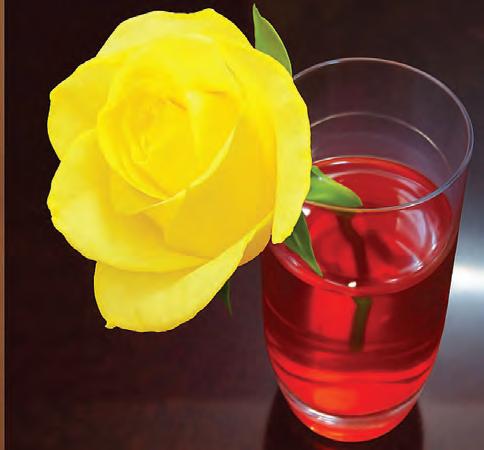
Split a white rose stem into two and place each part in different coloured water to get multicoloured petals.
Check your learnIng!
1. Riya placed a white rose in a beaker filled with red-coloured water. After a few hours, what colour will the rose petals become?
A. Orange
B. Red
C. Blue
D. Pink
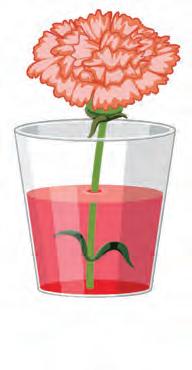
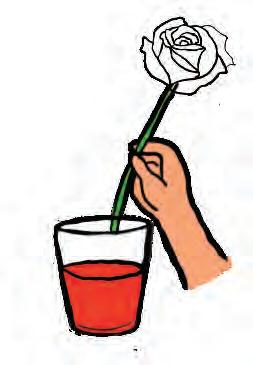
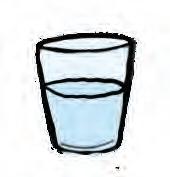
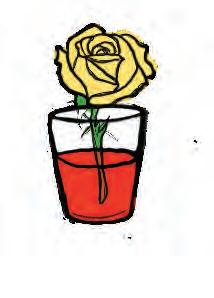
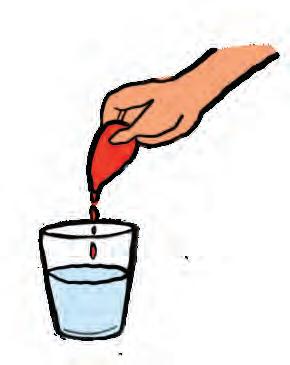
2. Nu mber the given pictures in the correct order to perform the flower colour-change experiment.

3. Tick ( ) True or False.
A. Cutting the stem helps the flower take in water faster.
B. The petals change colour slowly over time.
C. Flowers drink water through their petals.

StackIng Cups Challenge
In this fun activity, we will build a tall and sturdy tower using cups and cards.
What We Need
• 15–20 cups
• 10–15 index cards or thick paper cards
Let’s Begin
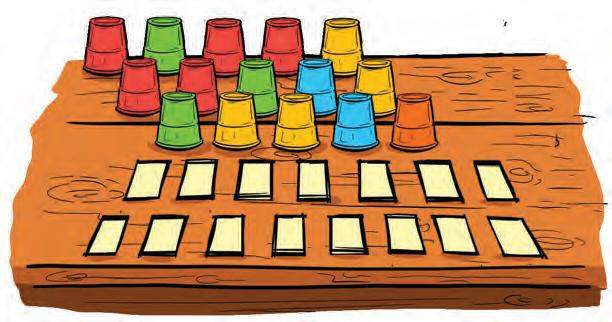
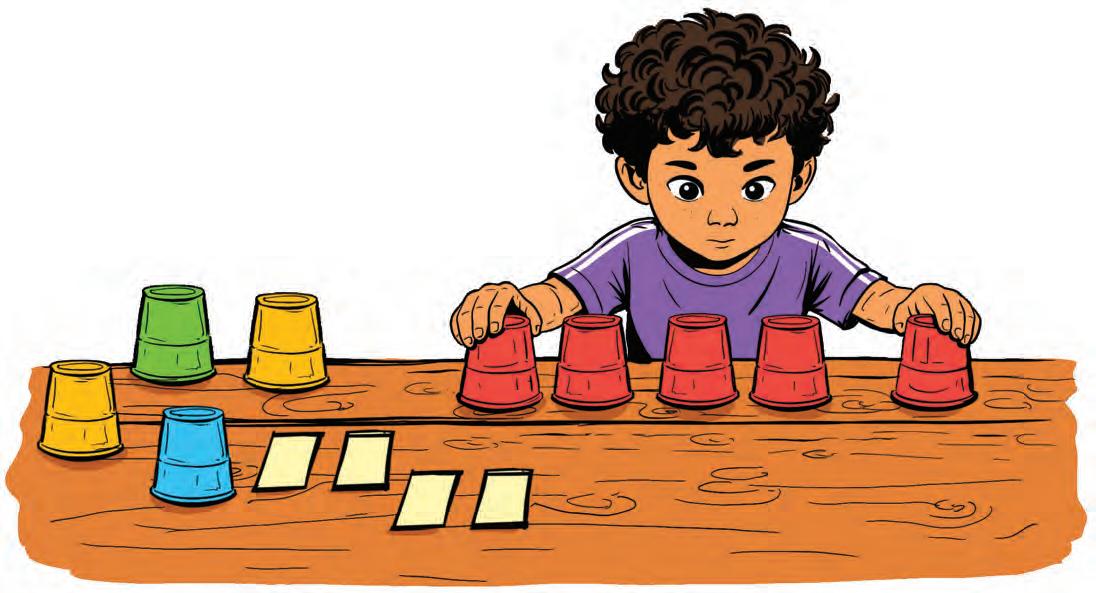
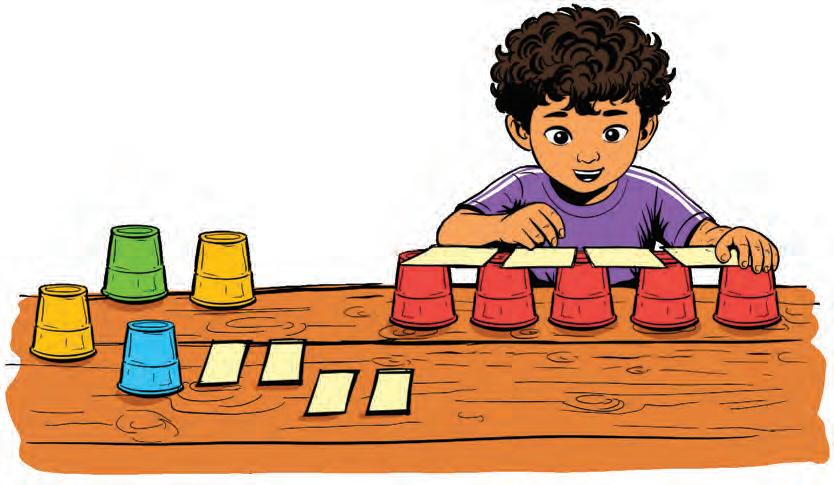
1. Place 5 cups upside down in a straight line.
2. Place index cards between the cups like bridges.
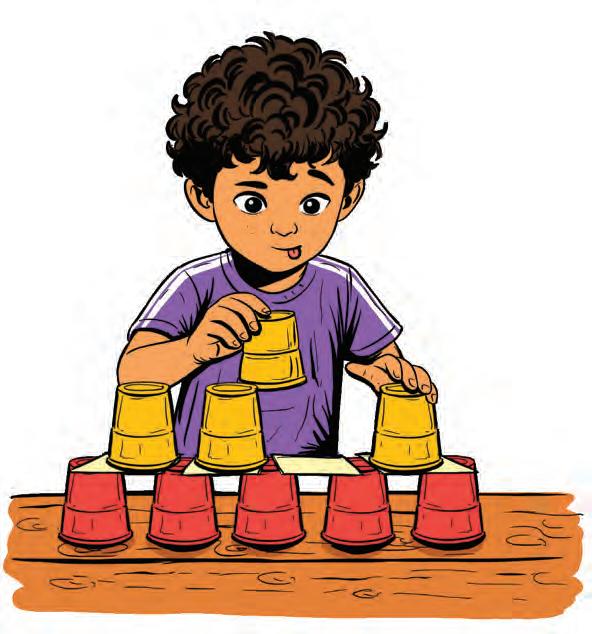
Add 4 more cups upside down on top of the cards.
Watch out
Be gentle while placing the cups.
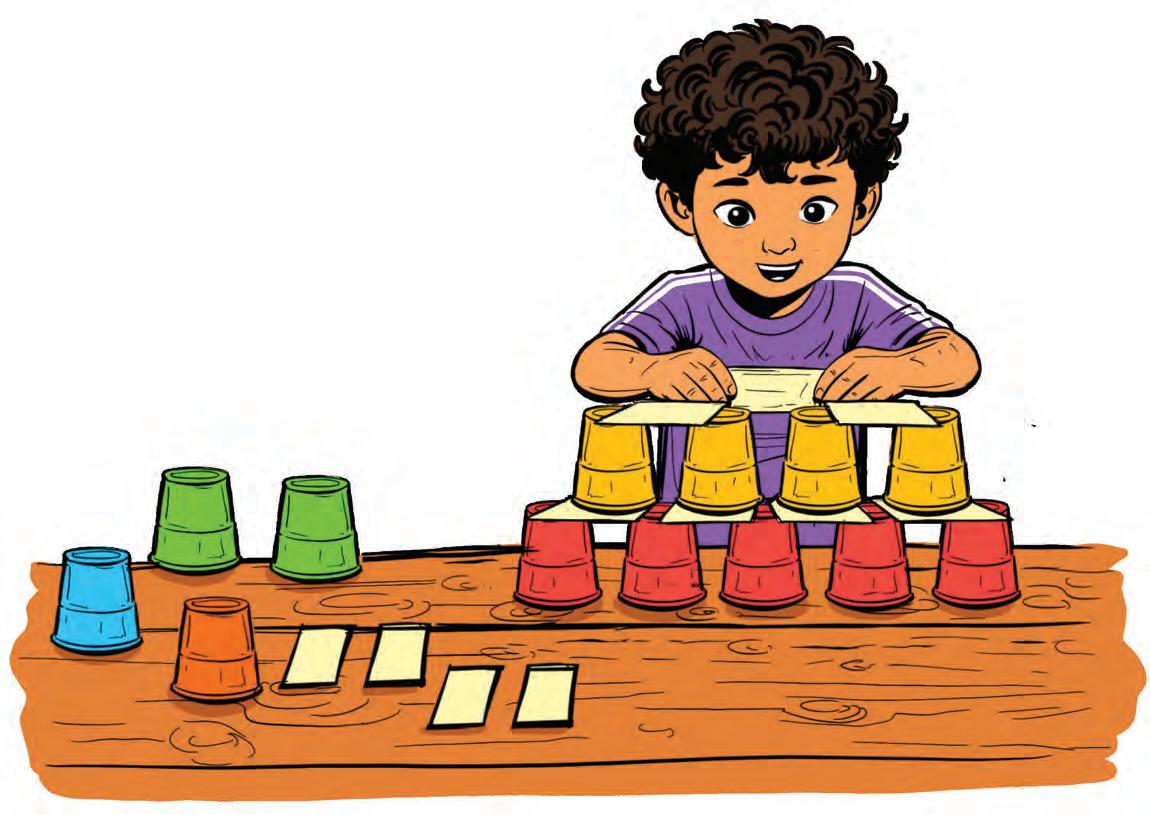
4. Place the next set of cards between the top layer of the cups.
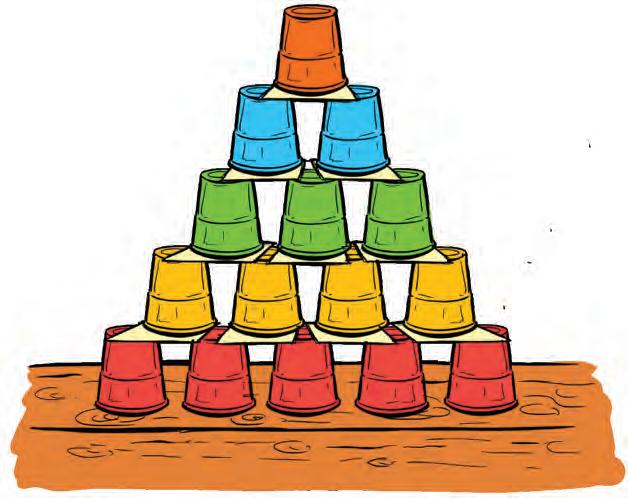
5. Keep stacking to make your tower tall and strong.
Activity in Action
ScIence BehInd It...
The cups act like pillars and the cards are like floors. Together they balance and make the tower strong and tall.
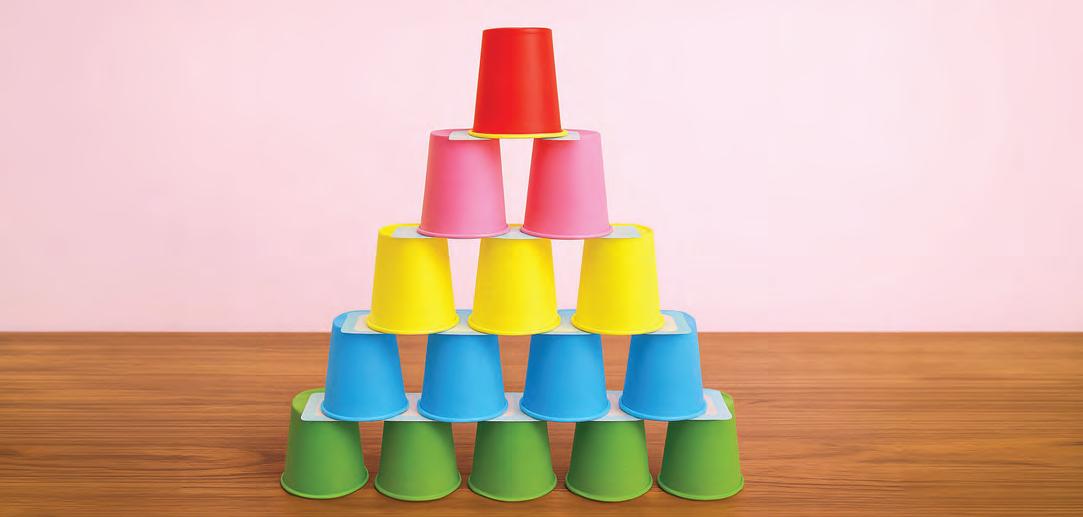
Put small things like erasers or coins on the top cup. Does the tower stay up or fall? Build it again to make it strong enough to hold the weight. Find Out More !
Check your learnIng !
1. Count the number of different shapes in the given tower and write them down.
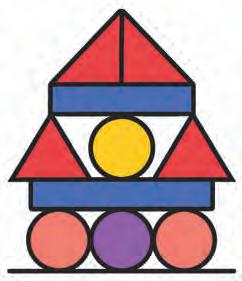
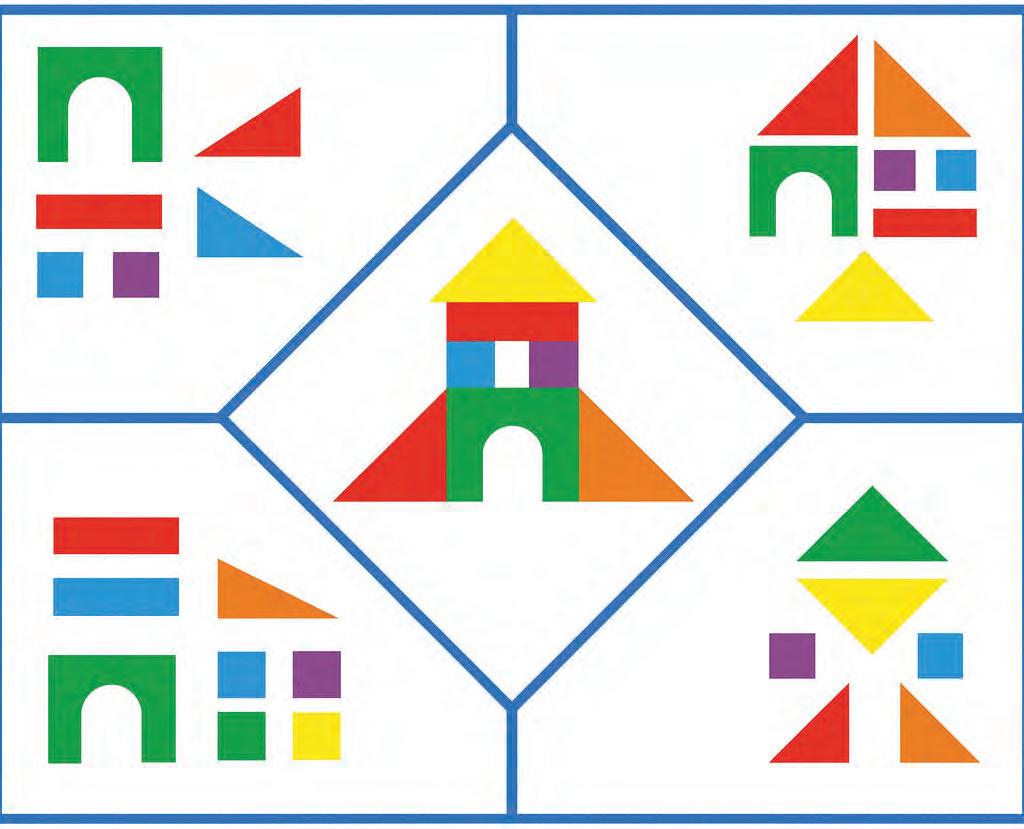
2. Tick ( ) the combination of blocks that forms this tower.

About the Book
STEM Exploration is thoughtfully designed to make learning a joyful journey of discovery through hands-on activities and real-world applications. Aligned with the NEP 2020 and the NCF 2022–23, it promotes experiential, multidisciplinary, and competency-based learning. By integrating Science, Technology, Engineering, Art and Mathematics (STEAM), it supports holistic development, builds essential 21st-century skills and empowers learners to contribute to a sustainable and equitable future in line with the UN Sustainable Development Goals (SDGs).
Key Features
• STEAM Alignment: Activities integrate Science, Technology, Engineering, Arts and Mathematics encouraging interdisciplinary connections
• Hands-on and Inquiry-Based Learning: Activities spark curiosity through exploration, observation and experimentation, helping learners develop scientific temper, creativity and problem-solving skills
• Digitally Powered: QR codes link to experiment videos for visual and self-paced learning
• Easy-to-Access Resources: Use of safe, low-cost and accessible materials with clear instructions for easy execution
• Real-World Connections: Activities and worksheets link concepts to daily life and local contexts ensuring meaningful and practical relevance
About Uolo
Uolo partners with K-12 schools to provide technology-enabled learning programs. We believe that pedagogy and technology must come together to deliver scalable learning experiences that generate measurable outcomes. Uolo is trusted by over 15,000+ schools across India, Southeast Asia and the Middle East.
ISBN 978-93-49697-43-0 hello@uolo.com

