
Hello,
I’m Tamás Szelestey.
I completed my primary and secondary education in Zalaegerszeg. At the Ady high school I tried several art disciplines, such as ceramics, painting and graphics.
On my father’s side I inherited an interest in technology. Before university, I completed a course in electronics engineering and, after a number of minor detours, I continued my studies at the Institute of Applied Arts in Sopron, where I studied product design. My childhood dream was to understand and learn the subtleties of object creation. After graduating with a BA degree, I worked as
a freelance visual designer and then joined Modelart Presentation, a company producing architectural models. Here I combined my new skills with my old ones, working in 3D design, practical modelling, CNC cutting, electronics systems design and 3D printing. I used to study PLC programming and am currently studying electrical installation on the side. Photography is close to me - I started taking pictures and experimenting as a kid. I particularly like working with analogue techniques and paper images - I find it almost a relaxing activity in the darkroom.
2006-2010 Endre Ady

Vocational School of Arts
Zalaegerszeg
2013-2016 Institute of Applied Arts
Product Designer
Sopron
2016- Modelart Presentation
Architectural modeling
Sopron
Scale box
Portable measuring device with anatomical scale
I chose the ratio of the length of the knuckles for my measuring instrument. These ratios, which occur not only on the human body but in many places in nature, correspond to the distribution of the sizes of the golden spiral.
The box consists of four brick bodies. Each of the components has a single dimension except the last one which has two. The internal cut-outs of the components are the same size as the external side length of the member next to them in the row. The chamfering of the edges of the brick bodies also follows the logarithmic progression of the sides: the ratio of the chamfers of the pieces is equal to the ratio of the lengths of the sides.
I chose plexiglass as the material for the size box. It accentuates the angularity of the shape and adds a certain complexity due to its transparency.
8 5 3 2 1

Degree project
Update of darkroom equipment
The system helps the laboratory technician to select the light-sensitive raw material. It is based on an online database, managed by an application that can be installed on a mobile device or computer.
I chose the external user interface because I didn’t want any technological obsolescence to make it uninteresting to use - the interface can adapt to the capabilities of future devices and be kept fresh. The application can adapt the device lighting, notifications and other functions of the connected device to a set of rules, so that it can remain usable in the lab without damaging sensitive materials.
By scanning the QR code on the packaging of the photographic material, the program offers a darkroom profile that matches the needs of the raw material, which can be fine-tuned to meet specific requirements (for example, by taking into account the high amount of reflective surface in the chamber - reducing the brightness of each lamp). This raw material profile includes the spectral sensitivity curve of the photosensitive material, the development and shelf life times.
Profiles allow you to manage all the chemicals and photographic material - you can use the interface to review expiry dates, the values of each chemical, and change the labels on containers.
The colour of the program adapts to the needs of the light-sensitive material being used - you can even switch off the visualisation and replace it with a sound-based solution. Other programs installed on the device, such as messages, the music player or even the Internet, can be accessed with the same colour or by sound.
The exposure meter is connected to this app via Bluetooth. In the app, you can specify the function and display mode for each position of the switch.
The electronics used in the devices use high conductivity gold, silver, platinum and other special metals with relatively large strip widths and layered structures to eliminate interference and increase durability. The exposure clock is designed with interchangeable units to support future technologies.

Print tongs
Update of darkroom equipment
It is necessary to measure the condition of the chemical not only during storage but also during use - this function is provided by the print tongs in the kit. The device, made of bent chrome-plated steel, consists of three main parts: a section containing a battery, charging electronics and buttons; a unit containing a display and control electronics; and a frame housing the temperature and pH measurement device. The frame is designed to accommodate the two electronic units in both right- and left-handed orientations.
These parts - based on 1-Wire Technology - are connected magnetically using a system of spring-loaded pins and it is functionally similar to Magsafe. The device communicates with the central unit via a low-power Bluetooth connection. The display is an LCD unit that lights up when required - at long press of a button - in sync with the colour of the darkroom light.
Handles
Frame
Display
Interface
Ends

Print tongs

Update of darkroom equipment
The assignment of the rubberised push buttons can be changed via the app, so although the layout of the basic functions is fixed, you can specify the time limit and role of a long press, the time for automatic switch-off, and switch between Fahrenheit and Celsius.
The tongs are charged by induction through a holder that also acts as a storage space between lab days. During charging and depending on the setting, the device displays the percentage of charge at the touch of a button.


Chemical bottle
Update of darkroom equipment
I solved the problem of storing solutions and monitoring their condition in one object. I designed a cap that, as a multifunctional measuring instrument, can measure temperature and pH and also function as a display. The device has no power source - it is powered by induction via a handheld laboratory clock.
When you touch the watch to the display on the cap, the measurement is automatically taken and the data on the display is updated, accompanied by an acoustic signal. Using NFC, the cap transmits the data to the timer, which sends it to the other devices. Because the Gorilla Glass display uses E Ink technology, it only requires power when information is changed and its content is retained even after the power source is removed.


Chemical bottle
Update of darkroom equipment
Thanks to the conical design of the cap, the glass can be lifted with its help. The battery-free power supply means that no soluble bonds are required inside the cap, so when sealed with resin, resistan ce to chemicals and liquids is assured.
The container with a wide opening neck for easy cleaning is made of tinted glass and is available in several sizes. The probe measures pH and tempe rature - it is made of polymer and the bottles are designed to hold up to half the capacity of each bottle. The outer material of the cap is based on DuPont’s Kalrez, a rubbery, chemical-resistant perfluoroelastomer.
Future plans include preparing the cap for turbidity measurement, which would make it easier for the average user to check the condition of solutions. This would require modification of the probe, display and electronics. The cap could also be used in the food and pharmaceutical industries for quality control, labelling or identification.


Lab timer
Update of darkroom equipment
A guided button switch controls the light of the enlarger. A Micro LED based display is located at the top of the control. The main functions can be switched between by moving the navigation device in the guide, and the settings for each function can be switched between by turning and pressing the control.
I have separated three basic functions that form the backbone of the software. These are the constant light, the timer and the profile selector. The interface is designed to be as simple as possible, so that nothing distracts from the lab work.
The policy for any alerts that are displayed can be changed via the associated tool. The exposure timer, with its built-in speaker, can also provide information on the status of individual devices in total darkness.
The whole system is customisable. It connects to the variable-brightness LED magnifying lamp via Powerline technology, so no extra wiring is neededit uses the enlarger’s existing cable.
The light source, which fits into a variety of standard bulb sockets, allows both the probe light and the light used for magnification to be emitted from a single device - so no colour filter is needed. The bulb incorporates the voltage regulator and current generator circuits in a single IC, protecting the electronics from mains voltage fluctuations.
In the constant light position, the exposure timer acts as a simple two-state switch - lighting up with the colour corresponding to the preset colour profile in this position. Moving the clock from any position in the bracket turns off the controlled output - acting as a kind of panic mode.


In timer mode, the desired time interval can be set by rotating the outer surface of the switch, from which the device will start counting down after the button is pressed, while the device will light up in the chosen colour until the time expires. The gradient is coloured according to the selected profile and the unit of the displayed value can be selected in the application.
In the profile selector position, you can choose from the colours associated in the application. Unlike in the illustration, the display is black and deep red until the selection is confirmed by pressing the button - at which point the background changes according to the colour profile.

Safelight
Update of darkroom equipment
Used for general lighting in the photo lab for paper or film processing. In this case, the most suitable wavelength range and brightness is the one to which the photographic material is not yet sensitive. The lamp provides this light with RGBI LEDs.
You can control the colour and intensity of light sources with presets using a compatible smart device or the exposure meter. When shooting film, it can provide infrared light, so you can follow the development process with a camera sans IR filter.
Two functions are available via a button on the front panel. A long press turns on light outside the sensitivity of the raw material, while a short press briefly turns on a brighter colour - predefined via application - to check the density of the photo media - so you can decide whether to take another image. In this mode, the lamp emits a range of light to which the photographic material is not sensitive to brief exposure.
Light sources - of which you may need more in a lab - are Bluetooth connected to each other and to the exposure clock. On the top of the device are the fins responsible for cooling the light-emitting diodes and the magnetically connected power connector.
The LEDs use a reflector surface and an integrated light diffuser to evenly distribute the otherwise point-like light. The homogenised light is then transmitted to the darkroom via a frosted glass surface, where it is further diffused. The back of the lamp has recessed holes to provide wall mounting.

Developing tank
Update of darkroom equipment
Designed to develop two sheets of photosensitive material of 4×5 inches - the size that offers the least compromise in terms of portability and quality. Compared to mobile small and roll film cameras, a technical camera using this size of raw material offers more in terms of adjustment options - tilt, shift, swing, fall, rise - and image quality - 13 times the area and resolution of small film and 3 times the area and resolution of 6×7 roll film. The tank was primarily designed with pushed negatives in mindan image of this technique is shown on page five. The process involves underexposing the photosensitive material by EVs and compensating this
with prolonged development. The use of a large format outside the studio - with existing lightjustifies this type of process, but other effects can be achieved (added grain, antiquing). This type of development can take several days. During this time, the emulsion may not be exposed to light, but the need may arise to monitor the progress of the development. The tanks IR filter allows infrared light to pass through but blocks visible light. This can be used to monitor the process with an image sensor sans IR filter and a suitable IR source. On both sides of the inner part are temperature and chemistry indicators. These two variables have a major impact on the development time. The shape facilitates agitation and follows the function.

Lid
Developing compartment Shell
IR filter

Developing tray


Update of darkroom equipment
A container for developing photographic materials, mainly photographic paper. Made of light and chemical resistant polyethylene. It can also be used for drying photo emulsion coated materials by means of a light protecting cover that slides into a rail on the side of the tray.
The inside of the tool has a non-scraping surface and the bottom has a shape that makes it easy to move the chemical around. Keeping the chemicals at a constant temperature is important for development. This is ensured by an induction solution built into the bottom.


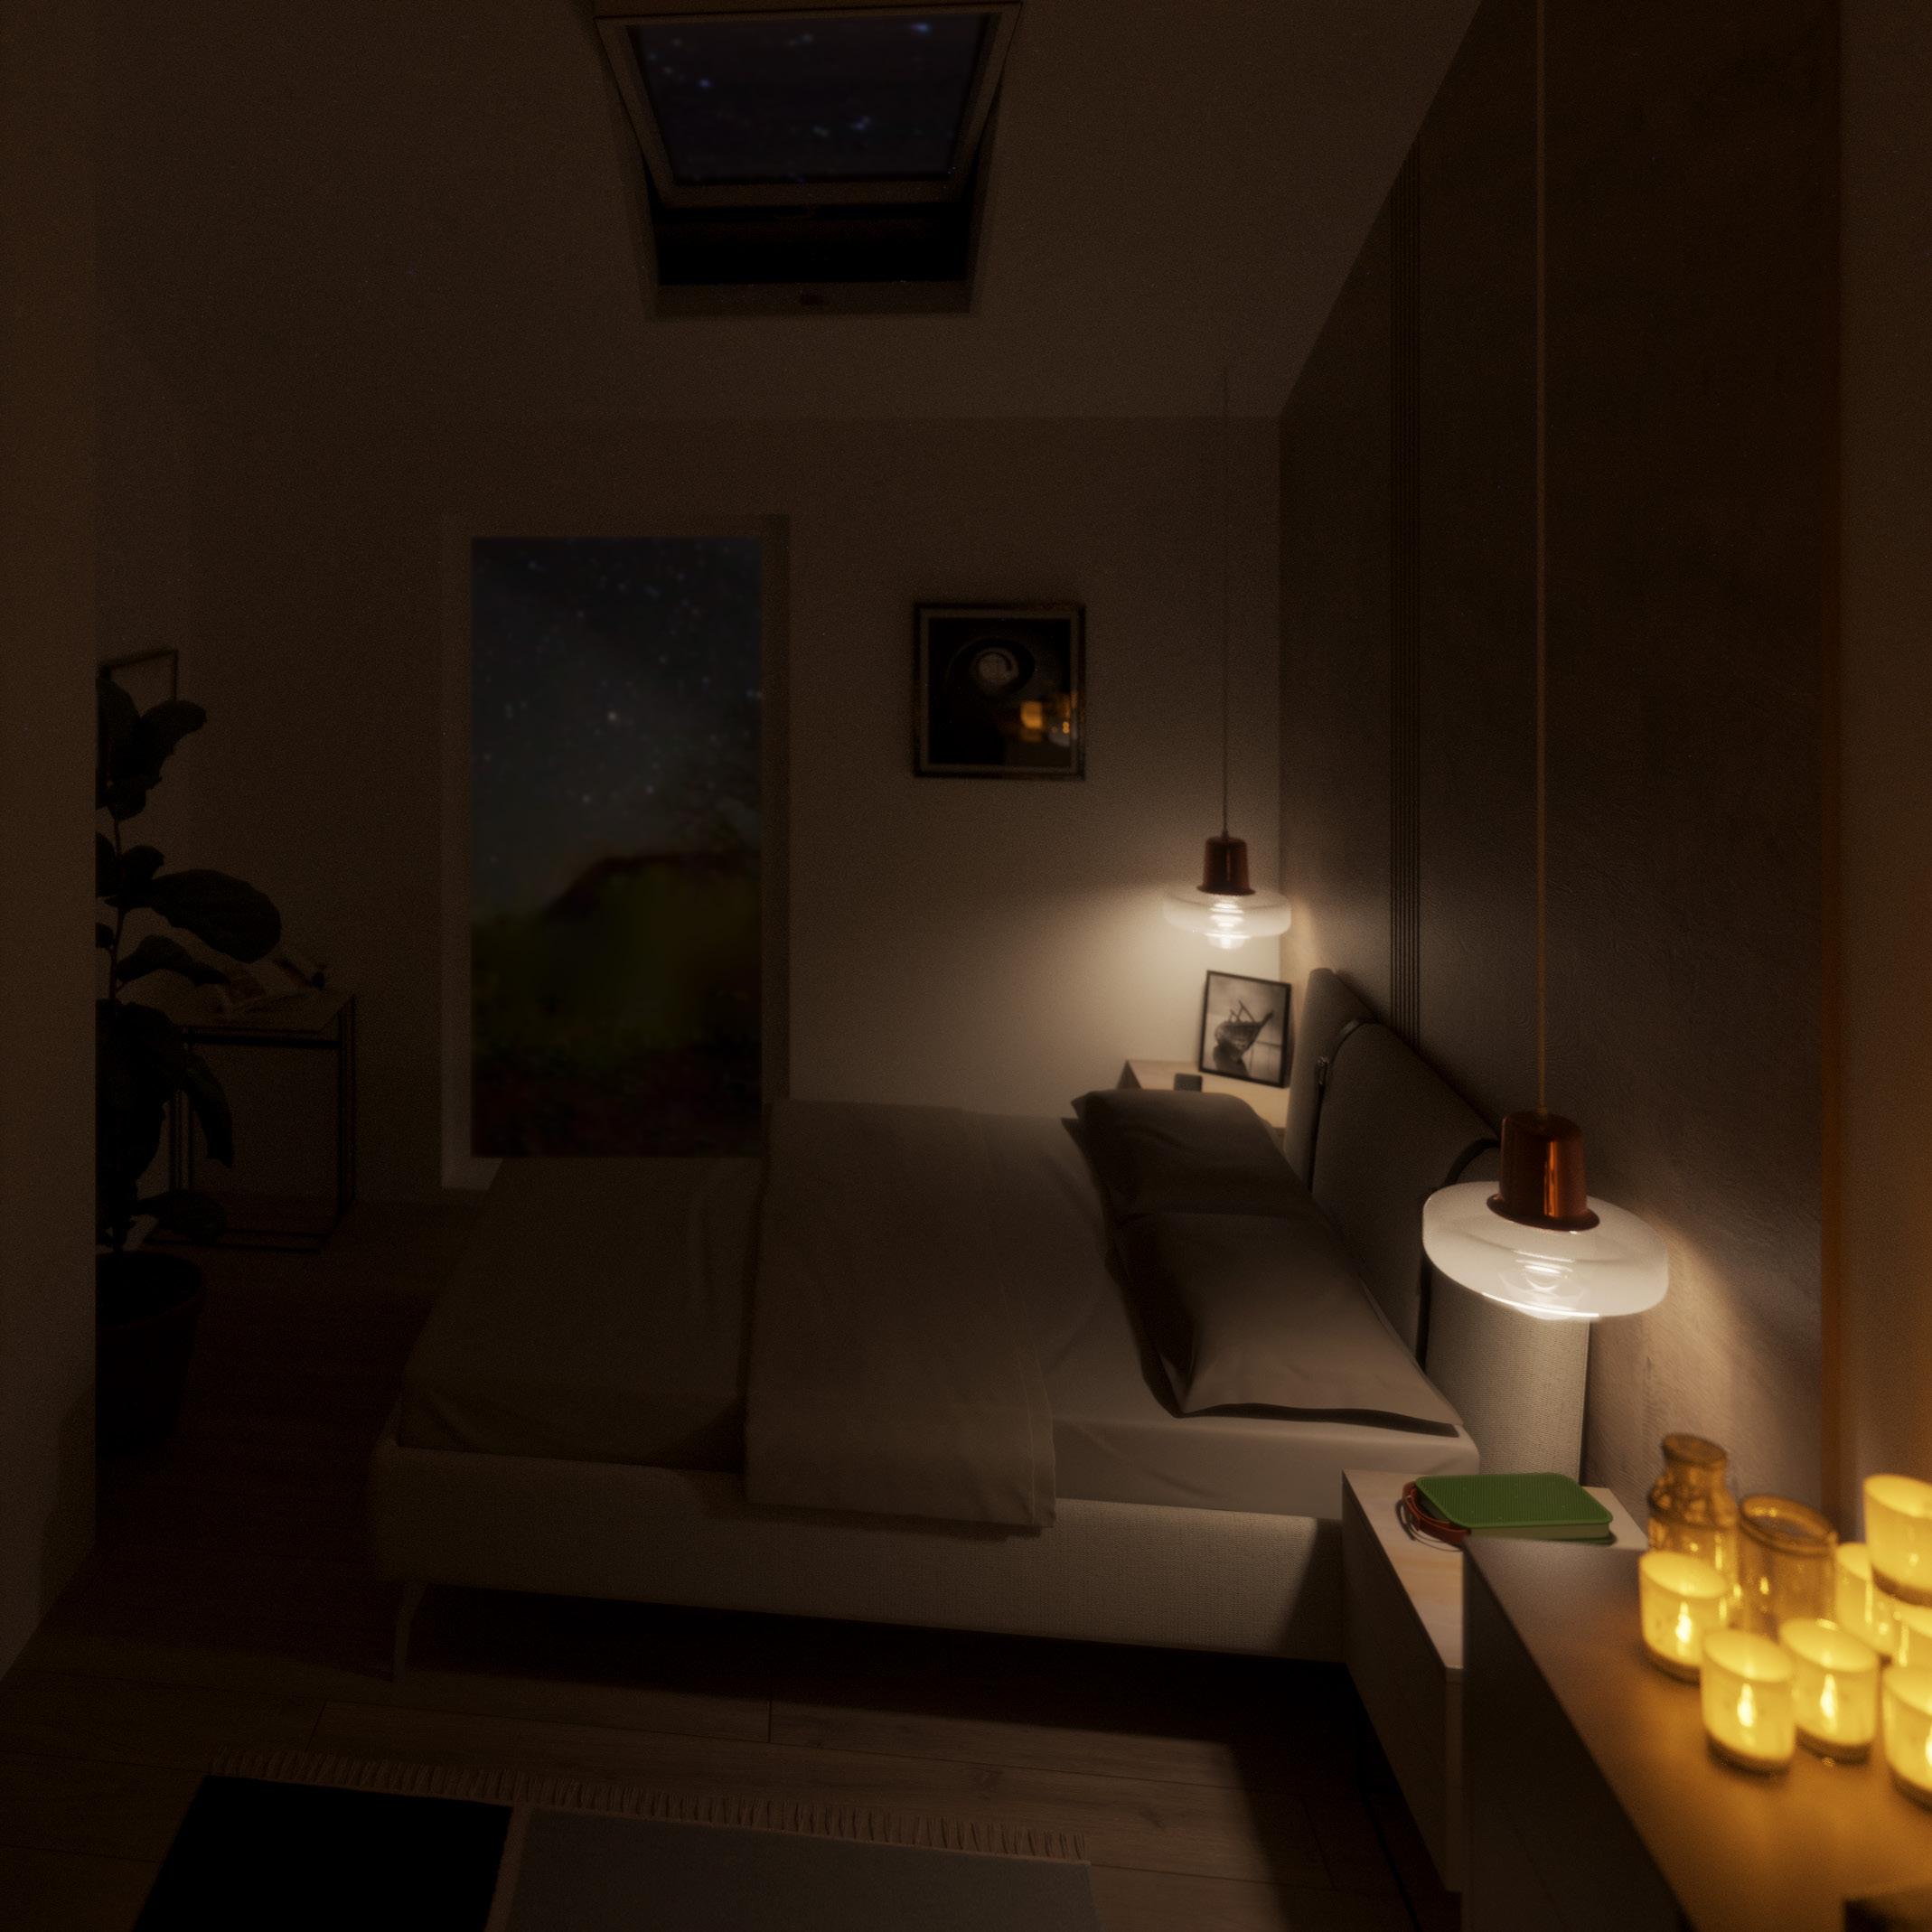
Render
CG visuals of buildings interior spaces and surfaces

Already in my BA I was immersed in computer modelling and visual design - which I continued to do on a work basis. The pictures here show the interior of a family house. The owner wanted to experiment with different material combinations in the virtual space - he wanted to see how the use of materials and colours in the interior of the compact house would affect the experience of the space.

Cityscape
Case study model for the finest detail and surface quality
Drawing on the lessons learned from several similar initiatives, we created Modelart’s urban landscape model with a masterpiece printed without support materials. We mainly wanted to test the benefits of the printing technology.

We made both a smaller and a larger version - the smaller one was more of a test run as a precursor to the larger, multi-piece model.
The project started with NURBS modelling, followed by preparation and printing, which I started with the finest settings on a Formlabs Form 2 3D printer.
The sole was CNC machined separately, then after gluing and sanding it was ready for the silicone mould to be cast. The finished mould was then filled with plaster.
As the result met our expectations - we also started to make a larger detail, which due to its size could only be made in several smaller pieces of the desired quality.

Cityscape
Case study model for the finest detail and surface quality
The hardest part of the large-scale model was putting the joints together. We were also involved in developing a firmware for our printer, as we discovered a software bug during the printing process, which sometimes lasted several days. Unfortunately, a new order did not allow us to complete this larger scale city section, so it was abandoned during the pre-moulding phase.


Knob
Fender Stratocaster tone and volume control cap in multiple colors and sizes
The shape is a combination of ‚Stratocaster’ and ‚Chickenhead’ potentiometer caps. After several versions on this small object, I achieved minimalist proportions that communicate the premium use of materials. I 3D printed the masterpiece, then CNC machined a base for it, placed the print on top, and then poured silicone over it.
I sized the molding slots of the finished duplicating mold to be suitable for polymer plaster, fine concrete and resin casting. I mainly made concrete specimens, but also experimented with different colours.


Architectural model
6 years at Modelart Presentation. Involved in the design and development many of creative model concepts.
I have the opportunity to be part of a very solution-oriented and positive team at Modelart, a leading architectural modeling company. It is typical of the company that, for each order, it aims to show the strengths of the project as best as possible and does not shy away from continuous innovation to achieve this. There are few components that are not further developed into a new model, whether it be lighting, painting or, especially in recent times, lifting solutions.
During my time here, I have been able to grow more and more - I have also been able to create my own ideas for the pictures used as illustrations here.


Impressum
Except for the images in the list below, all the images in the portfolio were taken by myself.
Hello, Noémi Varga
Cityscape Pál Uzoni and Me
Graphic design Noémi Varga