


Please read these instructions carefully before starting installation. Failure to follow these instructions may result in damage to the product or property.
Please check all parts and tools are included before installation. Ensure the parts and tools are suitable for the product’s weight and size. Ensure the mounting surface is suitable for the product’s weight and size.
Installation should be carried out by quali ed personnel only. If you are not con dent with any part of the installation process, please contact a professional installer for assistance.
The manufacturer is not responsible for any damage caused by incorrect installation or misuse of the product.
Always use appropriate safety equipment and take necessary precautions when working with tools and electricity.
These instructions are provided as a guide only. Actual installation may vary depending on speci c circumstances and site conditions.
• Drill With Drill Bit
• Wall Plugs With Matching Screws
• Bubble Level
• Screwdriver Drill
• Hammer
• Masking Tape
E-mail: support@signage-group.com
Phone: +49 (0)30 863280590
Opening hours: Mon. - Fri., 9:00 - 17:00 Uhr
O ce address:Bogen 45, Holzmarktstr. 15-18 10179 Berlin Germany
Step 1


Step 4


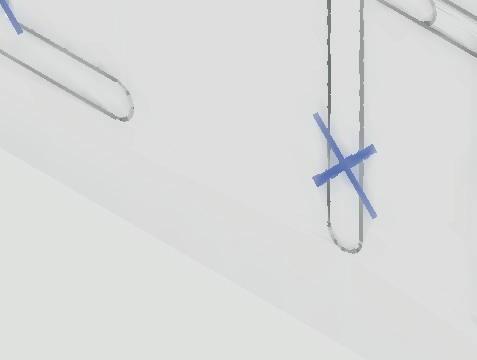


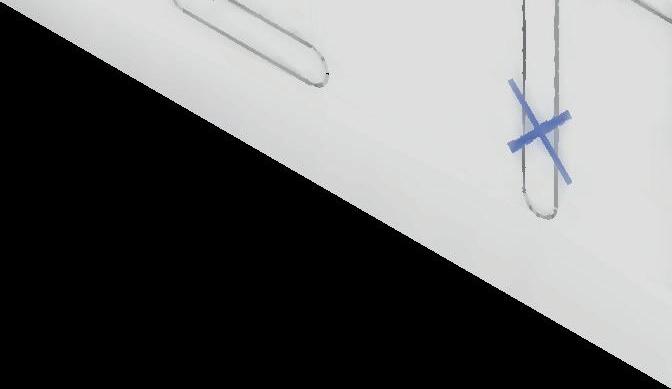


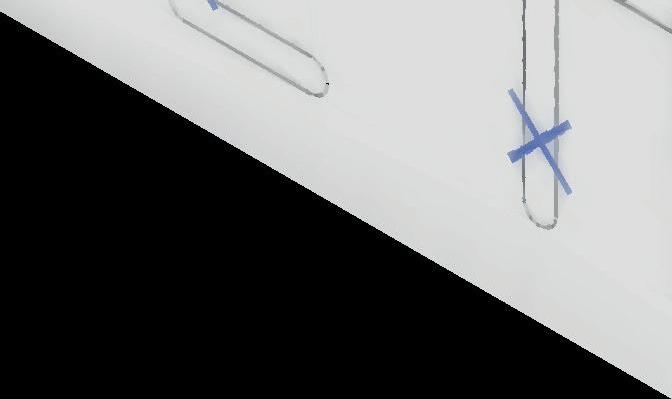


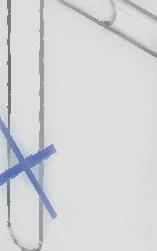


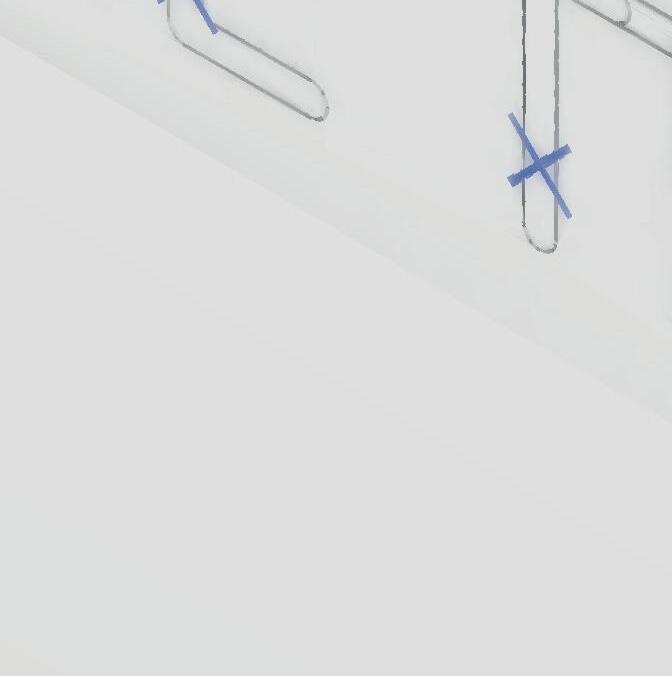
Attach the mounting template to the wall using masking tape. Use a bubble level to make sure it is straight.


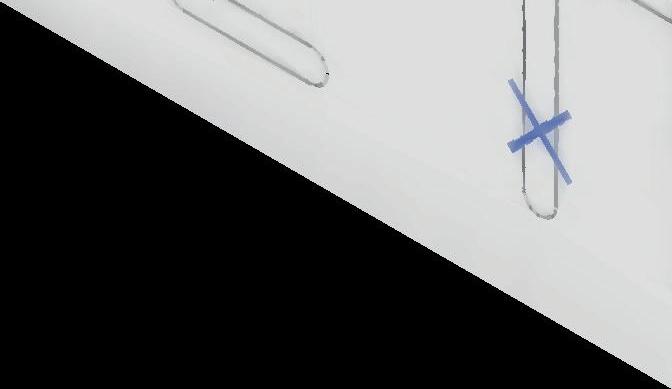


Find the marked mounting points and drill holes.


Step 3


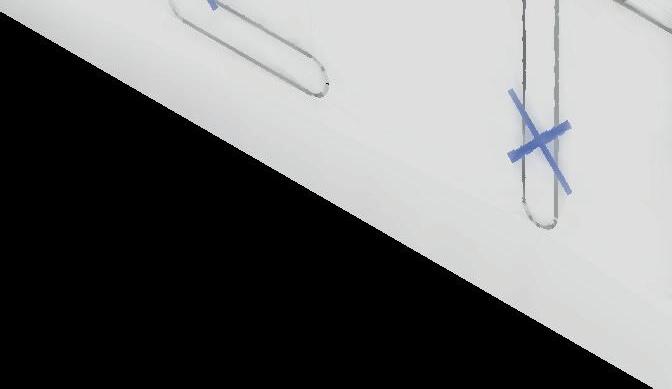
Remove the template and insert wall plugs using a hammer.


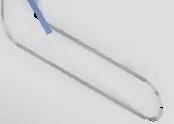
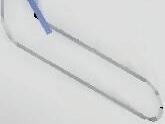
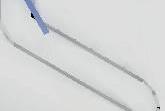
Place the provided tube supports over the plugs and screw them in using a screwdriver drill.
Step 2 Step 5


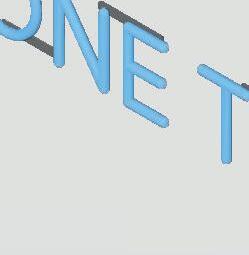


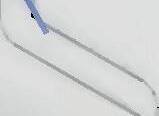
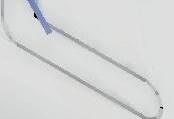
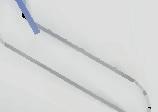
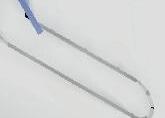
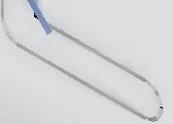
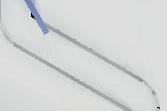
After all tube supports are mounted, snap the neon systems into the supports.