Illustrator at Sunshine A Quick-ish Guide
What is Illustrator?
“Adobe Illustrator is a professional-level vector graphics editor and design software developed by Adobe. This software is used for creating various graphic design elements like logos, icons, illustrations, typography, and complex visual content for print and digital media.” Adobe
What does all that mean? Can’t I use Photoshop instead?
What it does well
• Creating clear illustrations that can be easily resized without losing quality
• Playing around with type
• Small file size due to utilising mathematics as opposed to image
• Creating logos that can be used anywhere
• Vectors can be used in other Adobe programs
What it does well What it can do
• Artworking files for print
• Option to include bleed on files
• For bespoke cut prints, use Illustrator to create the cut lines for the laser cutter
• With artboards, you can use one file to organise multiple prints/illustrations
• Very accessible
• Able to edit photographs, both raw and .jpgs
• No need to connect images to files on your computer; files can easily be shared
• Well-developed ‘AI’ generative tool for creating backgrounds
What it can do
• Rasterises (translates information into pixels) image and text
• Used for creative mockups
• adjust images
• Can be used in conjunction with a drawing tablet to create non-vector illustrations
First Time Using Illustrator?
How to start a new file
Open Illustrator from your desktop or start menu. Sign in with your Adobe ID if prompted. From there, you can click on the ‘New File’ button. Alternatively, press Ctrl +N
Stores previous dimensions or frequently used dimensions.
If you’re looking for some inspo, why not browse the pre-made templates?
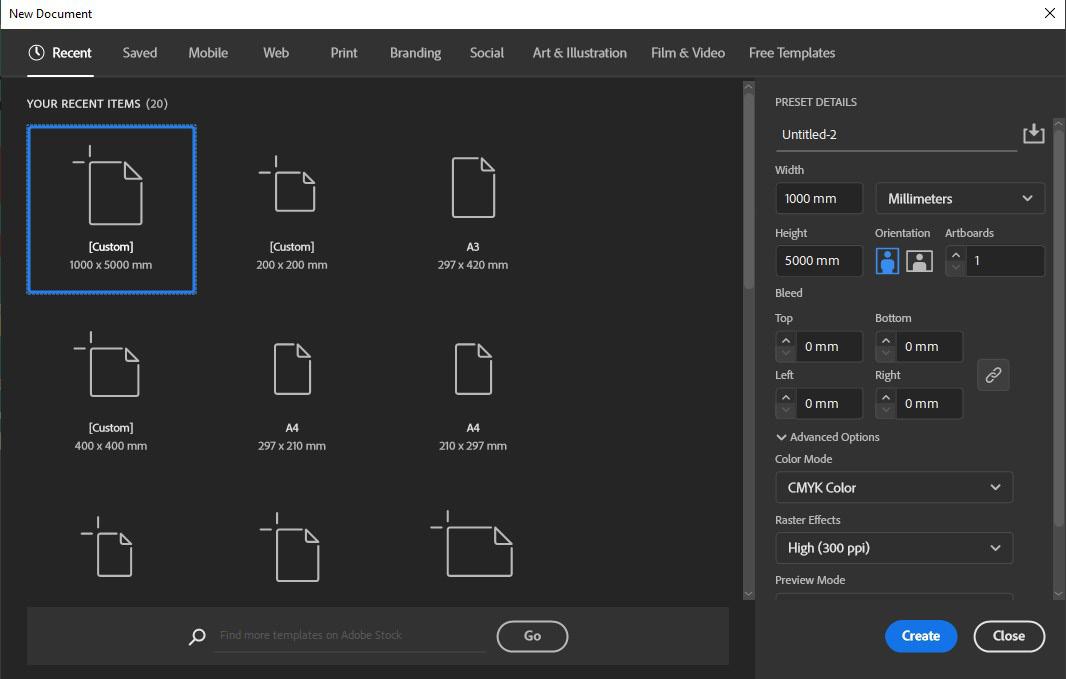
Once you’re happy with your dimensions, click ‘create’
Adjust the width and height of your artboard
Changes the units that you’re using (eg. cm, mm, px)
If you’re printing something off with a full page of colour (full bleed), make sure you include a bleed to avoid any white spaces
Changes the colour mode: CMYK if you’re printing, RGB if you’re creating digital work
First Time Using Illustrator?
Anatomy of your document
As opposed to Photoshop, you will be editing your work on ‘artboards’. This means that you can add more artboards as you go along if you’re creating multiple icons/prints/logos
Change the size of your artboard, add more artboards or delete artboards
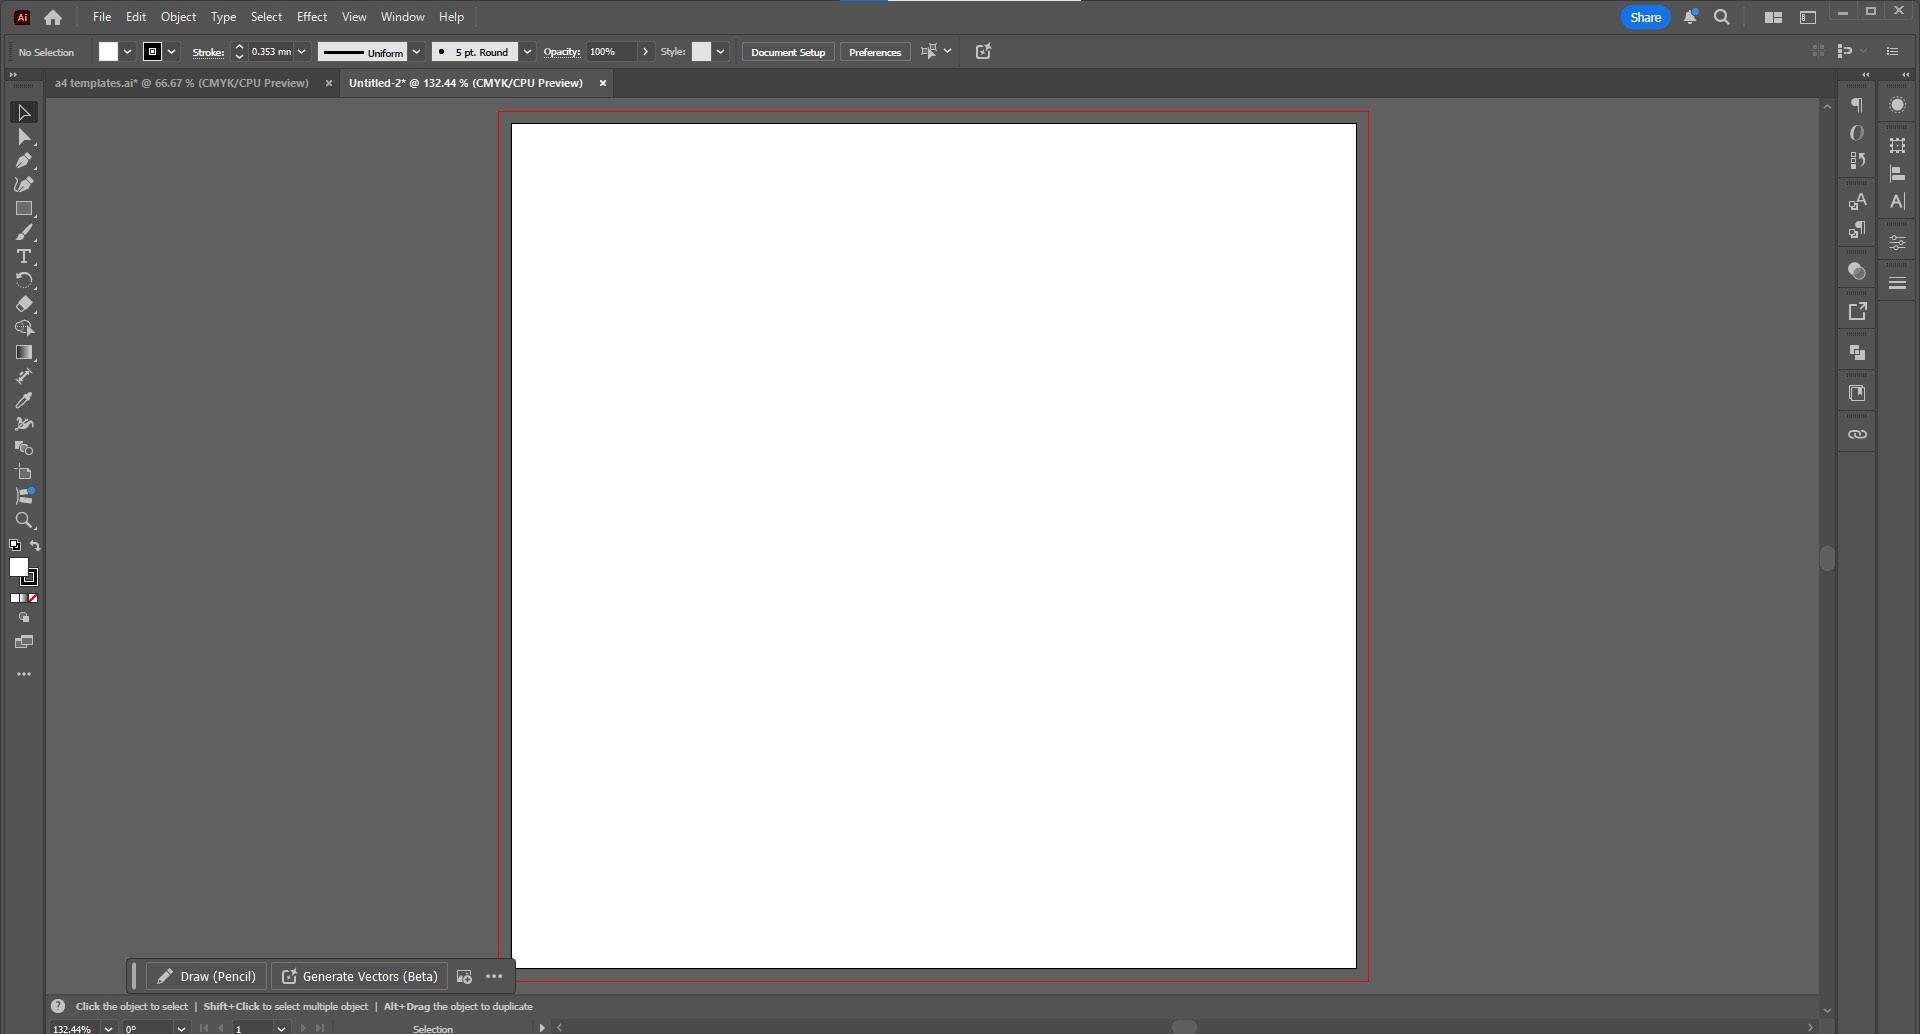
Pasteboard: The gray area around your page, useful for storing items temporarily.
Make sure you extend your design up to the red line
This is your artboard. Anything you put in this box will appear in your exported file Your bleed
First Time Using Illustrator?
Quick rundown on toolbar
Pen Tool
Create anything from a straight line to a complex image. The curvature tool below affects the pointiness of your paths
Shape Tool
Options available for squares, ellipses, stars or polygons.
TypeTool Does exactly what you think it does.
Merge Tool
Take intersecting shapes or paths and merge them togather into one path/shape
Colourdropper Tool
Use this tool if you want to match a colour, font, stroke width/colour to your object
Fill and Stroke Colour
Changes the fill colour and stroke colour of your text, object or image
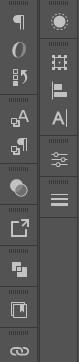
History Tab
Align Tab
Stroke Tab
Pathfinder Tab
Merge together paths to form one shape
CC Libraries
Transfer colours, logos and icons across different Adobe software
First Time Using Illustrator?
Some Keyboard Hacks
Ctrl & 2
Lock objects, images or text
Ctrl & R
Toggle
Ruler on and off
Ctrl & Q
Quit
Illustrator
Hold Shift
When increasing or decreasing the size of an object/ text box to keep the proportions the same
Ctrl & S
Saves your work in order to avoid losing progress
Ctrl & Alt & E
Export your document as .jpg, .png or .pdf
Ctrl & G
Group together text and shapes
Ctrl + OR Ctrl -
Zoom in or out of your working document
Alt & Drag
Duplicate an item
Ctrl & Z
Undo an Action
Ctrl & C / Ctrl & V
Ctrl & N
Create a new document
Copy and then paste an object or text
Move objects across the board precisely
First Time Using Illustrator?
You’ve finished your design. Now what?
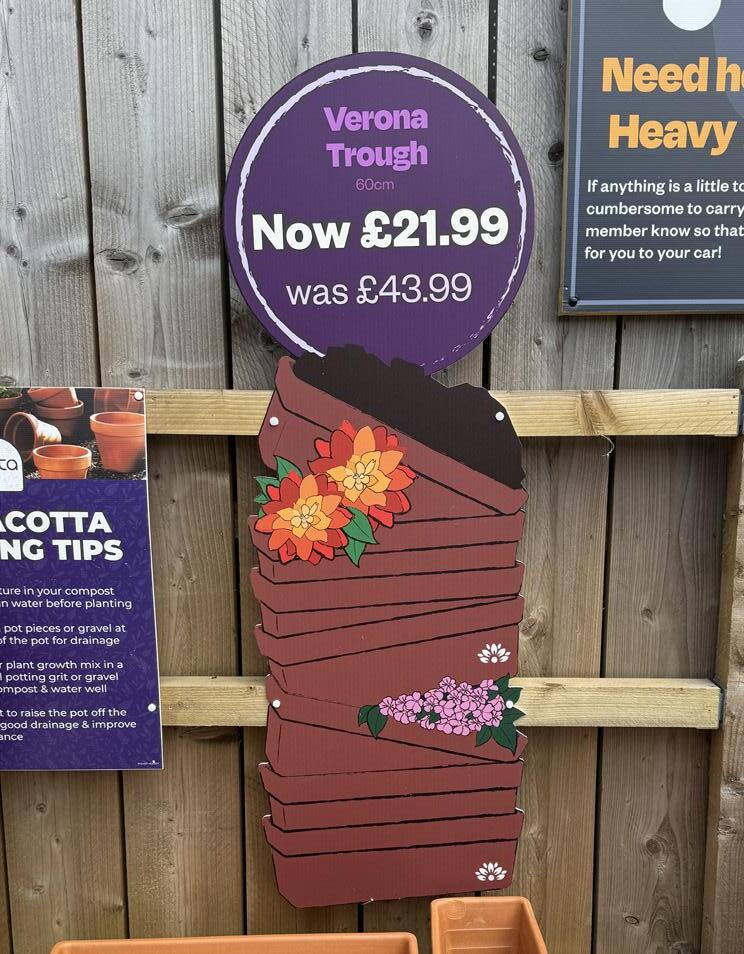
You’ve created your design and you’re happy with the way it looks. You’re ready to print or ready to send off to print. But how do we transform our artboards into files that we can print off or send ?


Let’s turn this into this!
First Time Using Illustrator?
How to Export
In order to make sure that the file you print keeps the same high quality and colour that you have on the screen, there are a couple of things to do or check before you export!
1. Double-check your Colour mode
Before printing, check your colour settings. Make sure your document is in CMYK, the color mode used for printing. If you use RGB, colours might look lighter or duller on paper than they do on your screen. This simple check can help ensure your print looks just right. You can change the colour mode in ‘Document Presets’
2. Make Sure you have a bleed
Let’s use the file from the previous page as an example. The purple-grey colour takes up the entire artboard. To make sure that you dont accidentally cut something out when you print something, make sure you extend the purplegrey colour to the red line
3. Embed Your Images
If you’re using images or logos that you’ve added from your files, it’s important to make sure they are properly embedded. To do this, look for the link panel, click on the Ξ symbol, and choose the option to embed the images you selected. If you skip this step, the quality of your photos or logos may be reduced when printed.
4. Name Your Artboards
Before you export anything, make sure you name all your artboards so you know which artboards you’re sending off. It’s best practice to include the dimensions of your artboard in your name, especially if you are working with many different sizes
First Time Using Illustrator?
How to Export
Your file is ready to be exported! You’ve made sure your files are print-ready and you’ve looked out for any issues. So What now?

File > Export for Screens OR Ctrl & Alt & E
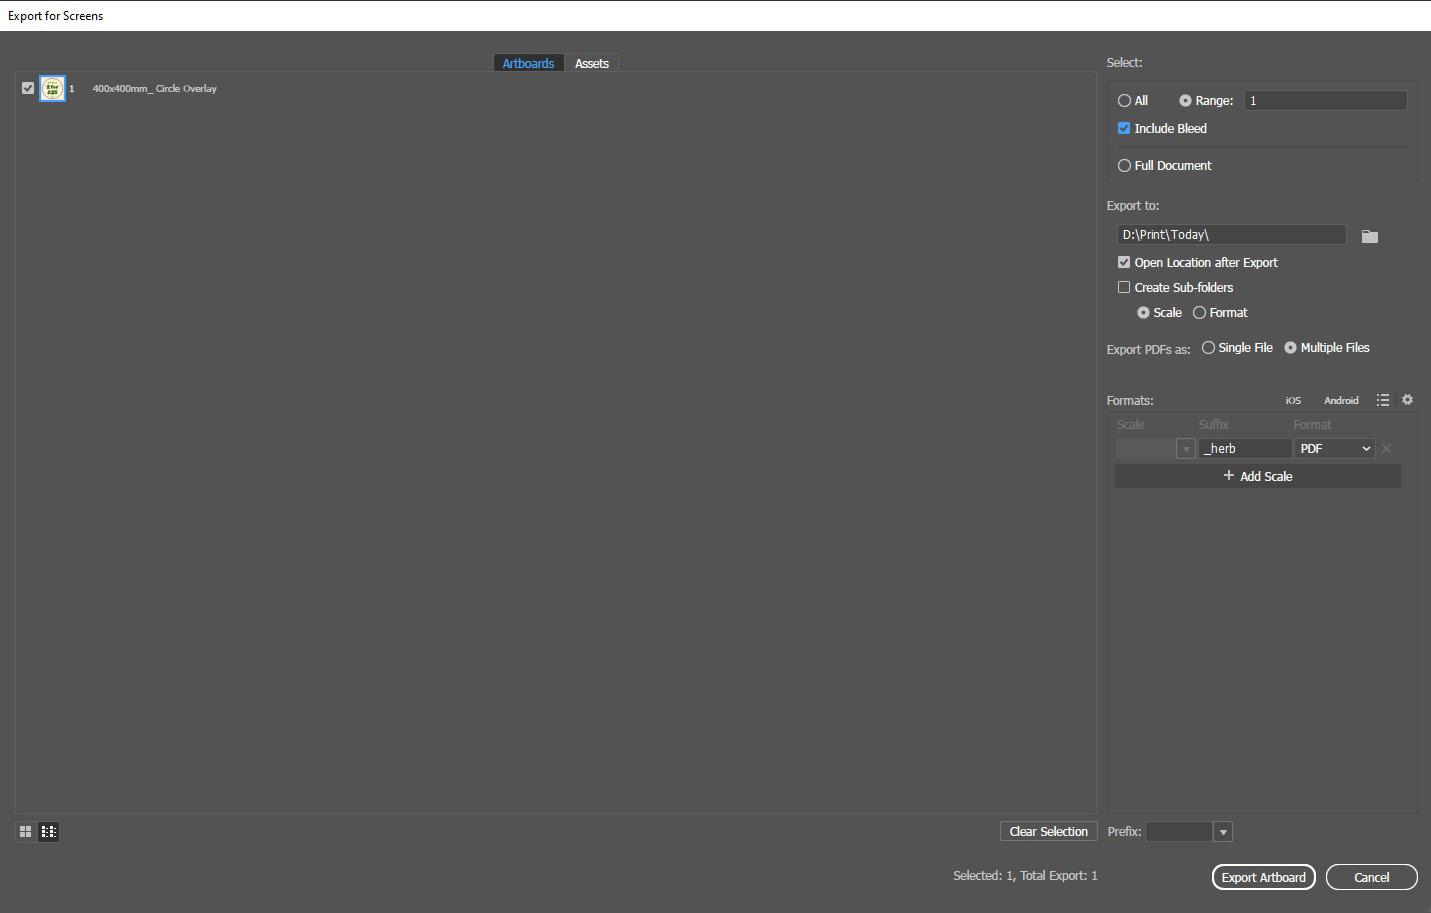
Click on the files you wish to export. Make sure you click on ‘Include Bleed’. Choose the file destination. If you are exporting for printing, make sure the file destination is in the Print folder. Choose the file type- For printing, make sure it is a PDF. Once you’re happy with everything, click on ‘Export Artboard’ and you’re done!
First Time Using Illustrator?
Bespoke Cut
Pushing brand guidelines can help create more diverse POS for varied experience and special focus. If you want to create POS that requires specific, non-rectangular cutting, there are steps you need to do to prepare your file.

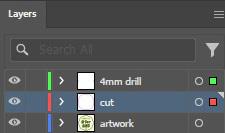
Open full size artwork PDF in Illustrator
Magenta line around artwork, RGB Blue 10mm crosshair for drill-holes. include at least a 5mm bleed

Separate your cut layer and your drill hole layer from your design layer. Save your design as PDF