3 minute read
Press the SET button


Option 3: LightWorks
The LightWorks computer is a PC (Windows) computer. If you intend to use it to record your show, MAKE SURE your external Hard Drive is NOT MAC formatted.
Advertisement
1. Double click on the RED SHARK icon (LightWorks icon)
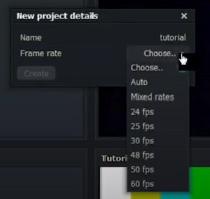
2. Click “create new project”
3. Give the project a name
4. Choose 30fps for the frame rate
5. Click create
6. Click on the PROJECT TAB

7. Select “media tab” from the sub-tab group
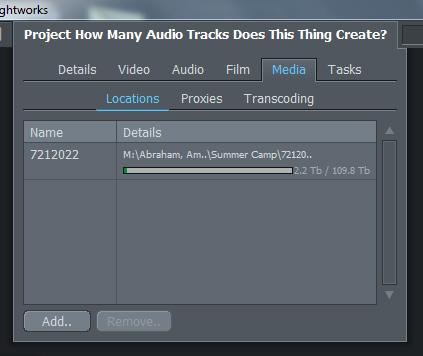
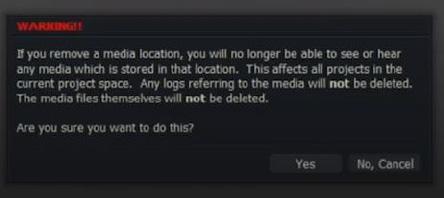
8. Under “locations” oSelect the item listed oClick the REMOVE button
oWhen the warning message appears, click the “YES” button
9. click the “ADD” button
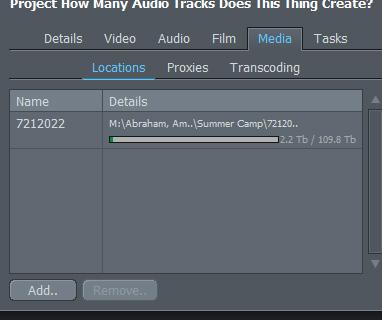
onavigate to the D:\ (media) • click the “CREATE NEW FOLDER” button 10. Give the folder a name 11. Click the “DO IT” button 12. Click the “OK” button
13.In the “TOOLS” bar (on the left side of the screen), click the record new clips from tape button

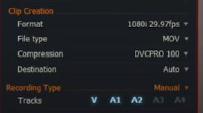
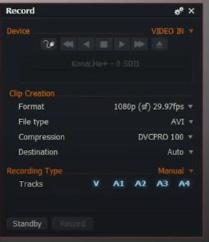
14. In the “RECORD WINDOW” • Clip format should be 1080i • Clip format should also be 29.97fps • File type should be MOV • Compression = DVCPRO 100 • Destination = AUTO • If A3 and A4 are selected, deselect them

15. Click the STAND BY button • Make sure you can see whatever source is currently being viewed in the ME2 Program Bus of video the switcher
• You should also see audio levels moving from the Master Mix of the Audio Mixer o This ensures BOTH video and audio is being recorded by the computer
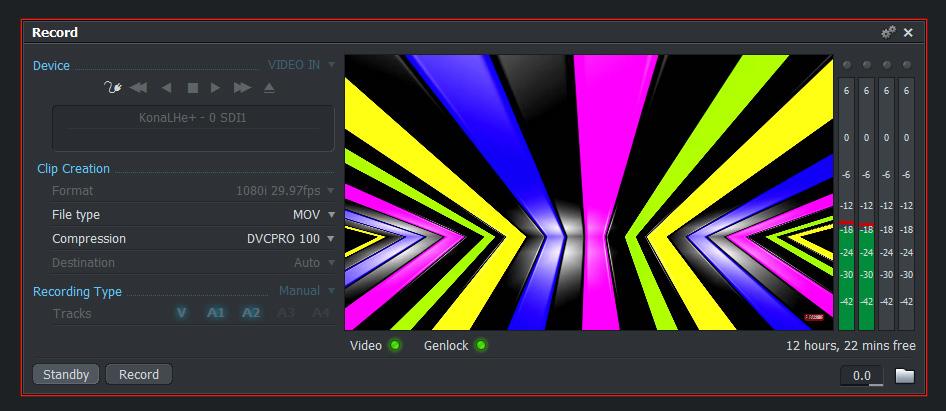
16. When you are ready to begin recording
• Click the RECORD button
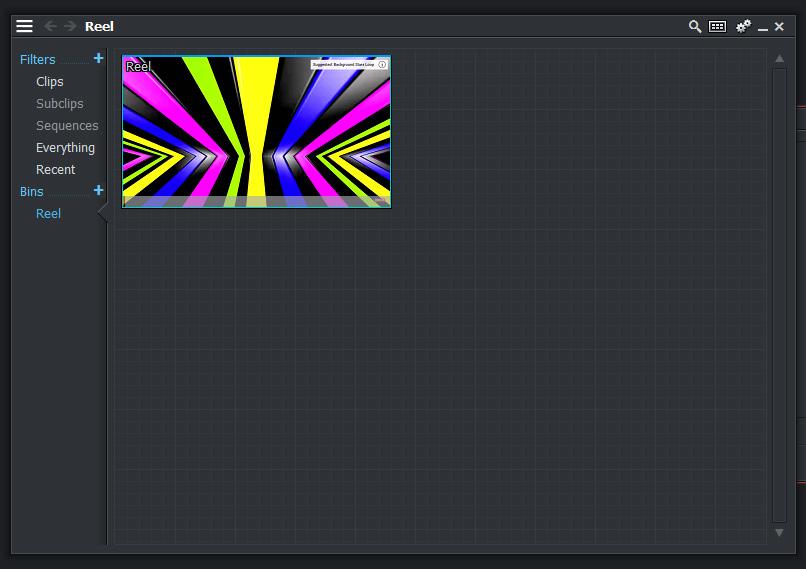
17. When you are finished recording • Click the END button
• a new window (Reel) will pop up
IF you plan on taking your footage and editing it in Adobe Premiere Rush, there are a few steps you should follow when exporting your clips from Lightworks.
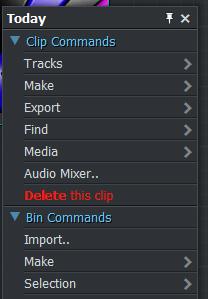
1. Right click on the completed clip
2. Choose Export from the pop out menu
3. Select Audio Location from the Export:Reel window
4. Choose Seperate Files option to export audio seperately from the video clip
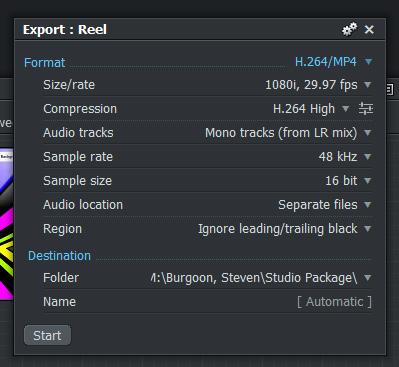
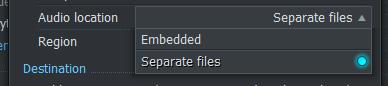
5. Choose Embeded option to export video and audio together as one file
6. Change the destination of the file by clicking on the current location listed in
“Folder” under “Destination” and then choose a new path from the drop down menu
• Click OK to commit the change (if any)

7. Click [Automatic] next to Name to change the name of the file(s)
• A progress window will appear showing you how much time you have left in the export
When the export is completed:
- A Tasks Log will appear and give you the file(s): saved location and how long the export process took

9. Locate the files that you just exported (M:\) and transfer them to an SD card, flash drive or external hard drive
10. Take the files to Edit 1 (or home with you) and load them into Adobe Premiere Rush
One more thing…
Please make sure you transfer your project from D:\ to an external hard drive ASAP
ALL projects left on the Lightworks computer in either A or B control room will be deleted after 30 days
PLEASE make sure you give yourself at least 10 seconds of pre and post roll before you start the productions in the studio and after they end

