
Stellar Painting https://maps app goo gl/jq9xz4TarLVjHjxx9
What is Exterior Painting?
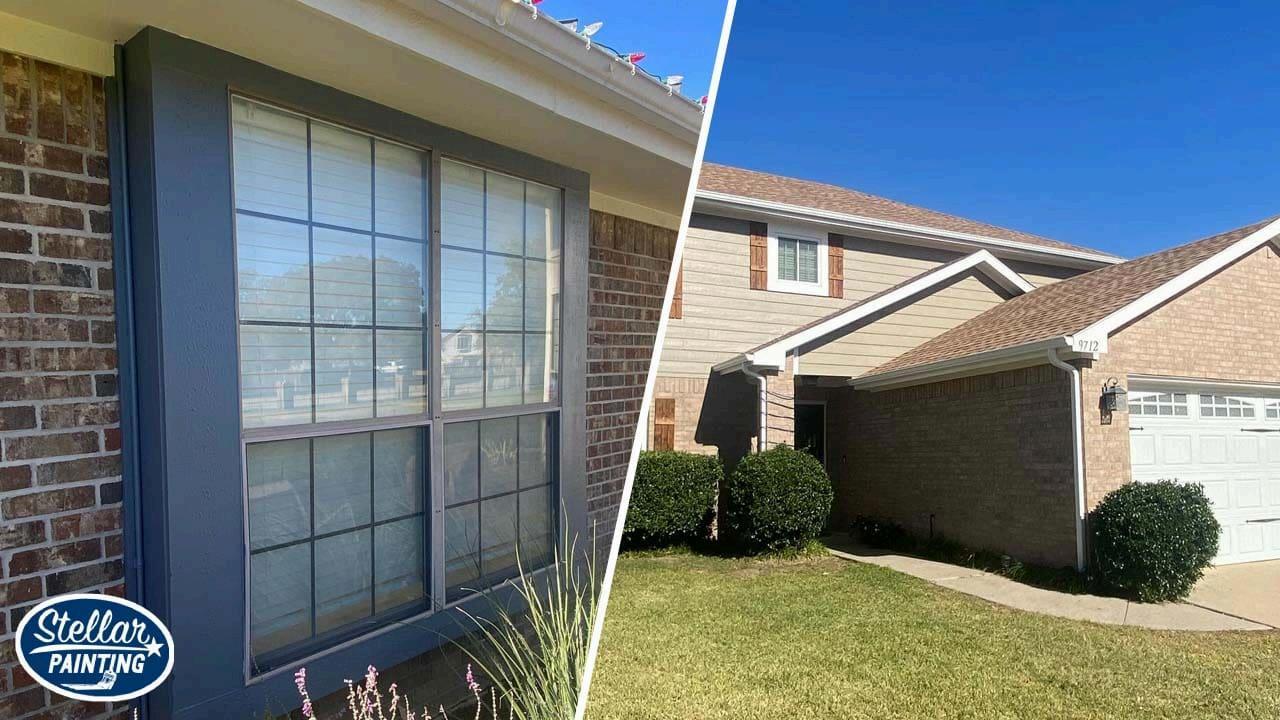
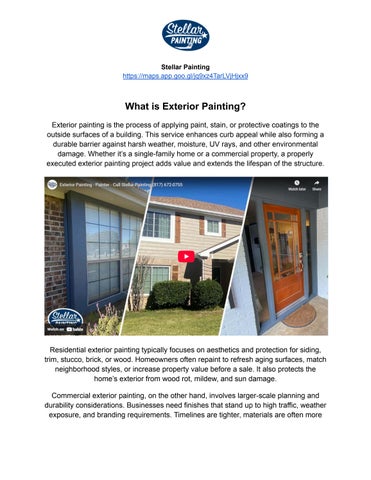
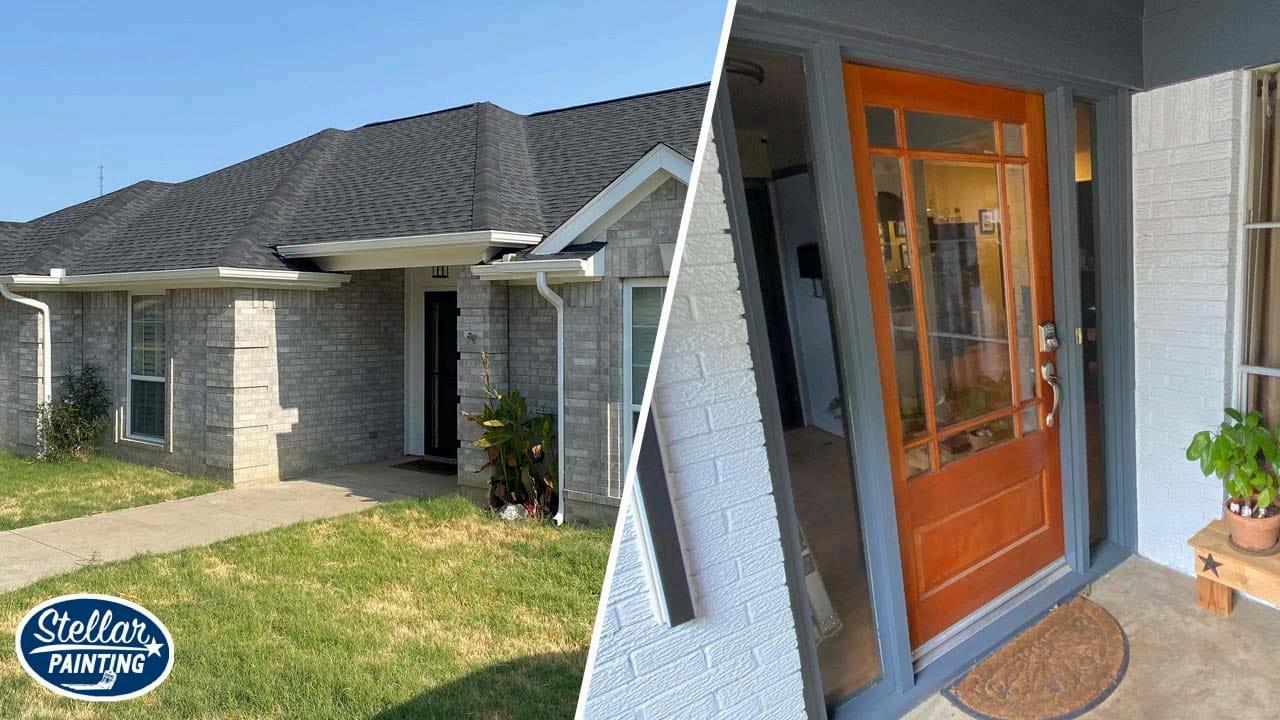
Exterior painting is the process of applying paint, stain, or protective coatings to the outside surfaces of a building. This service enhances curb appeal while also forming a durable barrier against harsh weather, moisture, UV rays, and other environmental damage. Whether it’s a single-family home or a commercial property, a properly executed exterior painting project adds value and extends the lifespan of the structure.
Residential exterior painting typically focuses on aesthetics and protection for siding, trim, stucco, brick, or wood. Homeowners often repaint to refresh aging surfaces, match neighborhood styles, or increase property value before a sale. It also protects the home’s exterior from wood rot, mildew, and sun damage.
Commercial exterior painting, on the other hand, involves larger-scale planning and durability considerations. Businesses need finishes that stand up to high traffic, weather exposure, and branding requirements. Timelines are tighter, materials are often more
Stellar Painting https://maps app goo gl/jq9xz4TarLVjHjxx9
industrial-grade, and safety regulations must be followed carefully during preparation and application.
In both settings, exterior painting isn’t just cosmetic—it’s a long-term investment. It helps prevent structural damage, reduces maintenance costs, and gives buildings a polished, professional look. A high-quality paint job, done with the right tools and products, ensures that the exterior holds up under everyday wear and weather extremes.
Best Types of Paint for Exterior Painting Projects
Choosing the right type of paint is essential to the success and longevity of any exterior painting job. The material of the surface, local climate, and long-term durability all factor into the best product for the job.
Understanding the Main Exterior Paint Types
There are three primary types of paint commonly used in exterior painting: latex, acrylic, and oil-based. Each has specific strengths that make it more suitable for certain
Stellar Painting https://maps app goo gl/jq9xz4TarLVjHjxx9
surfaces and conditions. Latex is preferred for general use, acrylic offers premium durability and UV resistance, while oil-based paint is ideal for trim and metal. Using the wrong type can lead to early fading, peeling, or water damage, while the right product improves appearance, longevity, and weather resistance.
Choosing the Right Paint for the Job
High-quality paints are formulated to expand and contract with temperature changes, resist fading, and maintain adhesion over time. They also help prevent cracking and moisture penetration in harsh weather For long-lasting results, it’s important to select a paint that matches the substrate and environment—whether you’re painting wood siding, stucco, brick, or metal. Factoring in sun exposure, humidity, and the building’s age can also guide the right product choice for optimal performance and durability
Best Exterior Paint Types for Different Surfaces and Conditions
Below is a comparison of the most common exterior paint types, including their ideal uses, benefits, and considerations to help you choose the right product for your project.
Paint Type
Best For
Latex Wood, vinyl, stucco, fiber cement
Acrylic Masonry, brick, wood, fiber cement
Oil-Based Trim, metal, high-traffic areas
Key Benefits
Quick drying, flexible, low VOC, easy cleanup
Excellent adhesion, UV resistant, long-lasting finish
Durable, smooth finish, strong moisture resistance
Considerations
Less durable on high-traffic or metal areas
More expensive than latex
Longer drying time, higher VOCs
Premium Exterior Paints
Stellar Painting https://maps app goo gl/jq9xz4TarLVjHjxx9
Any surface when quality is the priority
Enhanced weather protection, fade resistance, longer lifespan
Higher upfront cost but lower maintenance
Choosing the right paint type can significantly impact the longevity, appearance, and overall performance of your exterior painting project. Always consider the specific surface material, climate exposure, and desired finish when making your selection. If you’re unsure which option is best, a professional exterior painter can evaluate your property and recommend the most effective solution for lasting results.
How Climate Affects Exterior Painting and What to Consider
Climate plays a major role in how well exterior paint performs over time. The temperature, humidity, and sun exposure in your region should directly influence the type of paint and application method you choose.
UV Exposure and Fading
In regions with intense sun, ultraviolet (UV) rays can quickly degrade exterior paint, causing color to fade and surfaces to look worn. UV radiation also breaks down the resin in paint, leading to cracking and loss of adhesion over time. Using a weather-resistant paint with built-in UV protection helps maintain color vibrancy and surface integrity Lighter colors typically resist UV damage better than darker ones, which absorb more heat. Always choose paints specifically formulated for high-sunlight areas to prevent premature deterioration. Regular inspections and timely touch-ups can also help slow down UV-related damage over time.
Humidity and Moisture Damage
High humidity levels increase the risk of moisture seeping into painted surfaces, especially on wood, stucco, and porous materials. This can cause bubbling, blistering, and mildew growth, which weaken the paint’s protective barrier. In coastal or tropical climates, moisture-resistant or mold-inhibiting paints are essential. Acrylic paints perform best in damp environments due to their flexibility and breathable film that allows
Stellar Painting https://maps app goo gl/jq9xz4TarLVjHjxx9
trapped moisture to escape. Proper surface preparation, including thorough drying and priming, is critical before applying exterior paint in these conditions.
Temperature Extremes and Paint Flexibility
Exterior surfaces expand and contract with temperature swings, and paint must be able to move with them. In areas with hot summers and freezing winters, rigid paints may crack or peel as materials shift. Latex and acrylic paints are engineered to handle thermal movement, making them ideal for homes in climates with large temperature fluctuations. Flexible formulations help maintain a consistent finish, even during rapid changes in weather When choosing paint, check that it’s rated for flexibility and all-season performance.
Cold Weather Application Limits
Painting in cold temperatures can lead to serious performance issues, including poor adhesion, streaking, and incomplete curing. Many exterior paints have a minimum application temperature of around 50°F (10°C), though some specialized products are designed for use in colder conditions. Applying paint below the recommended temperature can trap moisture or prevent proper bonding, leading to early failure. Always follow the manufacturer’s guidelines for seasonal use, and when in doubt, delay painting until the weather is consistently above the minimum threshold.
Best Seasons for Exterior Painting and When to Schedule Your Project
Timing matters in exterior painting. Seasonal weather affects how paint adheres, cures, and performs, making it critical to schedule your project during optimal conditions.
Spring and Fall Offer Ideal Painting Conditions
Spring and fall are generally considered the best seasons for exterior painting across most regions. These periods offer stable weather, moderate temperatures, and low humidity, which allow paint to cure evenly and adhere properly to surfaces. Latex and acrylic paints perform best when applied in temperatures ranging from 50°F to 85°F.
Stellar Painting https://maps app goo gl/jq9xz4TarLVjHjxx9
Cooler nights and mild days reduce drying complications like cracking or bubbling. Additionally, fewer weather-related delays mean projects stay on schedule.
Summer Heat Can Complicate Paint Application
Although summer is a popular time for painting, excessive heat poses several challenges. High temperatures can cause paint to dry too quickly, resulting in lap marks, streaking, or reduced adhesion. Surfaces exposed to direct sunlight may become too hot to work on effectively, especially metal or dark-colored exteriors. To prevent issues, professionals often paint during cooler times of day, such as early morning or late afternoon.
Avoid Winter and Rainy Season Painting
Winter and rainy seasons create unsuitable conditions for exterior painting due to cold temperatures and excess moisture. Paint fails to cure correctly below 50°F, and frequent rain can ruin freshly applied coats or trap water beneath the surface. These conditions increase the risk of peeling, blistering, and mold growth. In regions with long wet or freezing seasons, it’s best to wait until consistent dry, mild weather returns. Planning around seasonal weather patterns ensures better performance and longer-lasting results.
Preparing Surfaces for Exterior Painting for a Smooth Long Lasting Finish
Proper surface preparation is the foundation of every successful exterior painting project. Without it, even the best paints will fail prematurely due to poor adhesion, trapped debris, or moisture problems.
Why Surface Preparation Matters
Exterior surfaces are constantly exposed to dirt, moisture, sun, and fluctuating temperatures. Over time, these conditions cause peeling, flaking, or mold growth. Surface prep eliminates these issues before painting begins. A clean, smooth, and dry surface allows paint to adhere properly and extend its durability. Whether you’re working
Stellar Painting https://maps app goo gl/jq9xz4TarLVjHjxx9
with wood, stucco, brick, or metal, prep work ensures the final finish looks clean and lasts longer without early signs of wear
Common Surface Prep Tools & Where They’re Used in Exterior Painting
Below is a breakdown of common surface preparation tools and techniques used in exterior painting, along with where they are most effective.
Tool/Technique
Purpose
Used On
Pressure Washing Removes dirt, mold, loose paint Siding, stucco, masonry
Scraping and Sanding Smooths surface and removes flakes Wood, trim, old paint layers
Priming Seals surface and improves paint adhesion
All surfaces (especially bare or repaired areas)
Essential Steps in Surface Prep
Effective surface preparation involves multiple steps performed in a specific sequence. The process typically starts with pressure washing to remove dirt and loose paint. Next comes scraping and sanding to smooth the surface and remove any remaining debris. Once clean and dry, the area is caulked to seal gaps, and primer is applied to help the topcoat bond and resist moisture. Skipping any of these steps can result in bubbling, chipping, or uneven color coverage.
Tools and Techniques That Make a Difference
Using the right tools is critical for safe and thorough preparation. From handheld scrapers to commercial-grade washers, the tools vary depending on the material and scale of the job. Choosing the correct equipment not only improves efficiency but also
Stellar Painting https://maps app goo gl/jq9xz4TarLVjHjxx9
ensures the surface is properly prepped for long-term paint adhesion. Surfaces like brick or stucco may require specialized techniques, while wood trim often needs fine sanding and precise caulking. Each step, when done with the right tools, contributes to a more professional and longer-lasting finish.
Common Exterior Painting Problems and How to Prevent Them
Even the best-looking exterior paint job can fail if common issues are ignored. Recognizing the causes and taking preventive steps can help protect your investment and maintain a clean, lasting finish.
Recognizing the Most Common Paint Failures
Peeling paint, cracking, fading, and mildew are the most frequent problems seen in exterior painting. Peeling paint is usually caused by moisture trapped under the surface or poor adhesion due to dirty or glossy substrates. Cracking often results from applying
Stellar Painting https://maps app goo gl/jq9xz4TarLVjHjxx9
paint too thinly or skipping surface prep. Fading is typically due to prolonged UV exposure, especially on darker colors. Mildew and blistering can occur in humid areas where paint is applied over damp surfaces or without proper ventilation. These issues often start subtly—like small flakes, discoloration, or soft spots—and can spread quickly if ignored. Early signs should be addressed immediately to avoid extensive repainting or substrate damage. These signs indicate underlying issues that, if left unchecked, can lead to costly repairs.
Preventing Problems with Proper Prep and Materials
The best way to prevent paint failure is to focus on preparation and product selection. Surfaces must be clean, dry, and properly primed before paint is applied. Using high-quality, weather-resistant paints designed for your specific climate helps ensure lasting results. Caulking gaps, repairing cracks, and choosing mildew-resistant coatings are small steps that make a big difference. Sanding glossy or uneven surfaces and removing old, flaking paint help new coatings bond correctly and last longer Applying the correct number of coats and allowing full drying time between applications is equally important. Hiring professionals who follow best practices and understand local conditions further reduces the risk of common exterior paint problems over time.
Four Step Exterior Painting Process from Start to Finish
A professional exterior painting process is more than just applying color—it’s a system built on preparation, precision, and consistency The right process ensures your paint job looks great, lasts longer, and protects your property
Step 1: Inspection and Quote
Every project starts with a thorough exterior inspection. Professional painters assess the condition of your surfaces, identify problem areas like peeling, cracking, or rot, and evaluate how weather and material type will affect paint performance. During this stage, you'll receive a detailed quote outlining recommended services, paint products, and the project timeline. This step sets expectations and allows for informed decisions based on property needs and budget.
Stellar Painting
https://maps app goo gl/jq9xz4TarLVjHjxx9
Step 2: Surface Preparation
Proper preparation is the most important part of any exterior painting process. Crews begin by cleaning the exterior using pressure washing to remove dirt, mildew, and loose paint. Surfaces are scraped, sanded, and repaired as needed to create a smooth base. Cracks and joints are caulked, and bare or repaired areas are primed for maximum adhesion. This step ensures the new paint bonds properly and maintains durability over time.
Step 3: Paint Application
With the surface fully prepped, painters apply the selected products using brushes, rollers, or sprayers, depending on surface type and texture. Most jobs require two coats for consistent color and coverage. High-quality exterior paints are chosen for their weather resistance, color retention, and flexibility Professional painters follow manufacturer guidelines to apply paint evenly and at the proper thickness, avoiding streaks, lap marks, or drips.
Step 4: Final Walkthrough and Cleanup
After the painting is complete, a final walkthrough ensures every detail meets quality standards. Any touch-ups are handled immediately, and the job site is thoroughly cleaned—no debris, tape, or overspray left behind. Homeowners or property managers are invited to inspect the work, and only after full approval is the project considered complete. This last step reinforces professionalism and guarantees customer satisfaction.
Stellar Painting
https://maps app goo gl/jq9xz4TarLVjHjxx9