Cycle First Aid
by Steve Evans MBE
Liverpool Century RC & Cycling UK Member

• Keep the Red Stuff in • When in doubt call 999 or 112
• http://www.emergencysms.net/

by Steve Evans MBE

• Keep the Red Stuff in • When in doubt call 999 or 112
• http://www.emergencysms.net/
Be aware of danger to yourself “A dead rescuer is no good to anybody” and to the casualty and others
• Moving traffic
• Blind Bends
Priorities
• Catastrophic (life Threatening ) Bleed
• Airway – clear if blocked or open if not breathing, being aware of potential Neck Injury, Cover open chest wounds
• Cervical Awareness
• Breathing – if No then start resuscitation
the Damage Look at the potential for injuries of the casualty both internal and external
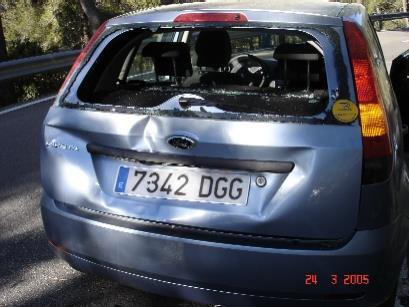
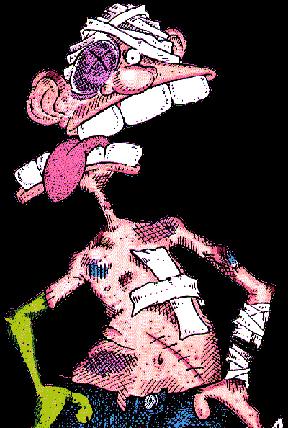
▪ These injuries look and feel painful
▪ Look beyond the gore
▪ Are there underlying injuries
▪ Fractures
▪ Internal Injuries/bleeding
▪ Head Injuries
▪ Check for Underlying Injuries
▪ Wash out Dirt and Grit
▪ Cover with Clean dressing
▪ Needs scrubbing within a medical centre to prevent scaring and promote healing
▪ Moist dressings help the healing process
▪ Check for Infection later on, i.e. redness, hot to touch, swelling in Armpit or Groin
• Haemophiliac – Alex Dowsett pro cyclist
• Anti coagulants – card carrier
• Warfarin – wristband
• Therapeutic Aspirin
All the above interfere with the control bleeding – keeping the red stuff in
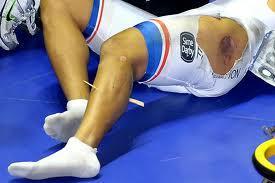
P - Posture / Position
E - Expose / Examine
E - Elevate
P - Pressure direct with a dressing or indirect pressure using a pressure point
▪ Brachial – Upper arm, underneath the bicep muscle pressing against the upper arm bone
▪ Femoral – upper 3rd of the groin pressing the femoral artery against the rim of the pelvis this will take 2 thumbs
▪ Pale, cool, clammy skin
▪ Ashen, cyanosed skin
▪ Fast weak pulse
▪ Rapid shallow breathing
▪ Nausea
▪ Feeling faint – lower level of consciousness
▪ Early – Disorientated / Confused
▪ Compensates by – Fast Pulse - Rapid Breathing - Pale cool Clammy Skin
▪ Feels Faint
▪ Late Sign – Cyanosed (blueness)
▪ Late Sign - Unconsciousness
▪ Treat the possible cause ( Blood loss, Fracture, heart attack or Diabetic emergency
▪ Loosen tight clothing
▪ Rest – comfortable position
▪ Reassurance – Nil by Mouth
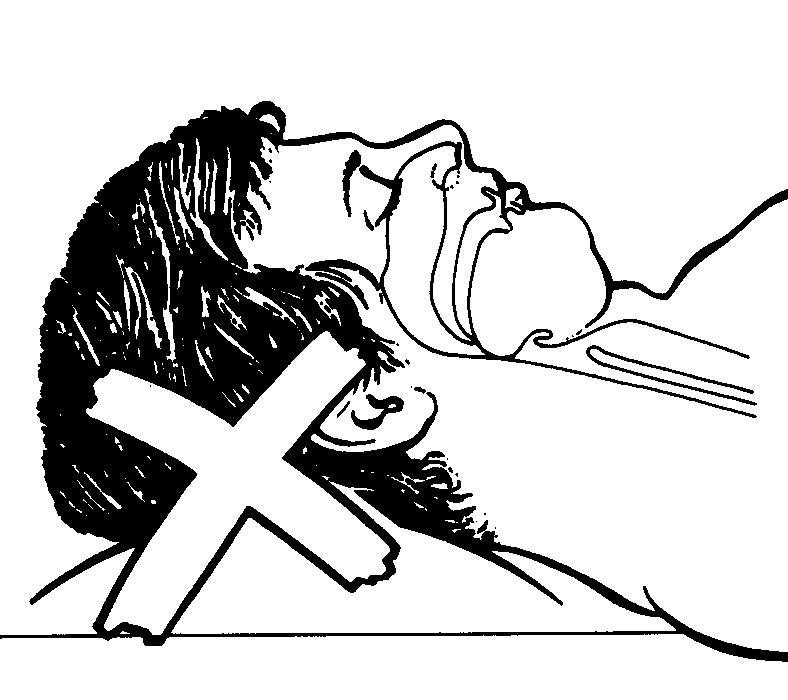
• The No 1 Cause of Death in Trauma is a blocked Airway
• When Unconscious the tongue drops to the back of the Casualty’s throat blocking their airway
• This is preventable by performing a Jaw Thrust or Chin Lift

▪ Concussion – shaking of the
▪ Compression – Bleeding in skull
▪ Skull fracture – cranium / base
• Alert and responsive
• Verbal - Responding to speech
• Pain - Responding to pain
• Unresponsive -No response
These are most important when dealing with severe head injuries
▪ Bleeding within the Skull compressing the brain
▪ Loss of Consciousness
▪ Unequal Pupils
▪ Flushed face
▪ Slow full bounding pulse
▪ Vomiting
▪ TREATMENT = 999 Ambulance
▪ Be Neck Injury Aware
▪ Loss of Consciousness – amnesia
▪ Vomiting
▪ Headache/dizziness = Hospital
▪ Broken helmet = more serious
▪ Treatment = Monitor the Patient for changes, take to hospital if concerned
▪ Monitor level of consciousness, and breathing
▪ Dress any wounds
▪ If Unconscious maintain an open airway
▪ Closed – the bone is fractured but there is no external wound
▪ Open – there is an external wound leading to the site of the fracture. The bone may be protruding
▪ Complicated – the ends of the bones have damaged underlying organs
▪ Along side major bones are arteries, veins and nerves
▪ Swelling
▪ Loss of movement
▪ Irregularity
▪ Pain
▪ Deformity
▪ Unnatural movement
▪ Crepitus
▪ Tenderness
▪ Shock
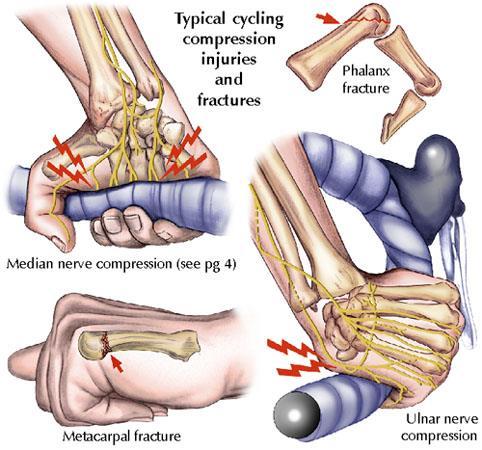

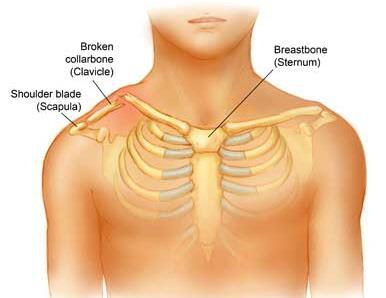

• Damage to Underlying
Punctured Lung causing difficulty in breathing
• Damage to blood vessels- Arteries and veins leading to blood loss
• Damage to nerves- loss of movement or sensation
• Pain over the area of the break
• A bump may be felt or a step seen
• A reddish-purple bruise starts to appear
• The shoulder appears to sag or drop
• Inability to raise the arm due to pain
• People report a popping or snapping sound
• Look for Underlying problems, breathlessness, bruising, loss of movement or tingling
• Support the injured side
• Send to hospital for an X-Ray
• Do not allow to ride any further
▪ Upper limbs – support in a comfortable position
▪ Lower limbs – do NOT move unless life is threatened
▪ Lower limbs – do NOT attempt to straighten limbs
▪ Look for bleeding
▪ History is Vital
▪ May be no obvious signs of injury
▪ Lack of sensation
▪ Pins & Needles
▪ Inability to move limbs
▪ Back or Neck pain
▪ No symptoms present – damage yet to be done
▪ The Casualty must Not be moved unless their life is threatened
▪ Keep the head still – Trauma Head hold
▪ Do not allow others to interfere
▪ Remember – there is no second chance
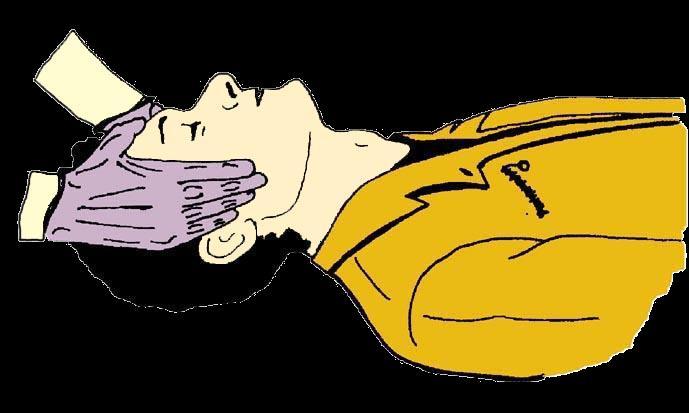

D- Danger
R- Response
S - Stop Life Threatening Bleeding
A- Airway - be Neck Injury Aware
B- Breathing NO dial 999
C- Chest Compressions (1 person to hold the head)

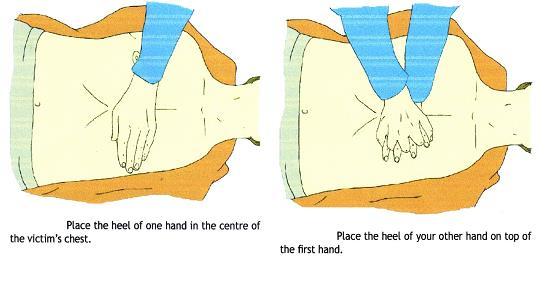

• What if I make the Casualty worse
- you can’t make the Casualty worse, as they are clinically dead
• What if the Casualty’s heart is still beating
- The AED will not charge up if it sees a beating heart
• What if Others get shocked - by performing the safety procedures bystanders will not receive a shock
• 1 - Switch on the AED
• 2 - Listen and obey commands
• 3 – Press The Flashing Red Button, when safe to do so.

Ensure safe environment, Remove metal Jewellery, G.T.N. Patches, Underwired Bras, Shave if required.


Place the Pads on the patients chest ‘left arm pit and the other above the patients right nipple below the collar bone

• Attach the defibrillator only to someone who is not breathing at least 6 times per minute.
• Be sure the pads are firmly adhered to the patients chest.
• Make sure no one is touching the patient.
ICE in your Mobile
• It is recommended that you place In Case of Emergency (ICE) in your contacts within your Mobile phone
• It is good practice as Emergency workers like Doctors , Nurses and Paramedic will be able to contact your family if you are Unconscious or Badly injured
• Place Name, Number and relationship
• Stay safe
• Do no harm
• Hold the Head
• Do not move the patient (unless it is too dangerous not to)
• Keep the Red Stuff in
• When in doubt call 999 or 112