Thrive is a cosmetic magazine which has an intended result to boost people’s confidence. Whether it’s physically, mentally or emotionally. With a monthly subscription, you are able to read tutorials on makeup techniques for any styled makeup look, read skin care routines/tips/hacks, read cosmetic advice and read suggested great quality products. Thrive is for beginners, for those who love having fun with makeup, and for those who want help cosmetically.
22.
How to Use Concealer
24. 30.
How to Clear Up Acne Fast
32.
DIY Acne Spot Treatment
How to Make Your Own Makeup Remover Wipes
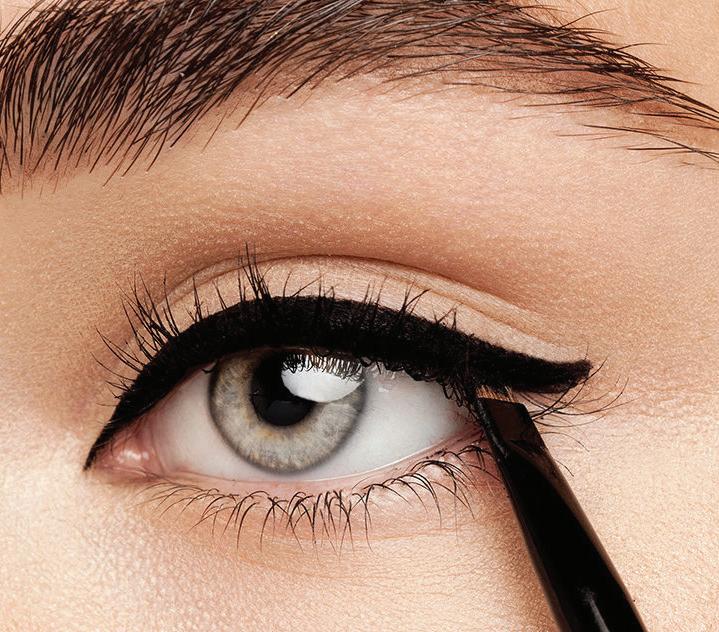
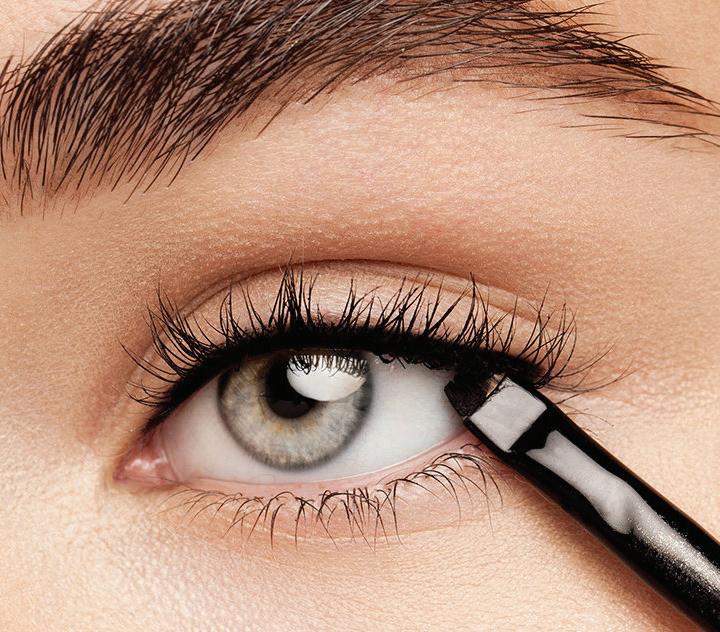
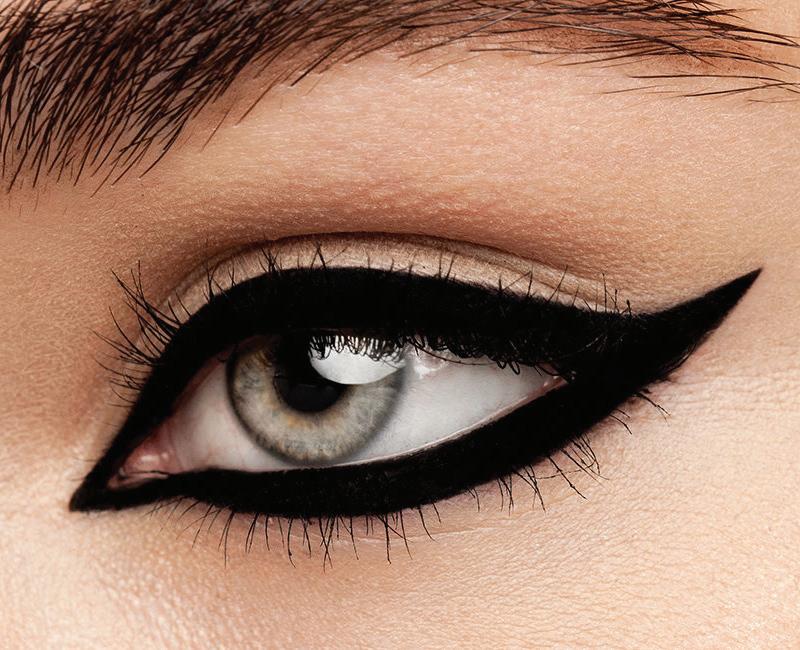
How to do Winged Eyeliner
Demonstration done with gel eyeliner
Step 1.
Start by using an angled eyeliner brush, such as Wayne Goss Brush 08, to line your upper lashes. Dip the brush into your Eyeliner Gel and draw a thin line that hugs the base of your lashline.
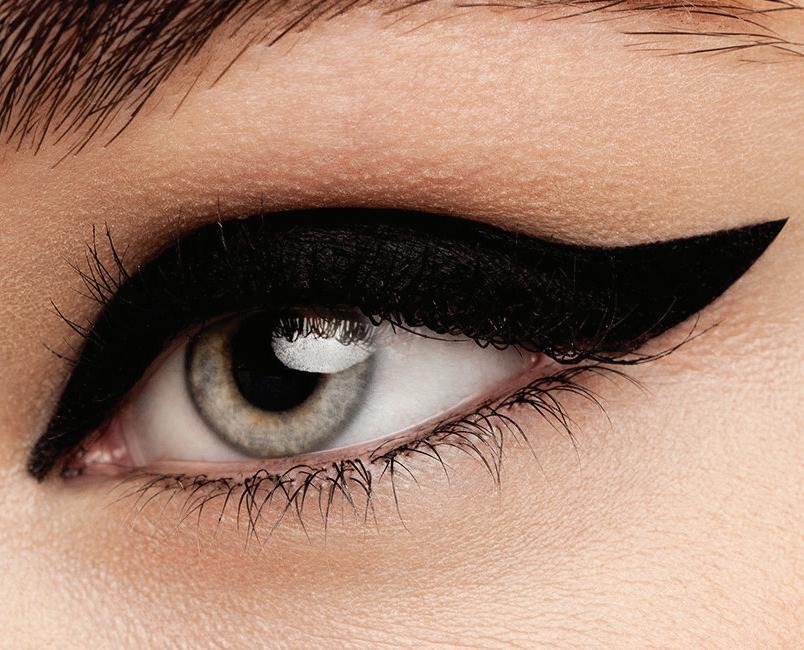
Step 3.
Draw a thin wing that points up and out from the outer corner of your eye. The wing’s tip should angle up towards the end of your eyebrow. Use a pointed cotton swab dipped in makeup remover to clean up any mistakes and carve out a crisp, sharp flick.
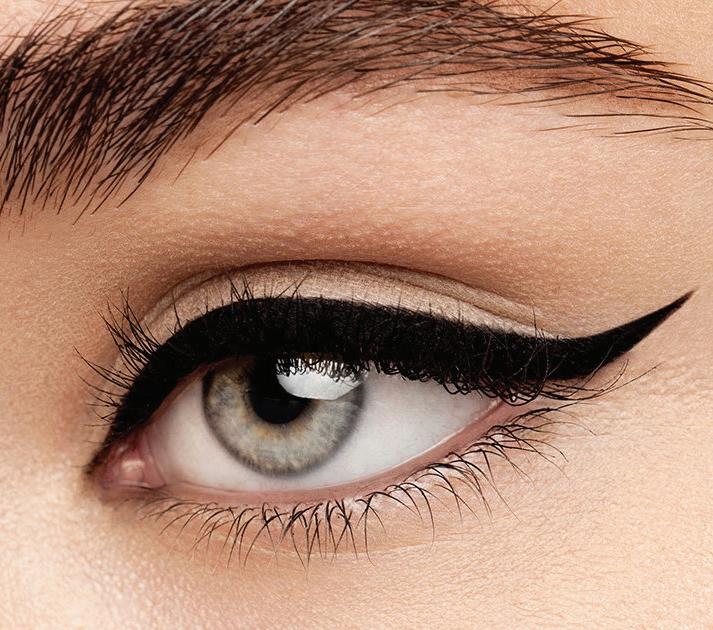
Step 2.
Next, draw a slightly thicker line from the inner corner to the outer corner of your eye. This line should start out very thin and get slightly thicker as you continue towards your outermost eyelash.
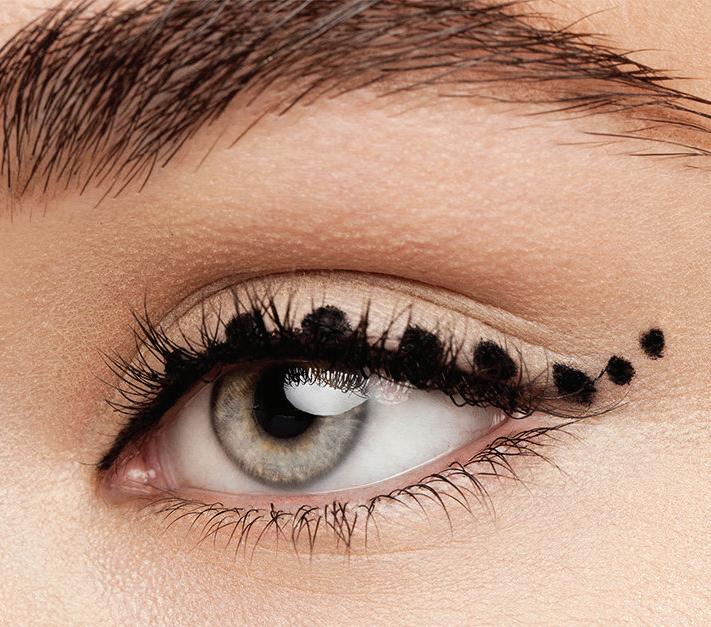
If you’re a beginner, you can also map out your cat eye with small dots before tracing over them with eyeliner.
Most importantly, keep practicing! Experiment with the thickness of your line and the angle of your wing to discover what looks best with your eye shape. Winged eyeliner can seem difficult at first, but it gets easier with time—especially if you start with a gel eyeliner, which tends to be more forgiving than liquid or pencil.
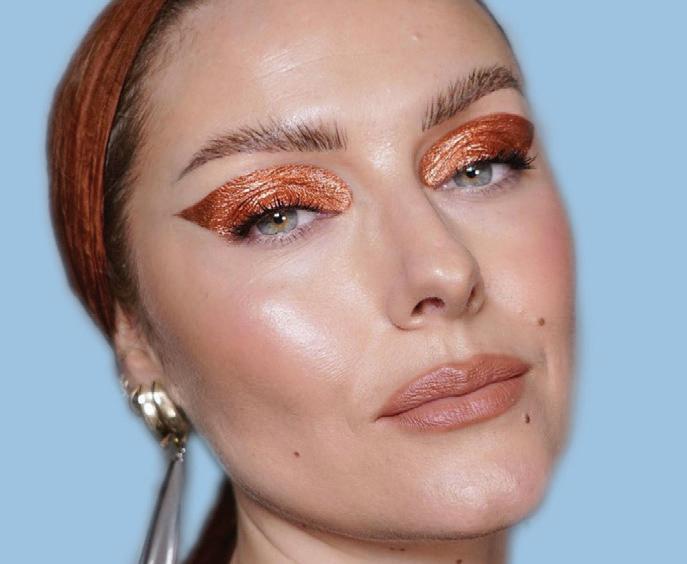
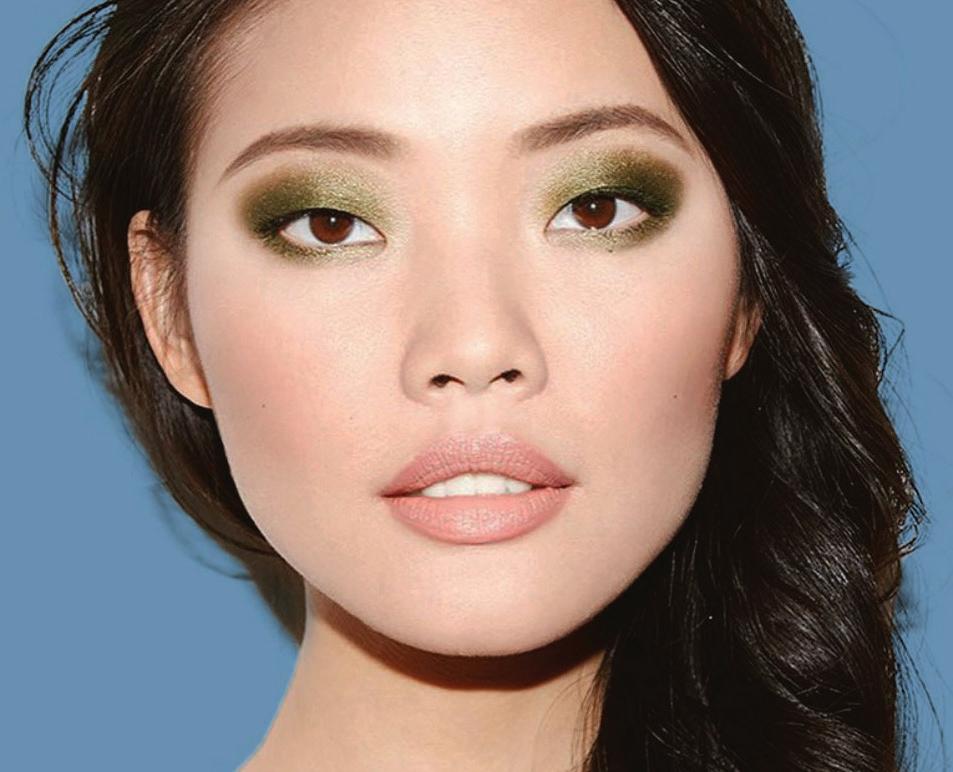
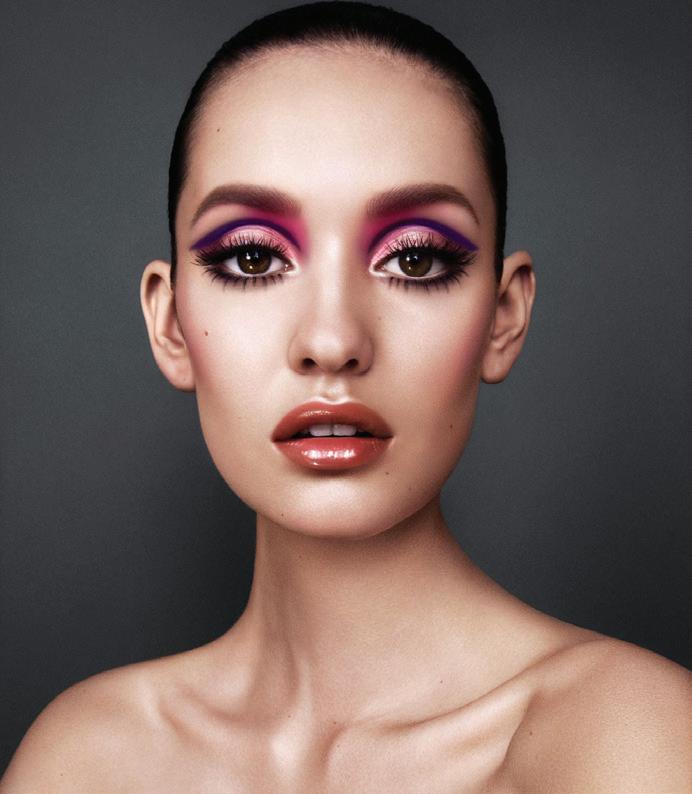
Creative Eye Liner Looks To Try
If Marilyn Monroe, Sophia Loren, and Amy Winehouse are any indication, the classic cat eye has been trending for decades. And although we love a simple, unfussy flick, there are many ways to up the drama factor and take your basic eyeliner wing to new heights. To give you some inspiration, we came up with three creative versions of cateye makeup using Eyeliner Gel. If you’re itching to break out of your liner rut, give these fearless looks a try.
The Fat Cat
Inspired by ‘60s starlets like Brigitte Bardot and Audrey Hepburn, this retro look is a much thicker version of your basic cat eye. We find it easiest to start by drawing the outline of your wing, and then extending the line along your crease to the inner corner of your eye. Using short strokes, fill the empty space inside your outline with eyeliner. For added drama, tightline your upper eyelid before you begin.
Double Winged Liner
This look is striking in a subtle way, and it’s surprisingly easy to pull off. First, use an eyeliner brush, like Wayne Goss Brush 08, to apply basic winged eyeliner to your upper lid. Next, draw a thinner, smaller wing on your lower lashline. It should extend straight out from the center of your lower lashes. Use a pointed cotton swab dipped in makeup remover to clean up any rough edges (a handy trick to try with any of these looks).
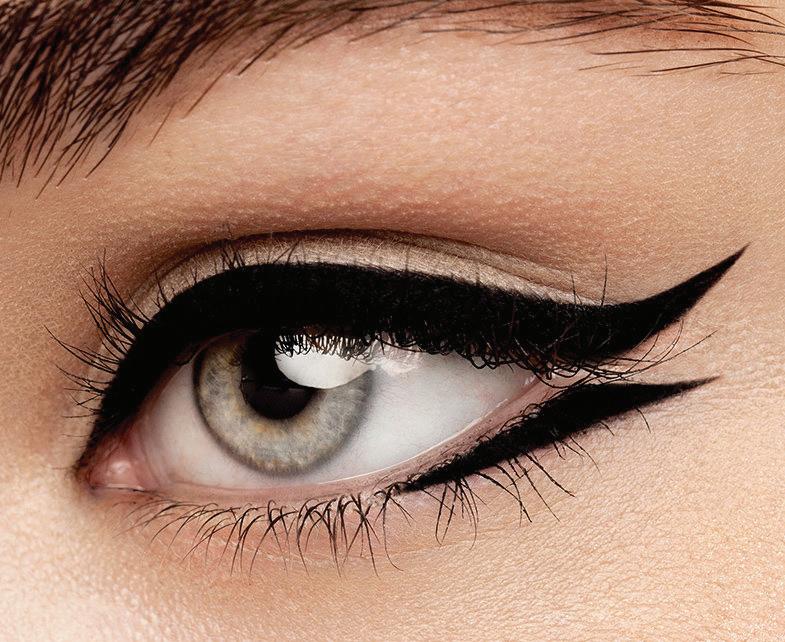
The Cleopatra
This sultry statement look, an homage to Elizabeth Taylor in Cleopatra, brings all the attention to your eyes. Start by tightlining your upper and lower eyelids, and then apply eyeliner to your upper and lower lashlines. Connect the upper and lower eyeliner with a wing that extends from the outer corner of your eye. It should angle up towards the end of your eyebrow. Using a finetipped eyeliner brush trace along the inner corner of your eye to finish with a sharp point.
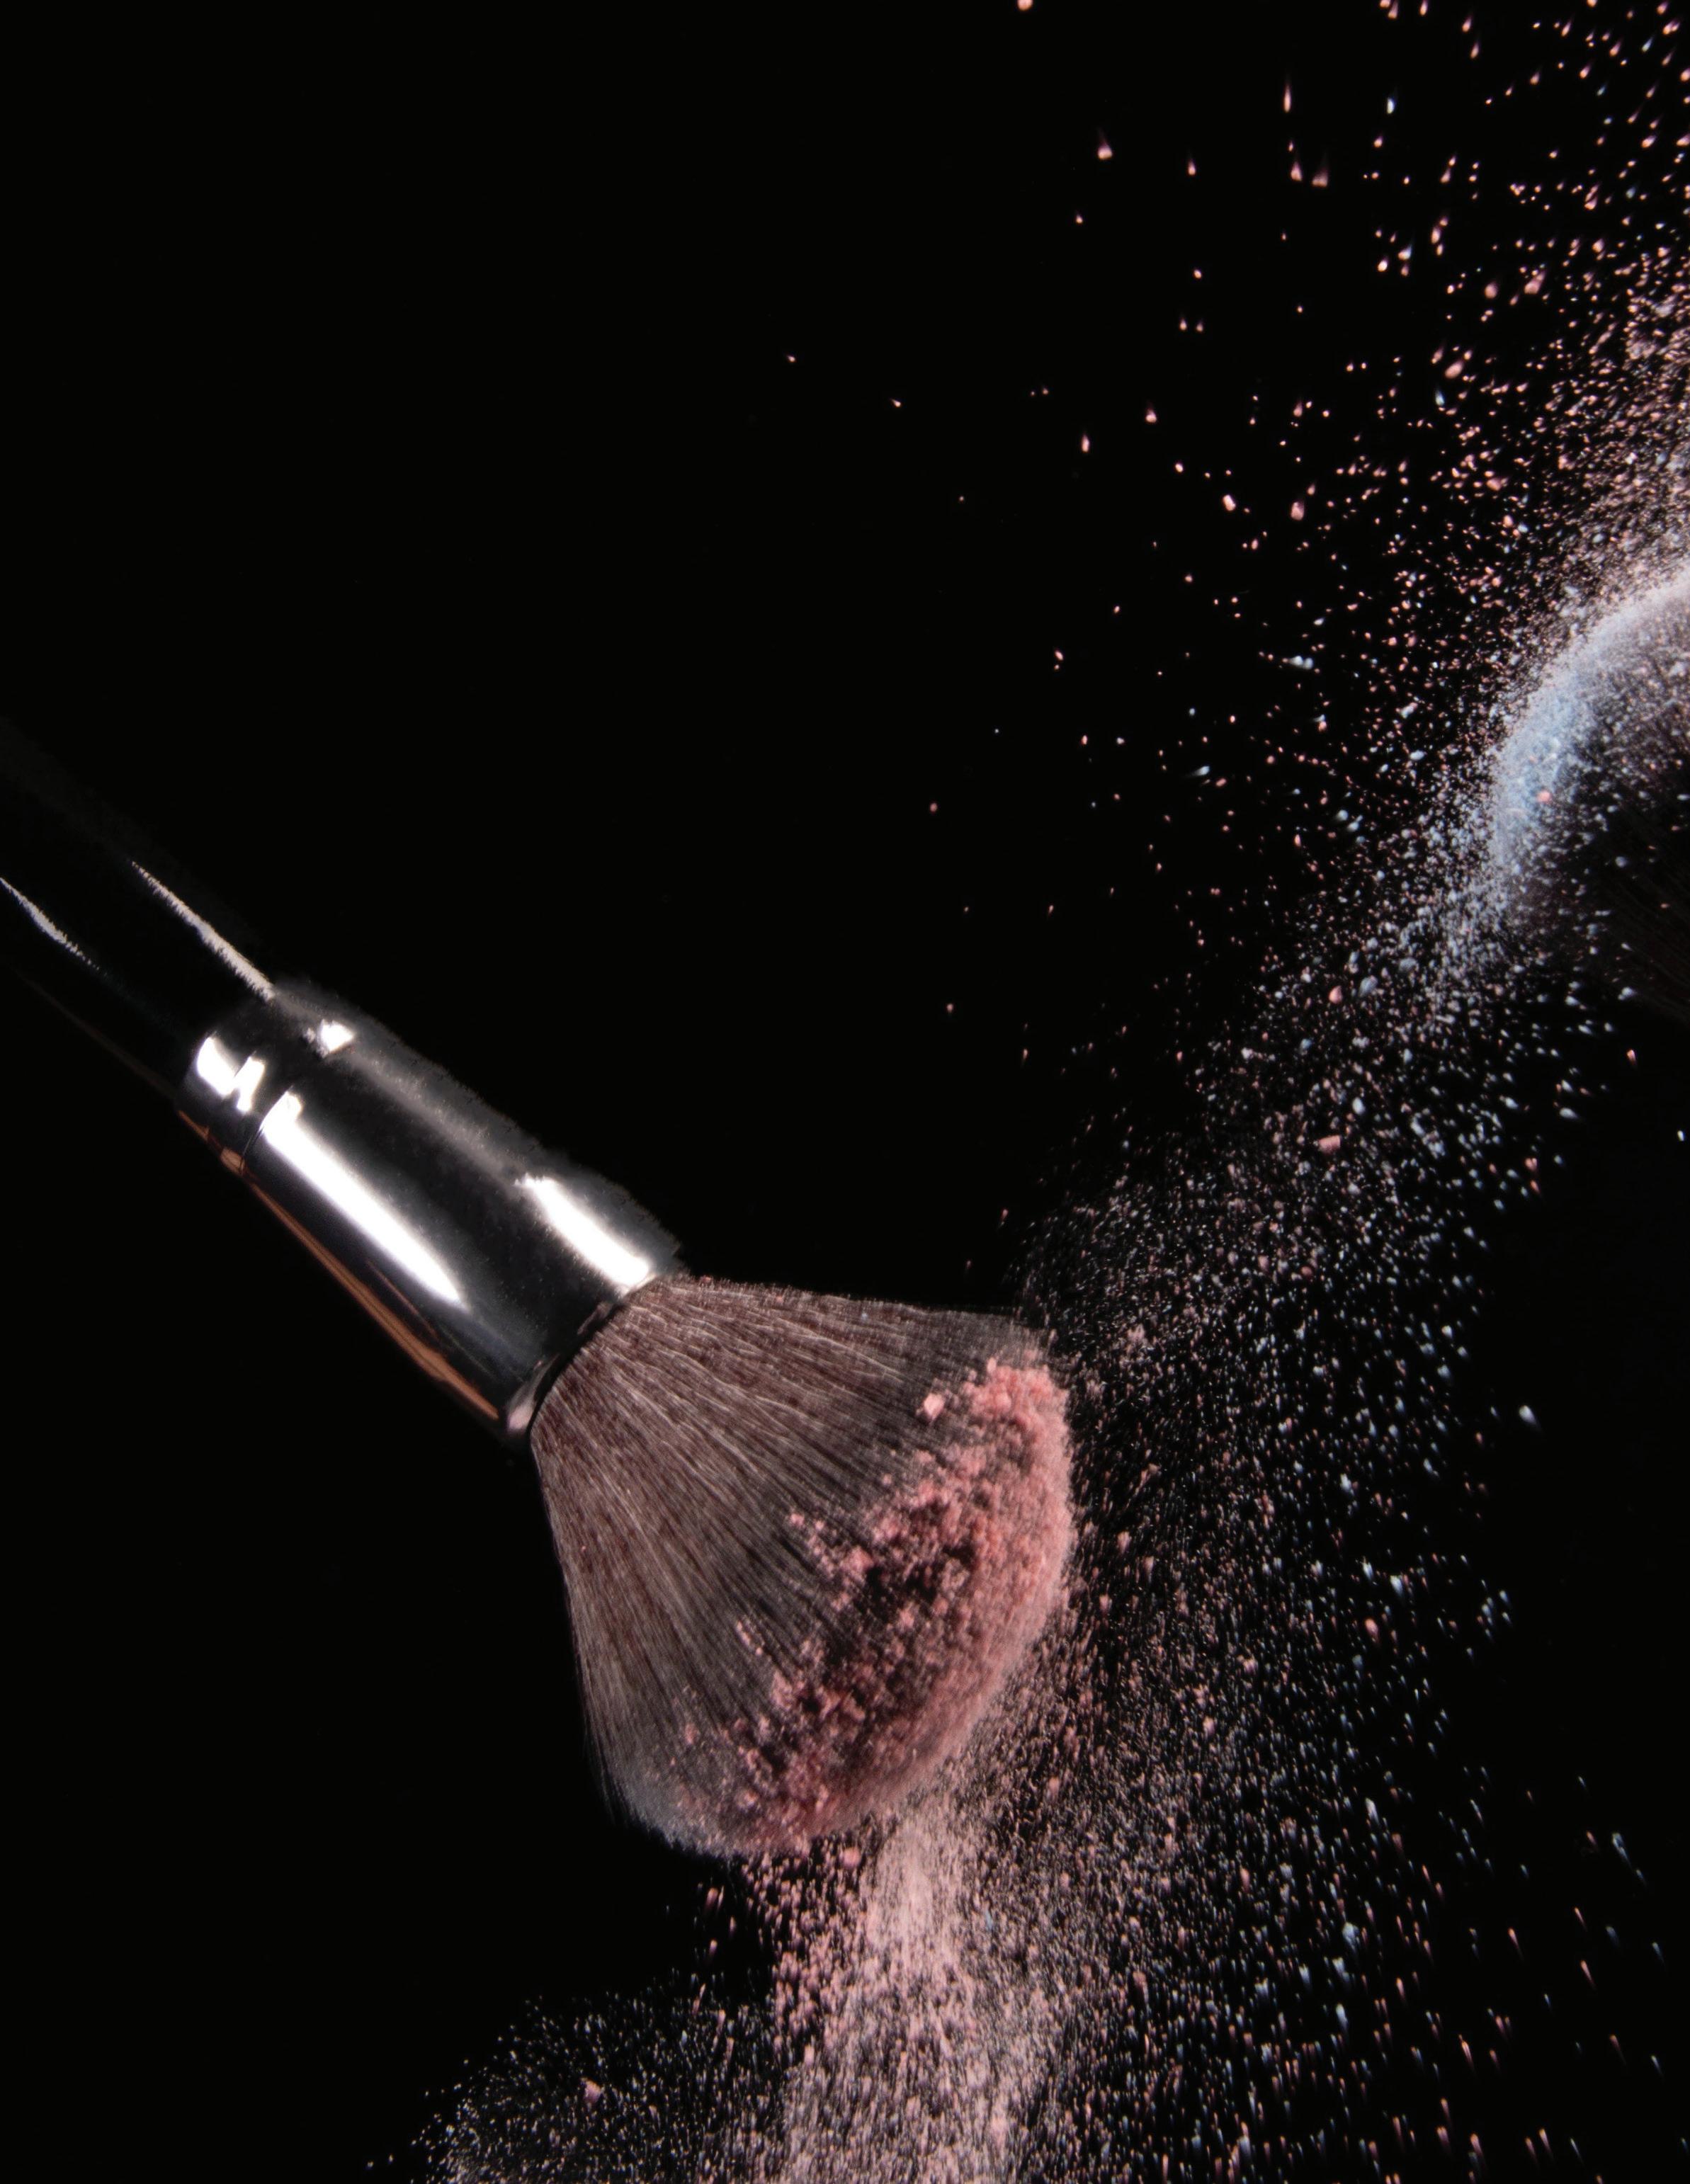
How to Deep-Clean Your Makeup Brushes With Minimal Effort
By Lori Keong
By Lori Keong
There are a variety of methods popularized on YouTube and Reddit for washing brushes and makeup sponges—from swirling with dish soap and olive oil to putting your Beautyblender in the microwave—but it’s often best to seek out expert advice. Here, we asked three makeup artists for their suggestions on exactly how to clean makeup brushes, when it’s worth purging your makeup brushes, and which cleaners and cleaning accessories they like to use.
Cleaning makeup brushes is right up there with filing taxes and flossing on the checklist of items that we’d rather not do but know we should anyways. It’s tempting to just pick up yesterday’s foundation brush, keep on buffing powder with it, and reuse it for today’s makeup look—but for your own peace of mind, cleaning your makeup brushes is really, really, truly worth it for a variety of health reasons.
“As makeup and oils build up on brushes and sponges, they create a breeding ground for bacteria and other microorganisms, which can cause breakouts, styes, staph, or even herpes outbreaks,” says board-certified dermatologist Hadley King, M.D., “Using dirty makeup brushes and sponges can lead to not only skin irritation, but also potentially infections.” That’s not to mention the longevity of your brushes themselves. Gunk and buildup that gathers on dirty makeup brushes can also cause them to deteriorate more quickly, affecting your makeup application. How often should you be cleaning your makeup brushes?
Because makeup brushes can be such a breeding ground for bacteria, King says makeup brushes and sponges should be washed at least once per week. “This is a good policy for tools used in the delicate eye area, and particularly if the tools are used for liquid and creambased products, which are more likely to become contaminated.” For tools used with dry powders only (which she says are “a more challenging environment for microbes to grow in”), and those concentrated on other areas of the face like the cheeks and brows, King recommends washing your brushes at least every other week.
The makeup artists we spoke with were on a similar page. When they’re not working with clients (which requires cleaning after every job), New York–based makeup artists Jennifer Nam and Marie Schumacher like to clean their personal brushes with soap water around once a week, and do touch-ups in between with a brush-cleaning spray (typically after every use). Nam also recommends rubbing alcohol wipes for more delicate tools like lip brushes
When should you replace your makeup brushes and sponges altogether?
Everyone seemed to agree that if you treat your makeup brushes right, you can use them faithfully for years without running into issues. “I very rarely throw a brush away,” says Schumacher, “and if it doesn’t make the cut for my kit any longer, I would usually recycle them by using them for craft art brushes.”
It all depends on your mileage, and how regularly you’re using your brushes, but the real signs that you need to throw a brush away, according to Nam and Gowers, is when you notice the brush hairs are splitting off or falling out, or have a foul smell. Ditto for makeup sponges. “When your Beautyblender is cracking, or smelling funky, you should replace it,” says Gowers. To prolong the life of your brushes, Gowers also recommends giving the container that your makeup brushes sit in a cleaning every once in a while.
The Stepby-Step Methods
Quick-cleaning with a spray:
1. 2. 3.
Spray your brush a few times, with the heads pointing down to prevent any moisture from seeping into the glue.
Swirl your brush against a clean cloth or paper towel to loosen up the pigments.
Overall, the makeup artists we spoke to had very similar methods for cleaning makeup brushes with different types of products. We distilled all their methods below, with some additional tips from each expert. If you’re cleaning a makeup sponge, the same methodology applies, though you’re really going to want to stick to liquid cleaners or bar soaps.
Air-dry your brushes on a flat surface.
Quick-cleaning with a liquid cleaner:
1. 2. 3. 4.
Fill a small bowl with a thin layer of the solution. Dip the tip of your brush into the solution. Gently run your brush back and forth on a clean paper towel or a microfiber towel until all the product buildup is loosened up and your brush feels clean
Air-dry your brushes on a flat surface.
Deep-cleaning with soap and water:
1.
Holding your brushes with the bristles facing down, gently run lukewarm water in the sink and wet the tips of the bristles.
4. 2. 5.
Rinse again with clean water, with the bristles facing downward.
Add a drop of your soap of choice to a textured cleansing pad (or even something like your palm), and swirl the brush into the soap until it’s fully lathered up and any pigment or dirt is removed. Or, if you’re using a bar soap, gently rub your makeup brush or sponge into the soap, creating a lather.
Gently squeeze out any excess water, and mold your bristles back into place so they will dry correctly
6.
Lay your brushes flat to dry on a towel or paper towel.
3.
Gently squeeze your makeup brush or sponge to remove any excess cleanser or water.
Recommendations
Know Your
Eyelid Type
Have you ever tried to follow an eye makeup tutorial and found that it just didn’t work with your eyes? For those of us without double eyelids (more on that in a second), it’s a common occurrence. If you’re struggling to get your eye makeup right—and popular techniques just don’t seem to make sense— it may help to learn what type of eyelids you possess.
You’ve probably heard about the different eye shapes (round, almond, deep-set, upturned—we could go on), but eyelids are another story. Here, we break down the difference between double eyelids, monolids and hooded eyelids so that you can tweak your technique for your unique eyes.
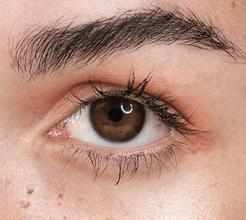
What are hooded eyelids?
Hooded eyelids have a fold of skin that partially (or sometimes fully) covers the eyelid. If you have hooded eyelids, you may not be able to see your lid when you look straight into a mirror. Some people are born with hooded lids, while some develop them over time with age.
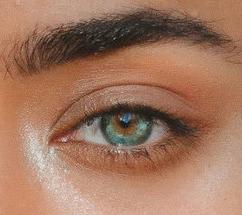
What are double eyelids?
Double eyelids have a visible crease or fold of skin where the eye meets the eye socket. This crease divides the eyelid into two parts—hence the name “double lid.”.
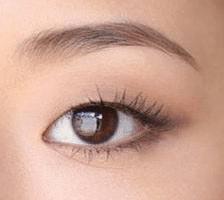
What are monolids?
Monolids (aka single eyelids) are an eyelid shape that appears to lack a crease that separates the eyelid into two parts. Very common among East Asian folks, monolids are characterized by the eye sitting flush with the browbone, connected by a stretch of skin without a visible fold.
What application style is best for you?
Depending on your eyelids, you may have to alter the way you do your eye makeup for best results. If you have monolids, for example, you may not have a visible crease to define with eye shadow. Instead, try sweeping shadow along your upper lashes to define your eye.
If you have hooded eyes, most winged eyeliner tips and tricks don’t work due to that extra fold of skin. Instead, try relaxing your eye and sketching your wing over the fold without pulling the skin taut.
With double lids, you have some lid space to work with. Use a dark shade to define the crease of your eye and add depth to your look. If your lids are oily, applying a primer and then lightly dab your lids with setting powder. That can help keep your shadow from creasing.
Now that you know if you have double lids, monolids, or hooded lids, you’re one step closer to finding the technique that works for you.
Easy Eye Looks You Can Do 5
With One Shade
By
Complicated eye looks are fun and all, but sometimes you just want to slap on a single shade of eye shadow and be done with it. Ahead, here are a few simple eye makeup looks you can create with just one product—no fussy blending or advanced application techniques required.
Kat Freitas-Seitz
One-Shade Smoky Eye
Duochrome shadows are perfect for one-shade looks because their reflective pigments appear to change color in different lights, creating the illusion that you’re wearing multiple hues. Application is simple, too—just pat all over your lid with your finger (fingertips usually work best for duochromes) and blend out the edges.
Contoured Halo Eye
A one-shade halo eye? Yes it exists, and you can even do this one with any brown eye shadow or contour powder you have on hand. Pick up a bit of product with the tip of a small, fluffy brush, and apply the color in the outer corner of your eye. Soften the color out and then drag it inward along the crease to carve out the shape of your eye socket. Smudge the shadow along your lashline, leaving the center of your lid bare for a halo effect.
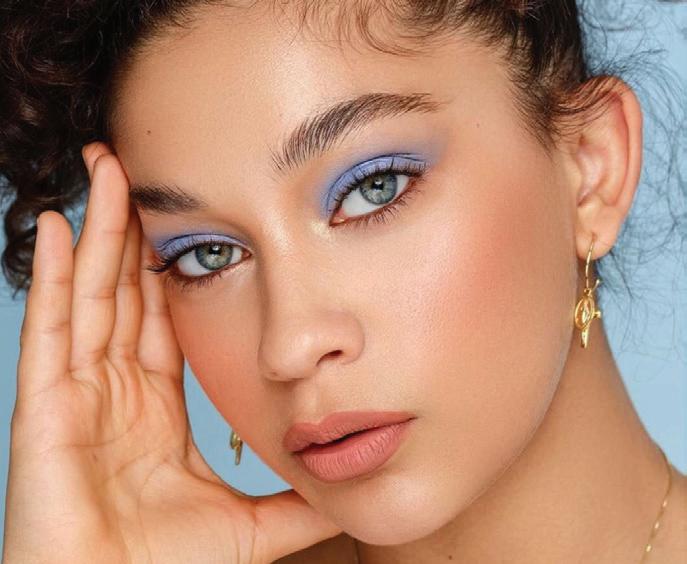
Sheer Matte Wash
An all-over wash of sheer matte shadow—especially in a pastel shade—looks strikingly cool and modern. Use a fluffy eye shadow brush to sweep your matte shade all over your lid. Blend the edges out a bit beyond the socket (or as close to the brow bone as you feel comfortable).
Shimmer Cat Eye
Choose a cream or liquid shimmer shadow in a shade that contrasts with the depth of your skin. Use a flat eye shadow brush to apply the shadow in a thick wing that extends up your lid and above your crease. You can use an eyeliner brush dipped in micellar water or a makeup wipe to clean up the edges.
All-Over Duochrome
A sultry, smoky eye doesn’t need more than one shade. Choose a black or dark-colored cream eye shadow with a shimmer finish and smudge it along your upper and lower lashline. Pack on more color up to the crease of your lid and soften the edges. Don’t worry about blending perfectly— smoky eyes look great when they’re smudgy and lived-in.
Interview With Path McGrath
Pat McGrath and British Vogue go hand-in-hand. She has worked her make-up magic on some of the magazine’s most memorable covers, including that of editor-in-chief
Edward Enninful’s debut issue starring Adwoa Aboah in 2017, in her capacity as beauty editor-at-large.
Interview With Path McGrath
On having a Plan B
“Creativity is your best makeup skill, don’t be afraid to experiment.”
Regularly collaborating with the maestros of the fashion world, such as Nick Knight and Steven Meisel, as well as innumerable fashion houses, McGrath’s ability to lend an otherworldly, fantastical touch with the looks she creates is unique.
Over the course of her 25-year career, she has worked on more than 500 magazine covers, has painted the faces of some 190,000 models and has been backstage at around 3,300 shows. (She travels to fashion weeks with 67 trunks of make-up – “but that’s down from 87!” she cries.)
“I really wanted to be an opera singer growing up! That was it for me. I wanted to be the Maria Callas of Northampton. I remember coming down to London to have proper vocal training and everything, and I had the ability, but my coach told me that I was very young and should enjoy life a bit more first. So that was when I sort of took myself off to nightclubs and galleries and started meeting people... But I’d always been obsessed with London. Always, always. I would tell my mum I was coming to London for an exhibition at the Tate, spend the whole time clubbing and then have to run to the Tate to buy her a postcard.”
On setbacks
“I can very clearly remembering coming home one day and crying in my living room after a really disappointing day of test shoots. I just felt so defeated and I thought to myself that I would just have to give up. And suddenly, the phone rang – it was a client I’d done a shoot for some two years ago, who’d remembered me and wanted to ask me to come to Japan for my firstever tour.”
On making it big
“I don’t feel that I ever had a ‘big break’ so to speak – it was more a series of micro breaks. It was when I was young and working on the King’s Road that I met Kim Bowen and Steve Jones – we started talking because they loved my look! Kim asked me what I wanted to do, and when I told her ‘make-up’, she invited me to come along to some shoots on i-D and The Face, and then I started booking some of those shoots and working in the music industry. It was at i-D that I met Edward, and we’ve stayed such dear friends to this day.”
On backstage beauty
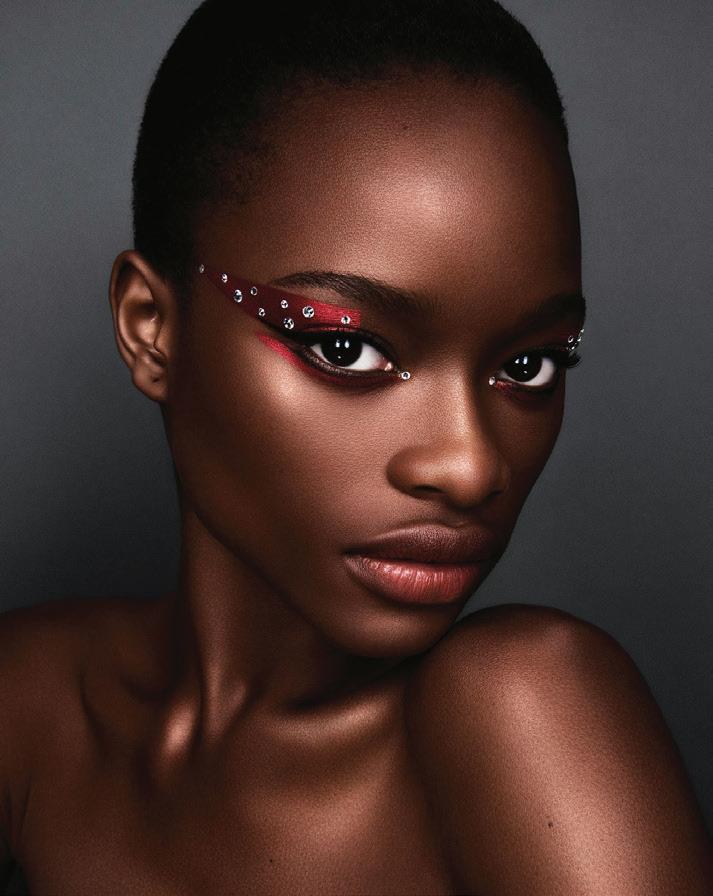
“Doing show beauty is a little bit like being a detective. We’ll get a brief in from a designer about what kind of girl they’re designing for, and then me and my team have to crack that and piece together a look from what they tell us. But I’m not trying to create trends, really – make-up looks and moods just happen. I remember doing the Swarovski crystal lips at the Christian Dior show in 2003. That was seen as so rebellious – you have to remember, it’s a couture show, it’s meant to all be very ladylike! But it really took off. When I finally managed to make my own version of that, it was Lust 004, the glitter lip. I remember seeing Naomi [Campbell] wearing it on the red carpet at the MTV Awards in 2016 and being overwhelmed with joy.”
On her make-up line
“Really, I was giving in to pressure! People kept commenting on my Instagram and my Twitter every day, saying, ‘Okay, when’s your line coming?’ and the guilt was getting to me! I had planned to wait two years, develop the line as a whole but, in the end, I decided to just release what I had. Kind of like a fashion line doing drops and when it’s gone, it’s gone. So I realised the Gold 001 Pigment, which was this product I always wanted to make, almost like a gift to the fans, and it absolutely flew.”
Pat McGrath Reflects On 25 Years In Beauty
On her legacy
“I want people to see me and know that anything is possible. The fashion industry is really not all full of snotty, awful people, we are joyful and we have a laugh. I want my legacy to be one of change and positivity. I really believe in that.”
6 Facts That Will Convince You to Throw Out Your Old Makeup
Take a gander into someone’s makeup bag, and you may discover a cringeworthy hoard of yearsold makeup. Whether you bought something because you were too easily swayed by a salesperson at a makeup desk or went on an Amazon “best sellers” shopping spree, chances are you have several foundation bottles or primer potions that you’ve only pumped once (not to mention the Naked Palette that you’ve only used two shades out of). Beyond the blatant signs of expiration—dried mascara and crumbling eyeshadow— it can be tough to tell when makeup has met its end. Surprisingly, U.S. labeling regulations don’t mandate an expiration date on most cosmetics, making it that much trickier to determine its lifespan. Regardless of whether they’re brand new or on their last life, beauty products do go bad. Even worse, they can cause skin—and health—problems if not disposed of at the proper time.
Before you start embarking on an extensive makeup cleanse, we turned to Jessica Mae, the founder and creative director for WarPaint International Beauty Agency in Minneapolis, Minnesota, and Kelli J. Bartlett, artistic director at Glamsquad in New York, for advice on when to dump old cosmetics— and just how bad it is to use them past their prime.
Yes, makeup DOES expire
Liquid foundation generally lasts for 12 months, while mascara and eyeliner only stretch for three. Lip products will generally go for around two years, but can begin deteriorating earlier if used frequently. Compacts, since it’s a “solid,” will generally last for two years or more if stored properly, but be aware that effectiveness and pigmentation will fade over time.
The older cosmetics get, the less they work
As makeup gets older, the chemical ‘makeup’ of the ingredients in the product starts to break down, says Mae. “In foundation specifically, this can cause the product to not lay evenly on the skin. Longevity of the application is also affected. The other thing that starts to happen is the preservative starts to break down, therefore allowing bacteria to form,” she says.
Even unopened makeup can pose a health risk
Most people tend to associate “unopened” with “fresh.” However, according to Mae, “the [breakdown] process will happen more slowly, but once the product is exposed to air, the same expiration effects take place. It is also possible that the preservatives start to break down even before you open it. So, if you stocked up on foundation and it’s now been sitting unopened in your drawer for five years, chances are you should just throw it out even though it’s unopened.”
Some makeup products are at more risk than others. “For mascara, cream, gel, and even powders, it’s important to note how long you can use a product after opening because the minute it’s exposed to air, there’s a risk for contamination,” Bartlett says.
Not convinced enough to throw out that unopened NARS foundation that cost a small fortune? Check out 18 more ways your makeup could be making you sick.
By Hana Hong
Medically reviewed by Jessica Wu, MD
Repeated use of expired makeup (especially foundation and eyeliners) can cause infection
For one, you increase the chances of bacterial growth—and in turn breakouts and infections—when you repeatedly immerse your fingers into old liquid foundation. Plus, according to Bartlett, “Using old eyeliners can irritate the delicate eye area, causing it to become puffy, red, and swollen. Expired powders can irritate your skin and cause little red bumps that look like acne.”
Two items to discard promptly: foundation and mascara. “These are the two non-negotiables in my book,” says Mae. “Both of these products, when opened, get exposed to air, therefore allowing bacteria to enter the container. Over time, as the makeup gets ‘older,’ more and more bacteria and air are introduced. This may put you at a greater risk for infection or irritation.
Mascara is one place the Food and Drug Administration steps in with a hard line. The regulatory agency advises you to toss it after three months, as it’s easily contaminated by bacteria, leading to a greater risk of eye infections. If you got an eye infection (like pink eye, or conjunctivitis), it’s best to throw away any eye makeup you used while you had the infection, advises the Centers for Disease Control and Prevention. Guilty of using makeup that’s gone sour?
Cleaning old makeup won’t always revive it
Luckily, not all is lost for your drawers of old makeup; there is hope in cleaning some. Bartlett advises sanitizing used lipsticks by dunking them in alcohol and shaving off the top layer. You can do the same with powders. “Use 70% rubbing alcohol to spray down your eyeshadows and powder products. This will sanitize the product and prevent bacteria from forming,” says Mae. Also, keep brushes clean. The extra step “will prevent introducing additional oils and bacteria to the product.”
Makeup stored in the bathroom is especially risky
In order to prolong your makeup’s shelf life, proper makeup storage is key. Although it may make sense to keep cosmetics in the bathroom, storing products there may not be the best idea. Humid steam from showers can breed mold, especially in older products, says Bartlett. “If you keep your makeup in a warm or steamy place like your bathroom, I suggest a shorter shelf life,” she says.
Bottom line: When in doubt, throw it out
So when exactly is your cue to clean out your makeup bag? If your cosmetics are starting to smell funky, nix them. If your liquids are starting to turn a different color, discard them. And if your mascara consistency is starting to resemble that of dry raisins, discard it. “If the product starts to dry out, it’s definitely time to replace it. In foundation, watch if the product is separating in the container. For lipstick or gloss, [toss it] if the color starts to change tone or you notice a change in the way it smells,” says Mae.
Kelli adds, “When it comes to mascara, try the smell test. You can really tell when it’s gone bad because you’ll notice a hint of something funky in the smell. You’ll probably also be able to tell by the way the mascara goes onto your eyelashes. If it starts flaking or just doesn’t last throughout the day, it’s another sign you need a new tube. For blush and bronzers in both creams and powders, you’ll notice a kind of a film on the top to indicate they’ve expired.” Next, learn how to clean your makeup brushes so they last.
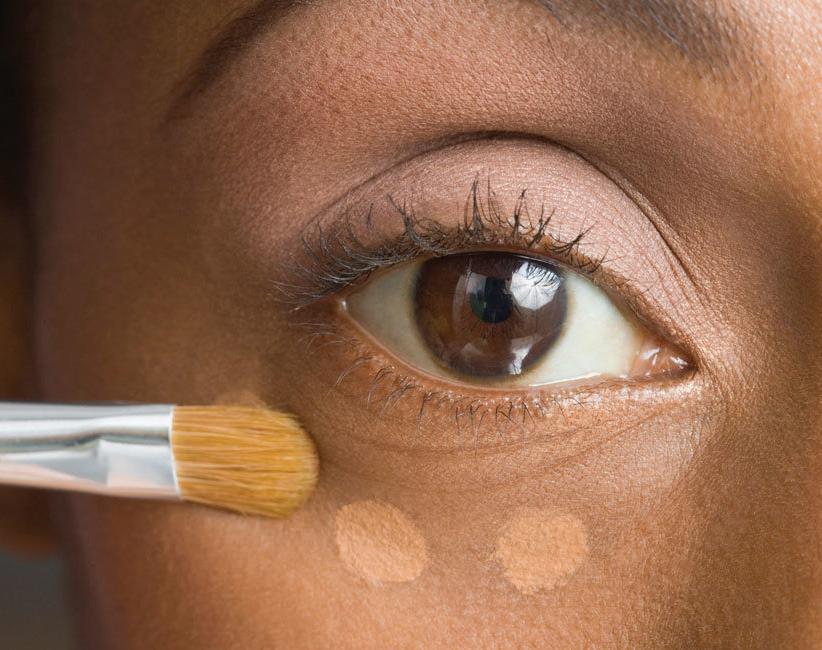
How to Use Concealer
Concealer is that beauty essential that can brighten up a face, cover up blemishes and minimize under-eye circles and discoloration. It also tends to be one of the first categories of makeup that people buy—but choosing the correct shade or formula can also be a bit stressful.
Let’s make it easier. Here are a few tricks to get the right product for you.
Less is more
You can camouflage an imperfection with concealer before layering a fuller coverage product onto the skin. But if you are not subtle with it, the concealer can feel heavy and look cakey. How do you prevent this? Apply foundation first to see how much of the dark circles, blemishes and spots that the foundation can cover on its own. Then, if you need more coverage, go back in with a thin layer of concealer directly on the area. You will be amazed at how little product you actually need.
Under the eyes
When choosing under-eye concealer, choose a color that is one or two shades lighter than your skin tone. You always want your foundation to match the skin but with concealer a shade lighter will help give a lifting effect. A big mistake many people make is choosing the wrong shade.
For puffiness
When trying to hide puffiness under the eyes, you must remember that make up does not hide texture. You can’t completely cover up puffiness. But, you can use concealer to make it less noticeable. My favorite method is to use a luminizing pen concealer that has a highlighting property, and then apply this only where you see puffiness. The liquid formula is easy to use and adds lift and light. Once applied, use your ring finger to softly tap the highlighter into the crease to give the effect of perfectly smooth skin.
For dark discoloration
When deciding what product to purchase for concealing, dark spots need something that is close to the shade of your foundation. To eradicate the
dark pigment, I suggest the fuller coverage of a cream concealer. Cream concealer has a fuller texture but will need to be set with powder so it will last longer. I recommend applying the concealer with a soft shadow brush only where there is darkness, and then setting it with an invisible powder.
For blemishes
Most blemishes tend to have a hint of red discoloration. They also have texture and are raised from the skin. My preference for blemish concealer is to use a camouflage pencil directly on the blemish and on the surrounding area. Then use your ring finger to blend it in. Set with powder, and you are good to go.
Extreme cover for birthmarks or tattoos
For covering tattoos or birthmarks, choose a full-cover cream that is one or two shades lighter than the area directly onto the tattoo/ birthmark. The lighter shade will add lift and allow you to make the coverage look like skin. Next, apply a thin layer of foundation and build it up until you have the coverage required. Set it all into place with a translucent powder.
There are more advanced techniques that can be explored once you’ve mastered the basics. But essentially, the goal of of a good concealer, like all makeup, is to be undetectable. You want to be the only one in the room that knows you are wearing it.
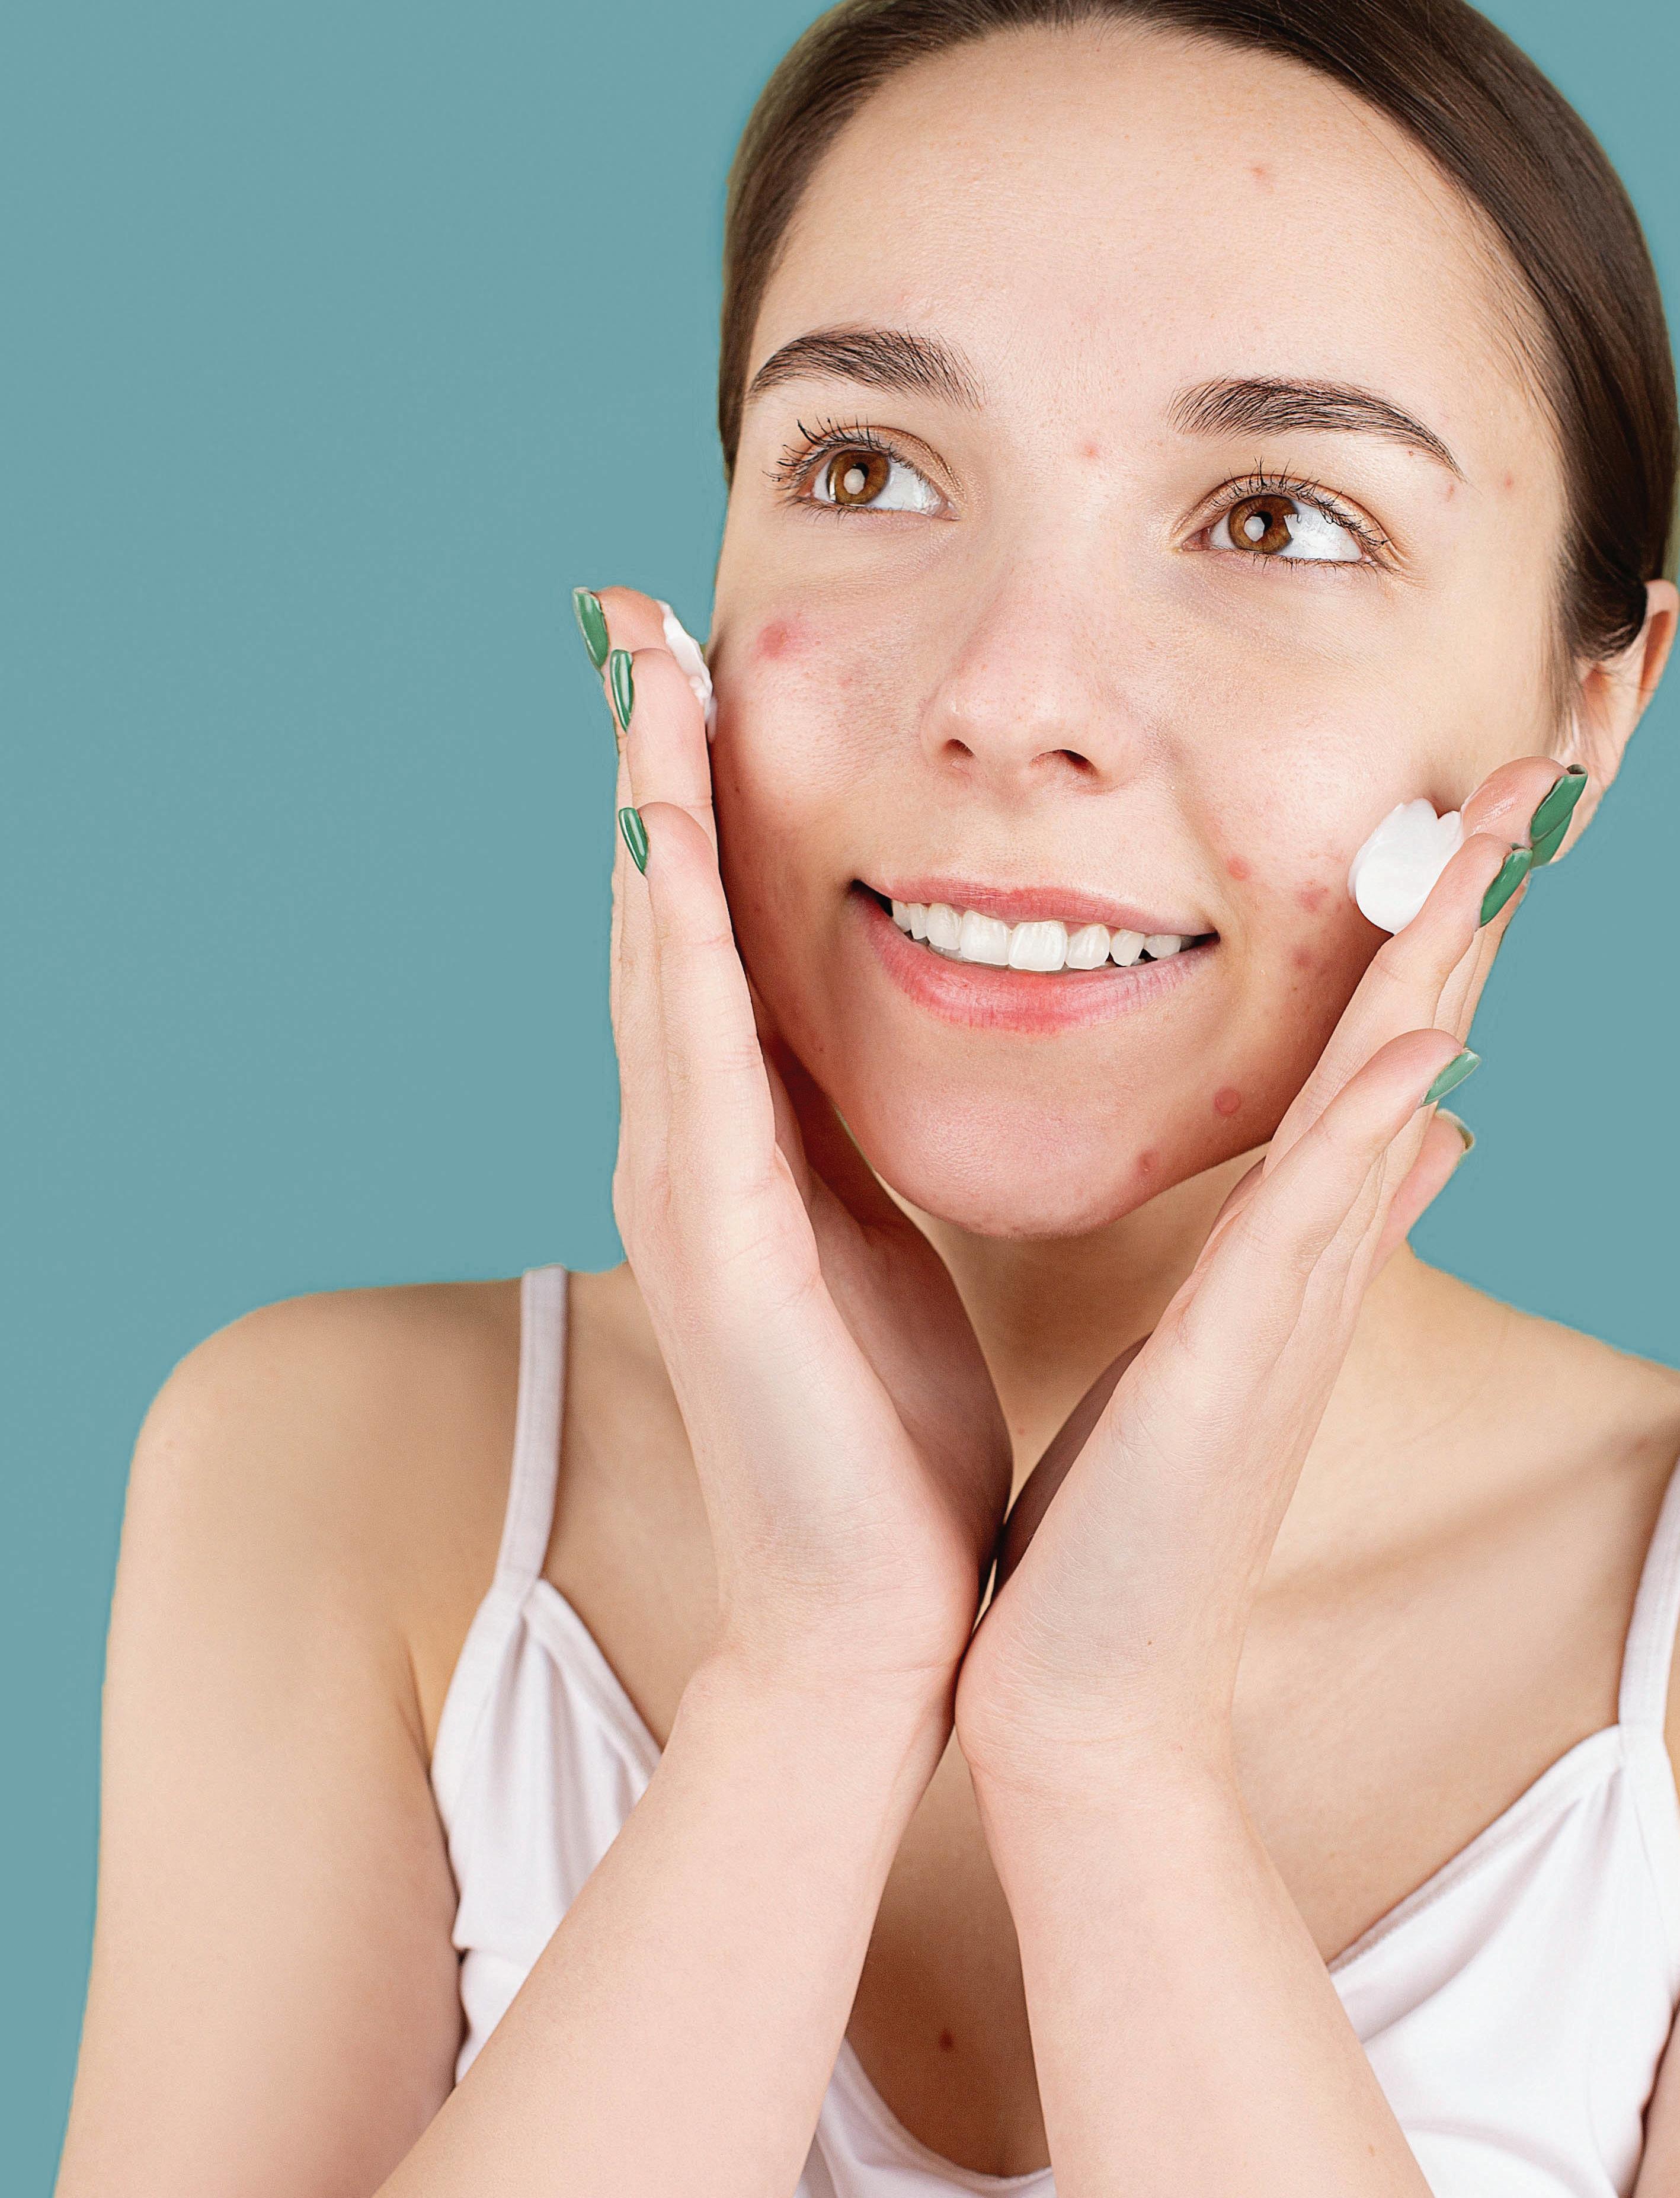
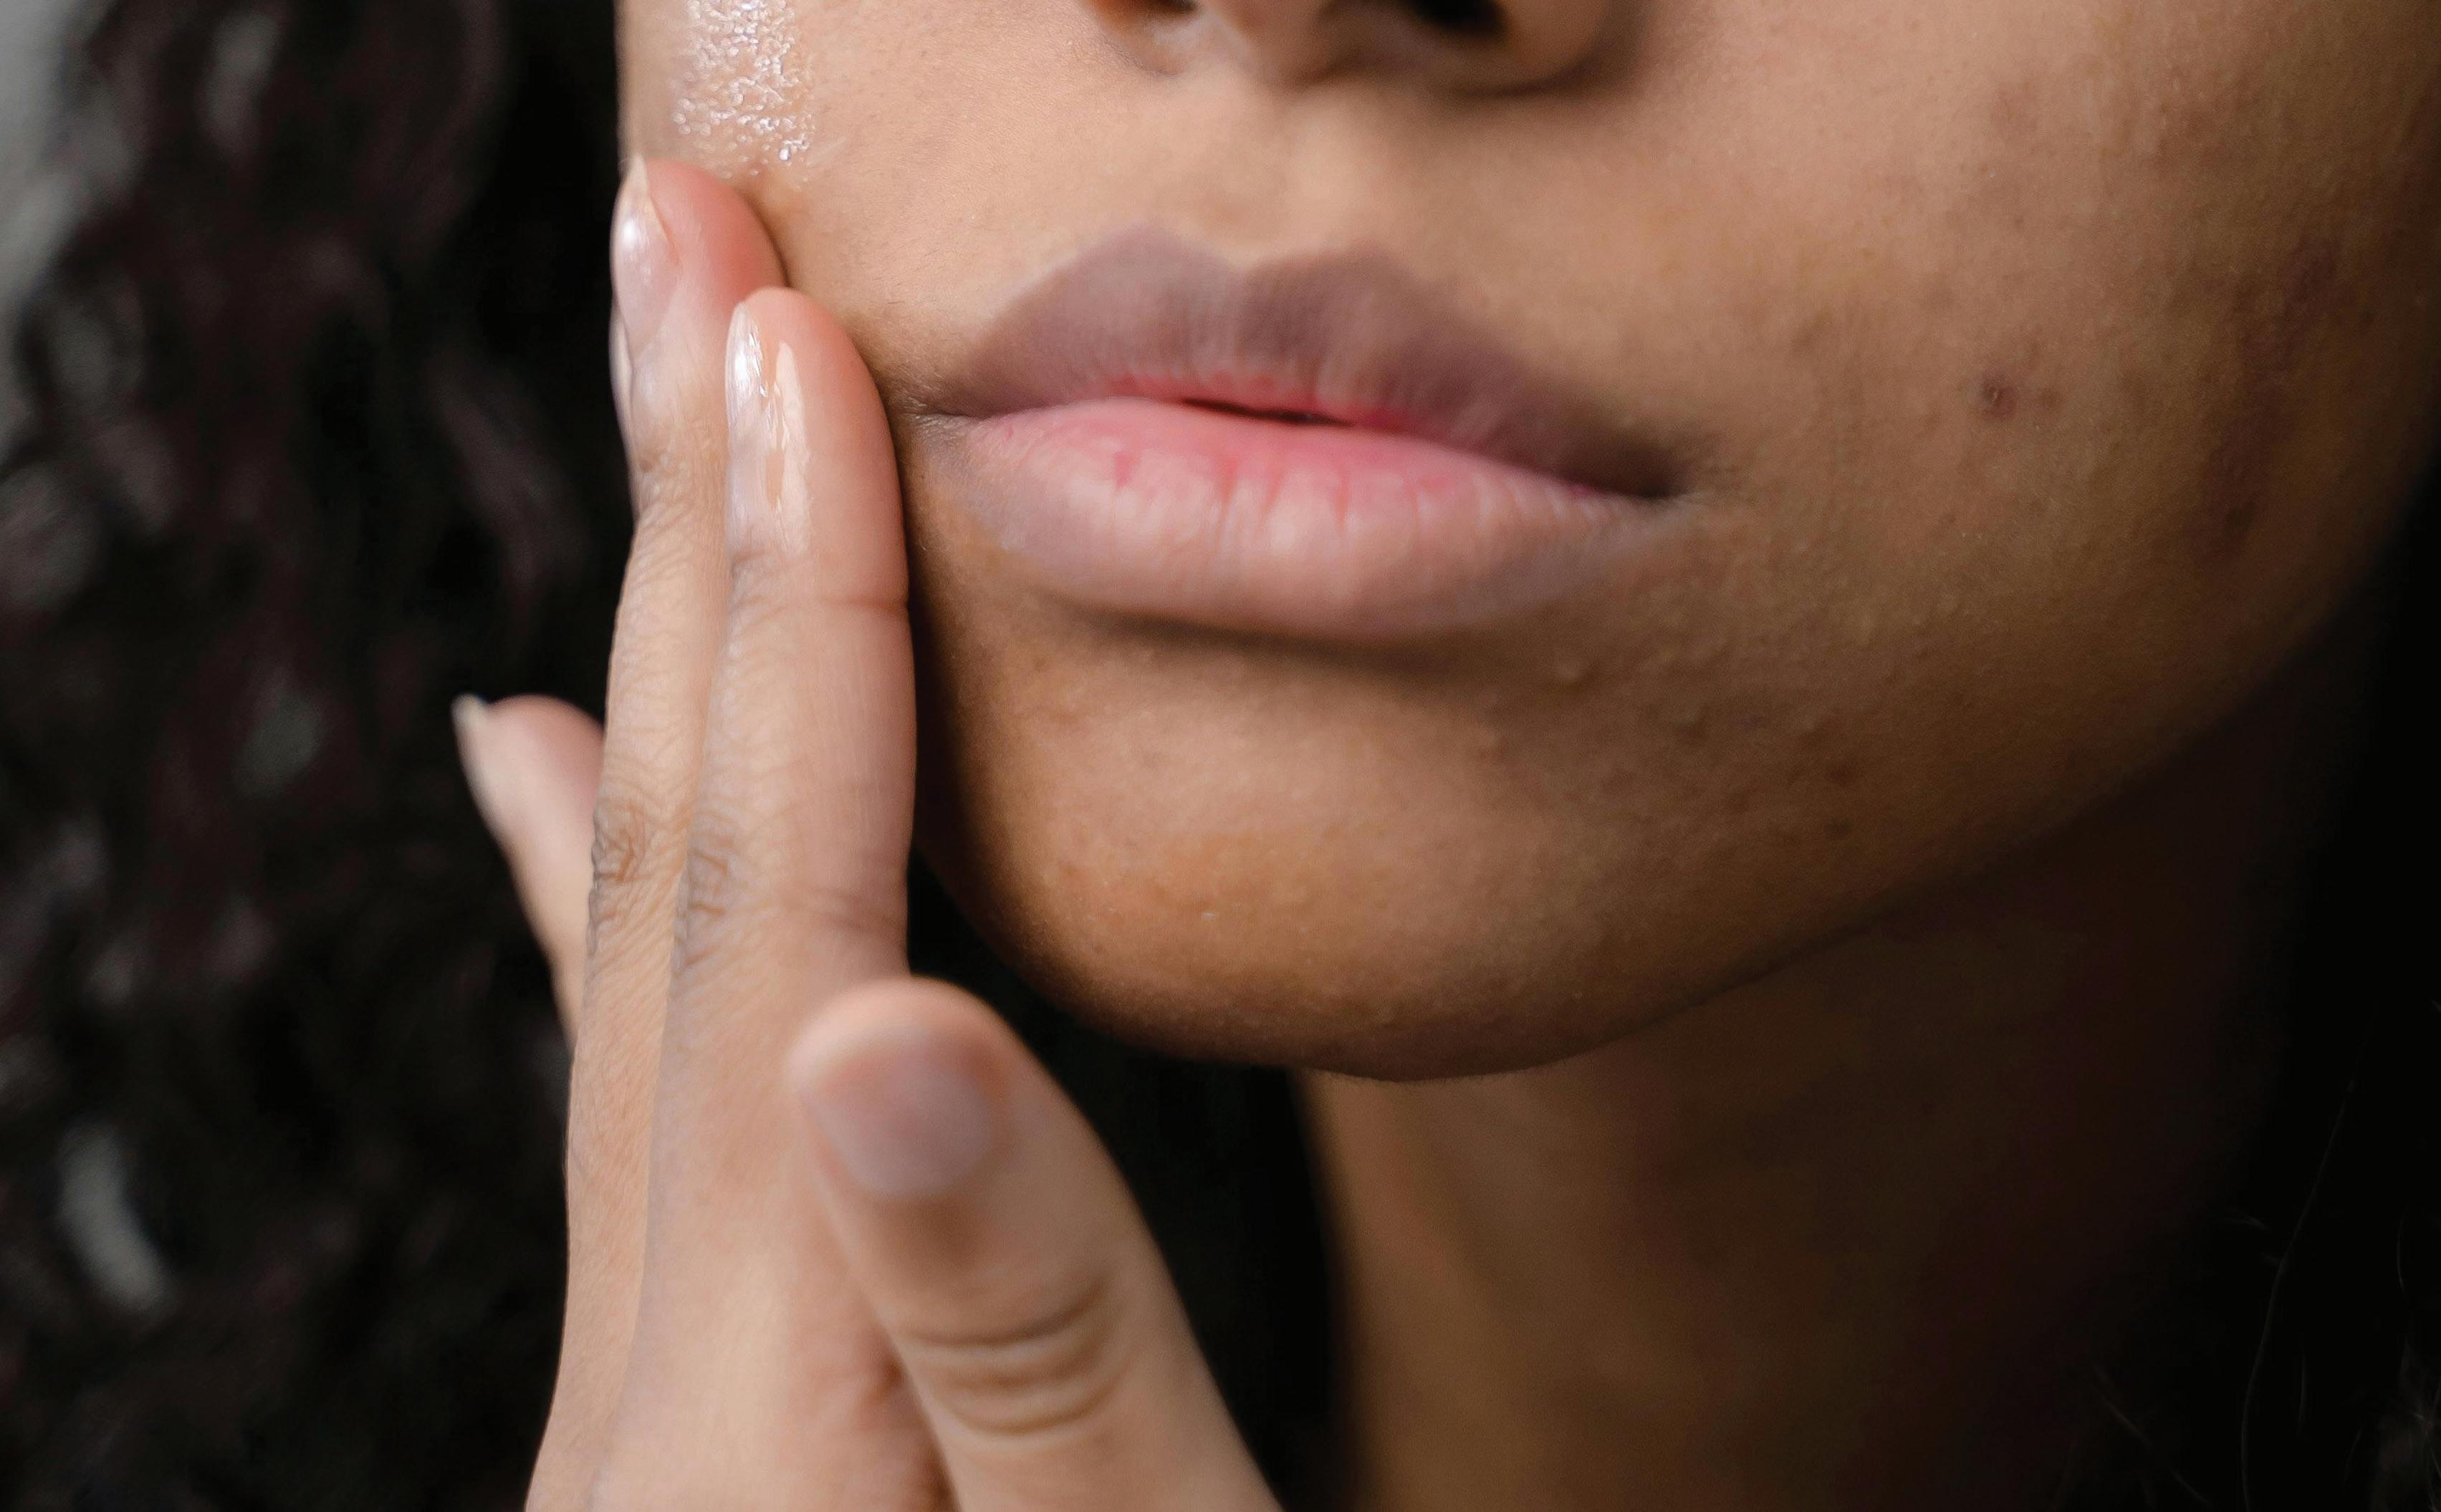
Oh, acne. You never cease to erupt when we least expect it. We’ve all experienced these uncontrollable nuisances popping up out of nowhere— some of us more than others. If you’re stuck on the never-ending rollercoaster ride of treating and healing breakouts only to have pimples reappear days later, there are solutions!
As someone who’s dealt with acne for most of her teenage life, I remember the frustration of going to school sporting a couple planet-sized pimples (sometimes it felt like the whole solar system).
But I’m happy to tell you that it does get better. Here are my five top tips and tricks I’ve developed over the years, including potent product suggestions for clearing up active acne and reducing further flare-ups.
1.
Completely remove all of your makeup
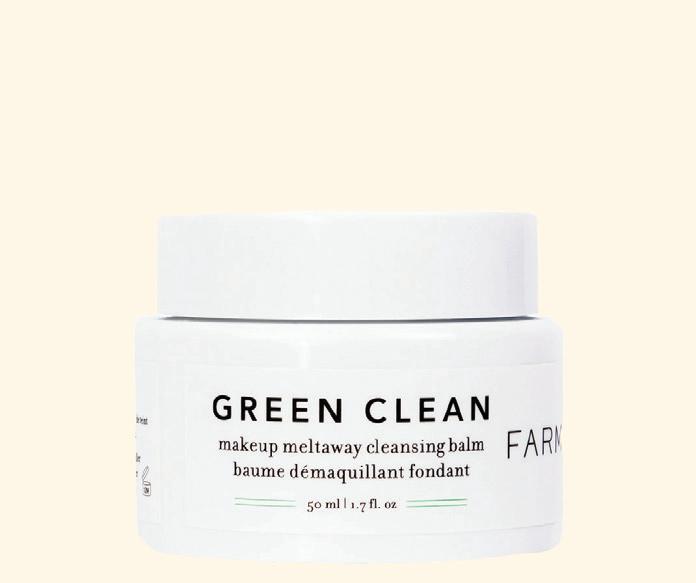
Whether it’s covering a minor flareup or a cystic situation, acne-prone complexions require a budge-proof concealer and a full coverage foundation. However, sometimes these stay-all-day formulas can hide out in your pores and ultimately lead to more breakouts if not removed completely. Essentially, clear skin starts with clean skin, so make sure you’re removing every trace of makeup at the end of the day. Take extra precautions by using a cleanser that melts even the toughest longwearing foundation. Farmacy’s Green Clean not only lifts away all makeup, but also draws out pore-clogging dirt and grime. Its secret weapon is Papain, a natural enzyme derived from papaya, which gently exfoliates, revealing clean skin ready for the next step in your routine.
2.
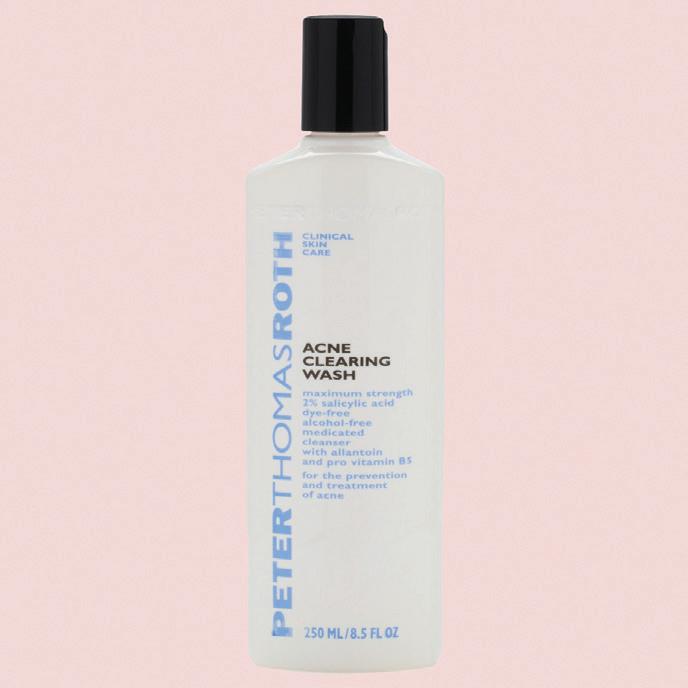
Cleanse with salicylic acid
After removing your makeup, go in with a scrub that contains salicylic acid, known for clearing up acne. Your specific skin type will dictate the proper dose of salicylic acid you’ll need for treatment, but remember that high levels of this ingredient can dry and thin skin with long term use. I like the Peter Thomas Roth Acne Face & Body Scrub because it contains a small, yet effective dose of salicylic acid to sweep away dead skin cells and help heal existing acne without stripping skin. Complete with jojoba exfoliating beads and skin-brightening glycolic acid, this scrub leaves my face and body clean minus that tight feeling associated with other skin-drying acne cleansers.
3.
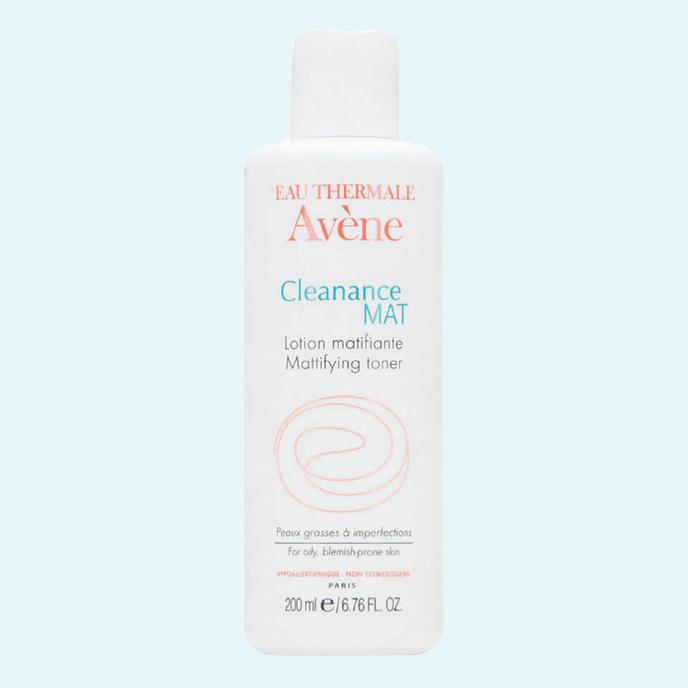
Tone with a gentle astringent
Reoccurring acne can stretch out your pores, leaving them bigger and more susceptible to blockage. So, make sure you’re toning daily to cleanse and tighten pores. Go for a toner that not only targets pores, but also treats active acne! Avène Cleanance Mattifying Toner is a gentle astringent that purifies and heals without irritating even the most sensitive skin. Additional ingredients like monolaurin reduce sebum production, while zinc gluconate and Avène Thermal Spring Water soothe redness and calm inflamed skin.
5 Clear Skin Solutions
4.
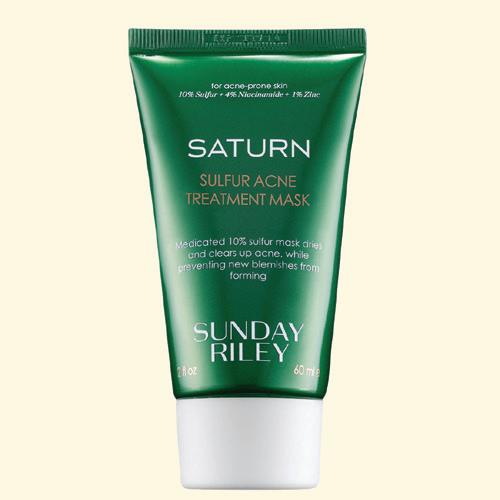
5. Spot treat with Sulfur
Famous for its drying properties, fast-acting sulfur helps heal and prevent new breakouts by killing acne-causing bacteria. It’s safe to say that sulfur is one of the most powerful ingredients around, so reach for products that contain high-levels of this acne-fighting ingredient for speedy relief. I recommend using a sulfur-based mask like, Sunday Riley’s Saturn Sulfur Acne Treatment , formulated for multiple types of acne, including inflammatory, hormonal, and acne rosacea. Infused with 10% sulfur, zinc and niacinamide, this triplethreat helps to dry out existing acne, regulate oil production and reduce hyperpigmentation. Apply as a facemask and leave on for 2030 minutes, or use as an overnight spot treatment.
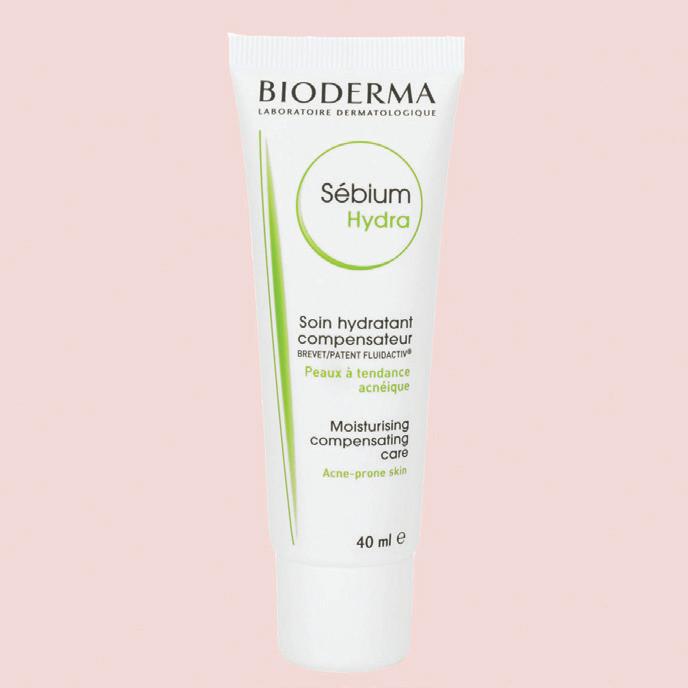
Super-hydrate your skin
Acne-prone skin endures a decent amount of exfoliation, toning and drying, which can leave complexions feeling extremely parched. Dry, flaky skin can exacerbate acne and cause more blockages due to the build up of dead skin. Make sure you’re drinking 8 glasses of water a day and topically hydrating with an intensely moisturizing cream. Bioderma Sébium Hydra is specifically formulated for acneprone skin, helping to bring back to life complexions that have been weakened by drying treatments. Formulated with vitamin E and ginkgo biloba leaf extract, this buttery blend melts completely into skin to replenish lost moisture and relieve tightness without any residue.
Farmacy Green Clean Makeup Meltaway
Cleansing Balm - 1.7 fl oz
$22.00 USD
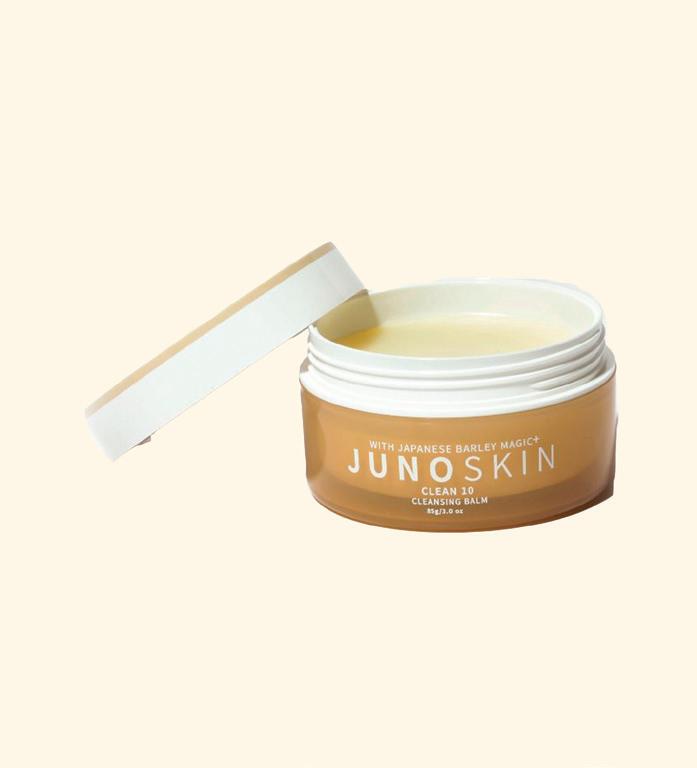
Juno Skin Clean 10 Cleansing Balm - 3.0 oz
$10.00 USD
Peter Thomas Roth
Acne Clearing Wash - 8.5 oz
$39.00 USD
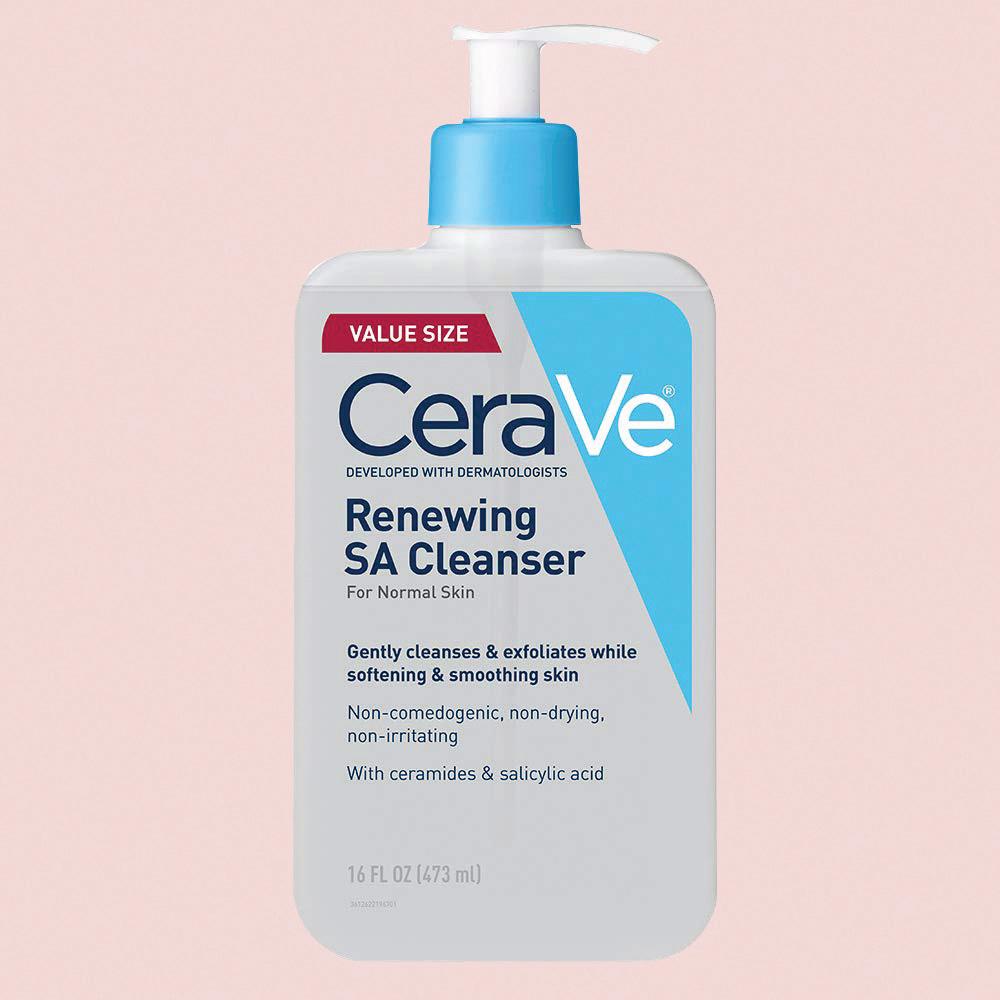
CeraVe Salicylic Acid Cleanser - 16 oz
$14.00 USD
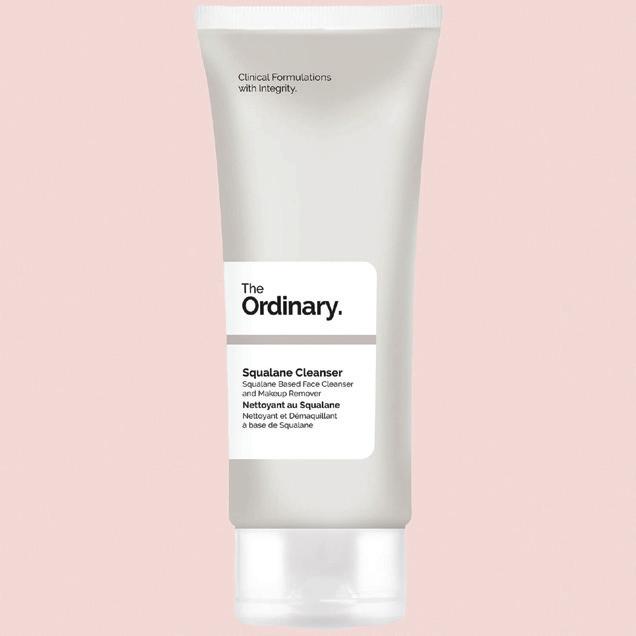
The Ordinary Squalane Cleanser - 1 oz
$7.90 USD
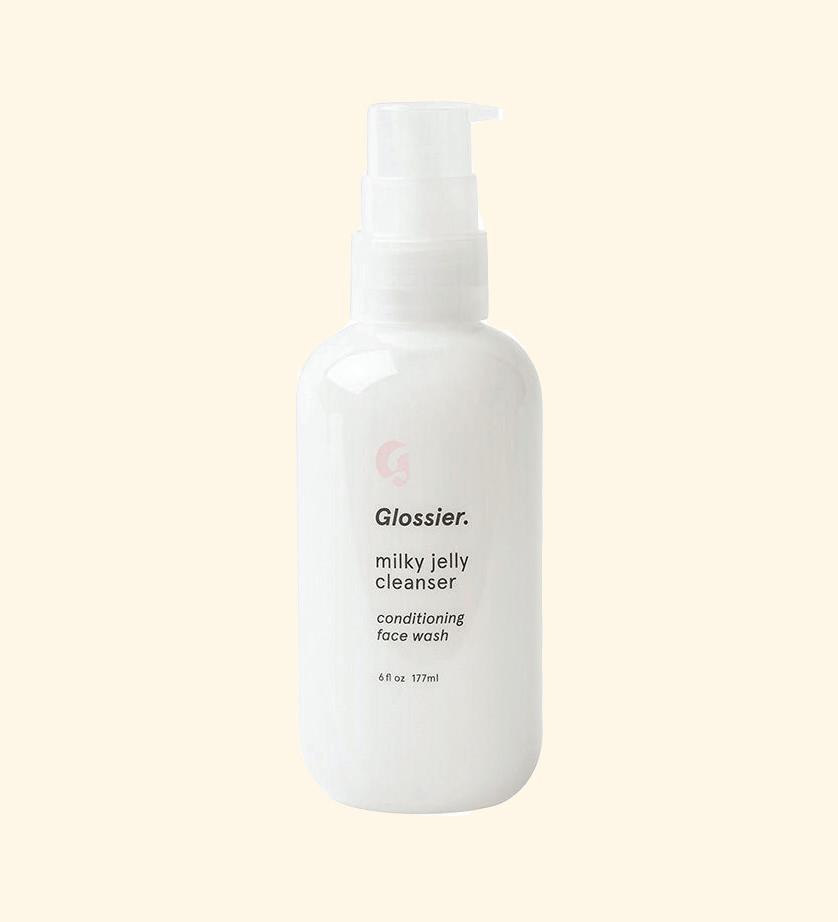
Glossier Milky Jelly Cleanser - 6 fl oz
$9.00 USD
Eau Thermale Aveve
Cleanance Mat Mattifying Toner - 8.5 oz
$22.00 USD
Sunday Riley Saturn Sulfur Acne Treatment
Mask - 2 fl oz
$55.00 USD
$16.80 USD
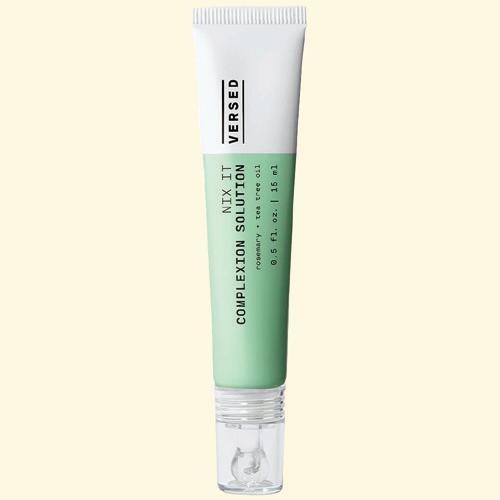
Versed NIX IT
Acne-Fighting Solution- 0.5 fl oz
$10.00 USD
$6.29 USD
$19.99 USD
Elf Acne Fighting Spot Gel - 0.2 fl oz
$3.00 USD
The Ordinary Natural Moisturizing Factors + HA - 3.3 oz
$7.70 USD
Bioderma Sébium Hydra - 1.35 oz
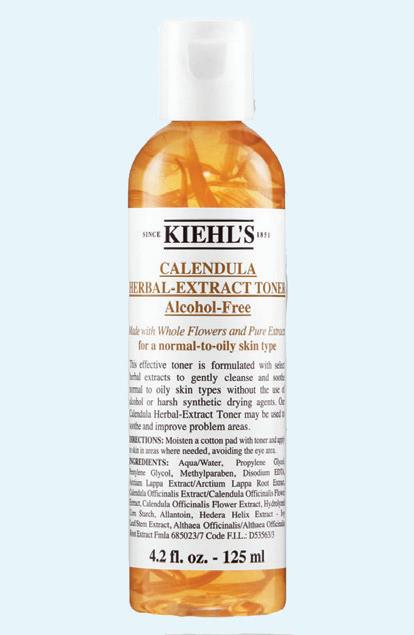
Calendula Herbal-Extract Alcohol-Free Toner - 4.2 oz
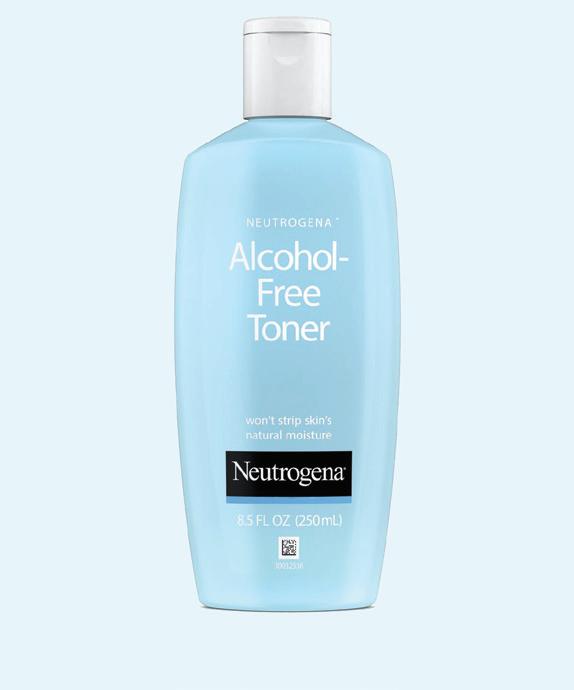
Neutrogena Alcohol-Free Toner - 8.5 fl oz8.5 fl oz
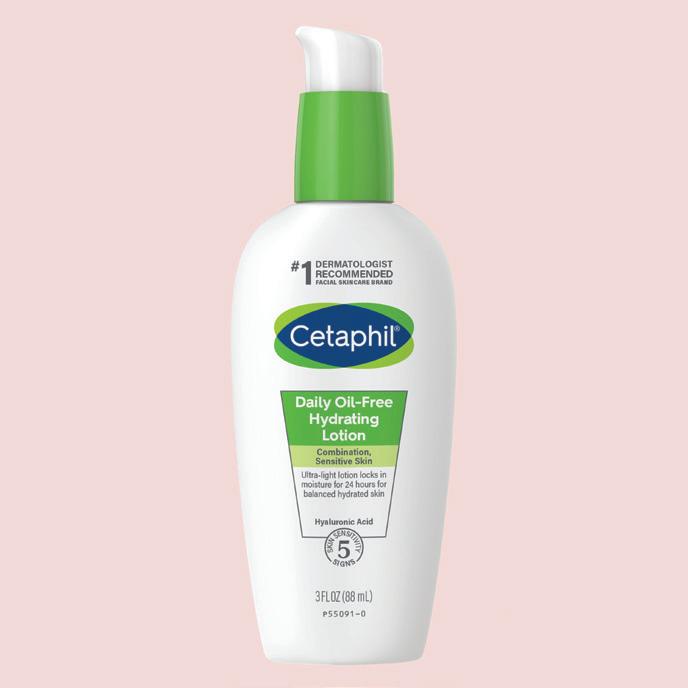
Cetaphil Oil-Free Hydrating Lotion - 3 fl oz $14.99 USD
DIY Acne Spot Treatments
We’re blaming Murphy’s Law for last-minute acne breakouts. You know, those huge, honking red zits that pop up right before an important event? And no matter how much you pray, poke, and prod, they still won’t disappear! Drastic measures aside, how do you minimize the impact of surprise acne flare ups without an impromptu (and expensive!) visit to the dermatologist? Try these three timetested, do-it-yourself solutions and watch your blemishes vanish.
by VICTORIA
VALLECORSE
Honey
The sweetest skin treatment of the bunch, honey has been used medicinally for thousands of years, dating back to 2500 BC! Noted for its strong antibacterial and antimicrobial properties, the amber nectar is great at killing off infectious bacteria in and around zits. Dab a pea-sized amount of raw, unprocessed, and unheated honey (available at any health-food store) over your blemish and leave it on for 15 minutes. Repeat this for a few days.
Asprin
While aspirin is primarily taken internally, it’s also a topical acne powerhouse. Known scientifically as acetylsalicylic acid, aspirin’s chemical makeup is incredibly similar to the world’s most popular pimple zapper: Salicylic acid. Topical aspirin works to reduce the swelling and redness that come with a large pimple or cyst. Mash up one uncoated aspirin with a couple of drops of water until you form a thin, viscous paste. Apply the mixture to problem areas for five to 10 minutes, then rinse with lukewarm water.
Tea Tree Oil
Like honey, the oil extracted from tea tree leaves is known for its incredible antibacterial properties. This powerful concentration helps diminish inflammation and scarring, and is known for its heavy, eucalyptus-like aroma. Since the oil is so potent, dilute pure tea tree oil with Witch Hazel (mix 10% oil with 90% toner). Apply on pimples with a cotton swab nightly.
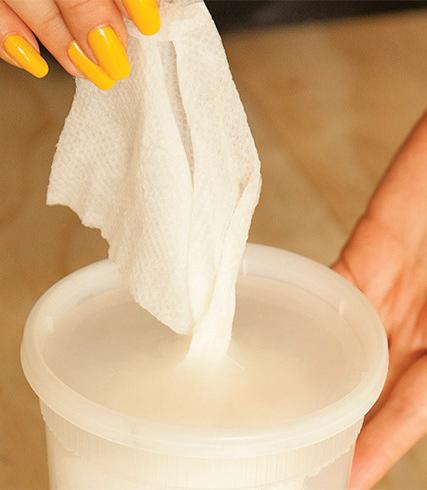
How To Make Your Own Makeup Remover Wipes
By now, we all know what a lifesaver makeup wipes can be. You get in from a long night out, fall into bed, and then realize you’ve forgotten to wash your face. Skipping the Clarisonic and grabbing a wipe feels like cheating, but it isn’t! Wipes are a lifesaver. And we haven’t even mentioned the benefits of having a spare set in your gym bag.
The one drawback: wipes are so easy-to-use, they can run out quickly—and they can get a little pricey. Luckily, we’ve discovered a no-brainer DIY makeup wipe that’ll save you time and money. The best part is that the formula is easily customizable. You can use your favorite pre-made makeup remover or go for the remover we’re currently loving so much: coconut oil! Here’s how to concoct your own makeup wipe magic.
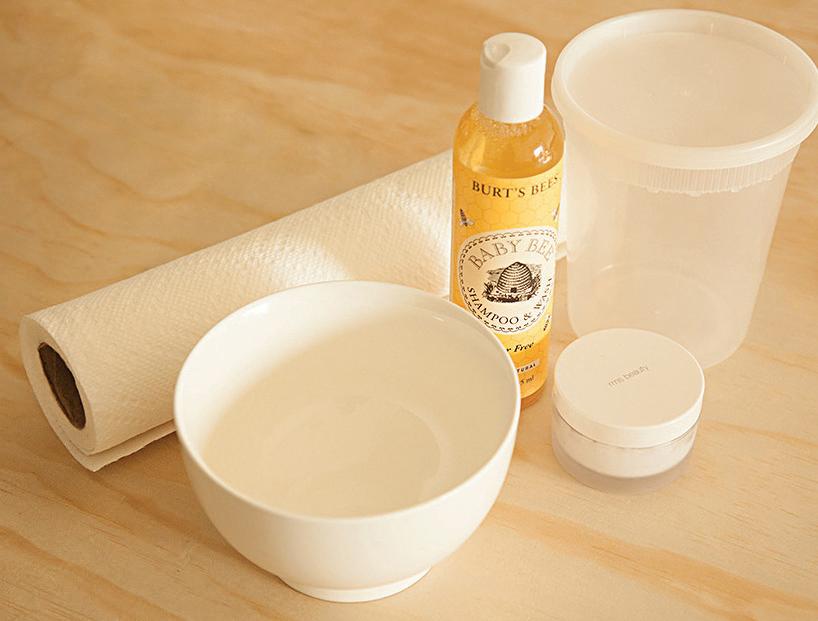
You will need
Microwaveable bowl
Purified water
Coconut oil (we used RMS Beauty Raw Coconut Cream)
Tear-free baby wash
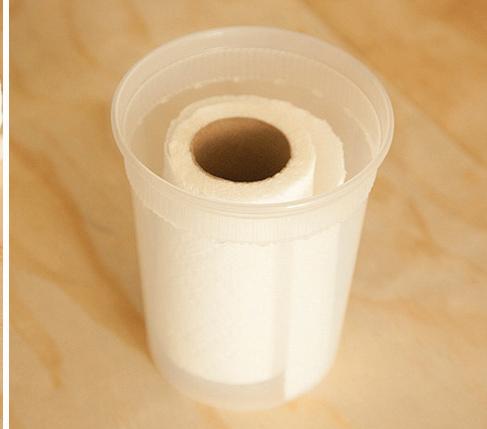
Container with a lid that snaps into place (a clean sour cream or yogurt container works well)
Roll of paper towels (select-a-size works best)
Utility knife
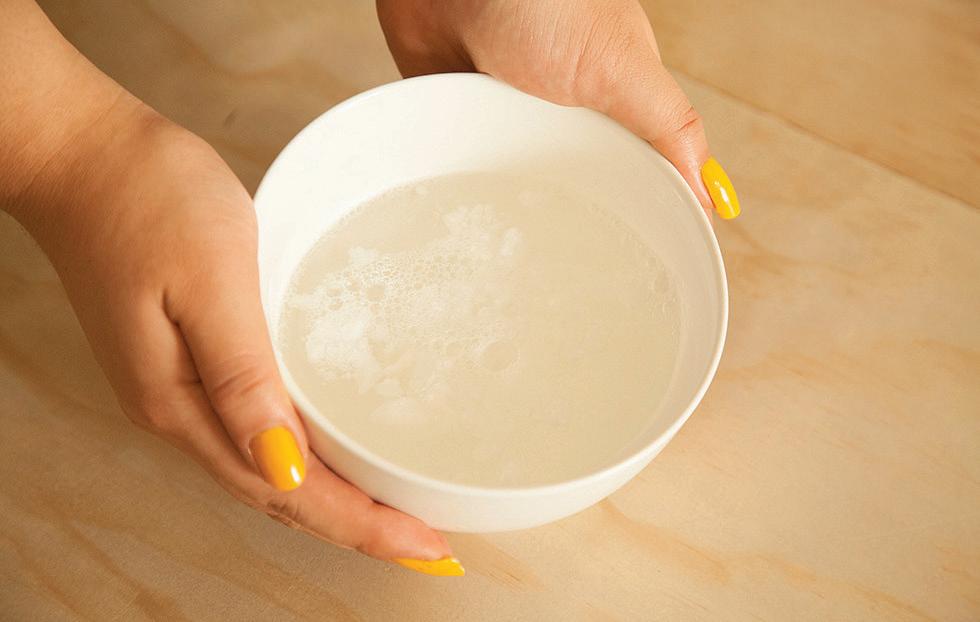
1.
In a microwaveable bowl, mix 2 cups of purified water, 2 tablespoons of coconut oil, and 2 squirts of baby wash.
Warm the mixture in the microwave for a few seconds and stir. Now you’re ready for the “wipe” part of the project!
2.
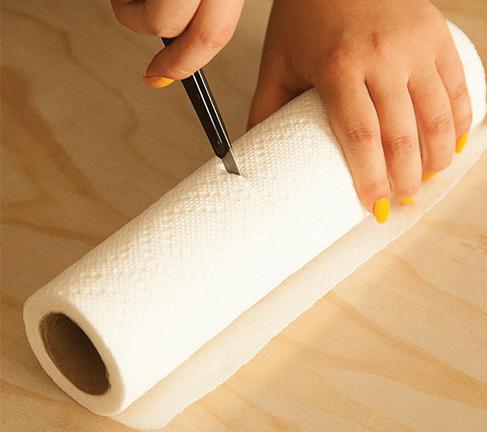
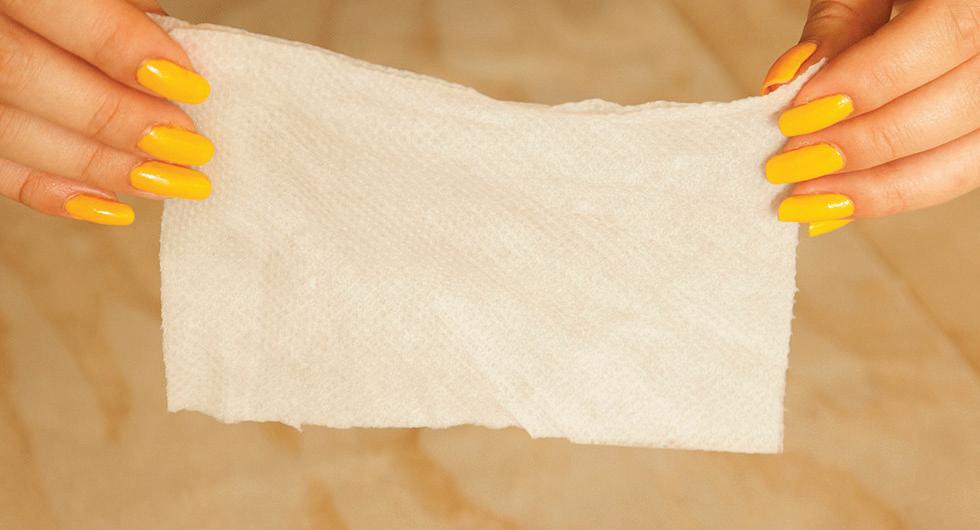
Measure the paper towels to fit into the container and cut them width-wise with a sharp knife to fit.
3.
Measure the paper towels to fit into the container and cut them width-wise with a sharp knife to fit
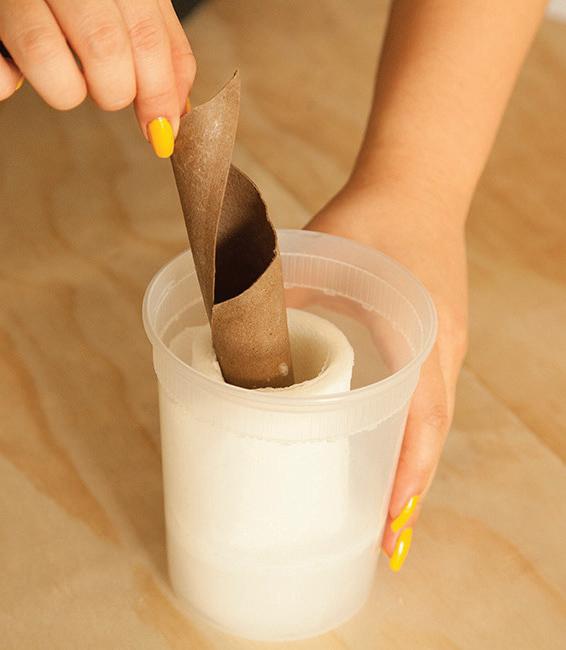
Replace the lid and turn the container over to soak. Leave for five minutes, then turn it over and remove the cardboard center.
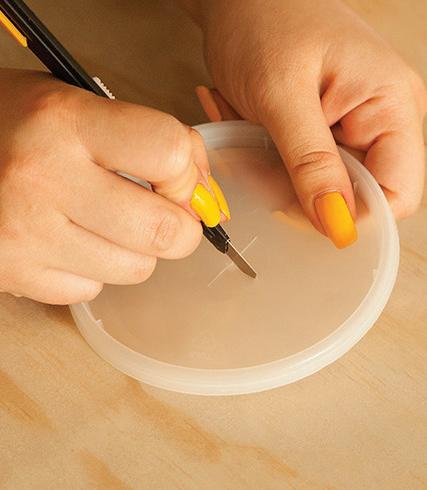
Cut a small “X” in the lid to pull the wipes through.
That’s it! Store according to your laziness level (we’re putting ours next to the bed).
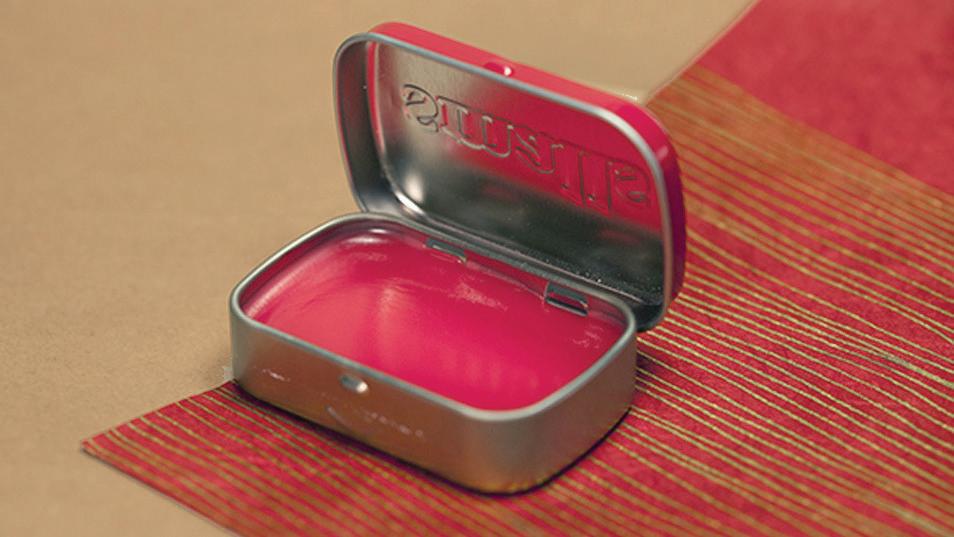
How To Make Your Own Lip Balm
Brrrr! Cold weather means chapped lips. Whether you’re looking to make your gifts at home this year or just want to try out an easy, new holiday-friendly lip balm recipe, we’ve got you covered.
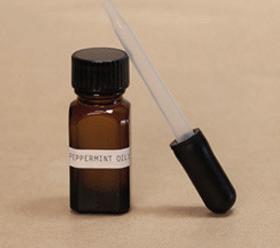
Ingredients:
• 8 Drops peppermint oil
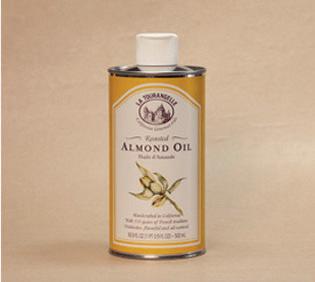
• 2 Tbsp carrier oil (such as almond oil—this dilutes the peppermint oil from a burn to a tingle)
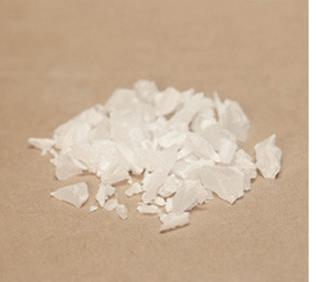
• 1 Tbsp beeswax pellets
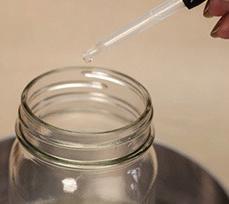
•Glass dropper
2. 4. 1. 3.
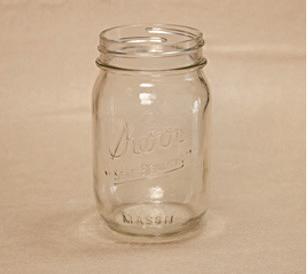
• Glass jar
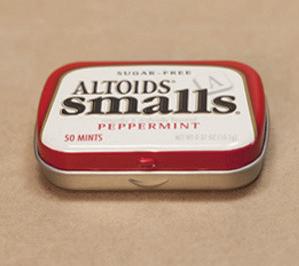
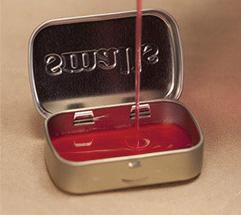
• Containers (hit up a department store for sample jars or order your own)
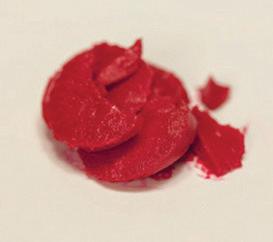
• Optional: lipstick shavings for a hint of tint
Directions:
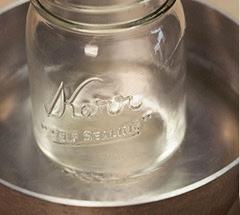
Put the two tablespoons carrier oil and one tablespoon beeswax in a glass jar and close the lid. Heat the jar in a pot with water on medium-high heat until wax is melted. Remove jar from pot and stir mixture. Add peppermint oil with a dropper (not too much or it’ll burn your lips—we recommend starting with eight drops and adding more if necessary). If you’d like your balm to be tinted, stir in your lipstick shavings until your desired color is achieved. Then immediately pour the mixture into your containers. Let stand for two hours until hard.
Credits
Beauty Basics: How to Do Winged Eyeliner || beautylish.com
The Cat’s Meow: 3 Creative CatEye Looks to Try || beautylish.com
How to Deep-Clean Your Makeup Brushes With Minimal Effort || Lori Keong || self.com
The Difference Between Monolids, Hooded Eyelids, and Double Eyelids || Kat Freitas-Seitz || beautylish.com
5 Easy Eye Looks You Can Do with One Shade || Kat Freitas-Seitz || beautylish.com
“I Want My Legacy To Be One Of Change And Positivity”: Pat McGrath Reflects On 25 Years In Beauty || Jessica Diner || vogue. co.uk
6 Facts That Will Convince You to Throw Out Your Old Makeup—Stat! || Hana Hong || thehealthy.com
Makeup for Beginners: How to Use Concealer || James Vincent || beautylish.com
Here’s How to Clear Up Active Acne Fast || Victoria Vallecorse || beautylish.com
DIY Acne Spot Treatments || Victoria Stanell || beautylish.com
How to Make Your Own Makeup Remover Wipes || Sarah Campbell || beautylish.com