Do you want to take your coloring to the next level? Coloring book artist Rachel Reinert shares her secrets in easy-to-follow steps!
Special features:
• Super easy instruction: Every coloring tutorial is two pages: a full-page coloring design in black-and-white is on the right and the directions and illustrations for how to color it in four steps is on the left. Just color along!
• Bonus coloring pages! At the back are 12 extra coloring images, printed on perforated pages so you can easily remove them and refer to the different tutorials as you color.
• The perfect gift for anyone who loves to color, at any age: It’s an incredible value with 43 original full-page designs and over 150 color illustrations, printed on high-quality heavyweight paper for no bleed through and a durable sewn binding.
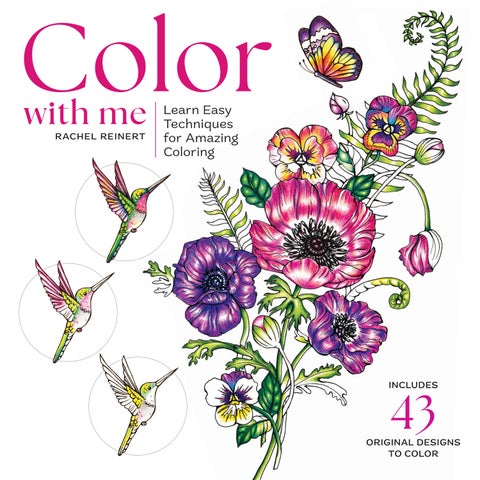
• An expert author: Artist Rachel Reinert is the author of the best-selling Coloring Wonderland series of coloring books.