
QSG: Technical Guide for Administrators

Page 1


Login as an Administrator

When you are first added as an Administrator in Seesaw, you will receive an email to activate your Admin account. Click the link in the email to create an account or to activate Admin privileges on your existing Teacher or Family account.
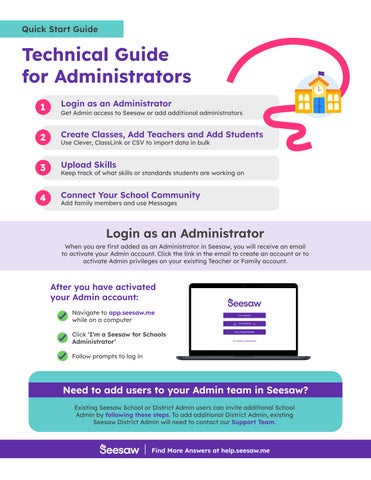
Do you need Administrator access to Seesaw?

Seesaw Administrators can view and manage data for their School(s) and/or District in Seesaw.

If you need school-level Admin access, existing school or district Admin can add you with these steps. Once you’re added, sign in using these steps

If you need district-level Admin access, an existing district Admin will need to contact our Support Team to add you. Once you’re added, sign in using these steps.

Create Classes, Add Teachers and Students

Seesaw Administrators can import class information in bulk. Teacher and student accounts are created and updated through bulk class creation. We offer three bulk class creation options: CSV Import, Clever, and ClassLink. Click here to learn more!

Copy & Paste Class Data for a School from your SIS into the Seesaw Roster Template

Save the Template as a .csv File

Navigate to the School’s Dashboard in Seesaw

Add Seesaw as an App in Roster Server*

Edit Your Sharing Rules in ClassLink*

Log into Seesaw as an Administrator

From the District Admin Dashboard, click ‘Manage Roster Sync’

NOTE: As of April 19, 2021, Clever and ClassLink are only available for districts or other multi-school customers. We do not recommend setting up Clever or ClassLink mid-year.

Want to use Google Classroom or have your teachers create classes?

Make sure your teachers are connected to your Seesaw School Dashboard

Add Teachers with Existing Seesaw Accounts by following these steps

Create accounts for teachers to who don’t have them:

• Navigate to the Teachers tab on your School Dashboard

• Click ‘Add Individual Teacher’

• Follow the prompts to create an account for a teacher

Have teachers create their classes in Seesaw using one of these methods

Upload Skills

Skills are an optional way to improve the impact of Seesaw by tracking student progress towards objectives or standards. Seesaw for Schools Administrators can import Skills in bulk for their schools. Teachers will then have access to the imported set of skills across the entire school.

Teachers can use Seesaw for formative assessment and can tag their students’ posts with Skills to track progress and mastery. Admins can let teachers decide if they want to rate Skills on a scale out of 3, 4, 5, or 6 stars or set the same rating scale for all classes in their school using Schoolwide Settings. You can create your own set of Skills, or view the Curriculum Skills Templates we have created here.

Create Your Own Skills

1. Make a copy of the Seesaw for Schools Skills Import Template.

2. Rename the Seesaw for Schools Skills Import Template to add your school name. Example: Oakhills Elementary - Seesaw for Schools Skills Import Template.

3. Review the Instructions and view the Example Data tab.

4. List your skills in the “Your Skills” tab of the spreadsheet. You can add up to 10,000 skills to your Seesaw for Schools Dashboard!

5. Save this spreadsheet as a .csv file. (File > Download as .csv). Note: If the spreadsheet has multiple tabs, please download each tab you want to upload.

Use a Seesaw-Created Skills Template

1. Find the Skills Template you would like to use from our comprehensive list of current templates.

2. Save this spreadsheet as a .csv file. (File > Download as .csv). Note: If the spreadsheet has multiple tabs, please download each tab you want to upload.

Uploading your Skills

1. Sign in to Seesaw as an Admin.

2. Click on the Skills Tab of your School Dashboard.

3. Click on the ‘Import School Skills’ button.

4. Click the ‘Select CSV from Computer’ button.

5. Locate the .csv that you downloaded to your computer.

6. Follow the prompts to upload your Skills.

You will get an email when your Skills have been uploaded. Your teachers will see any Skills that are designated with the same grade level as their classes. Ex: Teachers with Grade 1 classes will only see Grade 1 Skills, Grade 2 will only see Grade 2 Skills. Skills tagged with All or Other will be visible to all teachers regardless of grade level.

Connect Your School Community

Your Admin Dashboard is your virtual portal into your school. Use it to control schoolwide settings for use; create a culture of learning by inviting family members to connect; and interact personally with the learning happening in your school.

Manage Settings

From your School Dashboard, click the gear icon in the upper right corner to access your settings menu.

Schoolwide Settings

Set schoowide defaults for important class and account settings or let teachers decide.

Messages Settings

Decide which user types in your school can use private messaging and who they can private message. Note: District Admins can also set Messages Settings for their entire district. These settings do not impact a teacher or administrator’s ability to send class or school announcements.

Invite Family Members

Teachers can invite family members of students in their Seesaw class

Admin can invite family members in bulk for the entire school!

Districts using Clever or ClassLink to create classes can enable Family Syncing by reaching out to their Seesaw Account Manager

Interact with Your School

From the School Admin Dashboard: virtually visit classes, like and comment on student work, and identify which of your teachers are part of a Seesaw Professional Learning Community

From the District Dashboard: visit any school in your district, see a district-wide summary, and manage district settings. Clever/ClassLink districts can also access their Roster Sync Dashboard.

Turn static files into dynamic content formats.

Create a flipbook