Log Home




Your log home is the culmination of years of dreaming and planning, backed by a bit (or maybe a lot!) of sweat equity. Why protect it with products from a company who doesn’t know logs from a 2×4? Sashco knows logs. You won’t find a “good enough” mindset at Sashco. Since 1936, we have focused on making only the highest performing products designed to keep your log home in dream-worthy, weatherproof condition. Our goal? Help prevent needless frustration and give you more time to actually enjoy your log home. We like to call it, “delighting the customer with a better way.” Whether you’re finally building your dream home, looking to do some routine maintenance to keep your weekender log cabin looking beautiful, or in need of a complete log cabin renovation and restoration, Sashco is here to help with a comprehensive system of specialty log home finishing products.
STEP 1: Prep
50-51: CPR Cleaner™
52-53: Osborn Brushes® & Buffy Pad
STEP 2: Preserve
55-56: Tim-bor®
56-57: Borate Rods
STEP 3: Stain
60-63: Colorfast
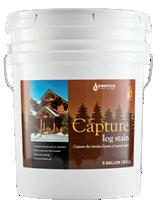
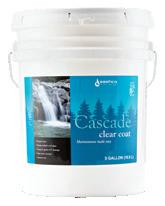
64-71: Capture® & Cascade®
72-77: Transformation Log & Timber®
78-79: Flex Tint® System
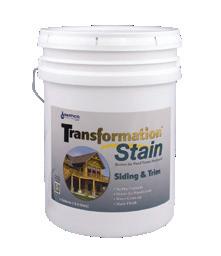
80-83: Transformation Siding & Trim® 84-87: Symphony®
STEP 4: Seal
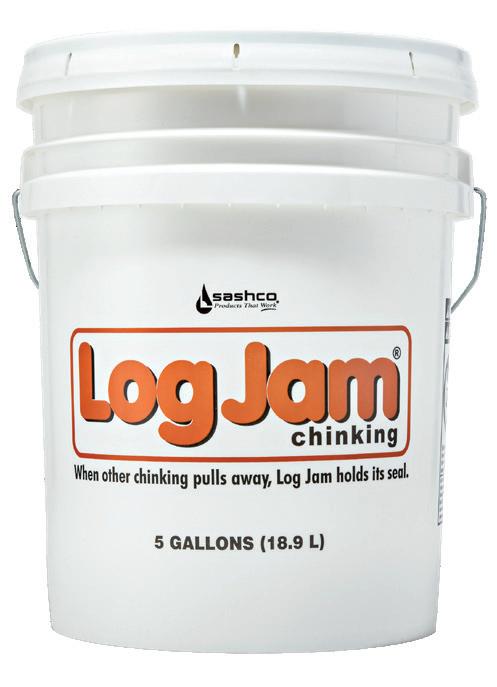
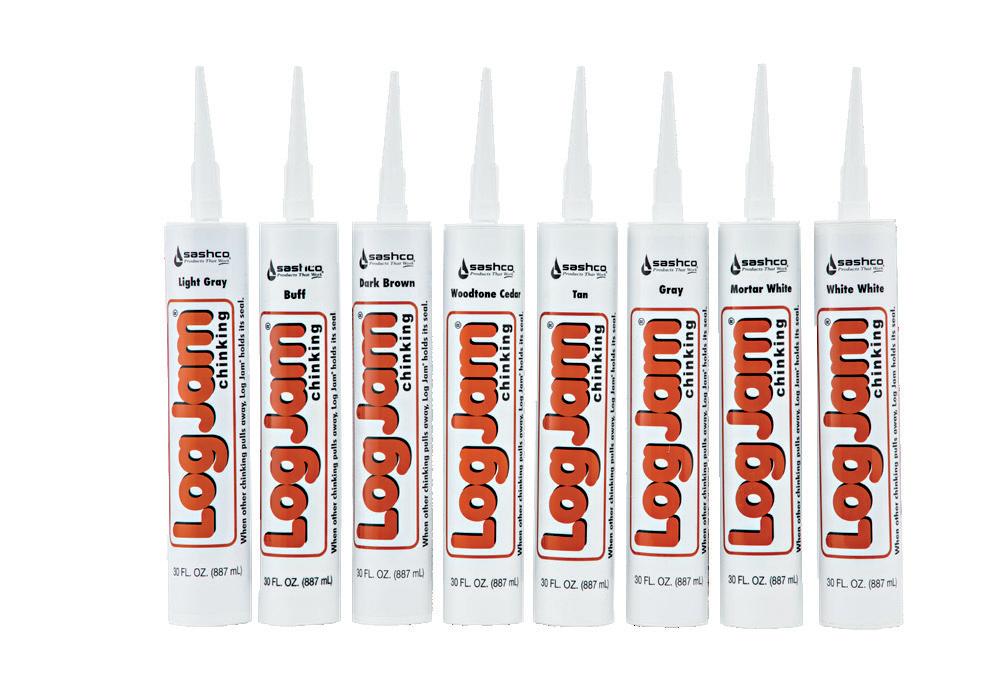
96-99: Jog Jam®
100-103: Conceal®
104-107: Log Builder®
108-109: Backer Materials
110-111: Sealant Comparison Chart
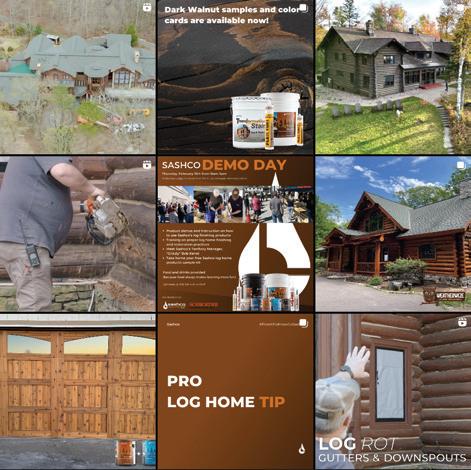
Like, share and tag us! @sashcologhomes @sashcoinc ... (but in a rural, far-away-from-your-neighbors, log home living kind of way).
Family Owned. Colorado Made. Since 1936.
For more than 85 years now, we've been driven by a passion to make products that work right the first time. Like you, we get frustrated by the screwdriver that bends, or tires that wear out too soon. That's why we only make high-performance products designed to work best for their applications. You won't find a good-better-best mindset at Sashco. Why? To help prevent needless frustration and redoing the same project again and again because the product wasn't up for the job. (Hint: your caulk shouldn't crack!) We like to call it "delighting the customer with a better way."
1986
1973
1954 Sashco founder Don Burch dies in a plane crash while taking off from Seattle
Les Burch becomes president, one year after company name is changed to Sashco
1936
The Colorado Steel Sash Company is officially registered in Denver
1964 Don’s wife, Alice, takes over management
1985 Log Jam Chinking introduced
Lexel ® debuts at the National Hardware Show in Chicago



Sashco eliminates 5 ‘me too’ caulks and focuses on 2 high-performance sealants
The 50,000 ft 2 Commerce City plant is added. Latex production housed at the smaller Acoma
Sashco breaks ground on new building in January, completes move in June.
Set the platform for growth by bringing on additional highly skilled people, including 4 new Leadership Team members
Plant expands once again to 128,000 ft 2 at the new 25 North Industrial Park, Thornton, CO

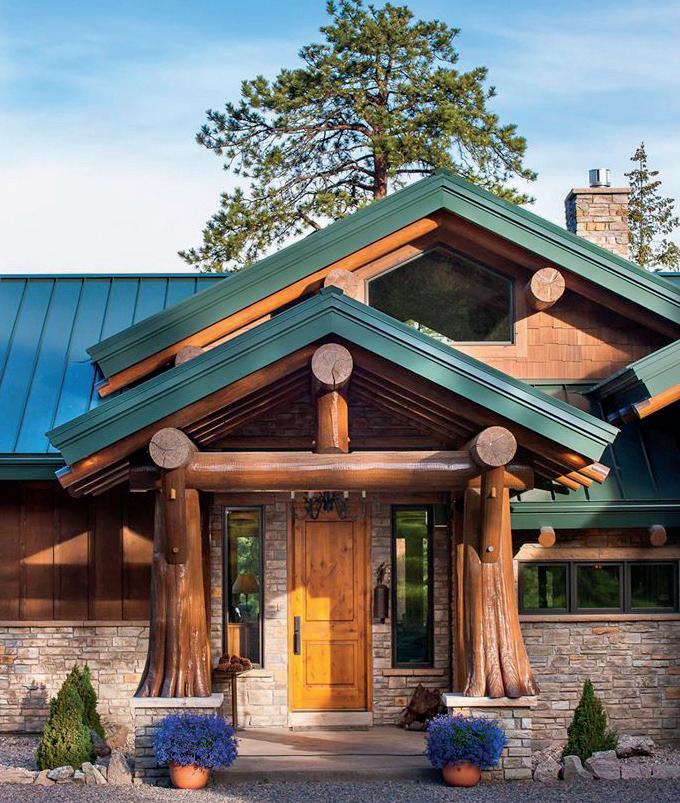

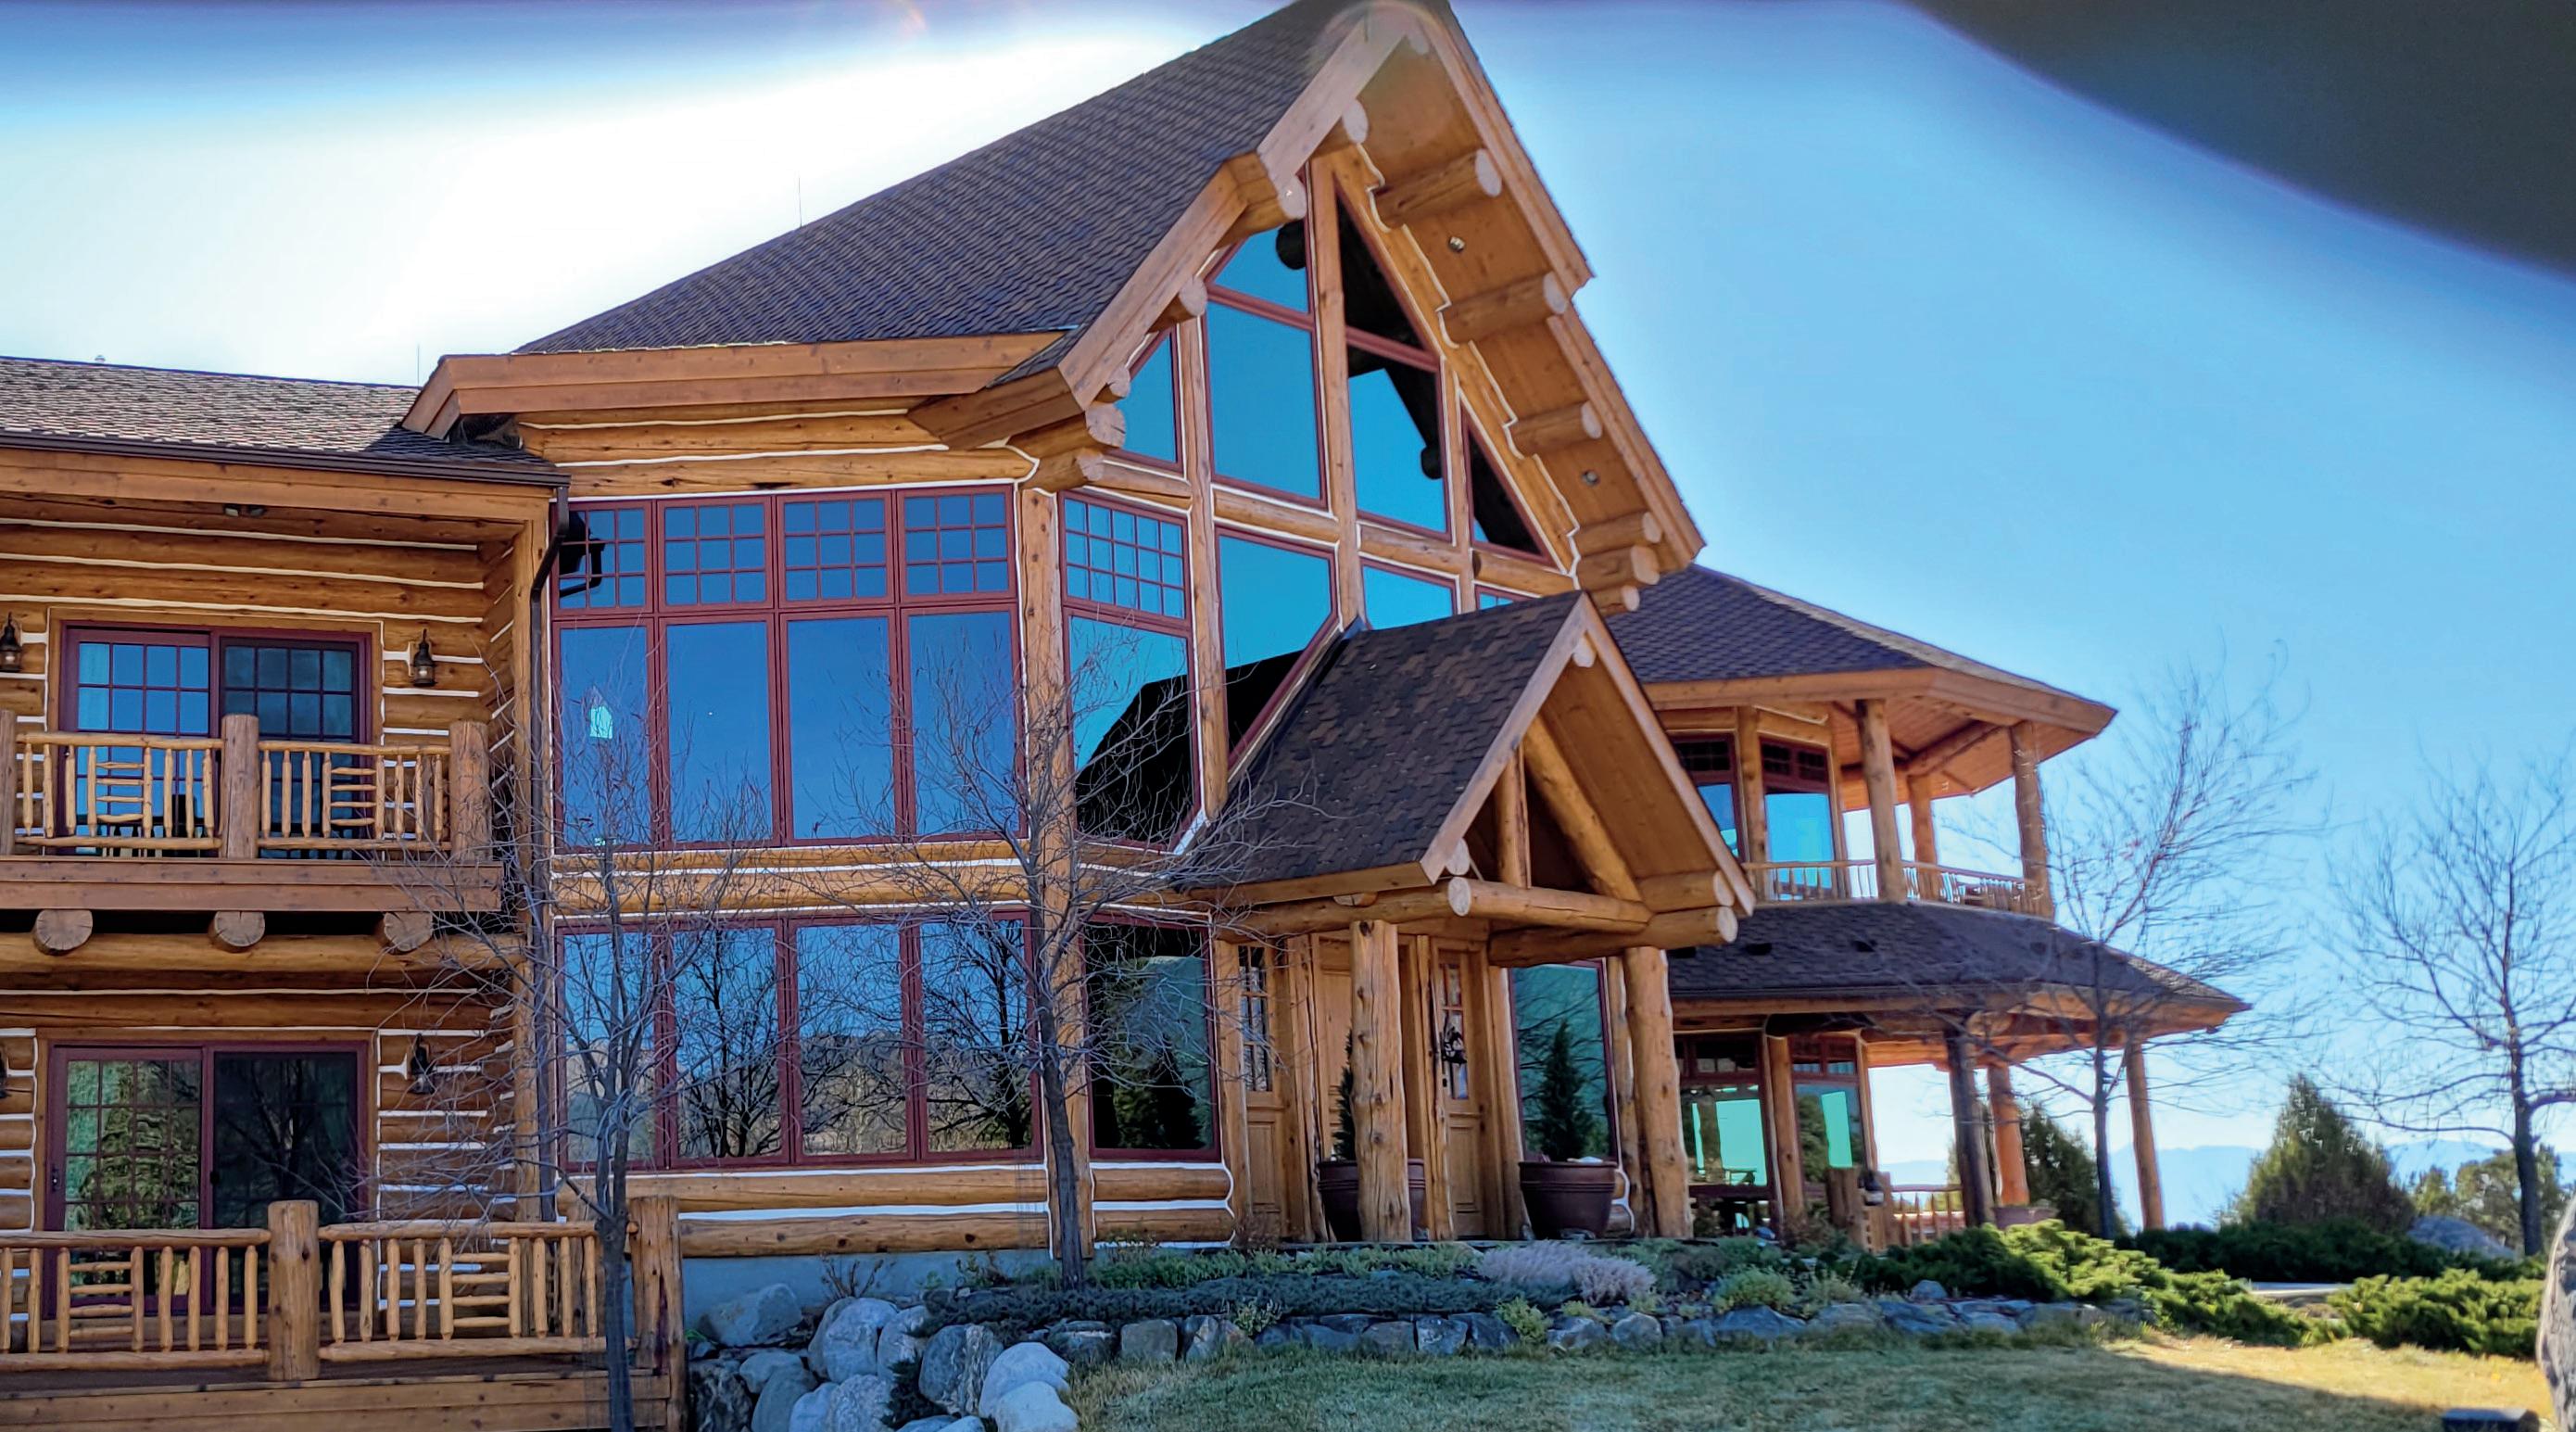

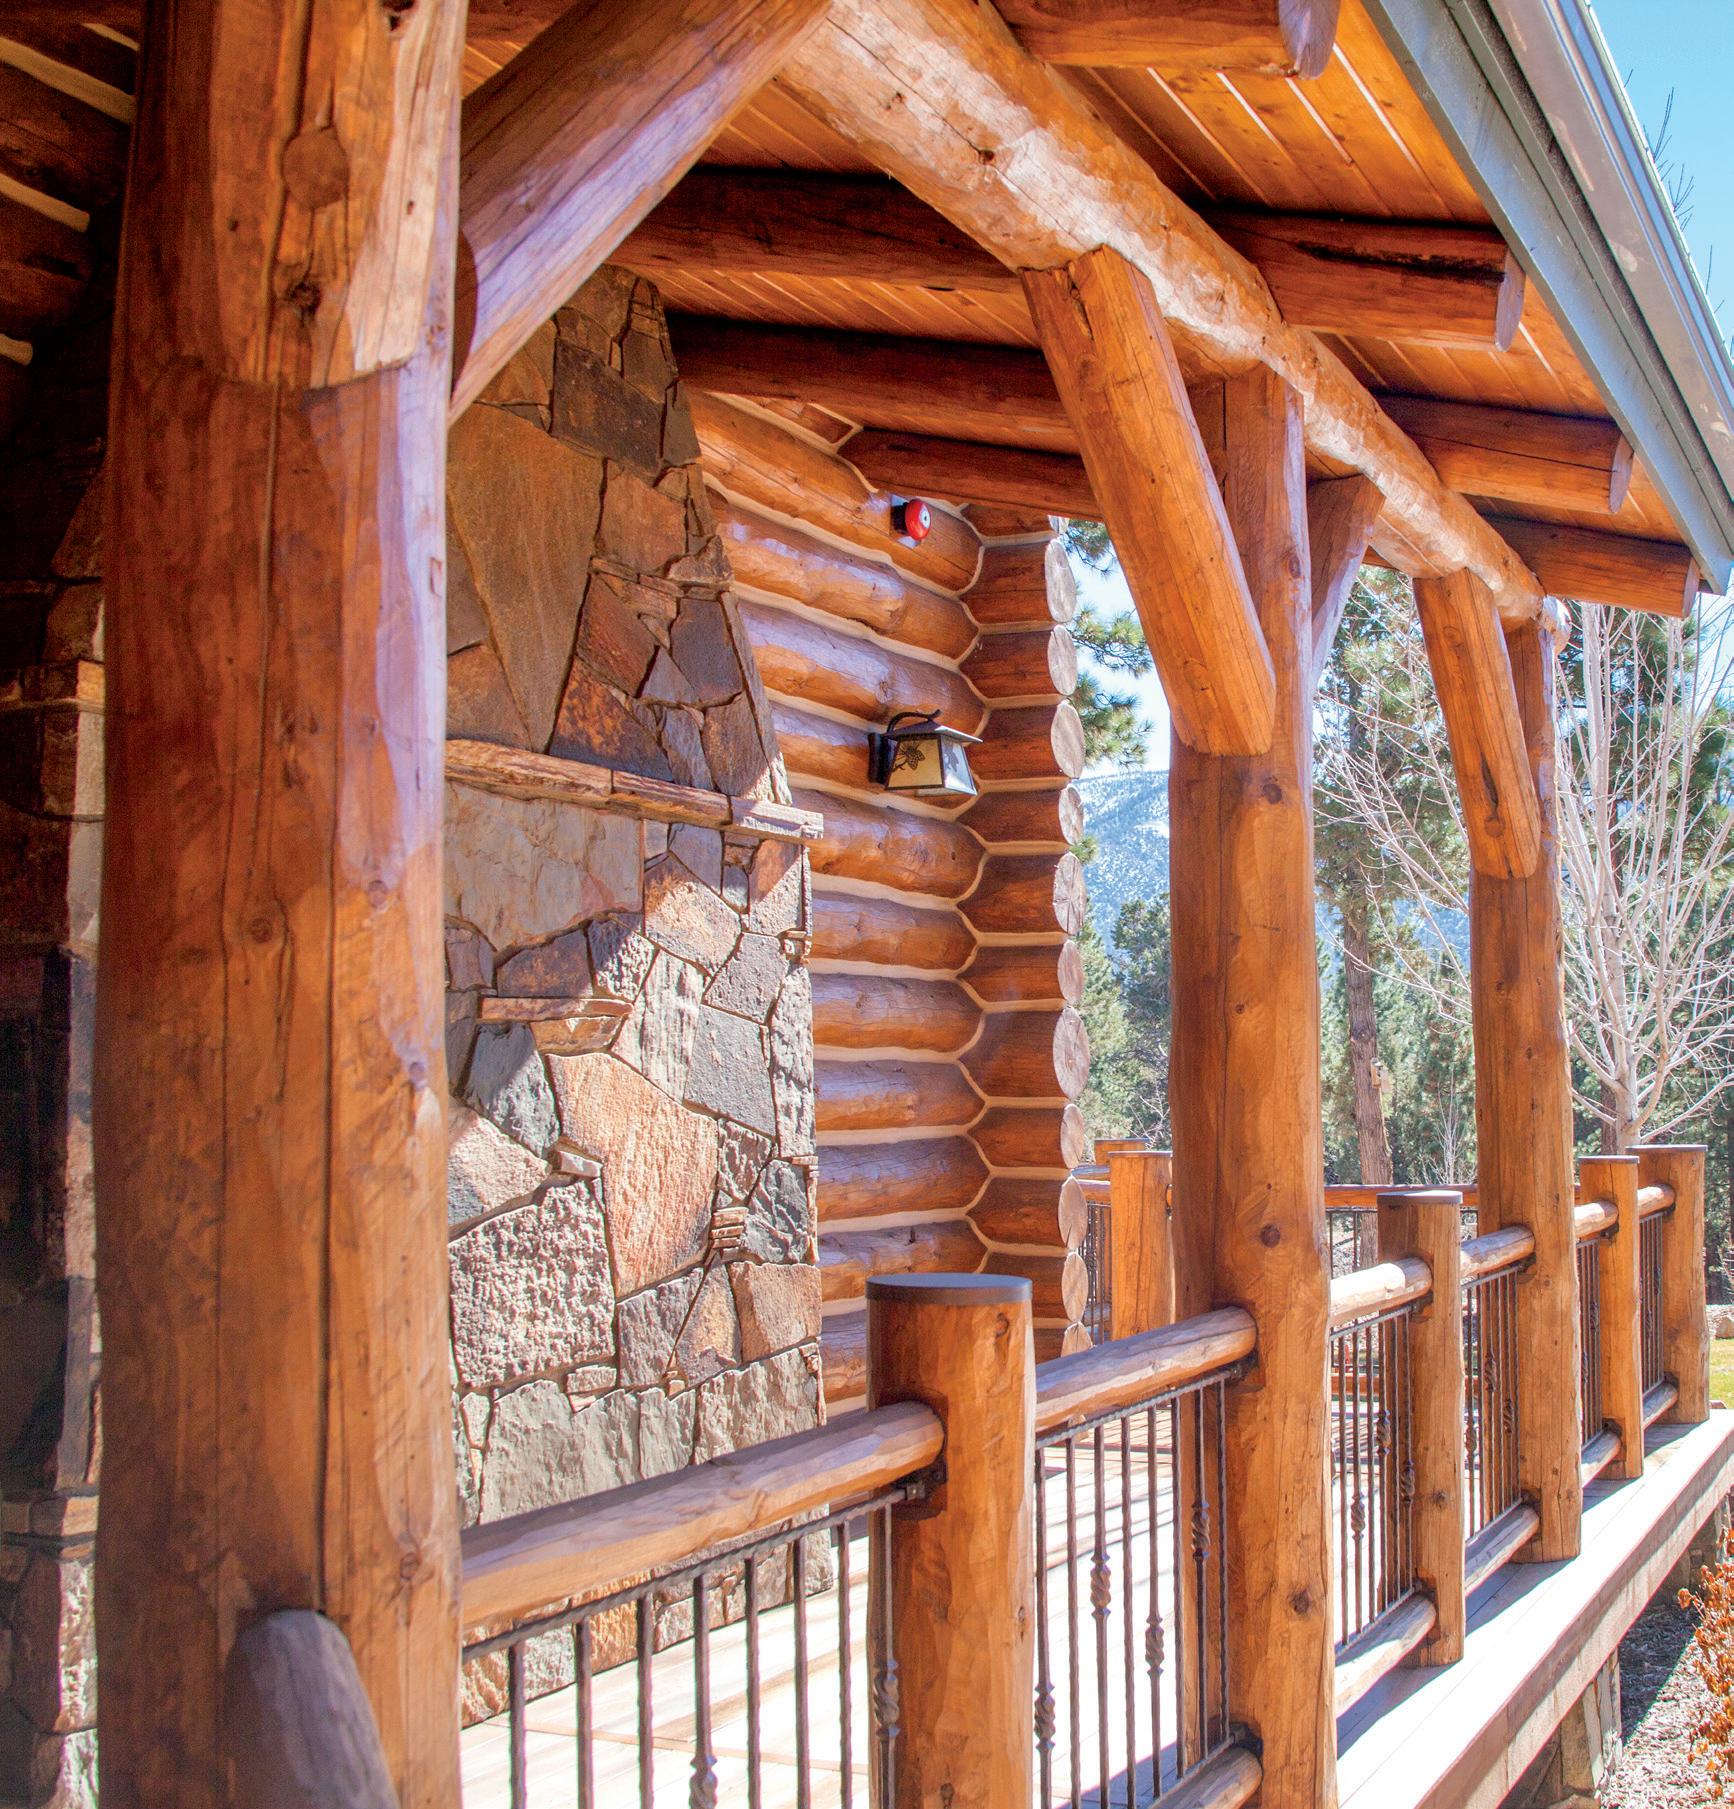
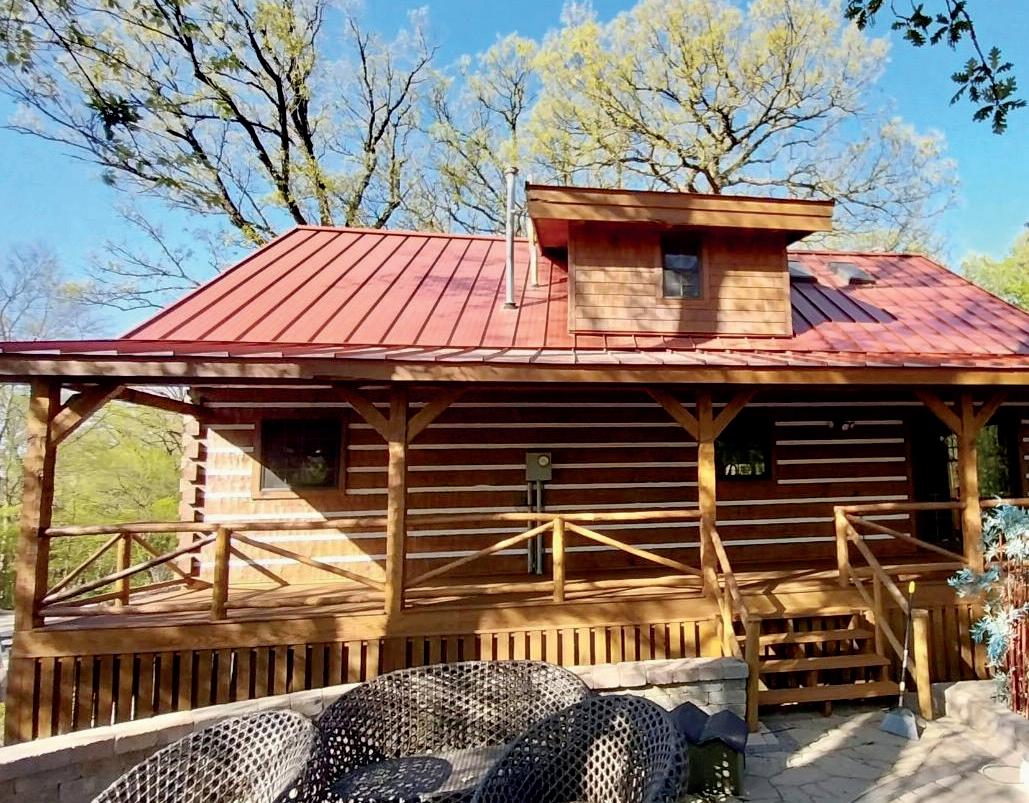
Jenkins Painting: Transformation Log & Timber - Gold Tone Medium
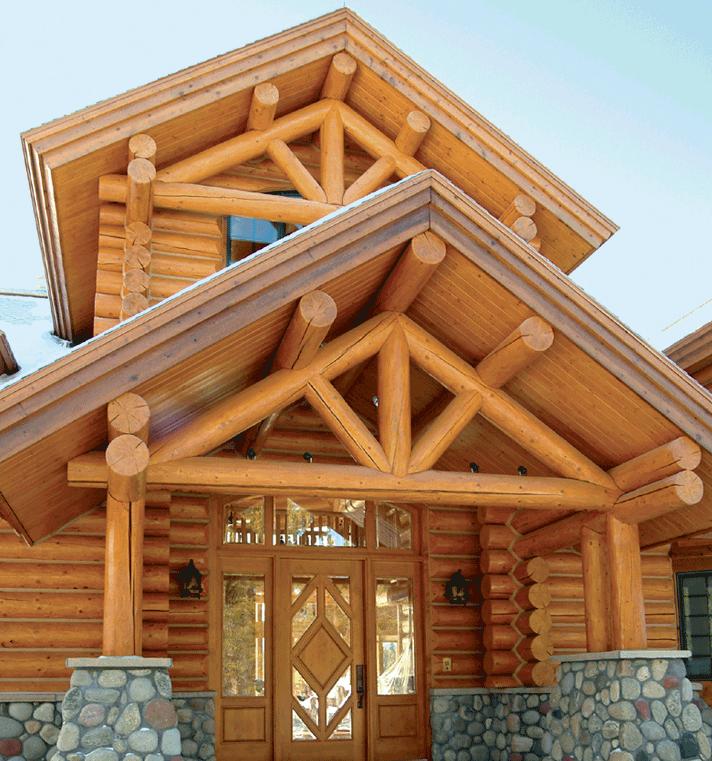
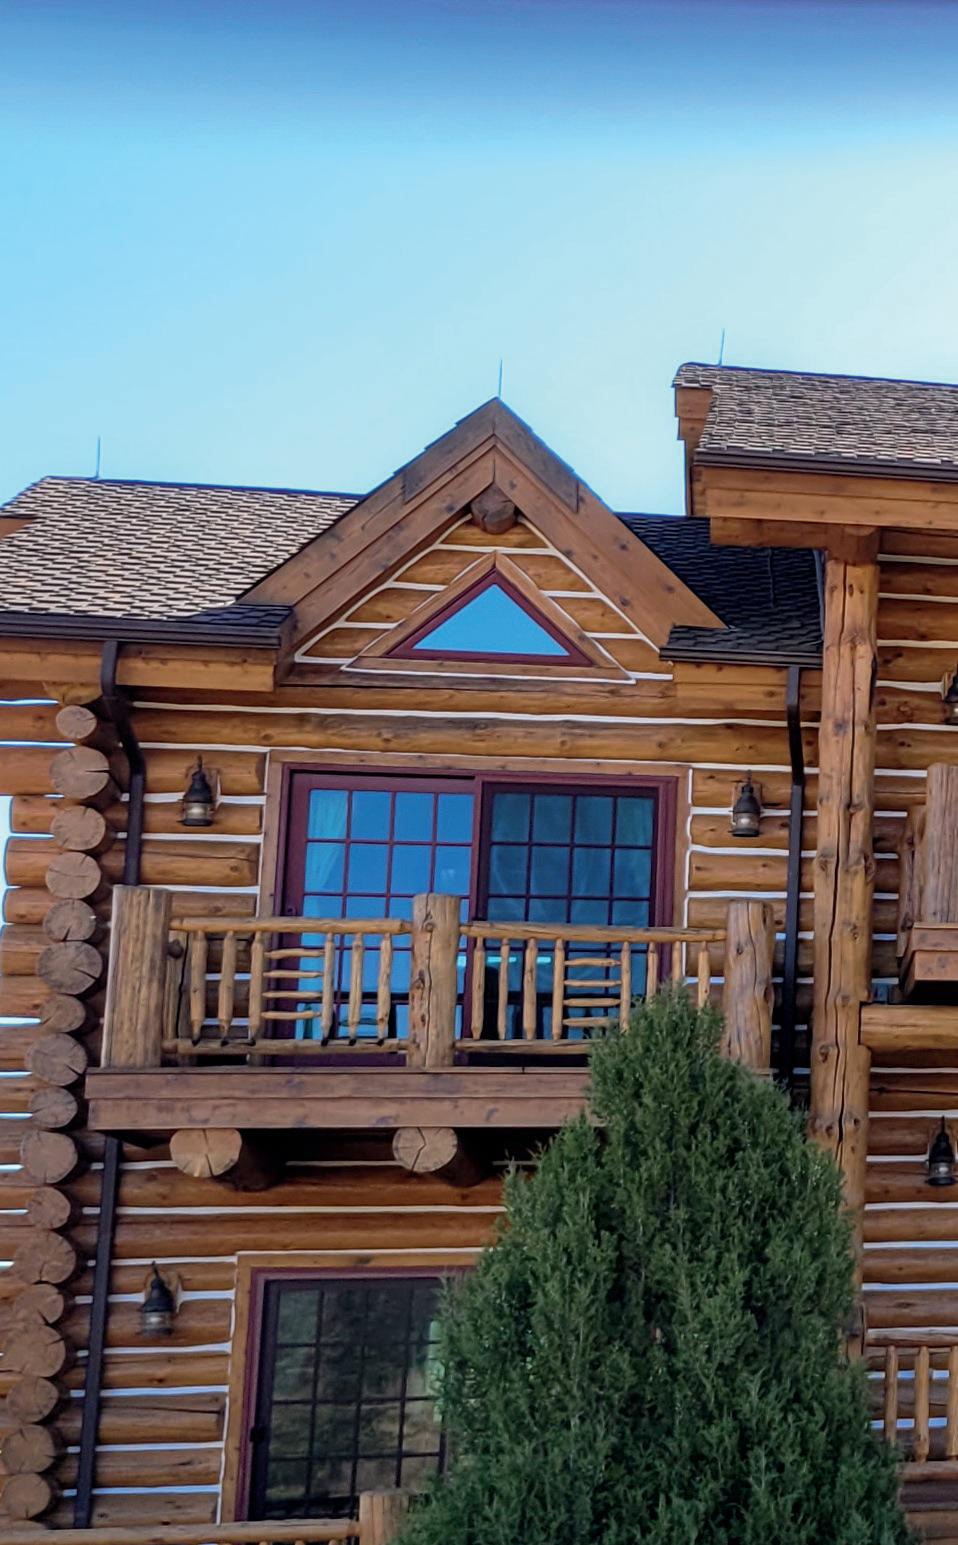
Homestead Log Homes: Transformation Log & Timber - Gold Tone Light
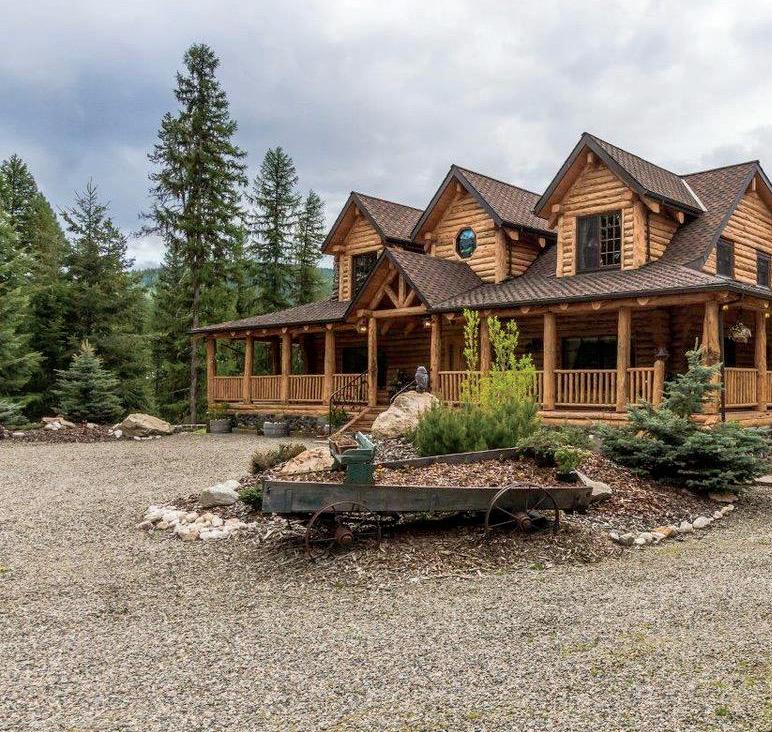


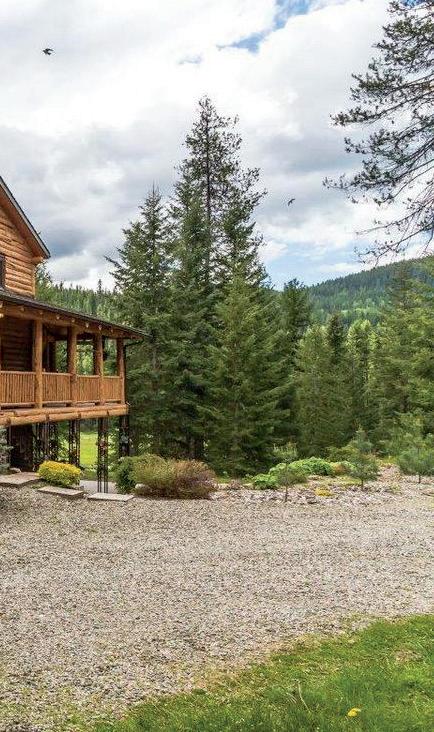
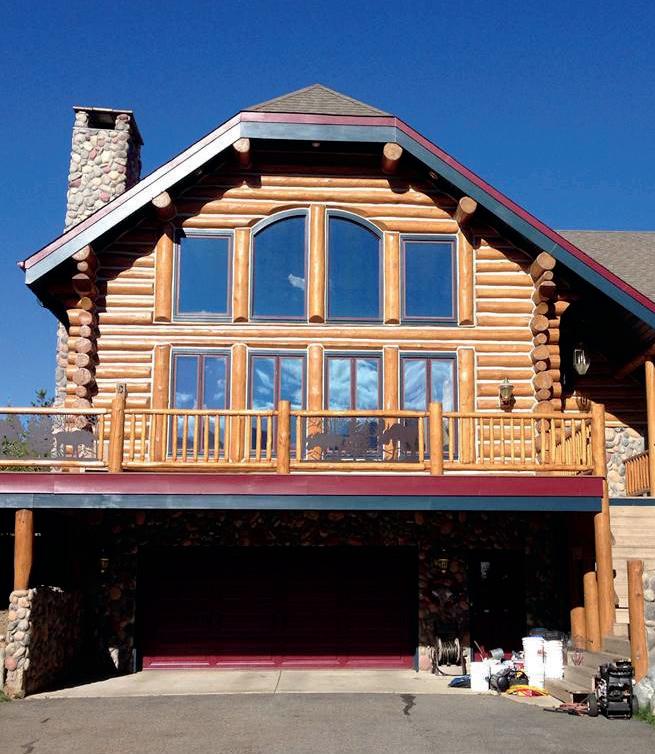


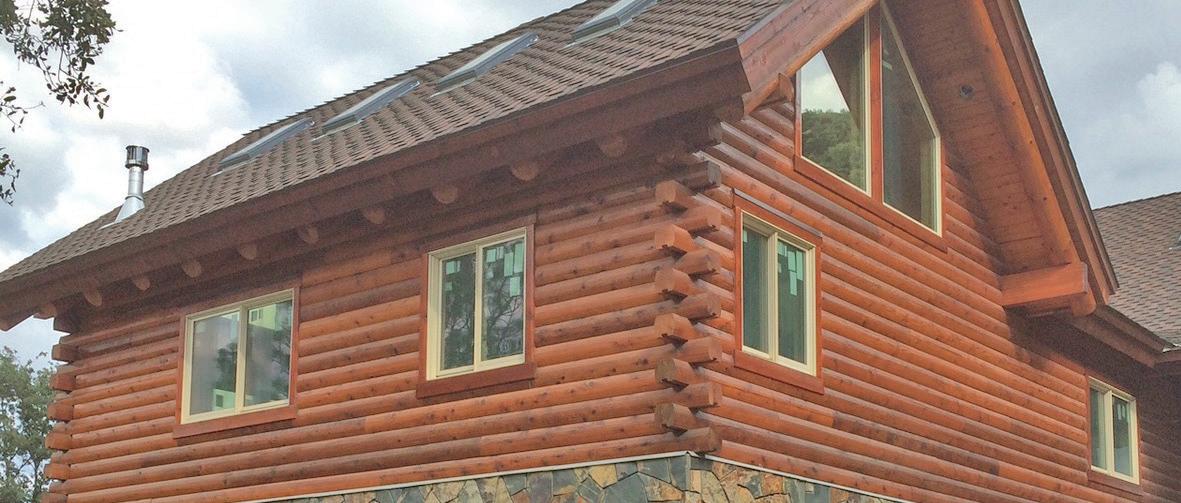
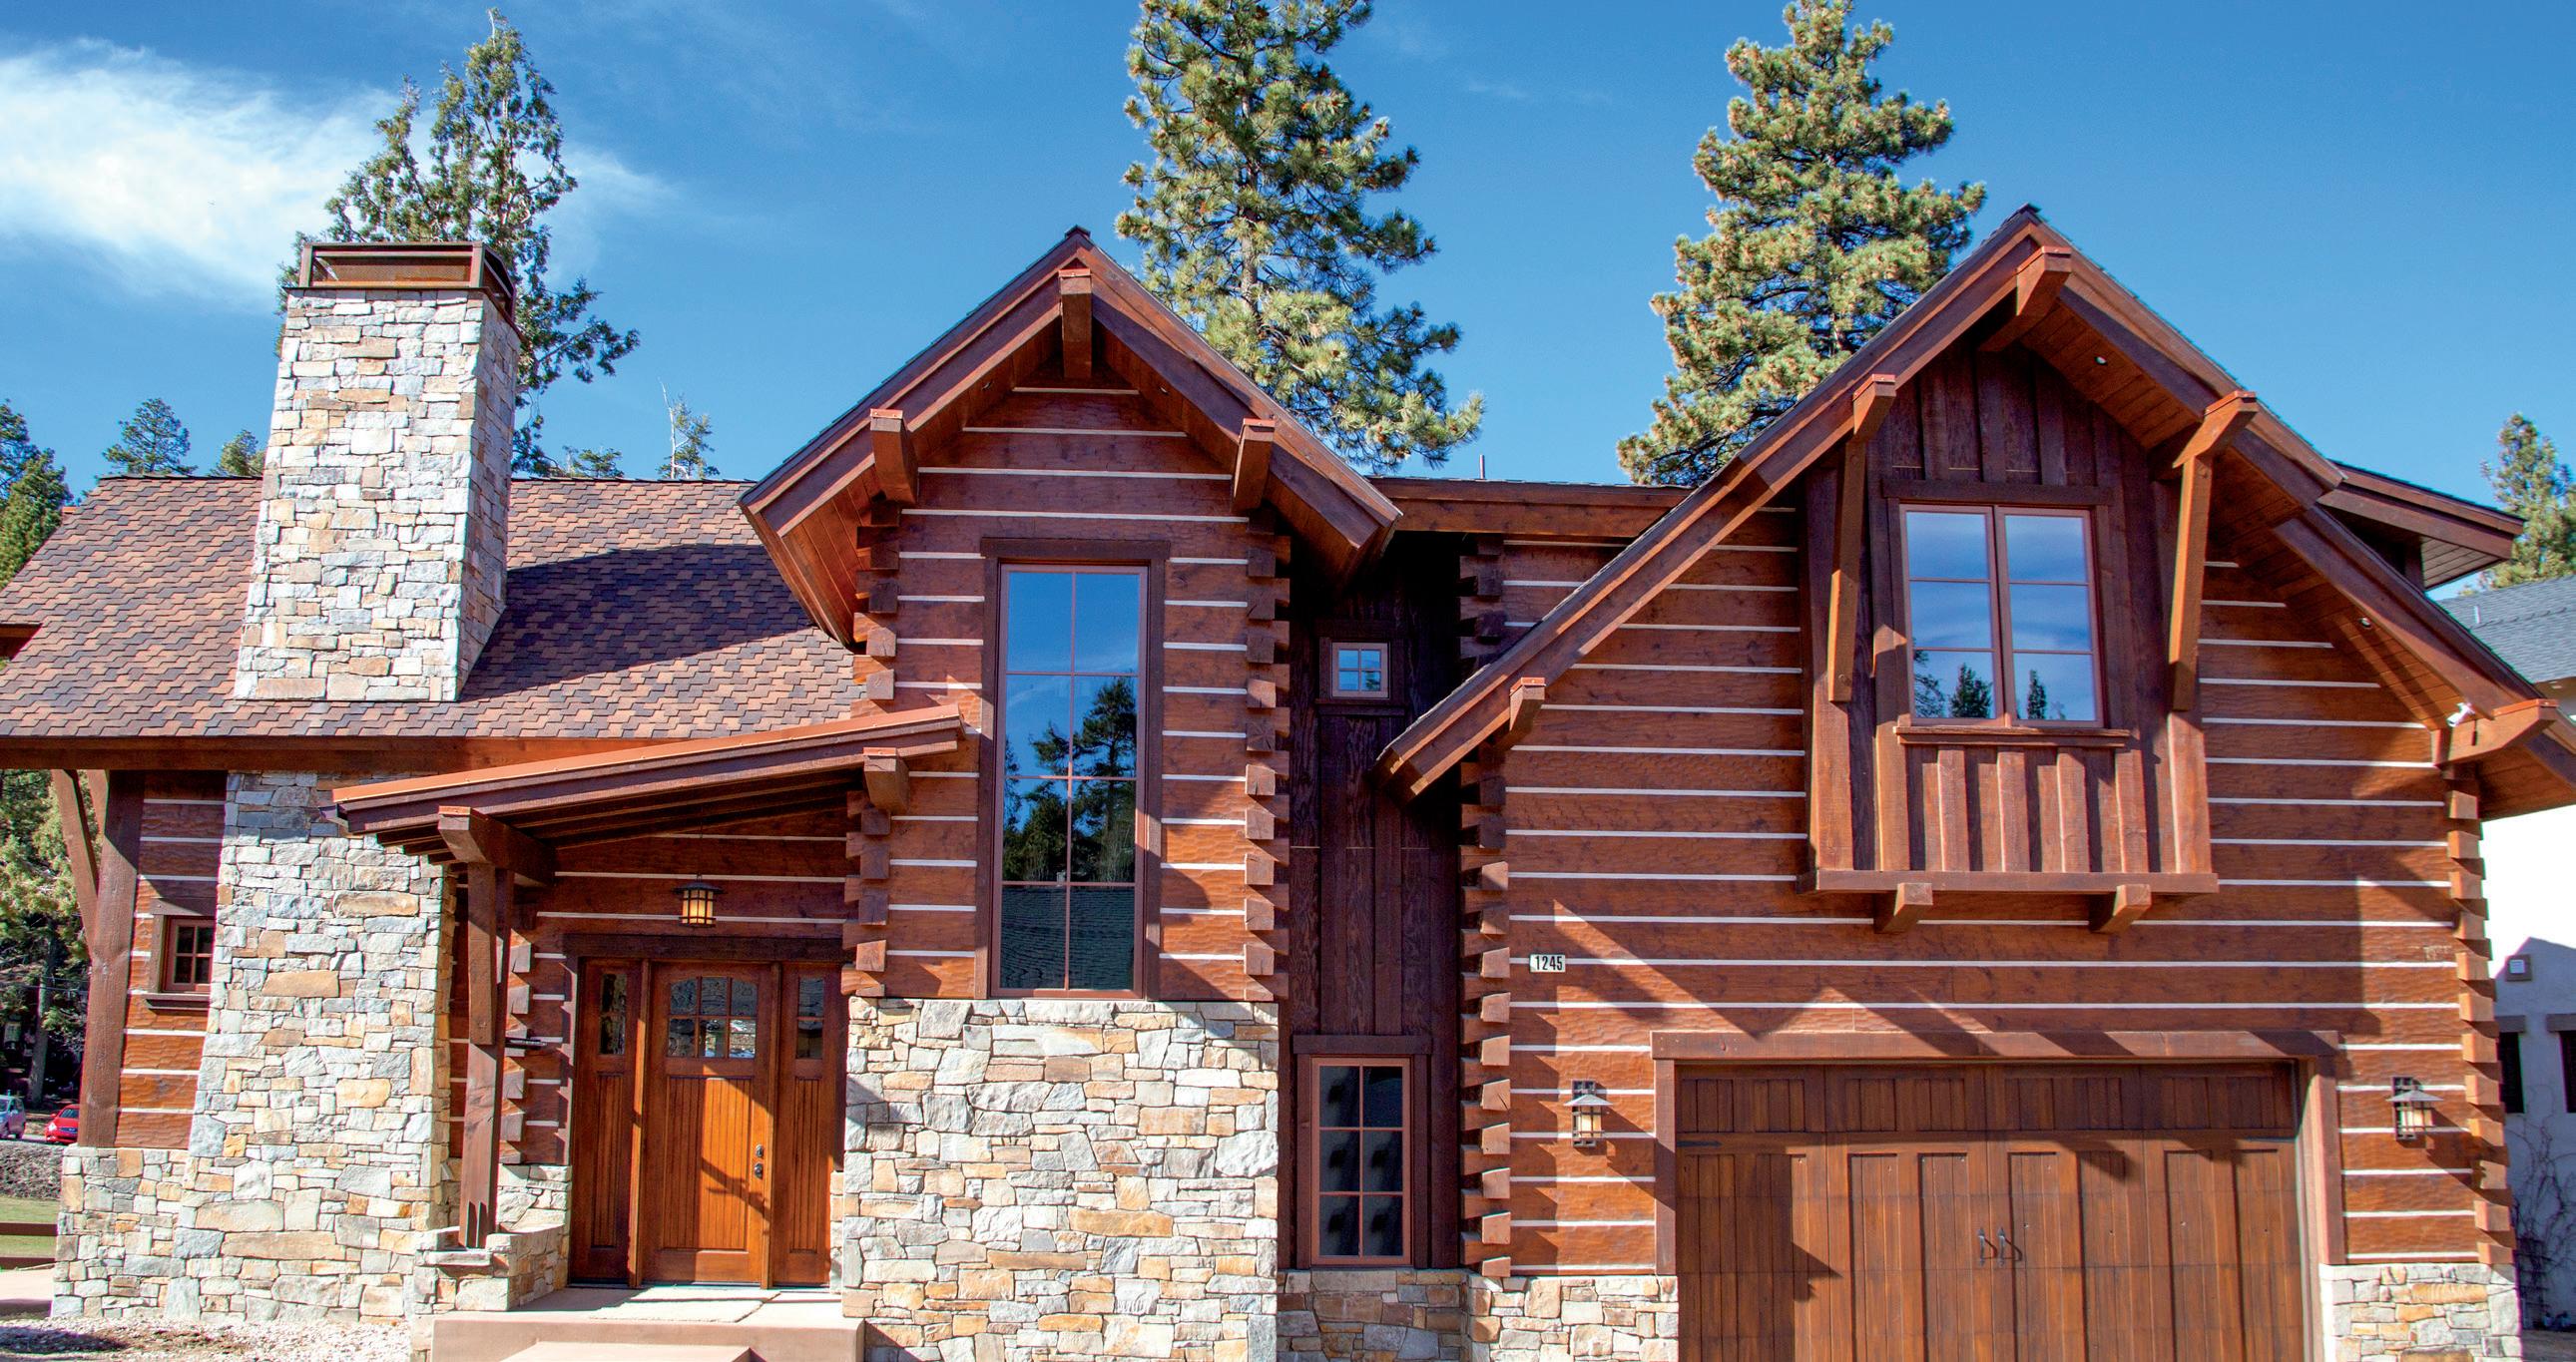
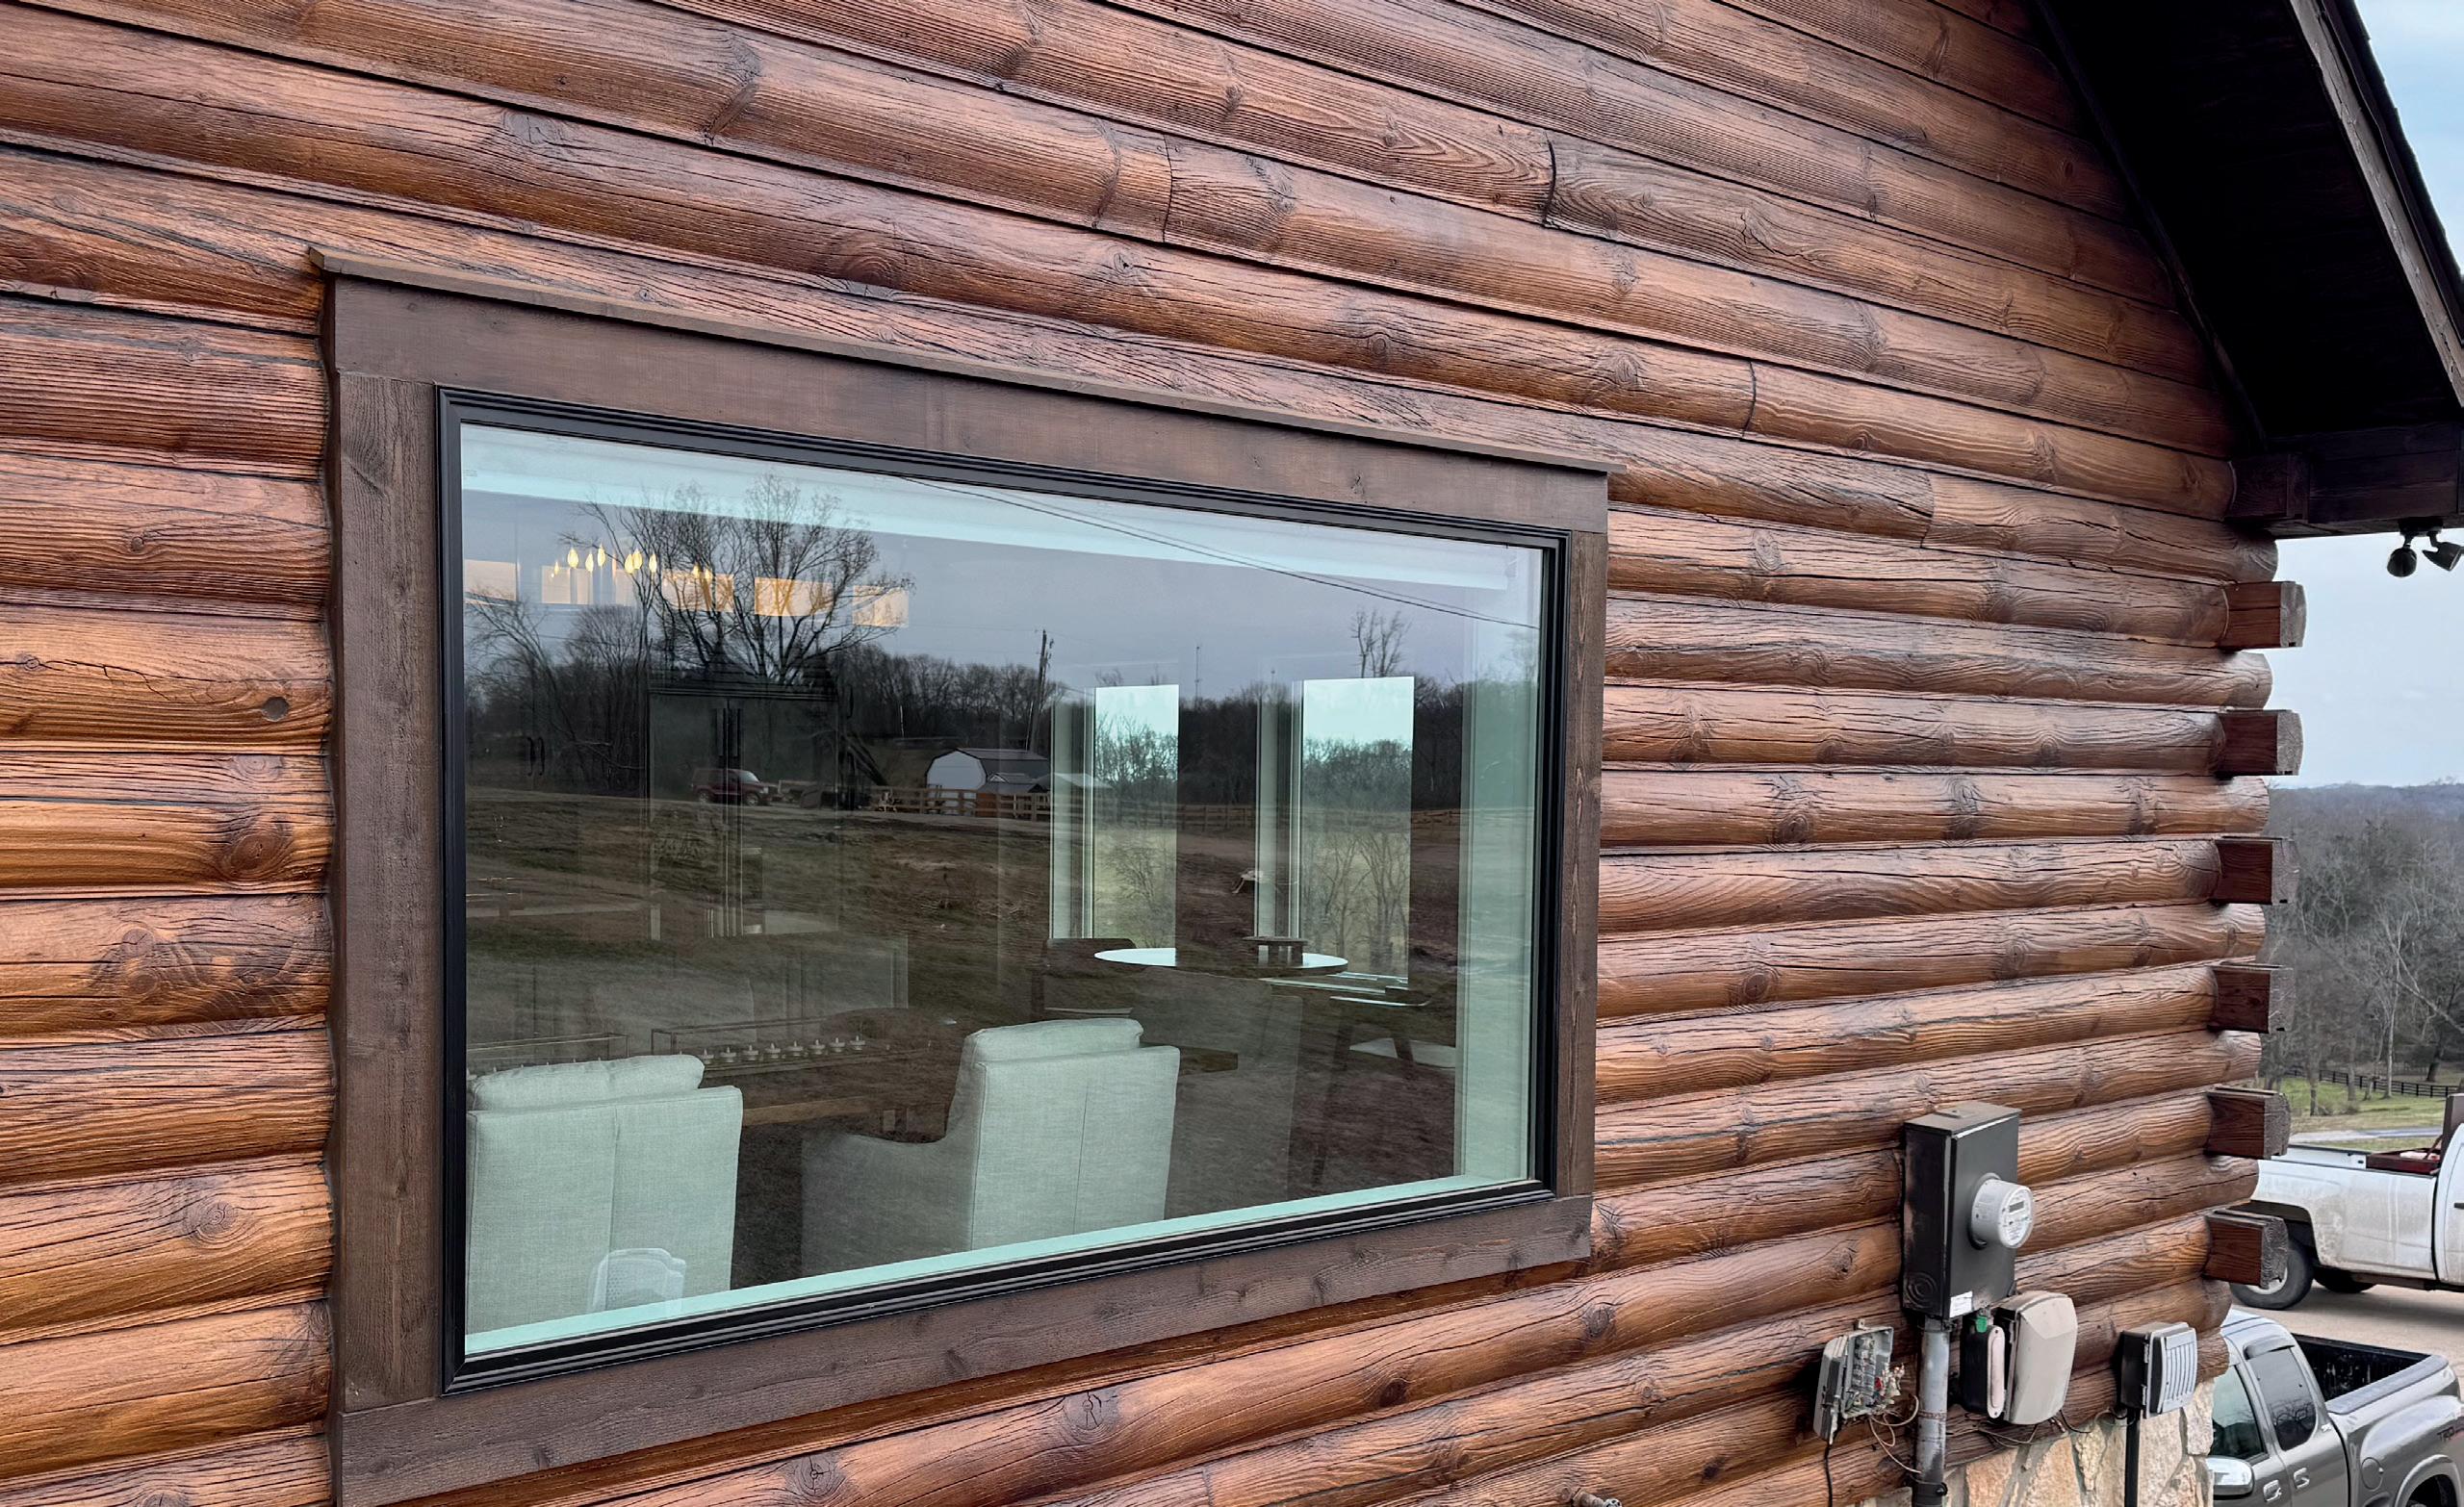
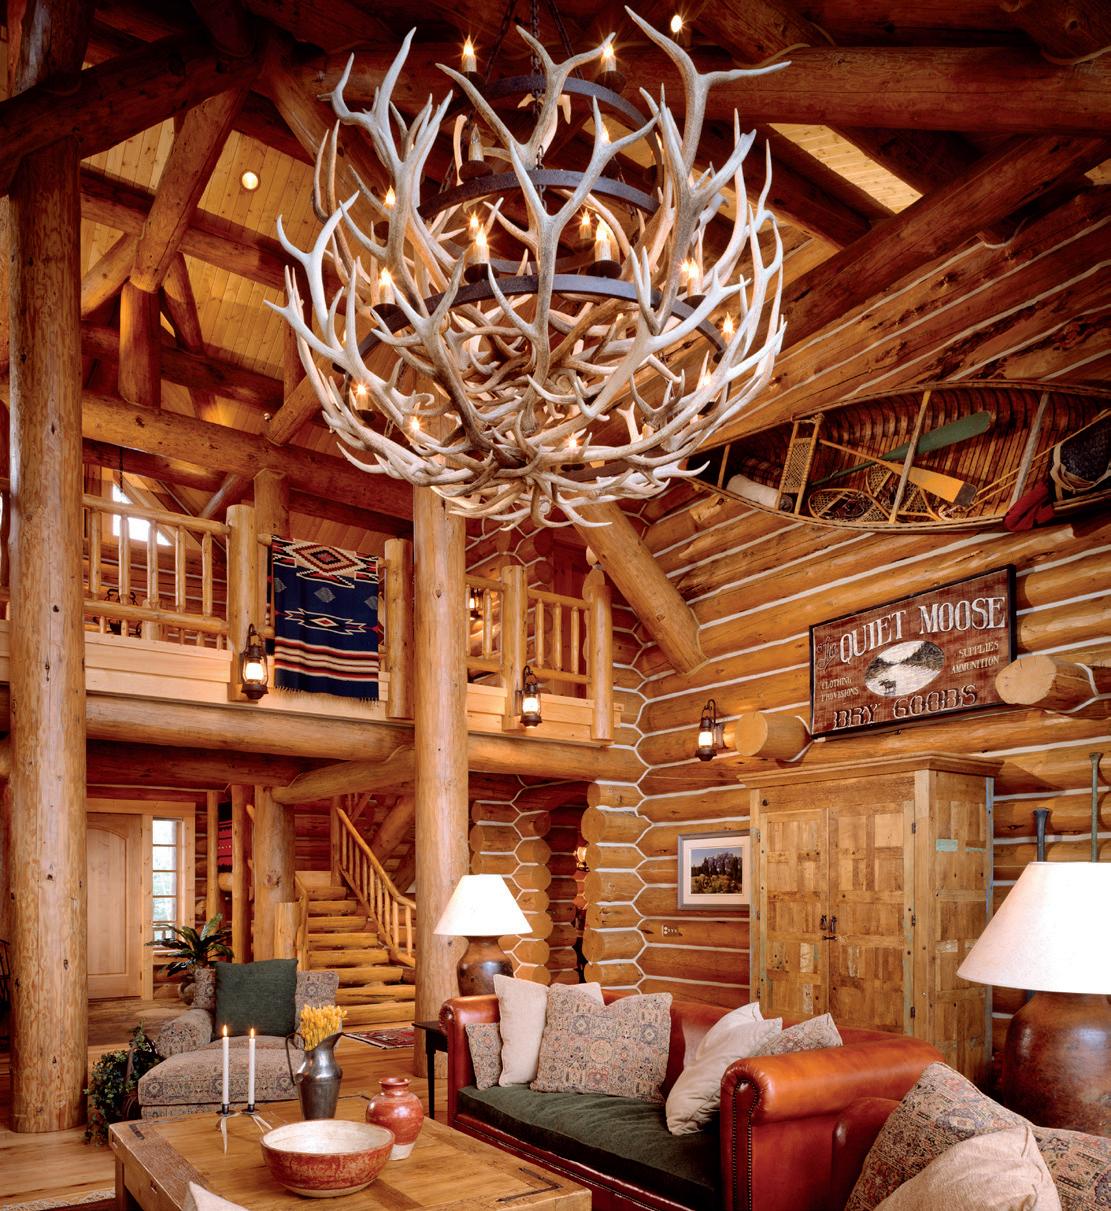
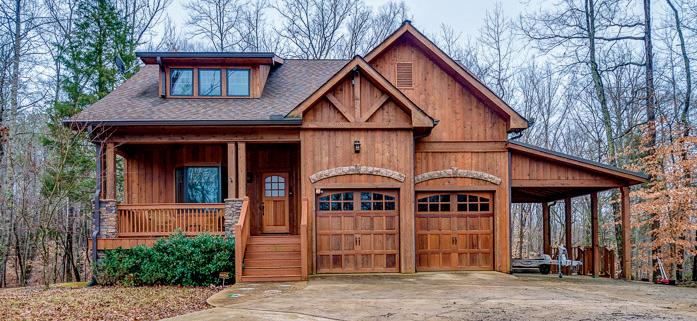
Eye candy, inspiration, whatever you want to call it – look here to find real homes in the wild protected by Sashco’s products.
All jokes aside, this is serious hands-on and business improvement training taught by industry experts.
Since 1998, pros (and the occasional motivated DIYer) who attend Zero Failures Wood Science learn the scientific ins and outs of wood, then put those details into practice with extensive hands-on time with the processes and products used in log home finishing.

Then, at Zero Failures Business Focus, seasoned business leaders help pros take their businesses to the next level with process improvement, contract law, and bidding practices specific to log home specialists.
All classroom and hands-on materials, lunch and munchies throughout each day are included. Oh –and dinner’s on us for the first seminar night, too.
Don’t forget - you’ll be in a room full of other log home pros. Talk shop and learn from those in the trenches with you. Who knows where a chat could lead?
Classes sell out early, so be sure to check the website for the latest dates and sign up early to secure your seat.
Sashco.com/zero-failures/log

More of a DIFM (Do It For Me), not a DIYer?
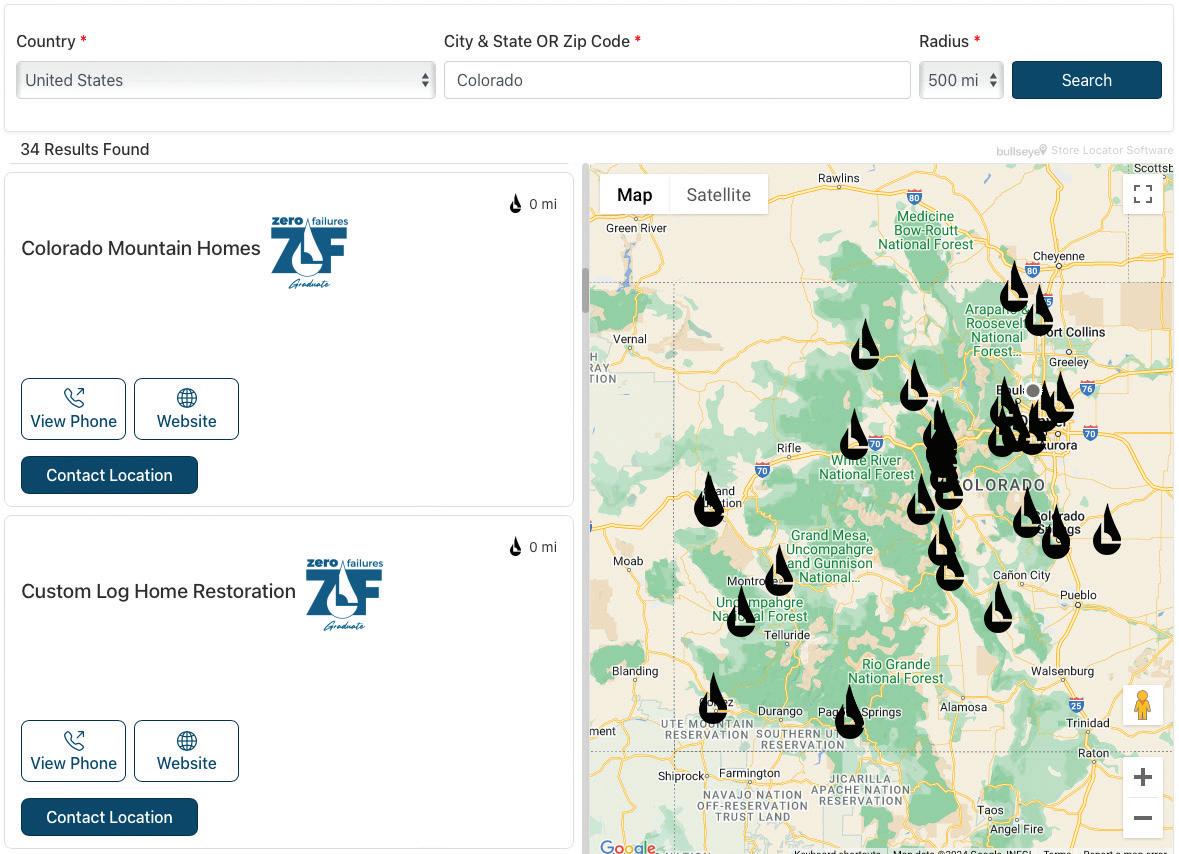
Head on over to our Contractor Locator
to find Zero Failures-trained pros who specialize in log home finishing and making sure your log home both looks pretty and is protected.


Building a new log home?
We know what you’re thinking: “Seriously?
Another decision I have to make?”
Down with the dread! We invite you to sit back, relax, and enjoy making your stain decision. Stain is what Sashco does. We’re pretty passionate about it. (Probably as passionate as you are about your dream log home.) From start to finish to maintenance years down the road, our team of trained log home finishing guides is ready to walk you through the log home color and finishing decision, making sure your dream comes alive. Ask your manufacturer about Sashco’s Start Right program.










You want to enjoy your dream home for many, many years to come. That’s why we’ve created this booklet – to give you all the detailed information you need to maintain your home’s appearance and re-apply stain as necessary.
We also want to show you how to easily rejuvenate an existing log or wood home with a new coat of stain. Log and wood homes don’t have to be more difficult to care for than conventional homes, you just need to know what to look for and the steps to take to keep your dream alive.
as your home been under construction for 6 months with logs turning yellow? Or are you buying an 80 year old cabin with logs that have turned black? A successful log home project should always start with a thorough inspection.
Got rot? We hope not. Even if you find a small amount, it’s best to call in a pro who can do a more thorough assessment.
1.
2.
3.
4. This Maintenance Checklist. Once you know what needs to be maintained, it is easier to put together a plan of attack to get the necessary work done in the least amount of time. It will also help you be prepared with the right tools and products when you go back to do the repairs. Use products made for the specific application.
Finish reading this guide, then download Sashco’s printable log home inspection guide and schedule a walk around your home. Ready....set... GO!


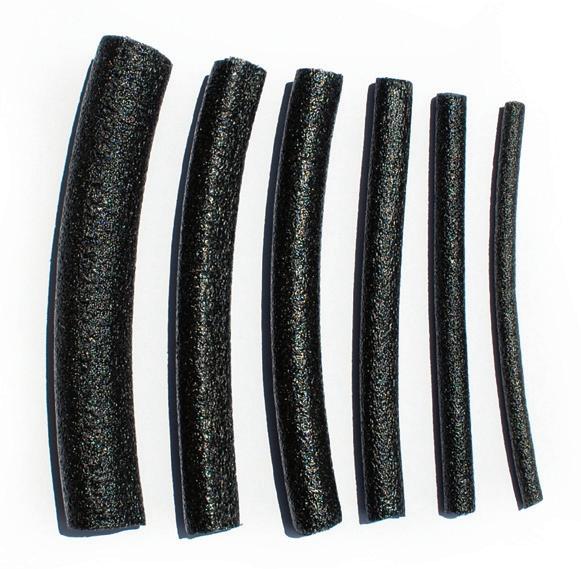
Used behind a sealant to provide proper joint design. There are generally 2 types:
Foam rod, either round or trapezoid shape, that is inserted into the joint before sealants are applied.

Clear packing tape and duct tape are the most common bond-breaker tapes. They are typically applied over old mortar chinking or house wrap underneath the chink line.
Sealant used in cracks and checks smaller than 2” wide. Often blends in with stain color.
A crack in the face of wood, especially logs, that is created as the wood dries.
Sealant used to give that old-time mortar look. Generally used in joints 1”–5” wide and contrasts with the stain color.
Wood “fuzz” created whenever some sort of blasting (media or power washing) has been done.
A general category referring to all products used to finish a wood home interior or exterior, including wood preservatives, stains, sealants, etc.
Filling in cracks, checks and gaps to prevent air, moisture, and insect infiltration. Types of sealants are chinking and caulking.
A type of coating. Paint, varnish, clear coat, stains, etc. are technically all coatings. Most wood and log homeowners use a stain, which deposits color but allows the grain to show through.
Naturally occurring chemicals in wood that can leave dark brown stains on the surface if/ when extracted. They can be unsightly but do not affect the structure of the wood.
UV
Ultra violet. Refers to the type of radiation the earth naturally receives from the sun.
Wood is beautiful and rustic, but it must be protected to retain its beauty. Sun, wind, moisture, and insects can all wreak havoc on your wood home and rob you of the charm of living in a wood home.
The style and location of your home can affect stain longevity and the amount of maintenance required for your home. Eaves, porches, proper drainage, and the position of your home on the lot all come into play. Do whatever is reasonable to ensure these guidelines are followed (easier on new homes still in the design phase, but many of these are easy to install on older homes, as well).
• Use large eave overhangs. 3 ft. is a minimum. Wider is always better.
• Install gutters, down spouts and generous flashings (where appropriate) to direct moisture away from the wood.
• Use covered porches to help protect the wood from moisture and sun damage.
• Keep the wood at least 18” above the ground and always above the normal snow line.
• Don’t let leaking spigots or sprinklers spray water directly onto your wood.
• Keep plants a minimum of 18” away from your wood. This goes for mulch and other organic ground cover, which can be a breeding ground for insects.
• Use trees to shade the east, west, and south sides of your home from direct sunlight and heat. Make sure the trees aren’t so close that insects and residual moisture can drop down onto your walls. Be sure to consider the tree canopy at maturity. Plant new trees far enough away to accommodate appropriate space between your home and the tree, and consider cutting it back or relocating older trees for the same reason.
The key is to minimize exposure to soil, insects, moisture and sunlight.
Choosing that perfect color (you know - the one that you’ve earmarked in all of the magazines and pinned all over Pinterest) doesn’t have to be a daunting task.
So, let’s talk color and how to get the right one, then we’ll outline the more important details: compatibility and durability.
You really want to be happy with the final color of your home. After all, you live in this place.
With transparent or semi-transparent stains, many factors affect the final color of the home, including:
• The species/color of the wood itself –white pine, spruce, Douglas fir, southern yellow pine, cedar, oak, cypress, redwood, etc…all have a different undertone in the wood itself
that will give a tint to the final color of the stain.
• The condition of the wood – is it significantly degraded due to neglect? Is it covered in mold from sitting out in the rain and snow for several months? Etc. etc.
• How the wood is prepped before staining – power-washed wood is going to absorb stain differently than wood that is hand sanded than wood that is media blasted. Any chemicals used during prep - stain or paint removers, cleaners, etc. - will also affect this.
• Previous stains or discoloration that are still on or in the wood will show up under the stain.
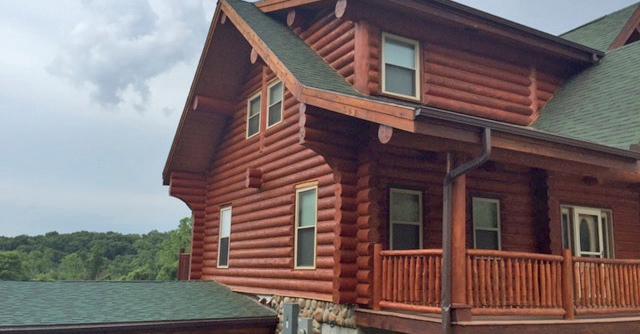
• The porosity of the wood. Older, larger pores = darker stain. Newer, smaller pores = lighter colors.
• Using Colorfast prior to stain will also affect how the stain is absorbed and its final color.
• The color of the stain(s) used, and layered colors (many people like a light color followed by a darker color to highlight textures and grains).
• The type of stain used - oil-based stains will penetrate more and highlight the grain a bit more than a water-based stain.
• The number of coats of stain applied.
• The sheen of topcoats like Cascade (exterior) or Symphony (interior) matter quite a bit, as the light they reflect can change the look of the color.
• Even the lighting and strong colors nearby matter. A blue roof, a large evergreen tree, or a flowering apple tree will all reflect light onto the wood, shifting the appearance of the color of the stain.
So, the color of the stain itself is only one part of the final color. It’s a big part, but by no means the only influence on color.
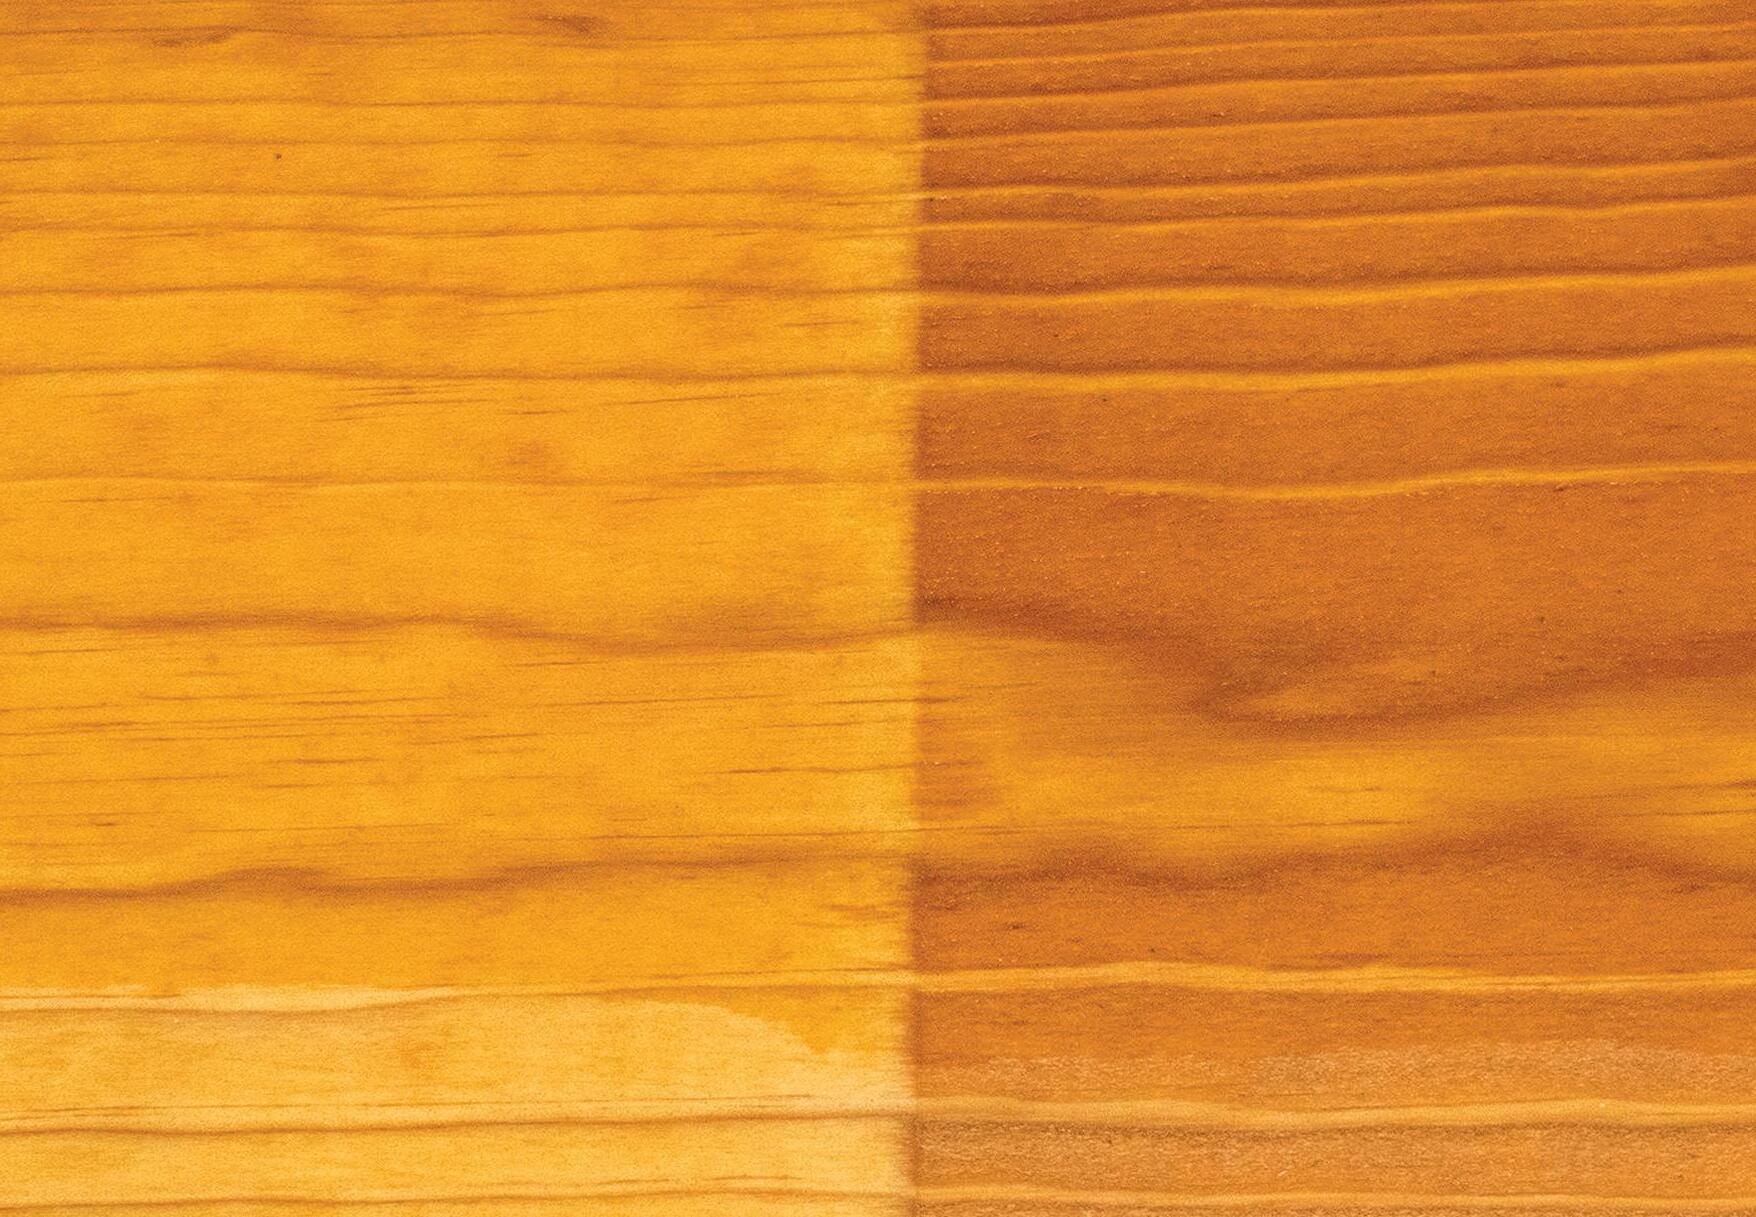
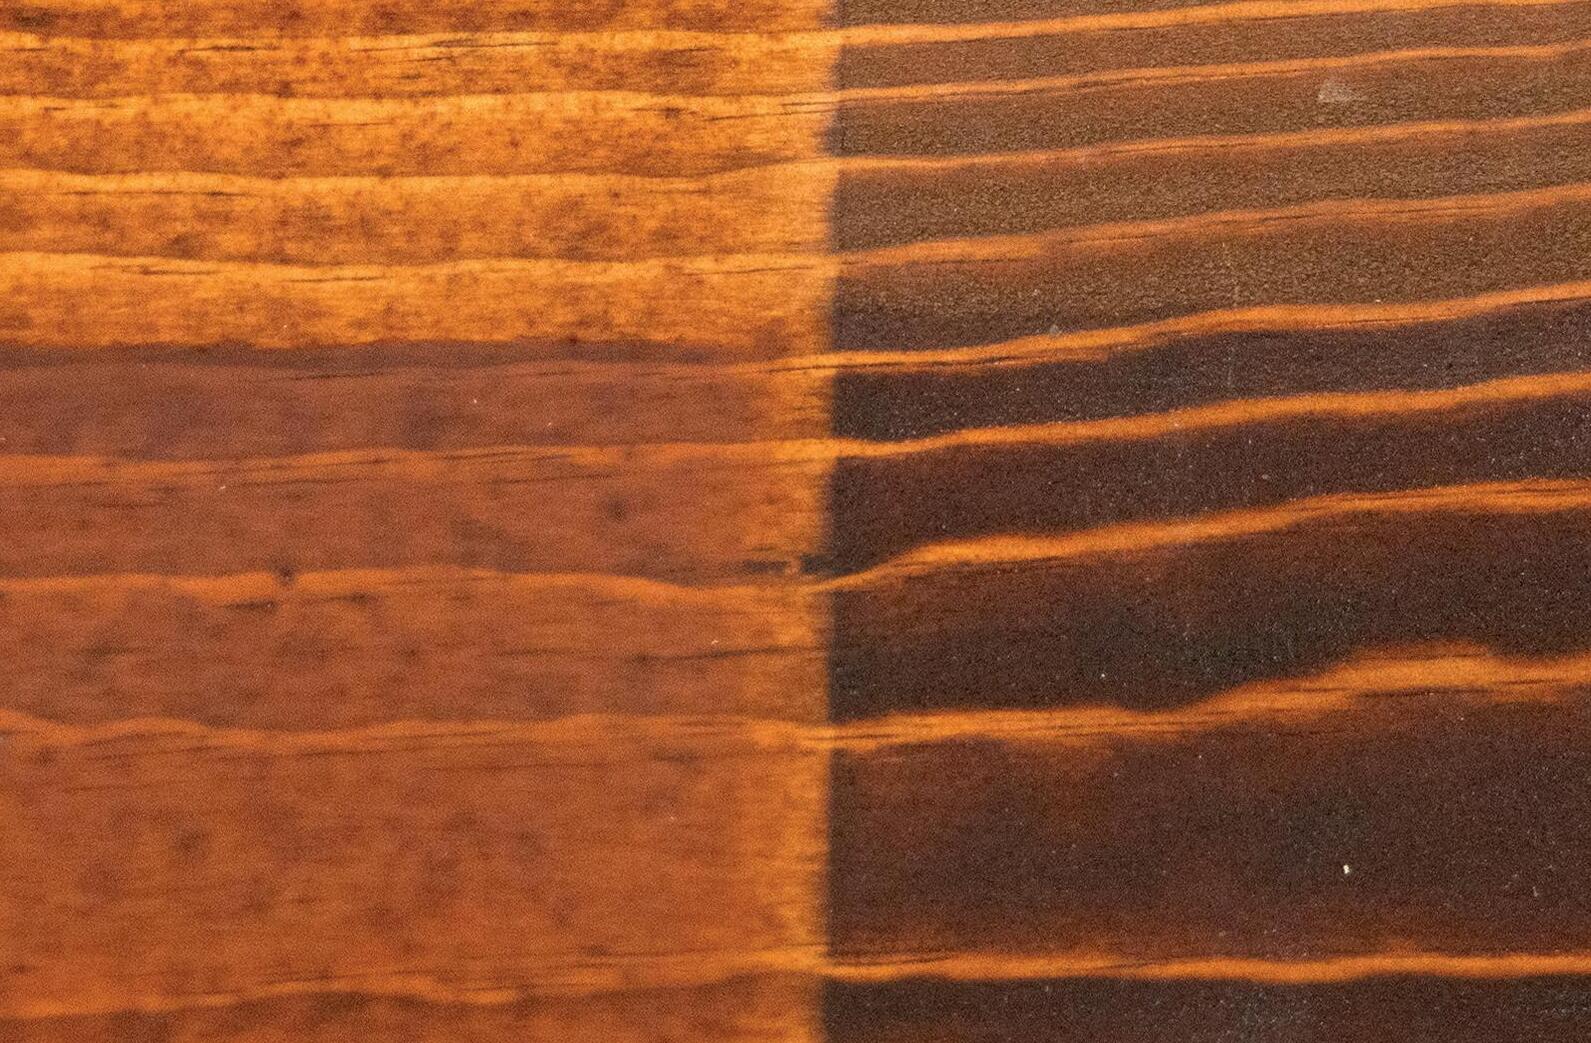
This is why choosing a color off a color card just won’t do. It’s also why sampling the stain
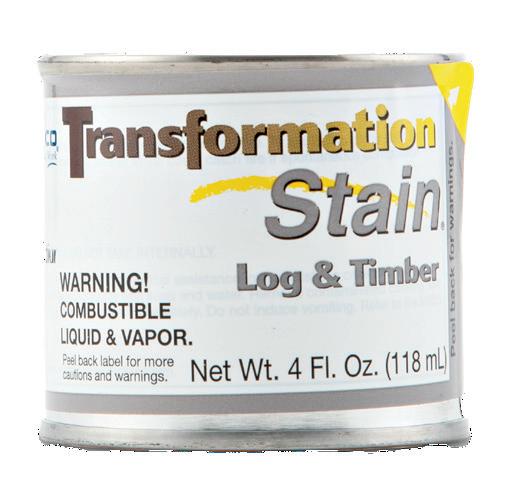
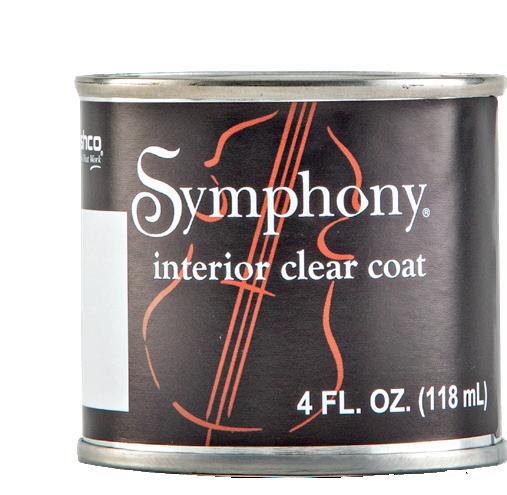
color on a random 2x4 won’t work. Sashco provides free stain samples so you can test colors before choosing. (More on sampling in just a bit.) TRANSFORMATION
TRANSFORMATION

REQUEST A SAMPLE! COLORFAST IS SHIPPED STANDARD WITH ALL STAIN SAMPLE ORDERS.
Contrary to popular belief, there are more than just water-based and oil-based stains. Also contrary to popular opinions, deeper penetration of the stain does not equal better performance and protection. (No, we’re not being needlessly contrarian. Keep reading.) THE
NOT-SO IDEAL APPLICATIONS
All are water-based acrylics
Penetrate 1 wood cell deep –at most
Rely on mechanical adhesion to wood fibers and ability to move to perform well
Adapted from acrylic paint technology
Very durable –withstand UV and water pressure the best
Best brands are very elastic and flexible to move with logs
Easy cleanup
Low odor
Easy to maintain (many with just a clear coat)
Can also be used on fiber cement
Compatible with caulking and chinking
Oxidizing (drying) oils
“Hybrid” oil-in-water emulsion stains
Penetrate 4-5 wood cells deep on a good day
Generally compatible with caulking and chinking (but do your homework first –some will contain non-drying oils, silicones, and waxes!)
Pretty good penetration
Easy to do maintenance coats
Very breathable
More forgiving if wood prep is less than ideal
Oil-based versions:
Can go over most existing stains after proper prep
Beautiful transparency
Easy to apply –require minimal back brushing
Hybrid versions:
Easy water cleanup
Dry quickly
Low odor
Lower VOC
Proper wood prep is critical to long-term durability (these are not as forgiving about poor prep)
Dry quickly, so lap marks can be a challenge
Some versions are very brittle and hard, leading to peeling and flaking
Some brands include silicone or waxes (especially deck stains), which are not compatible with chinking and caulking
Log and wood walls, exterior and interior
Handrails
Decks Fences Shingles
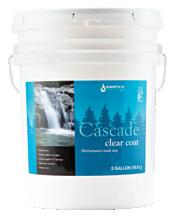
Sashco’s Capture and Cascade System
Permachink®’s Lifeline™ Stains (Ultra, Ultra 2 and Ultra 7)
Weatherall® UV Guard
Structures
NatureOne® Olympic® Premium Acrylic Benjamin Moore® WoodLuxe® (formerly Arbor Coat)
All oils will get brittle and crack with age, leading to peeling and erosion over time (Routine maintenance helps stave this off for a while!)
Urethane-containing versions are not breathable
Solvent and oil smells are strong
More VOC restrictions
Getting more expensive
Lap marks can be a challenge
Decks Fences
Oil-based versions:
Log or wood walls
On surfaces previously stained with another oil-based product
Water-based versions:
Interiors
Shingles
Oil-based versions:
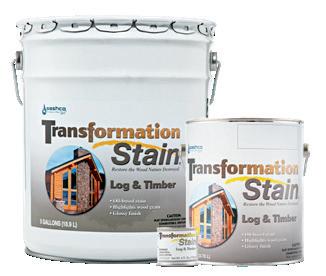
Sashco’s Transformation Log & Timber
PPG ProLuxe™ Log & Siding
Structures
NatureColor
Messmers Timberflex
Non-drying oils: think motor oil and paraffin wax
Sometimes mixed with drying oils
Penetrate thousands of wood cells (3/4” or more) deep
Some claim to “restore” dried out wood
No lap marks or peeling
Very easy to apply and maintain
Not much need to back brush
Hybrid versions:
Sashco’s Transformation Siding & Trim
Sherwin-Williams® Deckscapes® and WoodScapes®
Perma-Chink’s Deck Defense
Perma-Chink’s Log & Timber Defense
Caulking and chinking can’t stick to surfaces stained with these
Can destroy adhesion of existing caulking or chinking if applied over top of them
Poor durability – require reapplication every 1-2 years
Waxes can pick up dirt easily
Color can transfer to hands and clothing easily
Very smelly
Decks
Fences
Shingles
Log or wood walls
Handrails
Thompson’s® WaterSeal®
Outlast® Q8 Log Oil®
TWP® 1500 Series
WOODguard®
Armstrong-Clark
Some Cabot®
Interiors
This guide provides some simple principles for switching stains. For project-specific guidance, reach out to our friendly, trained, and phone-tree-free Customer Service team at 800-767-5656 or orders@sashco.com.
(30-40% of stain is significantly degraded or peeling and/or there’s significant bare or gray wood.)
Remove everything that’s on the surface now via dry blasting and/ or chemical wash (degreaser)
Remove ALL oils and waxes
Remove 80%+ of everything except the stuff that’s still holding tightly
Use Osborn brushes to remove as much of the remaining 20% as possible
Do a quick power wash to clean the surface, leave everything else as-is, and hope for the best
(Spray and pray, y’all!)
(Stain looks faded, but isn’t loose or peeling and there’s minimal bare or gray wood.)
Ideal Land
Remove everything that’s on the surface now via dry blasting and/or chemical wash (degreaser)
Next Best Land
Wash ALL oils and waxes from the surface
Do a light power wash to remove anything degraded Use Osborn® brushes to remove any gray wood
Don’t Go There Land
Do a quick power wash to clean the surface, leave everything else as-is, and hope for the best
(Spray and pray, y’all!)
(Stain looks a bit tired but is still intact. There is no bare or gray wood.)
Ideal Land
Power wash with a degreaser and antimicrobial cleaner to remove surface contaminants, waxes, and oils
Next Best Land
Power wash with a degreaser and antimicrobial cleaner to remove surface contaminants, waxes, and oils
Don’t Go There Land
Stain over whatever is on there with no wash down.
(Once again, spray and pray, y’all! A wash down is important, no matter which route you go.)
Surface Stain to Surface Stain
Drying Oil to Surface Stain
Drying Oil to Drying Oil
If in bad shape, remove as much of the existing stain as possible.
If there are remnants left over (keep it to no more than 20%), not a big deal. Those areas won’t usually interfere with proper performance of the new product.
Those remnants will show through the new stain, so sample to make sure the look is acceptable. Darker colors hide better. Also, these areas will fail first, if failure happens.
If in good shape, try to do maintenance with the existing product. If that product isn’t available, you can apply a coat of the same technology over top, but watch for spot areas of peeling over time. Peeling risk is low, but still present.
If in bad shape, remove as much of the existing stain as possible.
If there are remnants left over (keep it to no more than 20%), not a big deal. Those areas won’t usually interfere with proper performance of the new product.
Those remnants will show through the new stain, so sample to make sure the look is acceptable. Darker colors hide better. Also, these areas will fail first, if failure happens.
If in good shape, it’s not time to switch. It’s time to do maintenance with the existing product.
Remove as much of the existing product as possible. The new product cannot penetrate through remaining stain and may not wet out the surface properly.
Remnants (no more than 20%) are not usually a big deal, as long as the existing product contains no waxes or silicones.
Any remnants will show through the new stain, so sample after prep over the remnants to make sure the look is acceptable. Darker colors hide better.
Flexibility may be an issue. Transformation Log & Timber is flexible. Others are not. This could lead to small areas of peeling, so be on the look out.
If in good shape, try to do maintenance with the existing product. If that product isn’t available, you can apply a coat of the same technology over top, but watch for spot areas of peeling over time. Peeling risk is low, but still present.
Non-Drying Oil to Surface Stain
Surface Stain to Hybrid Stain


Surface Stain to Drying Oil Stain


Surface Stain or Drying Oil Stain to Non-Drying Oil


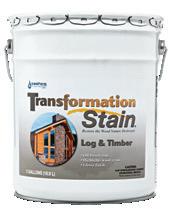
Don’t do it. Switch only to a shallow-penetrating oil like Transformation Log & Timber.
If you MUST switch (VOC laws or personal health require it), removing all existing stain via blasting and a degreaser + power wash is critical. (You’ll get major peeling otherwise.)
Apply Colorfast to help mitigate some of those oils coming to the surface again. Not a guarantee, but helps lower the risk of peeling significantly.
If in bad shape, remove as much of the existing stain as possible. If there are remnants left over (keep it to no more than 20%), not a big deal. Those areas won’t usually interfere with proper performance of the new product.
Those remnants will show through the new stain, so sample to make sure the look is acceptable.
If in good shape, it’s not time to switch. It’s time to do maintenance with the existing product.
Removing all of the existing stain is critical. The oil-based product cannot penetrate through remaining water-based stain and may not wet out the surface properly.
Make sure the oil-based product is compatible with any sealants already on the home. You don’t want the new stain interfering with that bond.
If in good shape, it’s not time to switch. It’s time to do maintenance with the existing product. If you can’t find the same product, stay with the same technology – a water-based product – to reduce peeling risks.
Removing all of the existing stain is critical. The oil-based product cannot penetrate through remaining water-based stain and may not wet out the surface properly.
Make sure the oil-based product is compatible with any sealants already on the home. You don’t want the new stain interfering with that bond. Since that’s virtually impossible with a non-drying oil…
Sashco recommends avoiding non-drying oils on log homes. Risk of caulking and chinking failure is high, so we’d recommend just skipping this switch altogether.
One final word: Switching stains without going to bare wood always comes with some risk. So do a proper risk assessment up front by testing everything – prep and new product – prior to taking the whole-home leap with a switch. In most cases, it’ll be successful. And again, if in doubt, call us. We’re happy to talk options and risks for your particular circumstances.
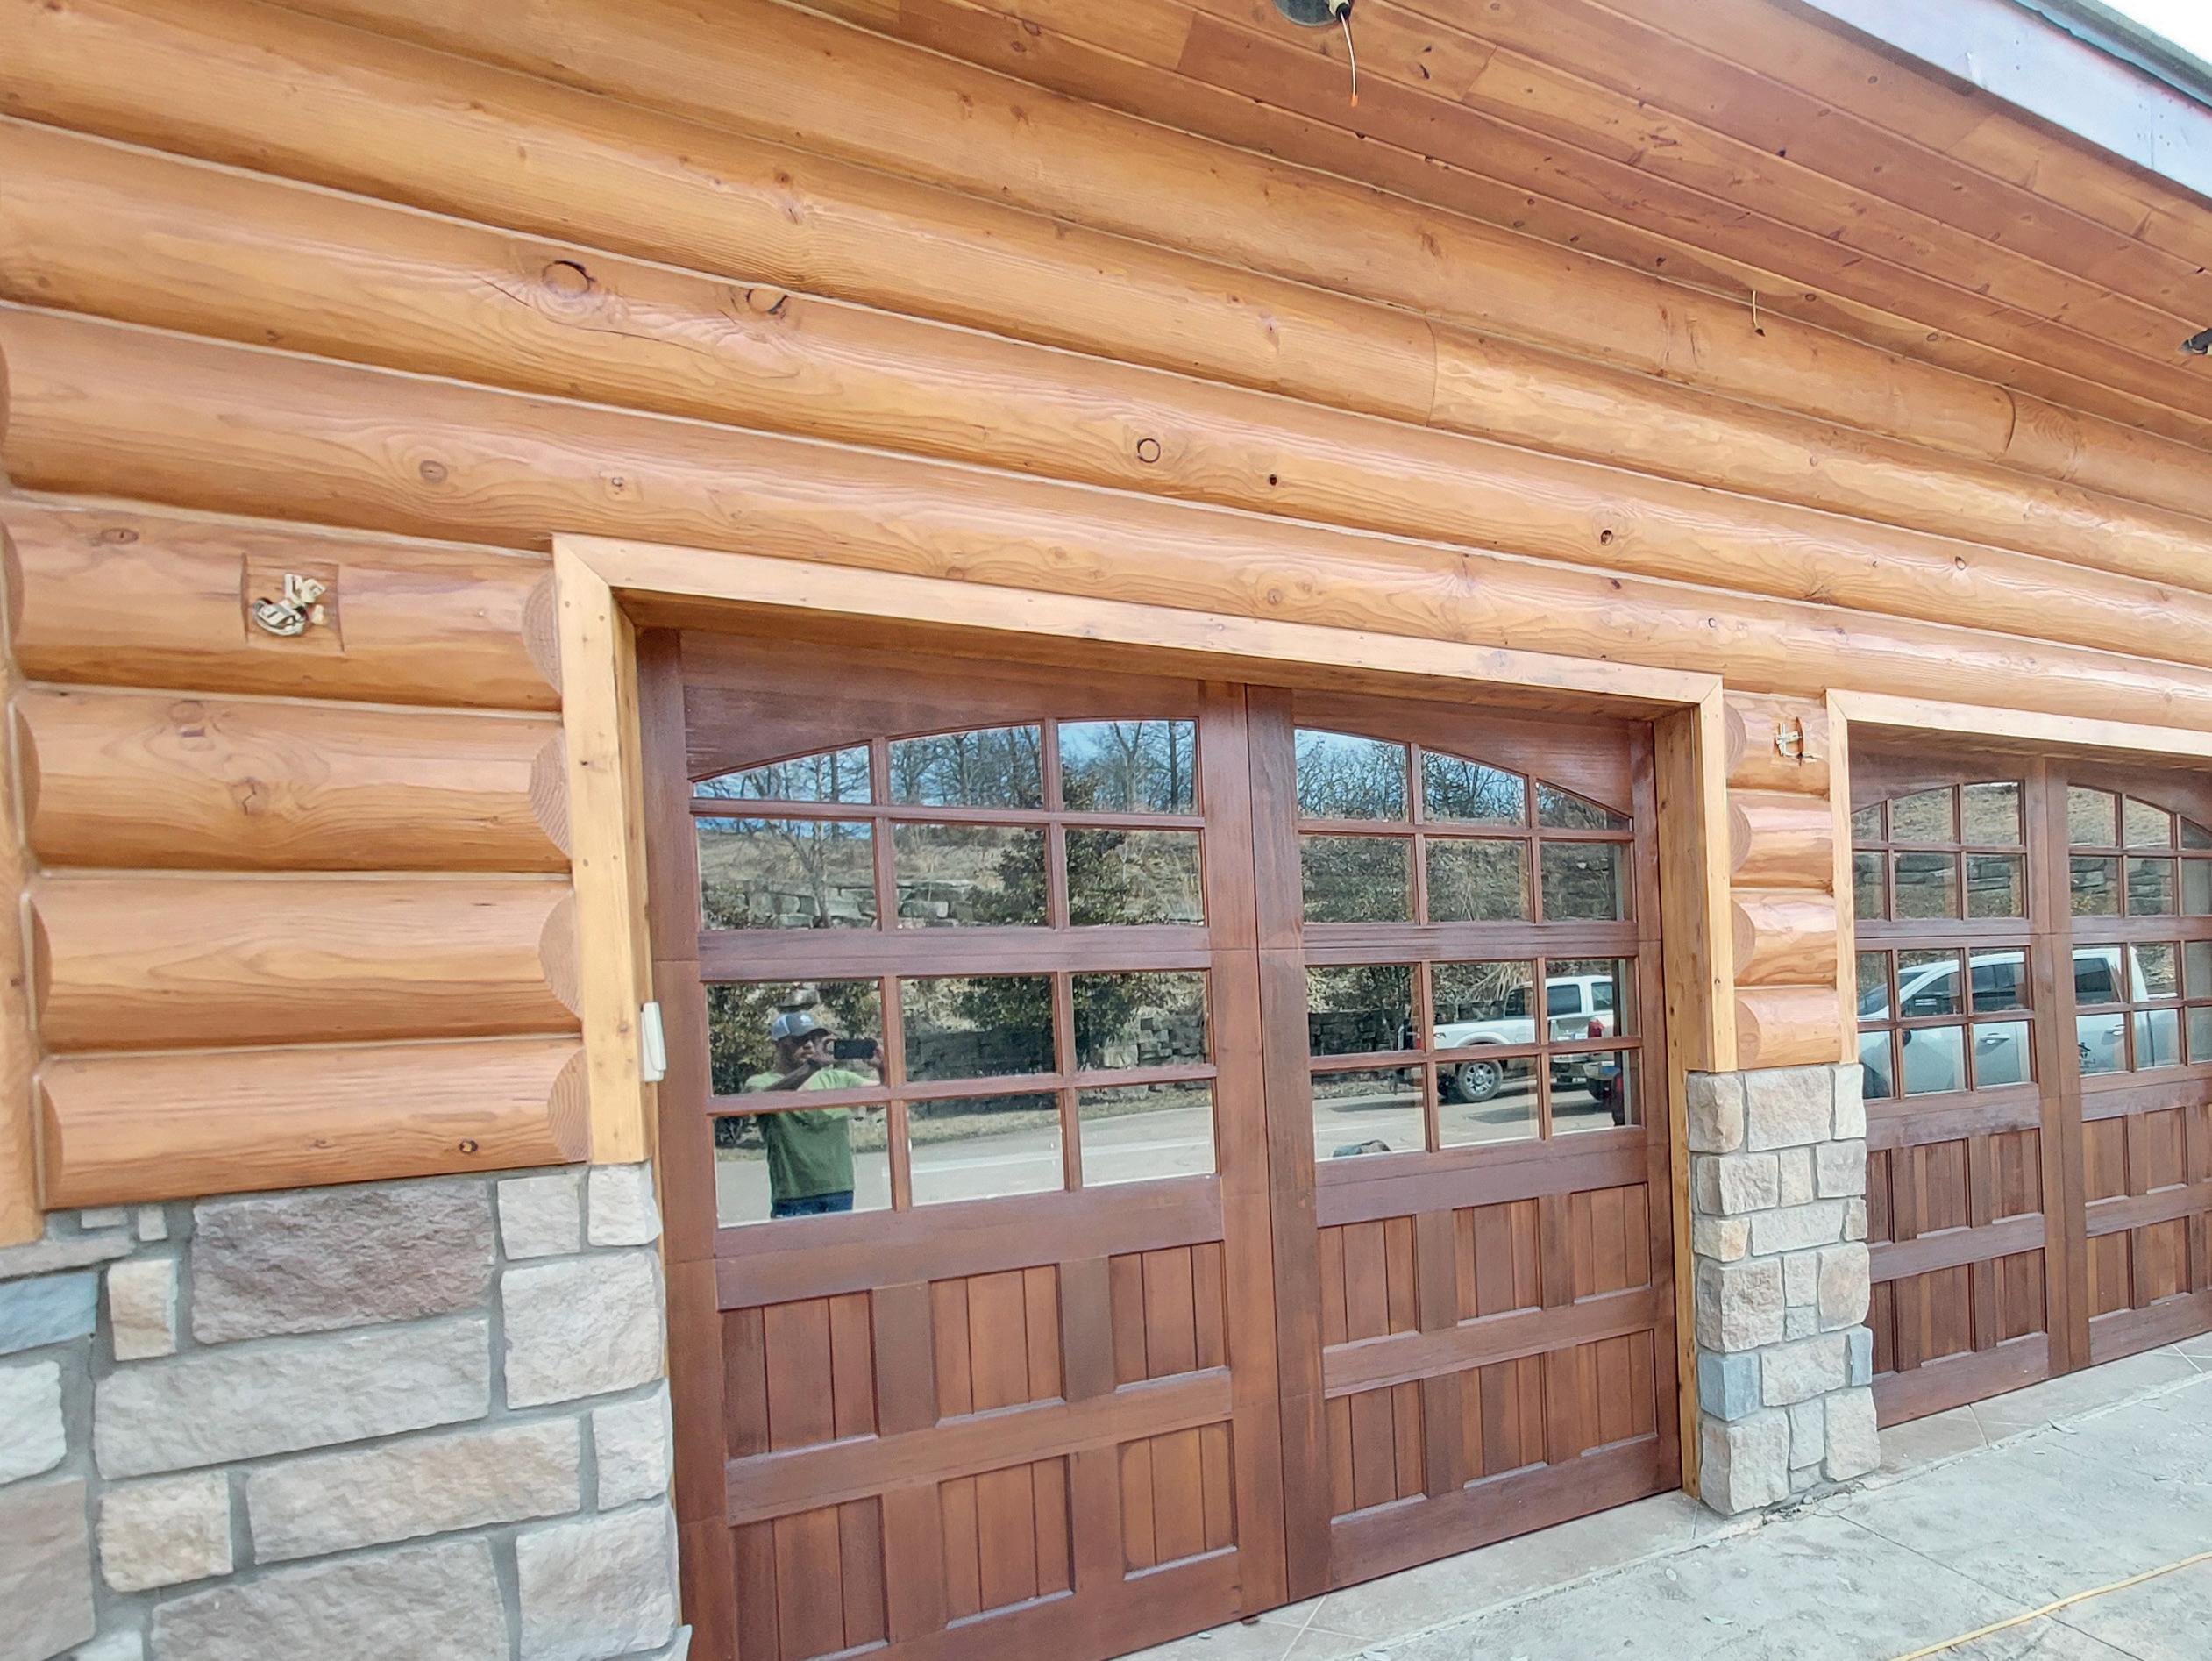
Color is a sensitive issue! It’s important to request samples and do a proper sample test to ensure you get the color you have dreamed of.
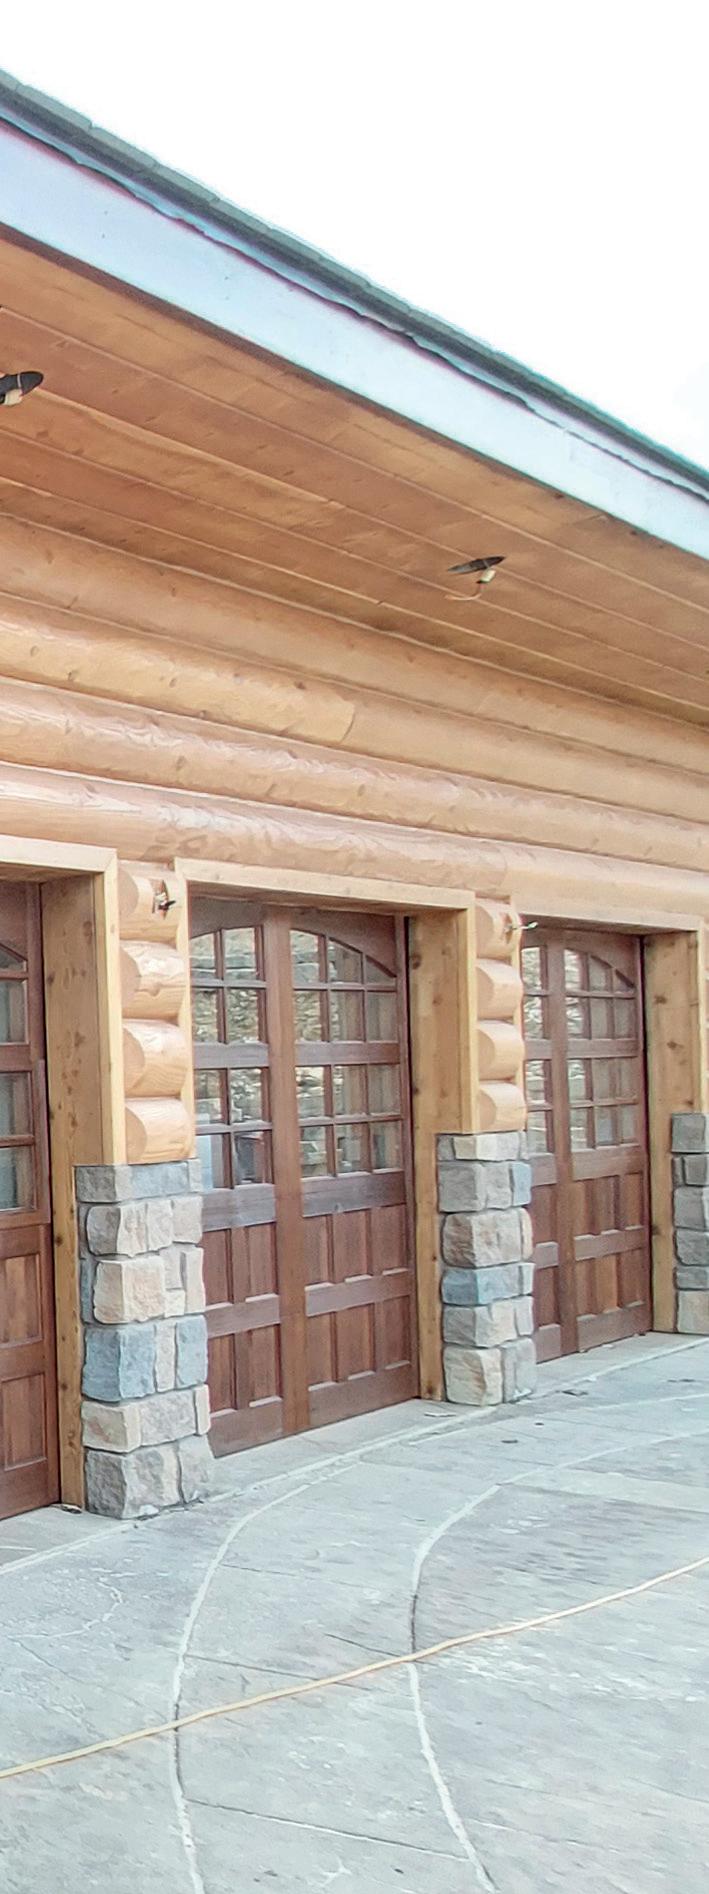
Log Masters - Missouri: Capture Natural (Walls / Soffit), Capture Chestnut (Doors), Cascade Semi-Gloss, Conceal Brown Tone
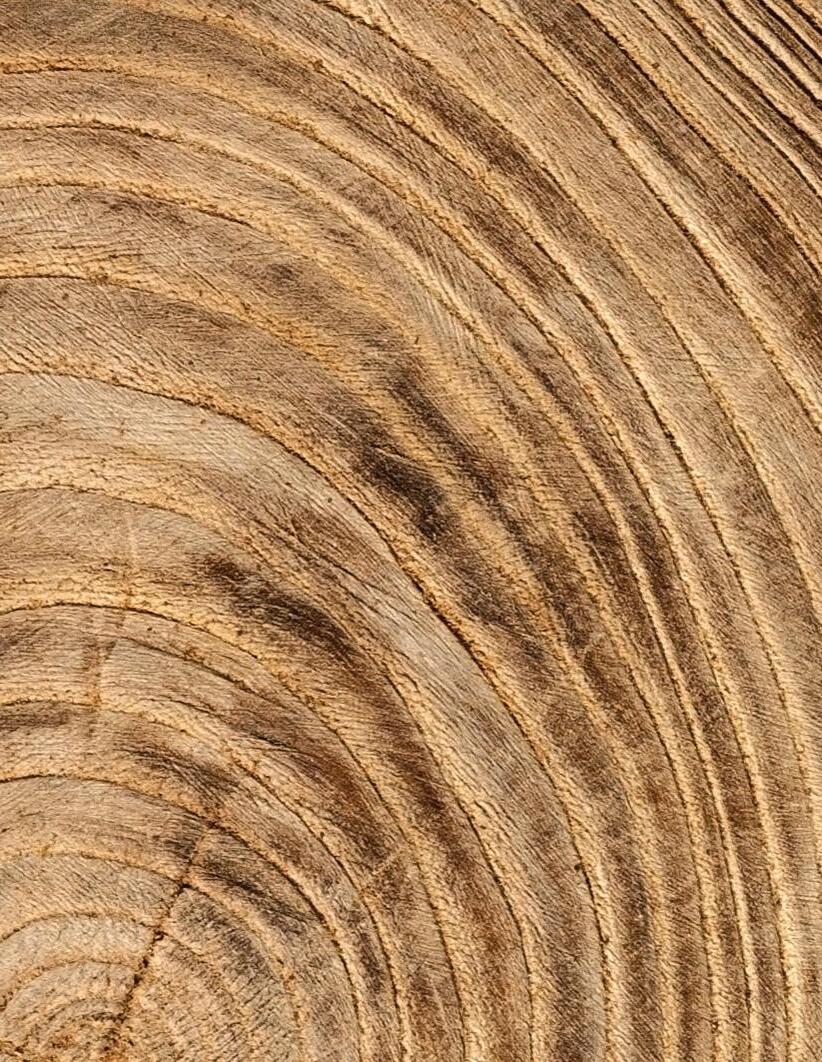
Sashco recommends that you stay away from clear stains. Why? In sun-drenched areas where only a clear stain is used, the wood’s natural color will begin to darken after only a few months. While you’re not alone in wanting to keep as natural a look as possible, clear coatings that promise to preserve the “just built” look are misleading. It’s impossible to load enough UV absorbers in any clear stain to sufficiently protect your wood. And even though the stain may still be repelling water, dark yellow and gray discoloration of the wood is a sure sign that the UV absorbers have lost their effectiveness.
We recommend you stick with high quality, UV absorbing stains loaded with pigments –which are where you get the majority of your UV protection– and follow these testing procedures to make sure you get it right before you start:
– Read the stain manufacturer’s application instructions.
– Apply the stain sample to your home (not just a scrap of wood that is lying around) to be certain that you get the color you want. Due to the extreme transparency of most wood stains, the color of the stain will be influenced by the color of the underlying wood.
– Prep the color testing area using the same method that you will use on the entire home. (For example, if you plan on media blasting, media blast that section. If power washing, power wash that section.)
– Apply the sample using the same application method you plan to use on the entire home. (If directions say to spray apply the stain, be sure to spray apply the sample stain.)
– Allow the sample to dry at least 24 hours for full color development.
– If working with a contractor, don’t allow the contractor to stain until you have thoroughly discussed and demonstrated the look you want. Show him/her the sample.
– Don’t stain the entire home before you verify that you’re achieving the look you want. It is best if you can be on site when staining starts.
For more details, watch the how-to videos at https://www. sashco.com/how-to-applylog-home-stain-samples/

Now that you’ve chosen that perfect color of stain, it’s time to make sure the wood is ready to be stained. Before you can dive into applying the stain, it’s best to understand the criteria for any long-lasting finish job. Below are the five prerequisites every wood home owner should know as they start the staining process:
Don’t take short cuts here. Absolutely bare, clean wood is essential for effective stain application and adhesion. These common items will make wood unclean:
– Mill glaze
– Dirt
– Mold/Mildew
– Pollen
– Bird droppings
– Grease
– Oil
– Wax
– Peeling finishes (old stains, paints, clear coats, etc.)
– And many others!
All of these things must be removed prior to applying any finishing products. Refer to the “Prep Time” section for details on how to get your wood clean.
Your wood should be in the best possible condition prior to staining. Research, reported by the USDA Forest Products Laboratory and other investigators around the world, has conclusively shown that bare wood exposed to sunlight for as little as 1 week can suffer enough damage to the surface wood cells to significantly reduce the adhesion of paints and stains leading to premature failure. And your wood is exposed to lot more than sun!
So what are the main causes of unsound wood?
Sun, moisture, wind, and insects all contribute to the creation of unsound wood (loose wood fibers). You’ll see your wood go from its bare, light color to an amber yellow (or yellow undertone), to a gray. All weathered wood must be removed prior to applying finishing products to give those products the best adhesion to the wood and greatest longevity.
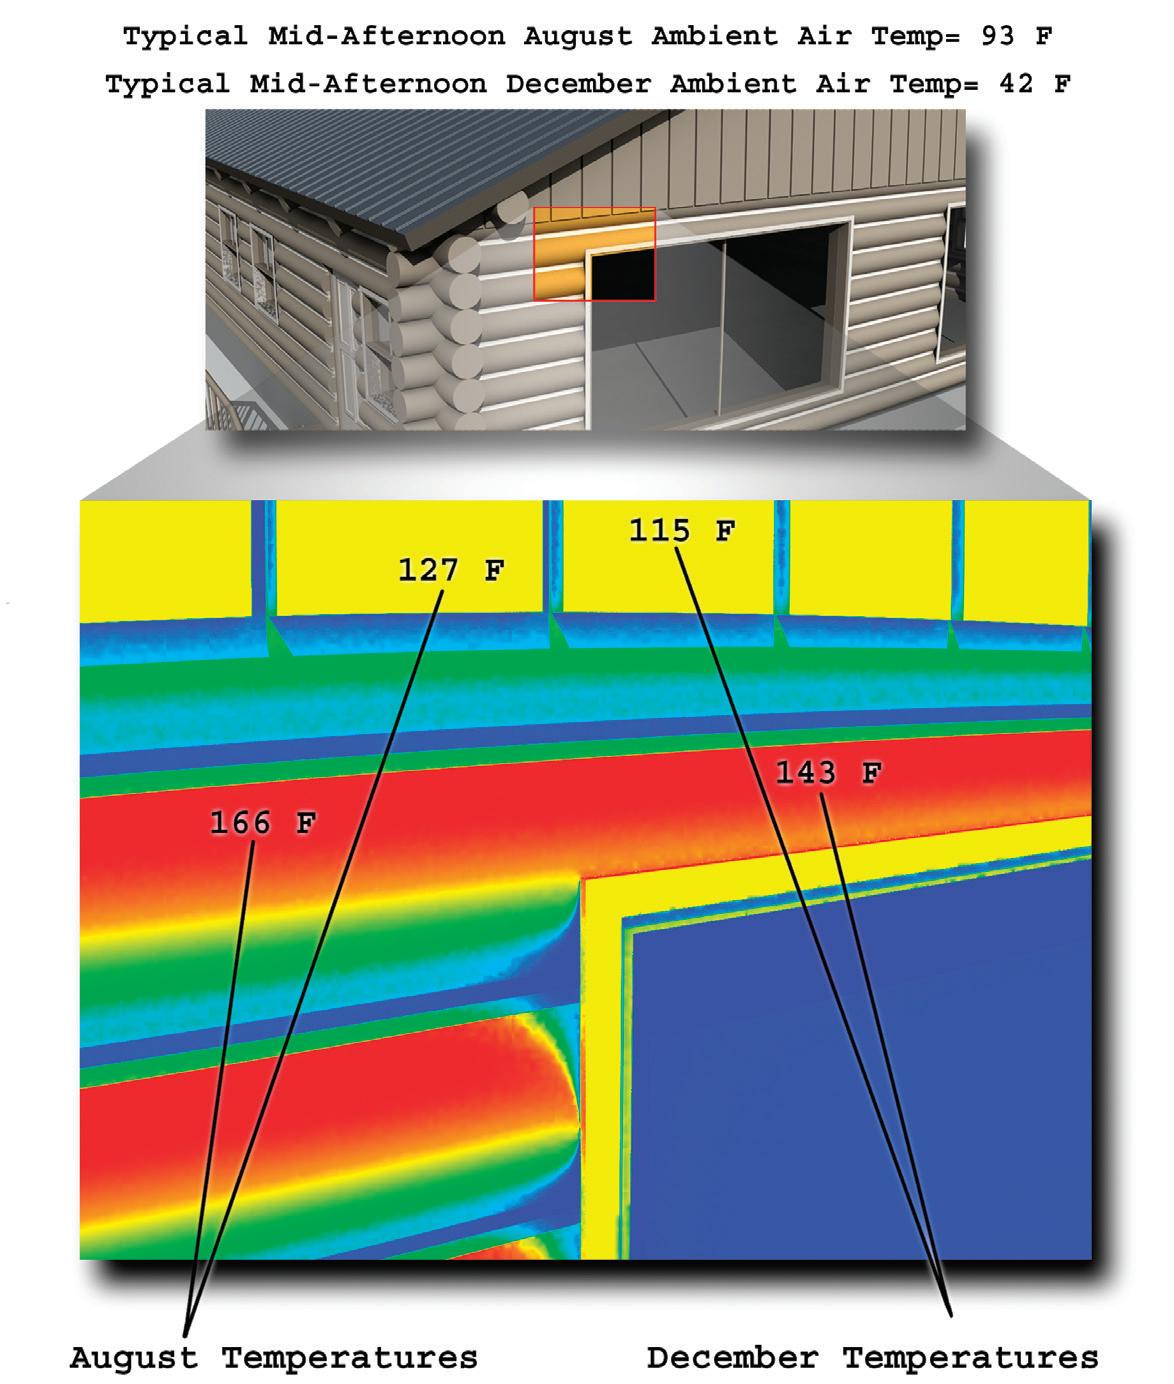
All wood can be damaged by UV rays, but the upper curvature of round logs receives more intense exposure from the sun. This intense light attacks the wood and anything on it (including your stain) with high-energy, ultraviolet radiation and drastically heats the surface of the logs, even on cold winter days. Radical temperature fluctuations like those described in the graphic below cause the logs to contract and expand at a significant and constant rate, stressing and eventually breaking down the wood fibers.
Severe rotting or insect infestations can occur to the point that the structural integrity of the home is affected. Rot must be removed and the cause remedied. Wood or log replacement or re-facing may be necessary. However, most homes just need a face-lift. Insect infestations must be eliminated and the wood inspected for structural integrity before moving forward with finishing.
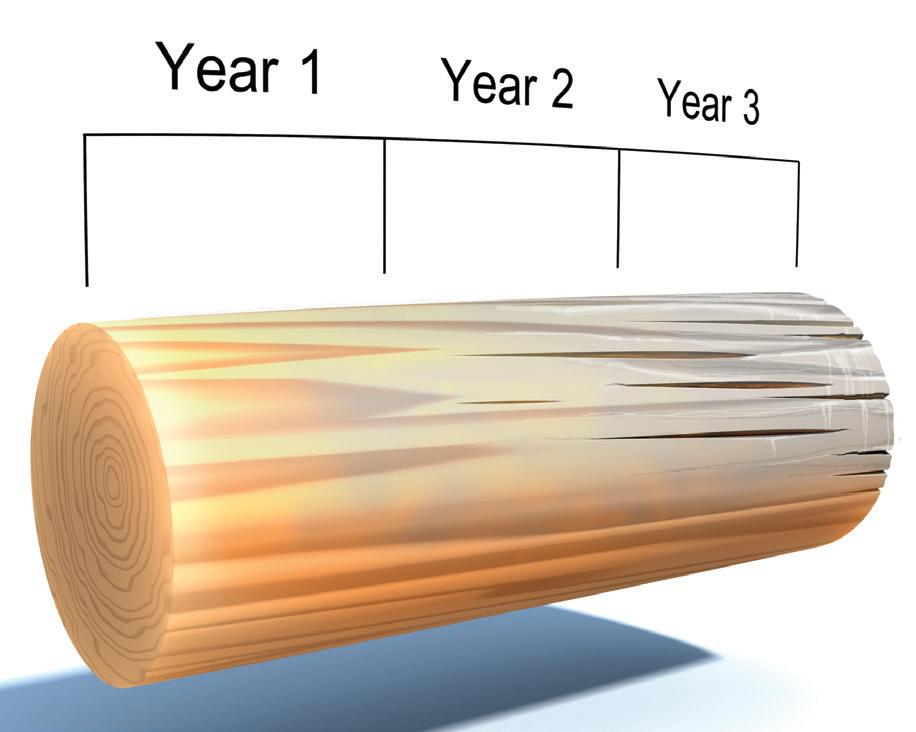

The aging process of wood.
Take a look at the log surface temperatures compared to the ambient air temperature. Notice that vertical siding receives sunlight at angles less than 90°, reflecting much of the energy away. Not on logs! Sunlight has the chance to strike portions of the upper curvature head-on, full force, at a 90° angle. In fact, some logs may exceed 170°F in the summer!
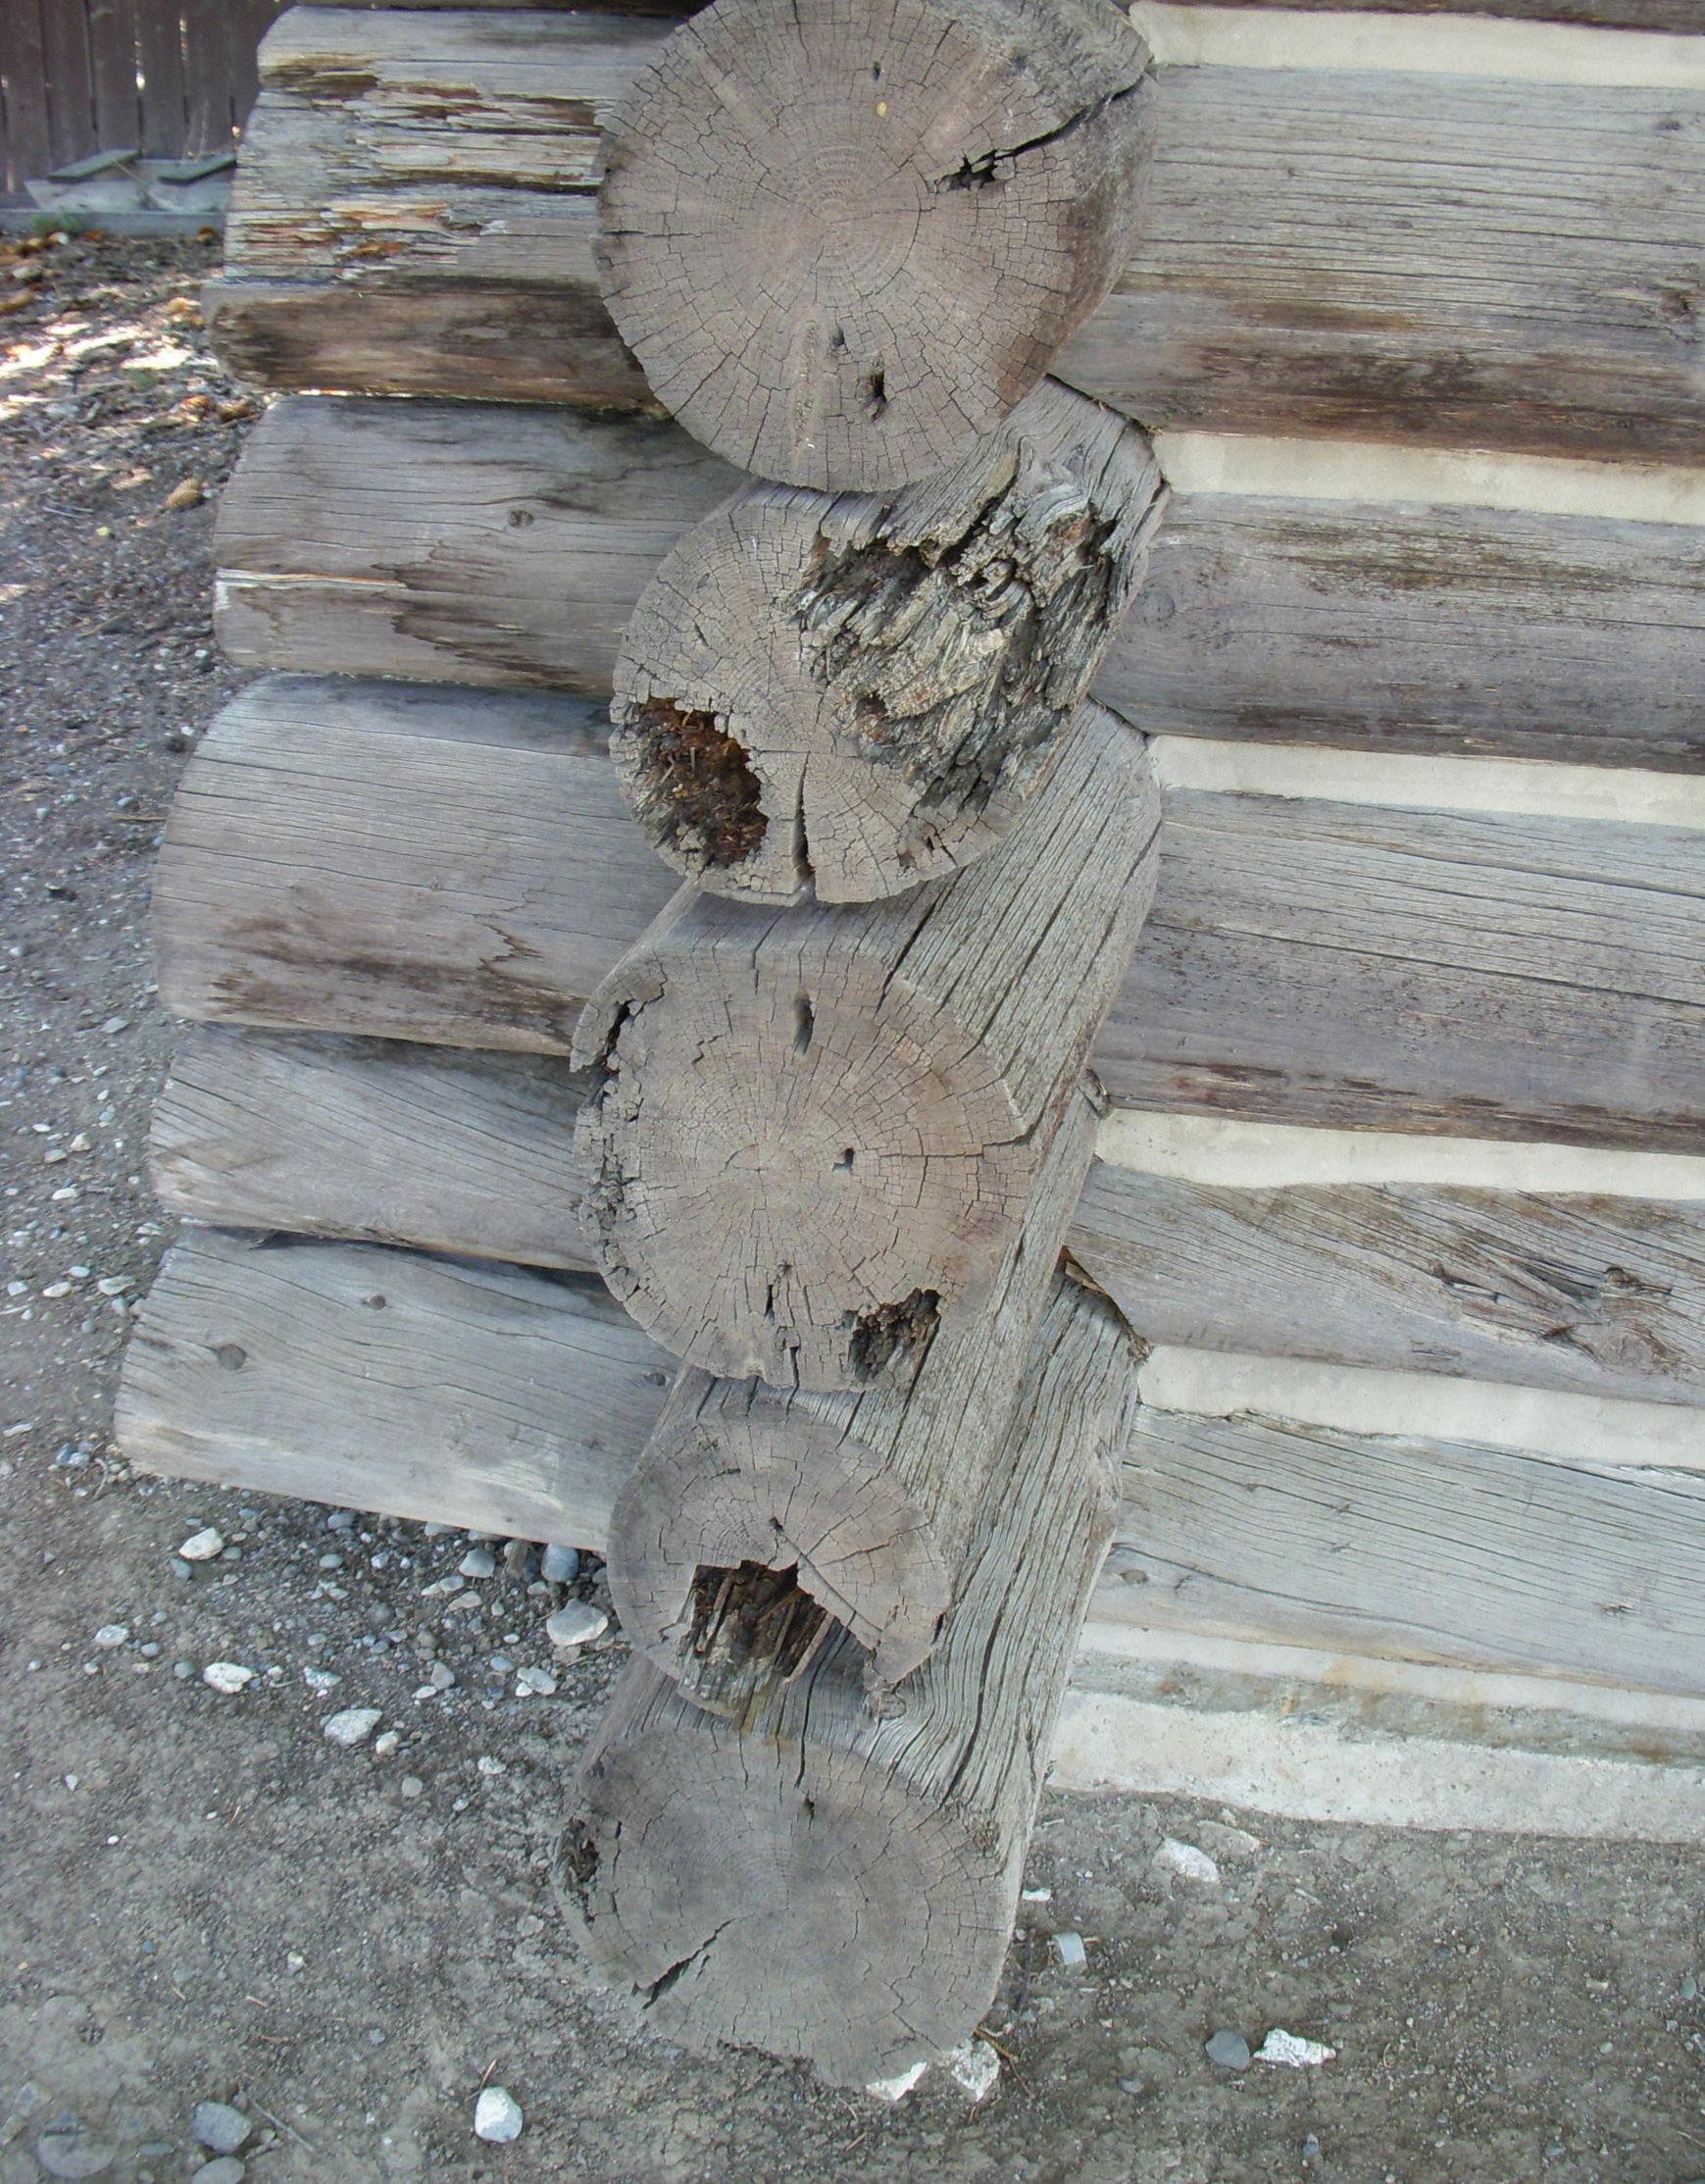
Many older wood homes have an old stain, paint, or clear coat on them and most homeowners don’t know what brand or type of stain it is. Unless that old paint or stain is in good shape, it’s best to completely remove it. Removing it exposes the sound wood underneath. The new stain adheres much better to the sound wood and you get greater longevity out of the stain. (In some instances a new stain can be used over the old. Contact Sashco to discuss your particular circumstances.)
All weathered, UV damaged, and rotted wood should be removed, along with any old stains and paints, to provide you with the optimal surface for future stain adhesion and performance. The “Prep Time” section discusses in-depth how to do this.

typical infrared surface thermometer
Your wood and the air temperature should not be extremely hot or cold at the time of application. This is typically between 40° and 90°F. If wood is too hot, the stain may dry before proper penetration has occurred. On the other hand, cold wood can cause products to freeze and prevent proper penetration. Avoid applying stain
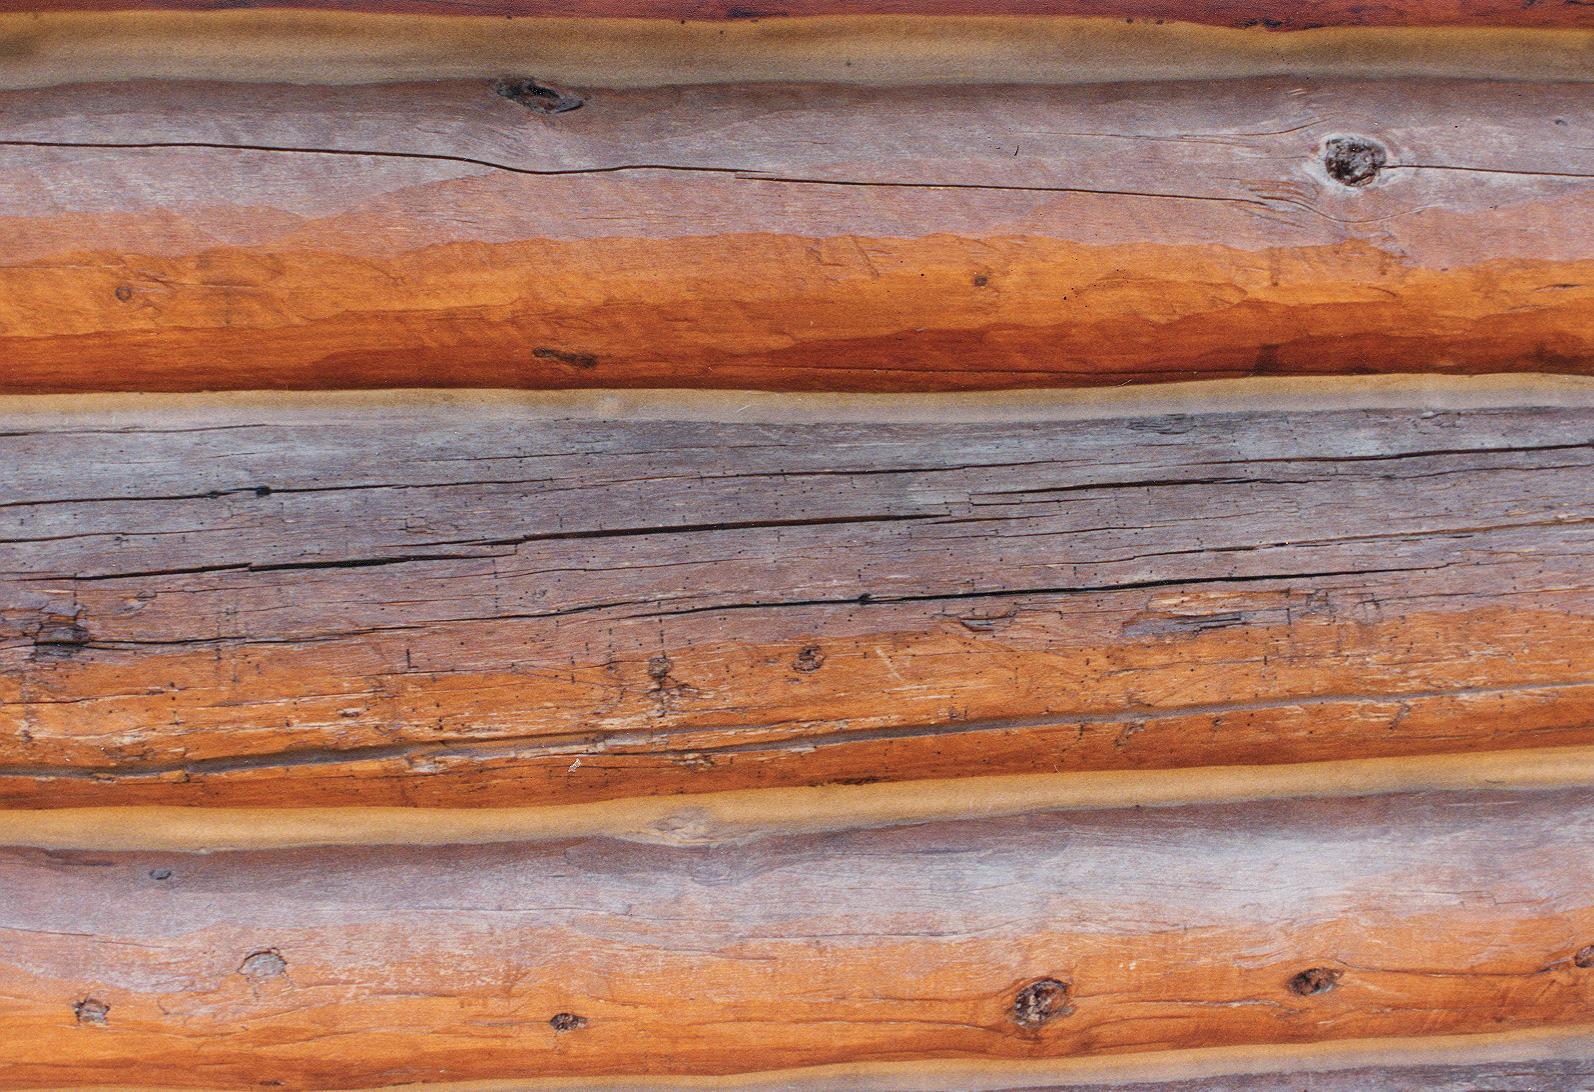
Deteriorated coatings like this need to be removed before restaining.
or sealants in direct sunlight. Use a surface thermometer to make sure the temperature is within the recommendations made by the product manufacturer.
Wood must be dried to a surface moisture content of 19% or less, and the drier the better. Use a wood moisture meter to avoid guessing! Too much moisture can cause a number of issues, such as:
– Peeling and flaking. As the excess moisture is vaporized and tries to escape the wood, it will stress the stain, leading to peeling and flaking.
– Poor adhesion. Any finishing product applied to a moisture-laden surface will have a hard time getting good adhesion from the get go, obviously affecting protection.
– Mold, mildew, and rot. All of these moisture-induced problems can be expensive to fix and will reoccur if their causes are not determined and remedied.
Keep in mind that wood, especially logs, is loaded with unavoidable cracks and holes–all of which permit moisture to penetrate the wood. The checks and cracks that occur on the upper curvature of logs collect water, which seeps into adjacent wood. The sun then heats up this moisture and it tries to escape. If it can’t easily escape, it will force its way out, leading to problems. In addition, water trapped in a check can freeze and expand, causing the crack or check to expand even more and expose more wood, a virtual open house invitation to wood-destroying fungi and insects.
Simply put, the more textured an exterior wood surface, the longer the stain will last. This is especially true on the upper curvature of logs. The texture allows the wood to take on much more stain. This, in turn, provides greater overall protection. Media blasting is the preferred preparation method to achieve this textured surface.
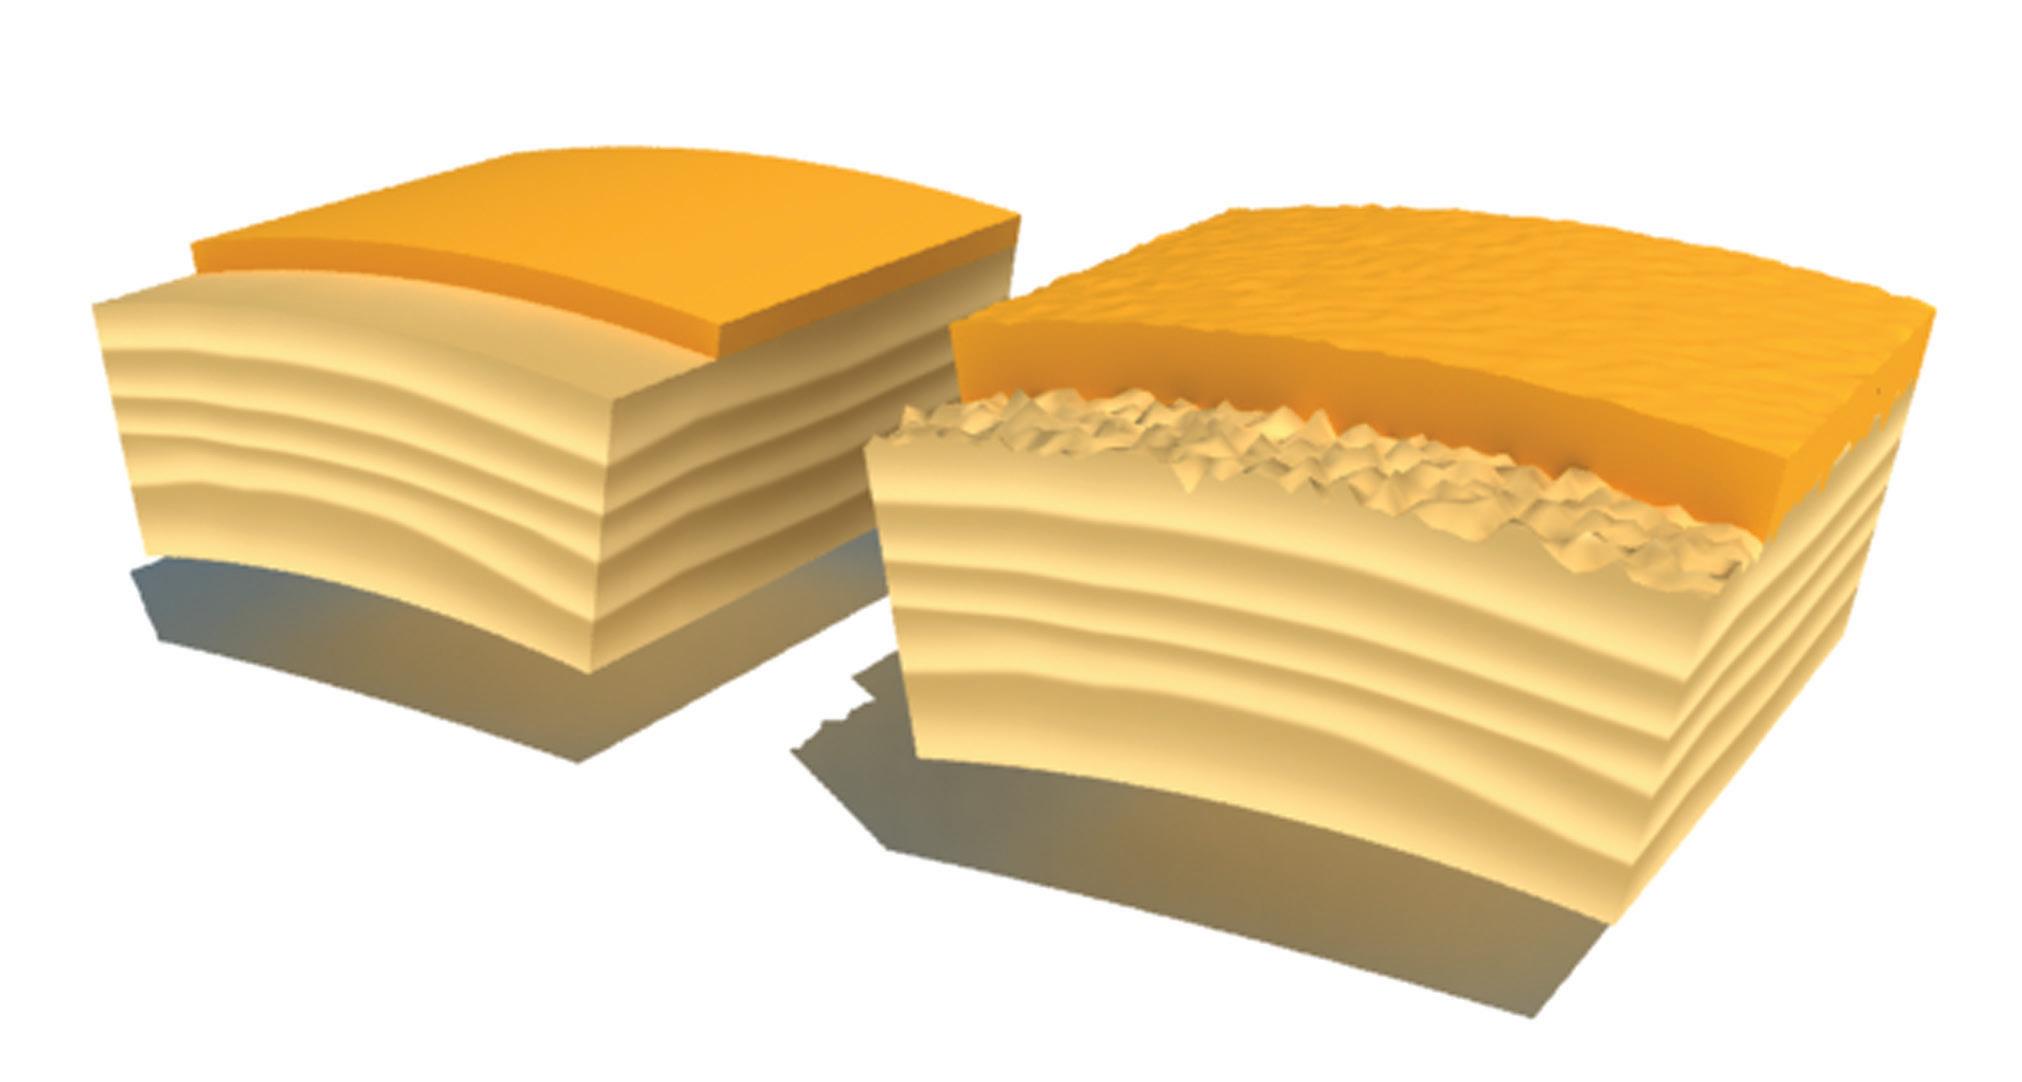
Smooth Wood vs. Textured Wood – stain will adhere much better to the textured wood on the right, improving performance and longevity.
The walls are in place and the roof is installed (for new construction), and you now know the prerequisites for a good staining job. It’s time to prepare your wood for staining.
We hate to sound like a broken record, but substrate preparation is the most critical step in achieving stain longevity. Properly preparing the wood from the get-go will save you both time and money down the road.
Before you apply any type of stain to logs or wood, the surface must be clean and free of any dust, debris, unsound surface wood, cambium, bark and mill glaze. Most wood surfaces are coated with “mill glaze” — the hard, smooth film that forms on the surface of wood when leftover tree resins and sugars react to the mechanical and heat energy from the milling process. Because this layer of glaze can’t be penetrated by stains, it must be removed to ensure good stain penetration and adhesion. The best overall cleaning methods are as follows:
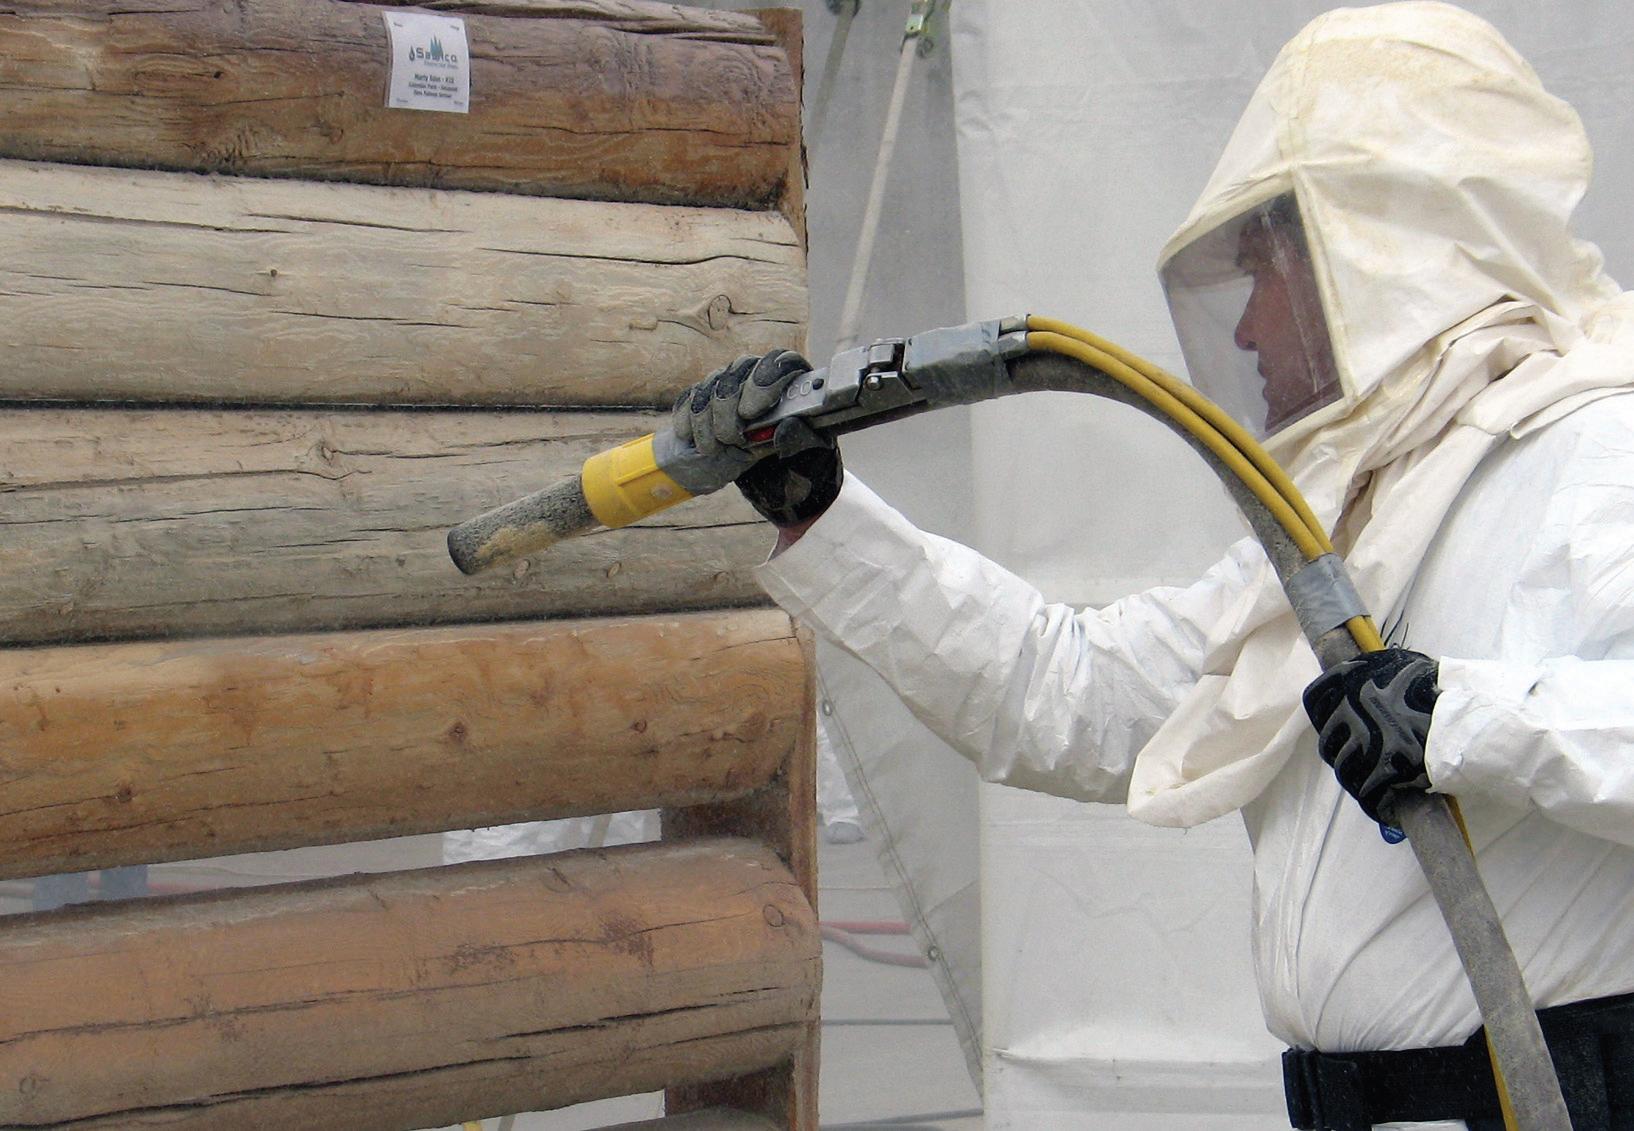
Media blasting, usually with crushed glass or walnut shell media. Crushed glass is especially good at removing stubborn stains, either fresh or old, and tends to leave less “felting” (wood fuzz), reducing and possibly eliminating the amount of secondary prep that may be necessary. This method also leaves the most desirable wood color.
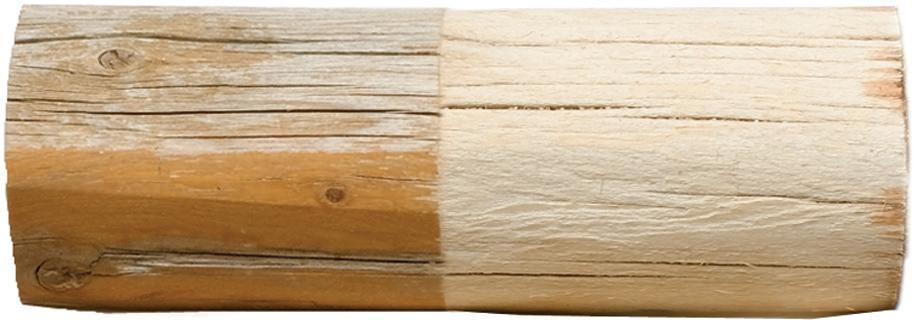
Power washing with secondary prep. Power washing, when done properly, allowed to thoroughly dry, and followed by good secondary prep (sanding, Osborn brushes, buffy pads, etc.) can produce a good result. Ask us for more details on proper power washing.
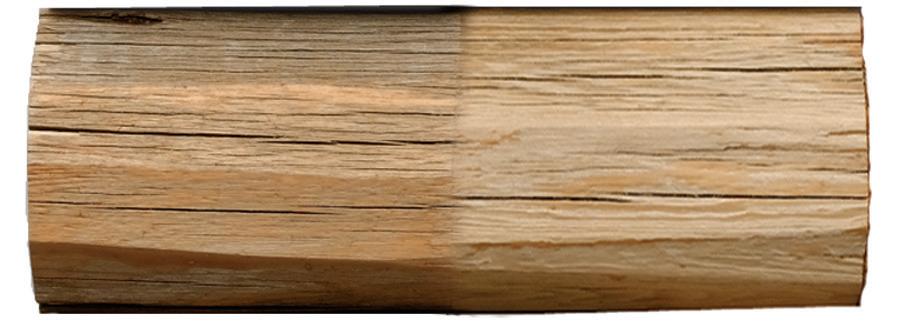
Hand sanding. The best tools for this are Osborn brushes or a 60- to 80-grit sand paper. This method doesn’t always leave the ideal wood texture for exterior finishing – the wood can be too smooth, which can impede stain adhesion – but is better than chemical cleaning, as it is dry prep. It is a great method to use for interior staining where a rough texture is not necessary and the smoother texture it leaves makes interior cleaning easier.
Power washing with chemicals, followed by secondary prep. It’s always best to avoid chemicals, if possible, as they can be hard to neutralize and can later affect stain adhesion if not completely removed from the wood. That said, chemicals are sometimes needed to remove old, stubborn stains and/or to remove discoloration from tannins, age and UV damage. Always start with the least harsh chemical cleaner and move on to something more potent only if necessary. It is also important to test your selected chemical cleaner, no matter which one it is, on the target wood. This is because it is not always possible to predict what color effects may occur!
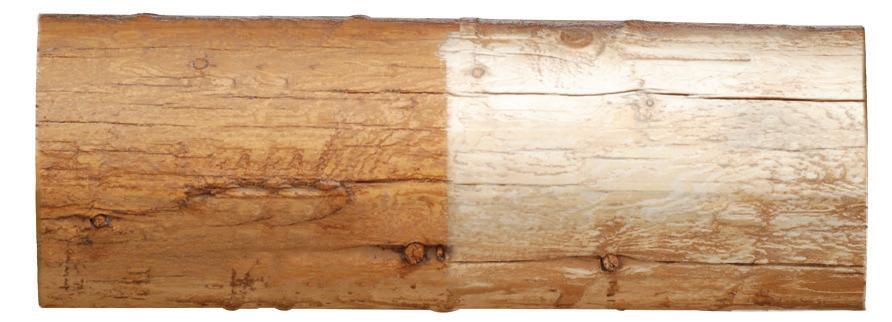
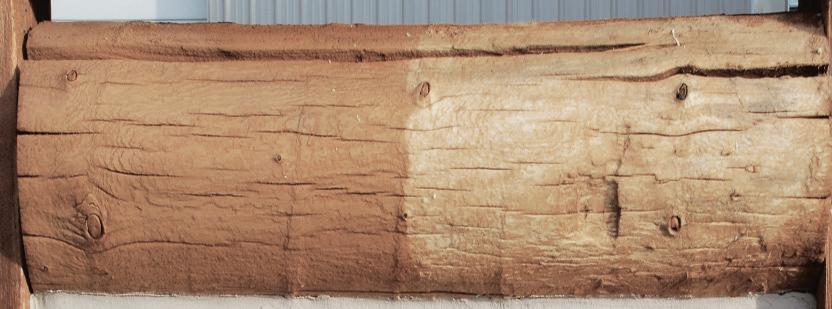
Chemical cleaners are often necessary in the prep process, as well as for routine maintenance. Below is a chart on the most prevalent types of cleaners, along with their pros and cons.
Great for both prep and maintenance cleaning and brightening, but is still gentle.
Kills mold, mildew, and algae
Cleans off common surface contaminants like pollen, bird poo, dust, etc.
Easy to mix and apply
Won’t damage existing stains
Environmentally friendly
Disassociates into hydrogen peroxide, soda ash and water – won’t continue to damage wood
Gentle on skin and clothing
Will discolor high-tannin woods like Redwood, some Douglas Fir, and some Cedars
More expensive than other cleaners
If not thoroughly rinsed, can hurt plants
Good for prep cleaning, especially to remove tannin stains
Removes tannin stains very well
Cleans off common surface contaminants like pollen, bird poo, dust, etc.
Won’t discolor high-tannin woods like redwood, Douglas fir, or cedar
Great at removing rust stains
Does not kill mildew
Toxic to plants and animals
Must be thoroughly rinsed or neutralized to avoid negative effects on other products used afterwards
Harsh on skin and clothing – handle carefully!
BRAND EXAMPLES
Sashco’s CPR
OxiClean™
Perma-Chink’s Wood ReNew
Behr Premium® All-in-One Wood Cleaner
Perma-Chink OXcon™
Cabot Wood Brightener
WOCA Exterior Deep Cleaner
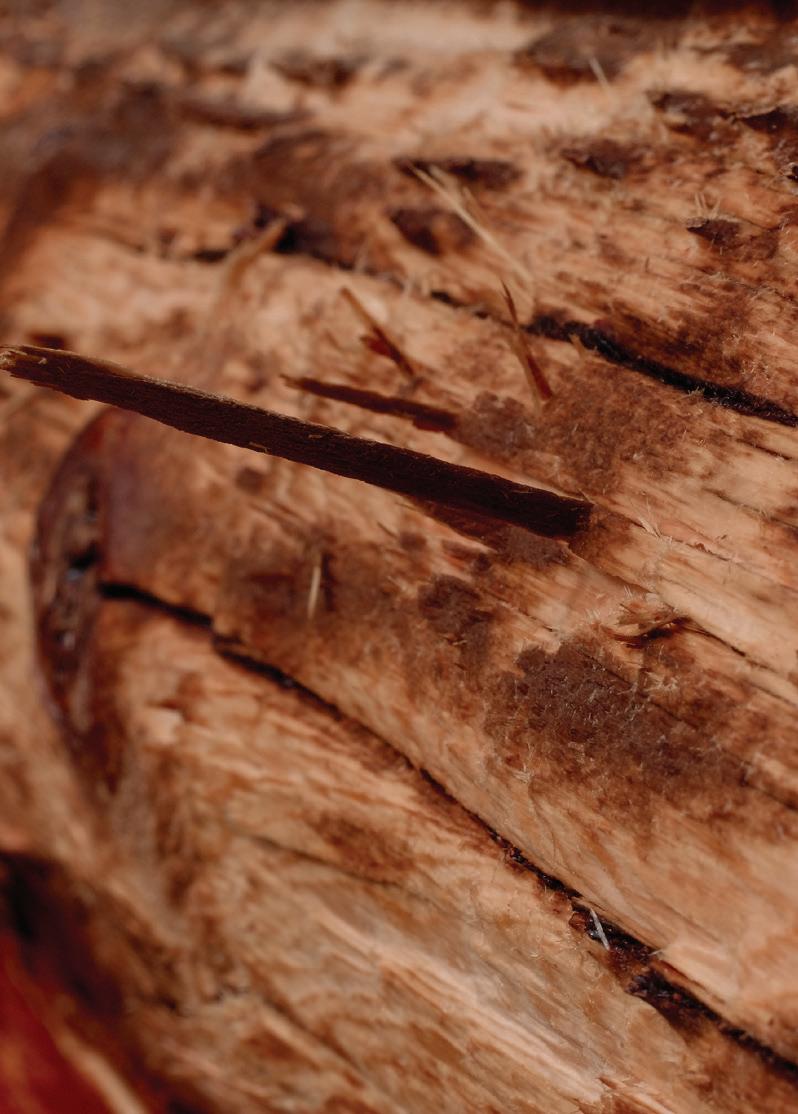
for maintenance cleaning and fairly gentle
Kills mold and mildew
Cleans off common surface contaminants like pollen, bird poo, dust, etc.
Easy to mix and apply
Won’t damage existing stains
Won’t discolor most wood
Don’t forget this step! When properly done, most blasting methods are going to create at least some “felting” – wood fuzz – that should be removed prior to applying any finishing products. All of that wood fuzz will eventually fall off. If there’s stain that was applied to that wood fuzz, it will simply fall off with the fuzz, leaving a mottled look and leaving those areas
Kills mold, mildew, and algae
Readily available
Toxic to plants and animals
Must be thoroughly rinsed to avoid negative effects on other products used afterwards
Harsh on skin
exposed to the elements. In addition, sometimes blasting can raise the grain a bit too much and make the wood more coarse than most like it. While the coarse texture is good for stain adhesion, it makes for a rougher look and darker stain, both of which are not always aesthetically pleasing.
The best tools to use to remove this felting and make the texture a bit smoother are Osborn brushes or Sashco’s Buffy Pad system, both of which attach to a variable speed grinder. Of course, random orbital sanders with 60- or 80-grit sandpaper will work, but will be more time consuming and don’t always do as good a job.
Perma-Chink Log Wash™
Lumberjack Log Cleaner
Will continue to damage wood fibers, even when thoroughly rinsed
Can damage existing coatings
Must be fresh to be effective
Discolors high-tannin woods like redwood, cedar, and Douglas fir
Kills plants
Not animal safe
Very corrosive to metals
Just don’t use it on wood!

Applying some type of wood preservative to your home is like taking out an inexpensive insurance policy. These preservative products are mostly borate-based and are designed to protect your wood from rot and wood-ingesting insects. Adding this affordable step at the beginning can save you many headaches down the road, including the time and money it costs to replace damaged wood. Keep in mind that borates must be applied to bare wood only. They need to penetrate into the wood, then be coated over, in order to be effective.
There are two main types of preservatives available: powder borates that are mixed with water and borates that are pre-mixed with glycol, then diluted with water and applied. Both penetrate the wood to create a “shell” of protection, but those that are mixed with glycol are more expensive, more toxic, and require more time (days or weeks) to dry. As that’s the case, borate powders are the better choice.
Applying powder borates is easy! Simply mix with water according to
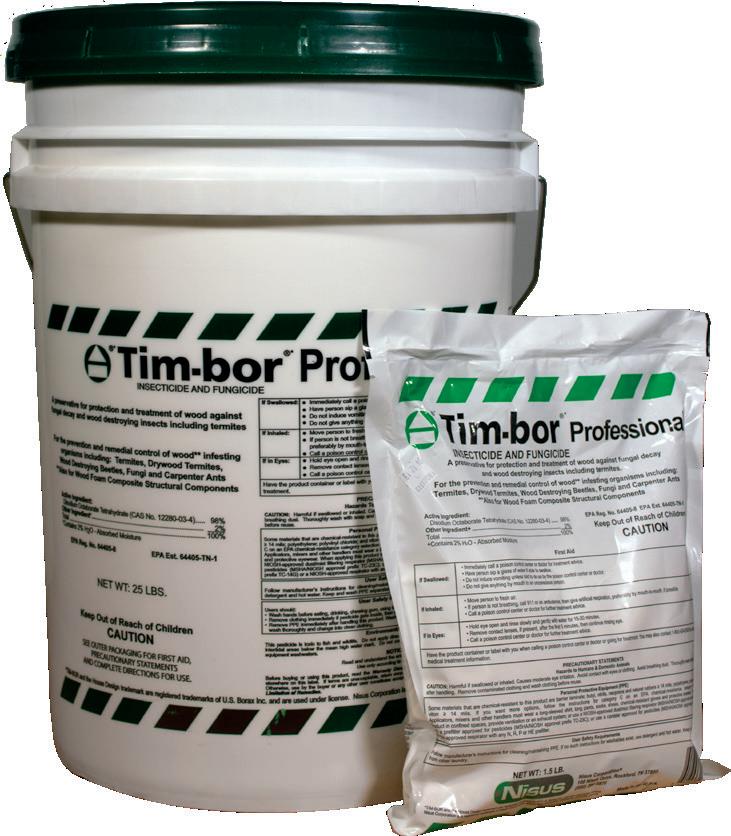
directions and spray on with a pump-up garden sprayer.
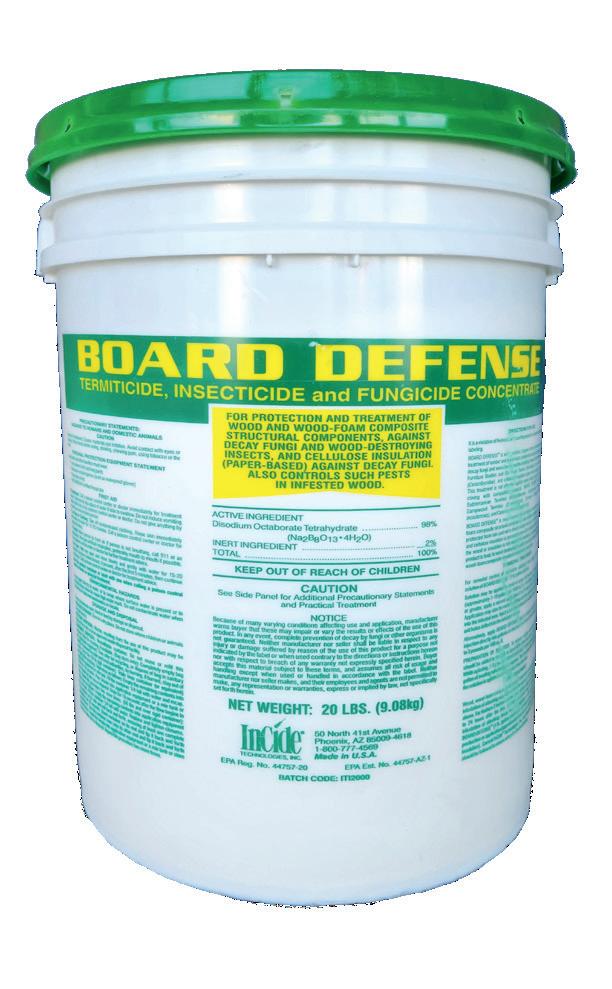
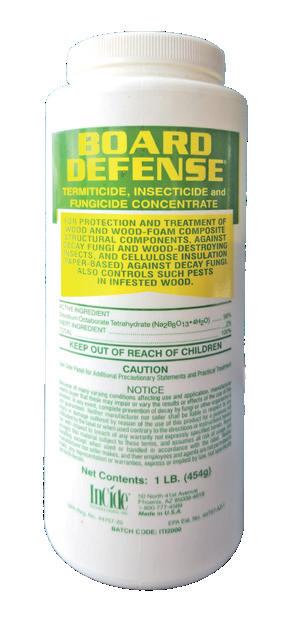
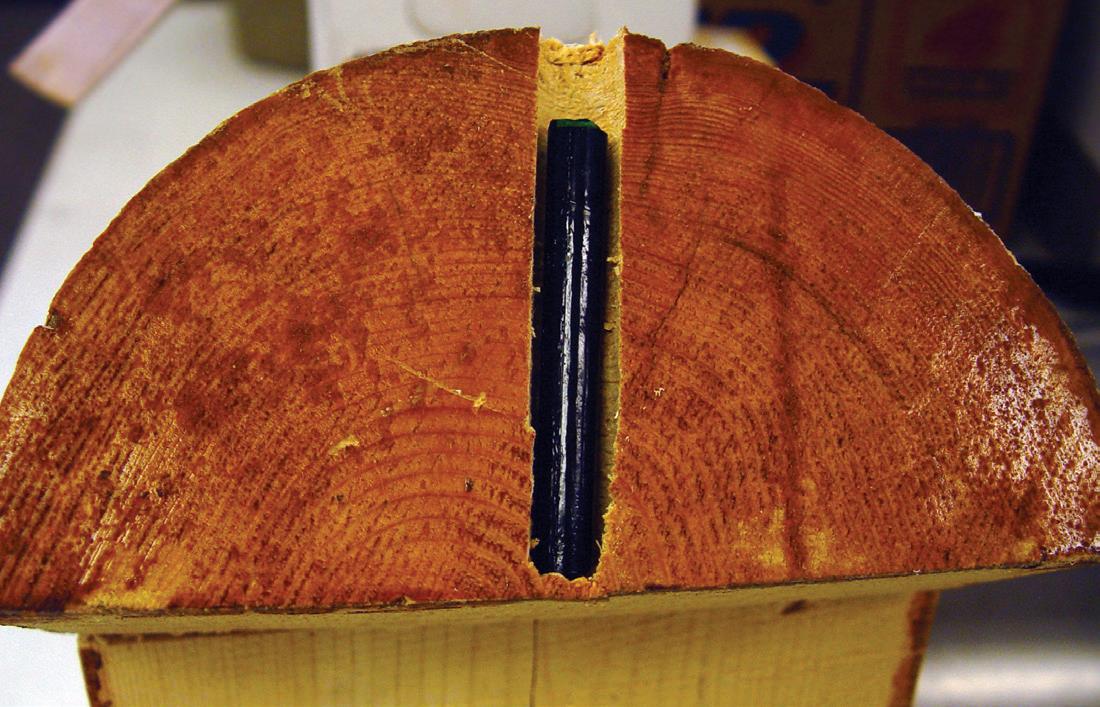
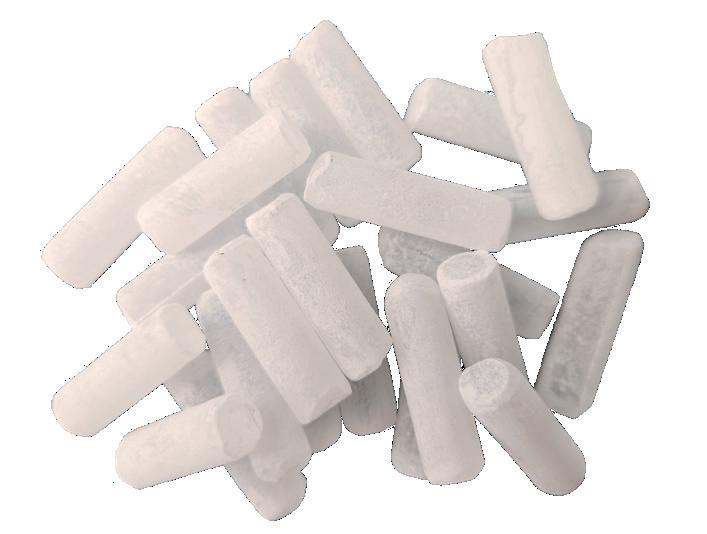
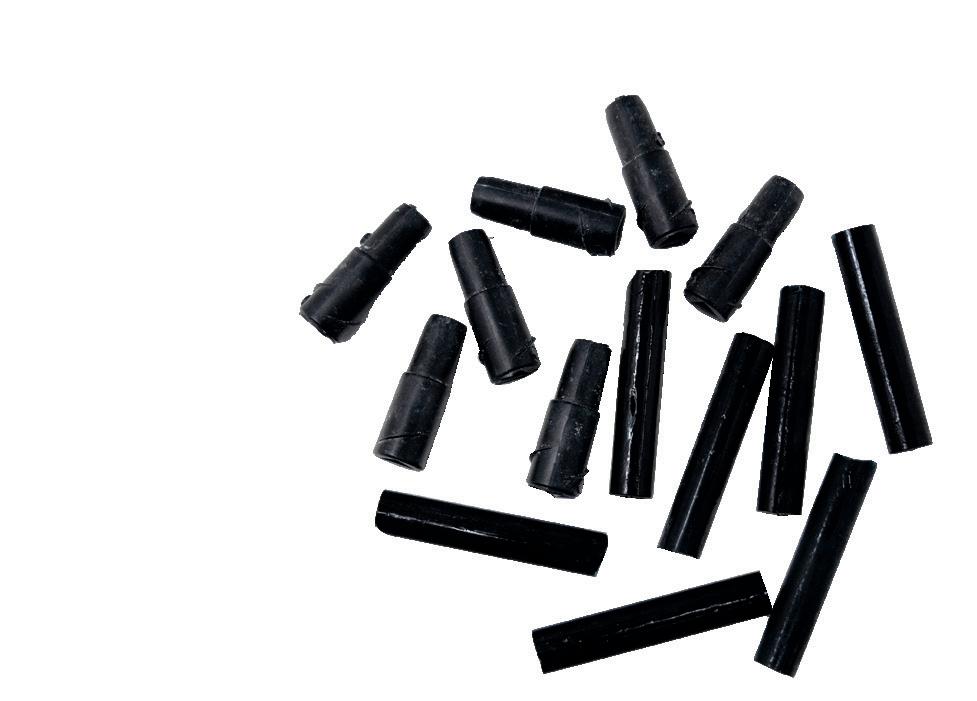
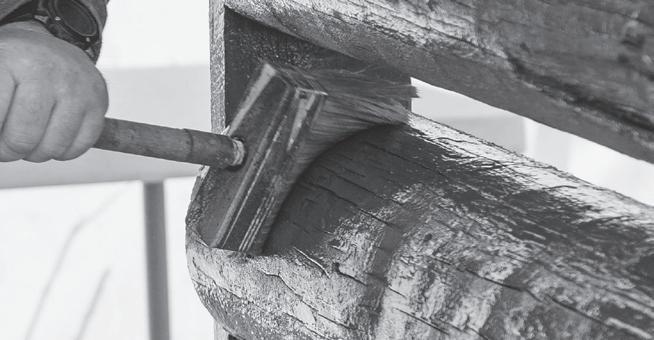
Borate-based rods, such as Cobra Rods, Bor8 Rods, or Impel Rods, are available in a variety of sizes to fit any application. These rods are ideal for placement in areas of wood homes that are at higher risk for decay, such as: base wood courses, corner construction, exposed purlins, rafters or overhangs, exposed log railings, and below windows, doors, or dormers—especially when regularly subjected to high volumes of water. They are very easy to install: simply drill a hole, install the rod, and seal with caulking. As always, be sure to follow the manufacturer’s recommended placement instructions.
It’s finally time to stain! If you’ve followed all the steps for proper preparation, you’re ready to stain. Follow these simple application rules for beautiful results.
Every stain manufacturer prints the optimum application temperatures and weather conditions for their products on their literature. It is wise to follow their instructions carefully.
Stains should not be applied at extreme temperatures (hot or cold), as previously discussed in “Warm Wood”.
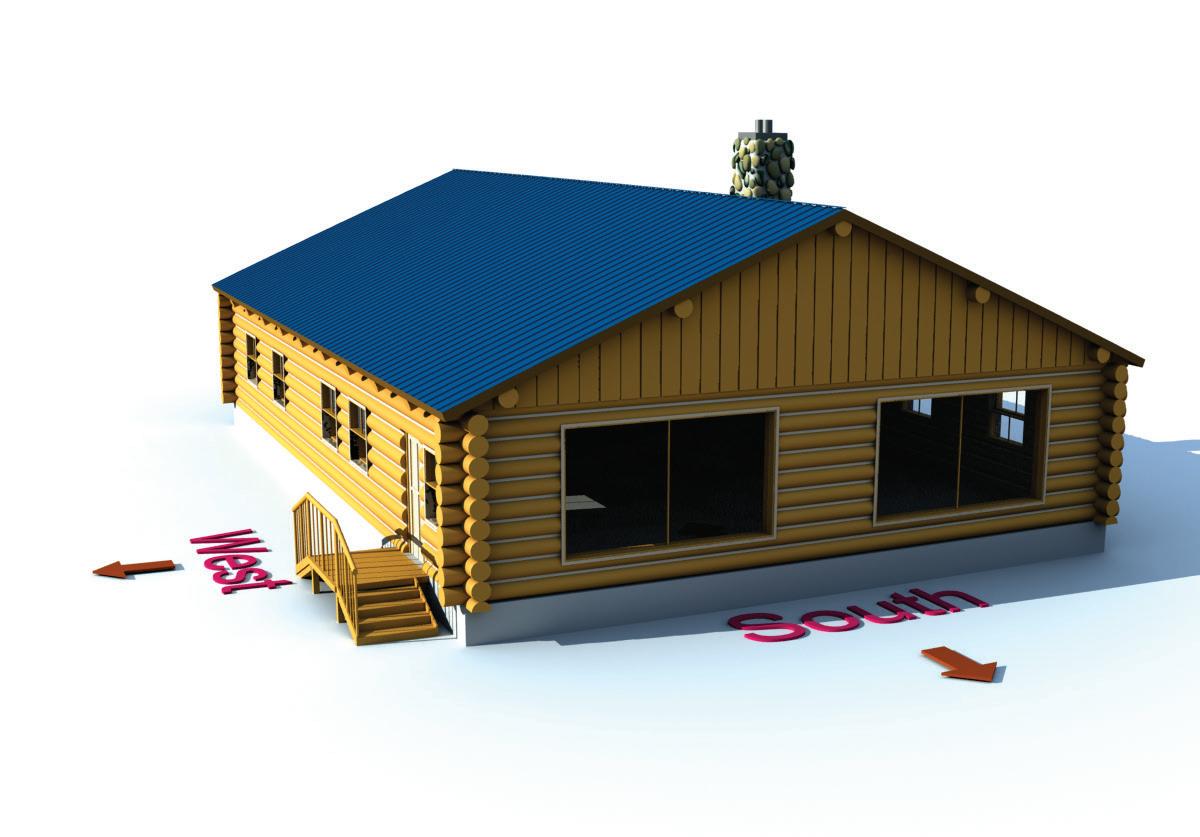
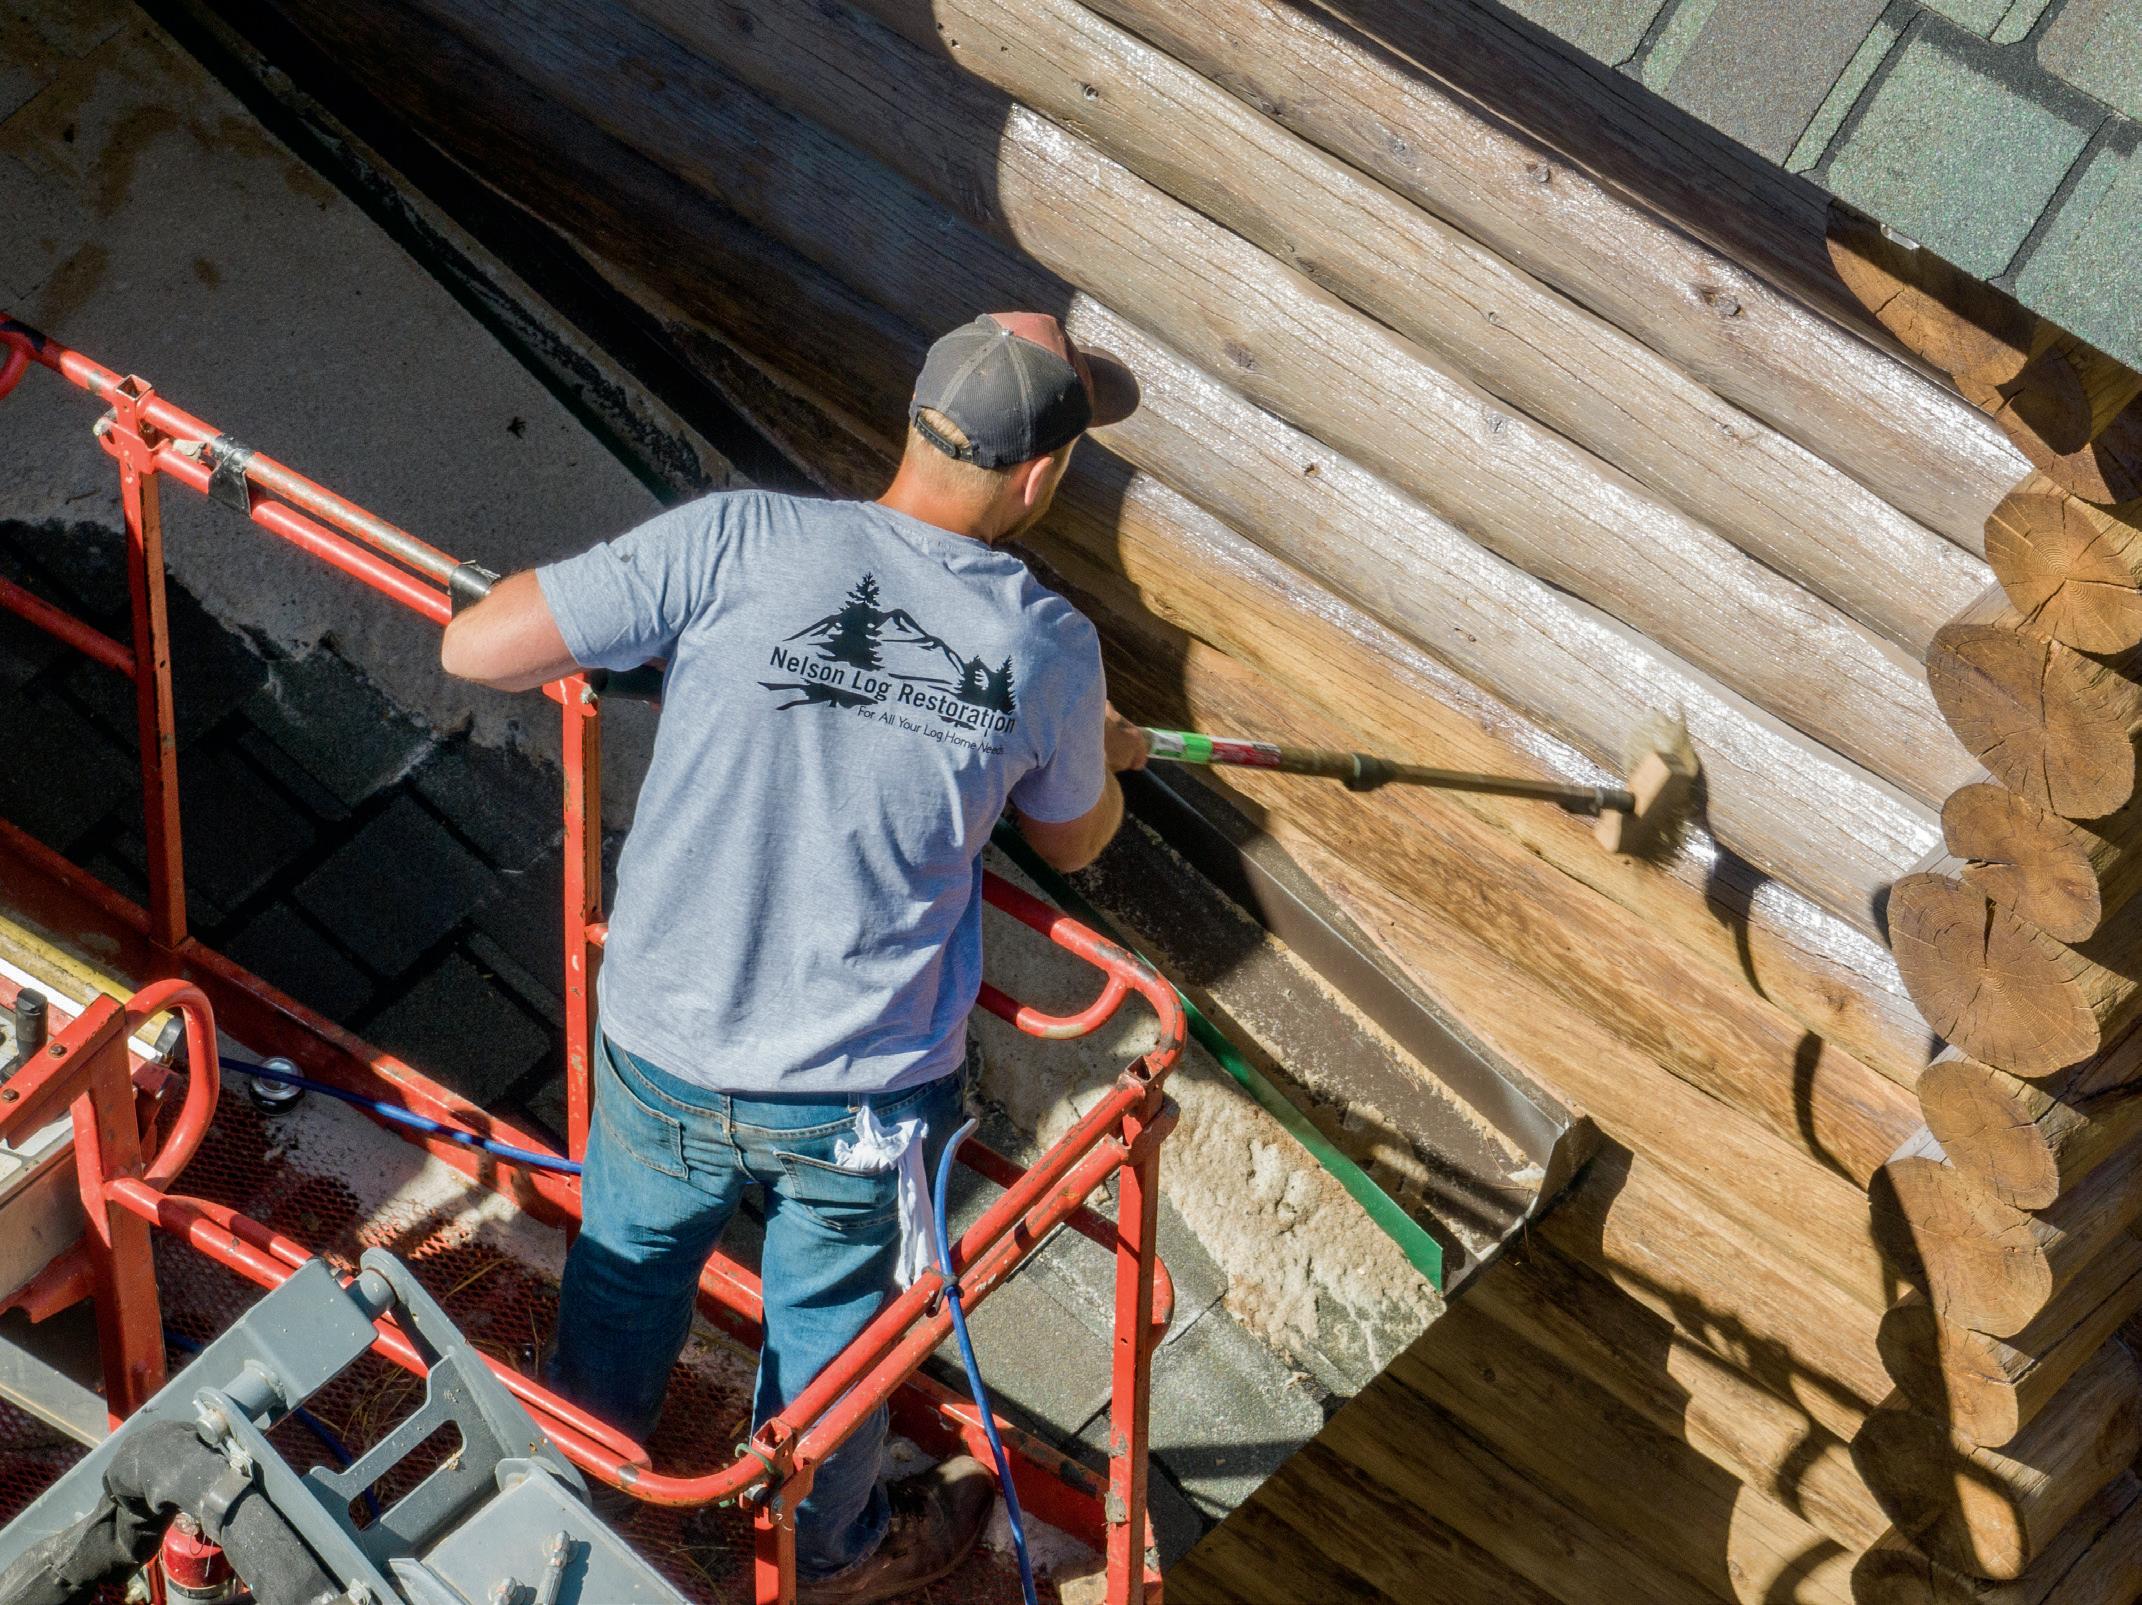
It helps to start staining in the morning on the south and west sides of the home, while the wood is at its coolest point. Stain the north and east sides of the home in the hotter parts of the day, as shown in the pictures at the right.
Also try to avoid applying stain right before or right after extreme weather. For example, staining 24 hours before a major rain storm will not allow enough time for most stains to properly dry. This could lead to the stain getting “washed off” the wood by the rain. If high winds are expected, the stain may dry too quickly, or excessive amounts of sand and dust may stick to the fresh stain. (A light breeze is obviously OK, and in many cases is a welcome relief from the heat!)

Shadows at 7:00 a.m. in the morning
Shadows at 5:00 p.m. in the afternoon
There is always a chance of small color differences between lots of stains (like lot variations in carpet or drapes); therefore, it is important to make sure before starting a job that containers of stain with different lot numbers are “boxed” or interblended before using. This will help ensure uniformity of color even when different lot numbers are used.
In areas with high moisture exposure, it is advisable (for exterior use only) to add an additional loading of fungicide to the stain and any finishing clear coat just before application to control surface mildew. We recommend M-1® Advanced Mildew Treatment with all of Sashco’s stains.
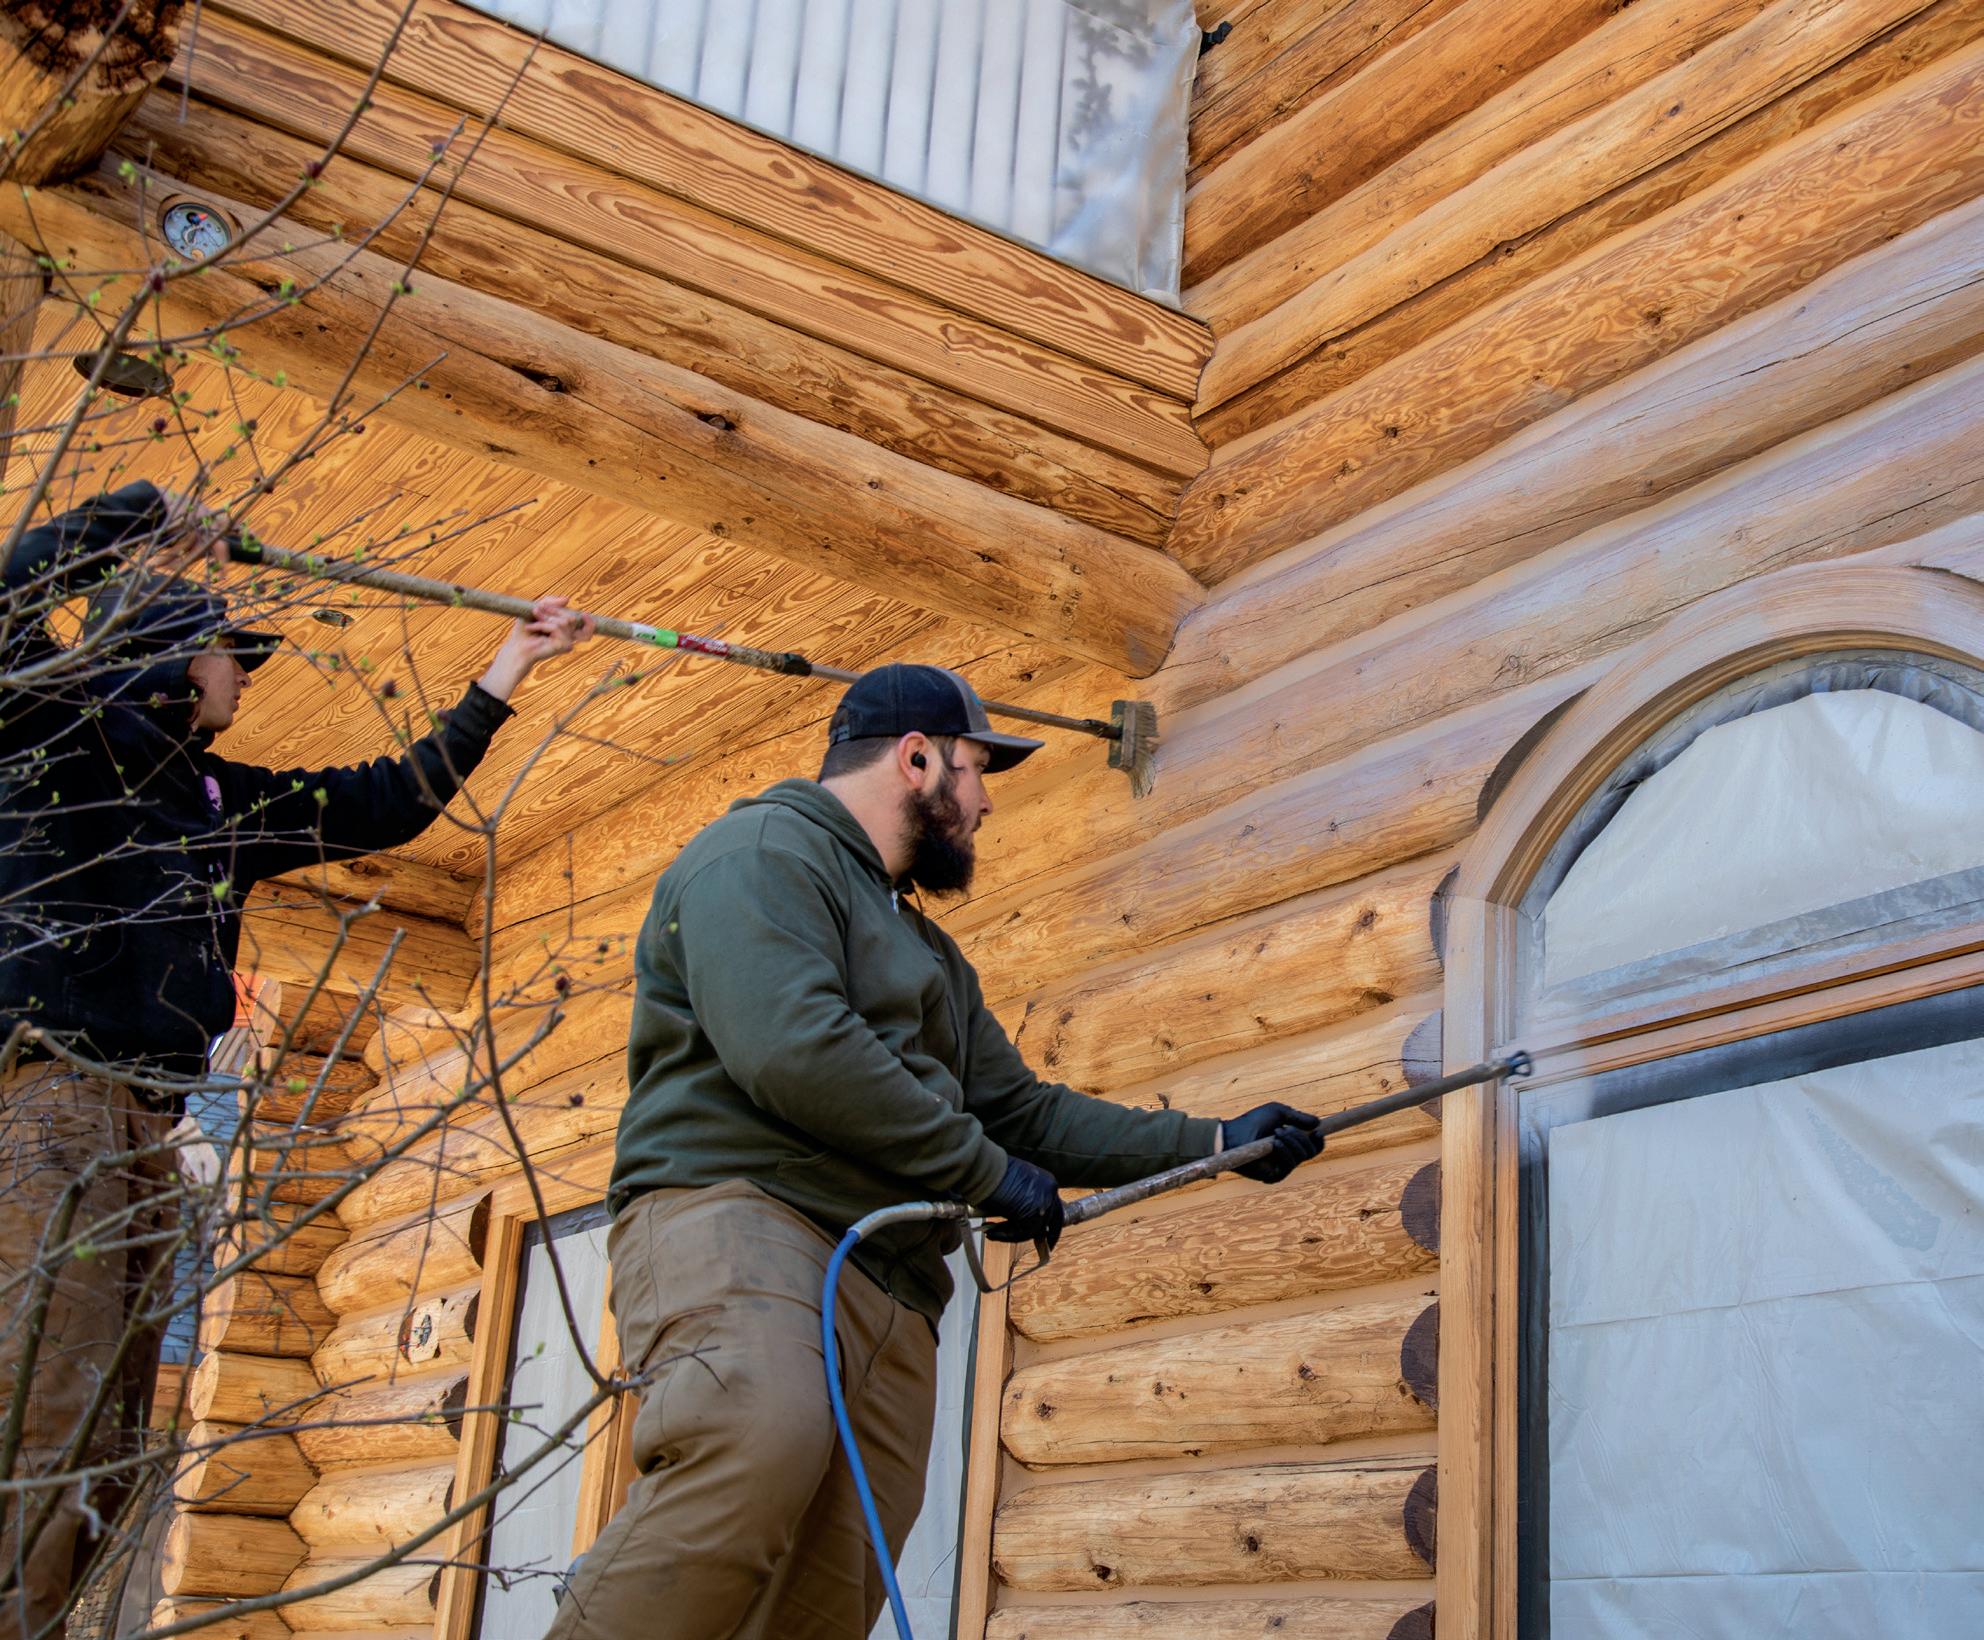
Pay attention to the number of coats recommended for your stain. Both color and gloss can vary greatly from one coat to the next. Regardless of which stain you have selected, the best staining method is usually to spray and vigorously back brush.
Some may desire to brush on the stain. If this is the case, be sure to stick with the manufacturer’s coverage rates. If you end up with a lot of leftover stain, you probably haven’t applied enough and should brush on another coat. Making sure you apply enough stain ensures proper UV protection.
Don’t skip this step, and be prepared to get a workout! Back brushing “pumps” the stain into all the tiny checks and crevices characteristic of wood. This helps the stain adhere better to the wood by anchoring it onto the wood surface. This results in a longer-lasting finish that will require less maintenance over time. When back brushing, make sure to thoroughly coat the insides of all checks and cracks. Those are prime areas for peeling to start because it’s easy for water to sit in there. Filling them with stain will help prevent that (along with the fixes that will be required).
Maybe you’ve seen homes that look “striped.” That look is a result of spraying and not brushing out the excess product that overlapped onto the previously sprayed section. Lap marks are usually a result of poor application techniques.
To avoid lap marks, it’s best to work horizontally and in sections. If brushing, minimize lap marks by keeping a wet edge and “feathering out” the stain—trailing it out into a ragged “nothing.”
Back brushing anchors the stain for optimal performance.
Your Home
All
wood will shrink, move, and change shape in it’s life, leaving behind openings both in the wood itself (known as “checks”), as well as between the courses on a log home.
This means that every home will require sealing in at least some areas at some point in time. It’s important to pay close attention to checks, cracks, and other openings, as they act as troughs for water from rain and snow, funneling water to the interior of the wood and possibly inside the home, which can lead to a number of other problems. In general, any opening ¼" or larger, and especially in the corners and upper curvature of logs, should be sealed.
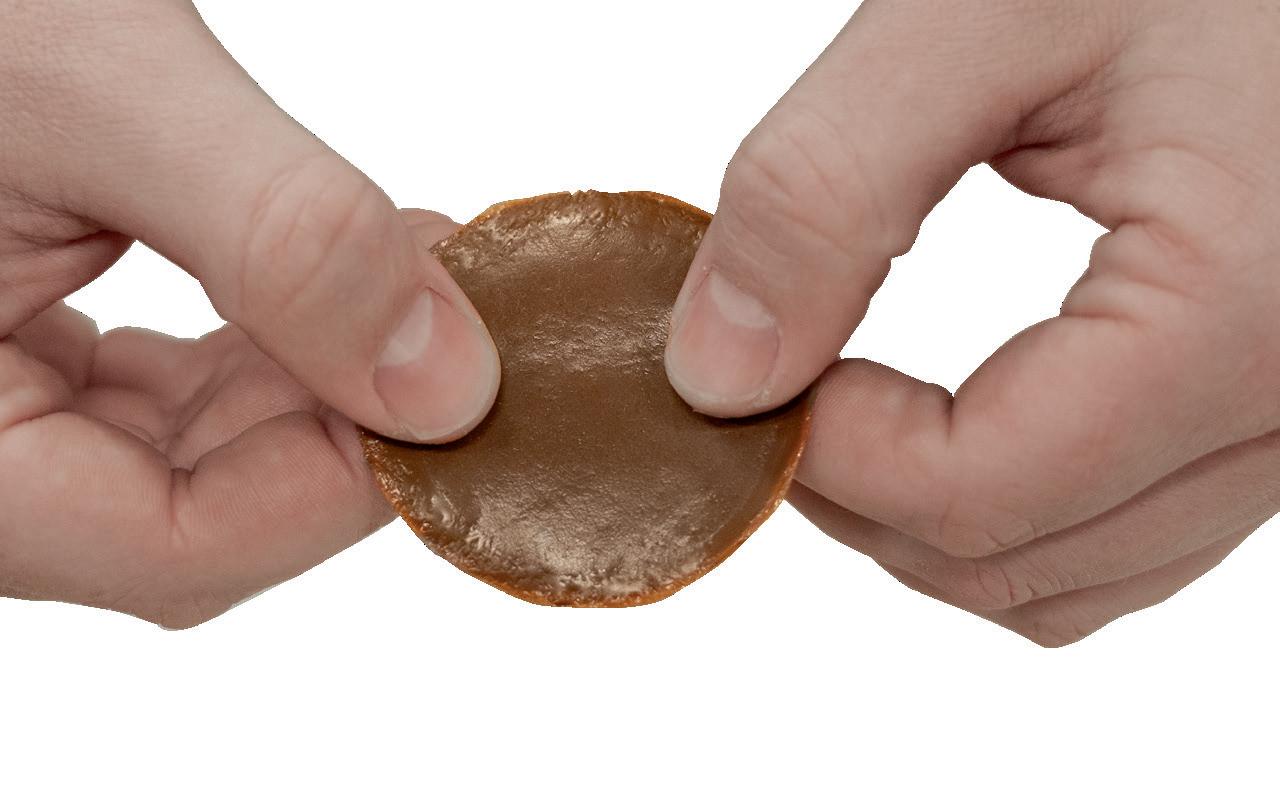
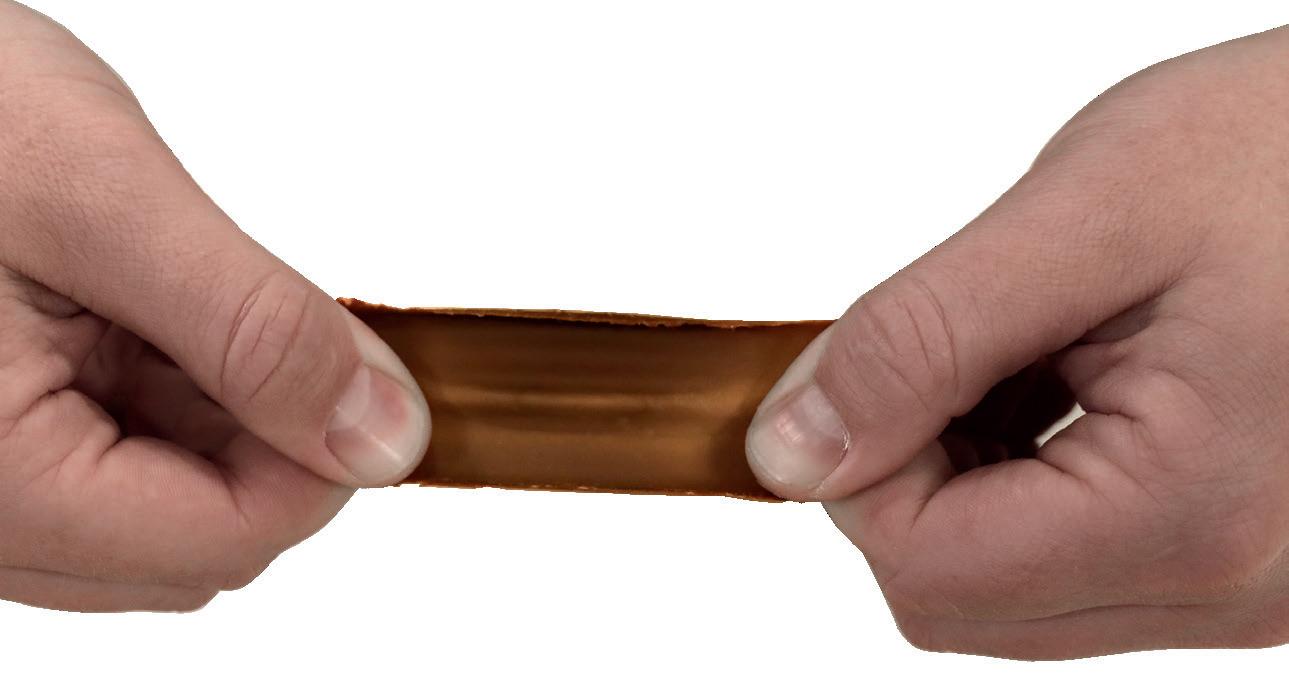
Logs in particular are a different “breed” of wood. Make sure the sealants you select have been formulated for use on log structures. This means they need to be flexible enough to handle the stress and strains of the extreme expansion and contraction characteristic of log homes. When a high-quality sealant is properly applied, it won’t ever need to be redone unless there is unusual and unpredictable movement of the wood.
At initial application, let the stain completely dry, then apply a high-quality sealant that is compatible with your stain. Why after staining? For a couple reasons:
• The stain acts as a primer for the caulk. The caulk will adhere much better to the stain than to bare wood.
• The stain provides an added barrier of protection in the joint. Should that joint open up more over time and stress the caulk, the stain is there to repel water until you can seal the joint again.
For ideal treatment of checks and cracks, be sure to follow these simple steps:
1) Thoroughly clean the inside surfaces of the check (where the caulk will be in contact) to remove dirt and unsound wood.
2) Stain the wood with a product that is compatible with caulking and chinking, making sure it seeps into the check.
3) Insert backer rod in all checks that are deeper than 1/2". Sealant on top should be between 1/4" and 1/2" thick.

4) Gun the caulking into the check. Sashco’s Log Builder or Conceal are ideal for this application.
5) Tool the caulk to ensure good adhesion to the wood and a smooth surface.
On most any log home, a small number of “maverick” logs may undergo extreme movement. This movement is a natural part of the logs adjusting to their new settings. Moderate movement is normal, but the occasional maverick log can randomly and unpredict-
ably twist, shrink or warp in response to moisture changes, moving more than any sealant can possibly handle. When this extreme movement occurs, it will cause the sealant to fail either cohesively or adhesively. To repair this damage, follow these instructions:
• Cohesive failure (sealant splits apart): Simply clean the surfaces of the failed sealant and reapply more.
• Adhesive failure (sealant pulls cleanly away from the wood): Remove the sealant completely and reapply.
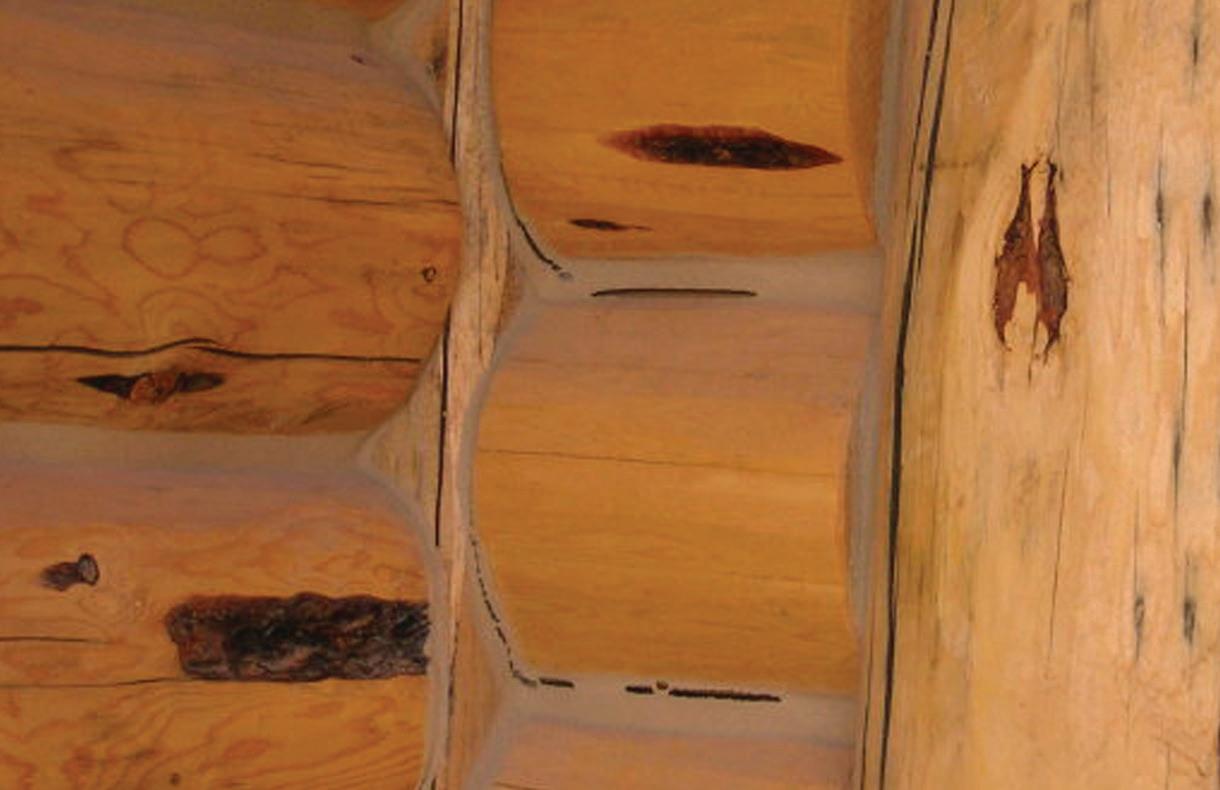
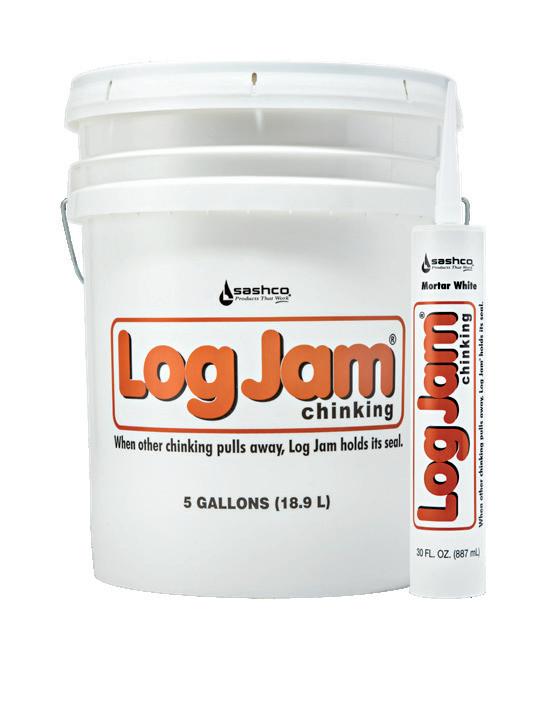
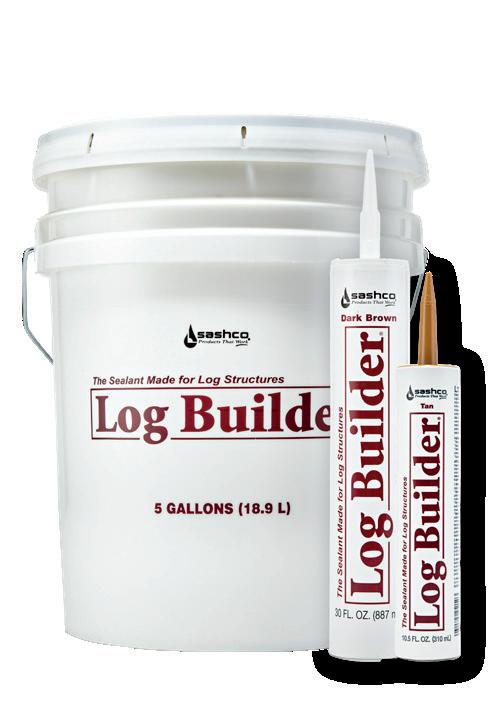
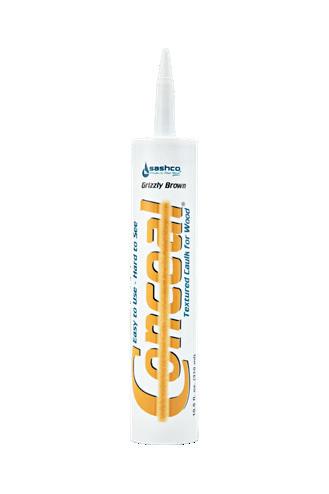
COATING (Compatible Stain)
COATING Depth =1/4" (min.)
CAULK (Log Builder or Conceal)

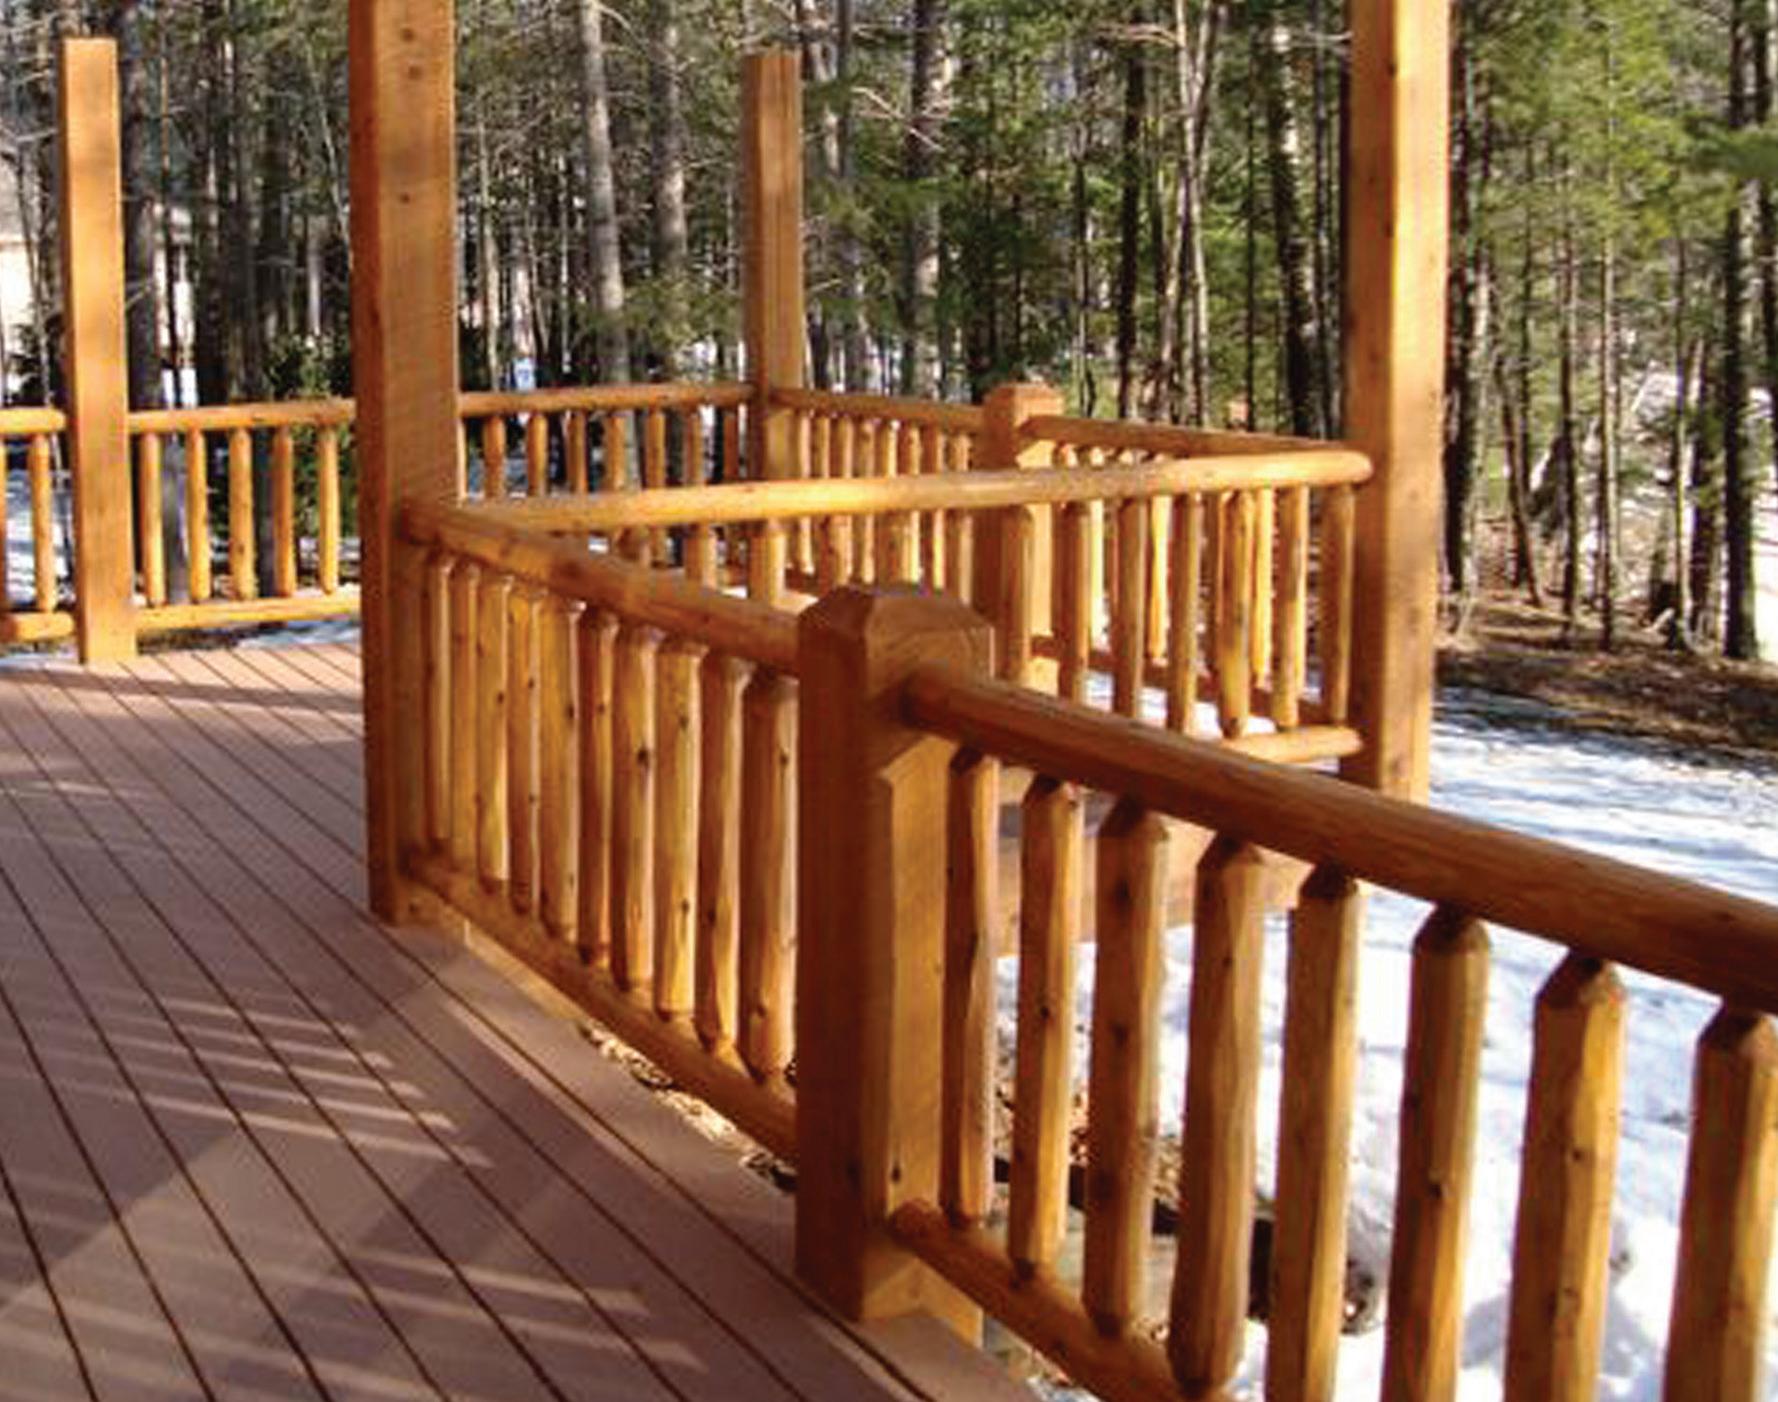
Outdoor decks, hand rails, and fences require specialized care because of the extreme and unrelenting exposure to weather they must endure. All the same preparation instructions given earlier should be followed when prepping any of these surfaces. Keep in mind that these surfaces will require more frequent maintenance inspections, along with more frequent maintenance itself.
Typical log-spindle handrails are particularly vulnerable to decay because they are often built and assembled with non-draining holes that easily and quickly accumulate water, creating perfect rot conditions. If such a situation exists for you, then it is wise
to retrofit such features by drilling drainage or weep holes and inserting borate rods to give some added insurance. Contact Sashco for instructions detailing these recommendations.
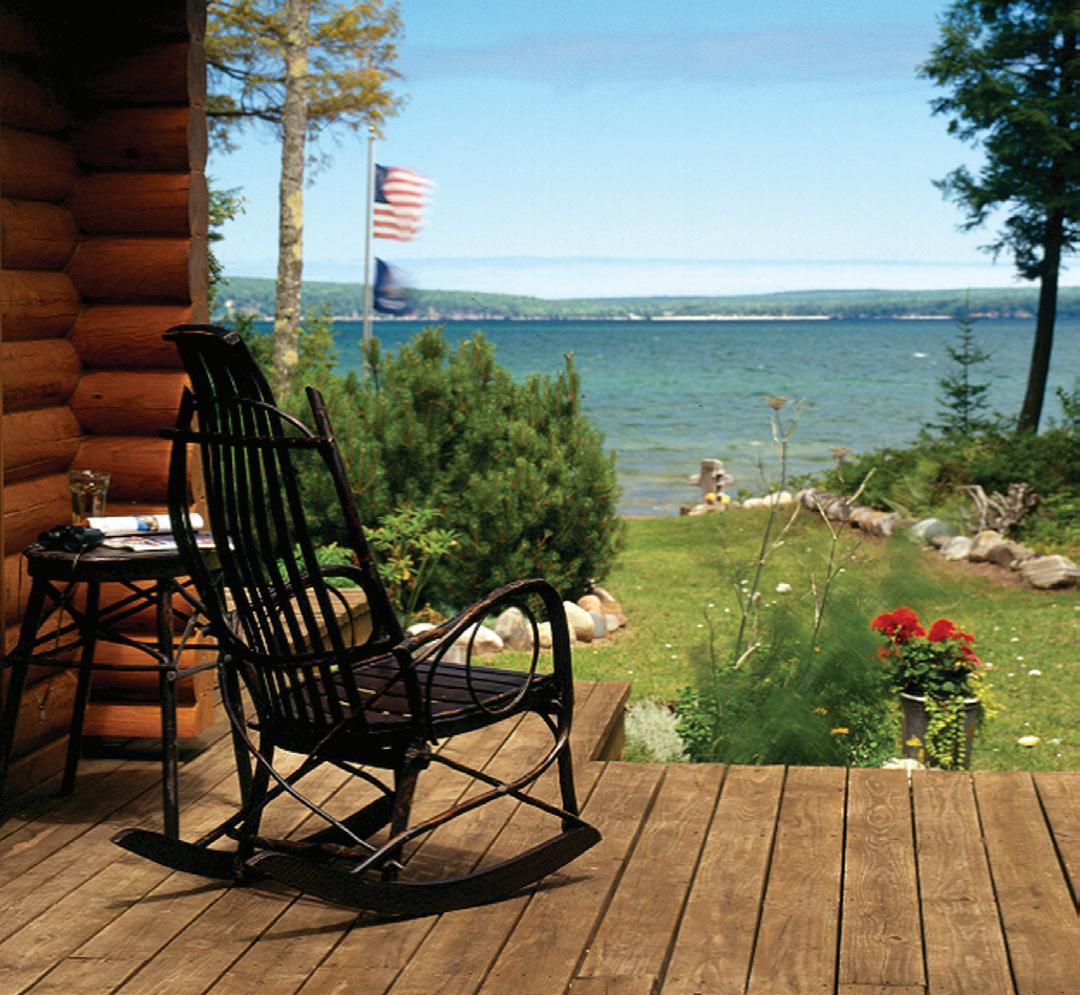
Have you ever tried to run a cloth over unstained wood? It’s horrible! It catches on the wood, doesn’t remove the dust and ultimately makes a bigger mess. Finishing the interior wood means hassle-free cleaning and a constant warm glow for added ambiance. Best of all, interior finishing needs to be done only once. Routine cleaning – wiping down cobwebs, dust that settles, fingerprints, etc. – is all that’s needed to maintain the finish and keep the wood looking like new.
Follow these simple steps to prep and finish your interior wood:
If the wood has any mold or mildew growing on it, use a cleaner (such as Sashco’s CPR) in its mildest solution to clean the wood. Thoroughly rinse to neutralize the cleaner and allow the wood to dry. Be sure to protect any flooring or other fixtures from runoff.
Remove
The easiest and safest way to prep interior wood is to sand or buff it down. As with exterior finishing, it is necessary to remove yellowed and/or gray wood. An Osborn Brush, Sashco’s Buffy Pad system or 60- to 80-grit sandpaper are the best tools for this kind of work. Do NOT “spot prep.” Sanding one area and not another will result in a blotchy look. It is important to do an entire area to get an even appearance.
Applying one coat Sashco’s Colorfast prestain base coat will prevent the wood from yellowing over time and maintain the bright, natual look. (Because seriously - who likes
taking down photos that have been hanging for a while, just to find that the wood around it has changed color over time? No one.) Or, have fun with interior colors! Apply one or two coats of an interior stain. Sashco’s Capture or Transformation Siding & Trim can be used on the interior. Try one color on the trim and another on walls. Keeping ceilings brighter and walls a bit darker brings dimension to an all-wood interior. Get samples and play.
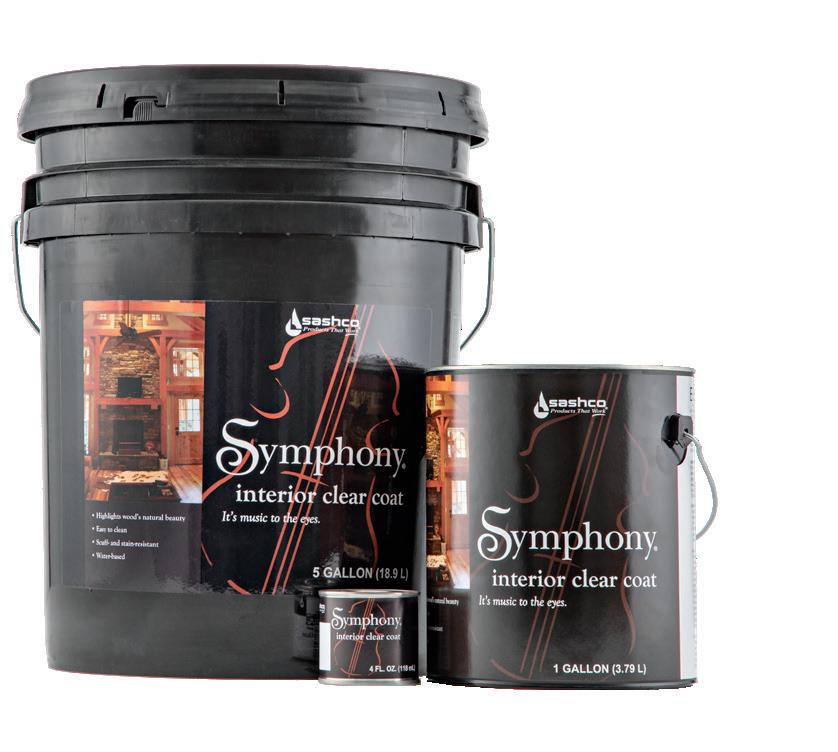
(Sashco’s Symphony is an interior clear coat.) A clear coat is a must, whether you stain or not, and is the final step in achieving that smooth surface for easy cleaning. It also brings out the grain of the wood to help give it that warm glow. Two coats are best. Get samples of the different sheens available and test to make sure you get the look you want.
Airtight Chinking & Sealing Symphony Satin
Regular maintenance is the often-forgotten ongoing step in wood home finishing; however, it is one of the most important steps that results in cost savings (and fewer headaches) through the years. Just remember: keep it in the Easy Zone.
Head back to page 14 and start with an inspection. Mark it, write it down, and Git’ er done. Regular maintenance should only take a couple weekends a year.
Here’s some poetry to remember: “keep the food for mold at bay to keep the mold away.” Mold and mil-
dew feed off surface contaminants - pollen, bird poo, dust, etc. Routine cleaning will keep the mold under control, increasing the longevity and durability of your stain. Your home will look great and the neighbors will be jealous - wins all the way around. Routine maintenance washes should be done at least once a year. In humid climates, two times a year is appropriate.
Any time your stain needs to be maintained, be sure to clean the surfaces first. Surface preparation is important before staining, as well as when maintaining it. Most manufacturers will include stain maintenance recommendations in their literature. Follow their recommendations and contact them if you have any questions.
In most cases, stain that is still in fairly good shape (meaning little peeling, flaking, or fading, etc.) can simply be spot prepped and more stain reapplied. With several products, all that’s required is a reapplication of a top coat.
Keep in mind that, just like conventional stick-built homes have to be scraped down and repainted, your wood home, deck or fence will need to be restained over time. And just like paint on stick-built homes, regular maintenance will prolong the life of your stain, saving you time and money down the line.
As your home loses moisture, new checks and cracks may appear. There will be more of this in the first few years of a new home, less as the home ages and comes to its moisture equilibrium in its environment. Be sure to fill anything ¼" wide or larger with a high-quality elastic caulk made specifically for log and wood homes. In addition, it’s possible for cracks and checks that were previously caulked to open further. Inspect all of them and be sure to reapply caulking to those checks and cracks as necessary.
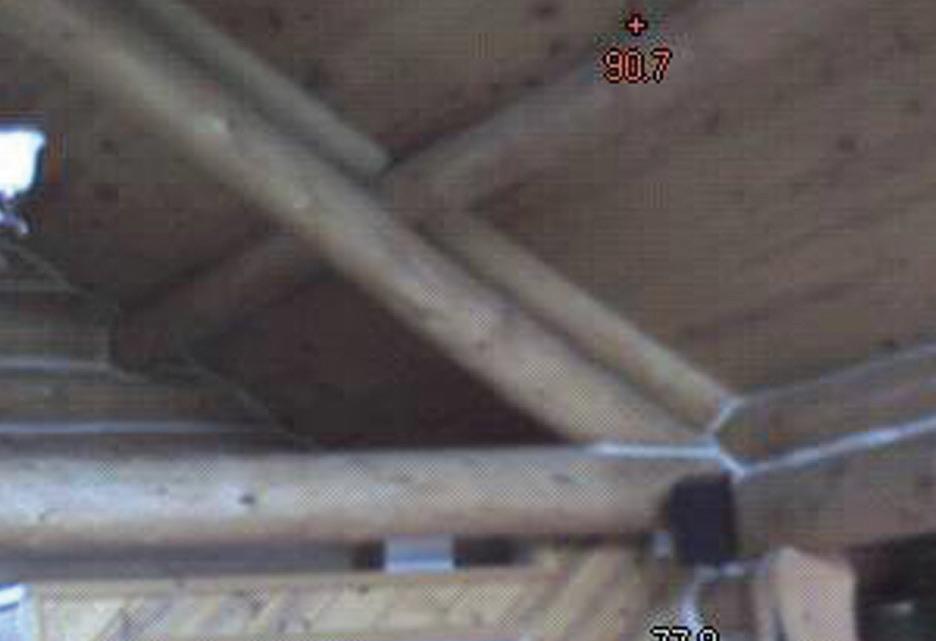

If you’re feeling drafts or seeing moisture coming into your home but haven’t been able to pinpoint the entry location, bring in a professional who will be able to perform a thermographic survey. These surveys help pinpoint where the air and moisture are getting in so you can get them properly sealed. A survey like this can help save you money on those heating and air conditioning bills.
These are the tools and reference guides that every log homeowner should have, whether you’re building brand new or taking on an existing log home. Keep these around for when the questions come up (because they will…)
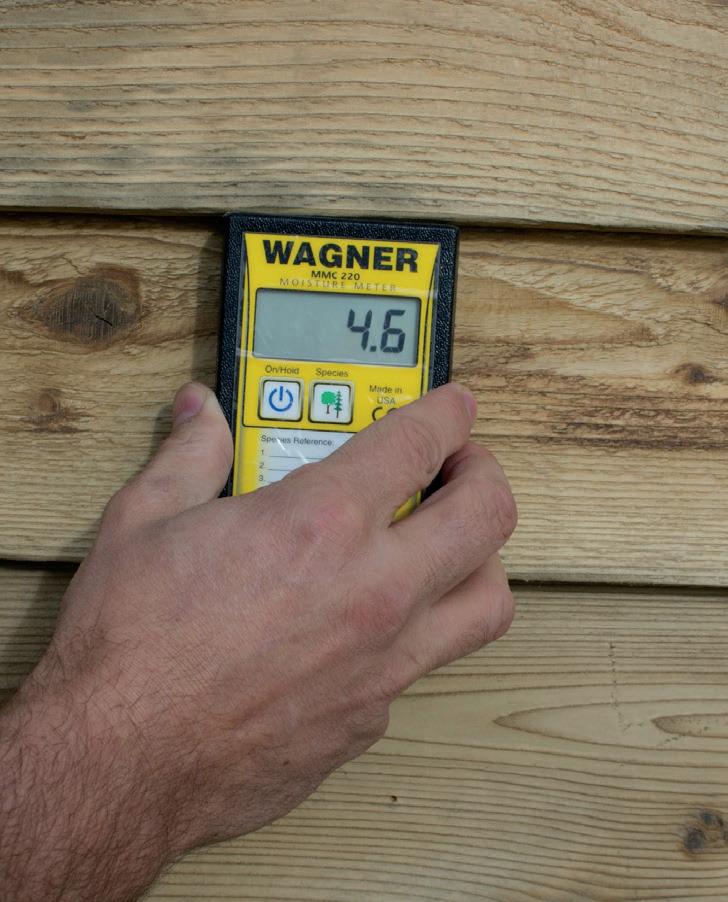

Use this to check the moisture content of wood surfaces during routine maintenance checks, before and after prep work is done, and before stain application. Any number too high (depends on where you start, but should never be above 19%) should be flagged for follow up. There are pin-type meters and pinless. Read reviews and pick something that will be accurate.
No matter what product you use, it needs to be mixed well both before and throughout stain application.. These handy $8 stir whip finger mixers do the best job of mixing (and are a bargain to boot).

Products applied to surfaces that are too hot or too cold won’t perform right or last as long. Make sure you know the surface temp before you start with a point-and-shoot IR thermometer.
Print off a fresh one every time you do maintenance checks and keep notes over the years. Future buyers will thank you.

by Gary Schroeder
THE definitive guide to the unique maintenance issues faced by log homeowners.
by Jim Davis
Advice from a seasoned pro (with some input from Sashco experts, too) to help you care for your log home.

Turns out that social media is occasionally helpful. This group on Facebook is a great place to get questions answered by pros and other other log homeowners

Not sure how much product you’ll need? Use Sashco’s handy Caulkulator to estimate stain, clear coats, caulking, and chinking you’ll need.

STEP 1: Prep
50-51: CPR Cleaner
52-53: Osborn Brushes & Buffy Pads
STEP 2: Preserve
55-56: Tim-bor
56-57: Borate Rods
STEP 3: Stain
60-63: Colorfast
64-71: Capture & Cascade
72-77: Transformation Log & Timber
78-79: Flex Tint System
80-83: Transformation Siding & Trim
84-87: Symphony
STEP 4: Seal
96-99: Jog Jam
100-103: Conceal
104-107: Log Builder
108-109: Backer Materials
110-111: Sealant Comparison Chart

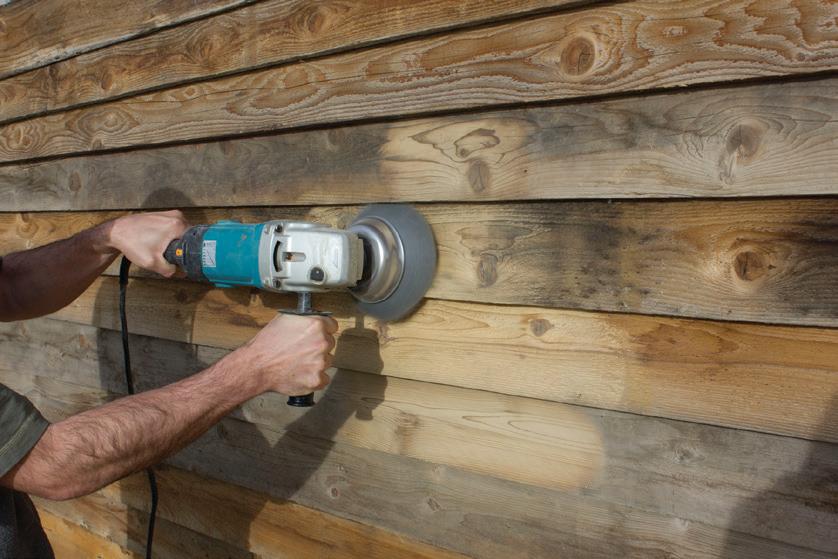


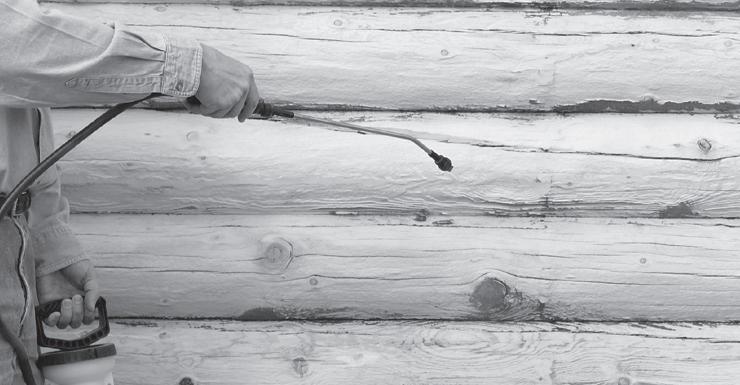
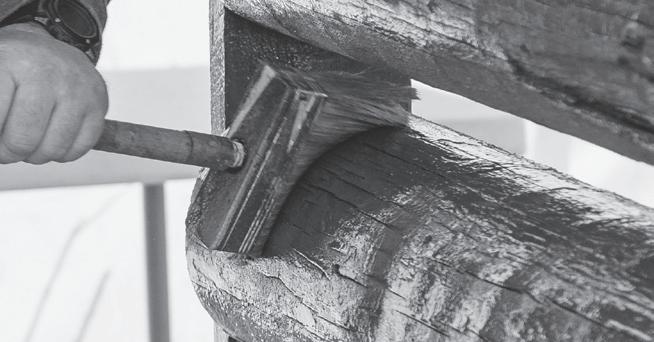
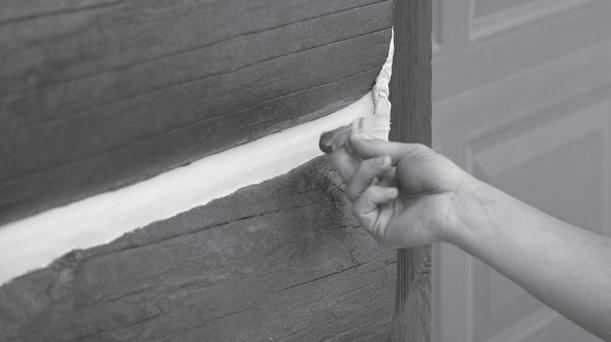
Before brush or sprayer touches the surface, prep is the name of the game. In fact, it’s the most critical step in achieving stain longevity. Properly preparing the surface from the get-go will save you both time and money down the road.
If you haven’t yet, go back a few pages and read through Keeping the Dream Alive to get the lay of the land.
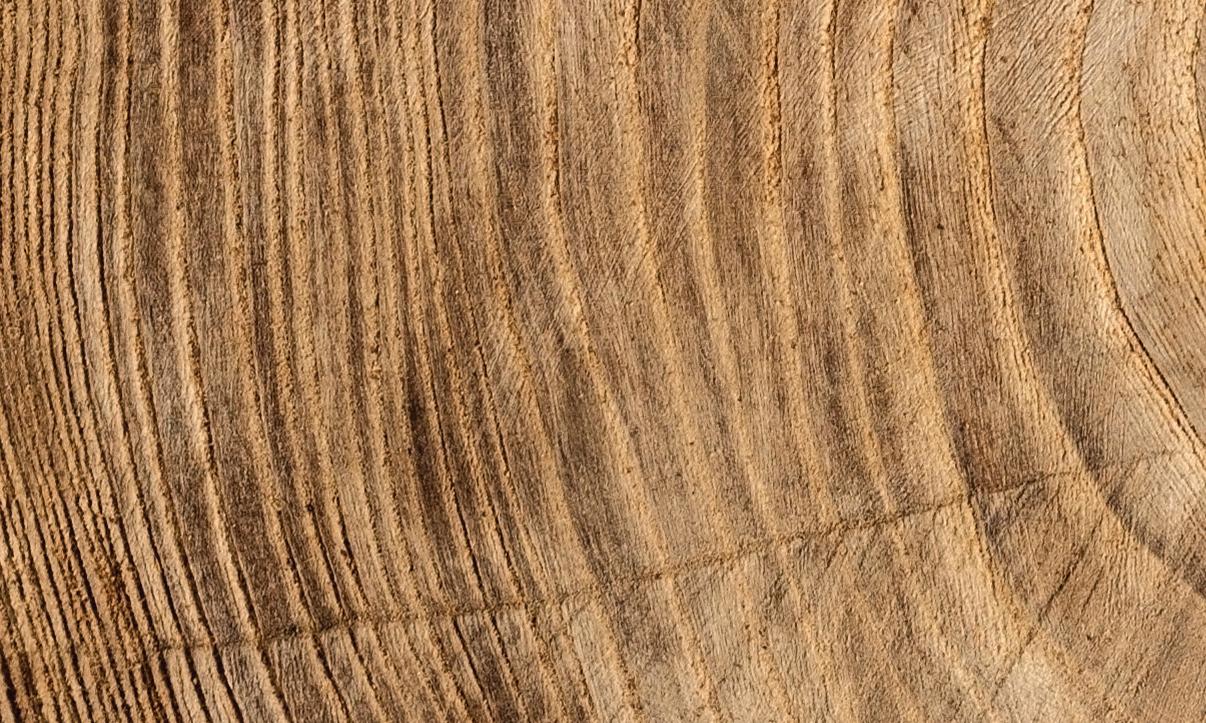
CLEAN WOOD: The surface is free of dust, dirt, pollen, bird poo, mold, algae, and other surface contaminants. Staining over top of these simply locks them in under the stain. Boo.
SOUND WOOD: All loose, UV-damaged gray and yellow wood has been removed. All of these wood fibers will eventually fall off and take your stain with it.
DRY WOOD: Wood is at or below 19% moisture content, lower in dry climates. Wet wood can lead to a host of issues, including peeling and rot. (Yuck.)
WARM WOOD: Surfaces are between 40° and 90°F when staining. (Too hot or cold and the stain won’t adhere and penetrate properly.)
TEXTURED WOOD: Wood has been roughed up a bit, which allows it to hang on to more stain to improve durability.

Available Packaging:
Half-gallon powder concentrate
It cleans and brightens bare logs and wood, and restores luster and vibrancy when used for routine log and wood home maintenance washes between recoats. Its gentle oxygenated bleach formula won’t weaken wood fibers. It effectively kills mold, mildew and fungus, while also removing dirt, dust, pollen and other surface contaminants that can abrade the surface and deteriorate the stain over time. Use CPR in conjunction with power washing or media blasting to perfectly prepare wood surfaces before staining, or apply with a pump sprayer and rinse with a hose for routine maintenance.
Oxygenated bleach formula is gentle yet effective –kills the bad mold and mildew, but won’t kill plants when properly rinsed
Powder form is easy to transport –no spills along the way
Easy to mix and apply – simply add water, stir, and apply.
Safe to use around pets and kids
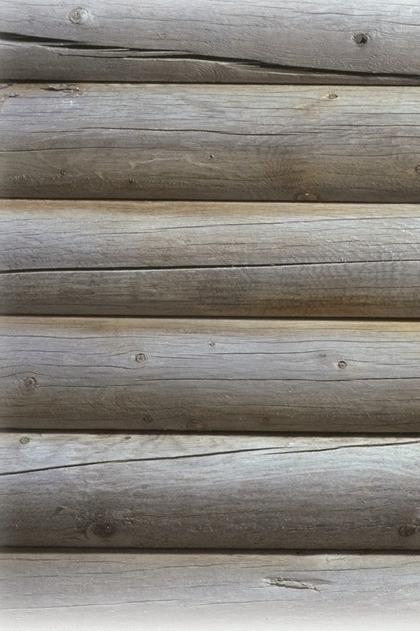
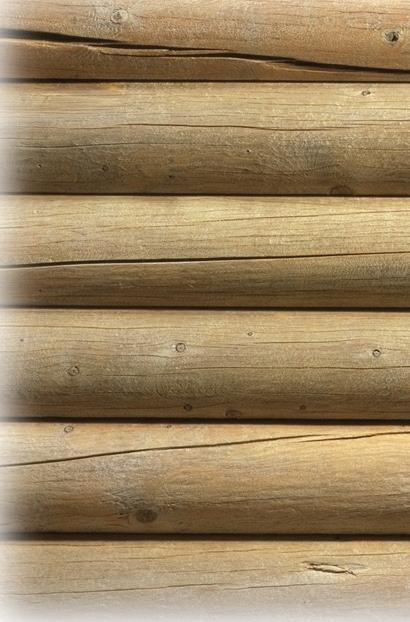
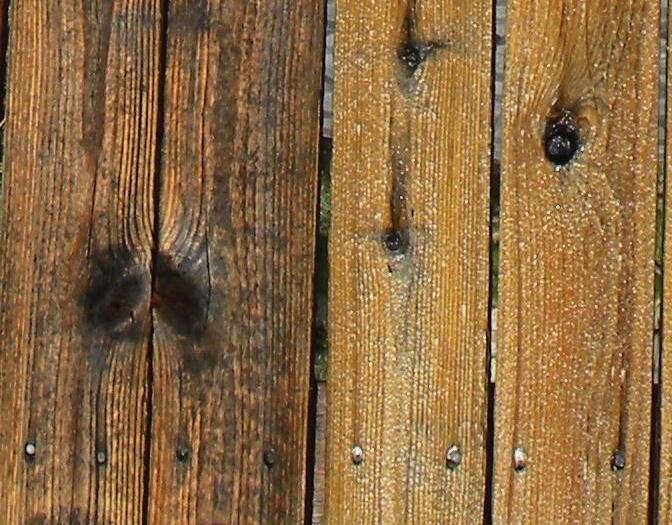
Interior and exterior:
• Logs
• Timbers
• T&G walls and ceilings
• Wood trim
• Wood doors
Always test in an inconspicuous area first to ensure wood will not discolor.
• Due to discoloration, do not use CPR on high-tannin woods, like redwood
Number of Coats: 1
Method of Application:
• Spray on with pump-up sprayer or brush on with soft bristle brush, keep wet for 5-20 minutes, then thoroughly rinse or power wash to remove
• May be brushed with RV-type soft wash brushes to remove stubborn dirt and stains
Application Temperatures:
• Surface and air temps of 40° to 90°F (4° to 32°C)
• To avoid dilution and ineffective cleaning, do not expose to freezing temps or rain during application
• Must be thoroughly rinsed, so do not use where rinsing is not possible
Coverage rates:
• 100-150 sq. ft. per gallon of mixed solution
Dry time
• Allow to dry until back to the moisture content when cleaning started. Wood should always be at or below 19% moisture content level (lower in dry climates)
• Thoroughly rinse with water. Launder clothing like normal

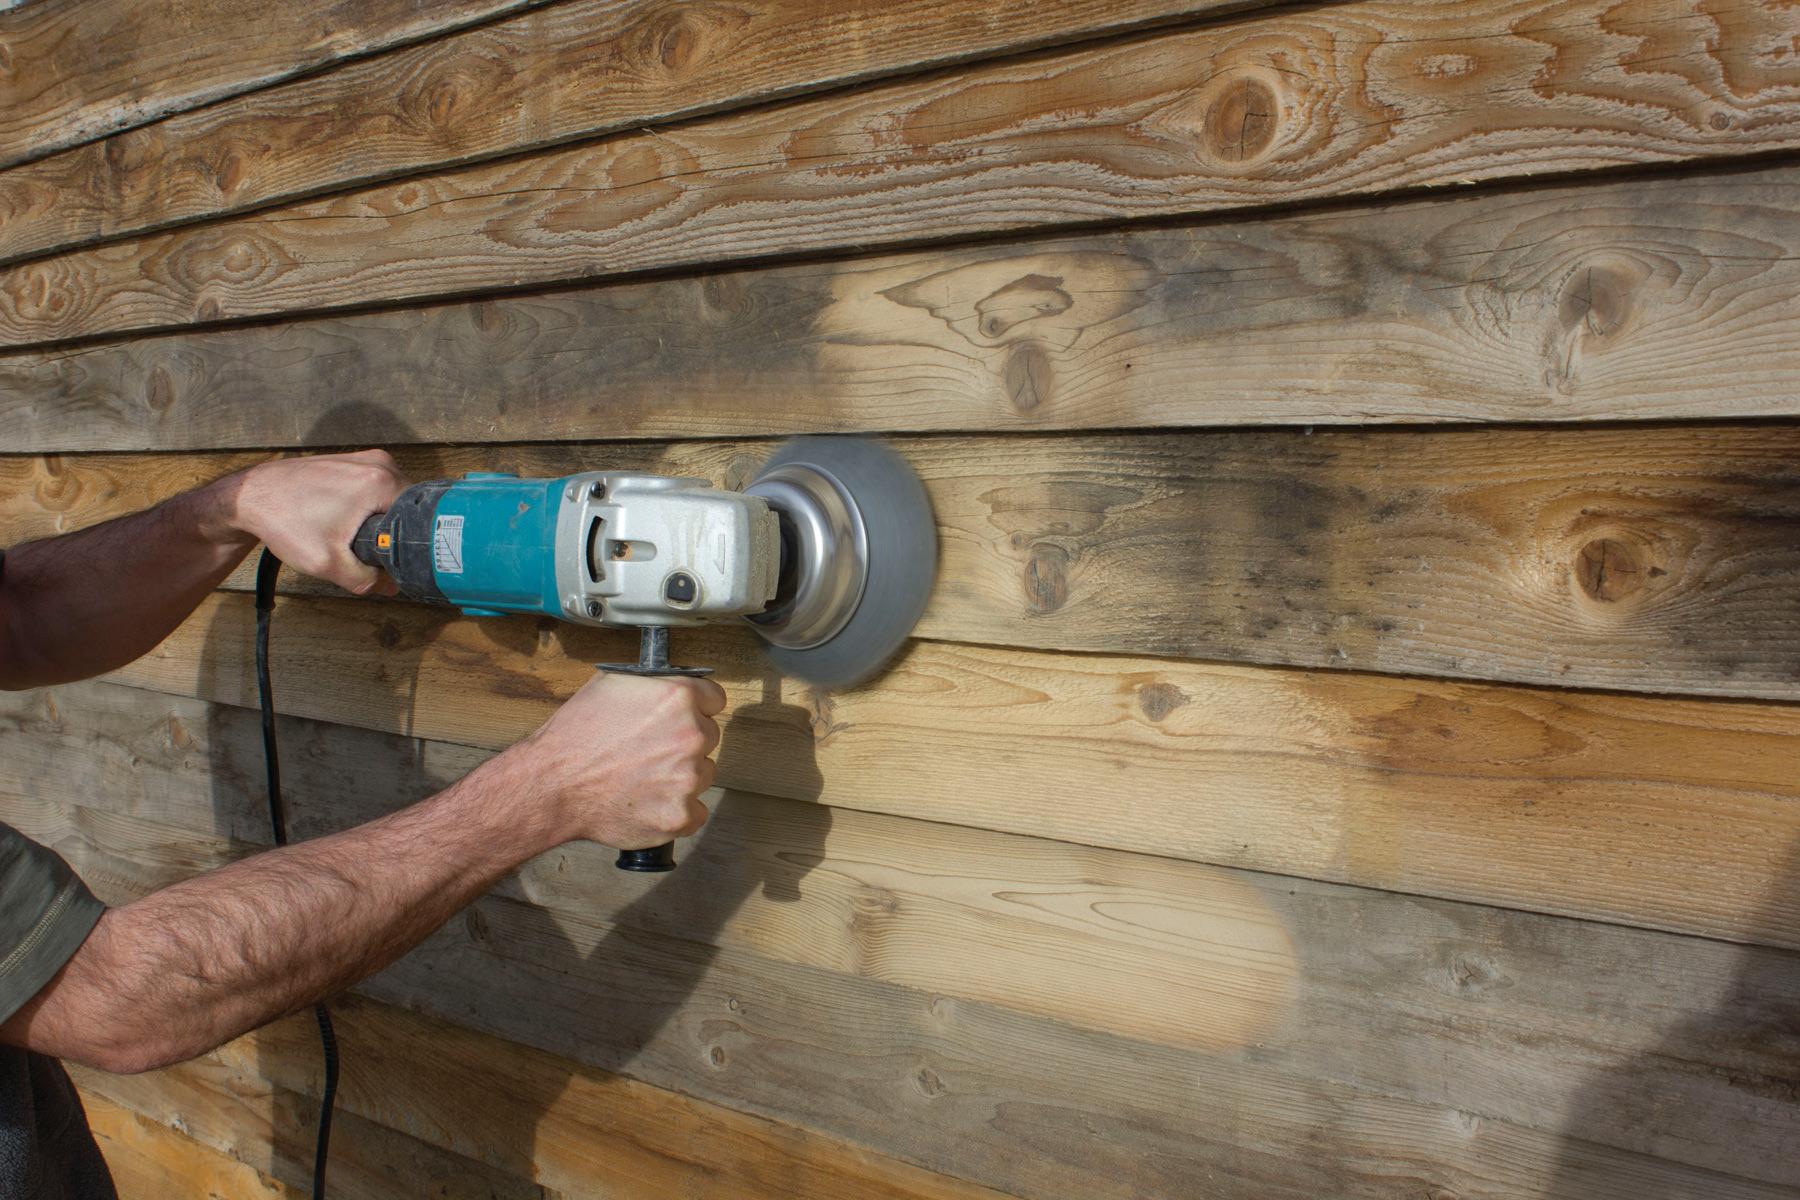
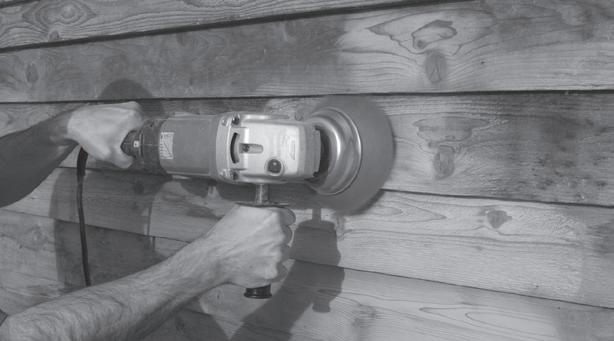
After media blasting or power washing, finish sanding is often needed to remove wood fuzz and give a better surface for stain application. Both Osborn Brushes and the Buffy Pad System are great for producing an excellent surface for stain application and removing that fuzzing (plus, you get a good arm workout while you’re at it).

Osborn Brushes Available Packaging: 4” and 6” cup brushes
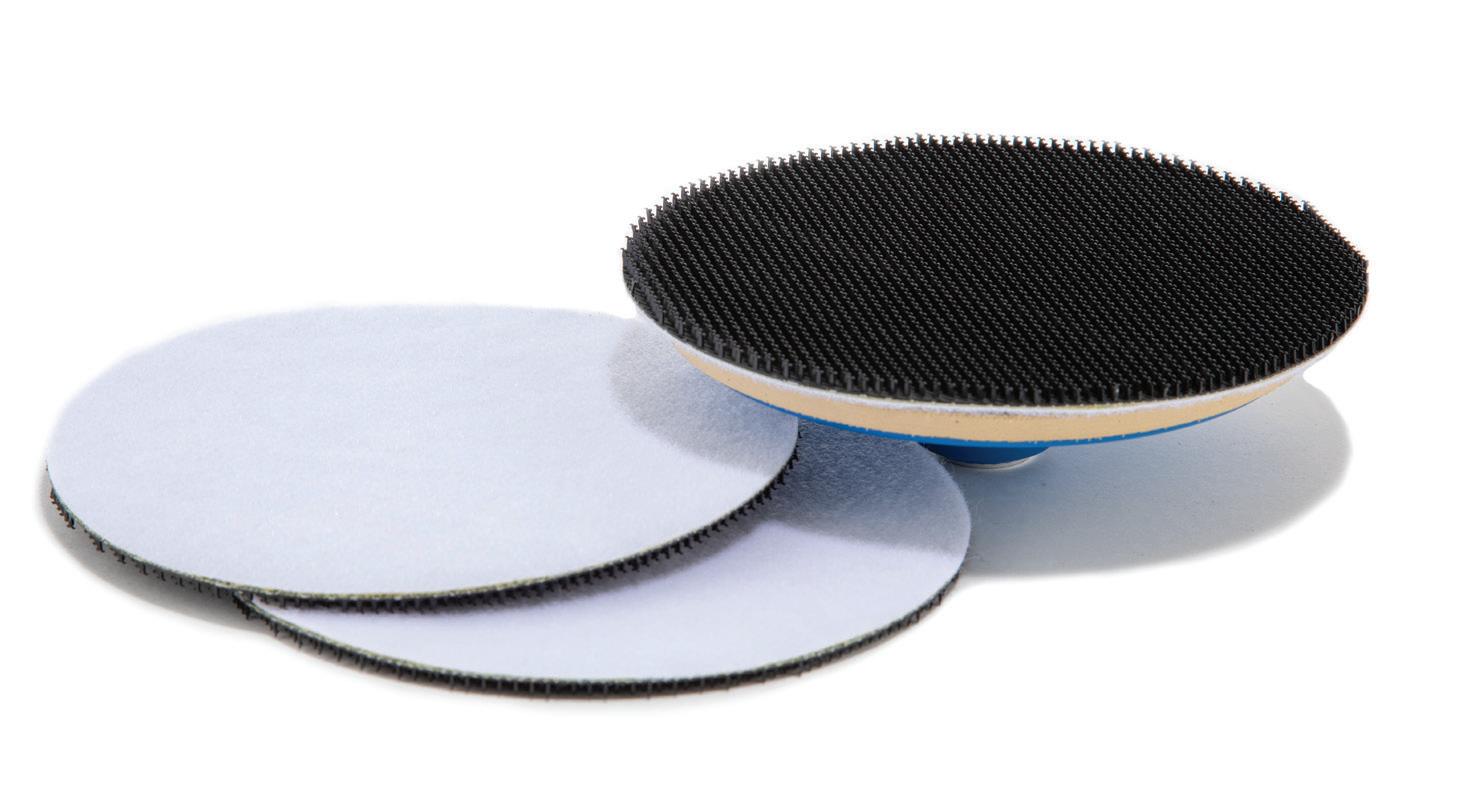
Buffy Pad System Available Packaging:
Backer Pad: 1
Grabber Pads: 10 pack
Buffy Pads: 30 pack
Silica carbide brushes effectively remove weak, failing stains and wood fuzz
Works well at high and low speeds
Durable – one brush can sand up to 6,000 sq. ft.
Unique 3 part system – backer pad, grabber pad, and buffy pad – prevents replacement of the most expensive parts throughout use
Non-woven buffy pad is gentle yet effective at removing wood fuzz after blasting and power washing or minor discoloration on wood surfaces
Easy to replace pads as needed with Velcro® -like fibers

NEED MORE DETAILS?
Where to Use:
Interior and exterior bare wood to remove fuzzing and light discoloration
Where NOT to Use:
On stains or coatings still in good shape (won’t be effective)
Method of Use:
Use with a variable speed grinder. Start at 70 rpm and work up from there, being careful to not burn the wood
Coverage rates:
1 Osborn brush: up to 6,000 sq. ft. of wood
1 Buffy Pad: up to 200 sq. ft. of wood (Backer Pads and Grabber Pads will last much longer.)
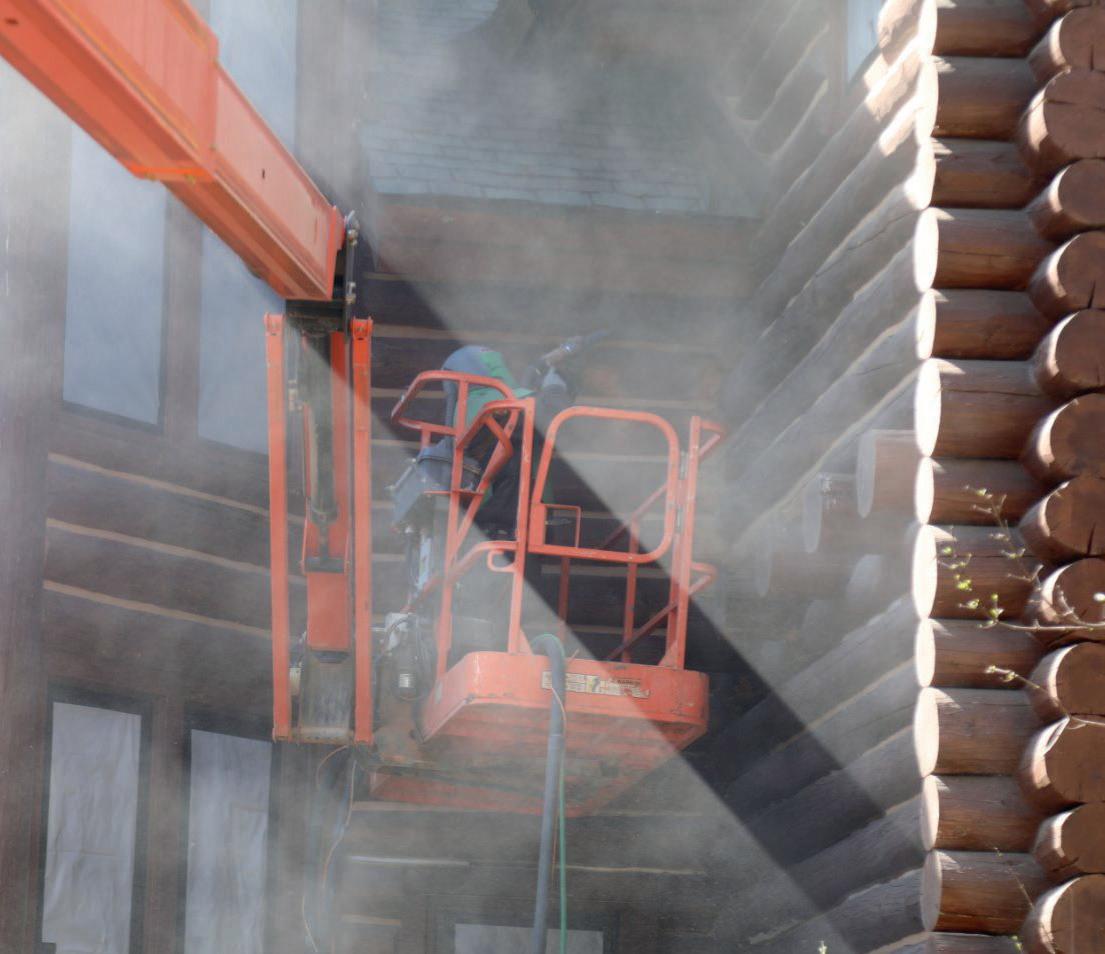
Media blasting is the preferred method of wood prep when going back to bare wood. Learn more about media blasting on our YouTube channel, then reach out to our preferred partner, Abrasive Blast Supply, for all your media blasting needs.

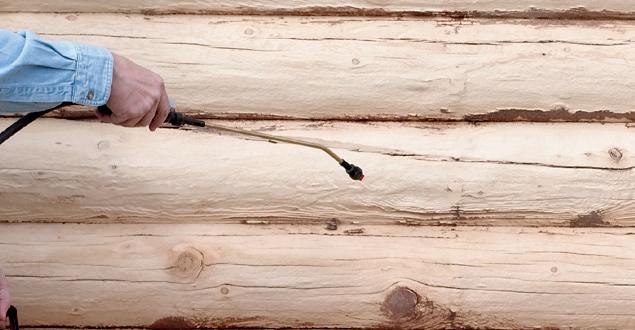
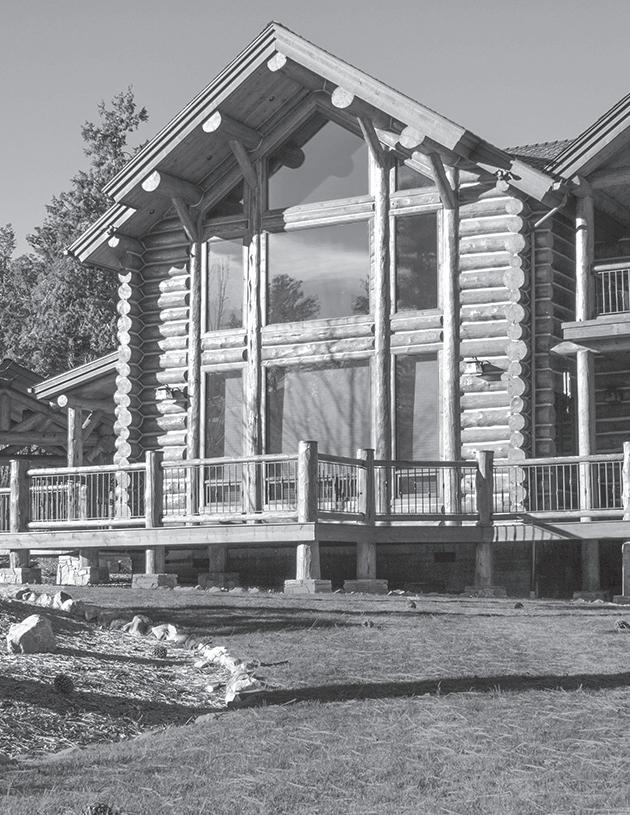
When surfaces are clean and bare, now’s the time to apply preservatives to protect against rot and insects. They’re must-have insurance for every log and wood homeowner.
Don’t take our word for it
HERE’S WHAT OUR CUSTOMERS HAVE TO SAY ABOUT SASHCO
“Transformation Stain in Red Tone Dark was the perfect choice. I can’t believe how beautiful it looks. There was a huge difference between the first and final coat. It ended up so rich and glossy looking. I sent a picture of the finished product to the previous owner and he couldn’t even believe it was the same cabin.”
Nicholas M., New Hampshire
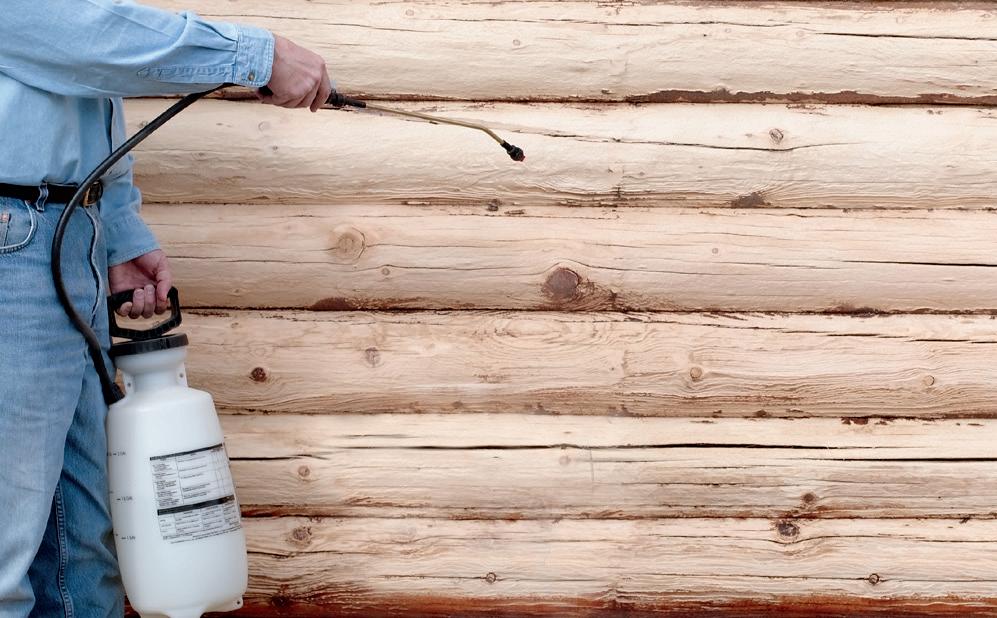
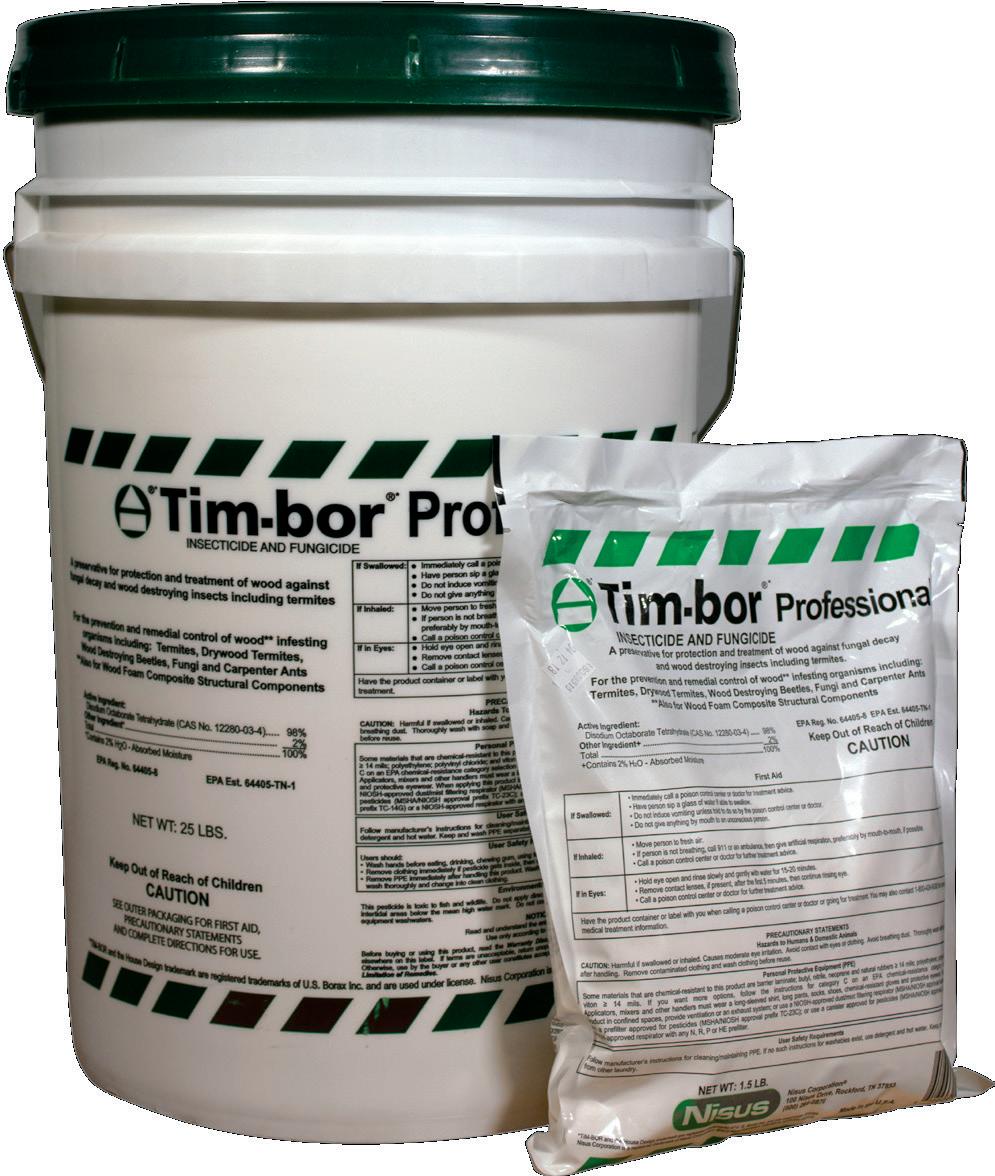
Tim-bor is the inexpensive insurance every wood homeowner needs. When sprayed on bare wood, the borates in Tim-bor form a protective shell to defend against rot and wood-ingesting insects. It’s easy to use and EPA-registered. Tim-bor will not affect the color of the wood and is chemically compatible with all of Sashco’s stain, caulking, and chinking products.
Borate-based log home preservative protects against wood-ingesting insects and rot
Powder concentrate is easy to mix and environmentally friendly
Costs 5 times less than glycol-based borate products with same penetration and effectiveness
Prevents most types of decay fungi

Interior & exterior bare wood:
• Log homes
• Timber frame homes
• Wood sided homes
• Log & wood handrails
• Wood trim
• Decks
• Unfinished wood floors
Number of Coats : 2
Method of application
• Brush or spray on 2 coats and allow to dry
Application Temperatures
• Surface and air temps of 40° to 90°F (4° to 32°C)
• To avoid washout, do not expose to freezing temps or rain during application and for at least 48 hours after application
Coverage rates:
• 100-125 sq. ft. per gallon of mixed solution
• (1 lb. powder per gallon of water)
Dry time
• 6-24 hours (longer in cooler temps and/or 50%+ humidity)
• Protect from direct rainfall
Cleanup
• Clean up with soap and water
Protecting and preserving your wood is a serious matter. Without a preservative, your wood is susceptible to rot, insects and fungi. Both powder-in-water solutions like Tim-bor and Board Defense, and glycol-based borate products claim to be effective preservatives — but is there really a difference in their effectiveness? Consider the following data:

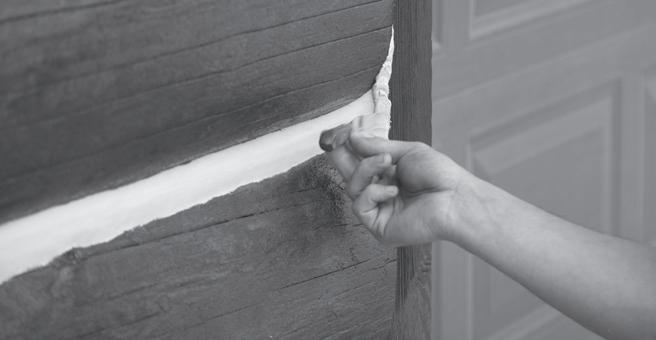
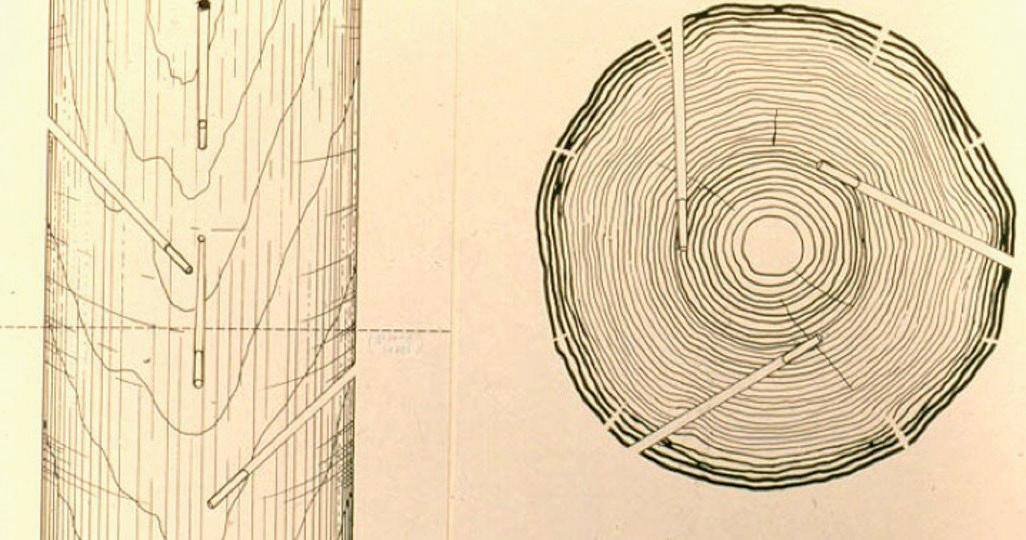
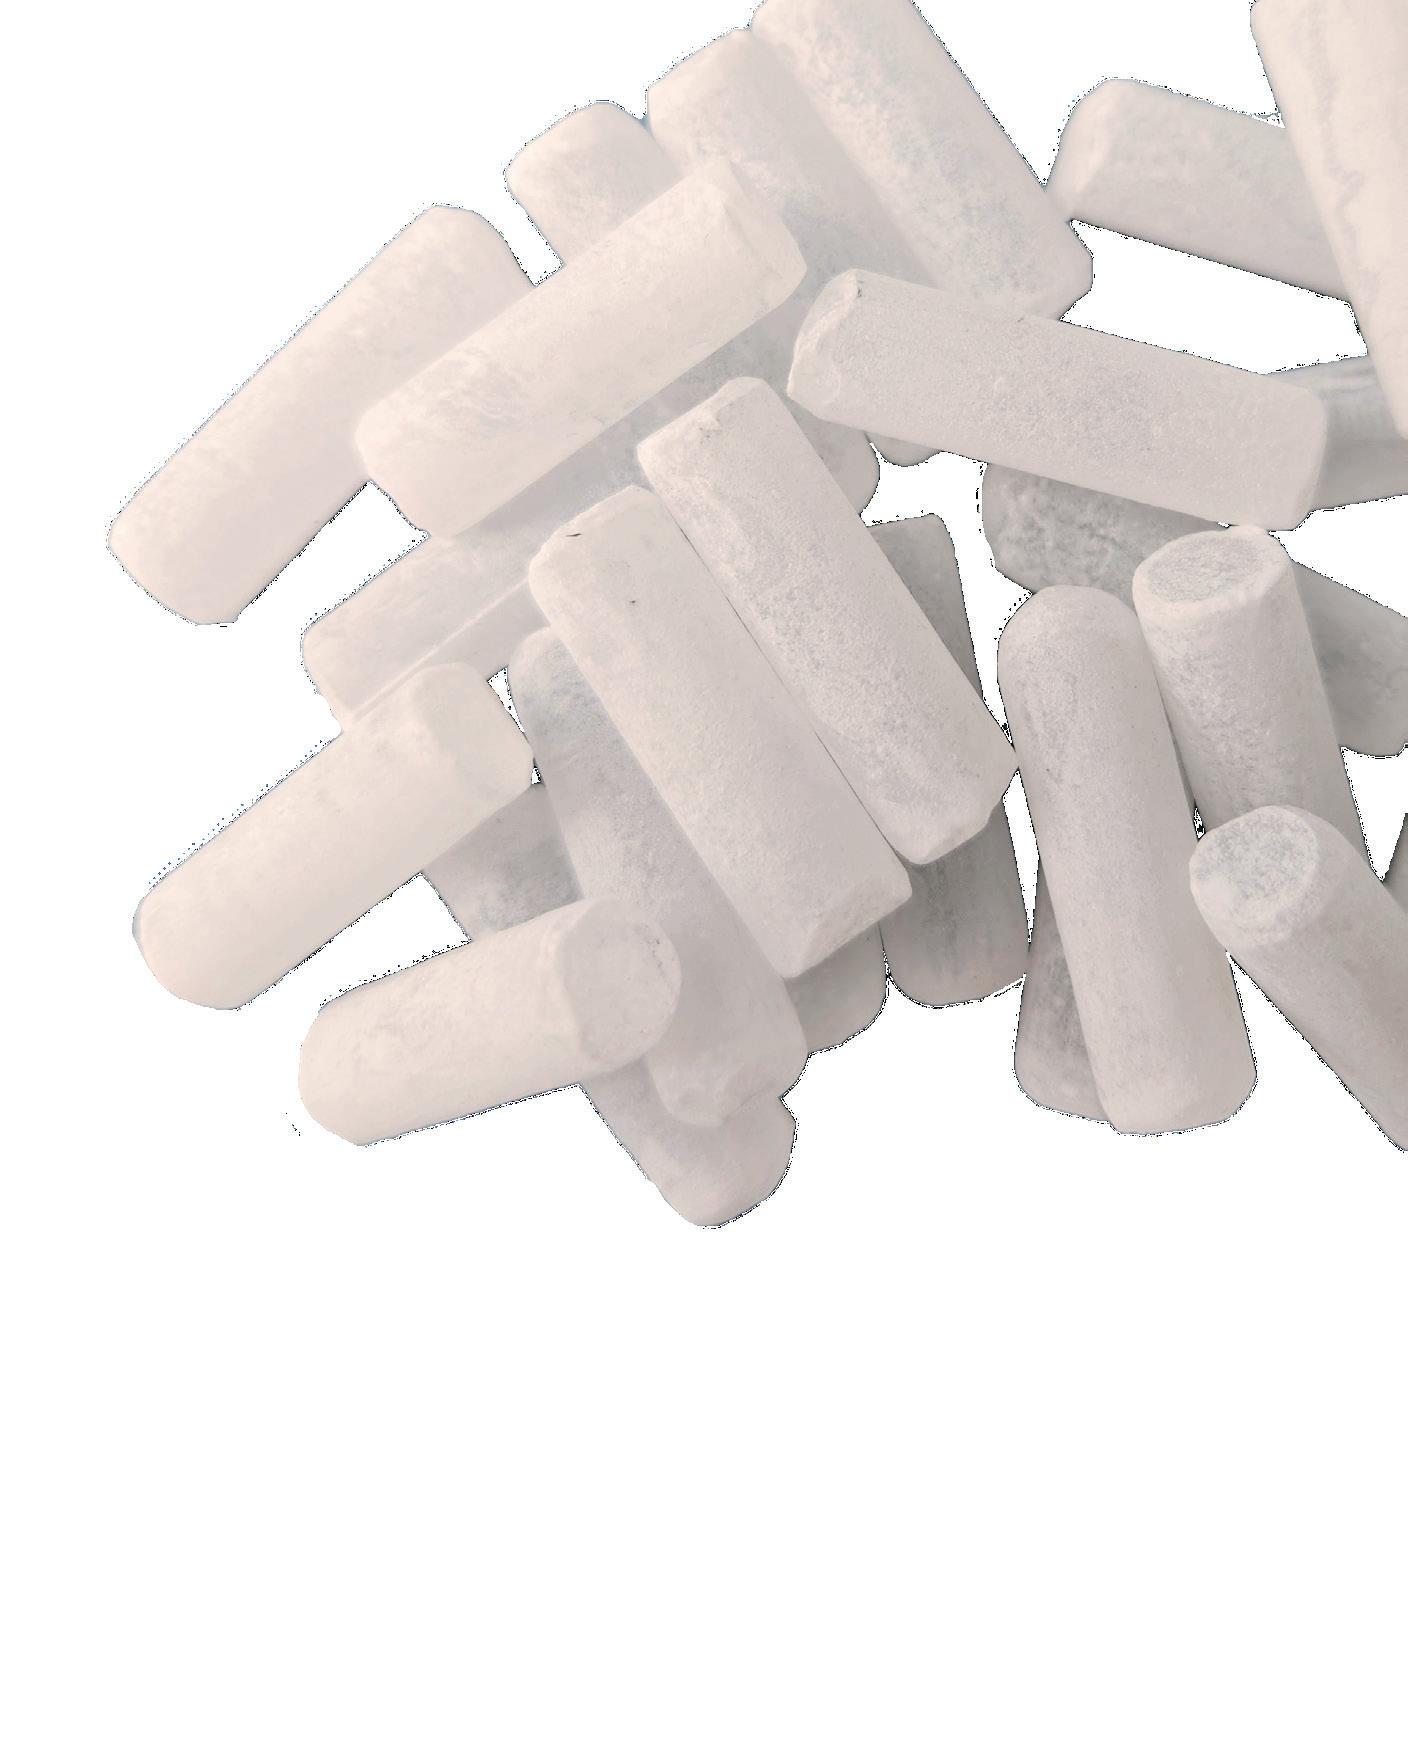
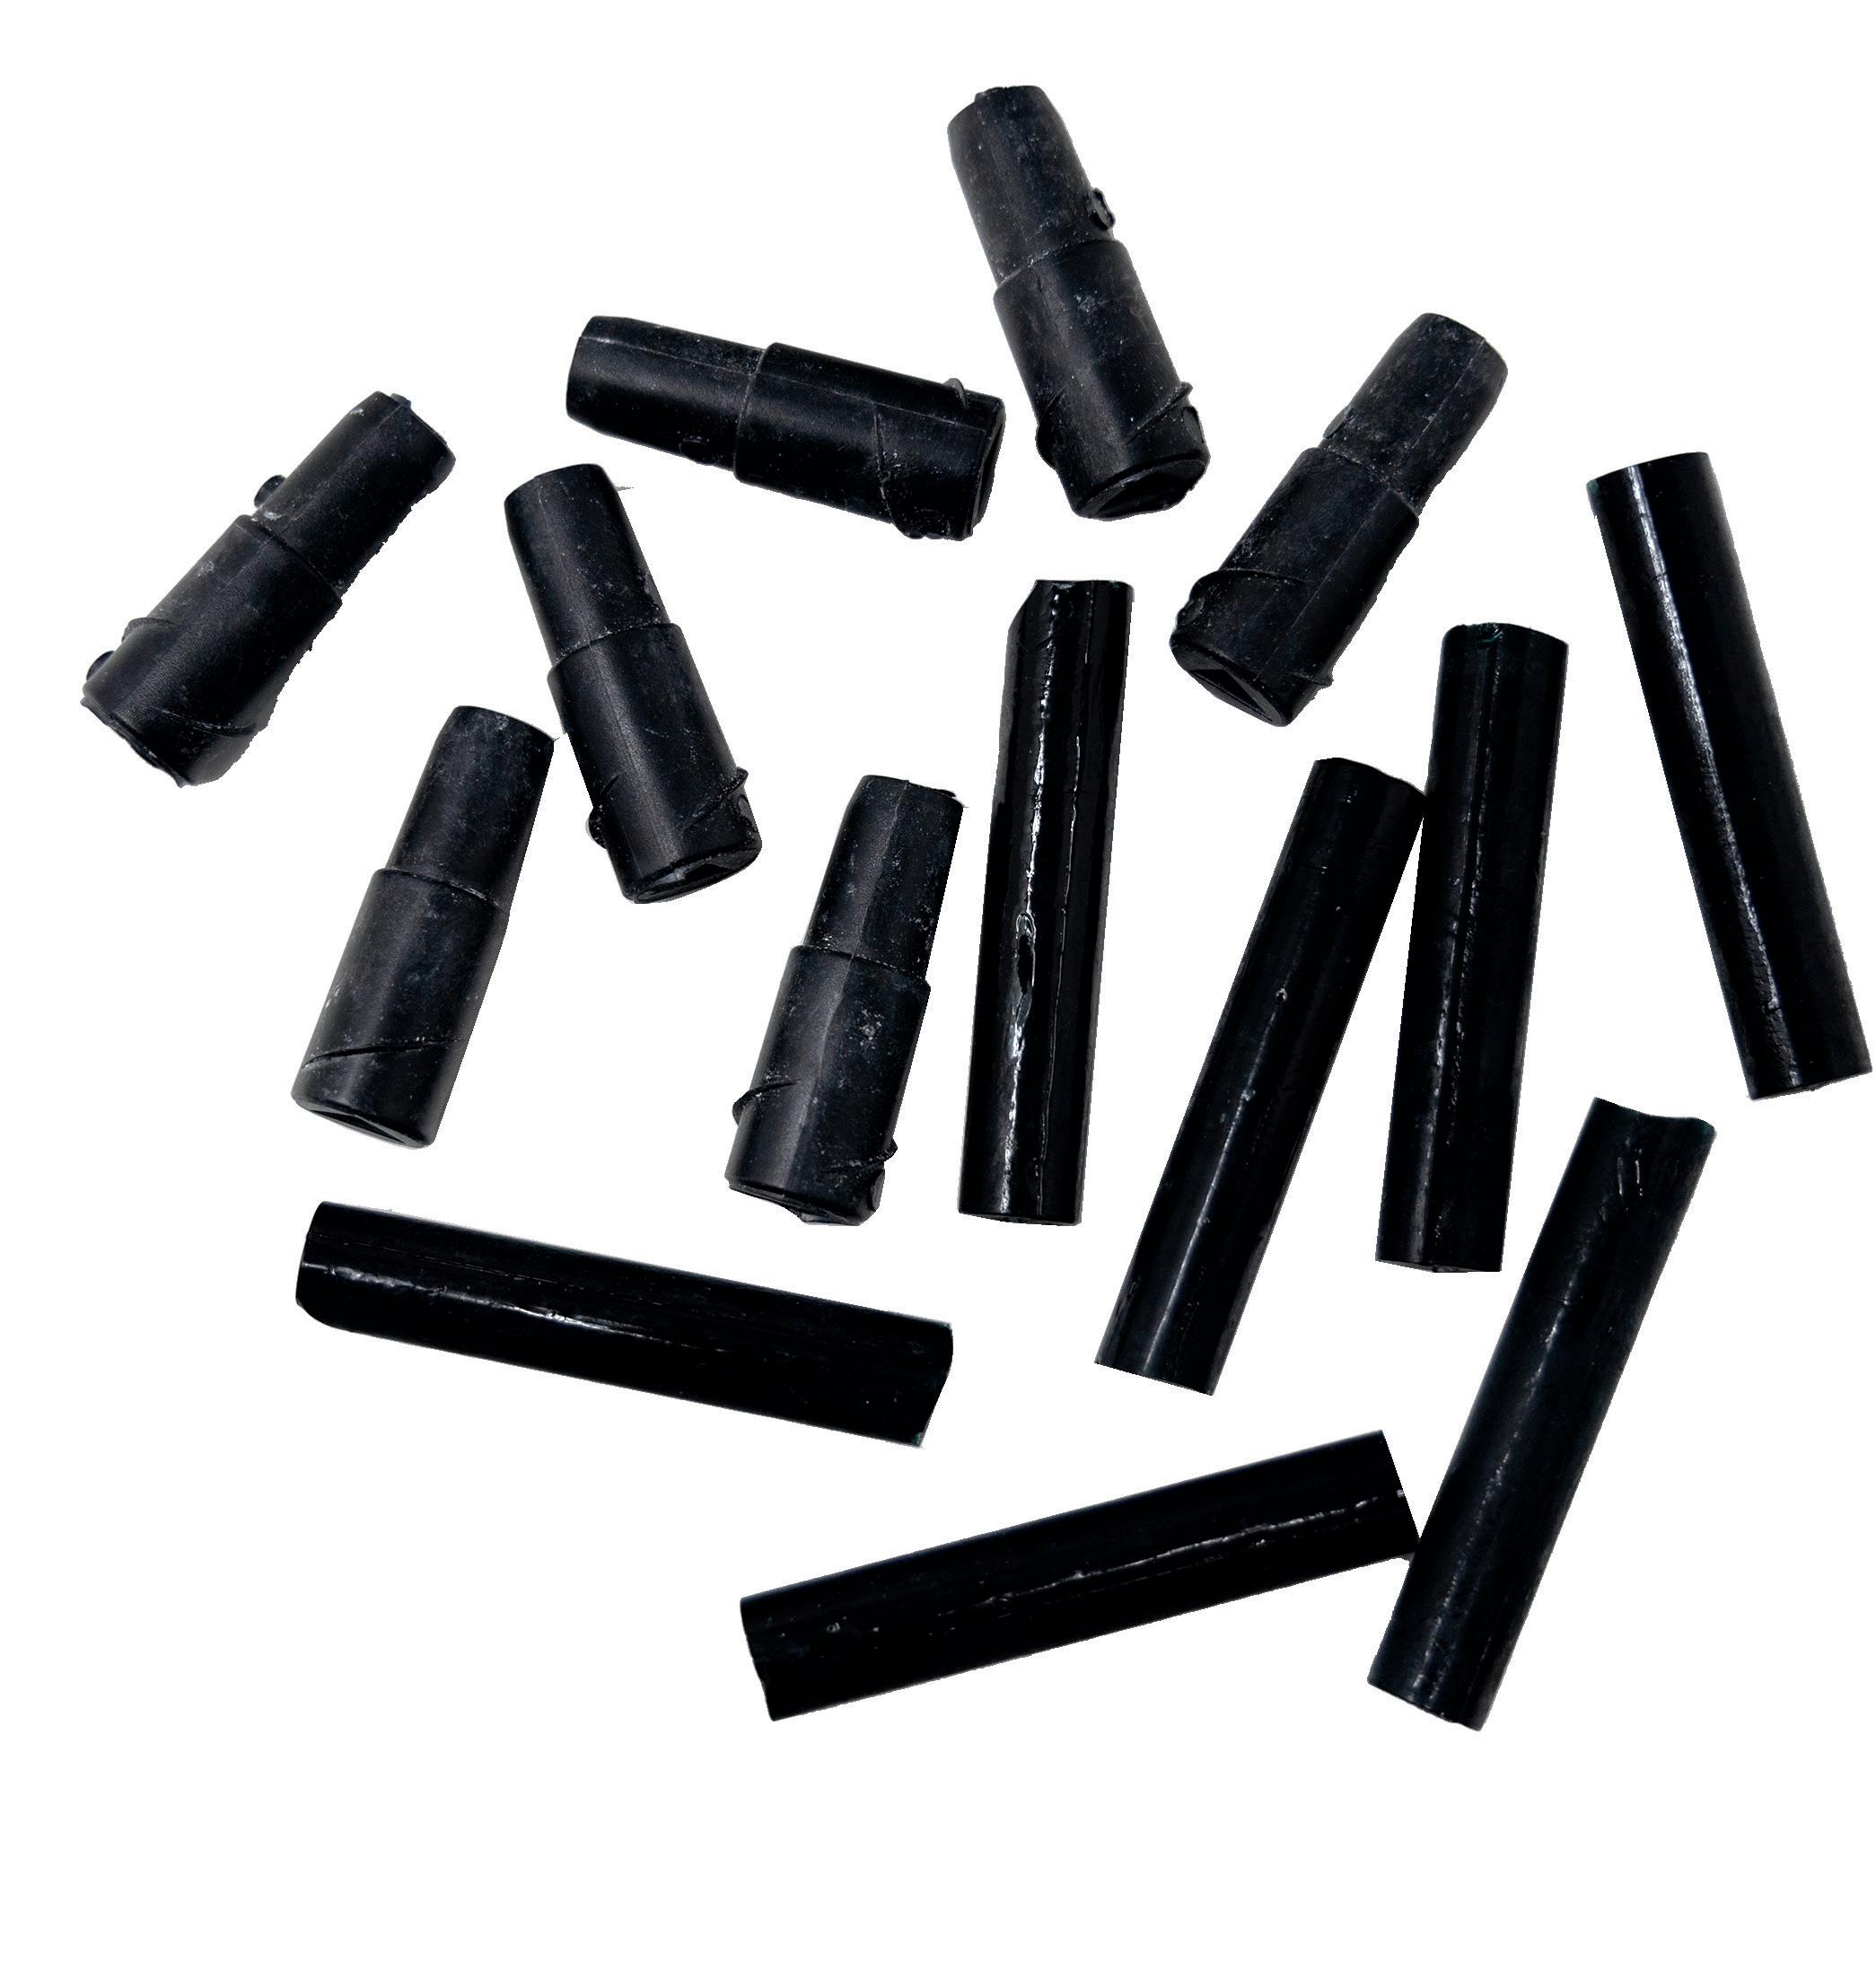
Borate rods are great additional protection against rot and wood-ingesting insects in high-risk locations, like lower log courses close to the ground, exposed purlins, and handrail posts. They are only activated if the wood gets too wet and are replaceable. Simply drill a hole, drop in a rod, seal up with a piece of backer and some Conceal, and you’re good to go. Check in on them every time you do your routine maintenance checks. If they’ve started to dissolve, solve the water problem first, then replace the borate rod.
Check with your log home products retailer for brands and sizes available.




After proper preparation is done and preservatives are applied, you’re ready to stain. Hooray!
Sashco designs our stains for both beauty and durability. With routine maintenance, they will highlight and protect the unique beauty and character of your log or wood home for years to come.
Don’t take our word for it Don’t take our word for it

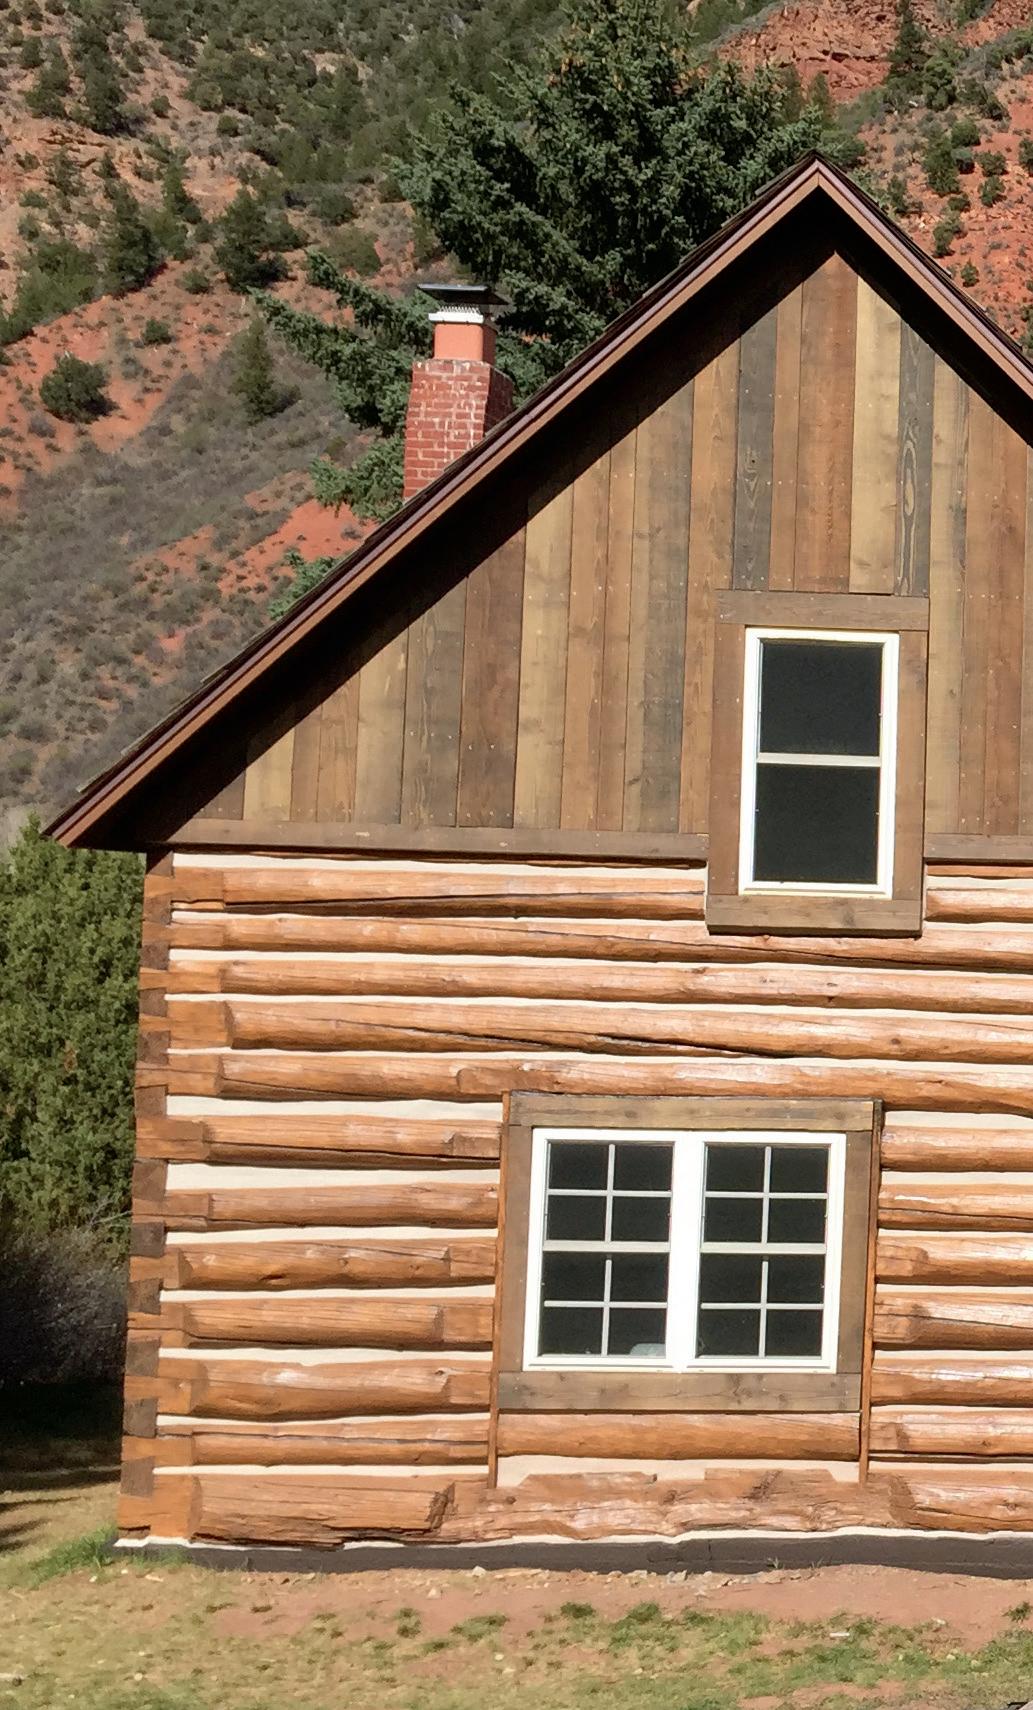
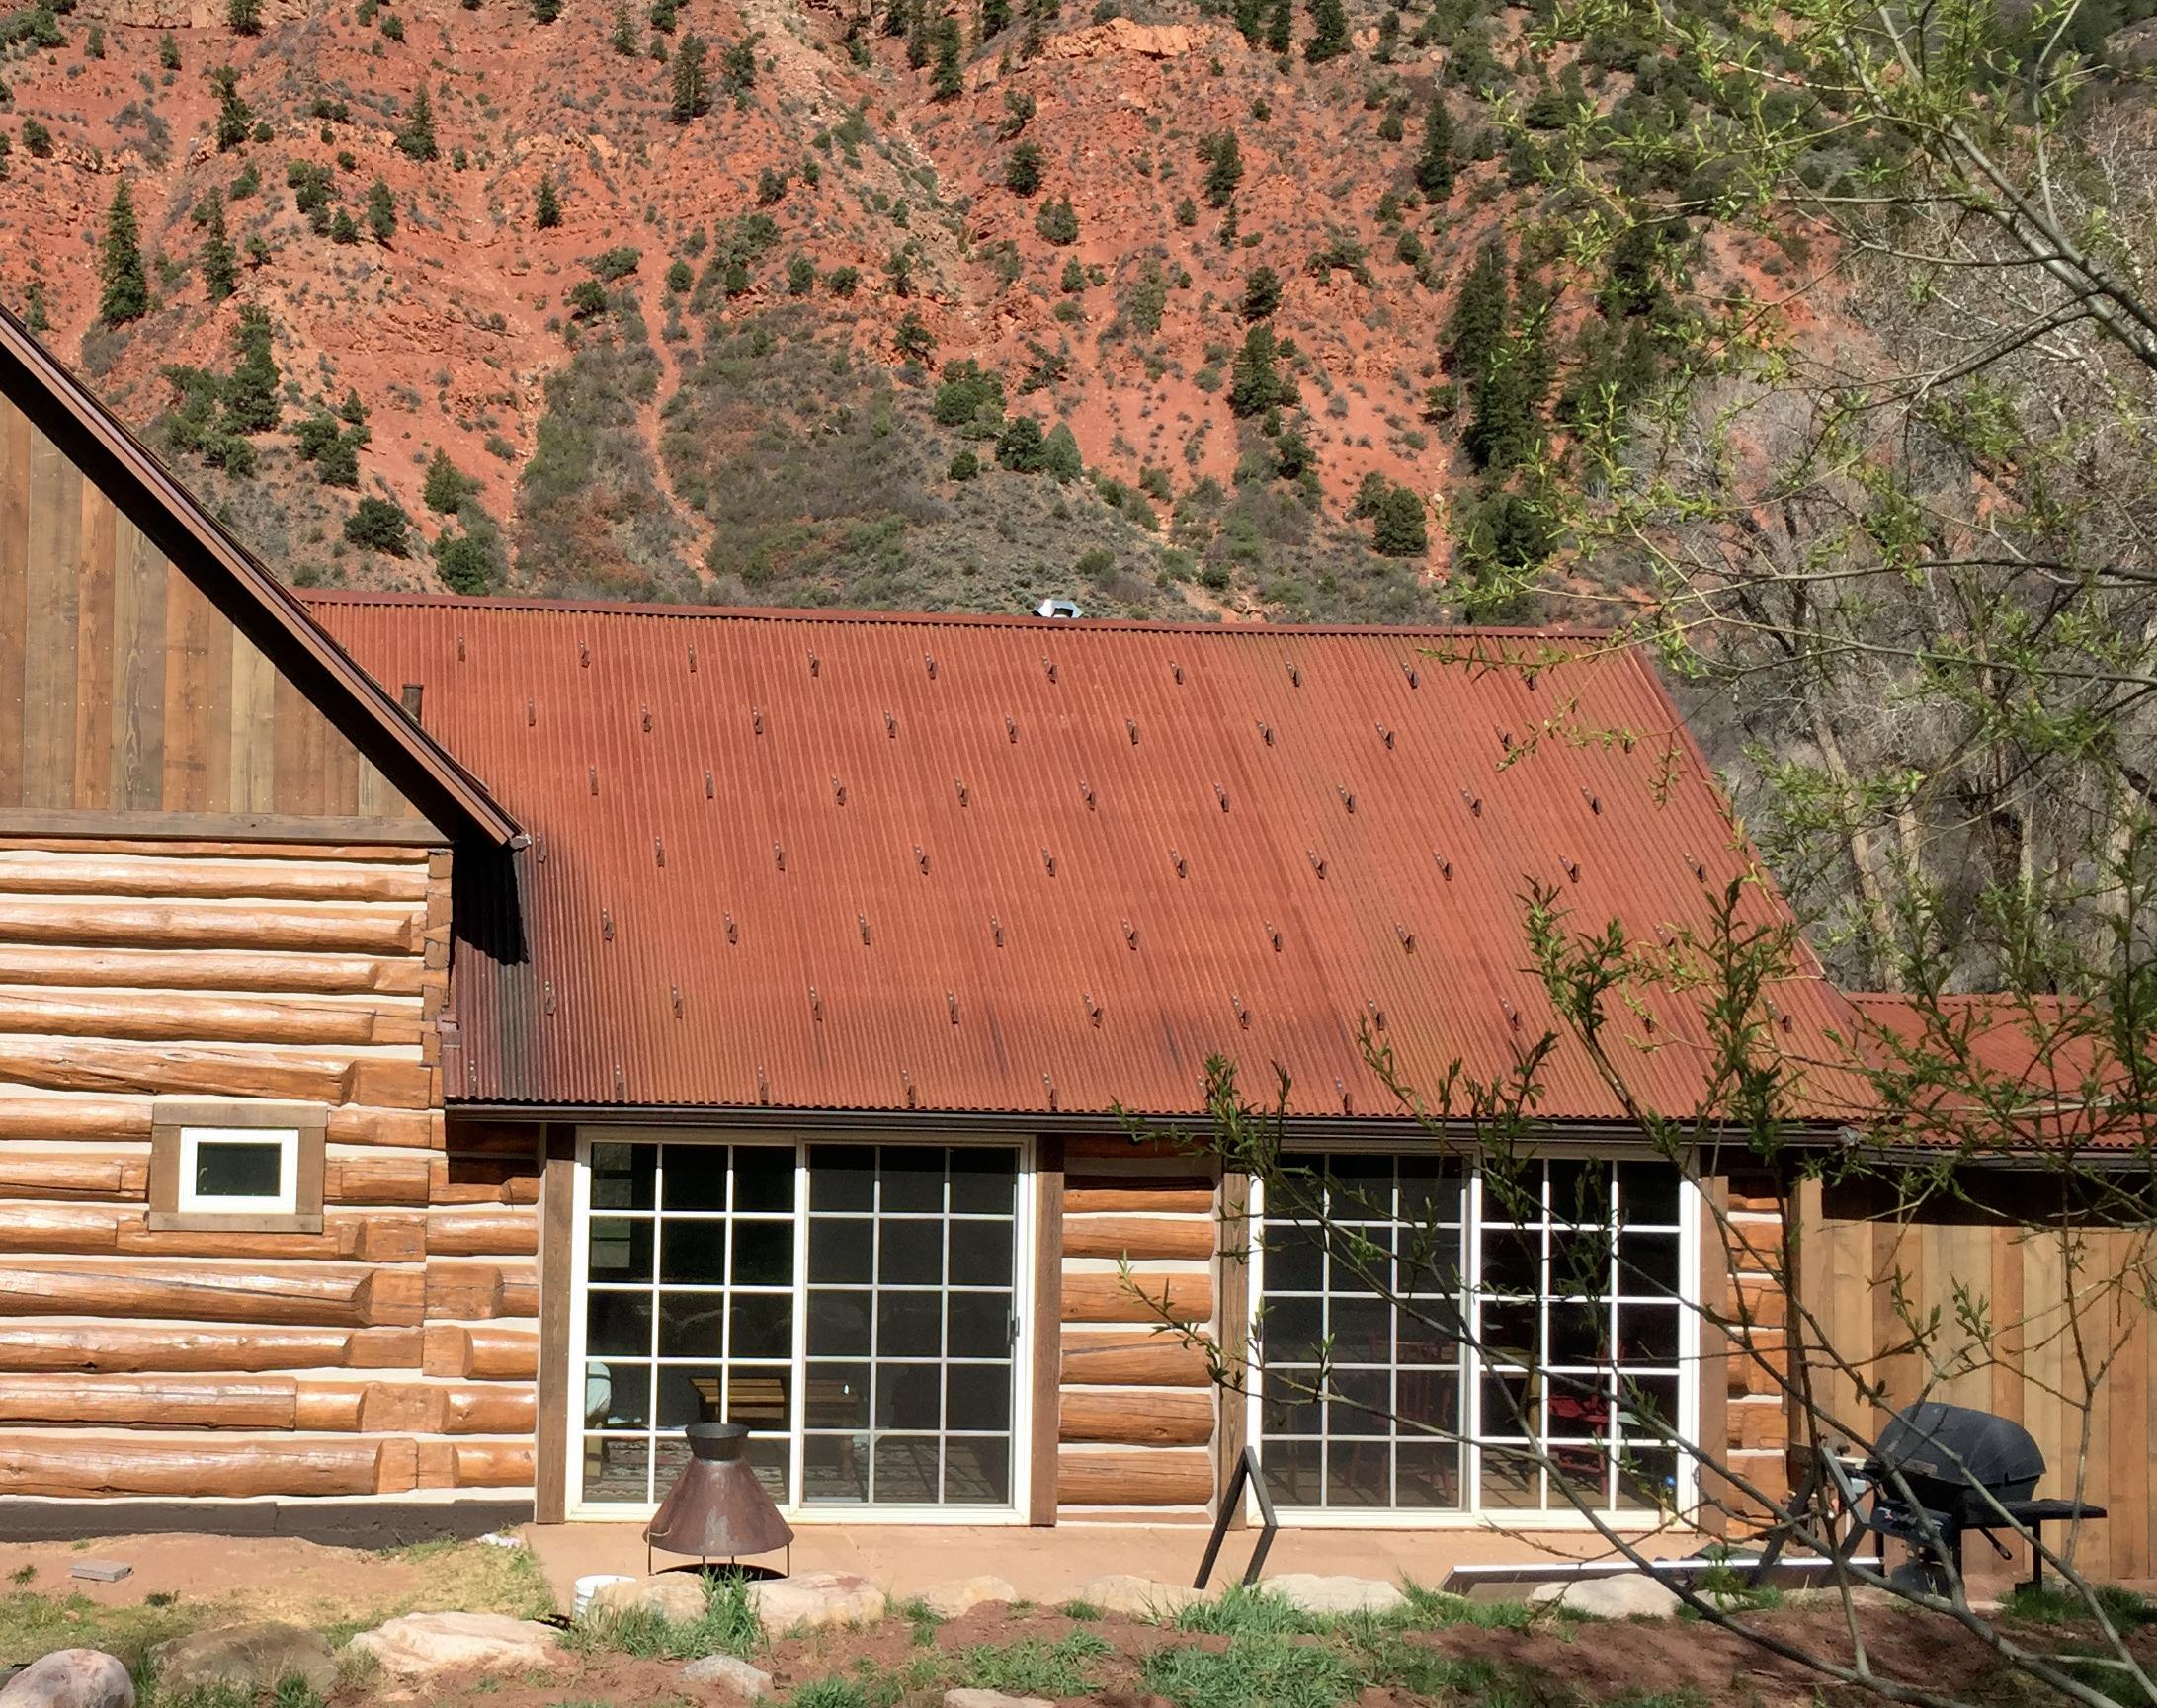
These Alaskan homes are exposed to winds in excess of 100 mph throwing salty rain and silt right at the house. Then there are the long Alaska summer days with around-the-clock UV exposure. It’s an extremely tough environment. I revisited one of these homes about 11 years after I did the original refinish work. The Cascade clear coat was still intact and beading up water. That was the moment I decided that the best choice for all of my customers was Sashco’s Capture/Cascade system. – Manfred Nolywaika | Northwoods Enterprises, www.northwoodsenterprises.com



pre-stain base coat
EKeep the color the color
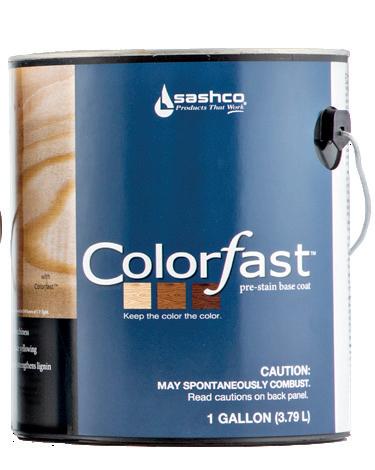
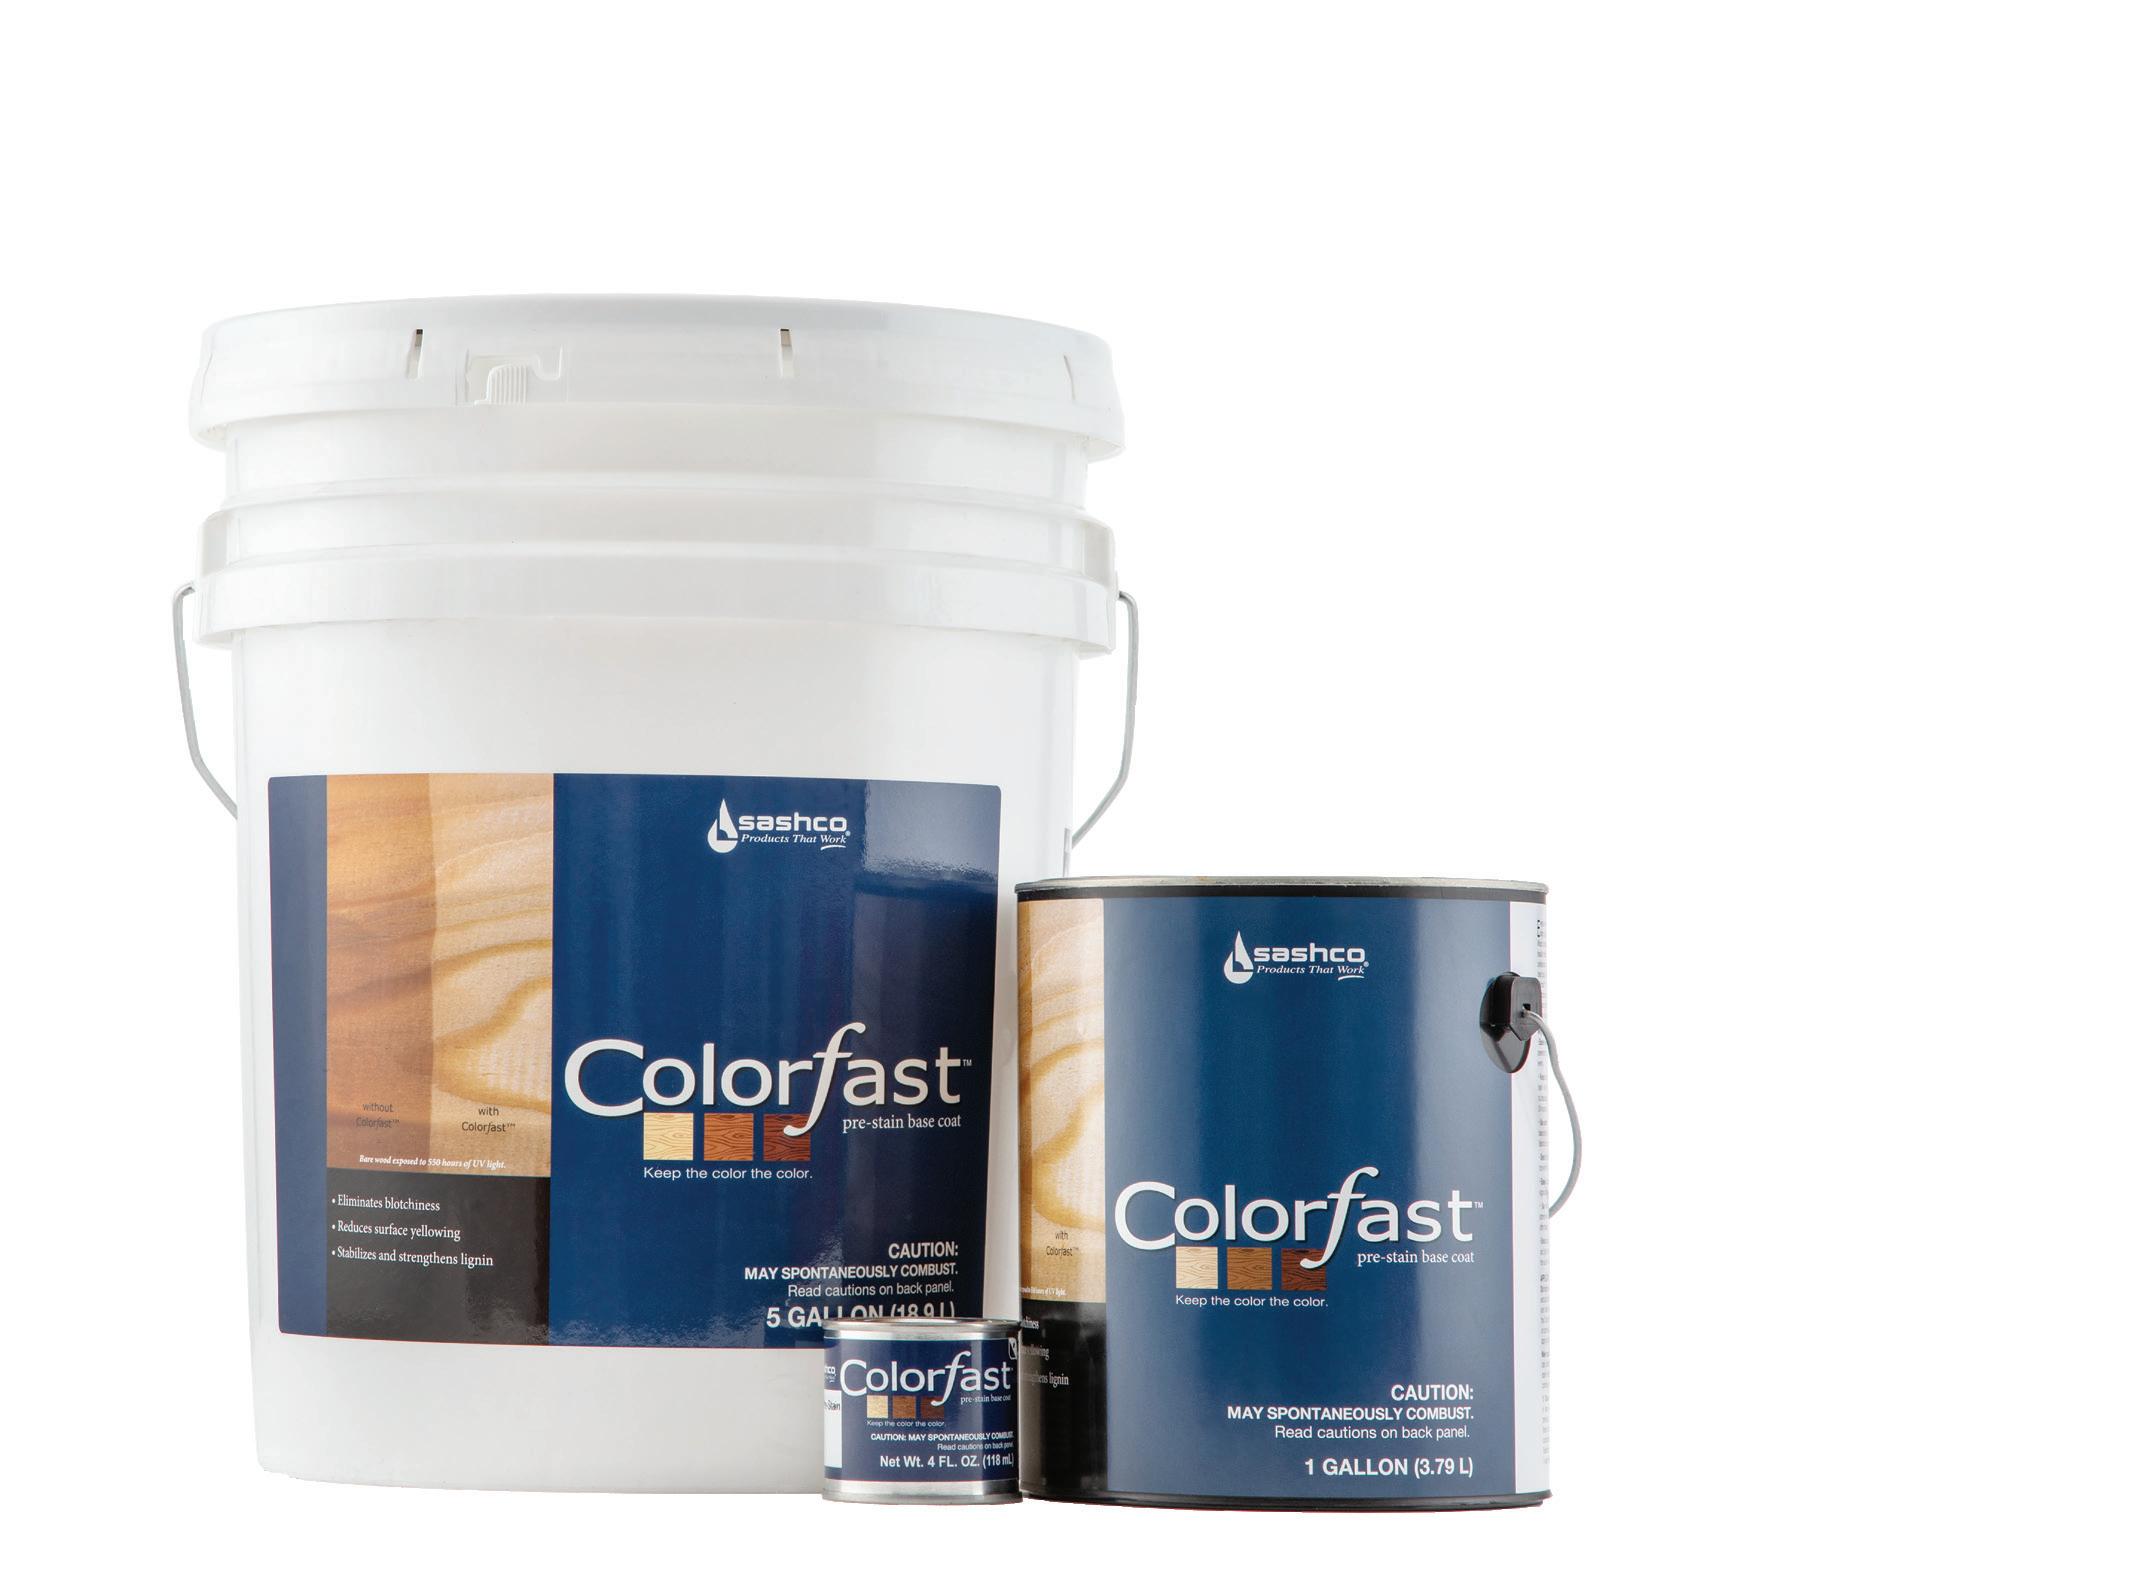
veryone knows that color is king on a log home stain job, but pleasing the king can be difficult! Wood porosity differences lead to blotchy, uneven results when staining. UV damage causes the wood to yellow your stain or interior clear coat. That once-perfect color is lost. That’s why you need Sashco’s Colorfast. Colorfast strengthens the glue that binds the wood cells together, called lignin, preventing yellowing of the underlying wood cells to help you maintain a consistent color year after year. Before staining, Colorfast evens out wood porosity, creating a smoother surface for stain application and preventing over-absorption and a too-dark color. After staining, the lignin stabilizers prevent the wood underneath from getting sunburned, leaving the stain or clear coat applied on top looking the same year after year. Colorfast provides the ideal canvas for stain application and leaves behind the strong foundation necessary for long-lasting color. It’s color confidence for your log home.

Available
Packaging:
5 gal. pails, 1 gal. pails, and 4 oz. samples
Keeps the color the color: Lignin (wood cell glue) stabilizers prevent yellowing and darkening of the wood itself over time to prevent color shifts in the stain applied over top
Reduces blotchiness: Fills pores on blasted, rough sawn, and very dry wood for a smoother surface and more even stain application
Prevents picture-frame effect on interior wood
Unique hybrid formula is great for use under any Sashco stain (contact us for guidance with other manufacturer’s products)
Great as a log keeper coat: Prevents mold and yellowing due to UV damage on new wood as it moves from the mill to the job site and throughout construction
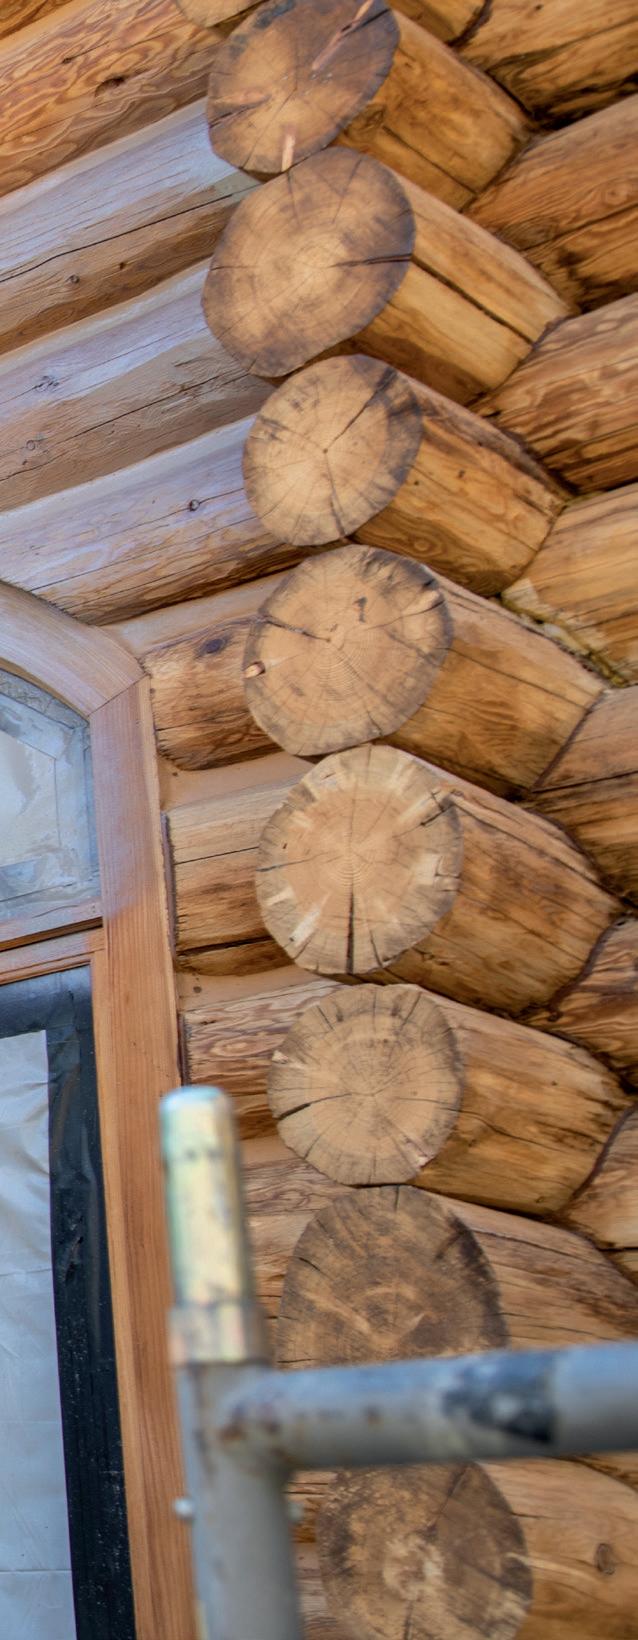
Seal those ends: When applied heavily on log ends, prevents over-penetration of stain and log ends that are darker than the rest of the logs
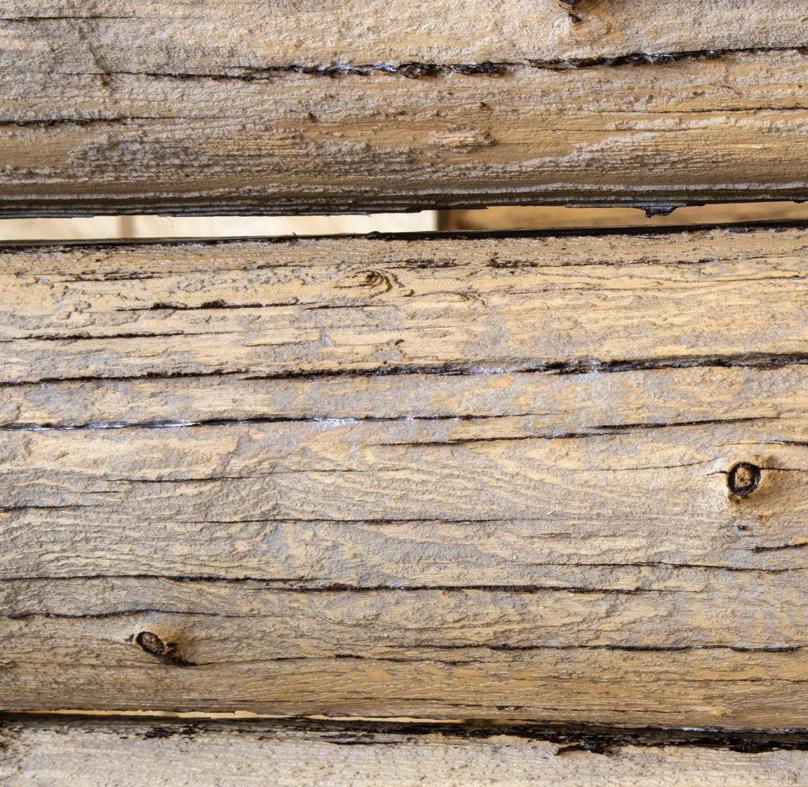

Interior and exterior on bare wood underneath an appropriate stain and/or finish top coat:
• Log, timber frame, and wood sided homes
• Wood shingles
• Surfaces recently coated with a non-drying waxy oil-based stain (Contact us for more guidance)
• Surface treated with creosote
• Wood trim and facsia
• T&G ceilings and walls
• Furniture and cabinetry
• As the only coating on wood long-term. Within 3 months, Colorfast must be coated over with an appropriate stain or finishing clear coat.
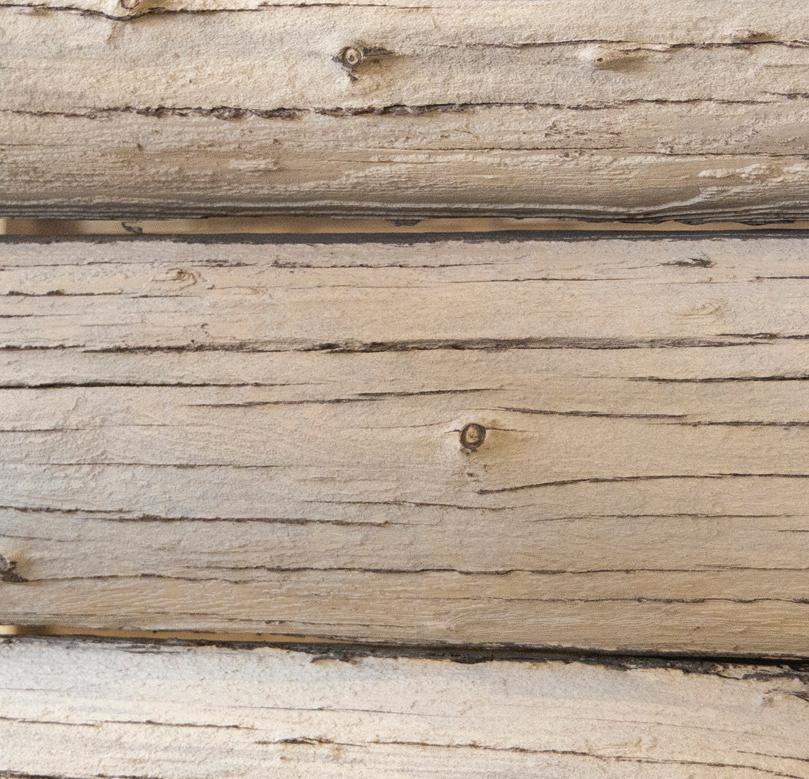
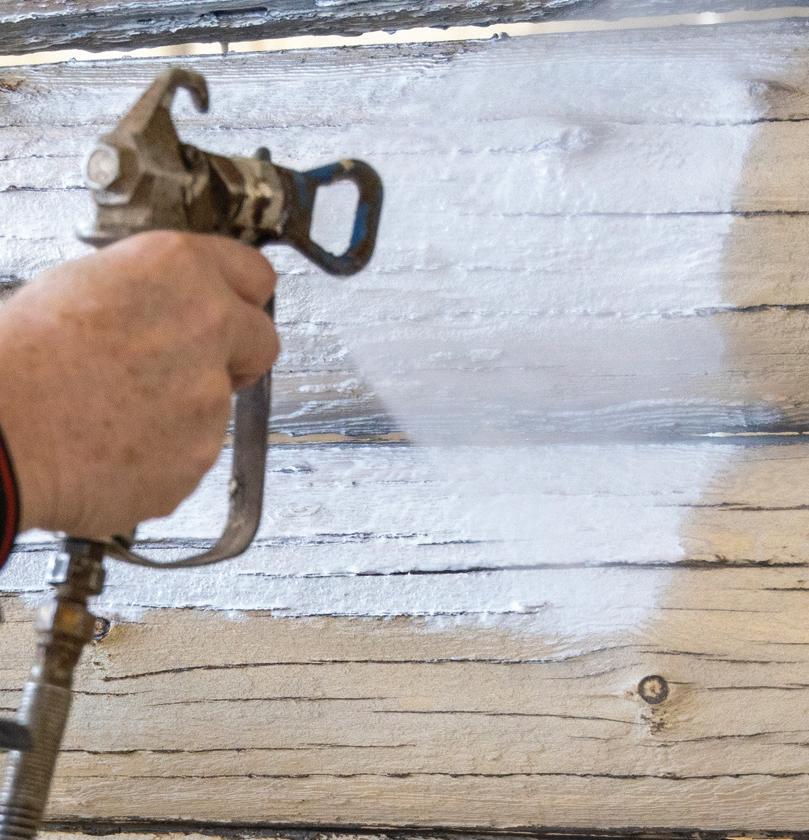
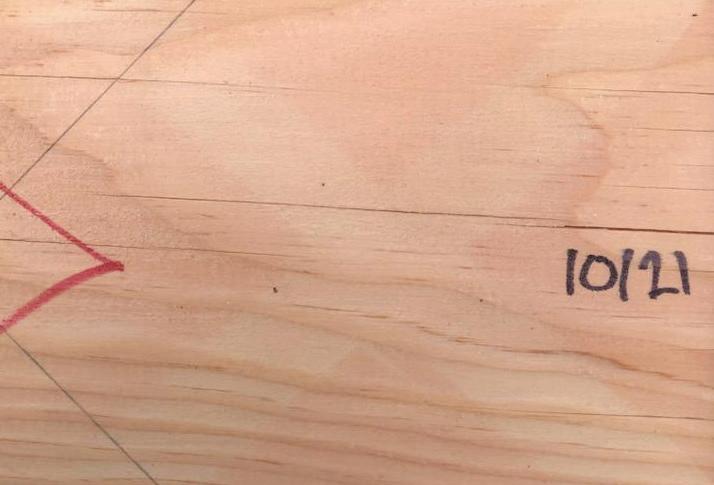
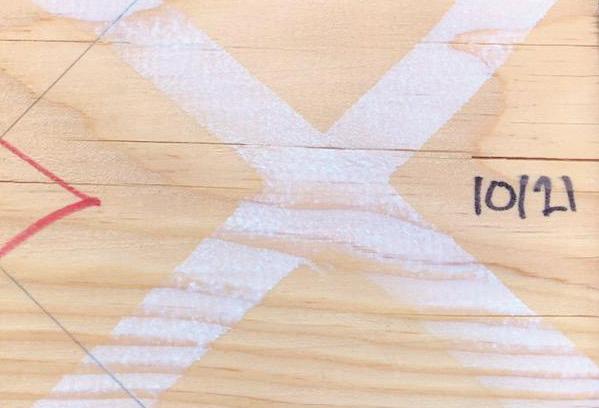
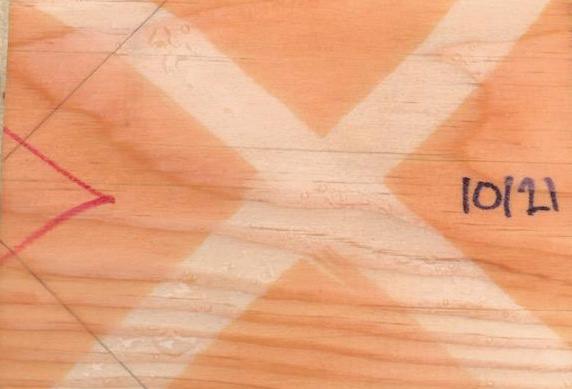
One coat of Colorfast in an X shape was applied to this pine log siding. Colorfast vs. Plastic Sheeting vs. Nothing: Which wins?
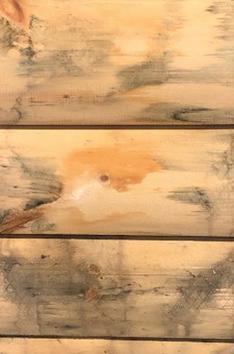
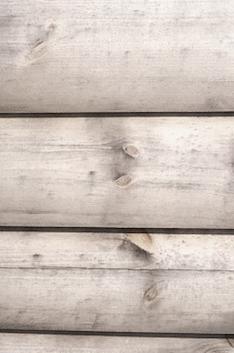
Number of Coats :
1 drench coat
Method of application
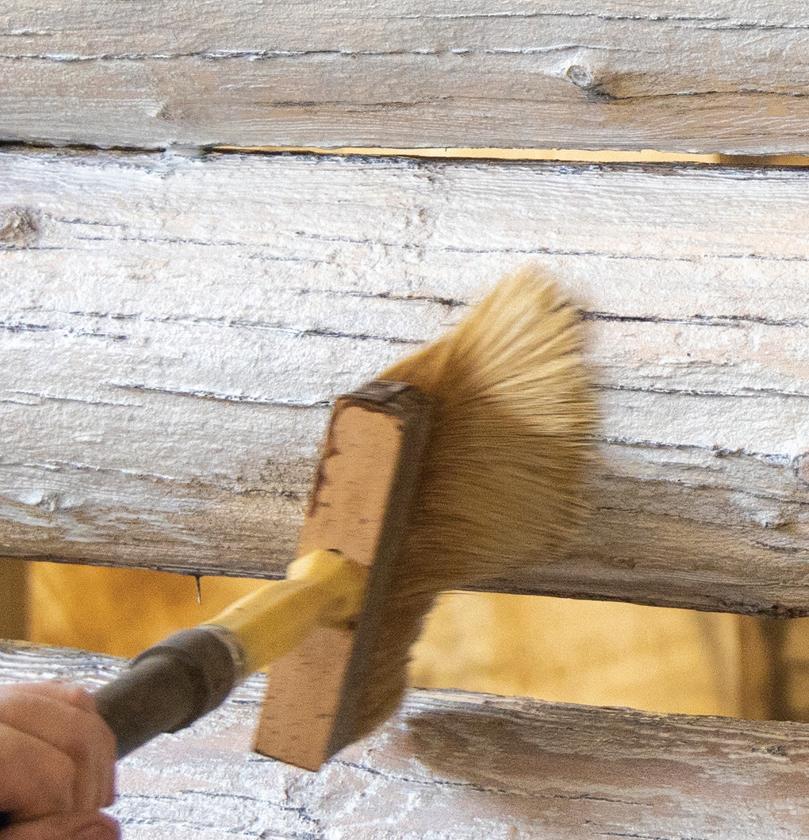
• Spray on heavily and brush lightly to remove runs
Application Temperatures
• Surface and air temps of 40° to 90°F (4° to 32°C)
• To avoid washout, do not expose to either freezing temps or rain during application and for at least 48 hours after application
Coverage rates:
• 150-300 sq. ft. per gallon
Dry time
• Under water-based coatings: 2-6 hours
• Under solvent-based stains: 12 hours
• Allow more dry time in cooler temps and/or 50%+ humidity
• Protect from direct rainfall for at least 48 hours
Cleanup
• Clean brushes and equipment with mineral spirits. Hands may be cleaned with citrusbased hand cleaners, and then washed with soap and water

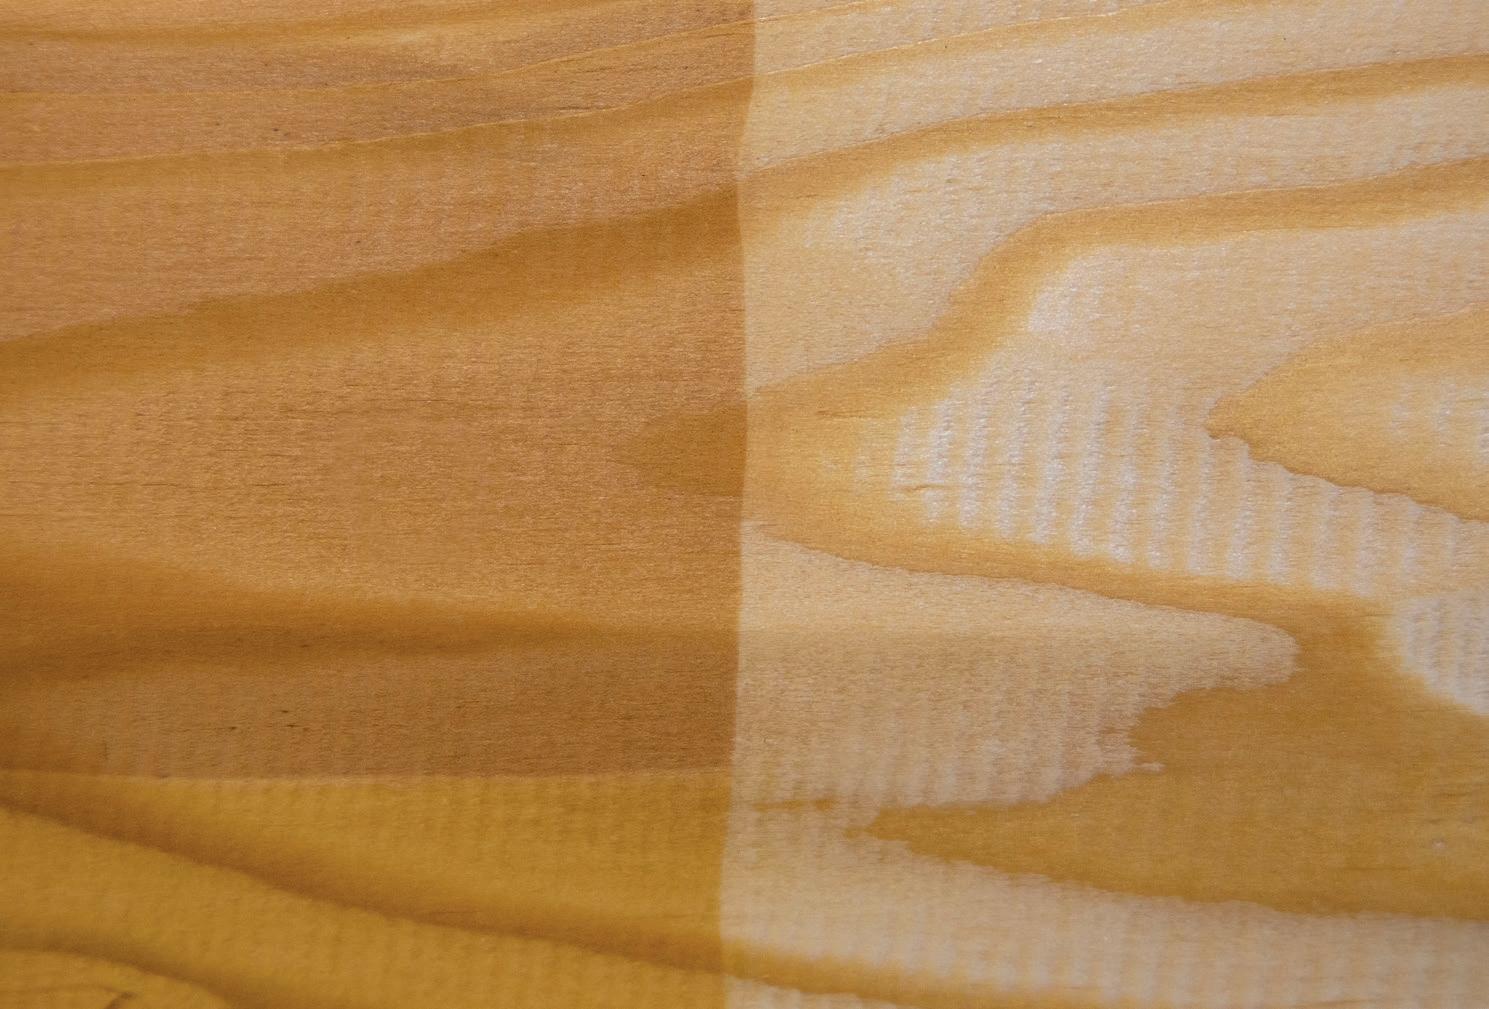
Wood exposed to UV rays for 550 hours. On exteriors, stain over Colorfast with a Sashco stain for best durability. On interiors, cover Colorfast with Sashco’s Symphony interior clear coat for easy cleaning and a slight sheen.

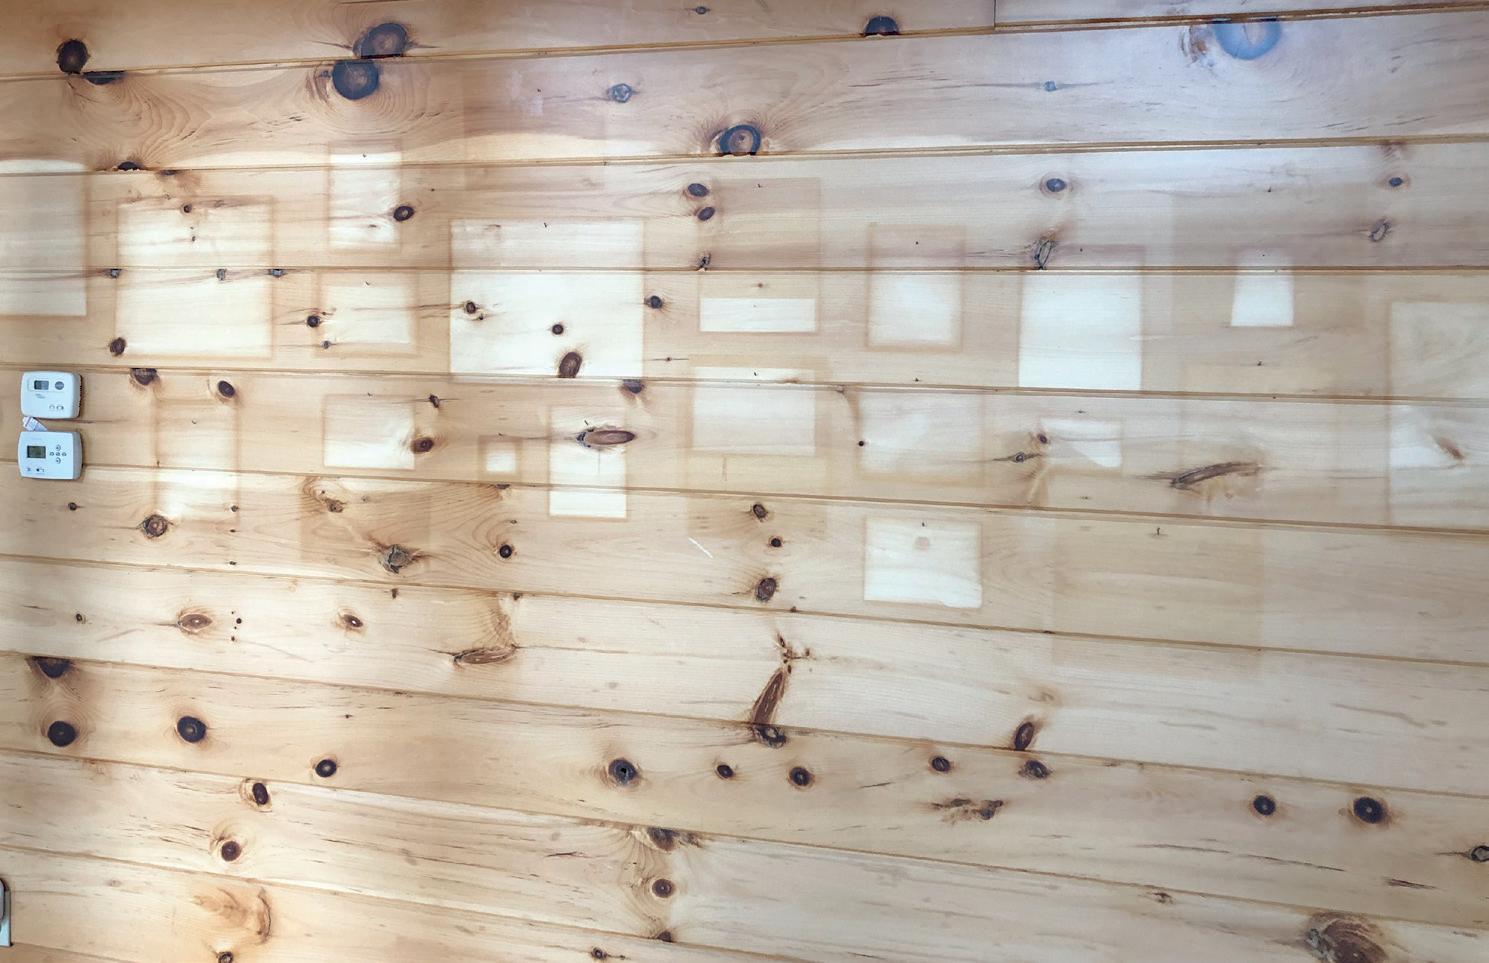

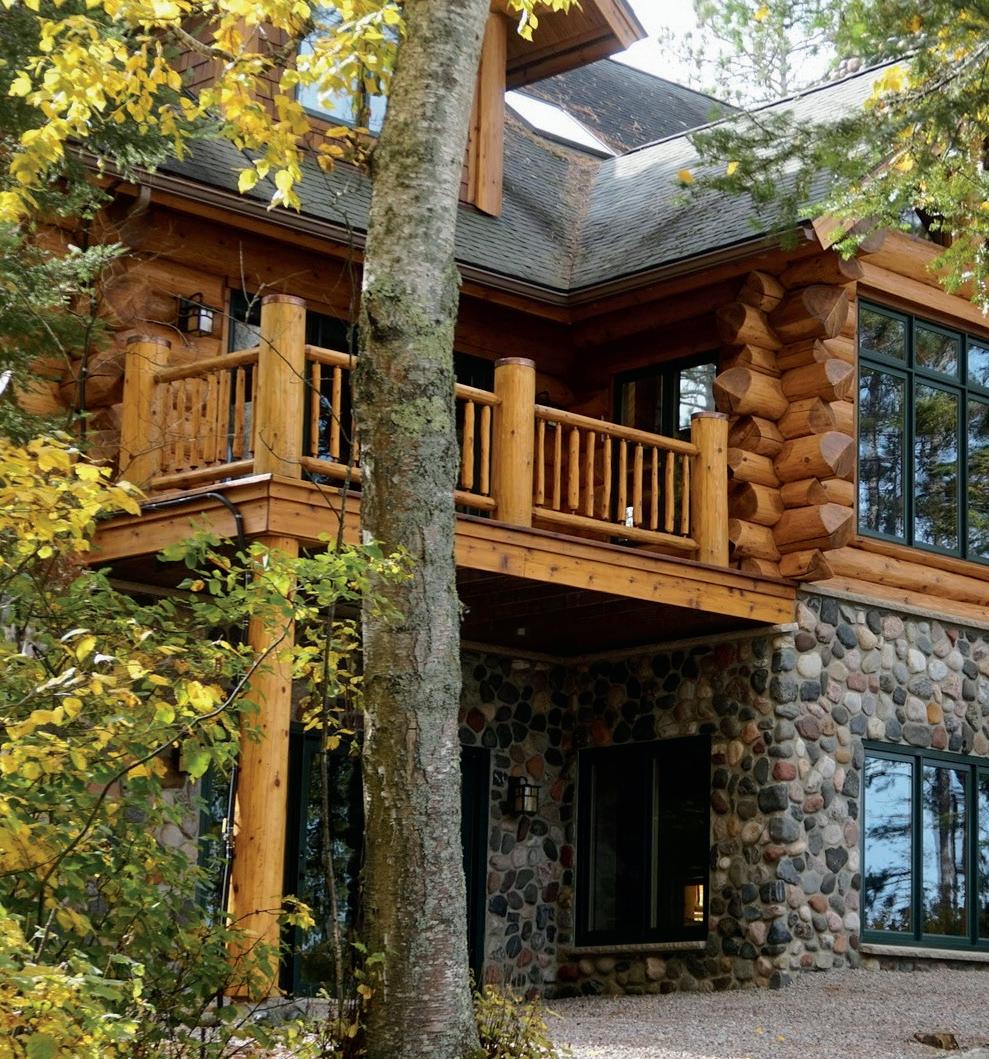
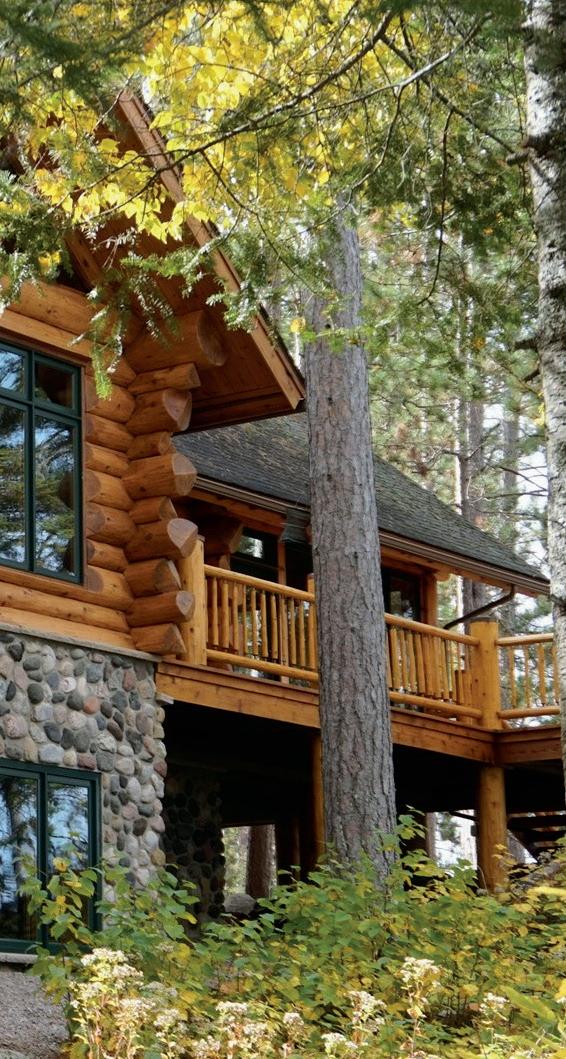
The journey to your dream log home has been marked by years of planning, tons of choices, sweat, and months of anticipation.
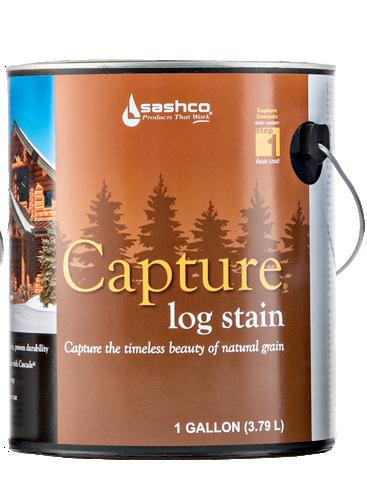
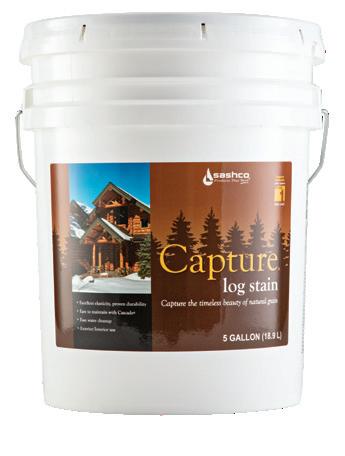
Finish strong with an ultra-elastic and durable stain made specifically for logs & timbers. Sashco’s Capture Log Stain and Cascade clear top coat system provides years of protection from weathering and moisture damage, keeping your home beautiful year after year with a highly-elastic finish that holds on tenaciously to wood. It actually stretches as your logs and wood move to prevent damage from moisture infiltration and UV rays. Predictable and easy routine maintenance with Cascade clear coat keeps your home looking like it was just stained. Don’t compromise at the end of a long and arduous journey by using an inferior stain not formulated specifically for logs. Capture and Cascade deliver performance worthy of the journey that got you here.


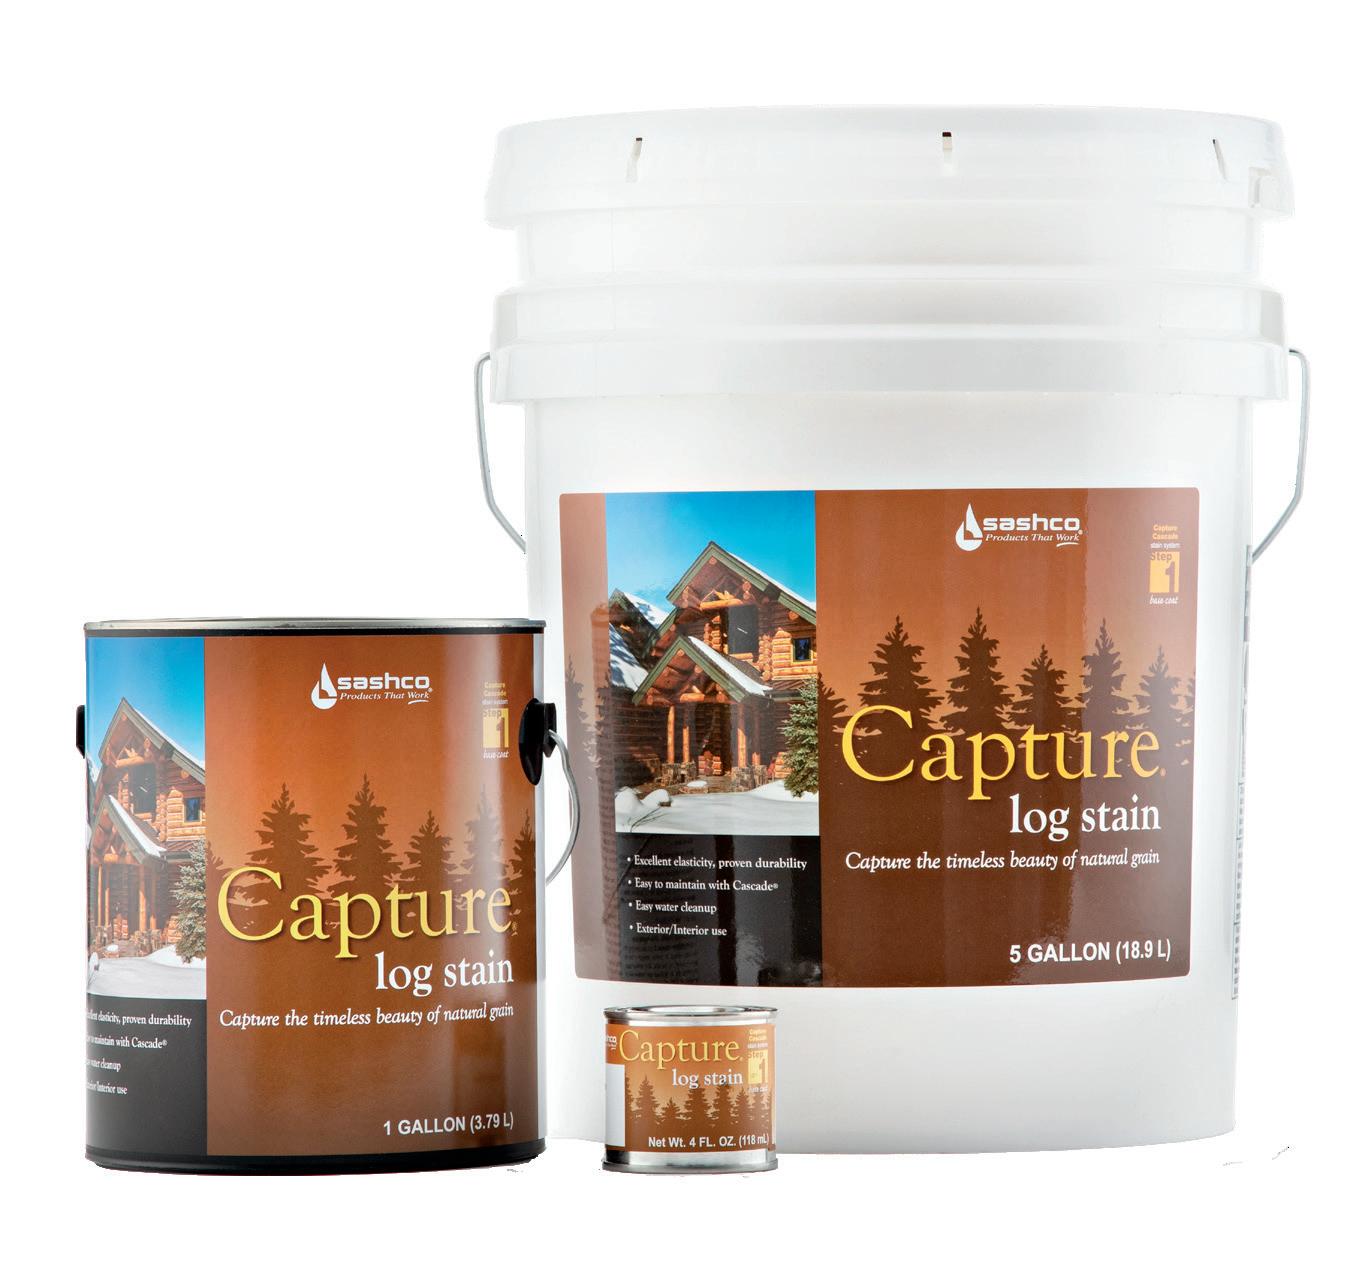
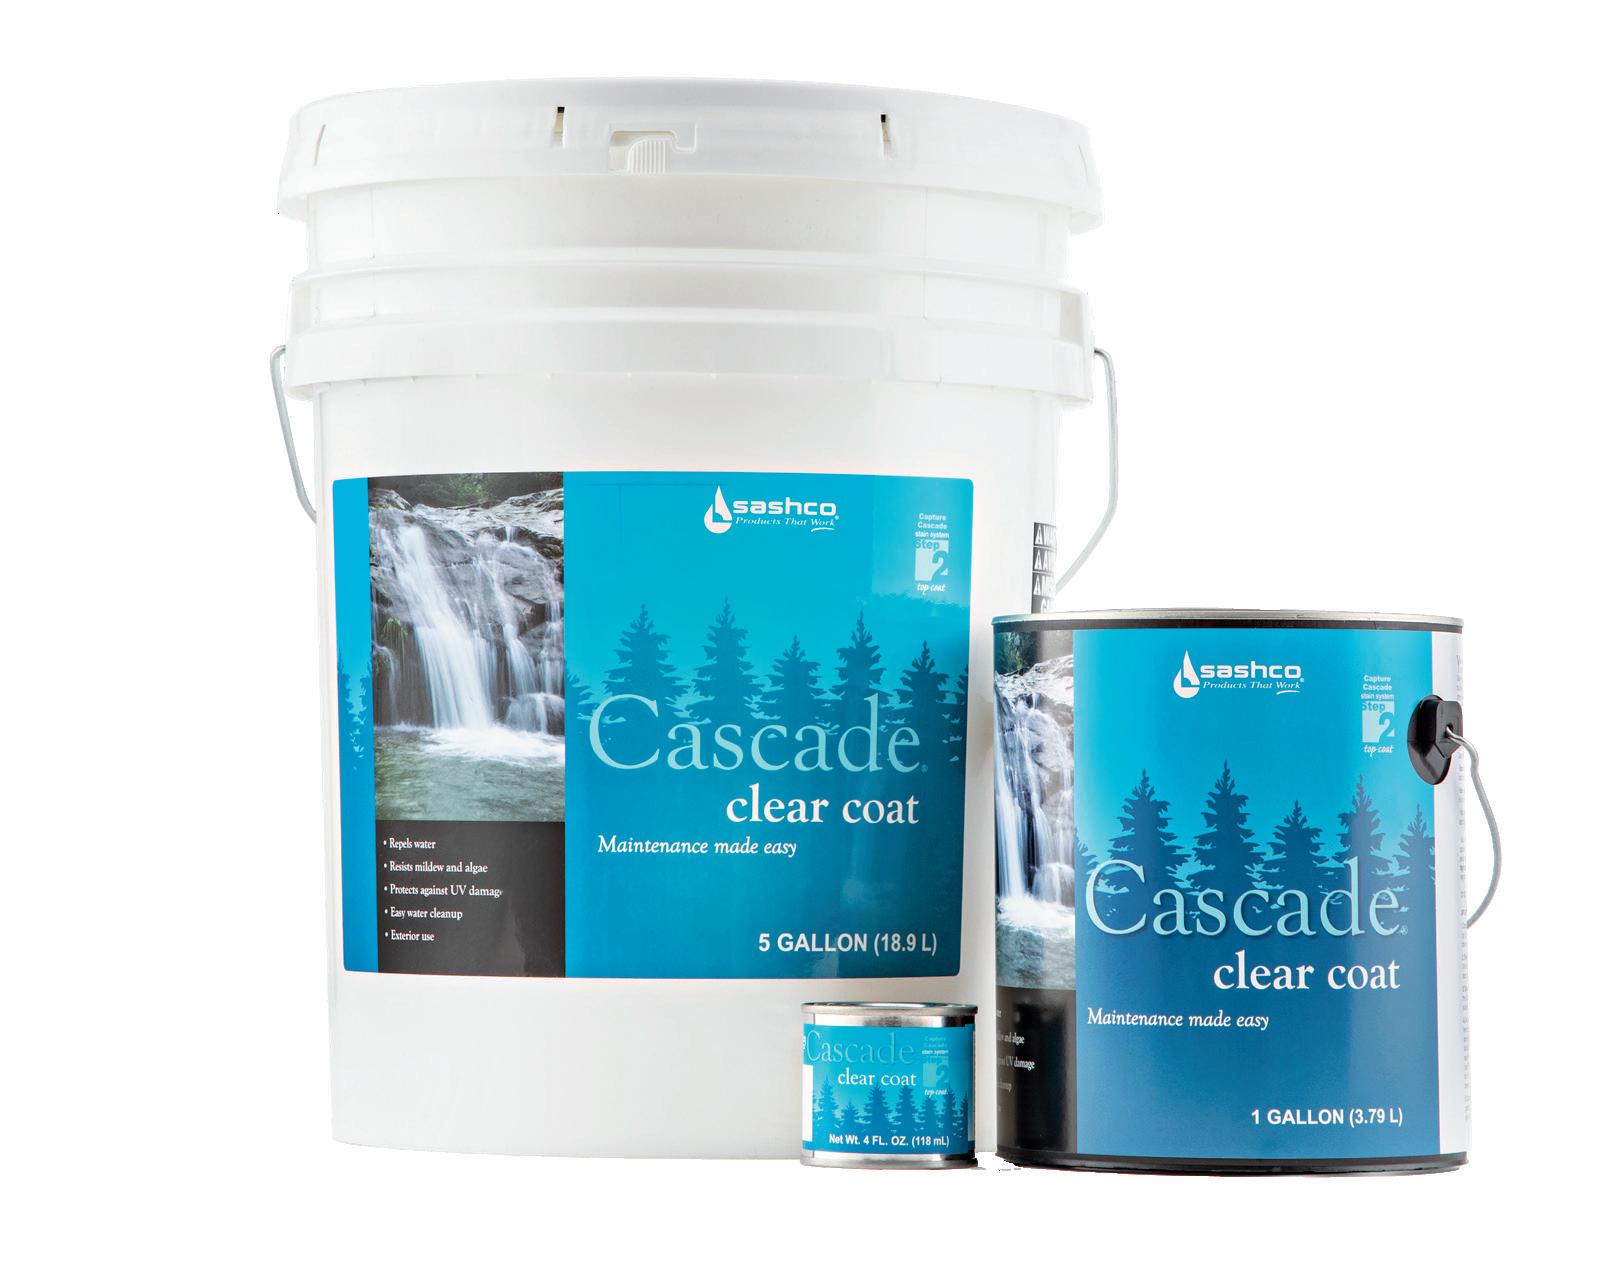




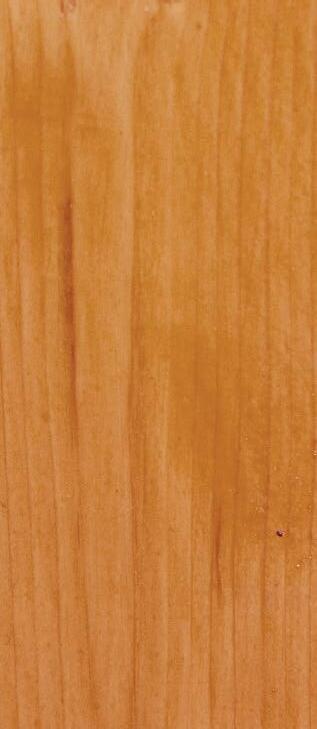
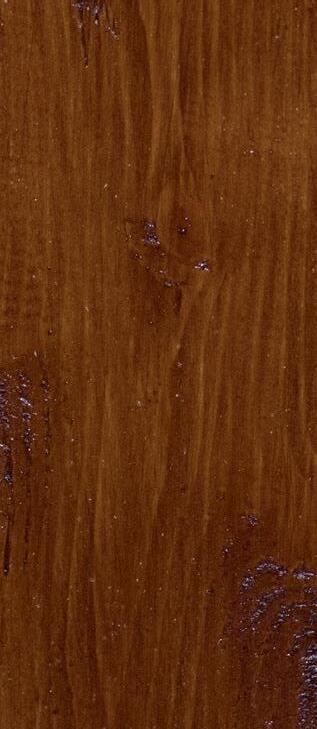
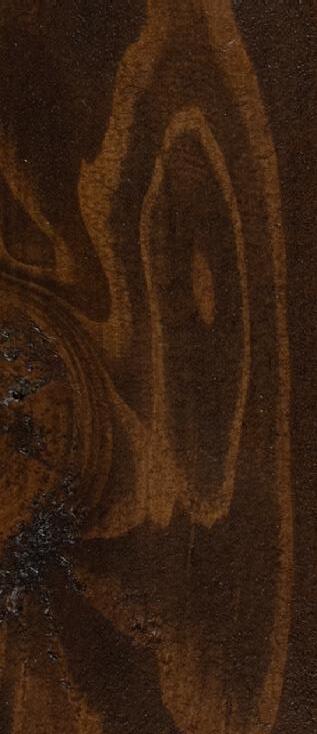


Highly elastic thin film won’t crack and peel to protect the wood underneath from moisture infiltration, UV damage, and frequent restaining (ugh)
Highlights wood’s natural beauty – you chose wood to showcase it, not hide it
Easy maintenance with Cascade means your home stays looking like you just stained it. No need to remove the Capture Log Stain for maintenance.
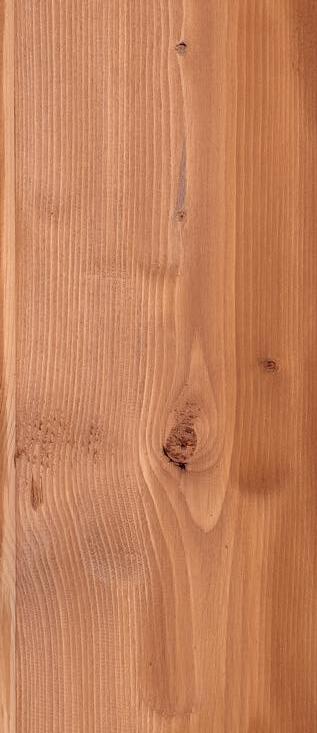
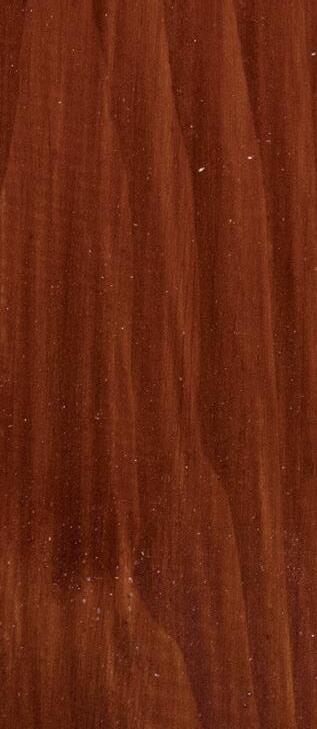
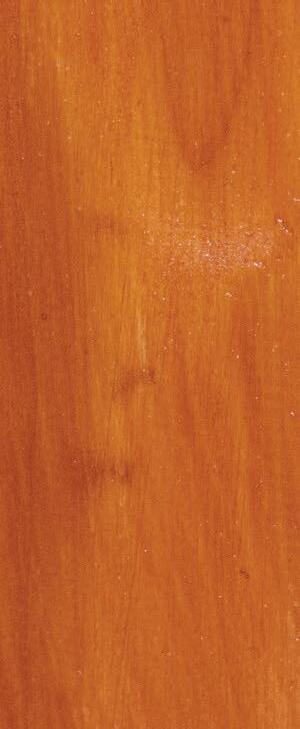
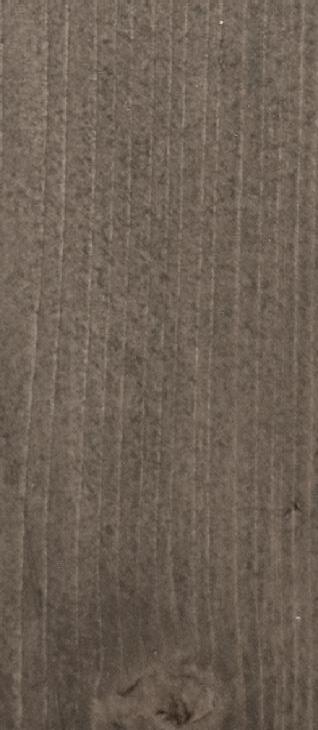
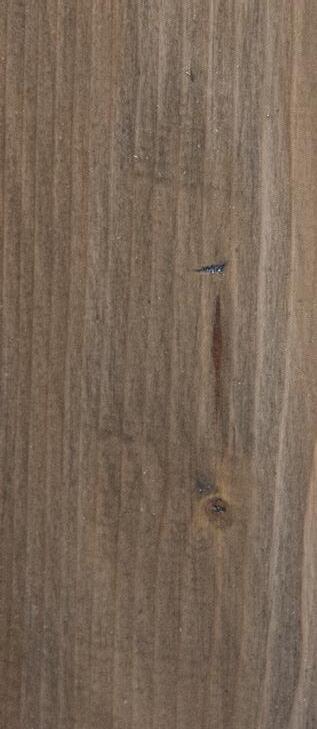
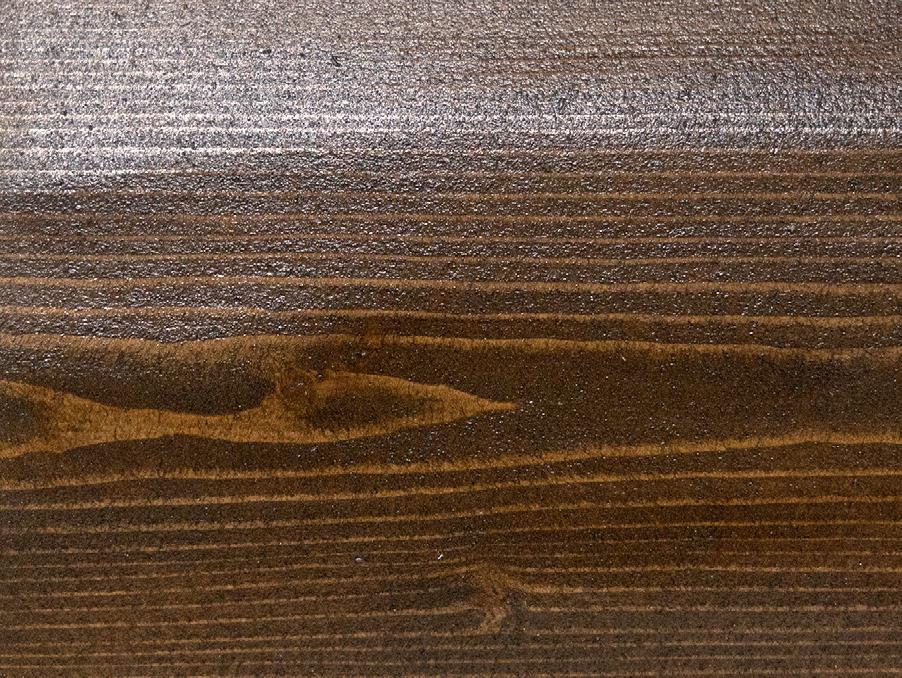
12 standard colors to choose from. Choose a color “out of the bucket” or layer two different colors for a look unique to you
Easy water cleanup




Interior & exterior:
• Log homes
• Timber frame homes
• Wood sided homes
• Log & wood handrails
• Fiber cement siding where a stained woodgrain look is desired
• Surfaces previously coated with a non-drying waxy oil-based stain
• Furniture
• Walking surfaces, including decks, floors, or stairs
• Cabinetry
Number of Coats: 2 coats
Capture, followed by 1 coat
Cascade
Method of application
• Capture: Spray on two heavy coats and back brush in
• Cascade: Spray on one lighter coat and brush out runs
Application Temperatures
• Surface and air temps of 40° to 90°F (4° to 32°C)
To avoid washout, do not expose to freezing temps or
rain during application and for at least 48 hours after application
Coverage rates:
Capture:
• 1st coat: 150-300 sq. ft. per gallon
• 2nd & maintenance coats: 300-500 sq. ft. per gallon
• When applied over Colorfast: Add 50-75 sq. ft. per gallon
Cascade:
• 400-600 sq. ft. per gallon

• 2-6 hours (longer in cooler temps and/or 50%+ humidity)
• Protect from direct rainfall for at least 48 hours
• While fresh, clean up with soap and water. Once dry, mineral spirits will be required (and it won’t be easy, so avoid overspray!)

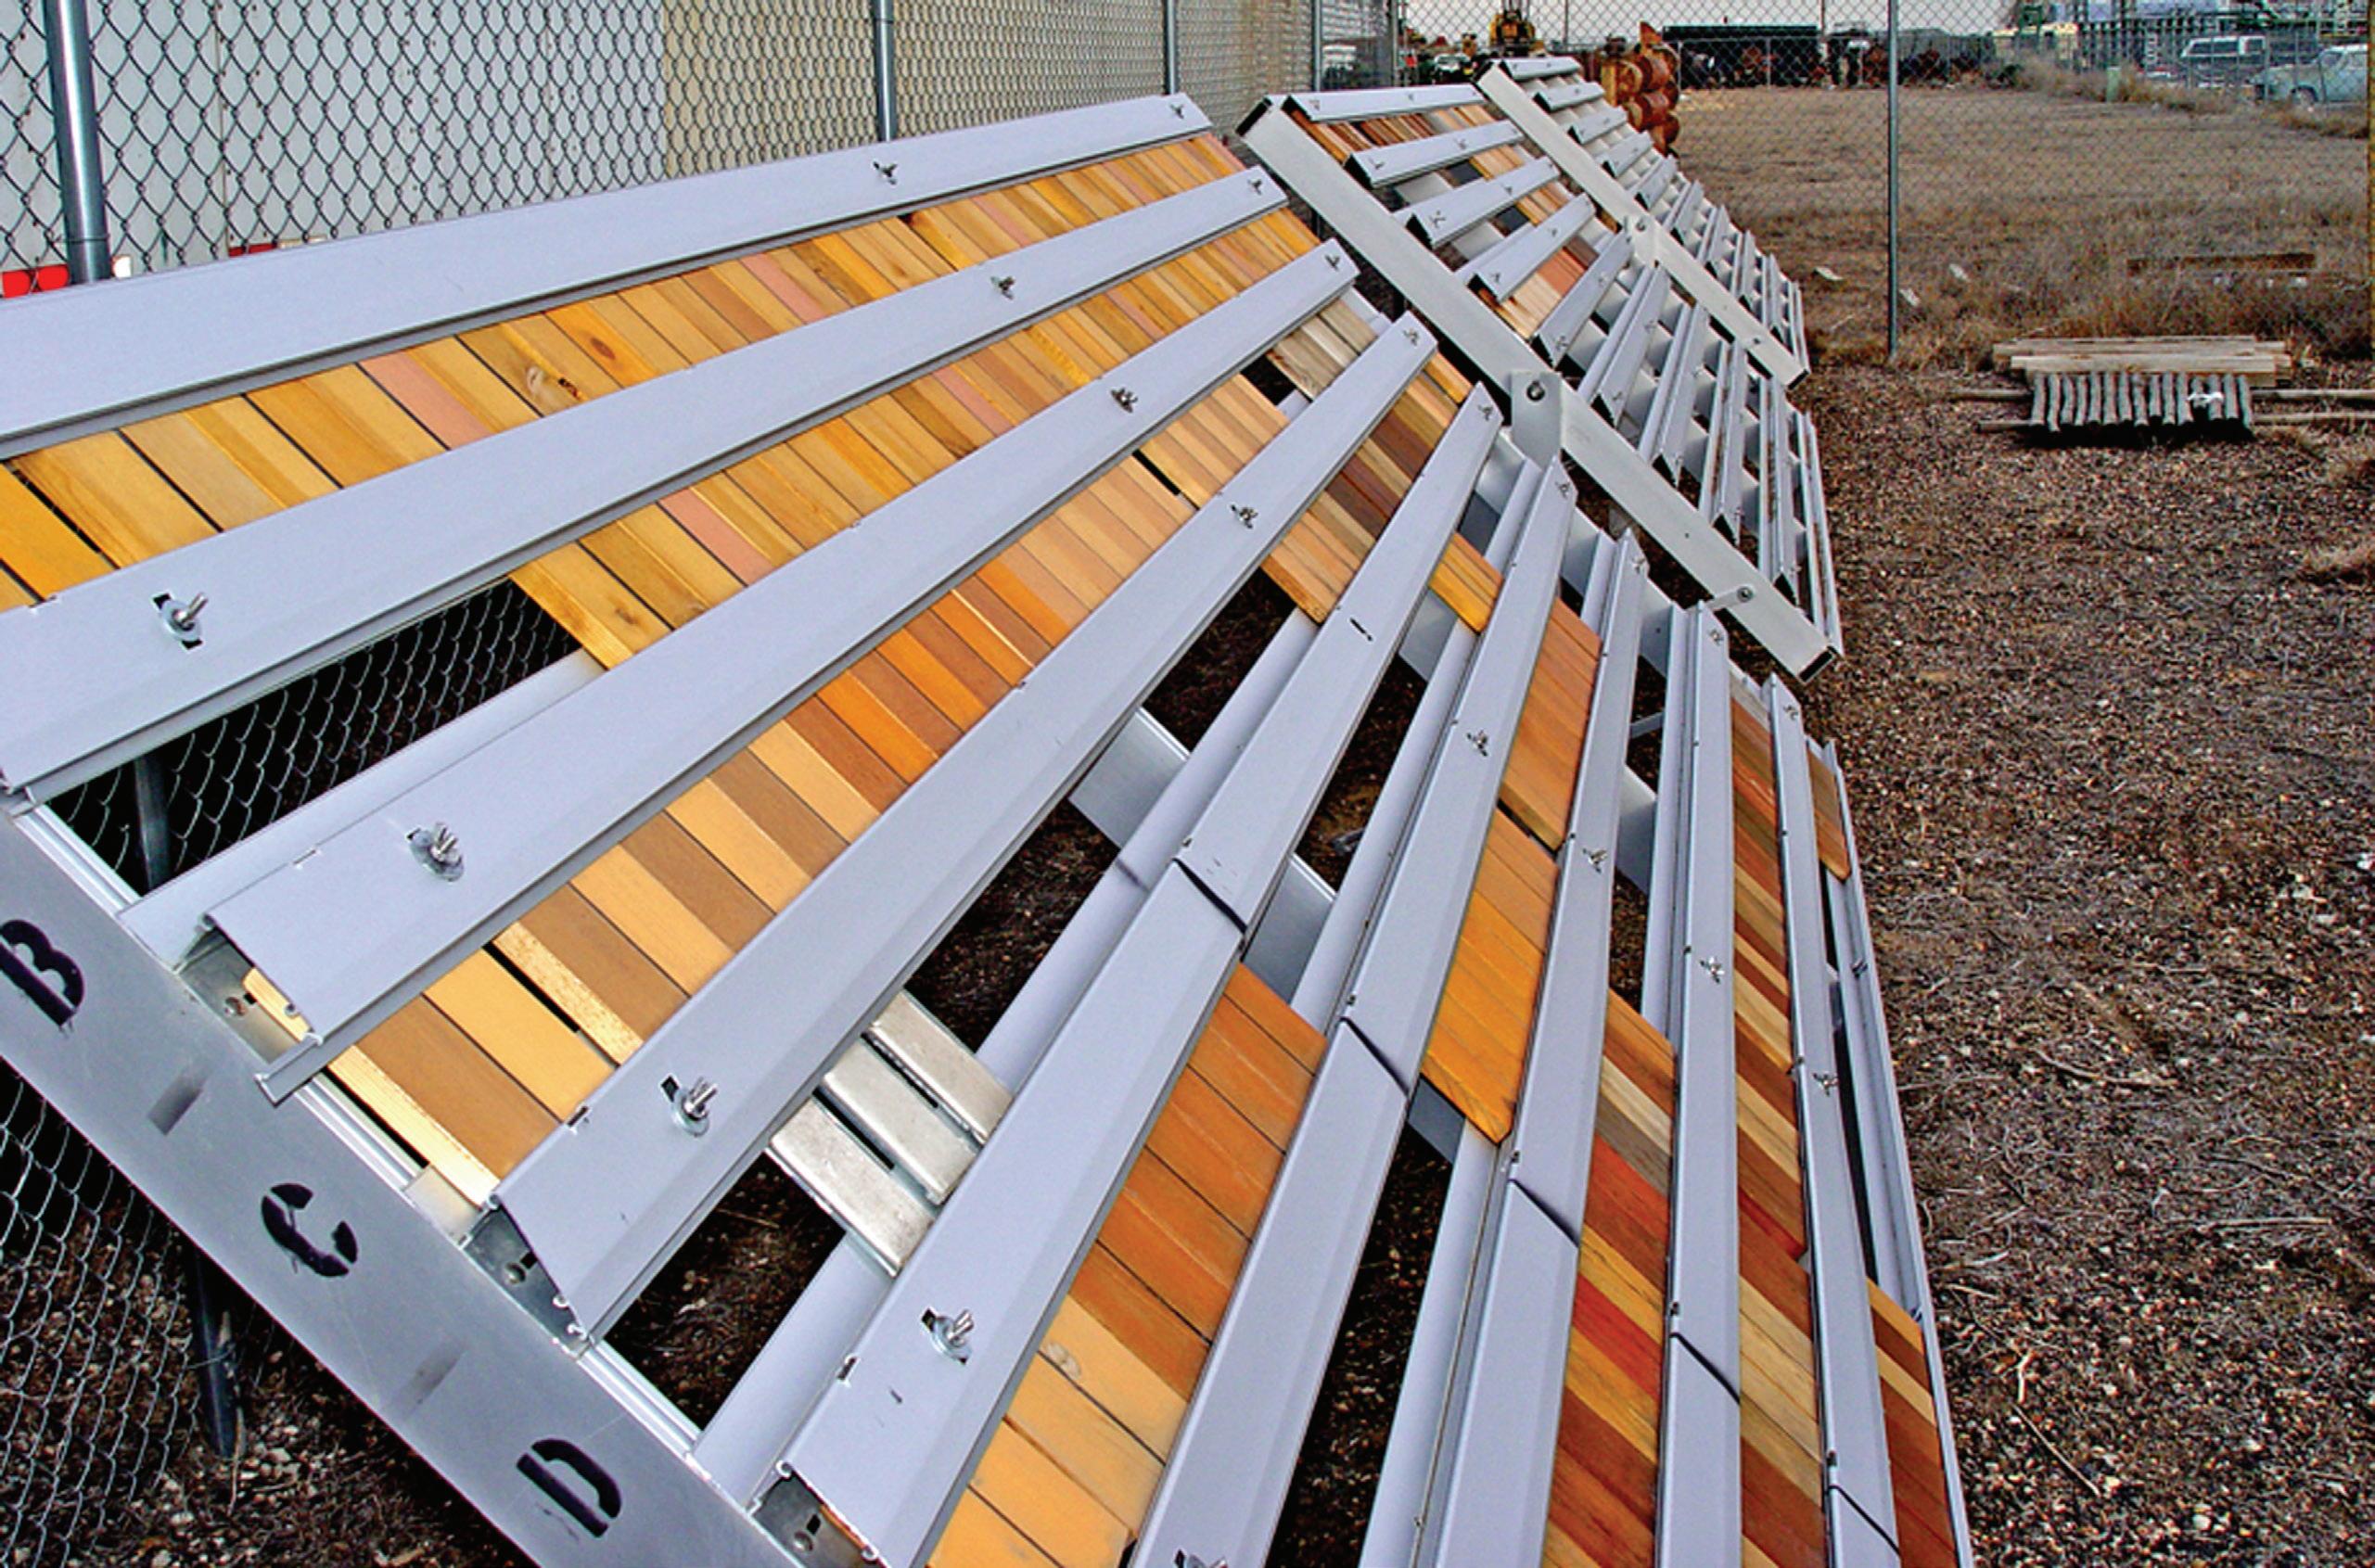
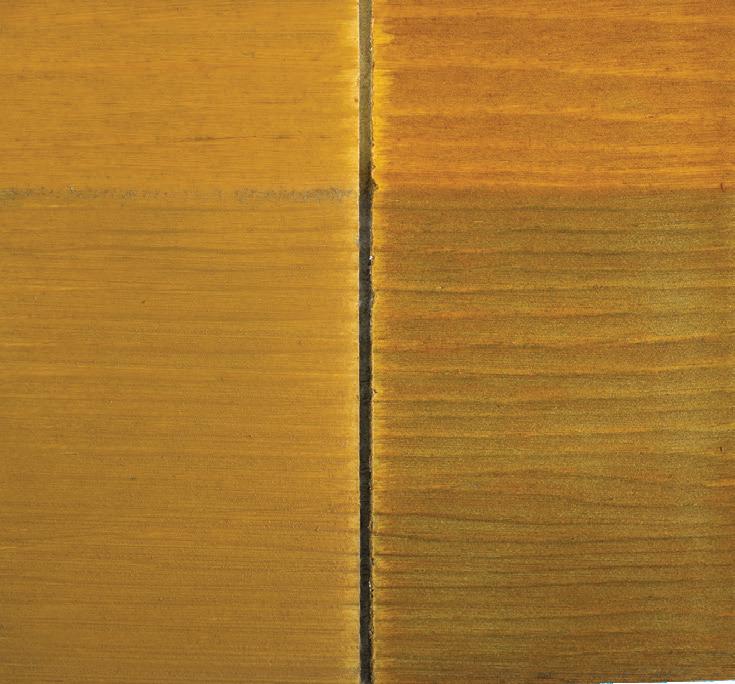
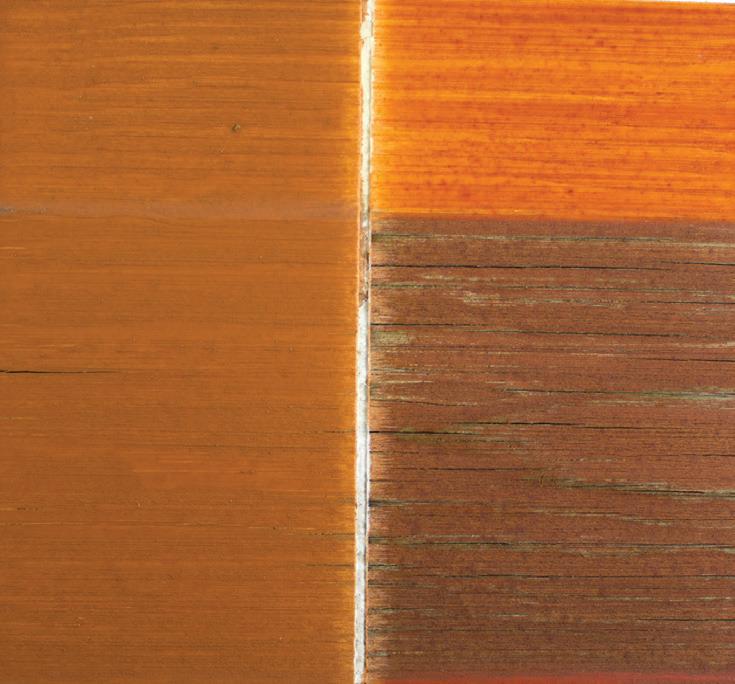
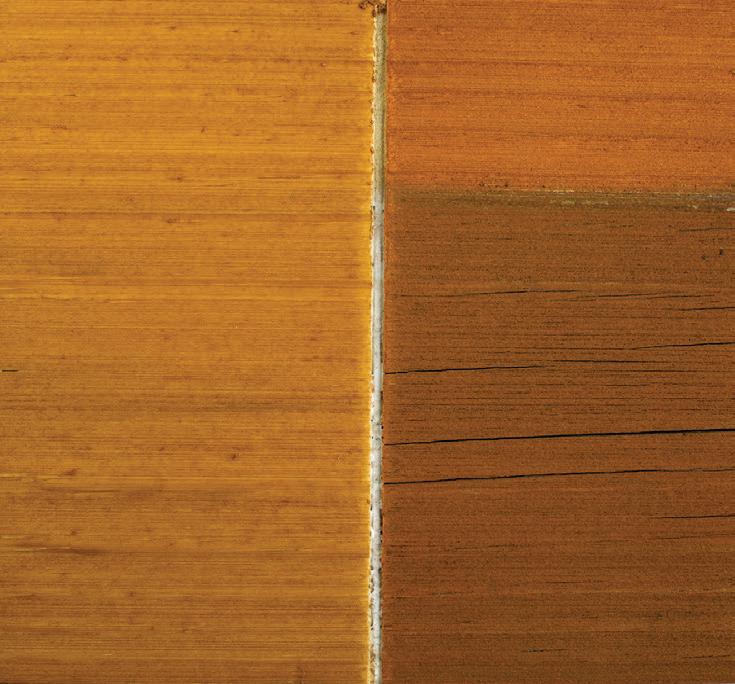
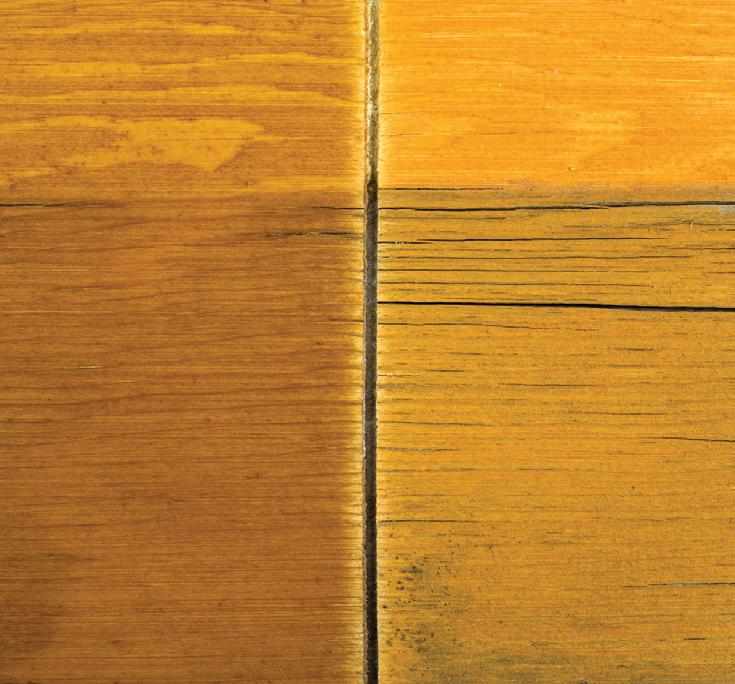
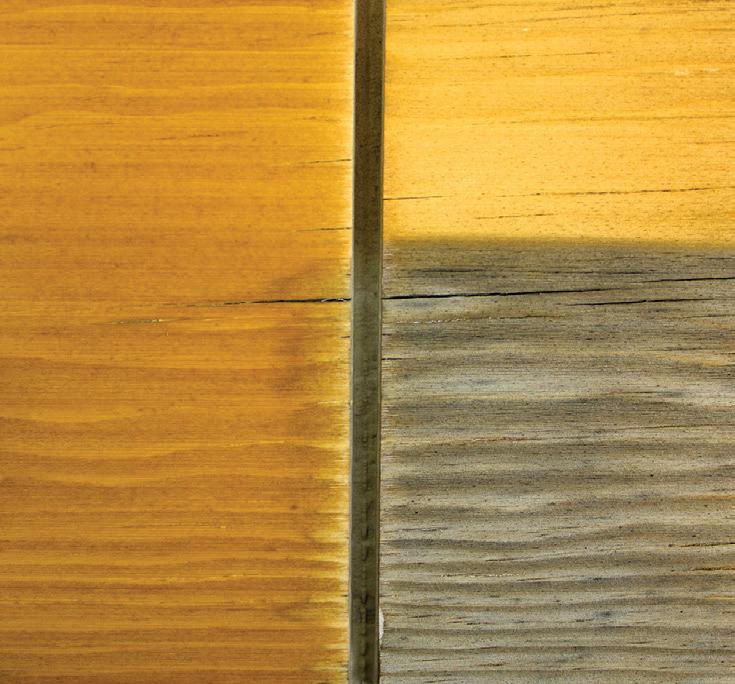
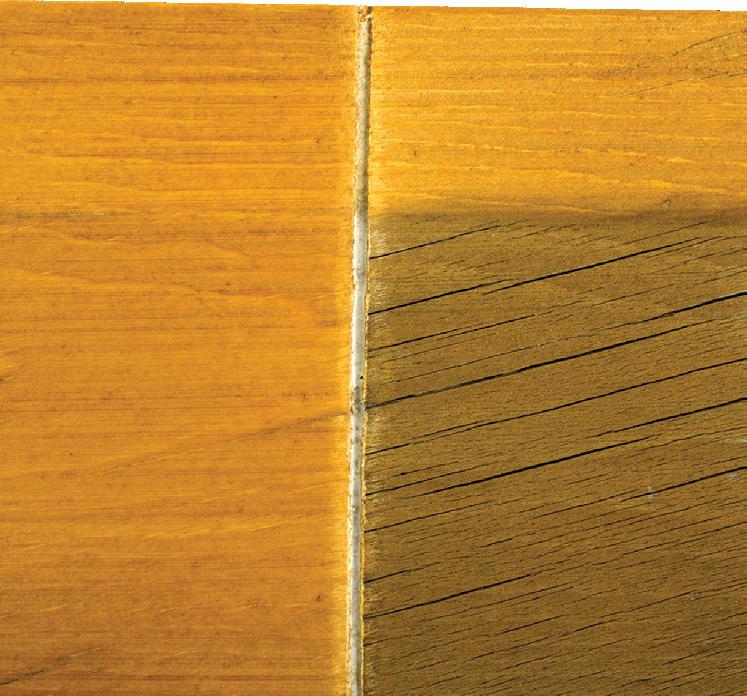
Evidence of poor stain performance includes discoloration, peeling, excessive cracks in the wood, or gray wood. The panels in this study show what many homeowners and contractors alike have known for years: Capture® Log Stain and Cascade® Clear Coat is more durable than other stains.
• Left side of panel: Sashco’s Capture Log Stain and Cascade Clear Coat System
• Right side of panel: a competitive stain
• Top portion is covered, the bottom portion is exposed to the elements
• Panels are faced due south at a 45˚ angle for maximum UV exposure
• Panels are exposed for 18 months
• Mile high elevation means 25-30% more UV radiation

Sashco
Behr Premium
Semi-Transparent
Sashco Capture Log Stain
Clear Coat
Sashco
Clear Coat
Waterproofing
All-in-One Wood Stain & Sealer


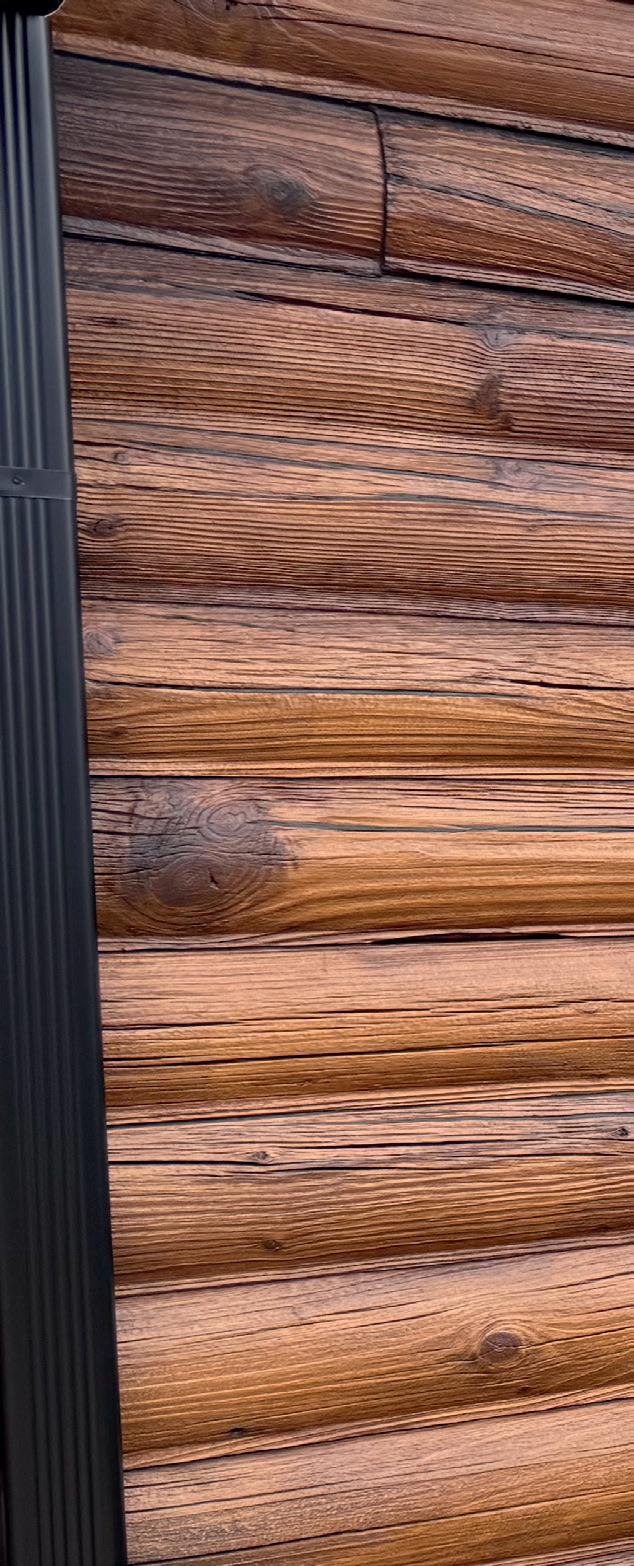
We get it: the “out of the bucket” colors don’t always get you where you want to go. Thankfully, there are easy ways to get a custom color on the jobsite without having to go to the paint store.
The solution: color layering. (We realize that some of you will really appreciate knowing this. Others will feel like we just delivered a menu of 150 different colors and won’t know where to start. Hang on – we’ll help clear it up in a second here.)
Rather than using just one color of stain, you apply the first coat of one color and the second coat of another. It’s easy for the pro and DIYer alike and, when combined with the unique characteristics of your wood, will net you a look all your own.
Below are some combinations to get your creative juices flowing. And remember: Sashco provides free samples so you can experiment on your own. Check out the handy webinar that goes through the howto’s of color layering so you’re confident you can accomplish it.

Real people. Real stories.

Log home dreams often start from great memories (and sometimes too much time spent on Pinterest). Download some great log home stories here as you start your own log home journey.
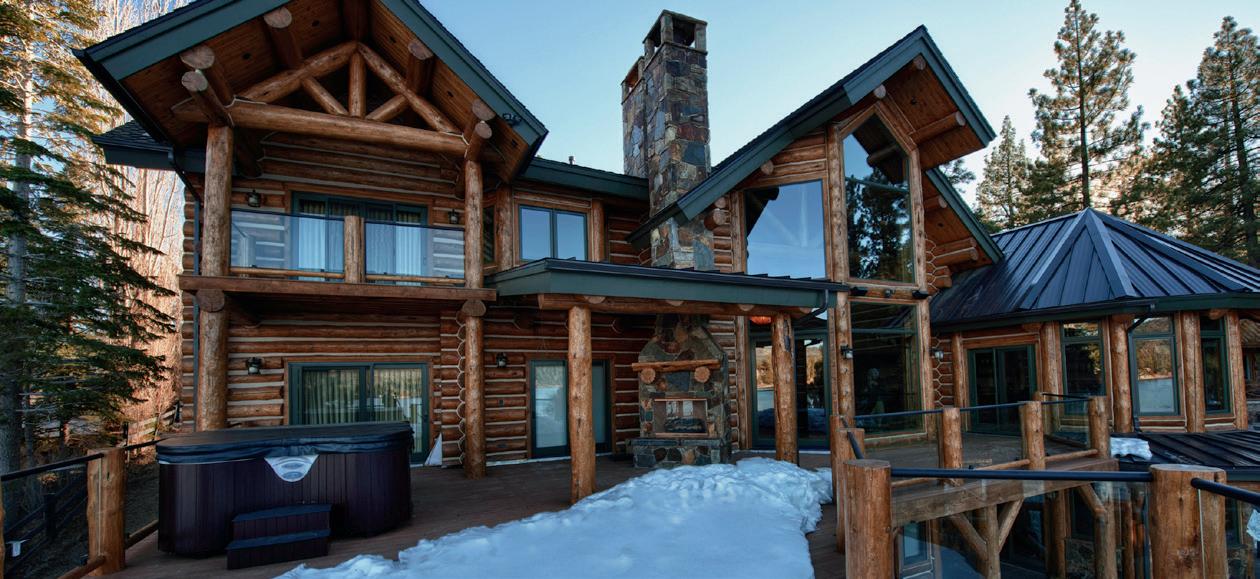
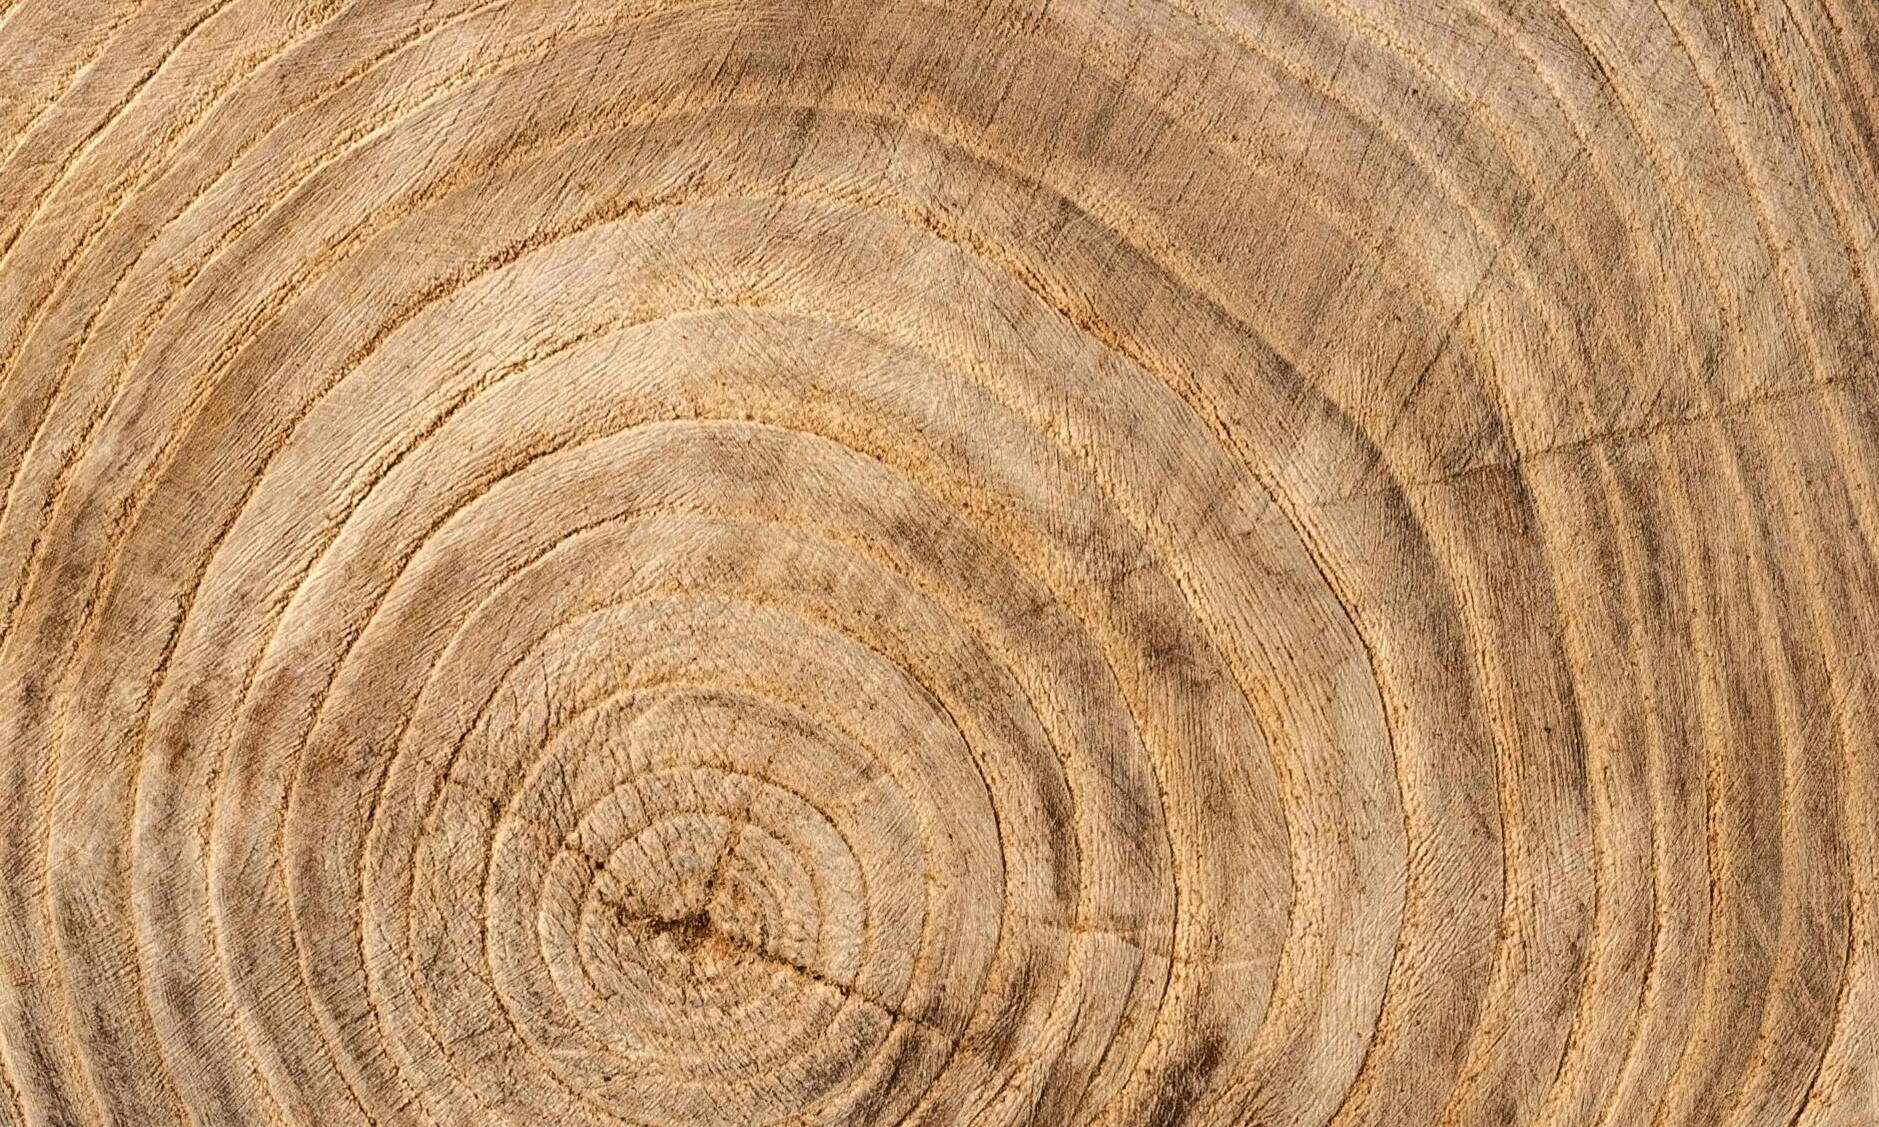


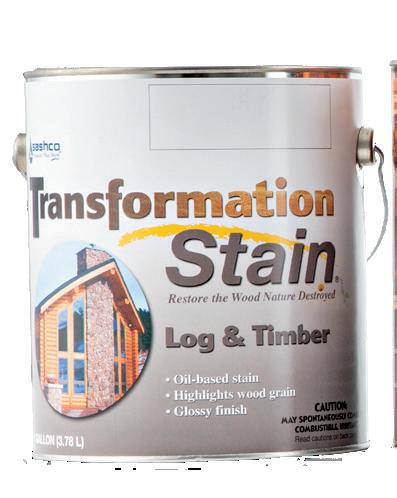
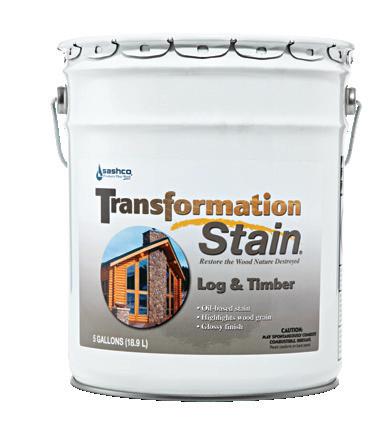
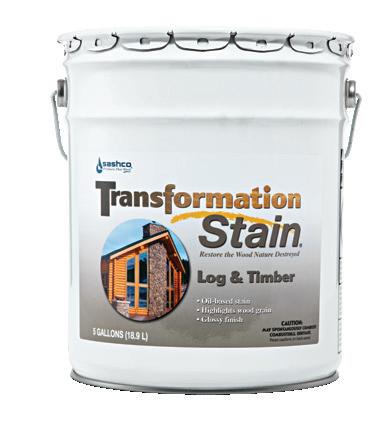
It‘s about Transformation: old, sun scorched, and weathered logs brought to life again, or timbers refreshed with color when they were once only gray. This flexible oil-based semi-transparent stain takes your logs from dull and lifeless to rich and brilliant. With a beautiful gloss sheen, Transformation highlights every grain pattern of your logs and timbers, showcasing their unique history. The stain that’s easy to remember because its name describes what you want: Transformation.
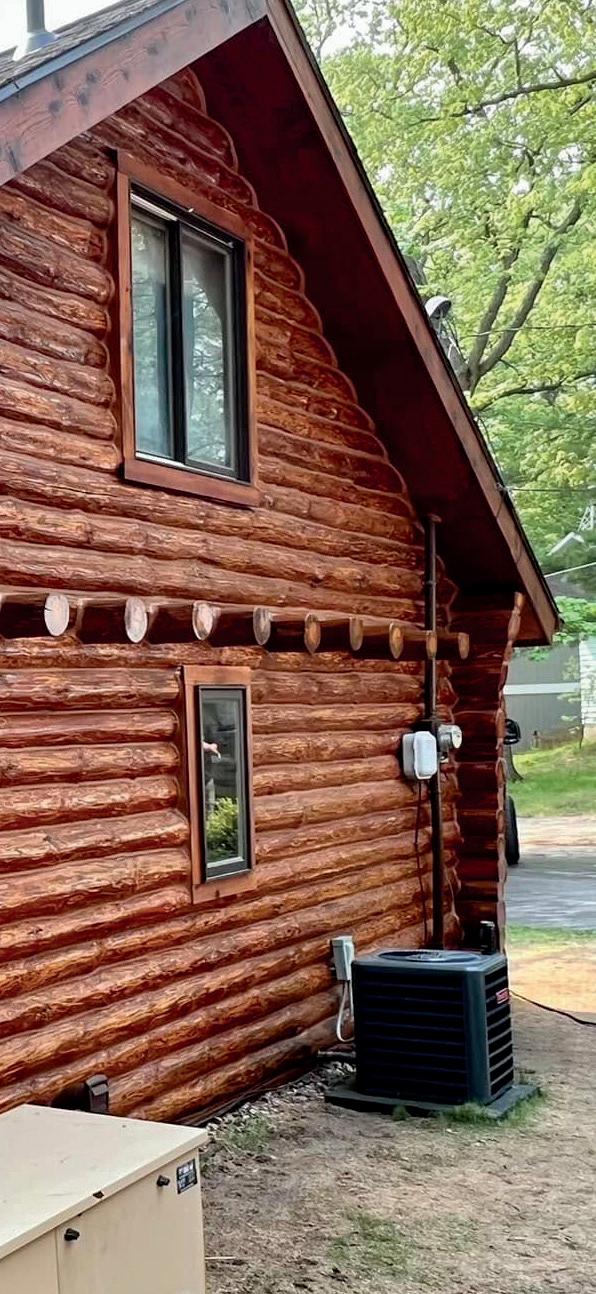
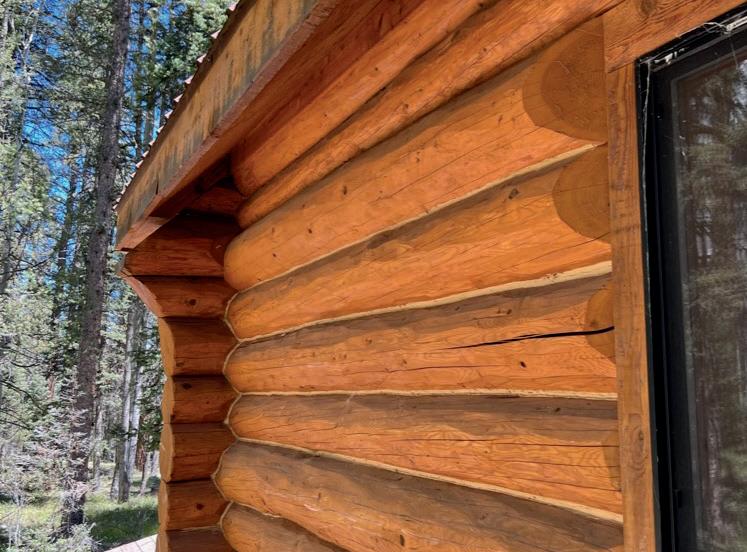
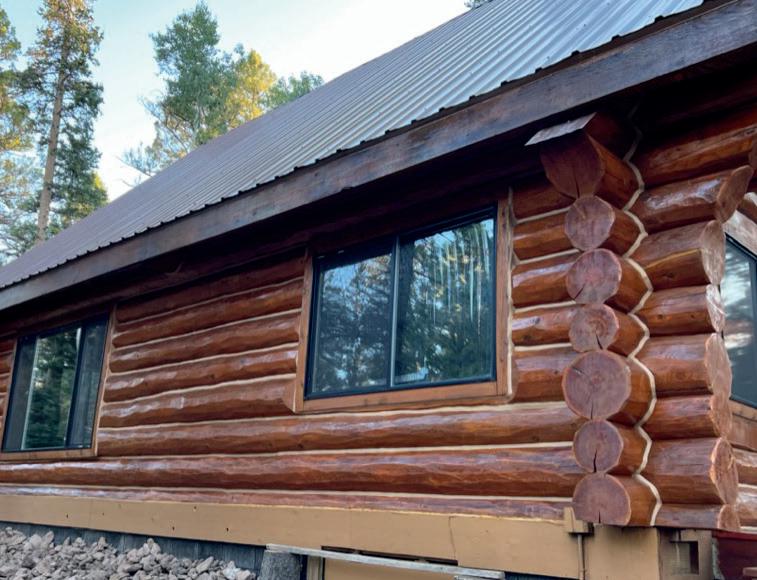



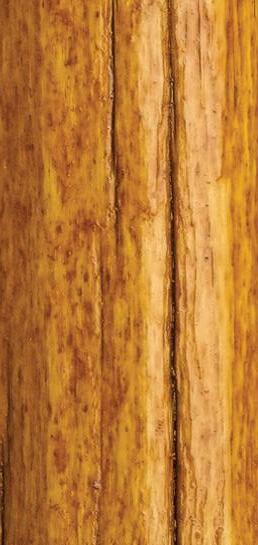
Highlights every unique grain pattern – you chose wood to showcase it, not hide it
Proprietary flexible formula moves with your logs – extremely durable, won’t crack and peel with regular maintenance
Exterior only on:
• Log homes
• Timber frame homes
• Surfaces recently coated with a non-drying waxy oil-based stain (Contact us for more guidance)
• Surface treated with creosote
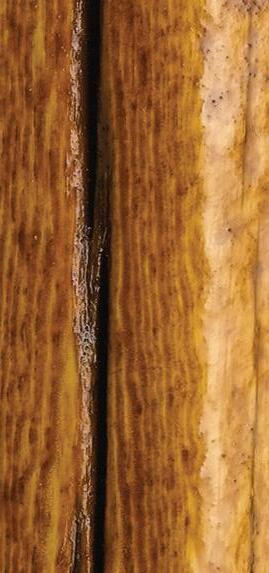
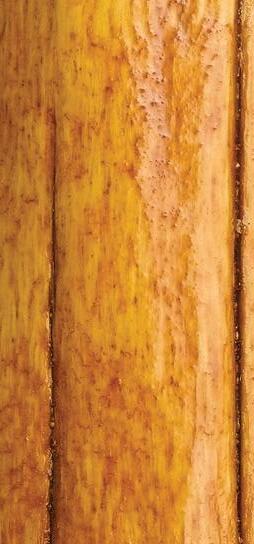

Ideal for restoration projects –Transformation is compatible with most previous stains, even the unknown
12 standard colors to choose from. Choose a color “out of the bucket” or layer two different colors for a look unique to you
• Wood sided homes
• Wood trim and facsia
• Interiors
• Furniture
• Cabinetry


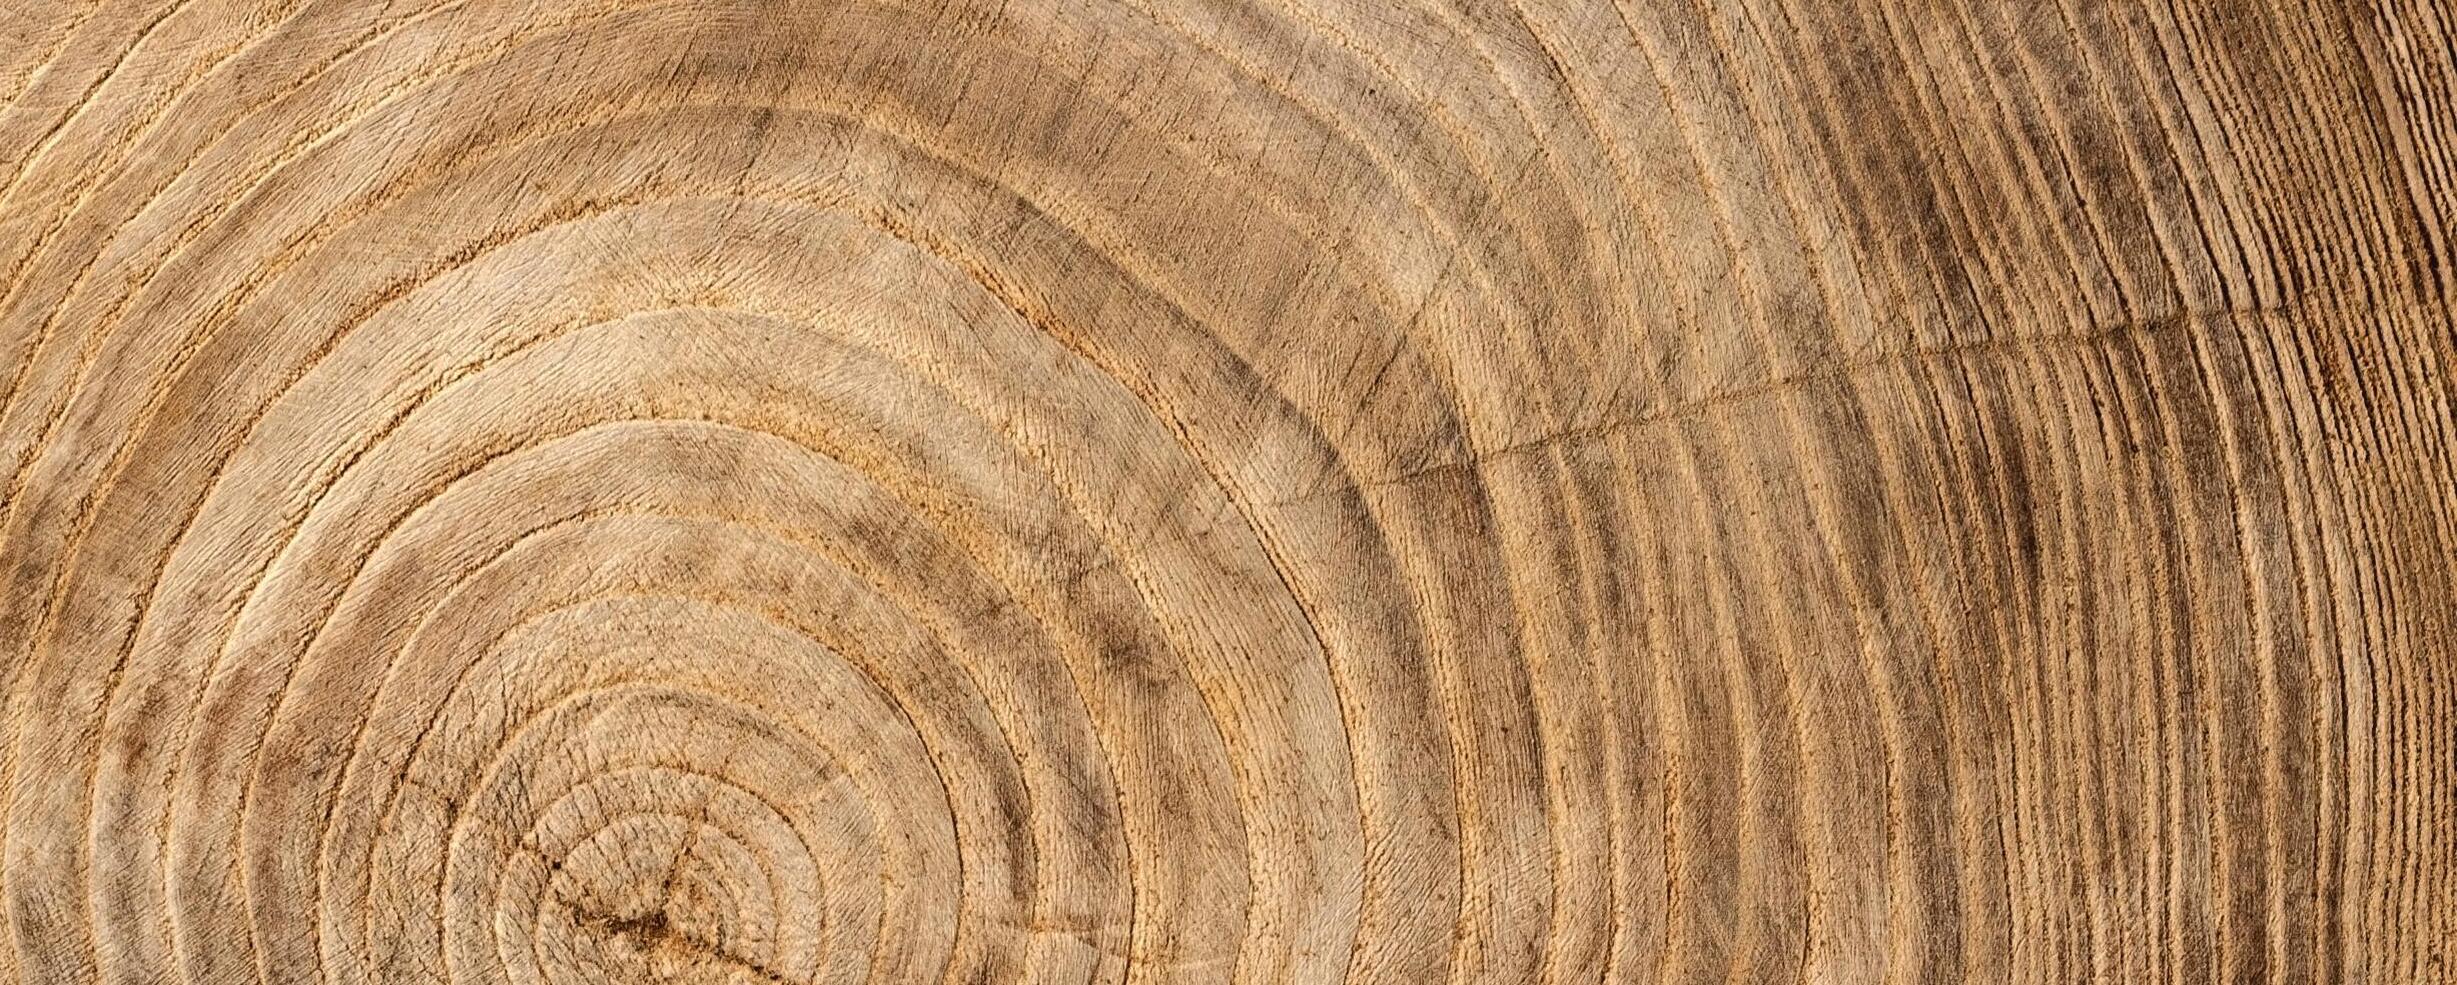
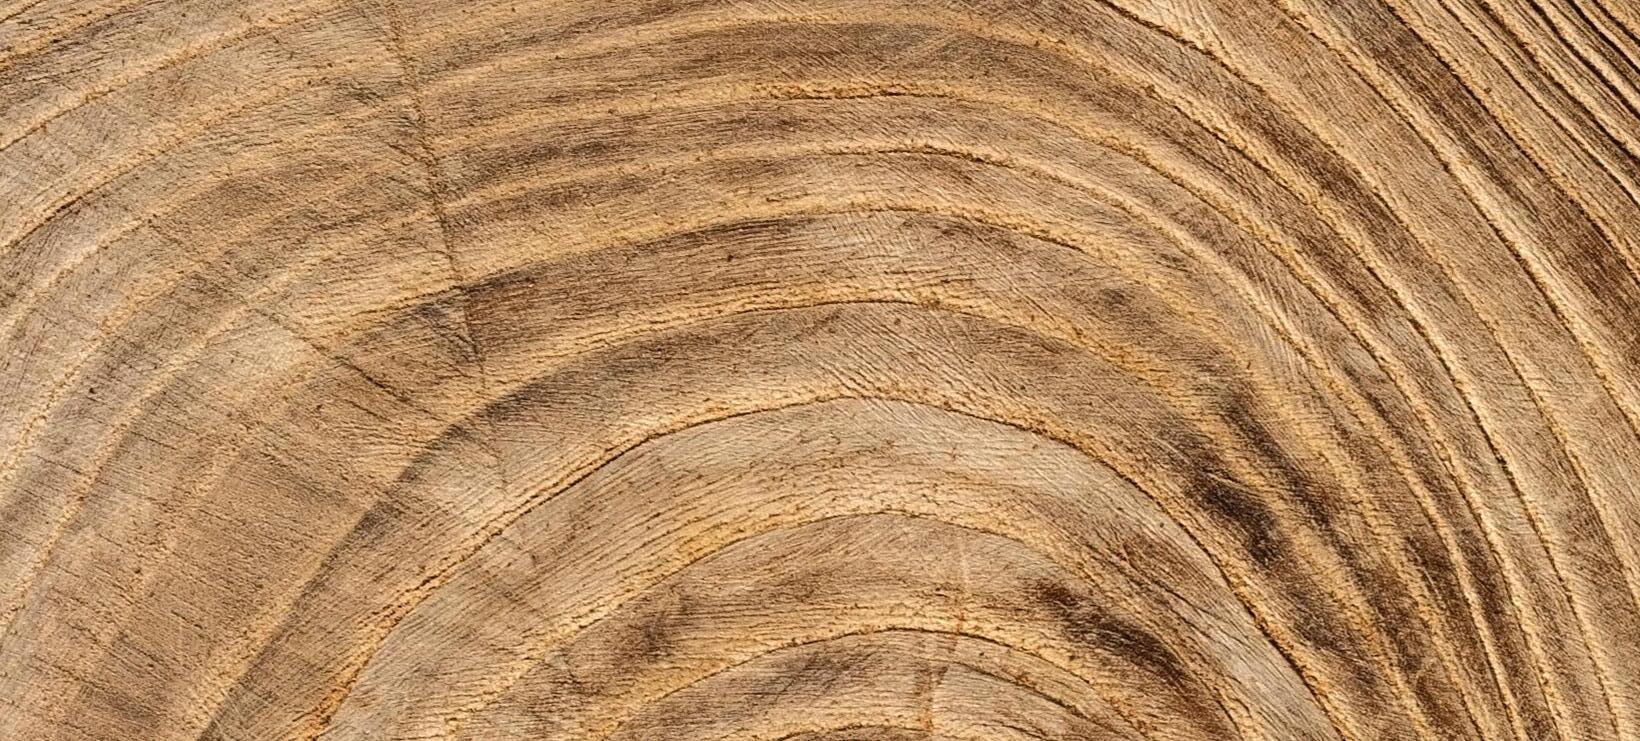
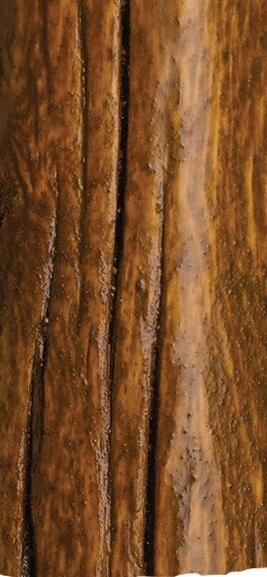
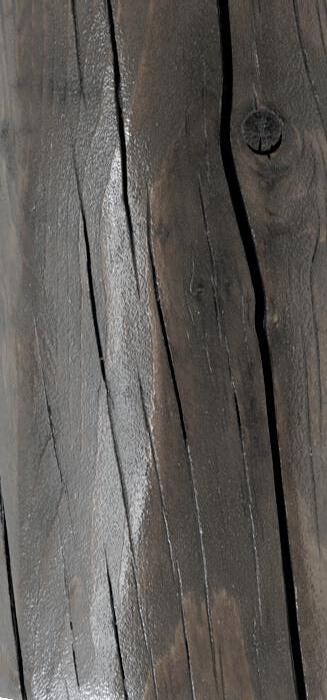
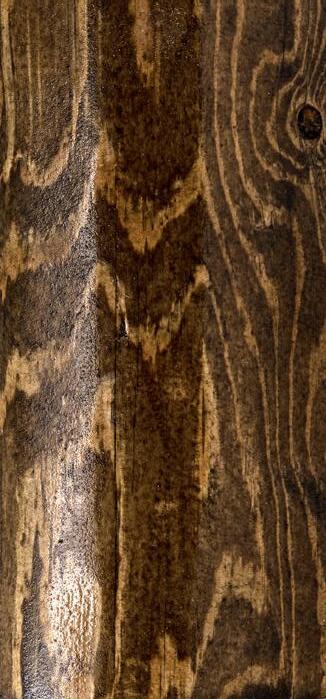
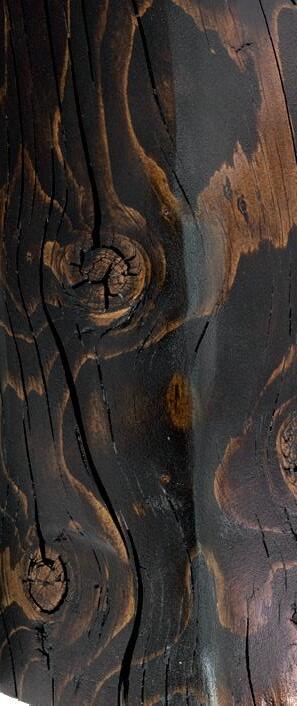
The log to the left highlights the stain restoration process on a log home:
1. Peeling stain and gray, weathered surfaces...
2. ...Are brought back down to bare wood, then...
3. Buffed to remove fuzzing - a clean, sound surface ready to be...
4. Stained with Transformation Log & Timber.
5. When regularly maintained with a fresh coat of stain, UV damaged, neglected wood is a thing of the past.
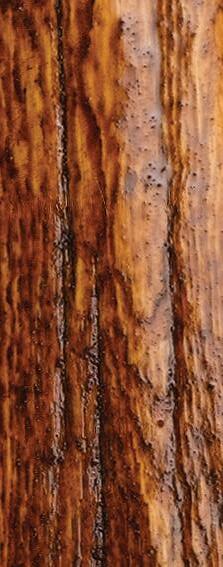
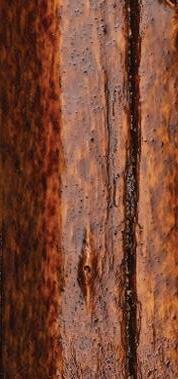
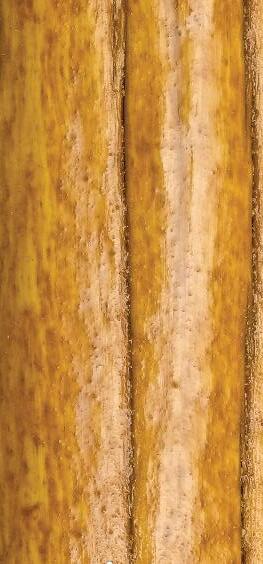
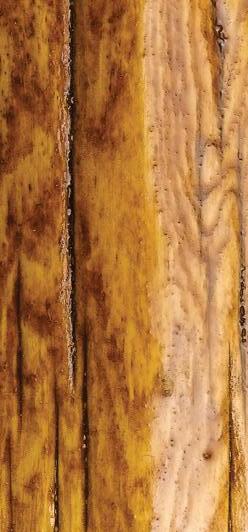
Number of Coats: 2
On extremely dry, porous wood, a light 3rd coat may be necessary to even out color and gloss
Method of application
• First coat: Spray on to point of refusal and back brush in
• Second coat: Spray on a lighter coat and brush out runs
Application Temperatures
• Surface and air temps of 40° to 90°F (4° to 32°C)
To avoid washout, do not expose to freezing temps or rain during application and for at least 48 hours after application
Coverage rates:
• First coat: 150-250 sq. ft. per gallon
• Second & maintenance coats: 300-500 sq. ft. per gallon
• When applied over Colorfast: Add 50-75 sq. ft. per gallon
Dry time
• 12 hours (up to 24 hours in cooler temps and/or 50%+ humidity)
• Protect from direct rainfall for at least 48 hours
Cleanup
• Clean brushes and equipment with mineral spirits. Hands may be cleaned with citrus-based hand cleaners, and then washed with soap and water

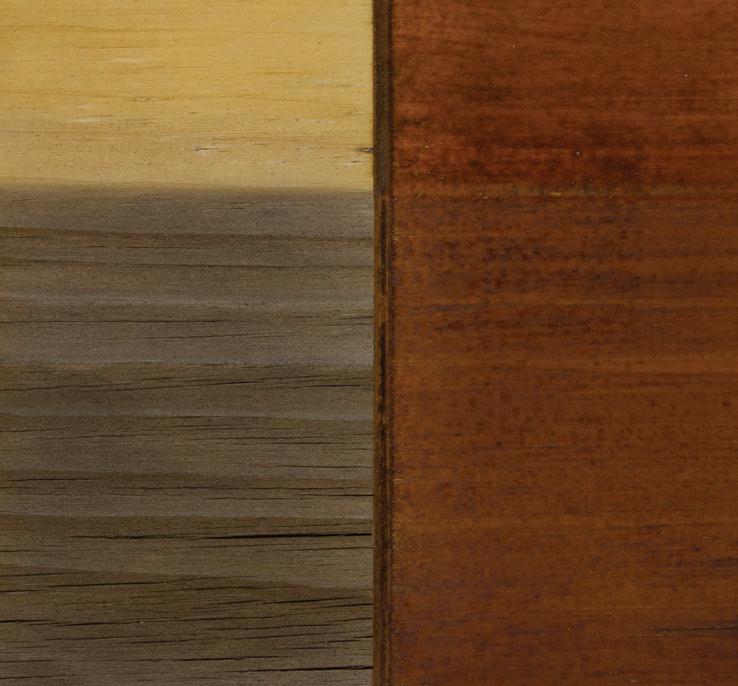
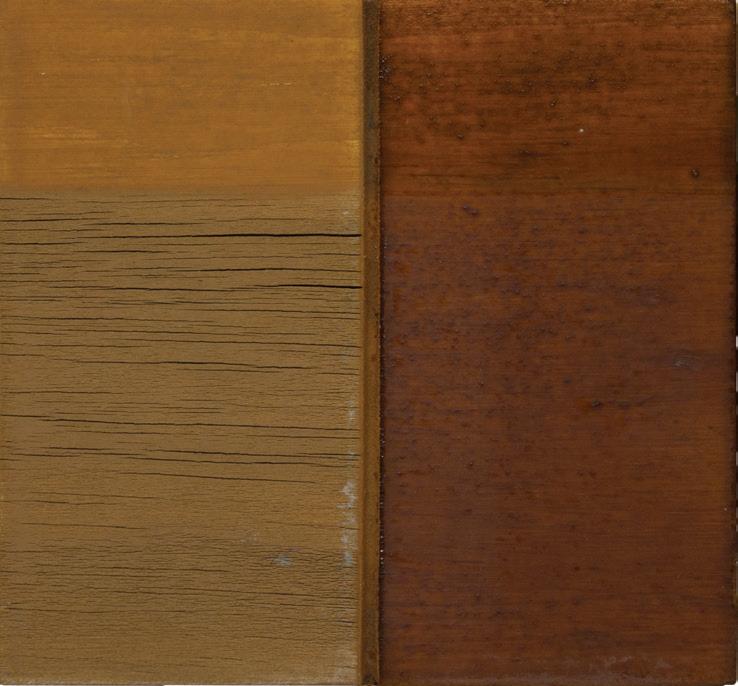
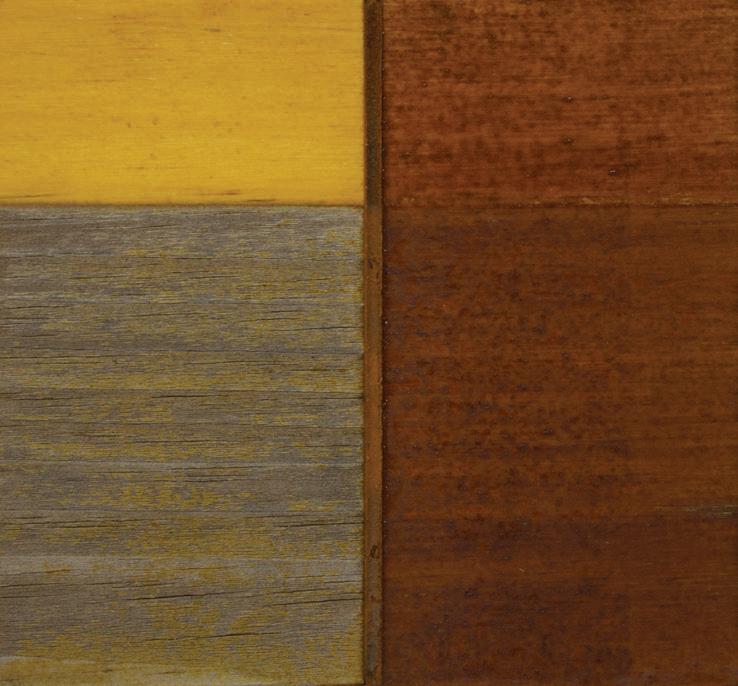
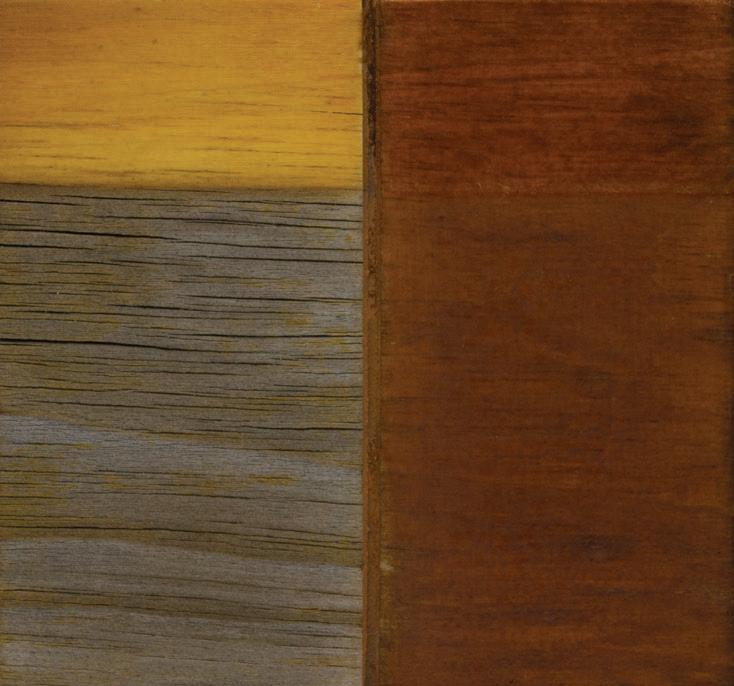
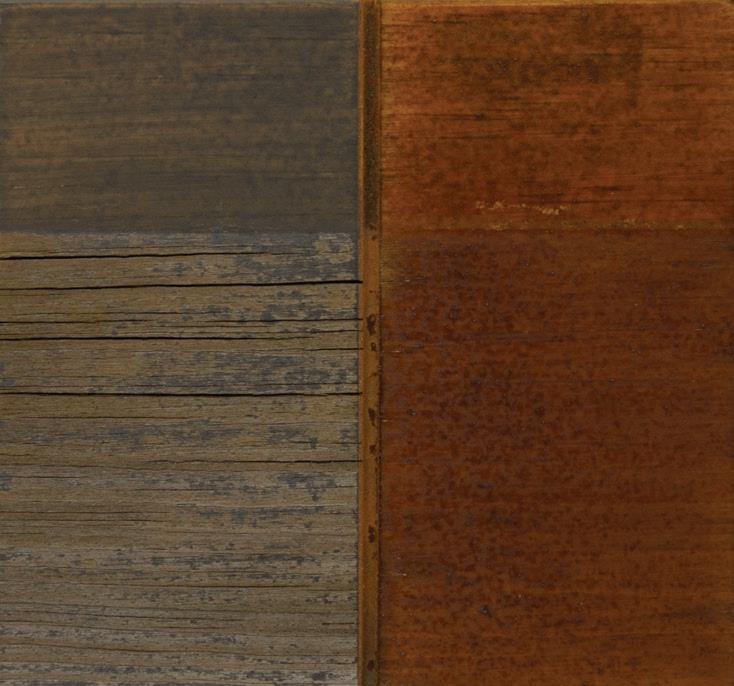
Evidence of poor stain performance includes discoloration, peeling, excessive cracks in the wood, or gray wood.
The panels in this study show what many homeowners and contractors alike have known for years: Transformation Stain® Log & Timber is more durable than other stains.
Stain Log & Timber
• Left side of panel: a competitive stain
• Top portion is covered, the bottom portion is exposed to the elements
• Panels are faced due south at a 45˚ angle for maximum UV exposure
• Panels are exposed for 2 years
• Mile high elevation means 25-30% more UV radiation

Ready Seal® Stain and Sealer for Wood
Sashco Transformation Stain

Covered Exposed

Benjamin Moore ARBORCOAT®

The cabin was terribly rundown and, in his wife’s opinion, seemed more like a nightmare than a dream come true. The amount of work the cabin would require in order to be their dream cabin, was daunting. Could a novice homeowner with no log home restoration experience manage such an overwhelming project?” If this sounds familiar and you don’t know where to start, read these stories of restorations and find hope (along with some encouragement when those muscles are sore from all your hard work).
Sashco Transformation Stain
Penofin® Log On
Sashco Transformation Stain


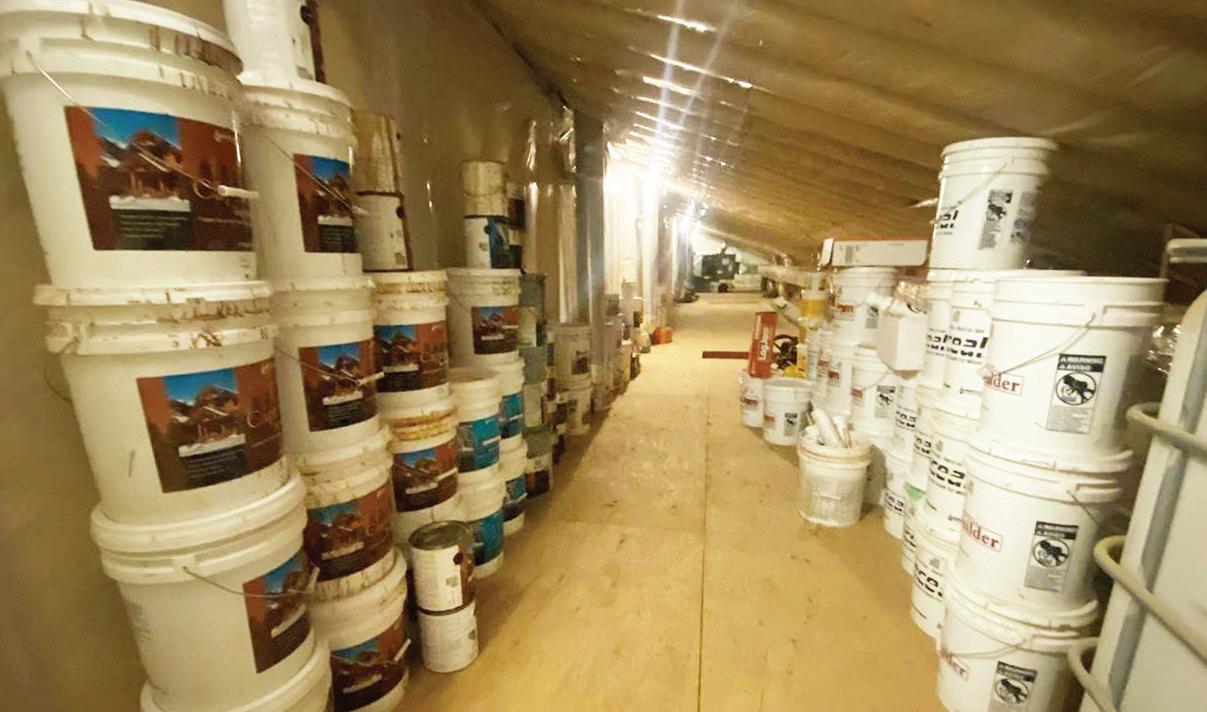
Never run out of stain at the jobsite again... $10,000 in inventory Hey, pros.

Ever wonder how much downtime at the jobsite is costing you? Check out this handy dandy Flex Tint downtime calculator to see how much money Flex Tint could save you.
No, this is not an episode of “Storage Wars.” This is the cost when people and wood are unpredictable. You end up ordering more stain than needed in order to prevent a two hour drive to the nearest dealer if you run short. Ugh.
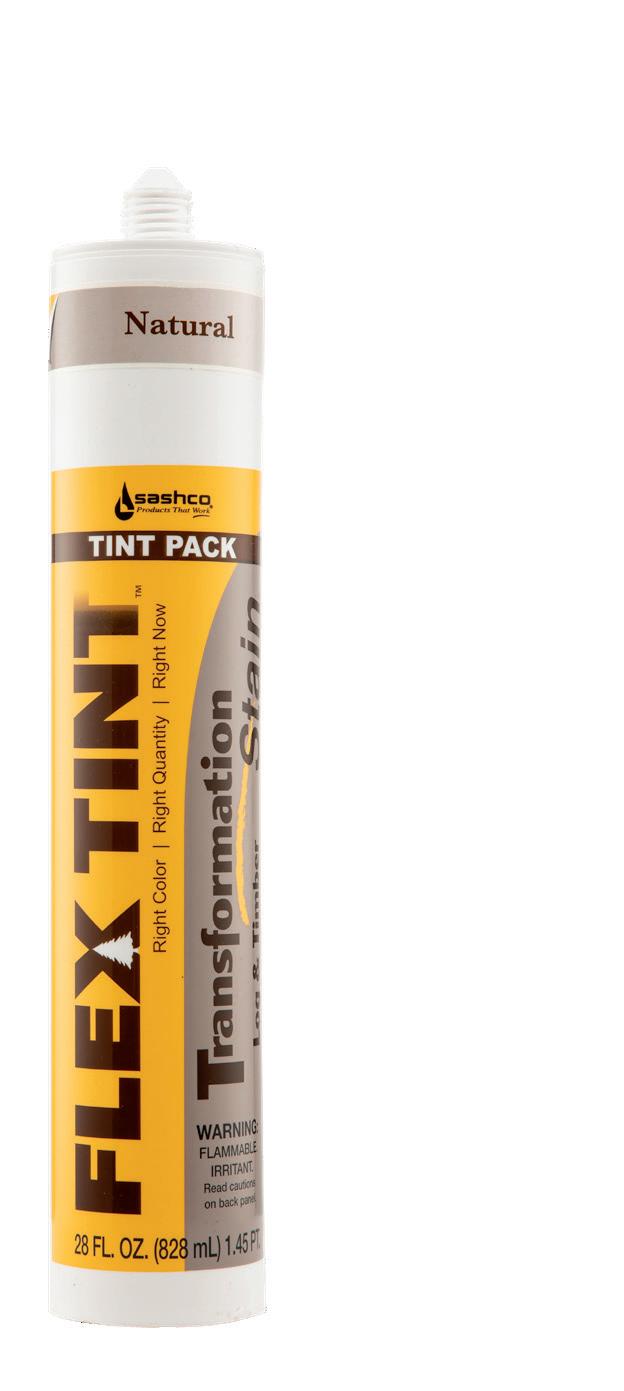
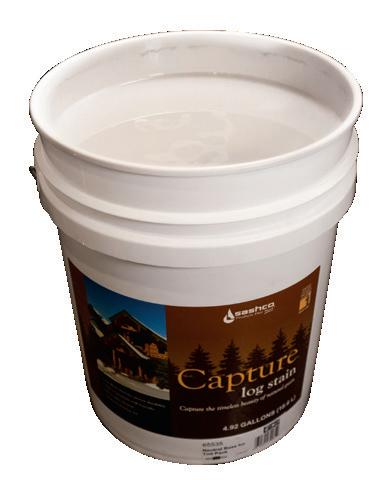
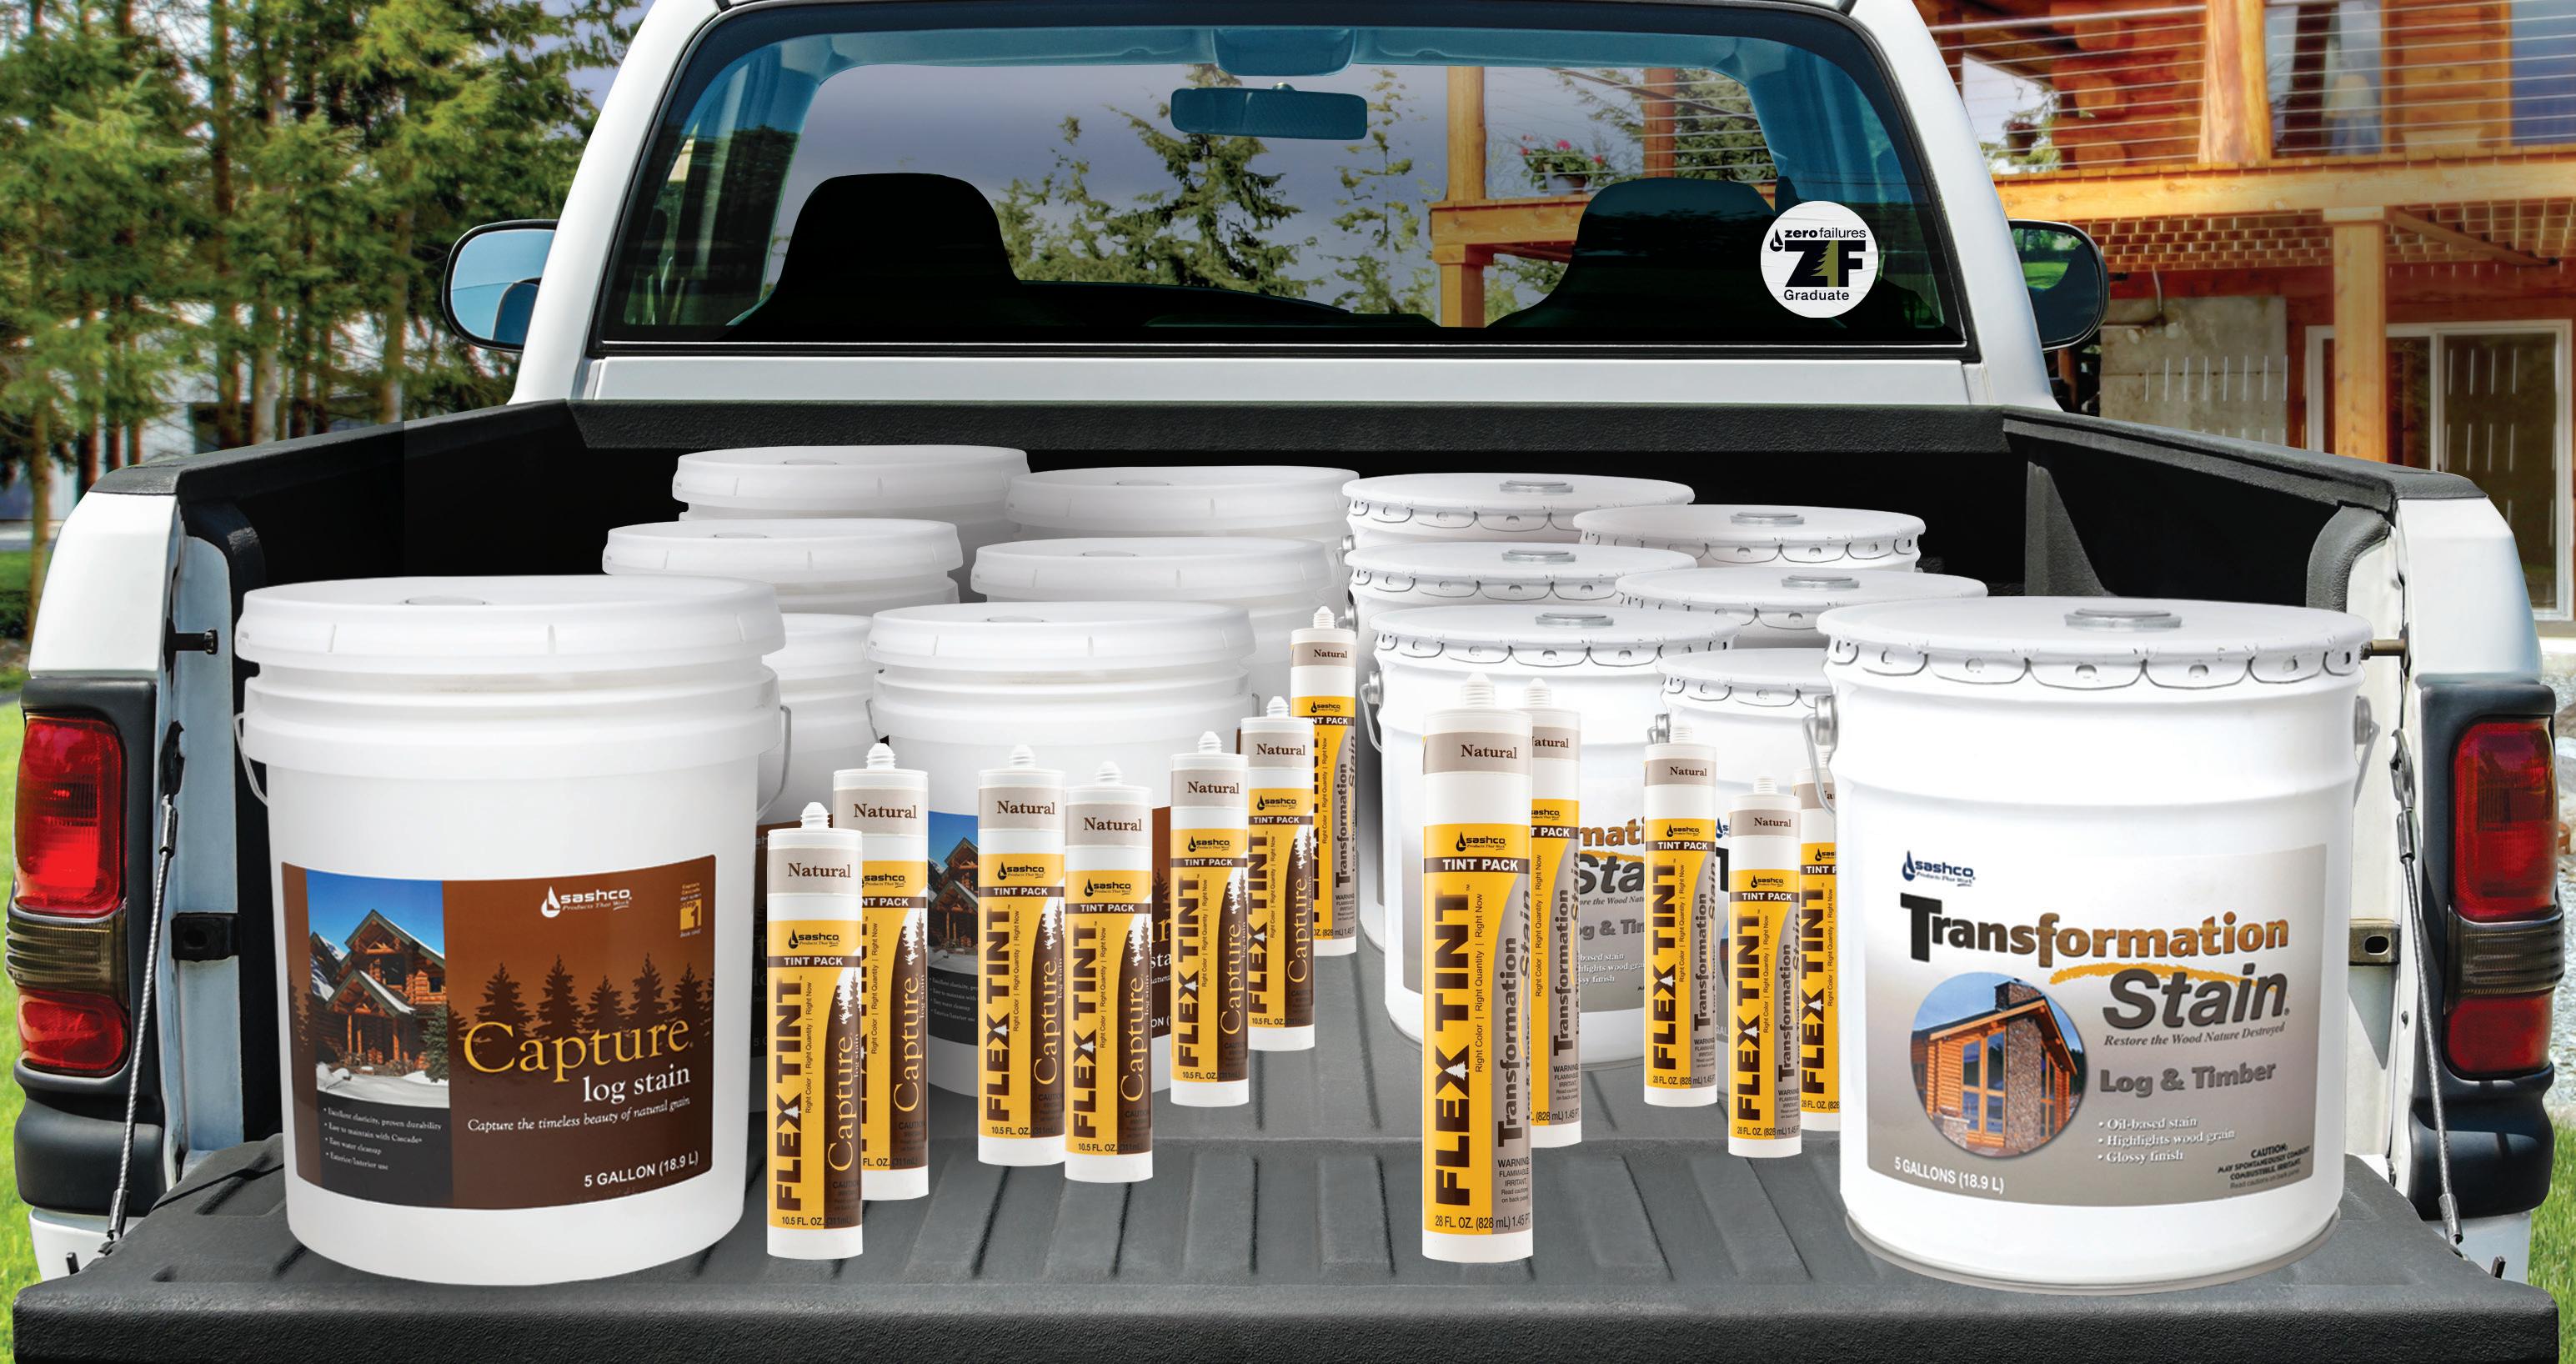
With the Flex Tint jobsite stain tinting system for Capture Log Stain and Transformation Log & Timber, you can say goodbye to sheds full of “just in case” product, along with hours of downtime.
Ready to go! 1 2 3 4 5
Insert cartridge into caulk gun
Cut the nub off
Gun into the 5 gal. pail of Neutral Base stain
Mix with a drill-driven stain blade for 5-7 minutes



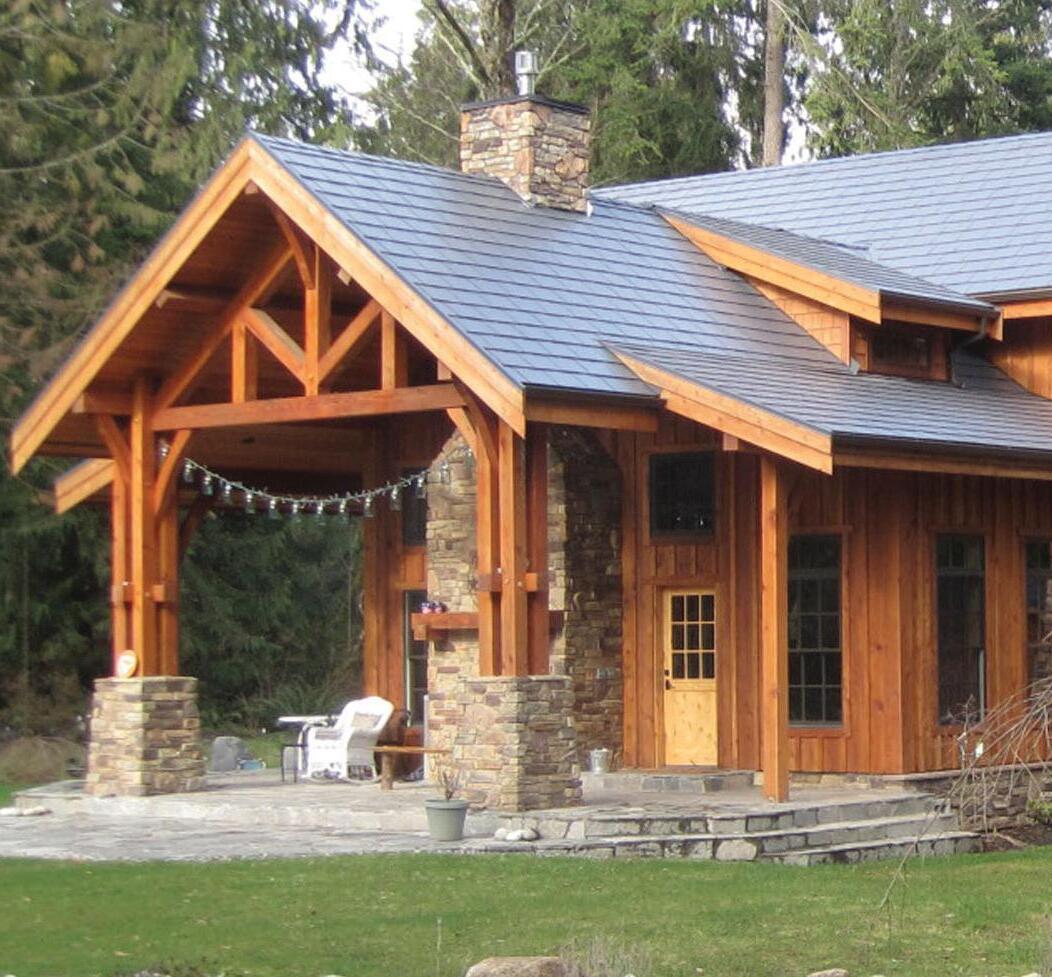
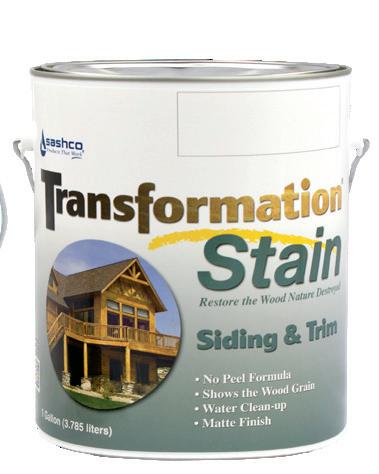
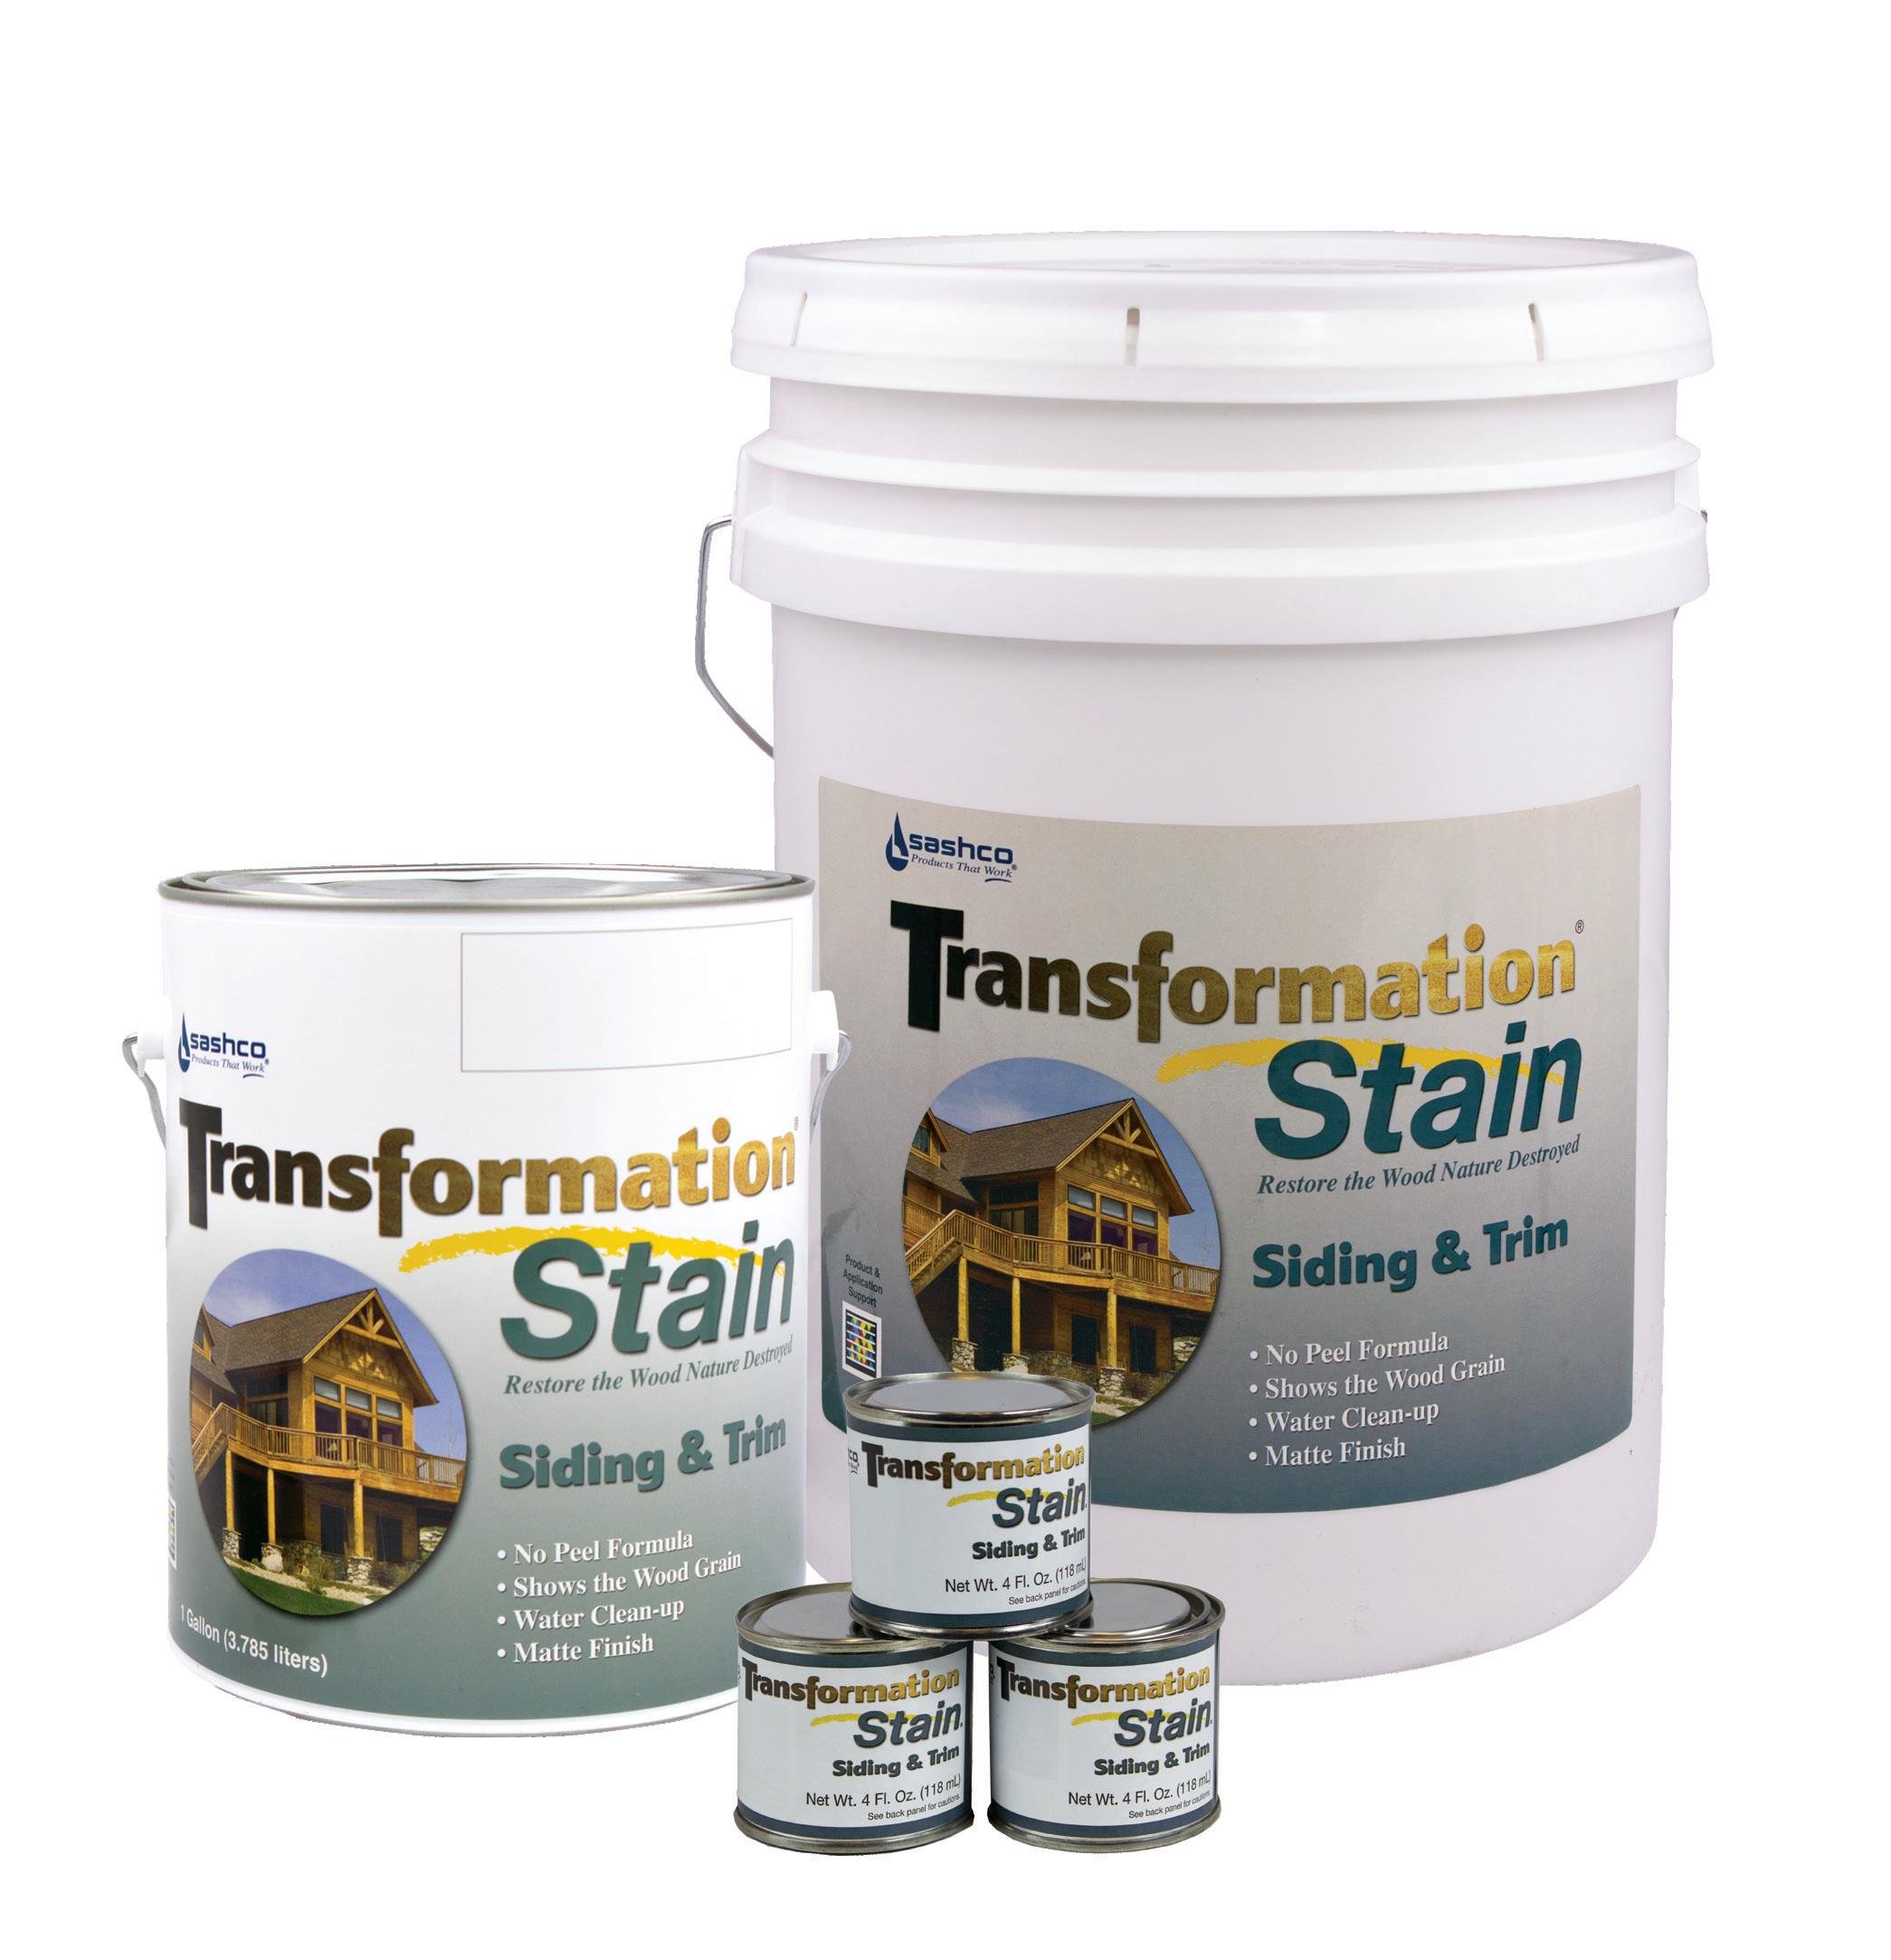
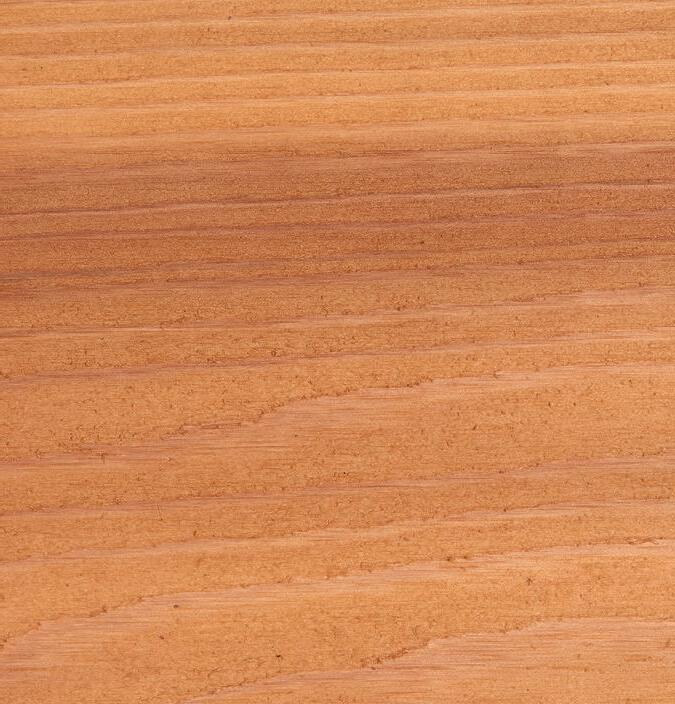
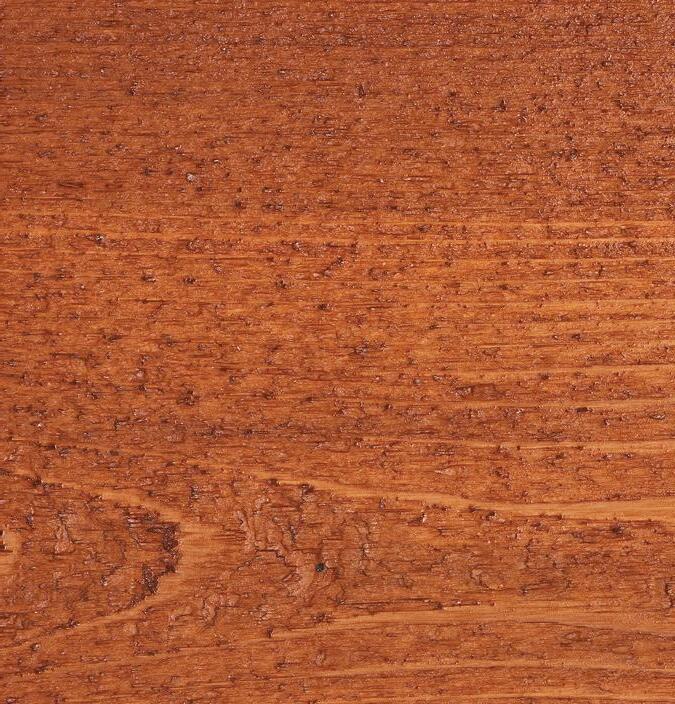
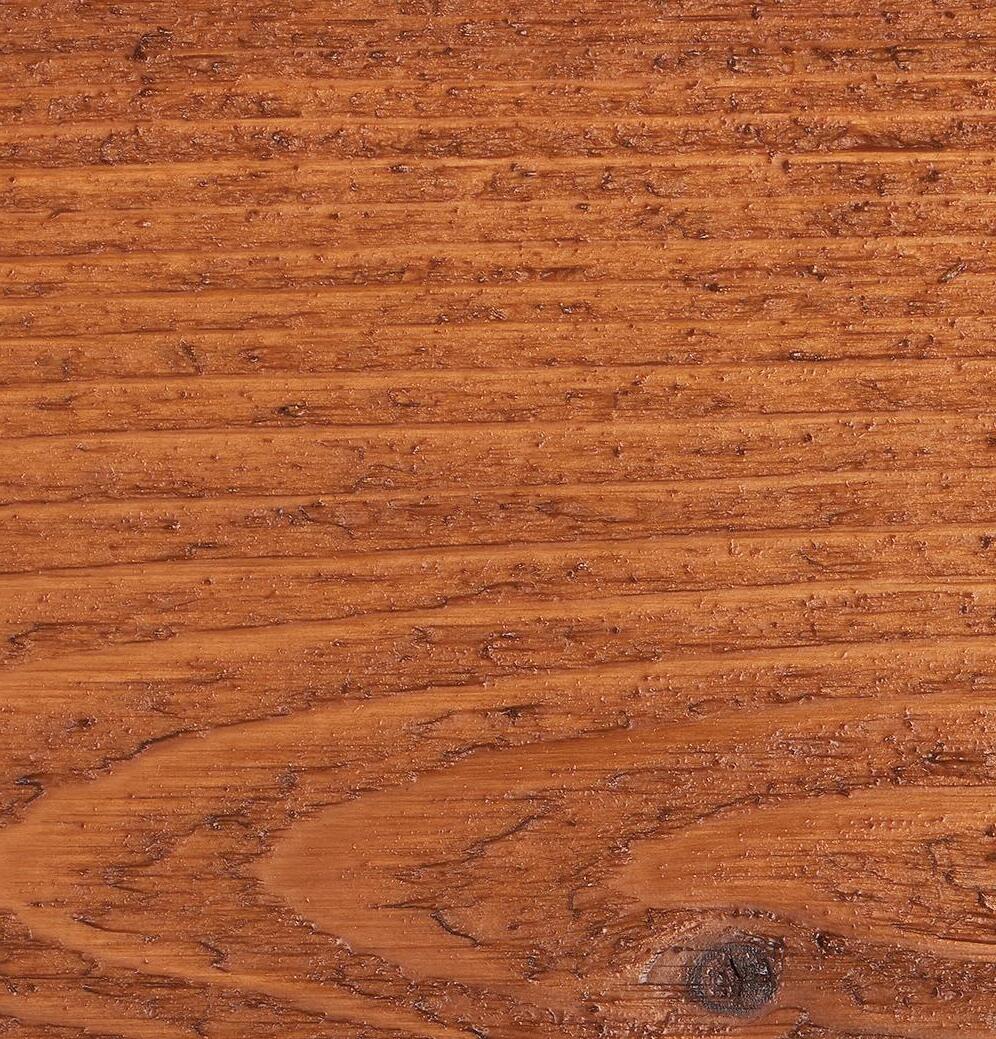
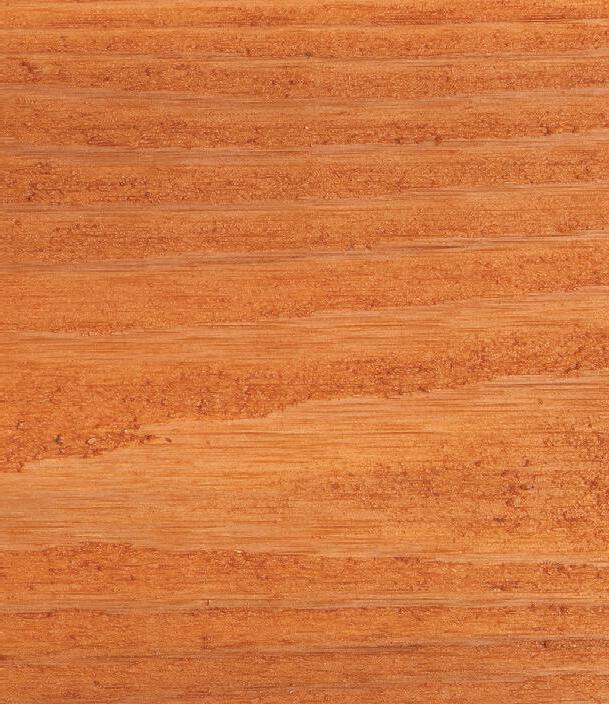
Wood siding and trim can take a beating by the weather. Wood decks are notorious for being the most difficult surfaces to keep looking nice. With Transformation Siding & Trim, we’ve made it easy. This special oil-in-water formula penetrates to protect, but erodes evenly over time, eliminating obvious traffic patterns and making for easy maintenance: simply do a light power wash, allow the wood to dry, and apply another coat to freshen things up. You’ll find that your “big project” wasn’t so big after all.

Unique water-in-oil formula protects against UV and moisture
Easy, no-sanding maintenance means less time working on your home
Easy water cleanup
Matte finish for that rustic look
7 beautiful semi-transparent colors to choose from

NEED
Packaging:
5 gal. pails, 1 gal. pails, and 4 oz. samples

Interior and Exterior:
• Wood siding
• Wood trim & fascia
• Decks (exterior only)
• Fences
• Surfaces recently coated with a non-drying waxy oil-based stain (Contact us for more guidance)
• Surfaces treated with creosote
Number of Coats: 2 coats
On extremely dry, porous wood, a light 3rd coat may be necessary to even out color and gloss)
• T&G ceilings and walls
• Interior floors
• Furniture
• Cabinetry
Method of application
• First coat: Spray on to point of refusal and back brush in
• Second coat: Spray on a lighter coat and brush out runs
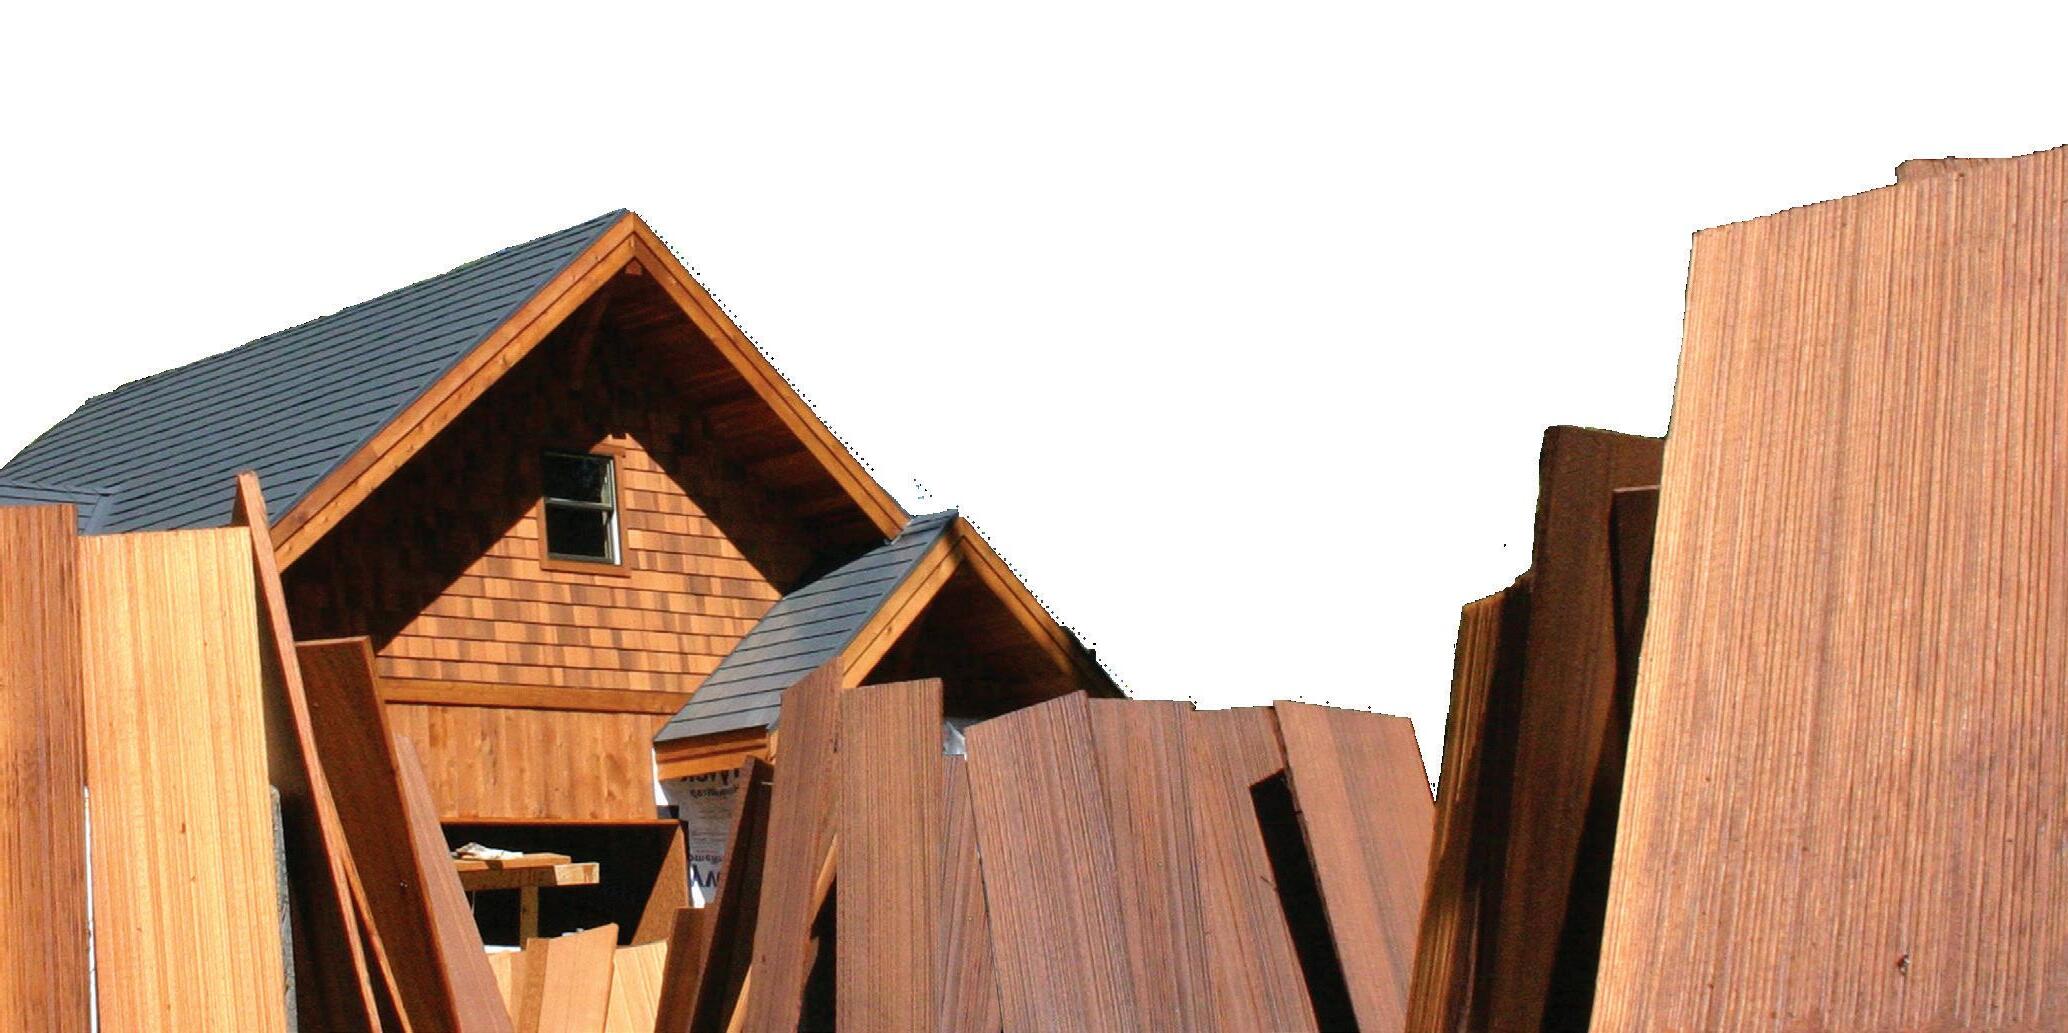
Hand-dipped shingles in progress being stained with Transformation Siding and Trim.

Application Temperatures
• Surface and air temps of 40° to 90°F (4° to 32°C)
To avoid washout, do not expose to freezing temps or rain during application and for at least 48 hours after application
Coverage rates:
• First coat: 150-250 sq. ft. per gallon
• Second & maintenance coats: 250-350 sq. ft. per gallon
• When applied over top of Colorfast: Add 50-75 sq. ft. per gallon
Dry time
• 4-12 hours (longer in cooler temps and/or 50%+ humidity)
• Protect from direct rainfall for at least 48 hours
Cleanup
• Clean brushes and equipment with mineral spirits. Hands may be cleaned with citrus-based hand cleaners, and then washed with soap and water
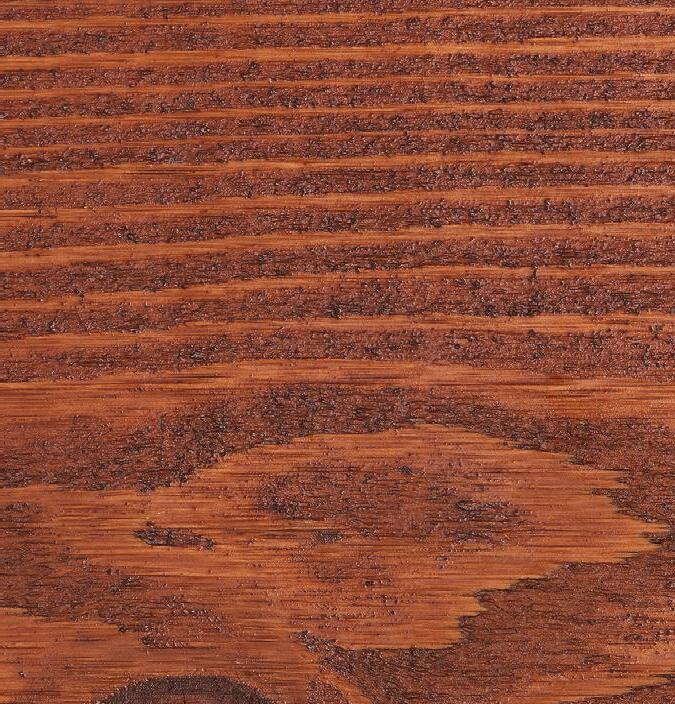

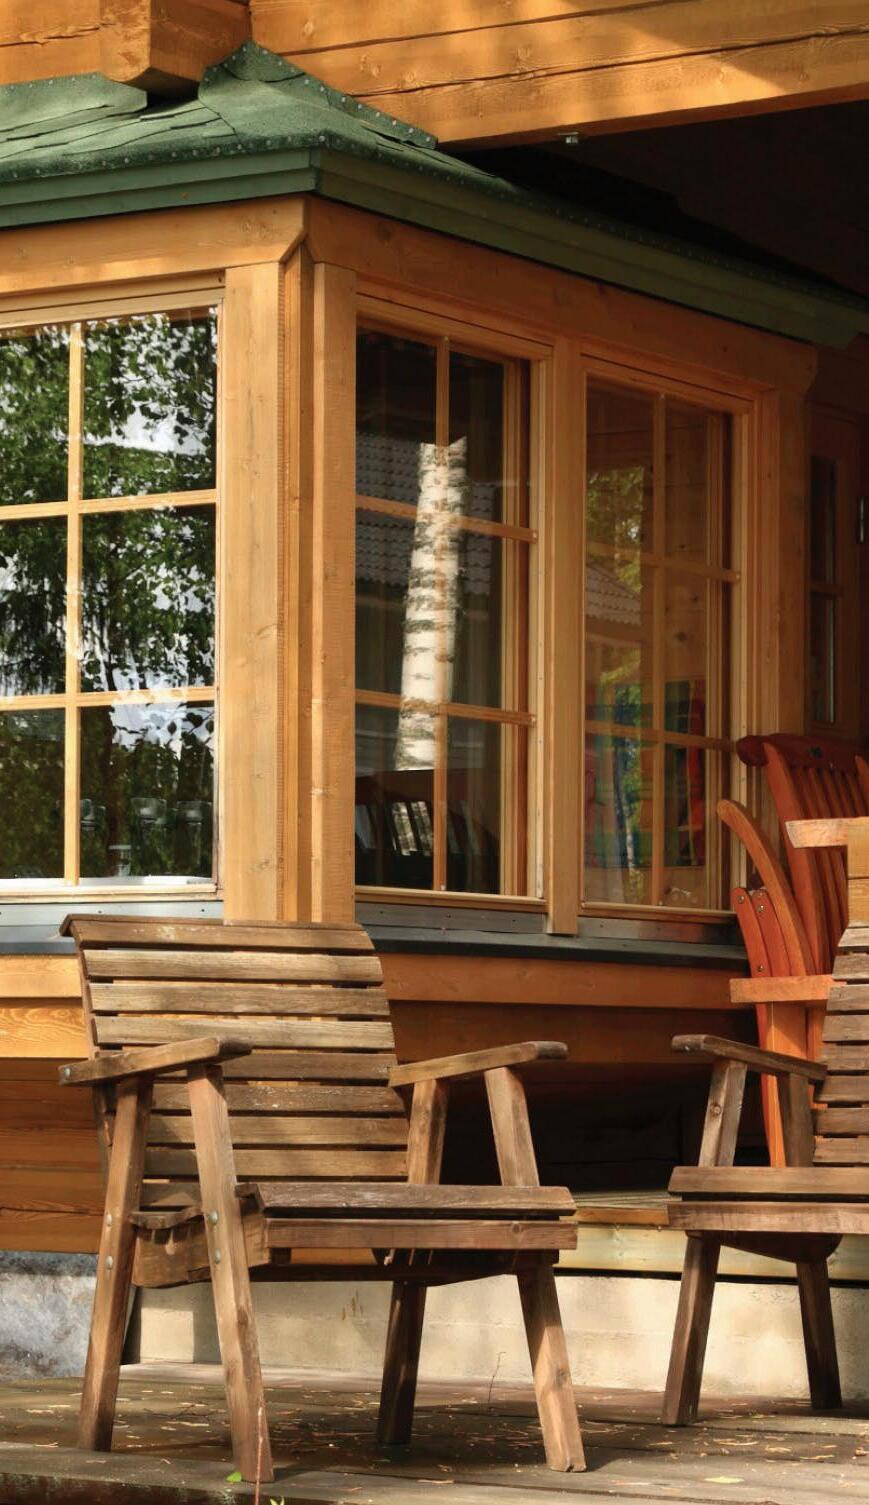

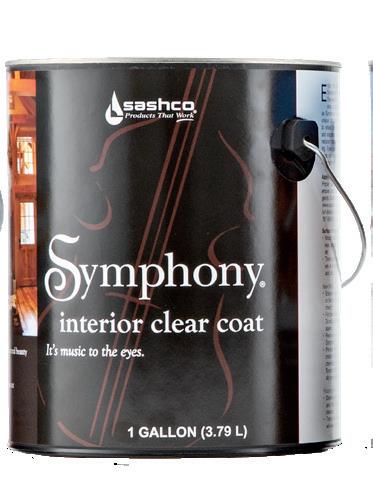
Enjoy the clean glow of wood with Symphony interior clear wood finish. Symphony works in harmony with the unique character of your logs and wood to reflect an atmosphere of cozy warmth and elegance while creating a scuff-resistant and durable surface that’s easy to dust and is protected from discoloration from oils and grime. When used over top of Colorfast, the bright, original wood color is preserved for years to come. Eyes can focus on the relaxing ambience, not on gathered dust. Symphony is music to the eyes.
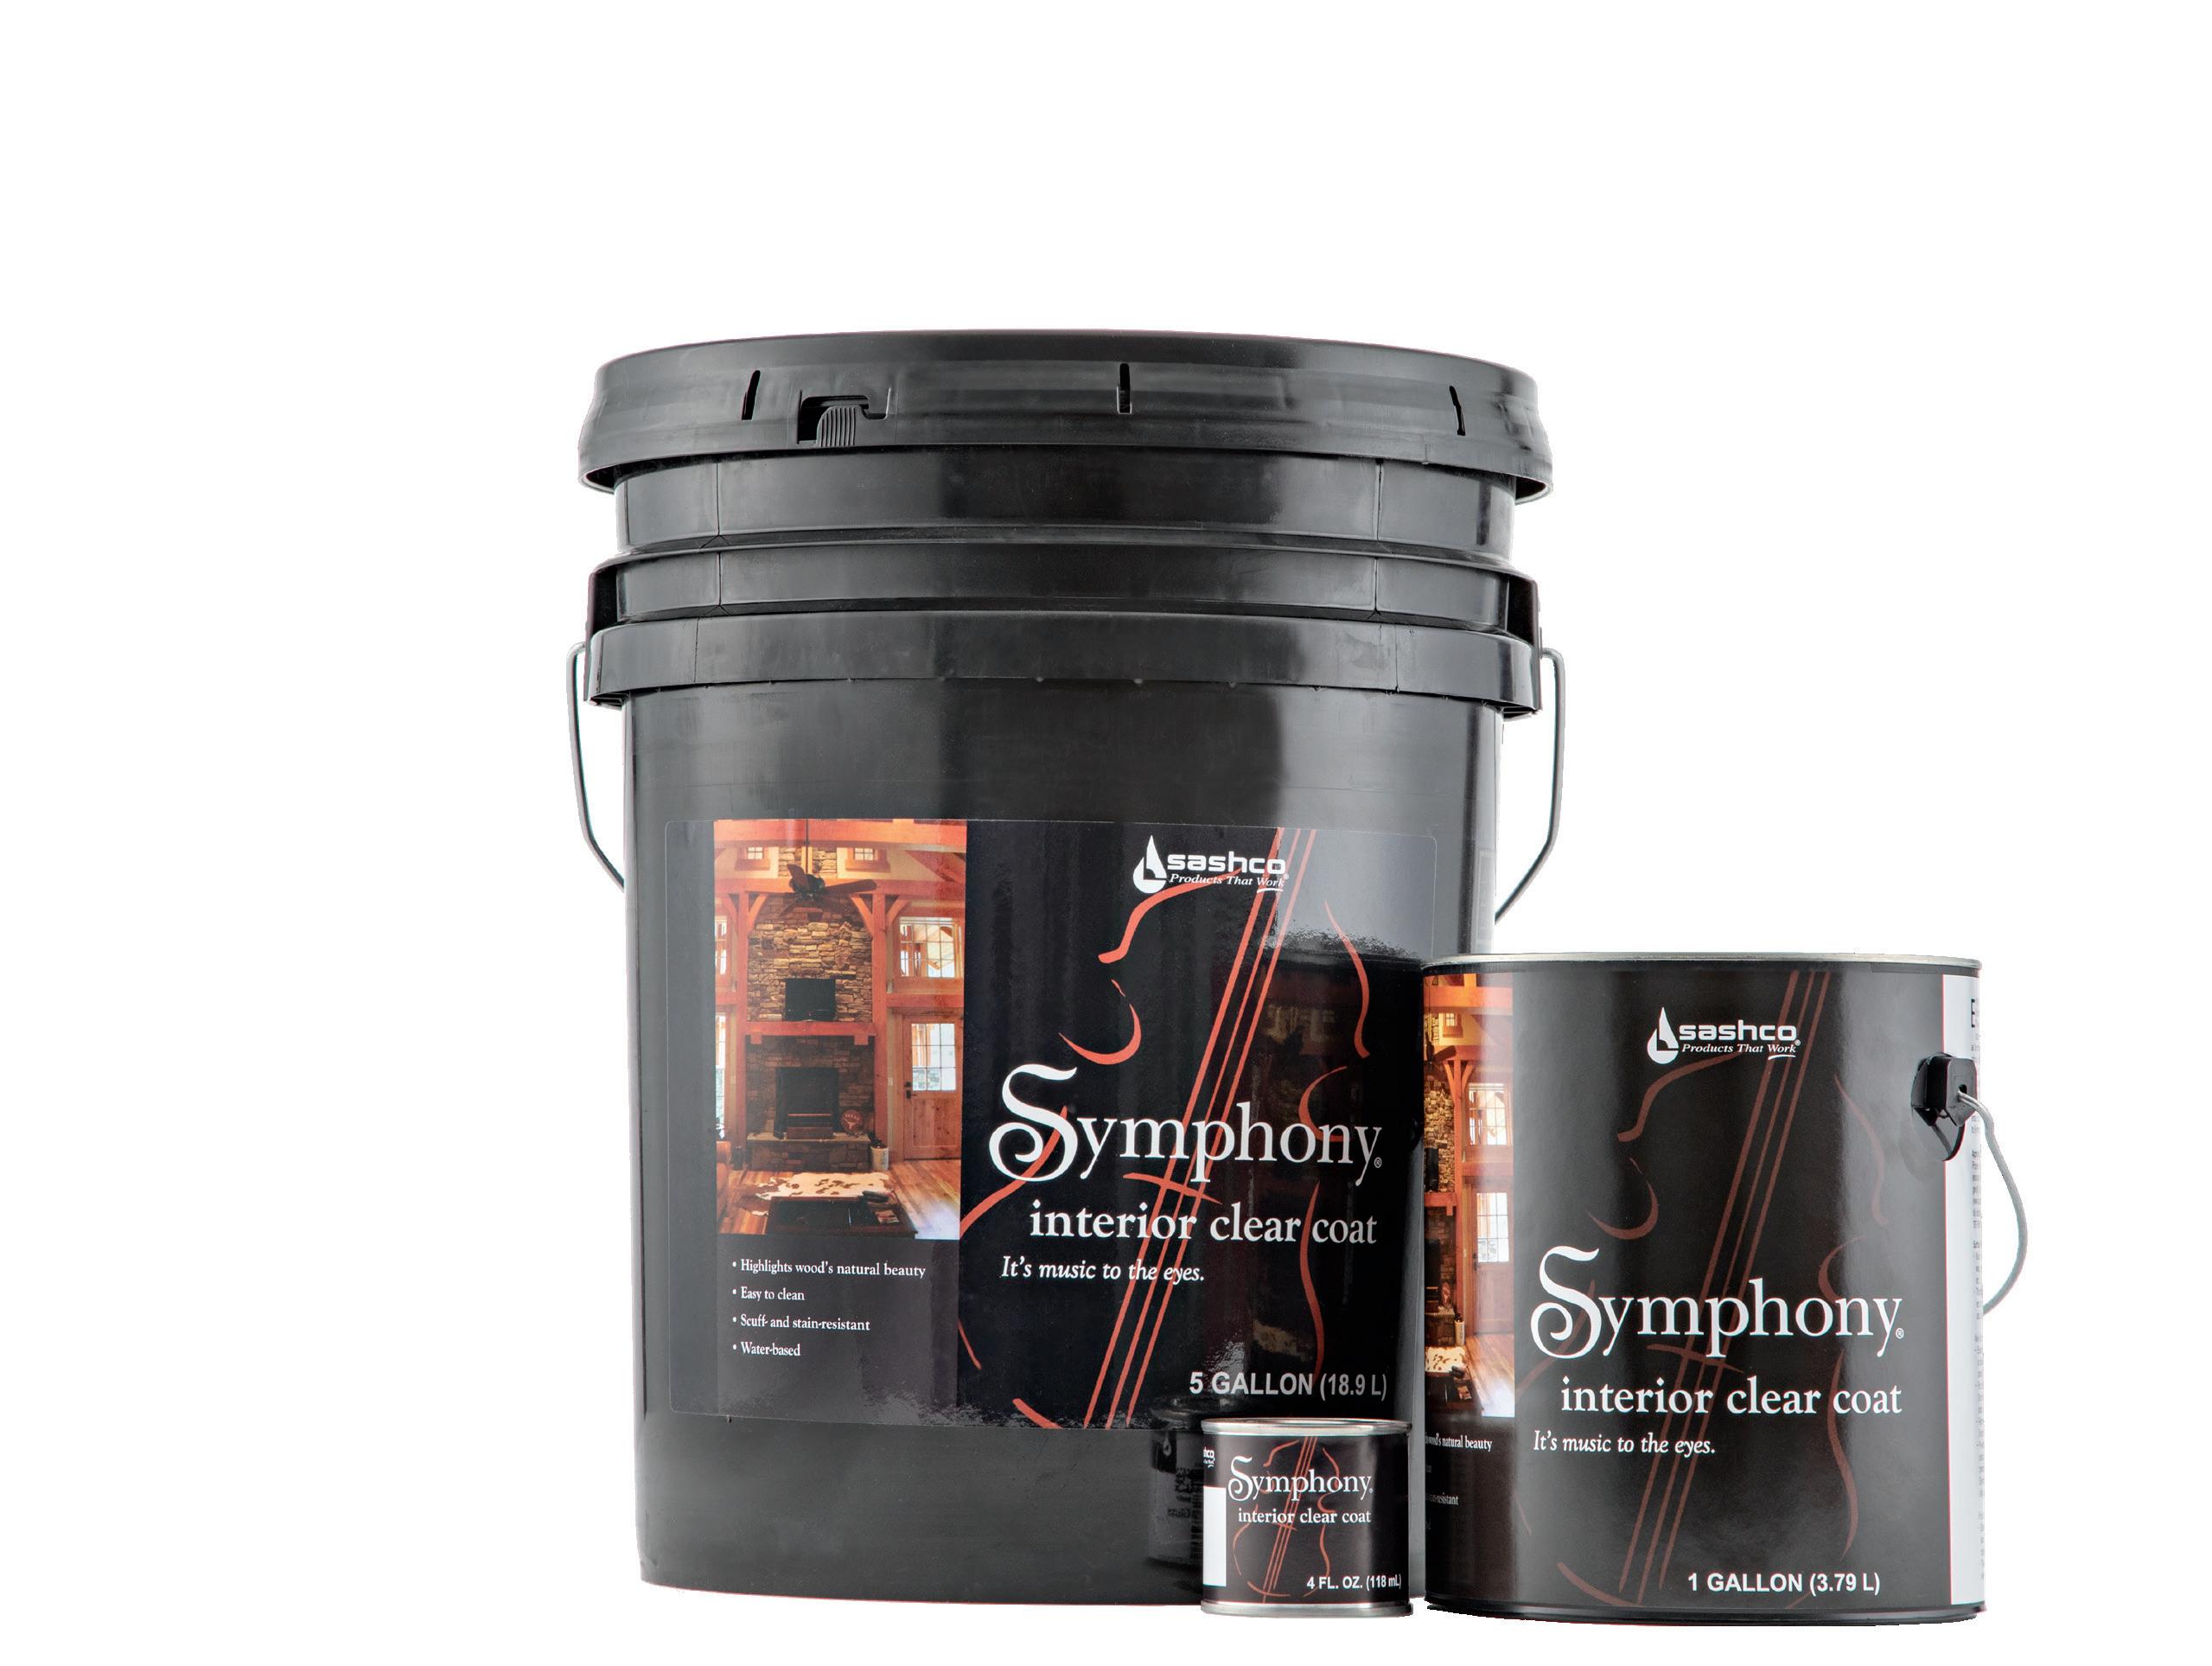

Elastic water-based formula moves with your wood: no peeling or cracking, just beautifully protected wood
Durable and easy to clean: Scuff- and dust-resistant formula make it easy to keep wood looking clean
Easy water cleanup
Available in Satin or Gloss sheens, or mix them together to get a sheen unique to you

Interior:
• Logs
• Timbers
• T&G walls and ceilings
• Wood trim
• Wood doors
• Surfaces recently coated with a non-drying waxy oil-based stain (Contact us for more guidance)
• Surfaces treated with creosote
• Walking surfaces
• Furniture
• Cabinetry
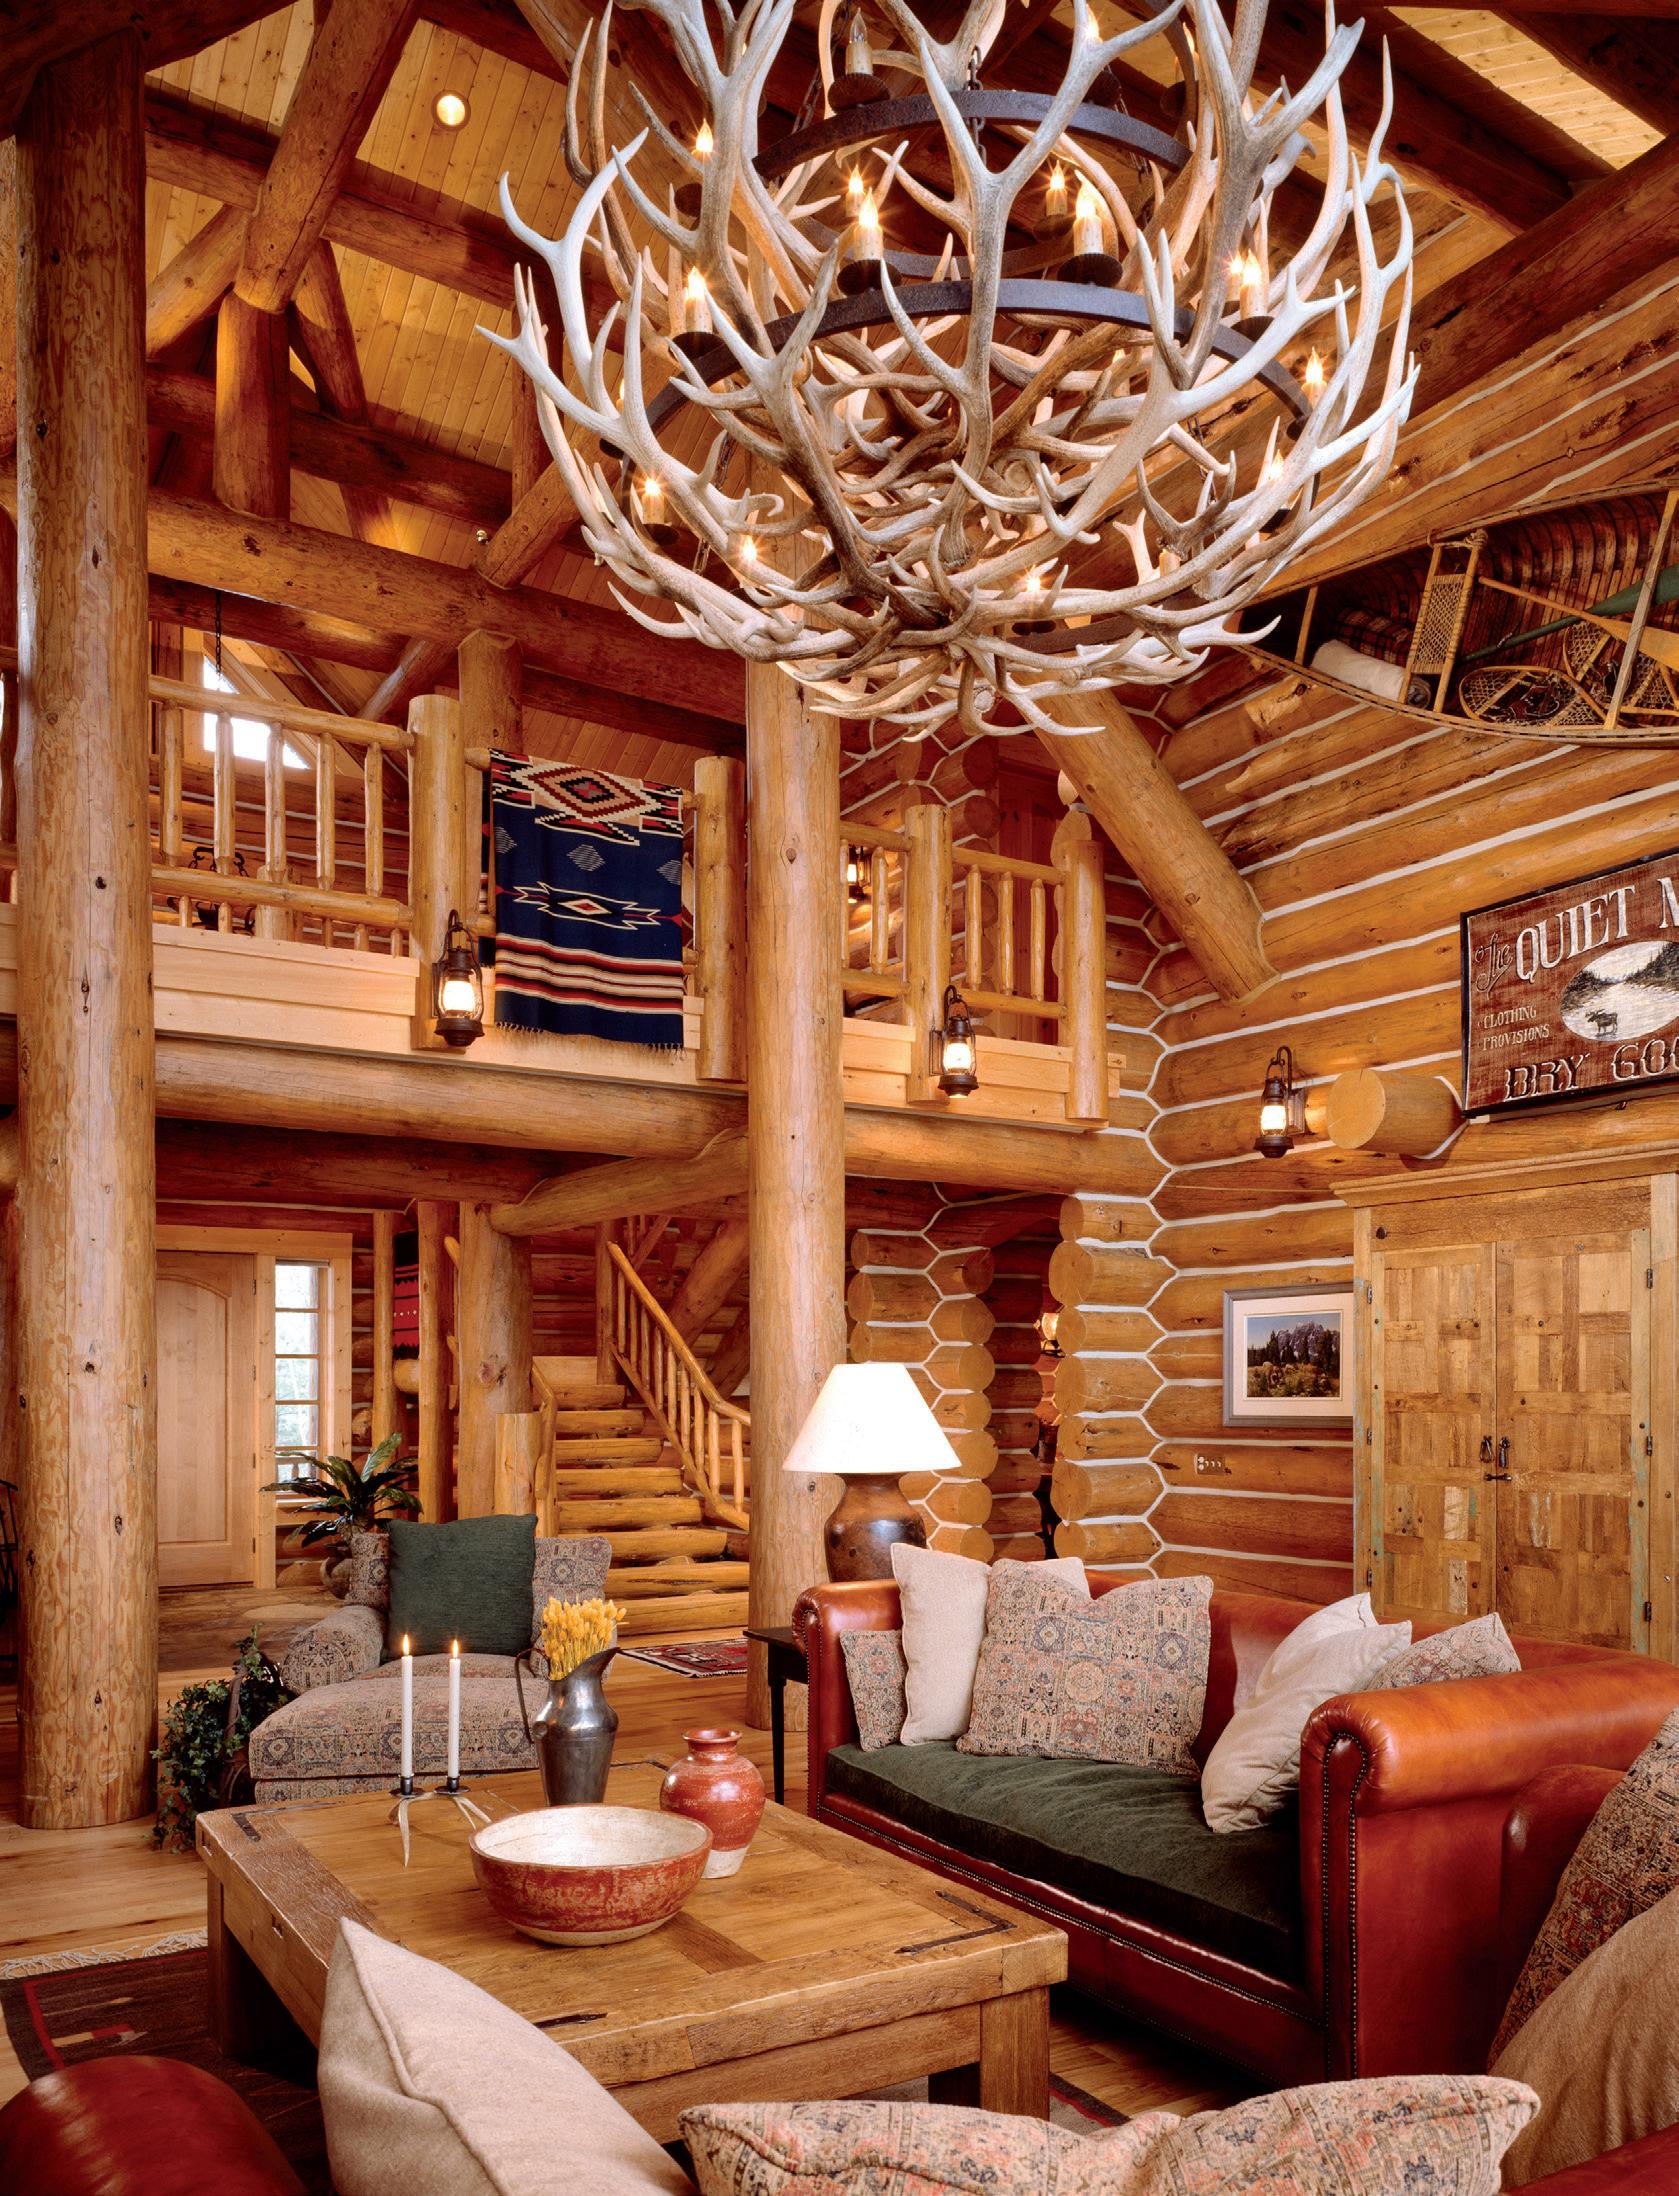


Number of Coats: 2 coats
On extremely dry, porous wood, a light 3rd coat may be necessary to even out color and gloss)
• First coat: Spray on heavily and brush out runs
• Second coat: Spray on a lighter coat and brush out runs
• More coats may be applied, if desired, to get to a smoother texture
• Sanding may be done between coats, if desired, but is not necessary for proper performance
• Surface and air temps of 40° to 90°F (4° to 32°C)
To avoid washout, do not expose to freezing temps or rain during application and for at least 48 hours after application
Coverage rates:
• First coat: 200-300 sq. ft. per gallon
• Second coat: 400-500 sq. ft. per gallon
• When applied over top of Colorfast or a coat of stain: Add 50-100 sq. ft. per gallon
time
• 2-6 hours (longer in cooler temps and/or 50%+ humidity)
• While fresh, clean up with soap and water. Once dry, mineral spirits will be required (and it won’t be easy, so avoid overspray!)
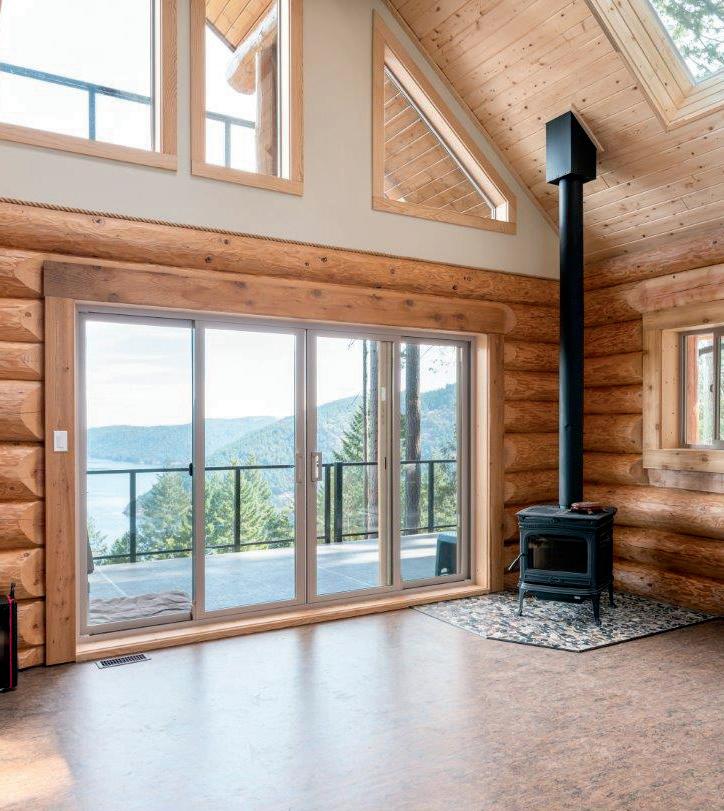
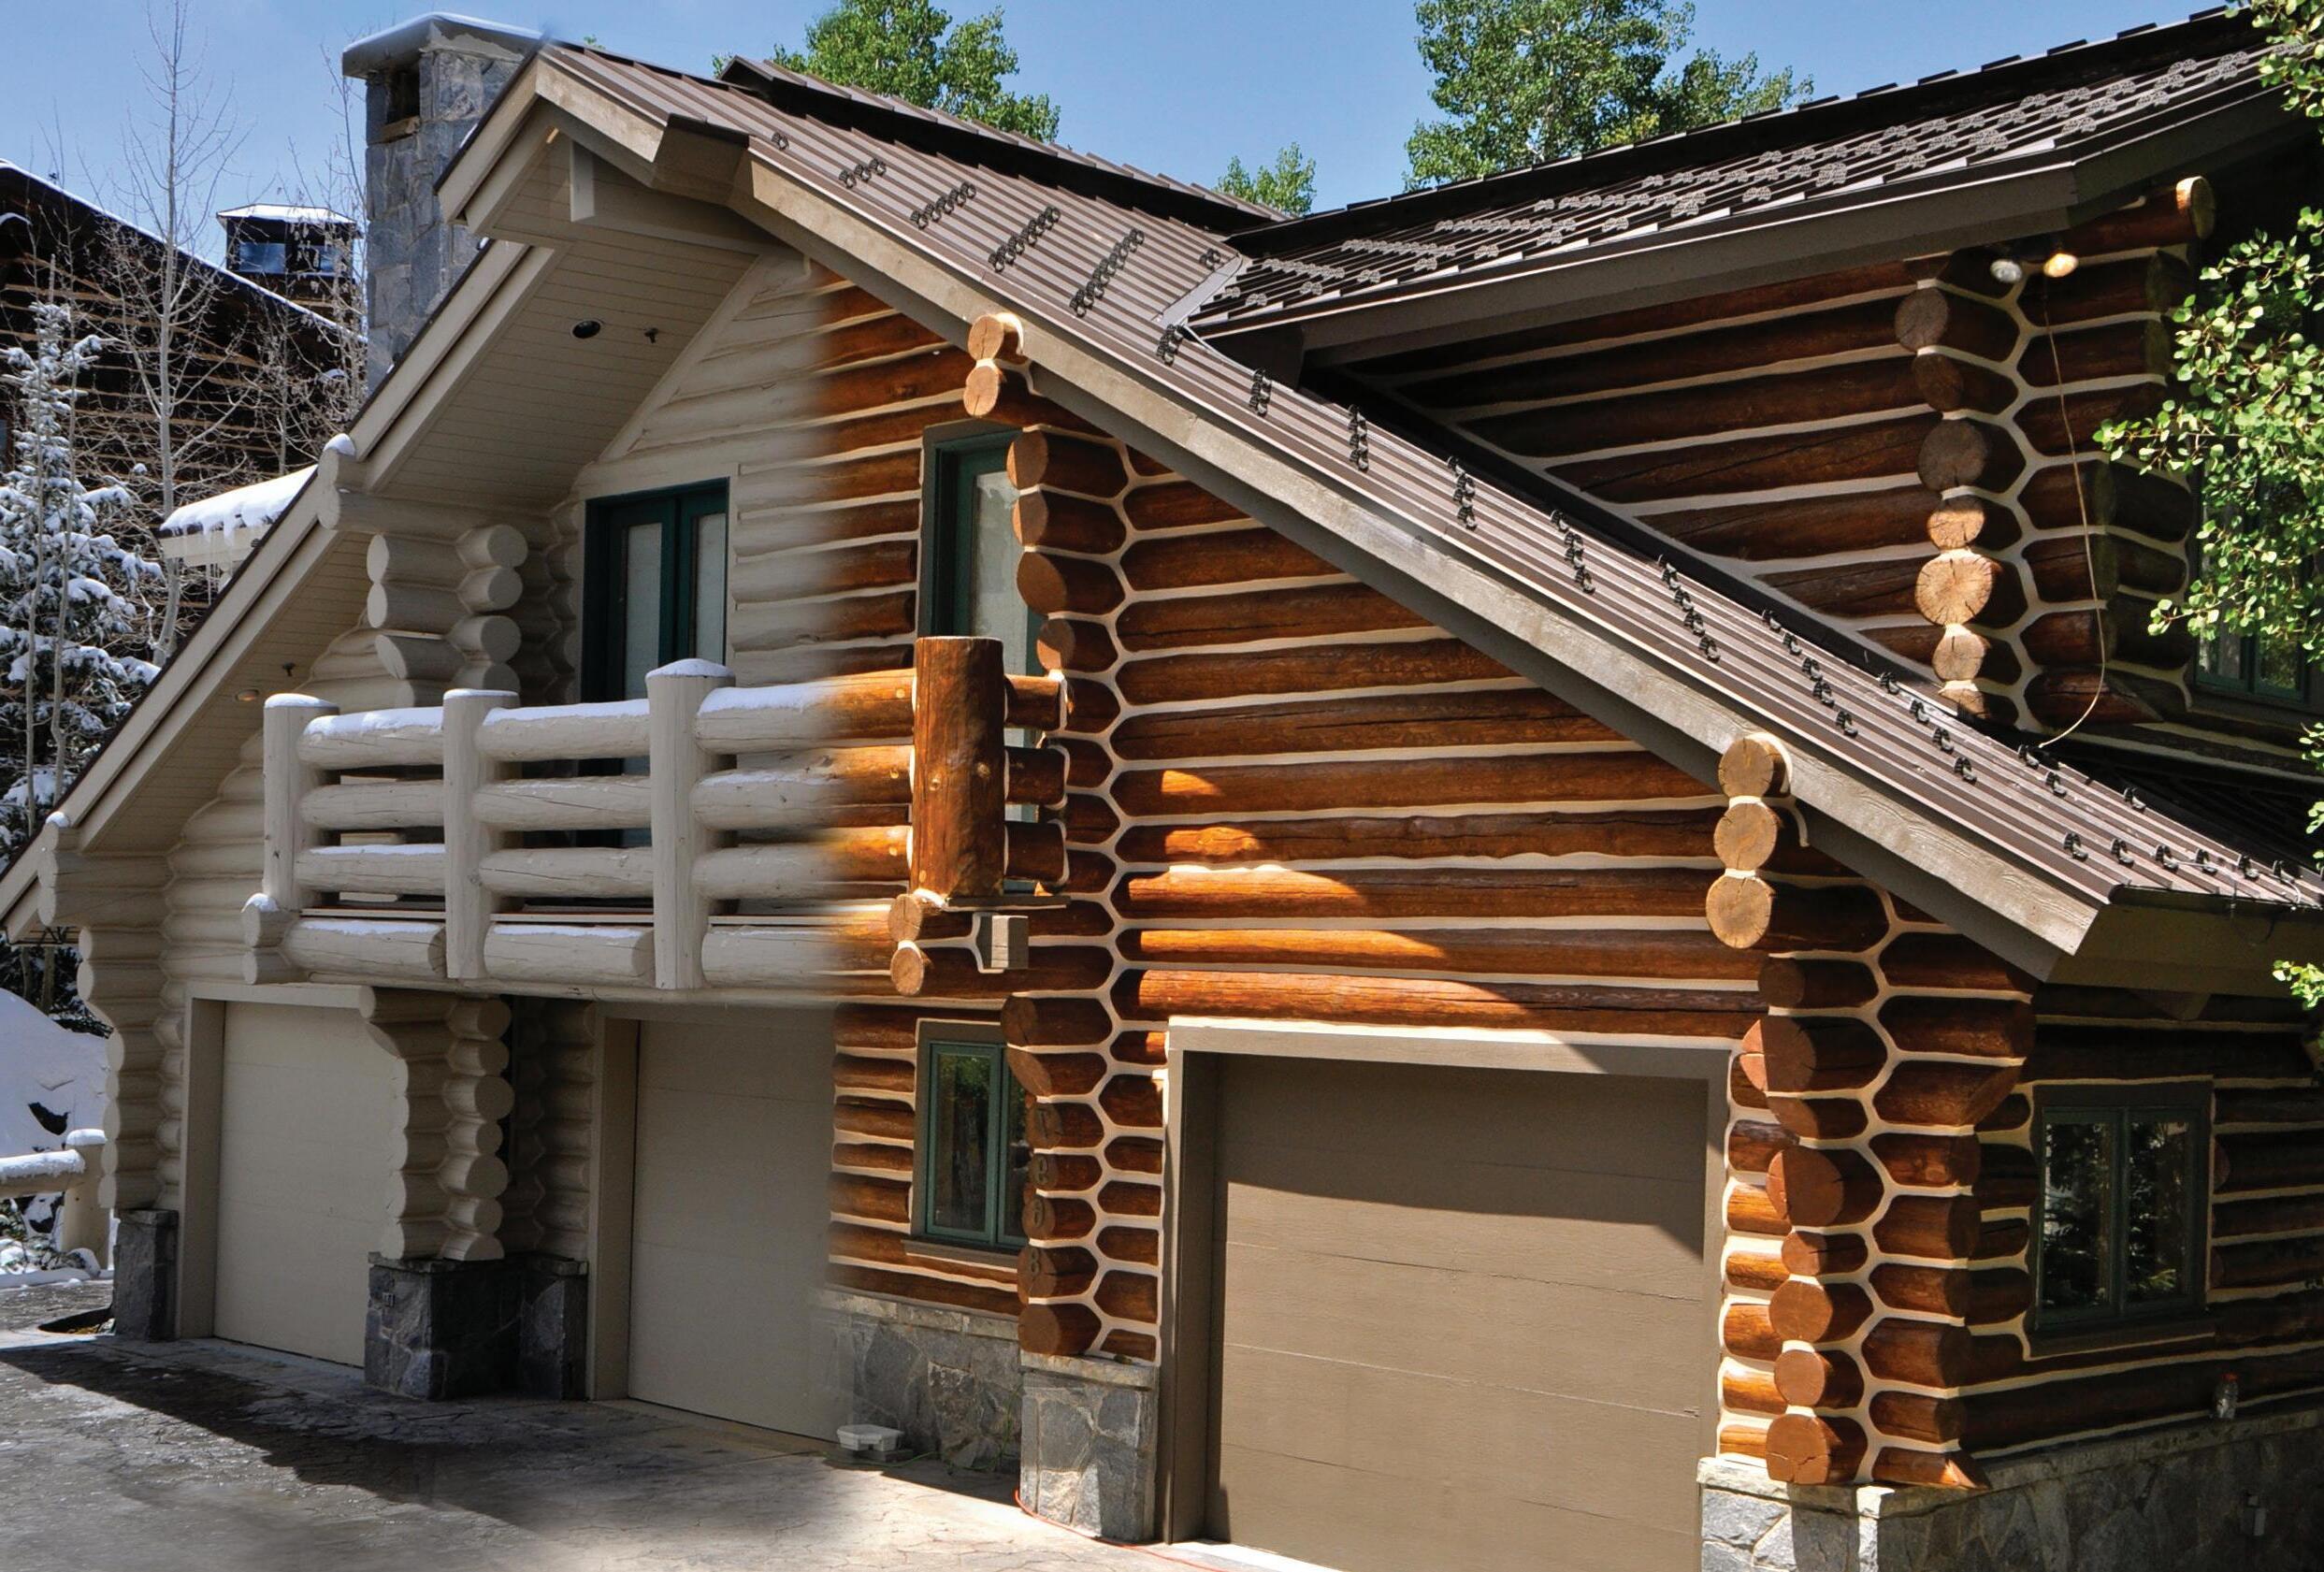
Technical report by Jim Barnes, Sr. Chemist
We might sound desperate, but please heed our plea: NEVER paint a log home. We’re not just saying that because we make stain. Keep reading to understand why paint is just a bad idea.
It’s common knowledge that moisture trapped in wood will, over time, lead to rot. Because significant rot can lead to tens of thousands of dollars in repairs, it’s imperative to use a coating (stain, paint, varnish, etc.) that will both prevent most moisture from getting into wood in the first place, and also provide an escape route for moisture that does get into the wood. Voices on the internet and elsewhere would tell you that this has more to do with the breathability of the coating itself. Breathability is important, because no matter how carefully built, properly stained, or well-maintained a structure is, some liquid water will eventually get past the outer defenses and into a building. But the breathability of a coating is not the primary factor in preventing rot. So, what is?

On any log or timber structure, liquid water from many sources — dew, rain, runoff, backsplash, snow, ice, sprinklers, cleaning, etc. — will get onto the surface of the wood. Once on the surface, that water will soak into the wood, unless a good stain or coating is there to block it. Bare wood, weathered wood, weathered or failing stains and coatings, joints, fasteners, insect holes, and — perhaps especially — unsealed cracks and checks are all excellent places for liquid water to get past the coating and into the wood. Once in the wood, the liquid water will naturally soak deeper into the wood.
As liquid water inside the wood evaporates, it expands dramatically. One teaspoon of water will expand about 1600 times to become approximately two gallons of water vapor! When that happens slowly, in cool weather or shaded areas, those forces aren’t too destructive, as the vapor has plenty of time to find a way out of the wood without doing much damage. However, when the liquid water turns to vapor quickly and the escape paths are limited, damage can occur. This often happens when a dampened log is exposed to full sunlight. The increasing water vapor pressure underneath the coating will literally push the coating off the wood as it tries to escape, as shown in the photo above. The resulting damage to the adhesion of the coating is the beginning of the peeling process. The more breathable a coating is, the easier it can relieve this back pressure by allowing the water vapor to pass through it with minimal or no damage.
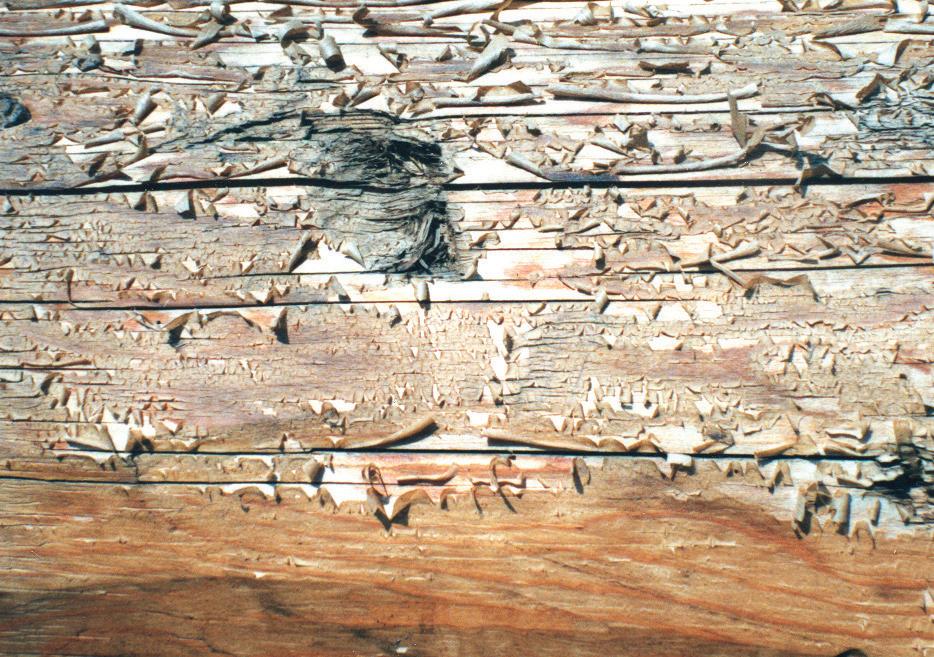
The most common way to address the problem of water is to apply a coating that forms a continuous film on the surface, keeping most of the water from getting in, while making sure that it is breathable enough so that water vapor can escape with minimal or no damage. The vast majority of wood stains on the market are intended to perform this way.
The first job of a coating: Keep Water OUT! Shedding liquid water is the first line of defense against rot. Keeping the underlying wood dry simply makes sense. Disappointingly, most
commercially available stains and coatings are simply too hard and brittle to do this effectively. Logs and timbers expand and contract and twist and crack with changes in temperature and humidity, and as they relieve internal stresses. A brittle, hard coating applied on top of this constantly-moving wood simply can’t keep up with the movement. The result is cracks in the coating itself that usher water directly to the wood. Over time, this leads to cracks in the wood itself, which allows even more moisture in. An elastic, or at the very least flexible, coating can move with the wood far better, maintaining a barrier to liquid water for much longer. Sashco makes Transformation Stain Log and Timber to be as flexible as any oil-based coating can be, and Capture Log Stain to be hyperelastic.
The second job of a film forming stain: Let Water OUT!
You read that right: breathability is the second line of defense, but it’s a bit more complicated than just the breathability of the stain itself. All of the following factors also affect the overall breathability of logs and timbers: wood species, density, texture, wood prep, any previous stains applied, cleaning chemicals or preservatives in the wood, penetration or non-penetration of the first coat, the amount or thickness of the stains or coatings, the number of coats applied, and more. In such complicated systems, we simply aim for minimal to no damage as the stain weathers.
The less common way of addressing the problem of water is to make a super-breathable stain or coating that vapor just passes right through. An eroding alkyd, an “oil-in-water” system (often referred to as a “hybrid” stain), quickly microfractures and ages into tiny flakes. Water soaks right into the wood, but also evaporates right back out just as easily. The microflakes erode away instead of peeling. This type of stain needs to be reapplied every couple of years, but extensive prep is usually not necessary. Stains like these are ideal for decks and fences. Sashco’s Transformation Stain Siding and Trim falls into this category.
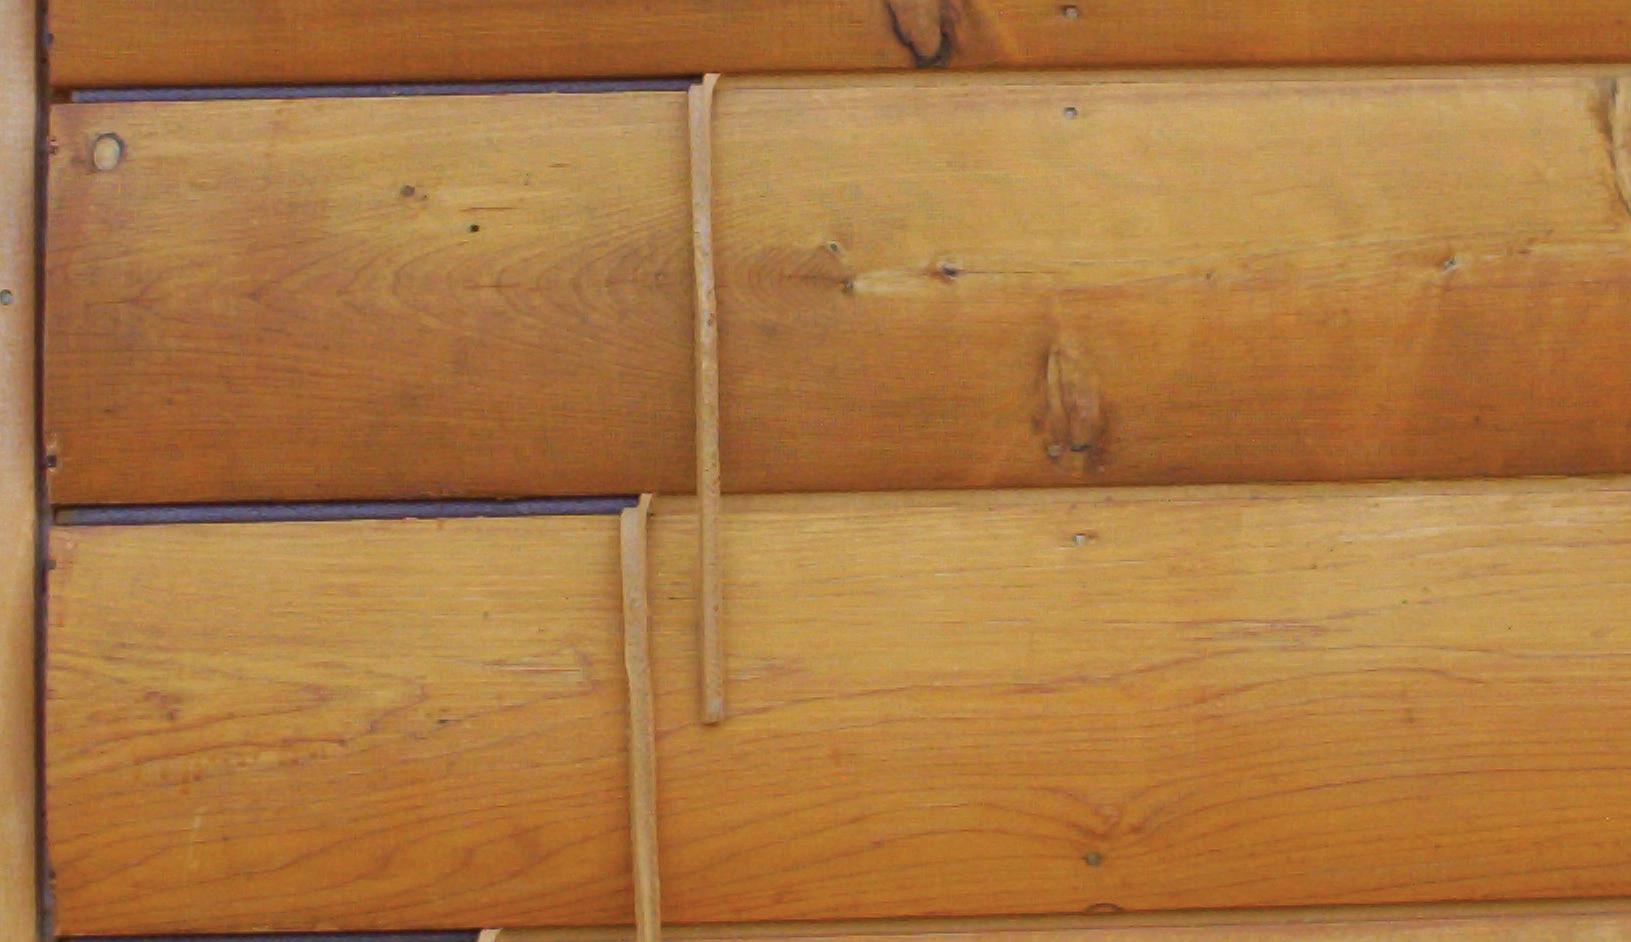
Another way to accomplish super-breathability is by using a non-drying oil as the main component of the stain. Unfortunately, these stains are incompatible with sealants and chinking, (that’s right: caulking and chinking won’t stick to surfaces stained with non-drying oils). Sealants that don’t adhere are easy access points for moisture (as shown in the photo above). Every log home needs some sealing, at the very least around doors and windows. This is why Sashco and many other manufacturers stand firmly against using non-drying oils, as well as silicones and waxes, on log homes, all of which prevent sealants from adhering properly.
Proper staining counts! As we consider log and timber stains and coatings, one of the most overlooked places during a stain job is actually the inside of cracks and checks. Many people do a fantastic job of making the outside of logs and timbers look beautiful, while completely missing the inside of the cracks and checks. Leaving any crack or check that can hold water unstained means there is a direct water path right into the wood, and that will cause rot, eventually. All cracks larger than ¼ inch wide should be sealed with backer rod and an elastic sealant like Conceal or Log Builder. Any crack smaller than ¼ inch wide and 1/4 inch deep should be filled with stain. (Excess liquid stain can then be brushed out, but it is important to stain ALL the bare wood.)
Another overlooked opportunity is vigorous backbrushing. We are not talking about spreading the stain out evenly, but literally pushing the liquid stains or coatings into the wood using block brushes on poles. This (exhausting but effective) work actually pushes the stain into places it
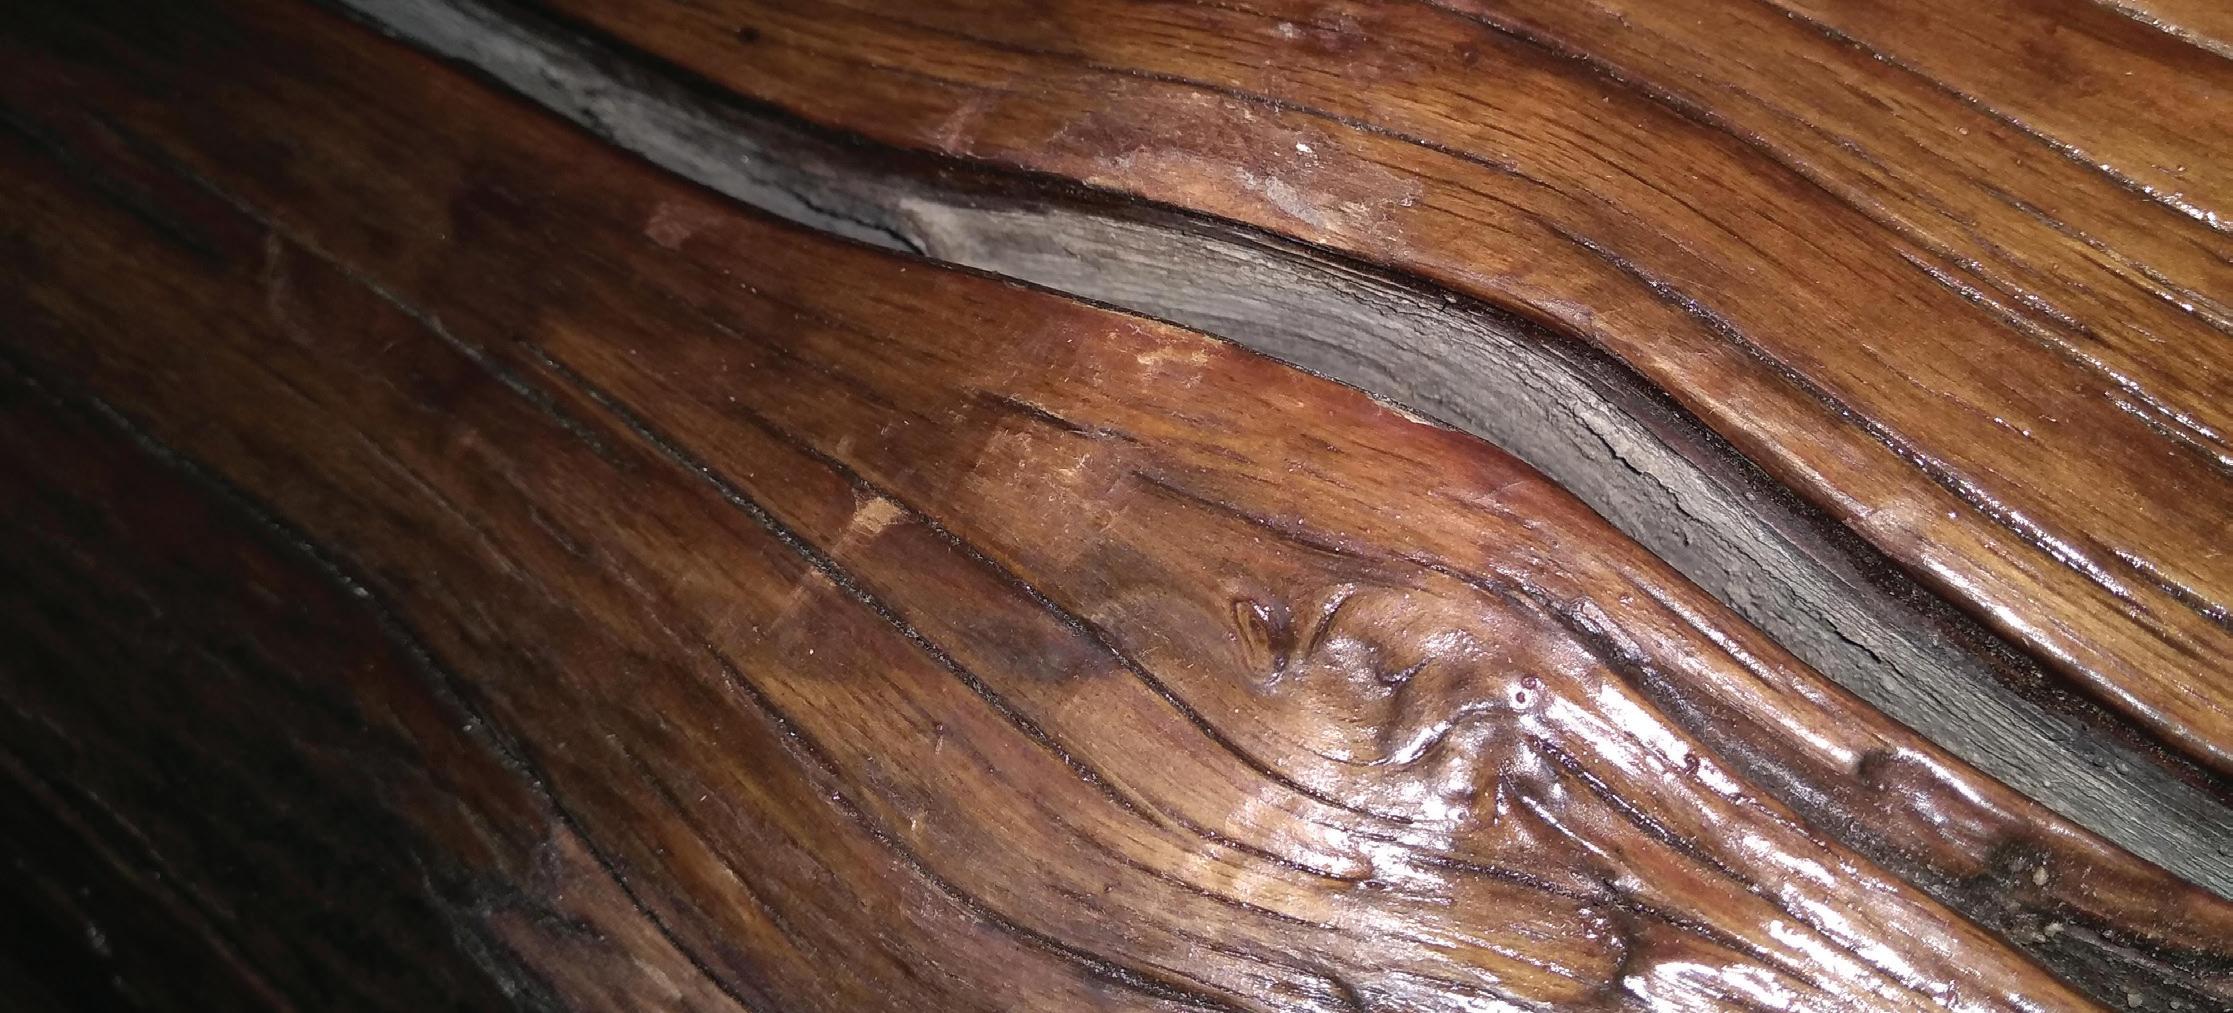
won’t flow — into the cells and the cell layers deeper down, forming mechanical stain-anchors deeper in the wood. Doing this really helps the stains resist the backpressure of the water vapor, making the stain job last much longer.
Proper maintenance counts, too! Eventually, even the best stains crack as the wood underneath checks and cracks. These cracks that develop should not be ignored, but instead should be treated fairly soon after they form so that the wood is sealed against water intrusion — preferably before much damage occurs. On new construction, plan on a maintenance coat one or two years after building and staining is complete, just to handle the new checks and cracks that inevitably develop soon after construction. Performing maintenance on time can be the difference between a simple maintenance coat and a full restain job. In general, even the best stains used on logs will need to be maintained every three to five years.
The back-pressure damage from expanding water vapor is most often seen on the upper curvatures of logs that get very hot in direct sunlight. You can see this damage on many log homes if you look for peeling — especially along the edges of unsealed checks and cracks. In the picture to the right, you see a piece of red cedar that was stained with two different
stains and left outside to weather. As 18 months went by, the wood cracked as it expanded and contracted, starting at the unstained middle strip where the unprotected wood started to crack very quickly. The cracks split the stains and allowed more liquid water into the wood. Note how the stains started to peel along the edges of the cracks where the back pressure from the water vapor was strongest.
Did you notice that one of the stains on the panel below was better than the other? Both were premium alkyd stains, but the one on the left was designed for general use. It is so hard and brittle that it can’t handle the movement of the wood very well, so it cracks and peels a lot. On the right side is a much more flexible alkyd stain (an early version of Sashco’s Transformation Stain Log and Timber) that is able to move with the wood much better. As a result, the peeling damage from the cracking wood and water absorption/evaporation is much less pronounced.
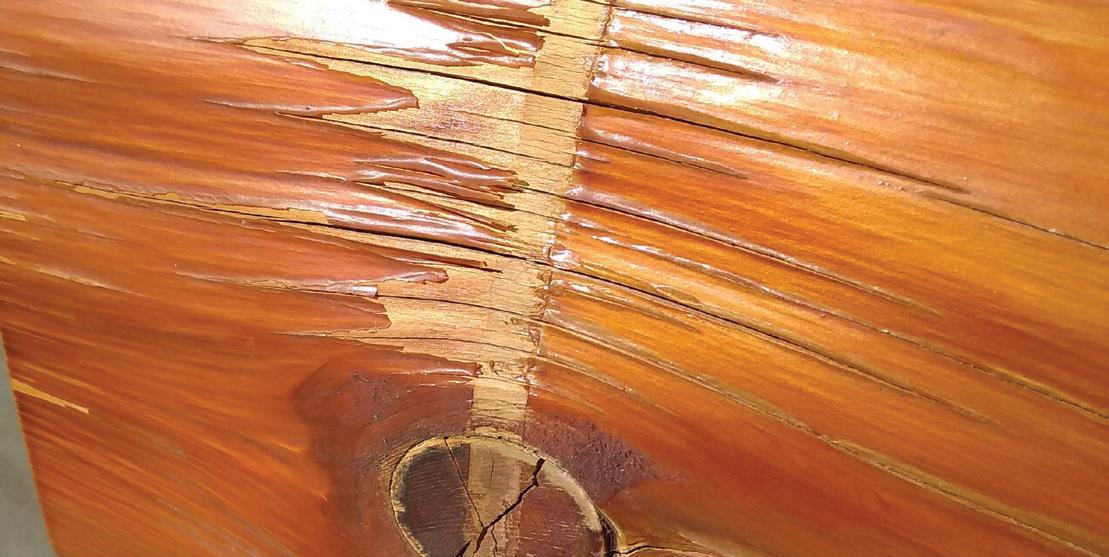
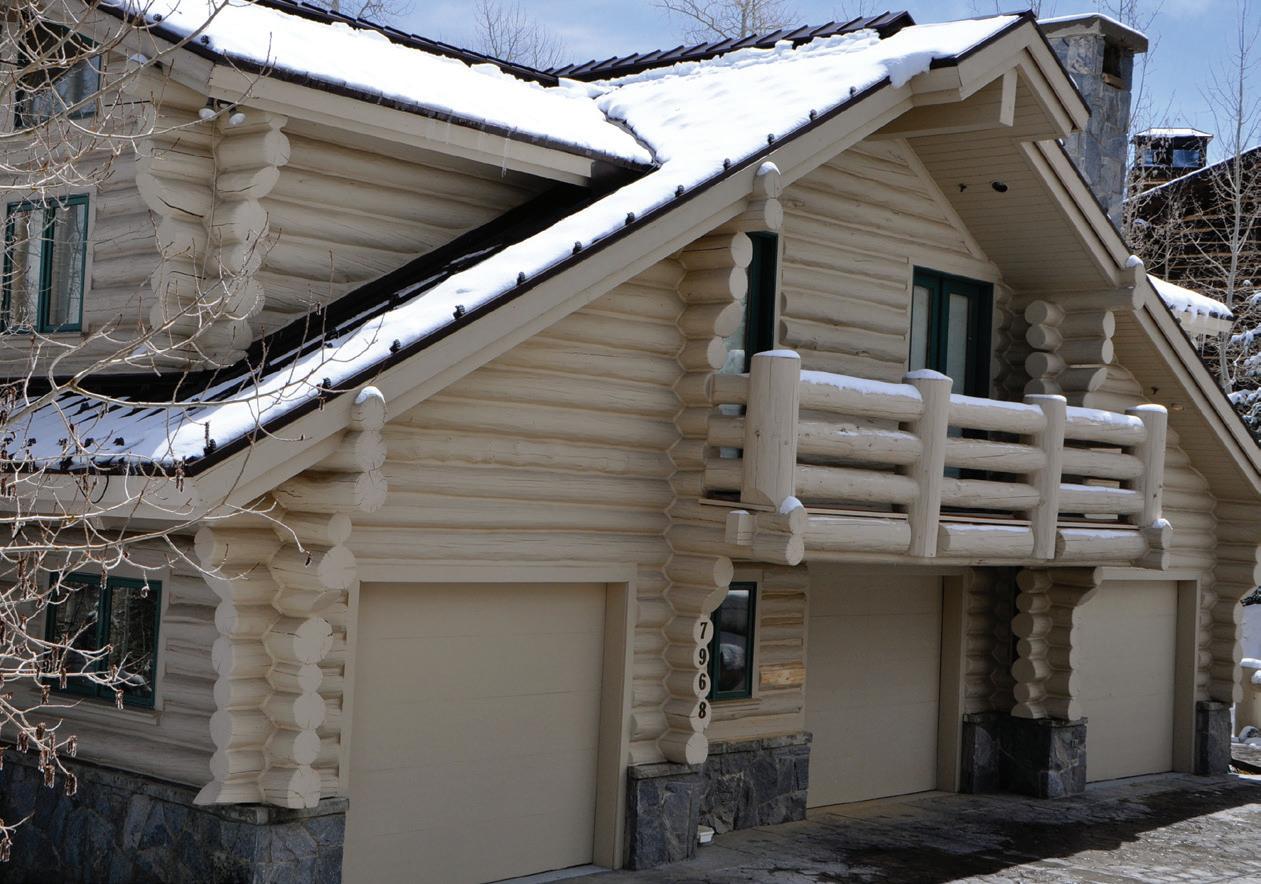
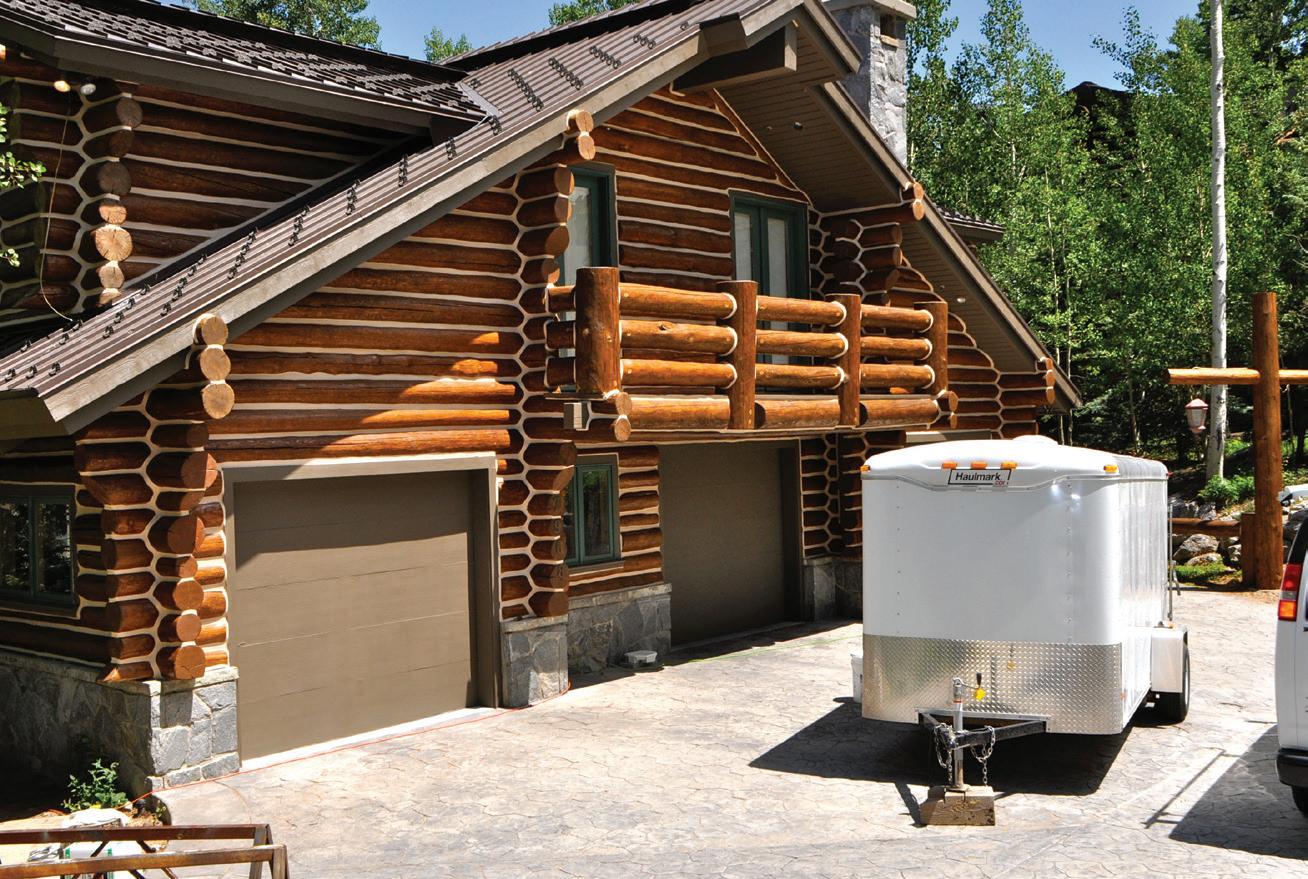
We’ve just discussed that paint is very breathable. So why not just paint a log home?
With a semi-transparent stain, you can see water damage beginning. With paint, all of that is hidden, often until it’s too late.
The home above is a perfect example of paint hiding developing problems. From the outside, everything looked to be in pretty good shape…until the contractor started tapping on the logs. Before they knew it, an entire corner of the home had to be replaced. Nearly $100,000 later, the home was repaired. The homeowners were happy to have a semi-transparent stain applied this time.
With all this talk of water damaging log and timber structures, we need to remember that good building design plays a key role in keeping water off the logs and timbers too. Foundations that are at least 18” above the ground, gutters and downspouts, and wider eaves will all help keep water out of a log home.
So, how important is breathability? Well, it is important that a stain or coating that will be used on exterior wood has enough breathability that it will minimize or eliminate any damage from moisture escaping the wood. A high-performance log stain will meet this need. But as shown, it’s more important to keep out water to begin with — and that starts with a high-performance stain that can move with the wood, is applied properly, and then maintained regularly.
Acrylics of all sorts are considered to be very breathable, as far as coatings go. When dried, they form a polymer network that has a good number of microscopic holes that are large enough to permit water vapor to pass through fairly easily. Even with multiple coats, acrylics maintain quite a bit of breathability. Acrylics are also extremely resistant to UV damage. Acrylics can be very hard and brittle, or very soft and elastic. (Sashco’s Capture and Cascade are hyperelastic acrylics specifically formulated for log and timber homes.)
Alkyds and natural oils like linseed, tung and castor are not as breathable as acrylics, but will still allow some water vapor to pass through. They form tighter networks with fewer of the microscopic holes needed to permit water vapor to pass through. There is some variation to be aware of: some thick viscosity oil-based coatings rest almost completely on the surface and these thicker films are less breathable. Thinner viscosity stains (Like Sashco’s Transformation Log and Timber) can soak into the wood on their first coats, with good breathability, and their second coat forms a thinner surface coat that maintains better flexibility and breathability. All oil-based coatings will eventually get harder and more brittle as they age, eventually cracking and peeling.
Eroding alkyds are extremely breathable, as they are designed to micro-fracture and flake off (commonly called “eroding”), rather than peel. They form an extremely porous surface, allowing water to both enter and exit the wood freely. As such, they don’t protect against water very well, but they still protect against a lot of UV damage. These need to be reapplied more often, but usually don’t have to be sanded down to do so, making them fairly DIY friendly. (Sashco’s Transformation Siding and Trim is an example.)
Pure urethanes or epoxy coatings are not considered to be breathable at all. These coatings are fine for interior flooring, stair treads, furniture, and handrails, but should not be used on any exterior logs, as they tend to trap moisture in the logs, leading to rot. (Special note: some products claim to be urethane, but are mostly alkyds or acrylic, so they are often OK from a breathability standpoint.)
Non-drying oil stains are usually very breathable, but they don’t allow any sealant or chinking to stick to them strongly. Much like silicones and waxes, these oils form a non-stick covering on and in the log. In addition, they provide only short long-term UV protection. With non-drying oils, it can be very difficult to switch to another stain technology when it is time to stain again. Sashco does not recommend these for log and timber structures, even if they claim to be made for logs.
Shellac, or lacquers, are fairly breathable coatings that were used on interiors long ago, and contractors still run into them on occasion. Lacquers don’t allow sealants and chinking to stick strongly, especially if they aren’t of the “dewaxed” type.
“Deck” stains, in general, have breathability in line with the above categories. They are not suitable for log homes because they have to be hard to withstand foot traffic. They often also include silicones or waxes to improve the waterbeading effect, which then prevent sealants and chinking from properly adhering.
“Log” stains are not always great for logs. Just because a stain claims to be made for logs does not mean it will work well on logs or be compatible with other log products. It is important that every product you use be compatible with the others. Take your time evaluating different stains and sealants you might use together to ensure compatibility.
The following panels show how differences in formulation (including elasticity) will perform when exposed to normal weathering.

Hard vs. Soft Oil Stains This exposure panel shows how a harder oil log stain (left) compares to the much softer, more flexible Transformation Stain Log and Timber (right) after 24 months’ exposure. For oil-based stains, both are performing fairly well.
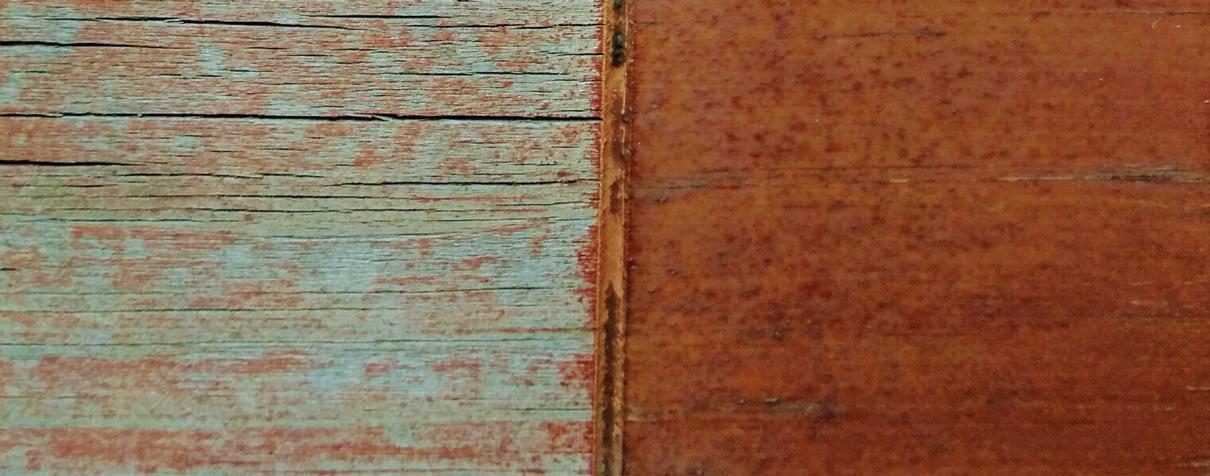
Non-drying Oil vs. Flexible Drying Oil This panel shows a nondrying oil stain (left) vs. Transformation Stain Log and Timber (right) after 24 months exposure. Although the non-drying oils have superb breathability, they simply don’t last, and as mentioned earlier, will keep sealants (and some future stains) from adhering properly.
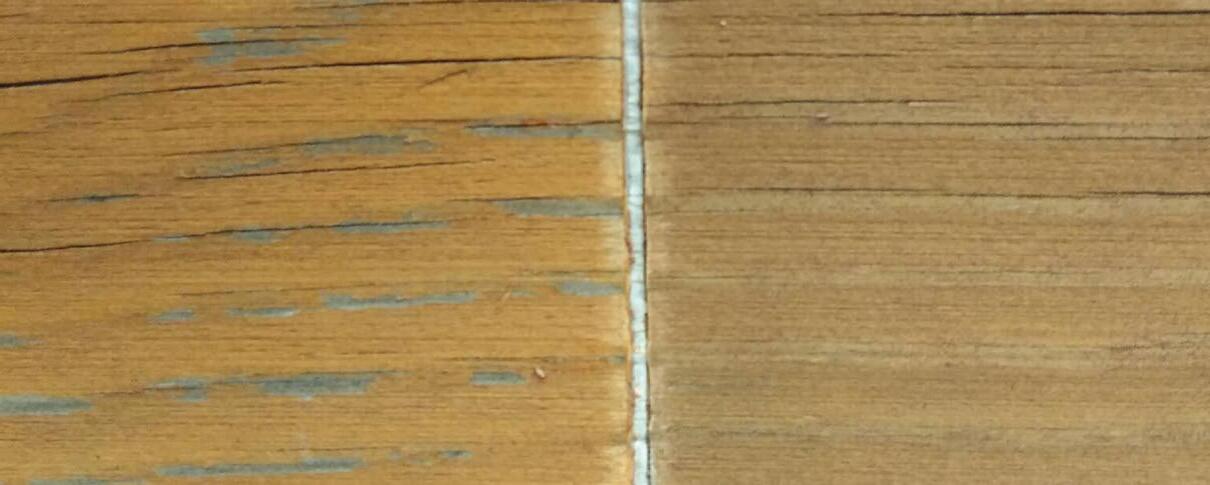
Eroding Alkyd Stains Let’s compare two different eroding alkyd stains. These don’t keep water out of the wood, so the wood cracks a bit. Still, they are extremely breathable, and keep their color and UV protection at the surface. Transformation Siding and Trim is on the right.
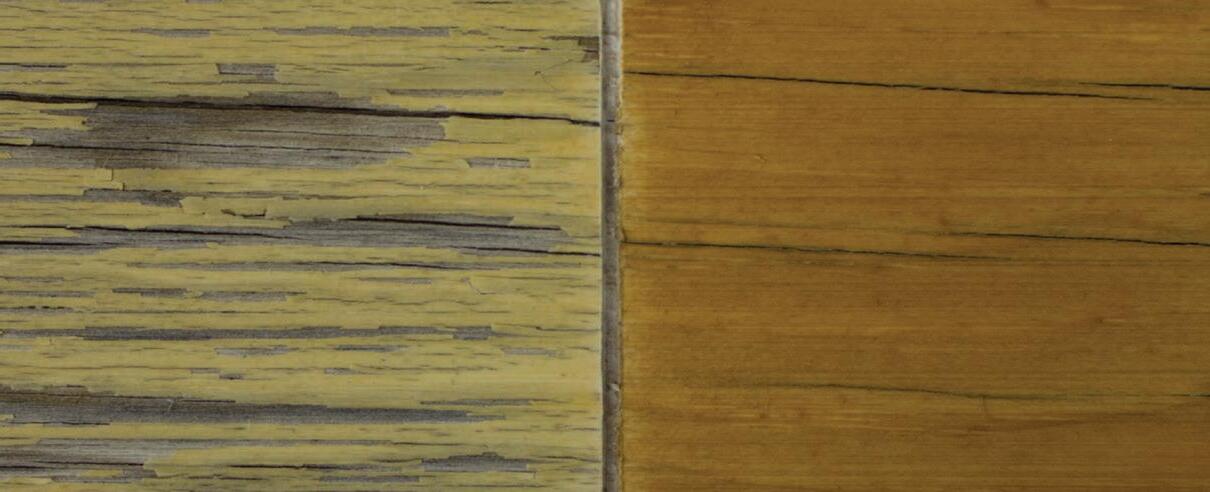
Hard Acrylic vs. Elastic Acrylic An unusually hard acrylic stain alongside Capture with Cascade on the right. Both were exposed for 18 months. The hard acrylic cracked and peeled profusely. Breathability hardly matters for that stain. On the Capture side, there is nearly no damage because it kept water out. Even where there are cracks in the wood, peeling has not started yet because Capture and Cascade are still very breathable.

Now that your home is stained, you’re ready for caulking and chinking. Gotta keep those bugs and rain storms outside, after all. You’re on the home stretch!


Don’t take our word for it
Don’t take our word for it
When guests see our lake home for the first time, we anticipate their reaction. They all say something like, “It’s so beautiful!” and it confirms to us that we made a wise choice. We know the cedar siding is the focal point of those remarks so we have faithfully had a coat of Cascade clear applied every 3 to 4 years. We want those compliments to continue for years to come!
– The McGraths


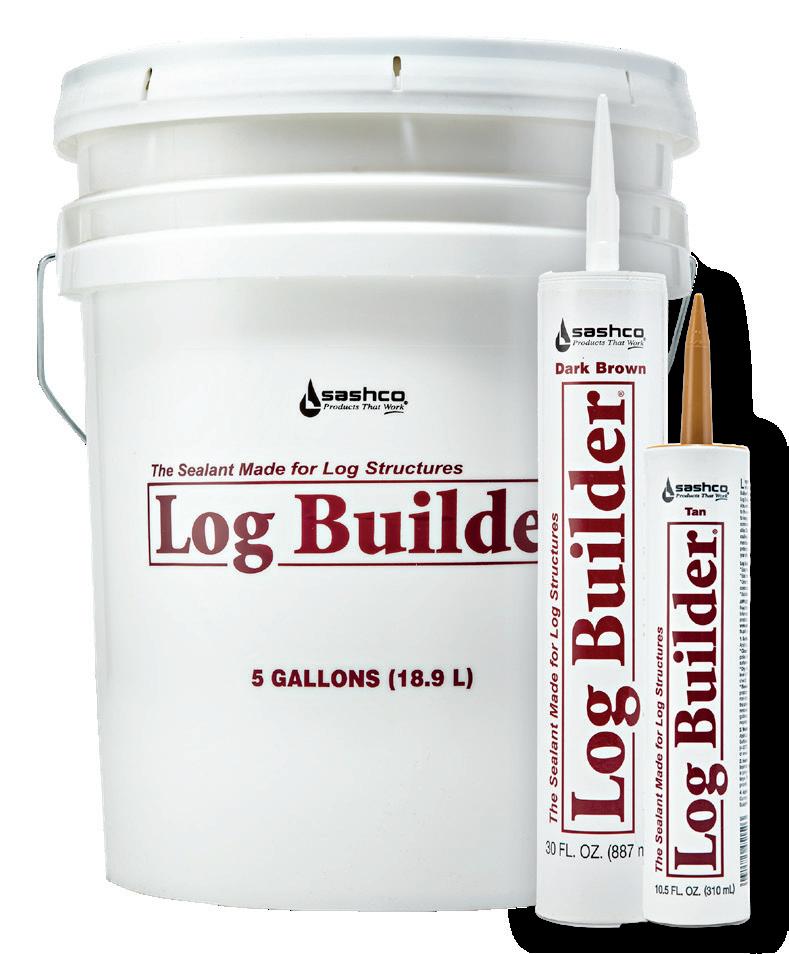
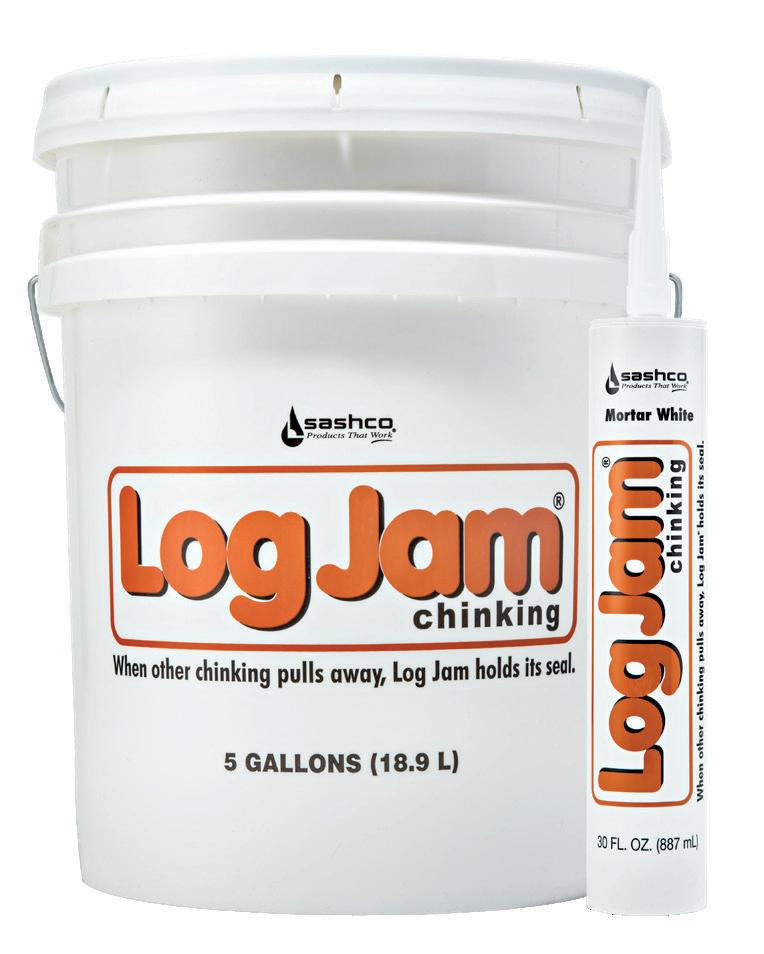

When other chinking pulls away, Log Jam holds its seal.
You chose rugged, rustic logs and timbers to create your perfect homestead. Now, use Log Jam chinking to seal it for years to come. Unlike old-time mortar, it holds tough year after year. It moves with your logs without cracking to seal out weather and bugs. You get the rustic look of old-time mortar without giving up modern-day comfort and energy efficiency. Keep the cozy feel and rustic look without compromise when you use Log Jam.




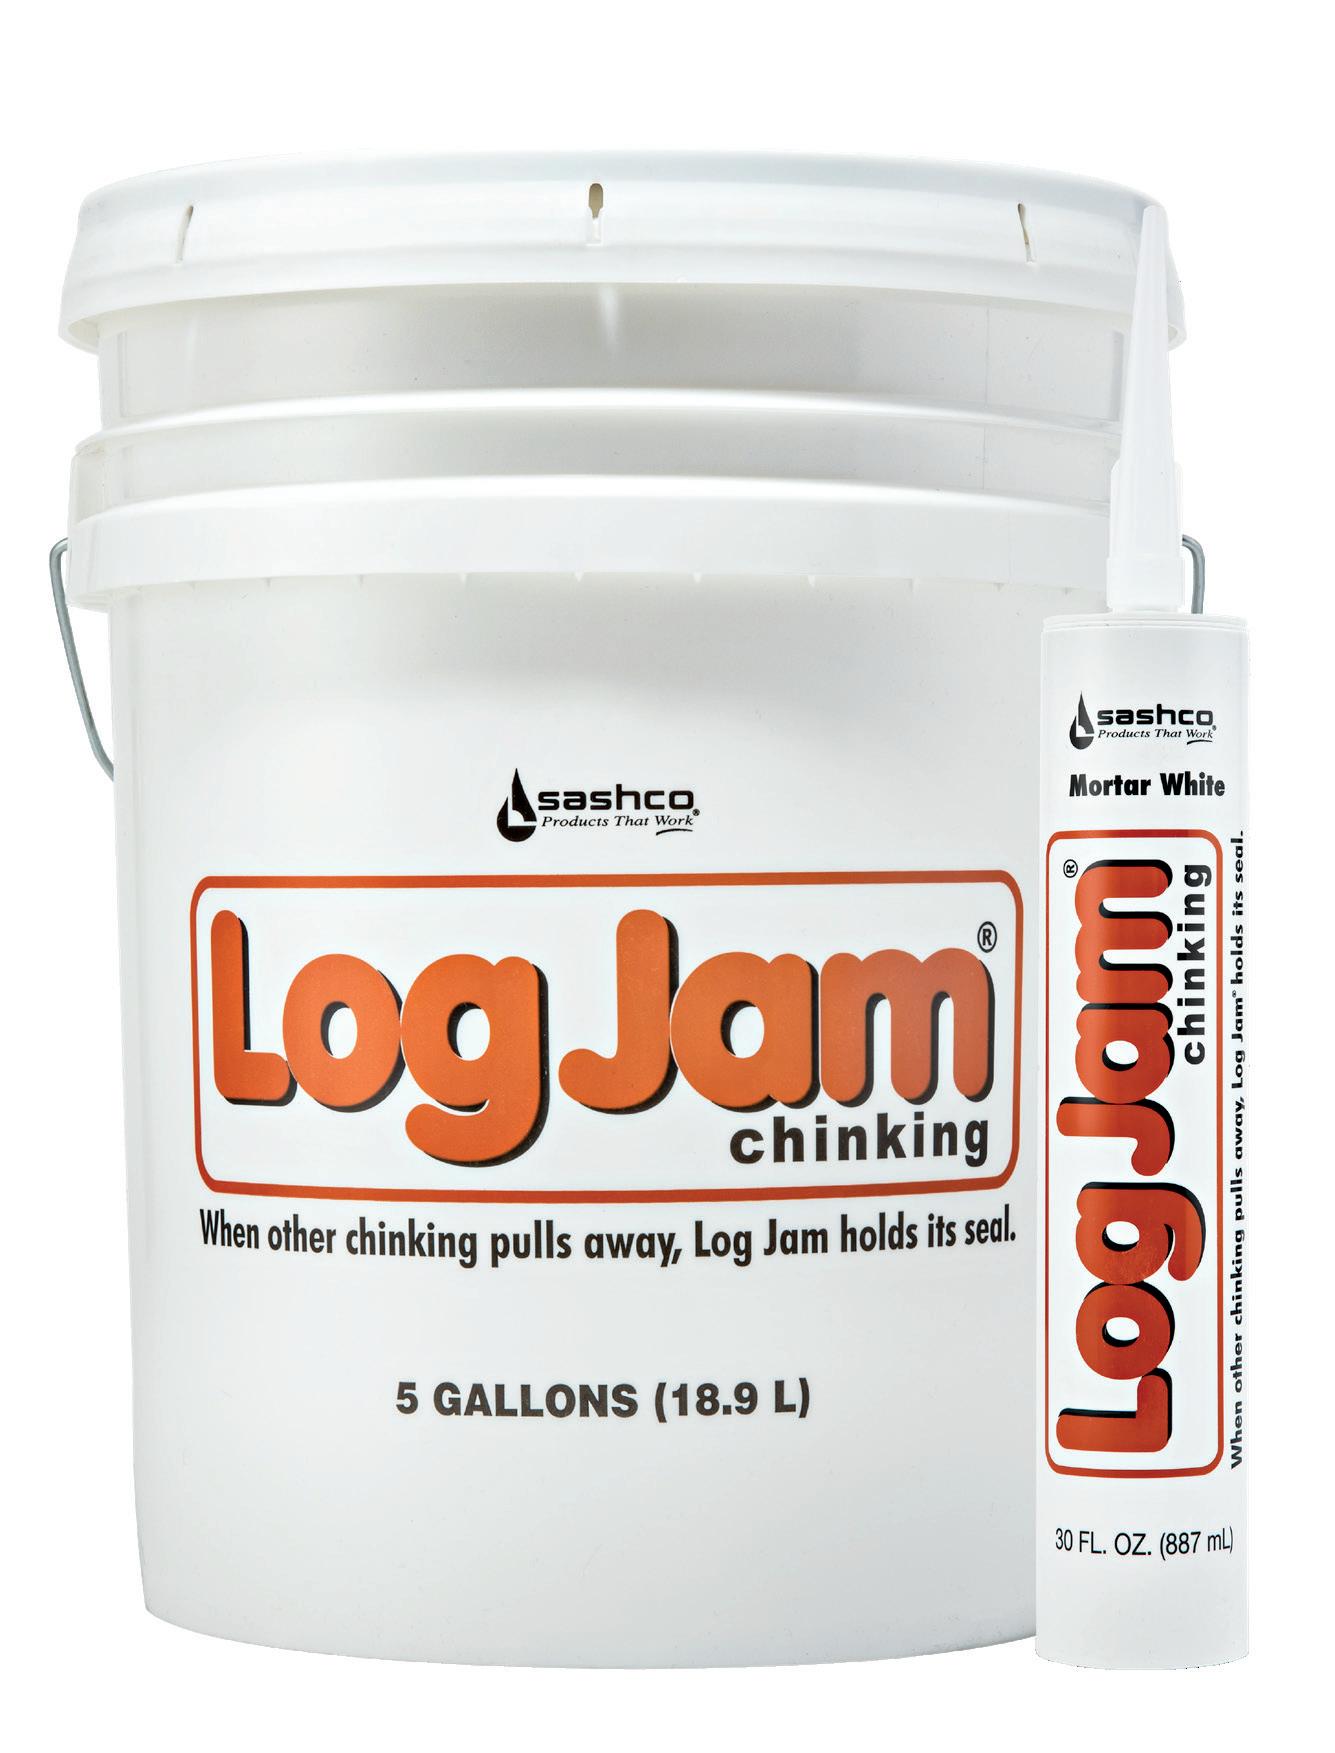

Stretches up to 250% of original joint size to move with your logs as they move – keeps bugs, insects, and weather outside, where they belong.
Textured to simulate old-time mortar – rustic look without the rustic performance
Easy to apply and smooth
Easy to clean up with soap and water
Compatible with all Sashco stains and clear coats
• Interior and exterior log and wood home mortar chinking joints
• Adheres well to most building materials and works great as a mortar repair sealant on bricks and stone
• Surfaces previously coated with a waxy or non-drying oil coating (Check with Sashco about compatibility with your stain)
• Surfaces specifically designed to be non-stick, like Kynar coated
• Surfaces previously sealed with silicone – silicone and silicone residue must first be removed
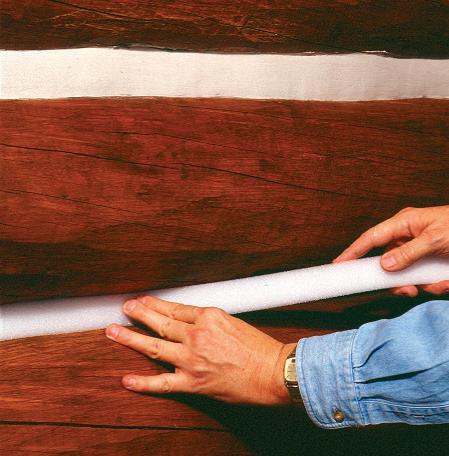
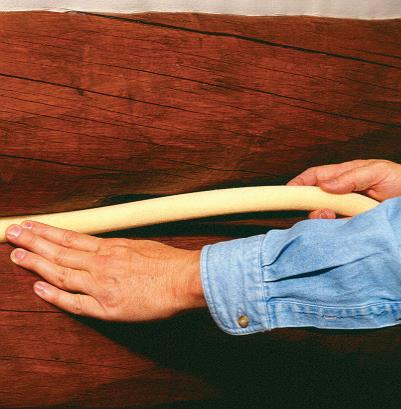
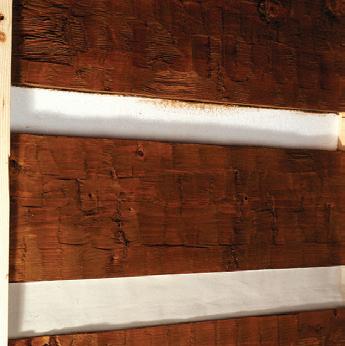
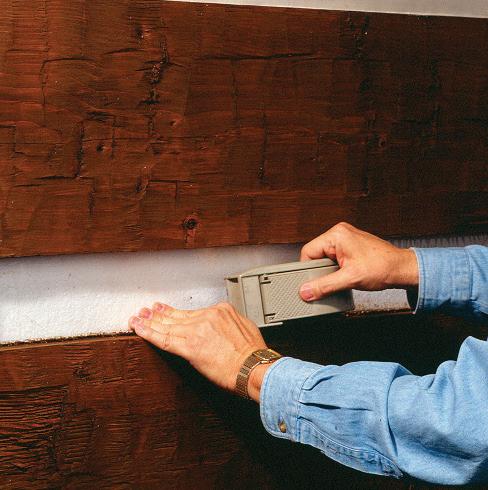
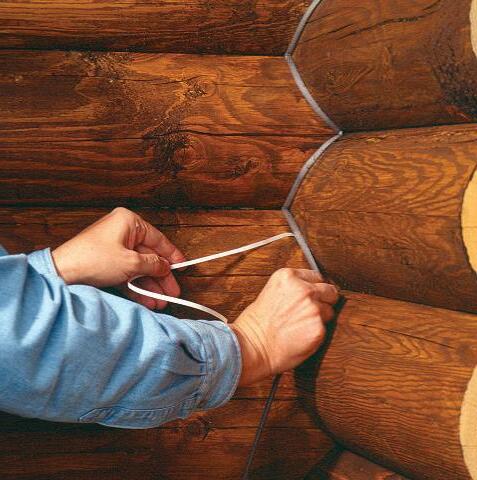
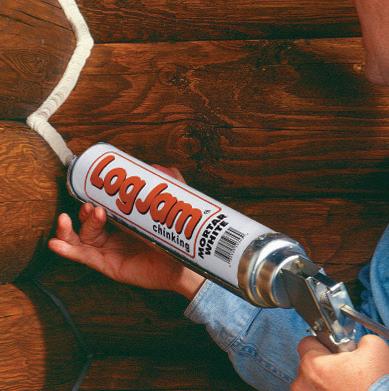
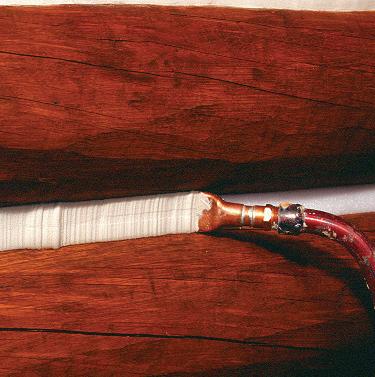
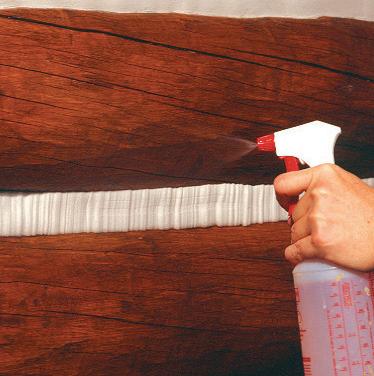
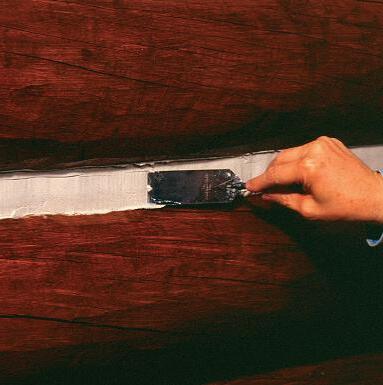
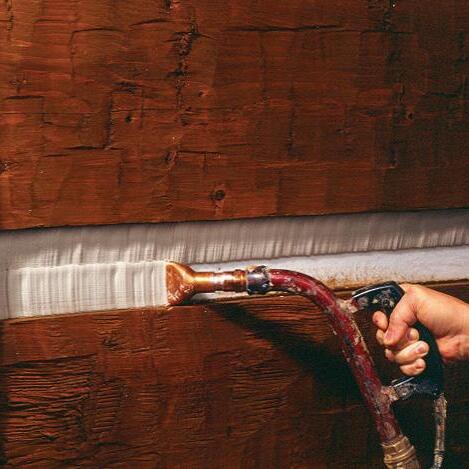

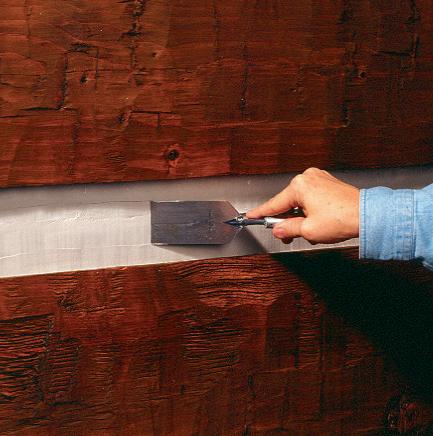
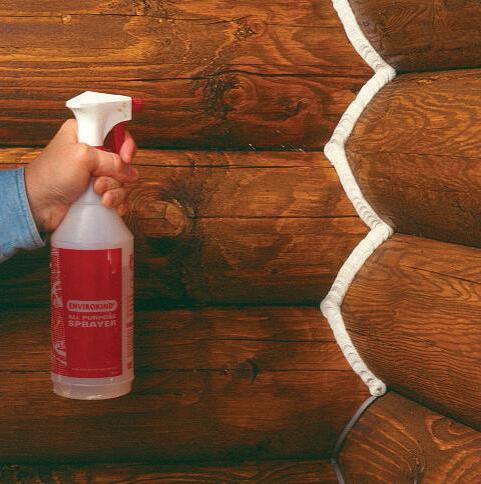
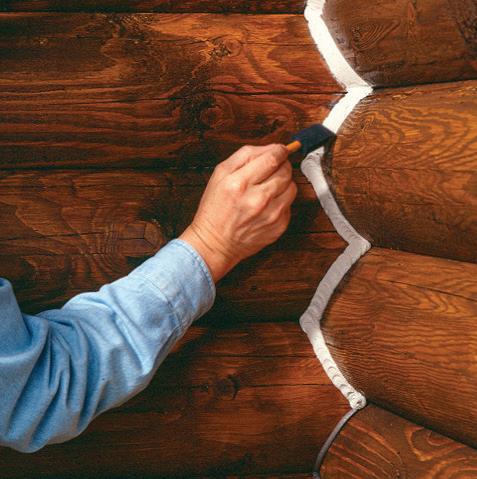
Number of Coats: 1 coat
Method of application
• Install bond breaker or backer rod first
• For 30 oz. cartridges: apply using a quart cartridge caulk gun
• For 5-gallon pails: use bulk-loading caulking guns or grout bags
• Smooth to ensure a tight bond to the sides of the joint
Application Temperatures
• Surface and air temps of 40° to 90°F (4° to 32°C)
To avoid washout, do not expose to freezing temps during application and for 2-4 days after application
Dry time
• Skins over in 30-60 minutes, depending on temperature and humidity (longer in cooler temps and/or 50%+ humidity)
• Full cure in 1 to 4 weeks, depending on joint size, temperature, and humidity
• Protect from rainfall and freezing temperatures both during application and for 2-4 days afterwards
Cleanup
• While fresh, clean hands and tools with water. Once cured, use citrus-based cleaners or mineral spirits to remove
Log Jam Coverage Rates
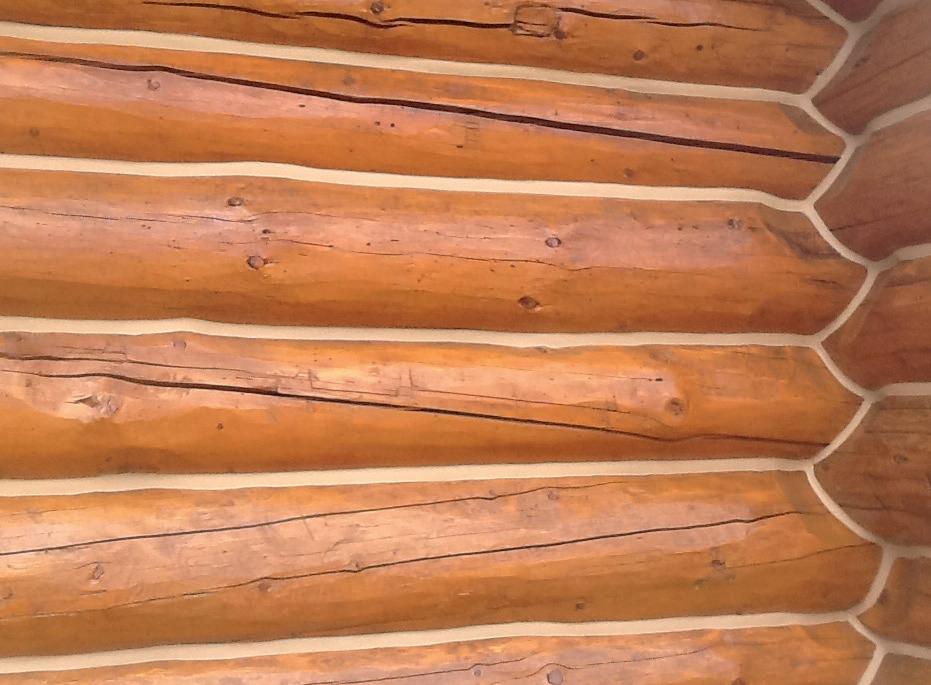
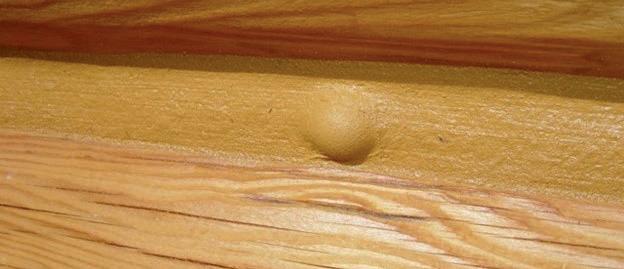


Occasionally, blistering of a chinked surface occurs. What causes these and how can they be repaired?
Download Blister Savvy to understand this phenomenon, repair any blisters, and avoid them in the future.
You can’t always avoid discoloring chinking when doing stain maintenance. Instead of re-chinking, make your own chink paint to refresh the color.

When you look at your logs, you want to see logs, not shiny caulk lines. And yet, caulk is necessary to keep the weather and bugs out. That’s why you need Conceal. Conceal is the first textured caulk designed specifically for logs and wood. Its light texture simulates the natural roughness of wood. Its extreme elasticity moves with logs as they move to maintain a years-long seal that keeps weather, bugs, and moisture out. Available in a variety of colors designed to complement the most popular wood stain colors, Conceal disappears into the woodwork so you don’t know where the wood starts and the caulk begins.
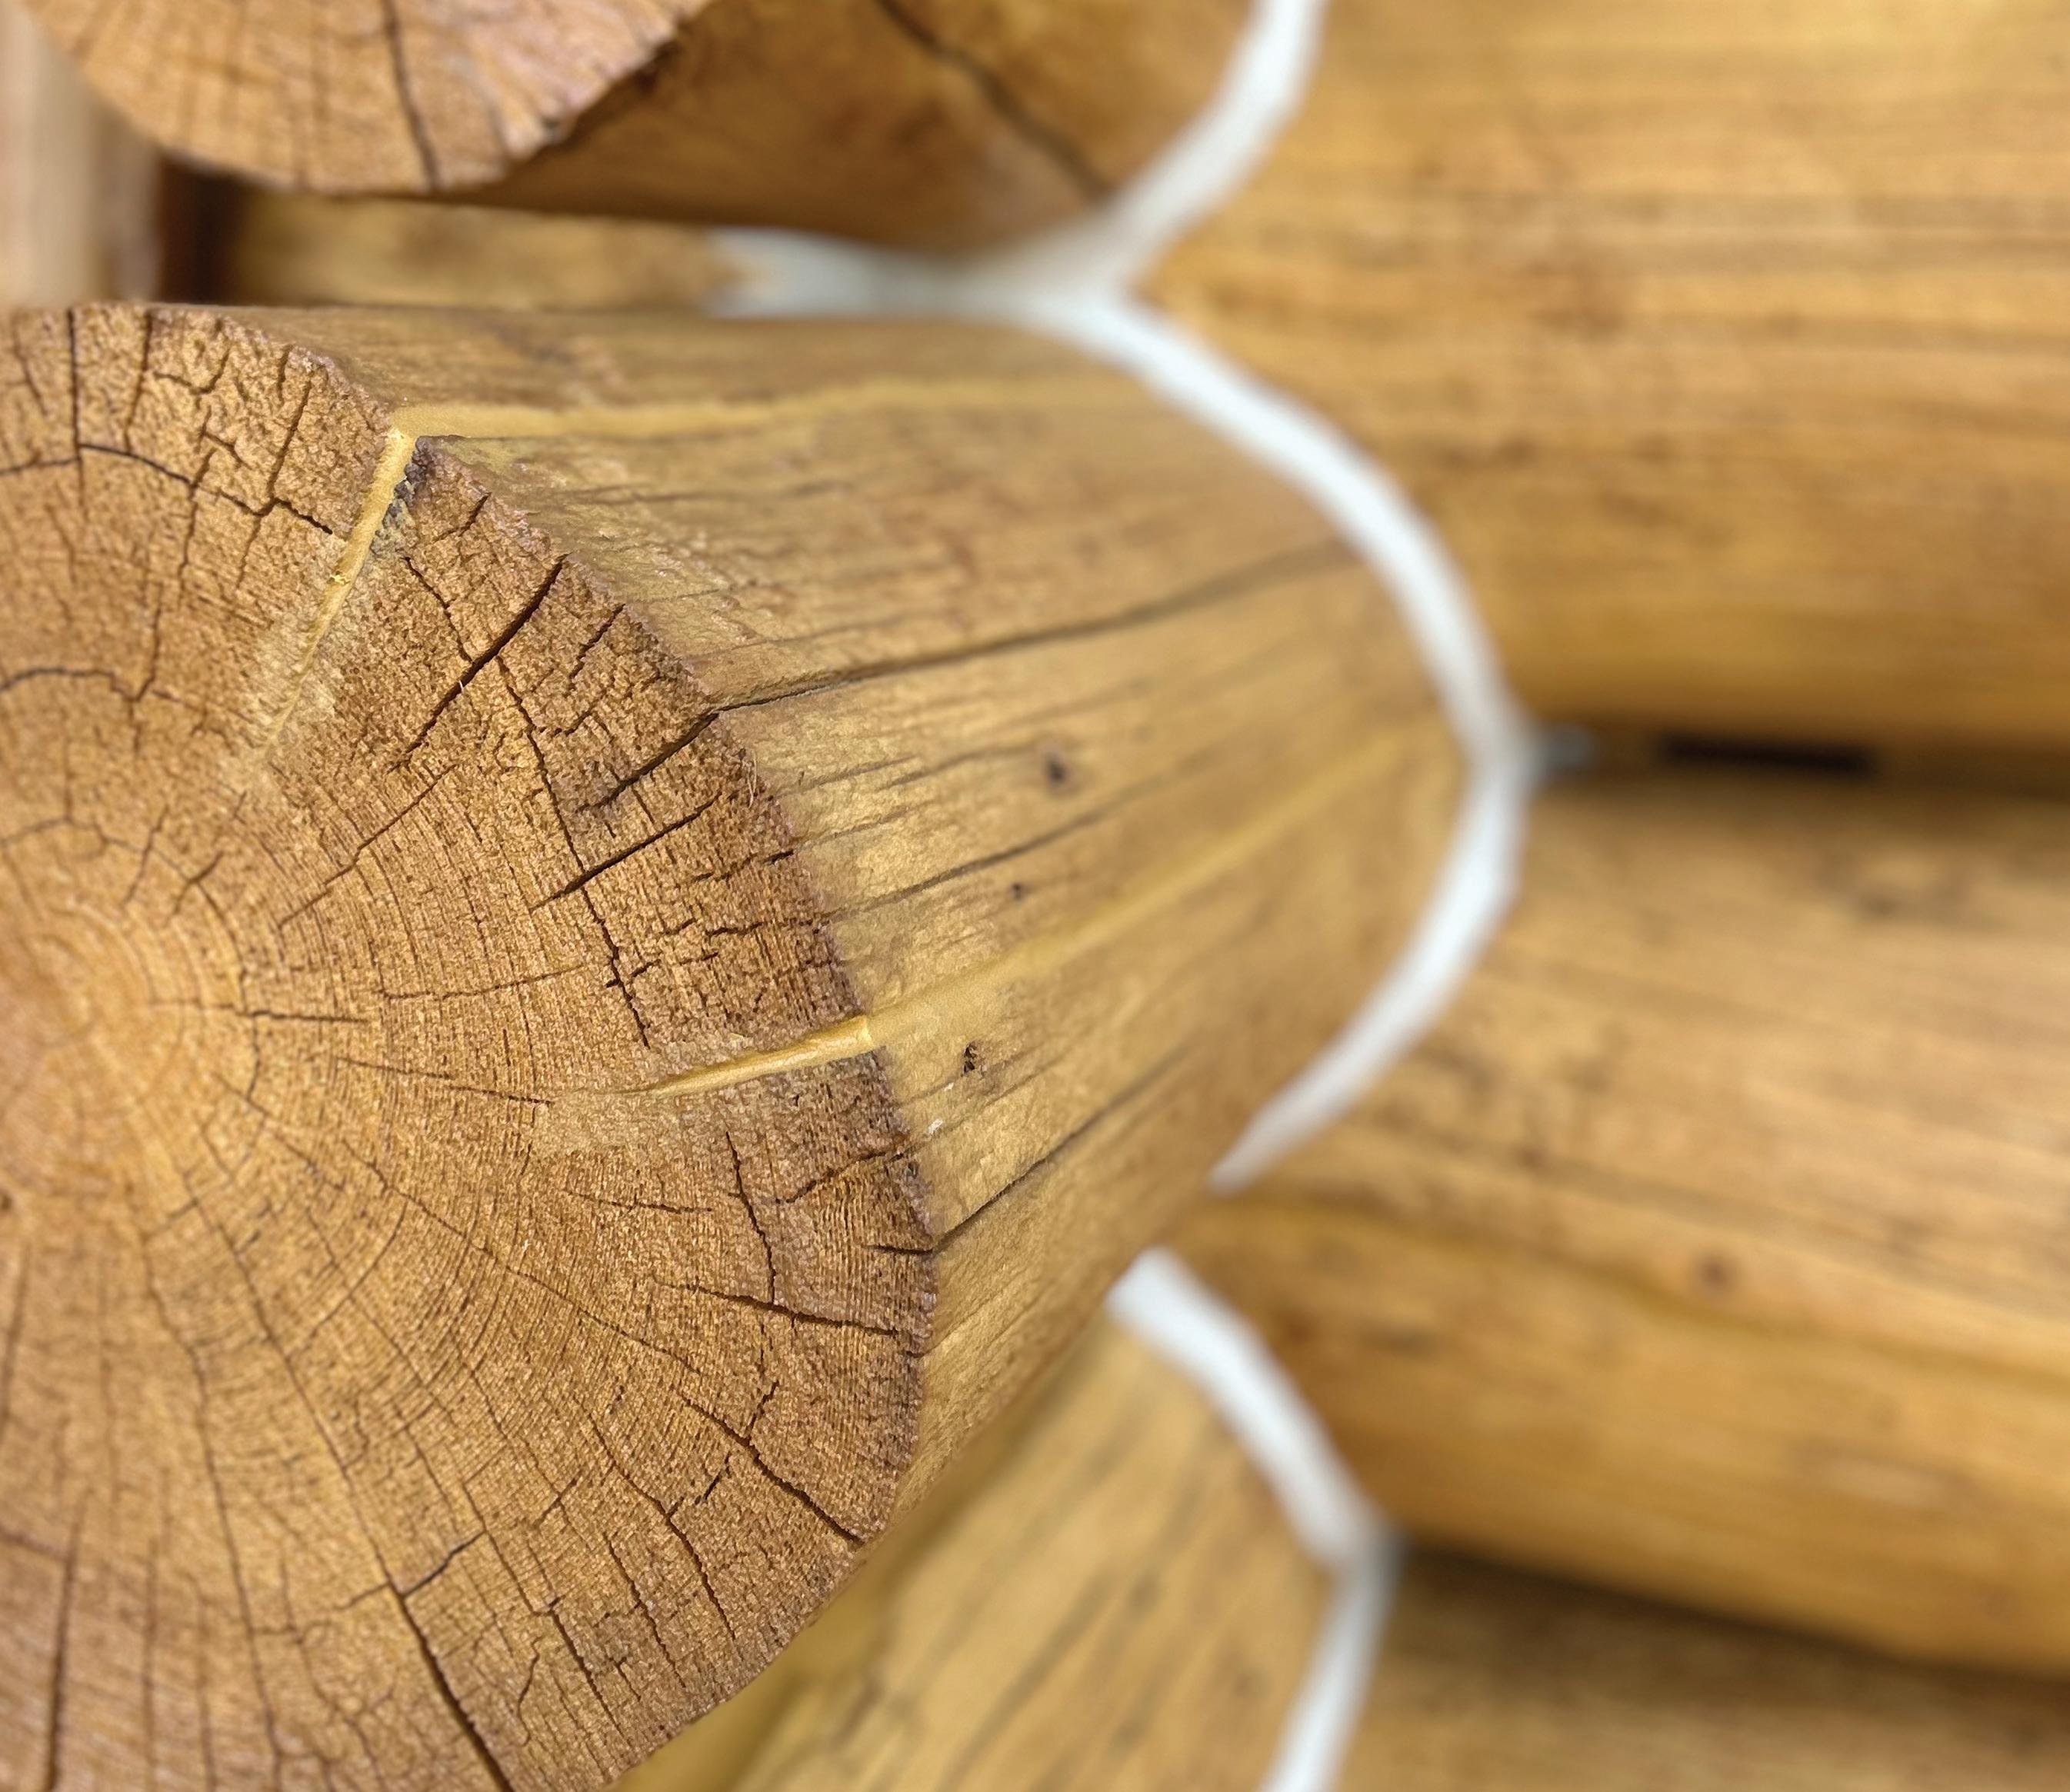
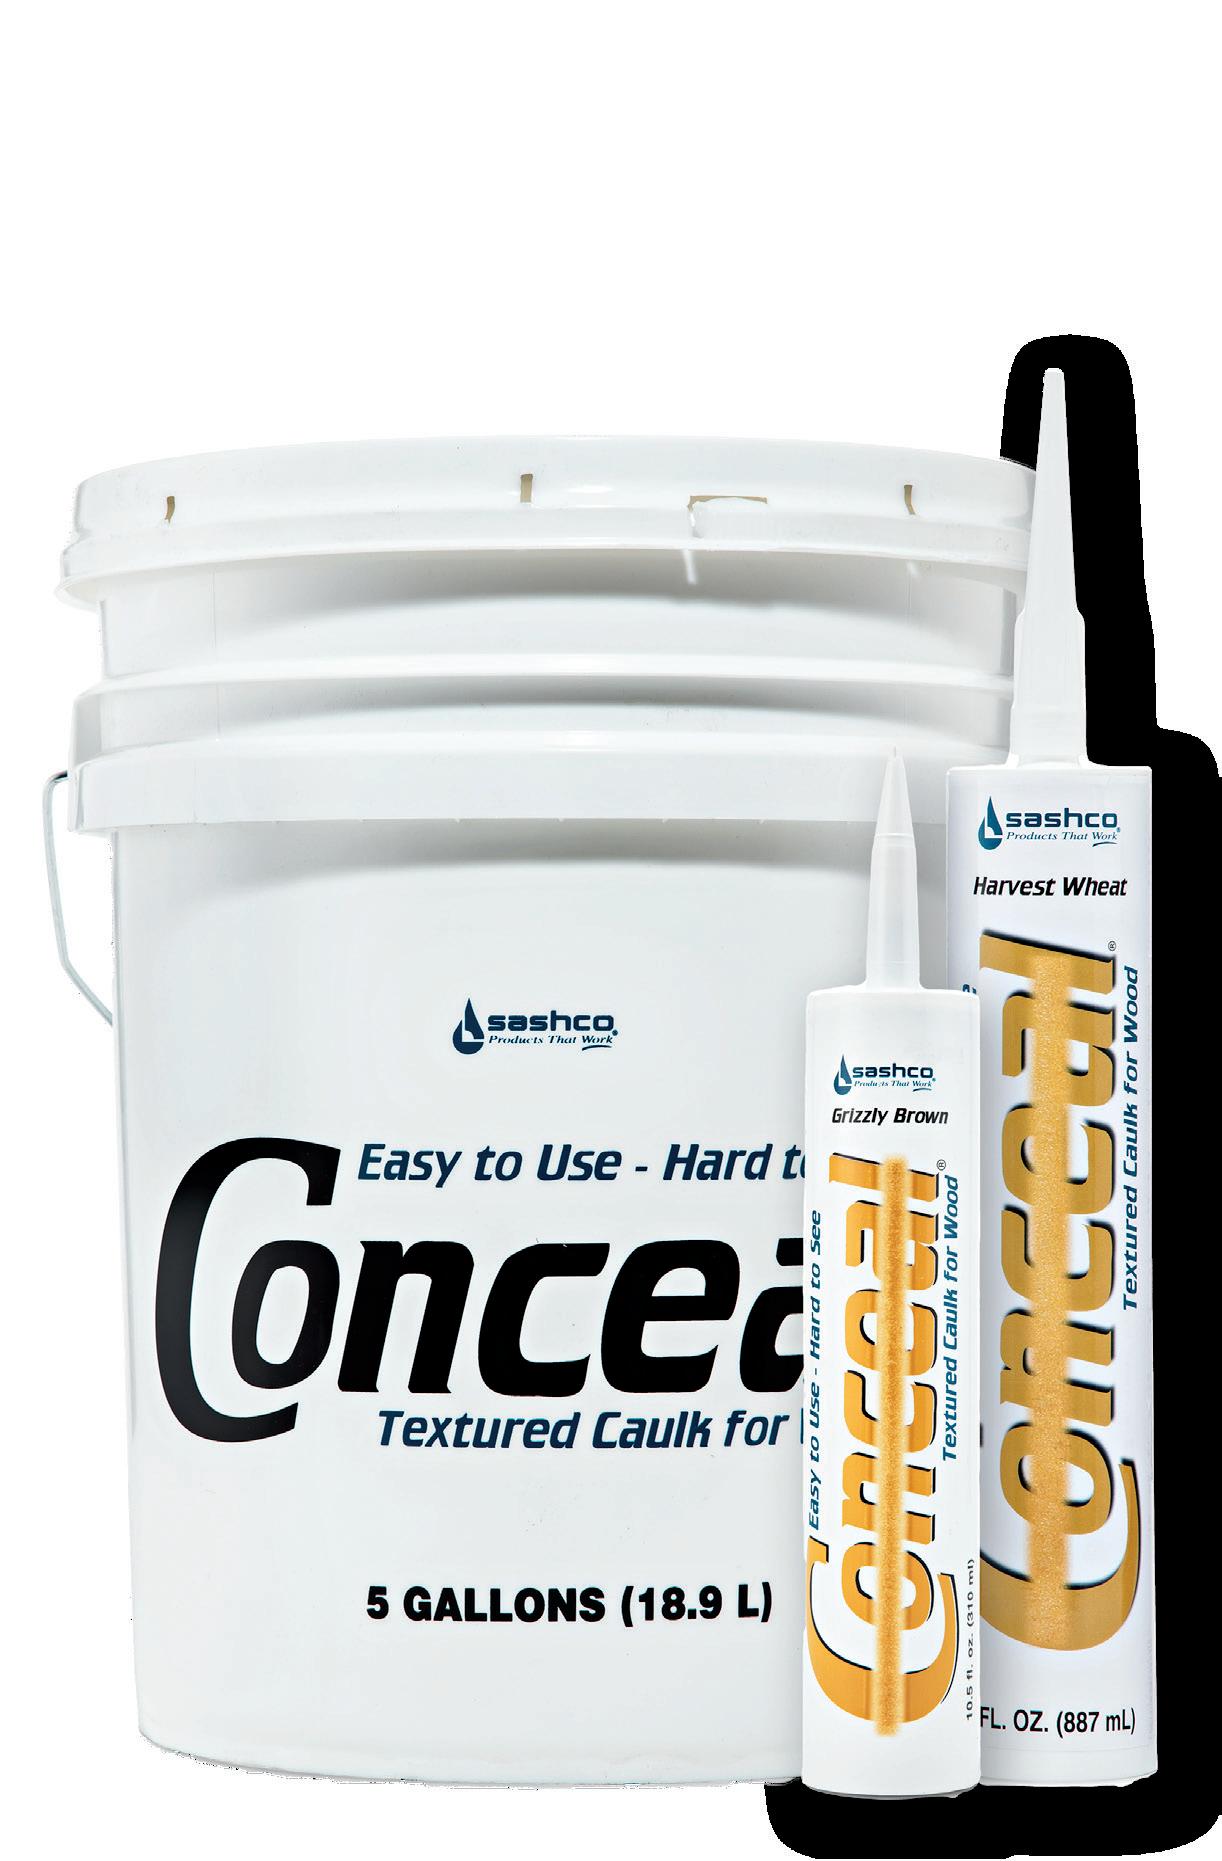
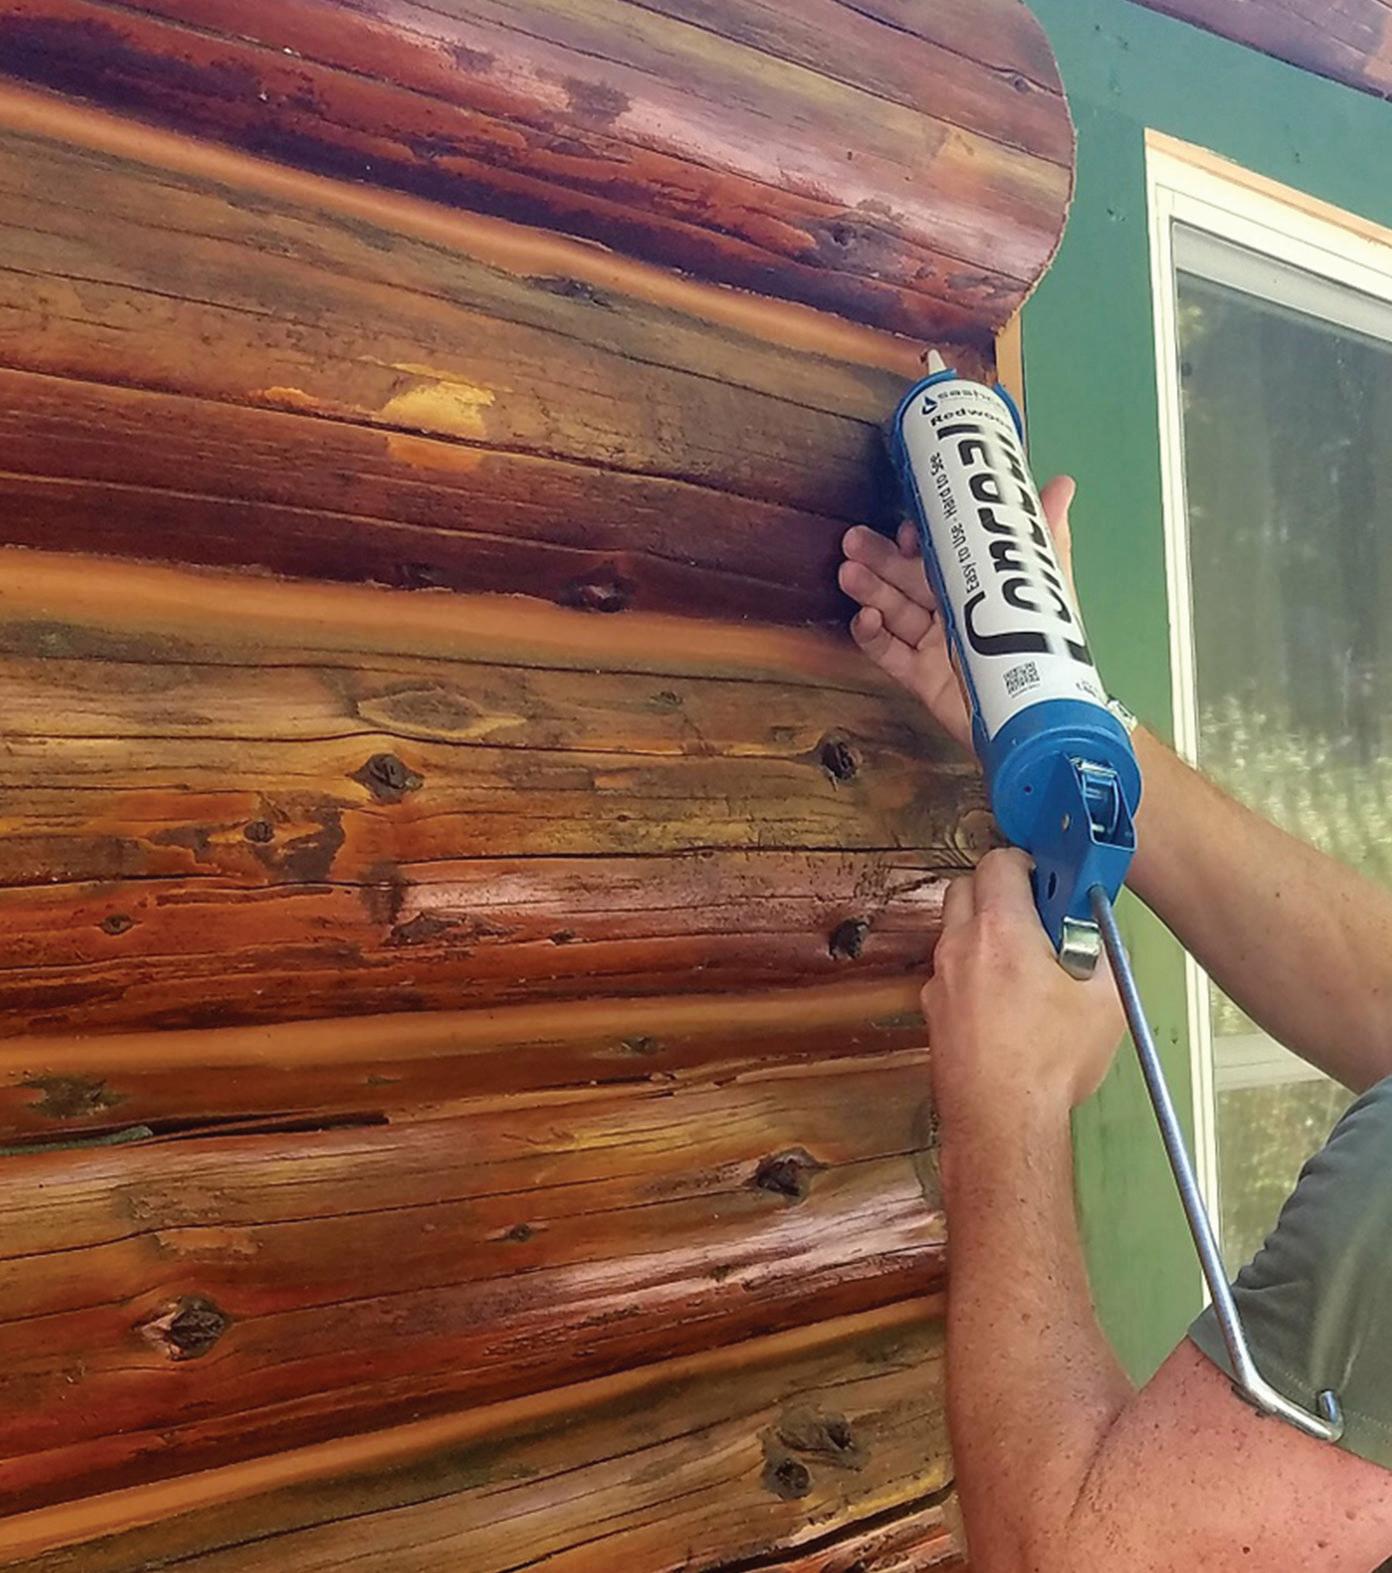


Lightly textured to blend in with wood grain
Available in colors that complement the most popular stain colors
Ultra elastic – moves with the wood to maintain a tight seal; won’t crack, peel, or pull away
Powerful adhesion to wood and most stained surfaces
Water-based – easy to apply and clean up; skin and nose friendly
Interior and exterior wood:
• Cracks and checks
• In between log courses
• As a stacking aid during construction
• Adheres well to most building materials
• Surfaces previously coated with a waxy or non-drying oil coating (Check with Sashco about compatibility with your stain)
• Surfaces specifically designed to be non-stick, like Kynar coated
• Surfaces previously sealed with silicone – silicone and silicone residue must first be removed
• Install bond breaker or backer rod first
• For 10.5 oz. or 30 oz. cartridges: apply using a caulking gun
• For 5-gallon pails: use bulkloading caulking guns or grout bags
• Smooth to ensure a tight bond to the sides of the joint
• Surface and air temps of 40° to 90°F (4° to 32°C)
To avoid washout, do not expose to freezing temps during application and for 2-4 days after application
• Skins over in 30-60 minutes, depending on temperature and humidity (longer in cooler temps and/or 50%+ humidity)
• Full cure in 1 to 4 weeks, depending on joint size, temperature, and humidity
• Protect from rainfall both during application and for 48 hours afterwards
• While fresh, clean hands and tools with water. Once cured, use citrus-based cleaners or mineral spirits to remove
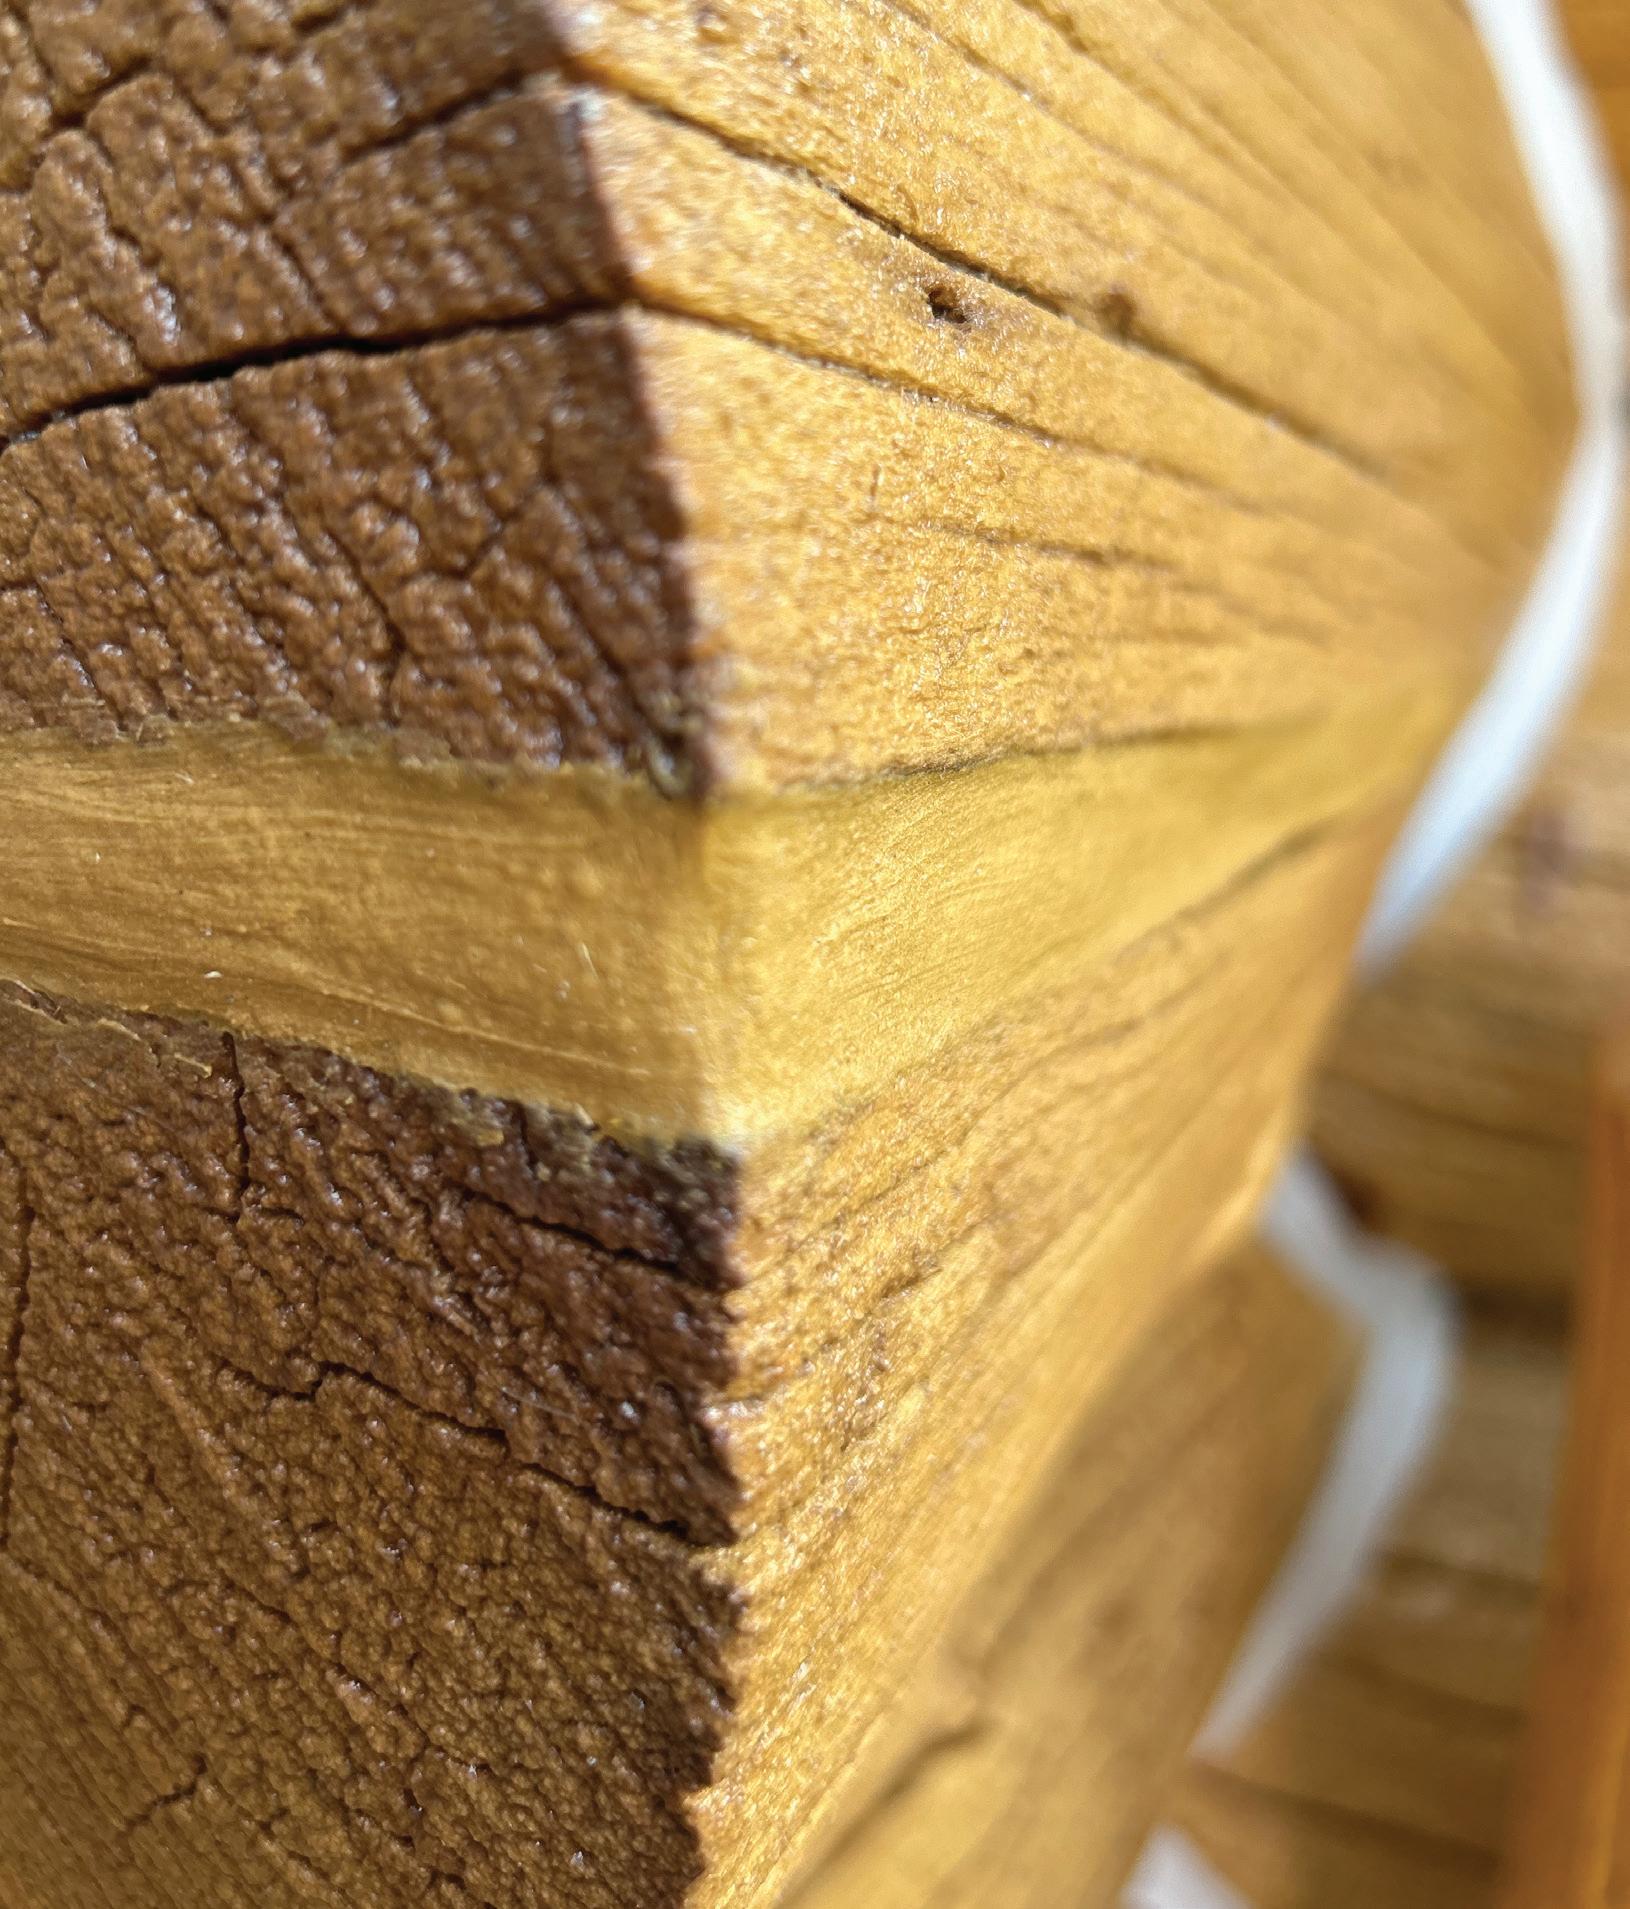


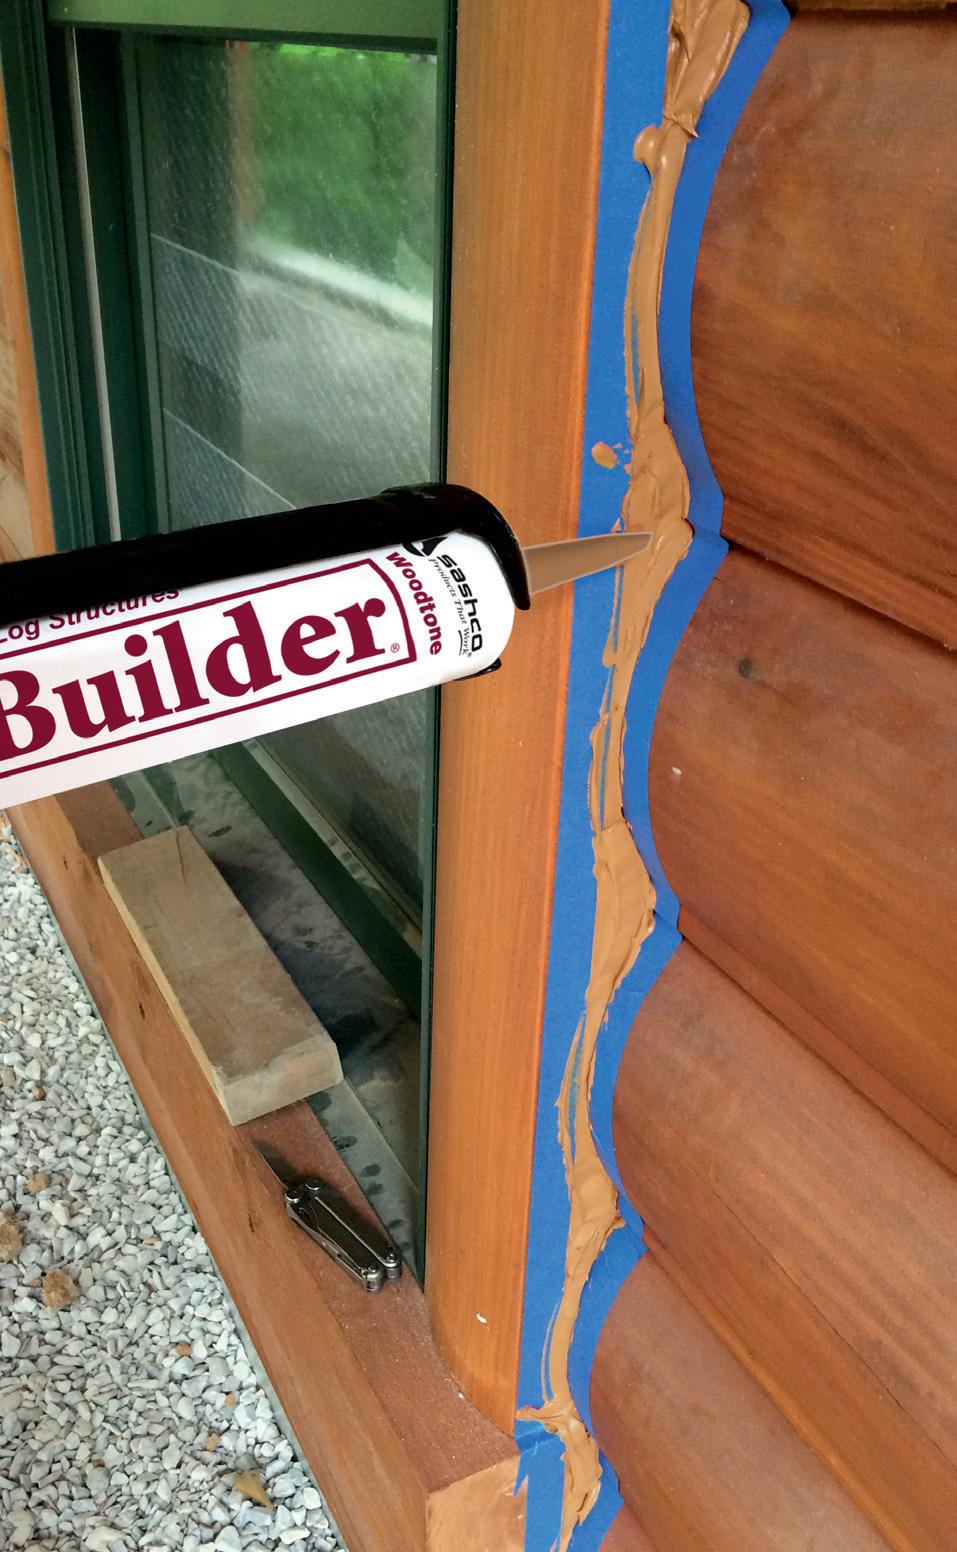
Logs are in constant dynamic motion. They move when the wind blows, the humidity changes, and the sun shines. That’s why, back in 1987, Sashco introduced Log Builder, formulated specifically with log movement in mind. Log Builder stretches up to 500% of original size, while still maintaining tenacious adhesion to the wood. It won’t crack, peel or pull away. Instead, it creates a tight seal to keep water, dust, bugs and wind from seeping into your home. Don’t entrust your cabin to any ol’ caulking. Use Log Builder, specifically formulated for log structures.
Ultra elastic - absorbs most log movement. Won’t crack, peel, or pull away to keep water, dust, bugs and wind from seeping into your home
Water-based – easy on skin, eyes, and noses
Easy to apply and tool
Easy cleanup with soap and water
Available Packaging: 10.5 oz. cartridges ,
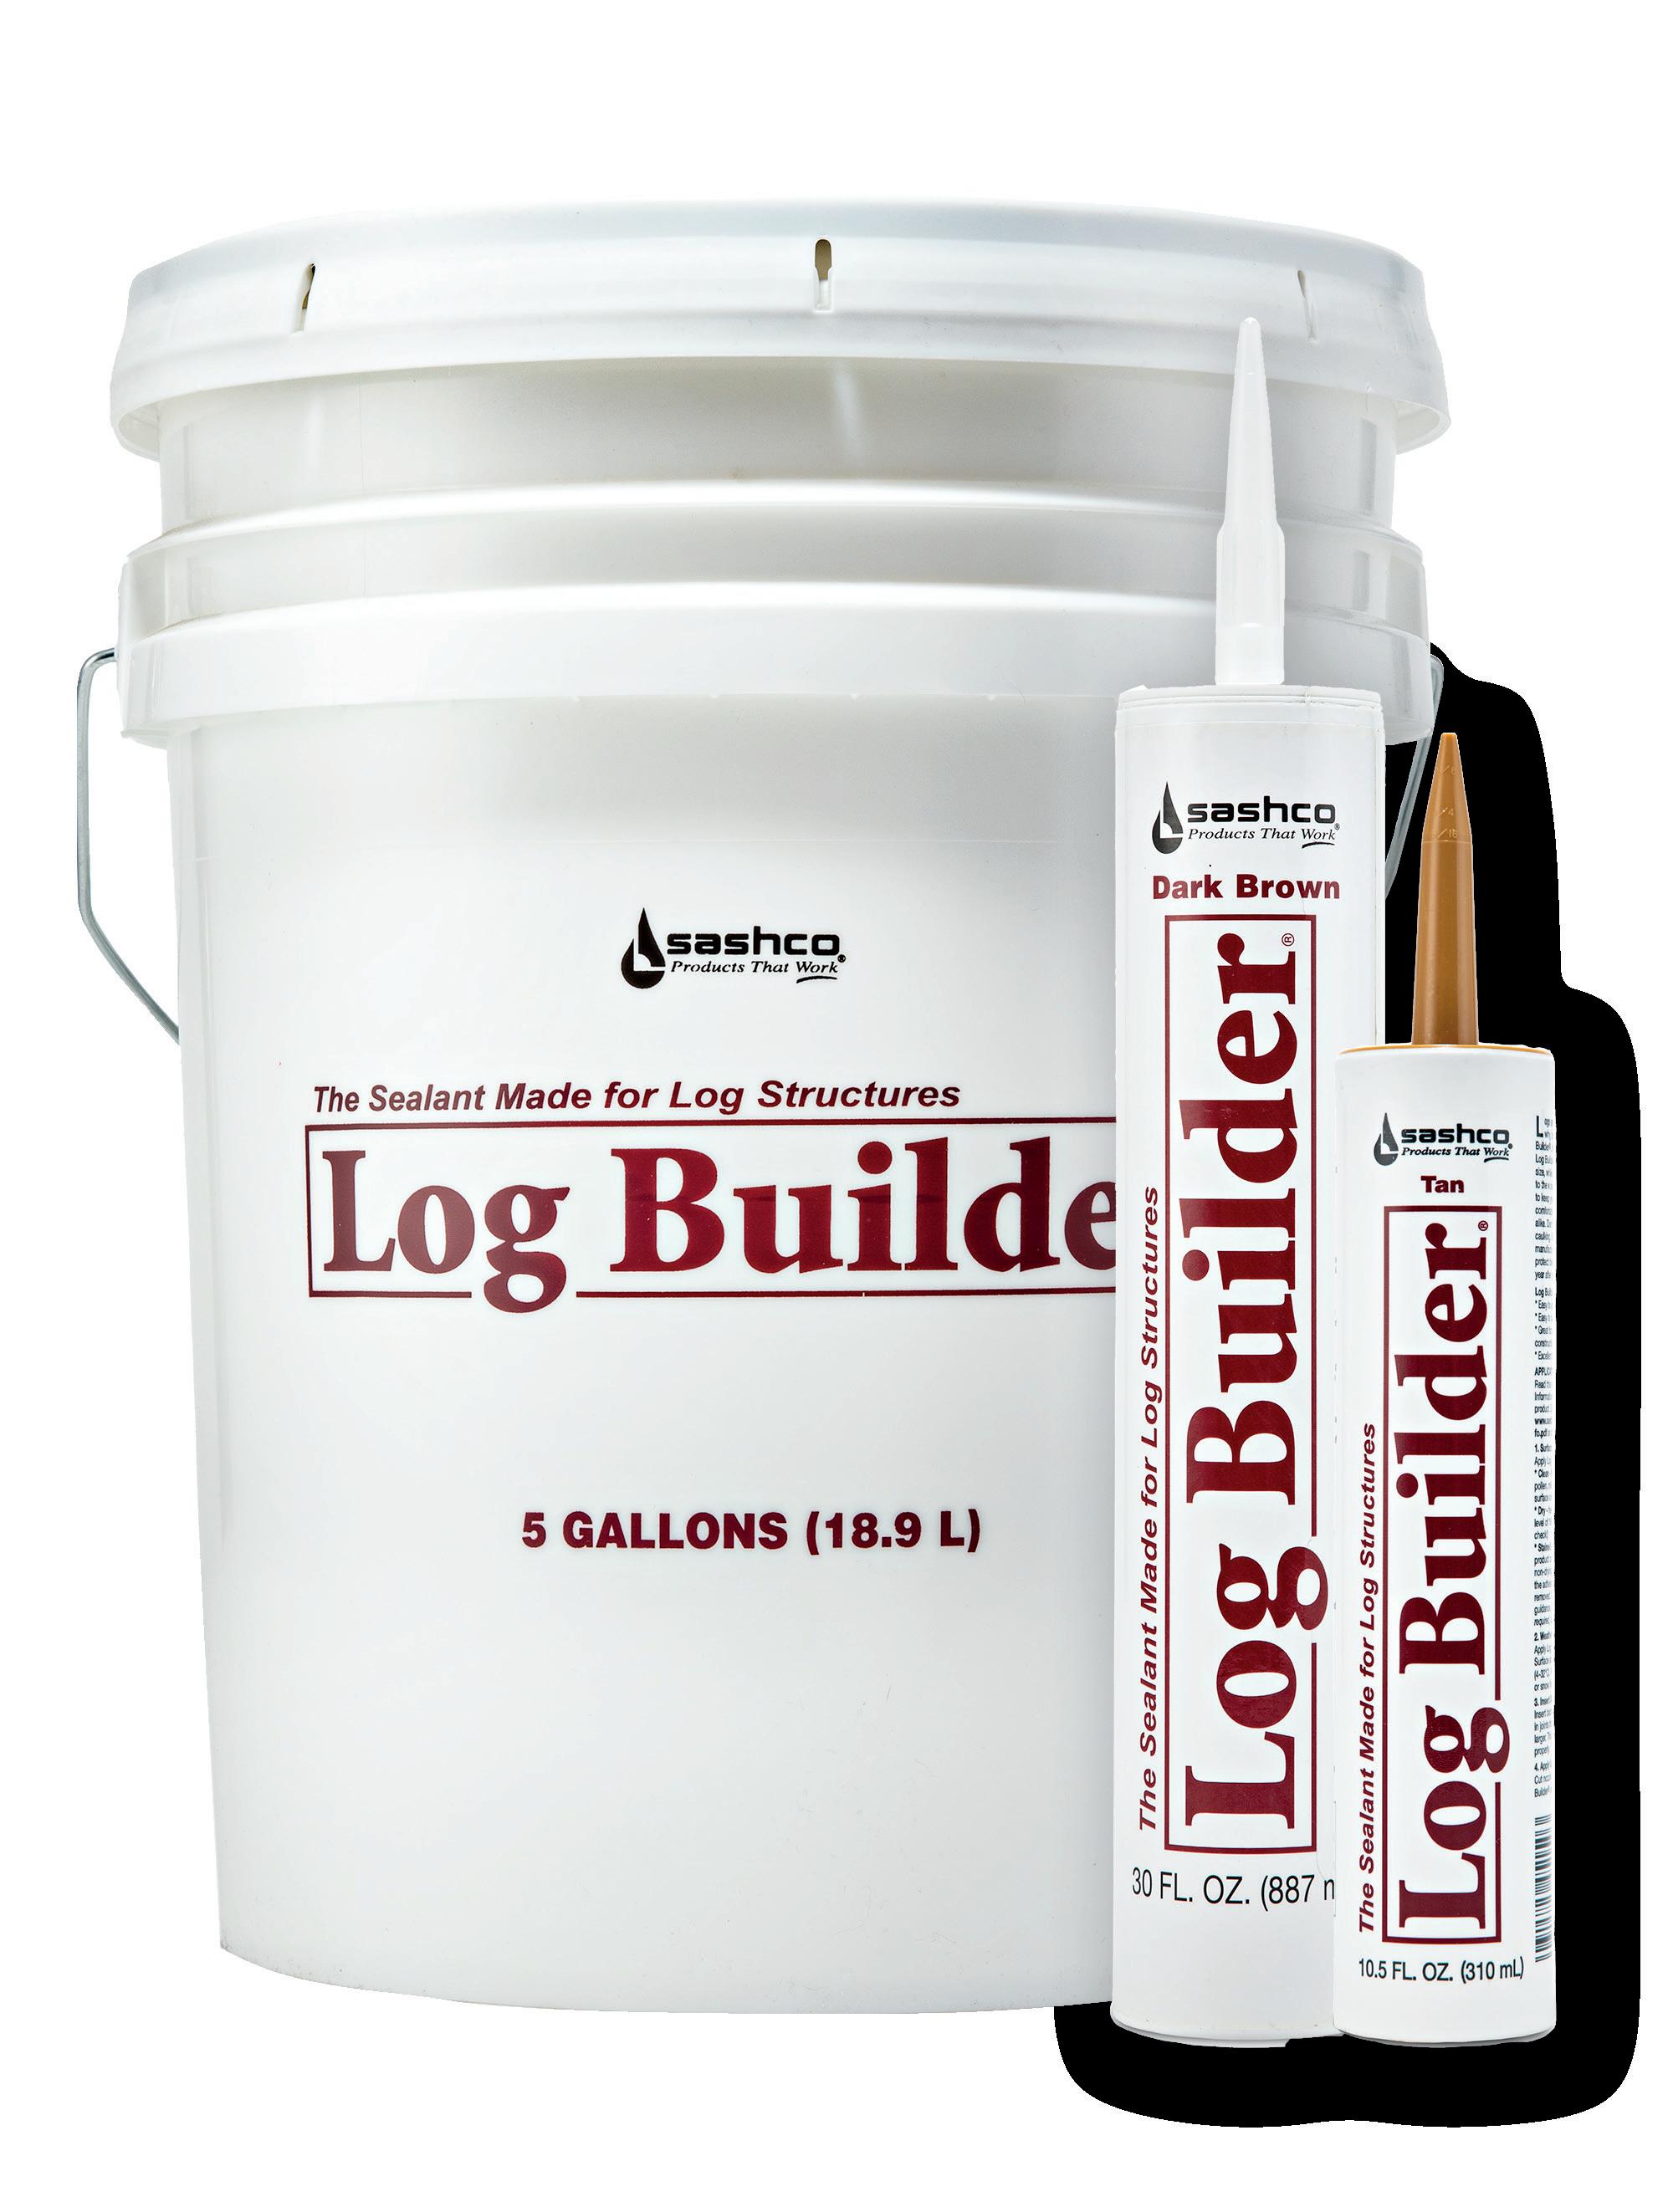

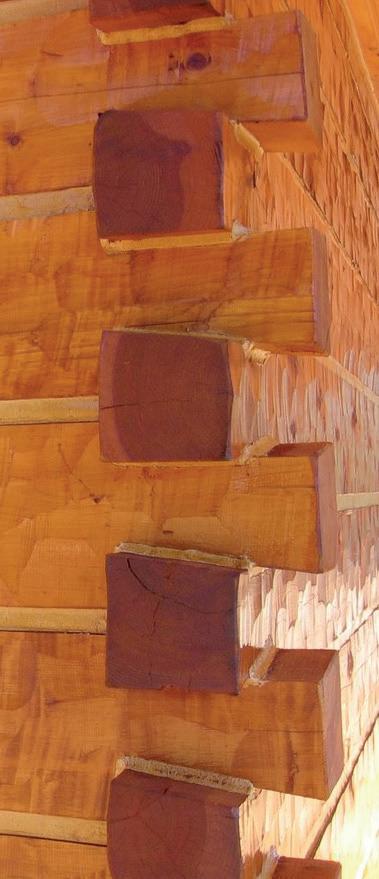

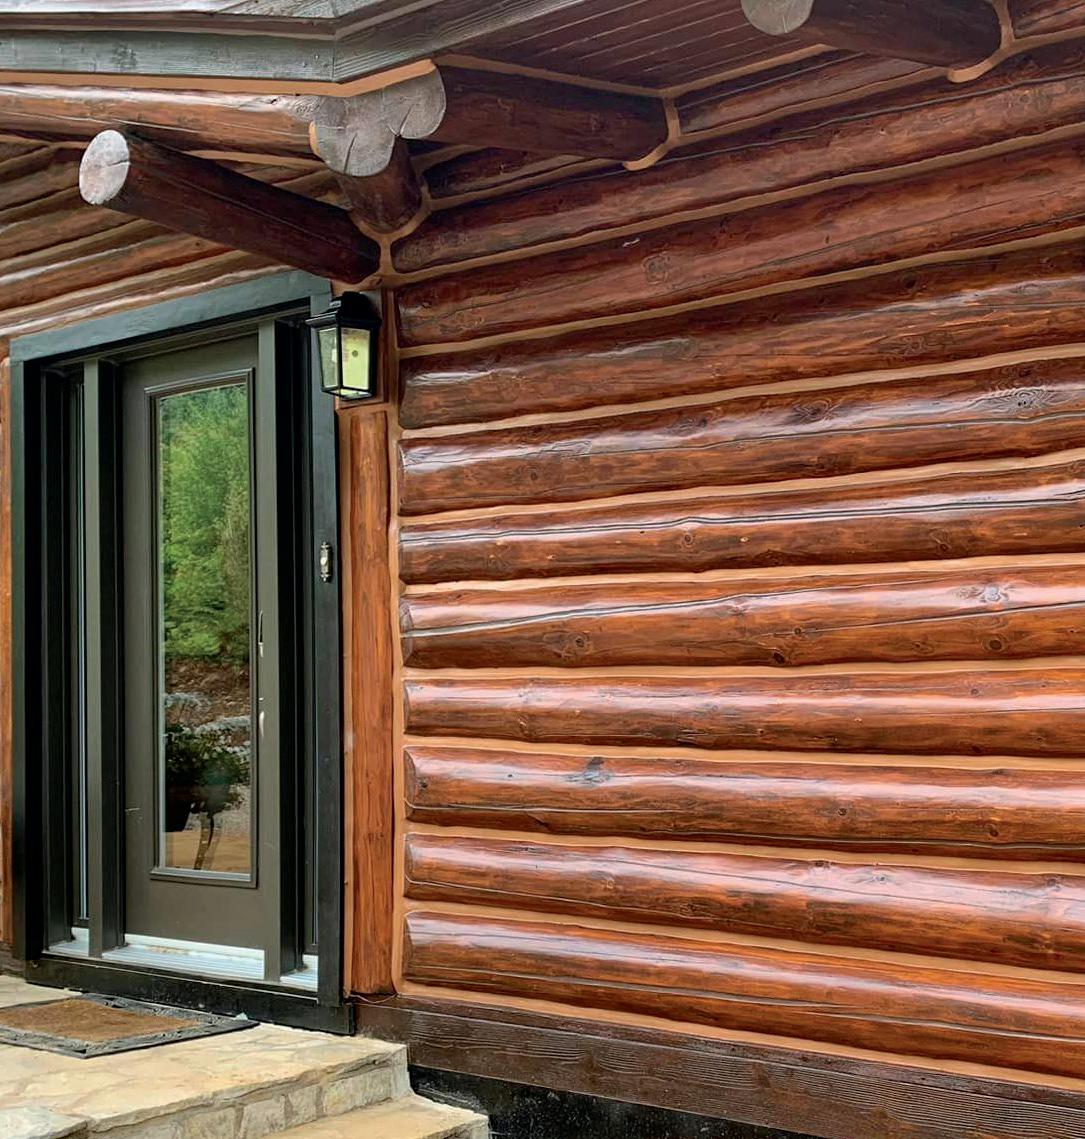
Interior and exterior wood:
• Cracks and checks
• In between log courses
• Surfaces previously coated with a waxy or non-drying oil coating (Check with Sashco about compatibility with your stain)
• As a stacking aid during construction
• Adheres well to most building materials
• Surfaces specifically designed to be non-stick, like Kynar coated
• Surfaces previously sealed with silicone – silicone and silicone residue must first be removed
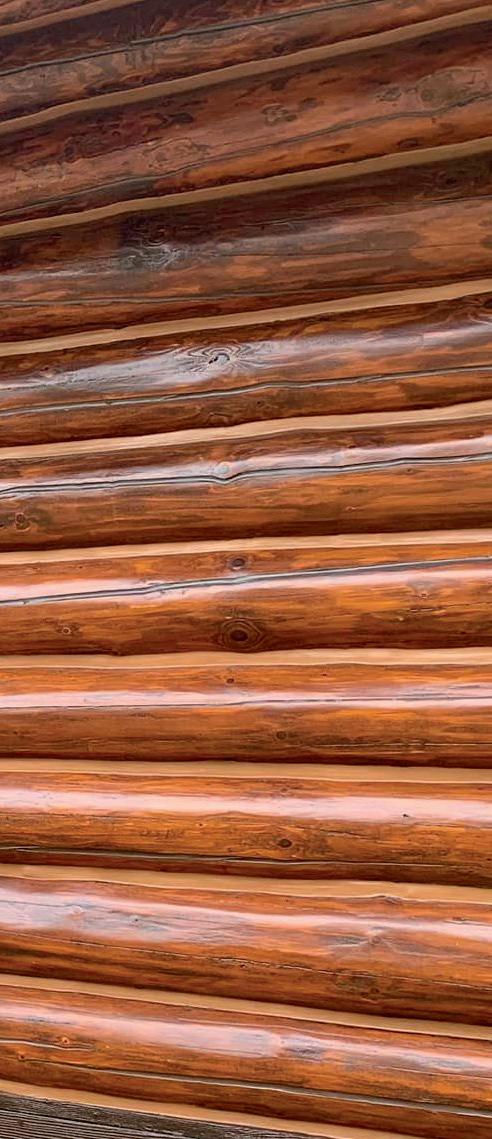

Number of Coats: 1 coat
Method of application
• Install bond breaker or backer rod first
• For 10.5 oz. or 30 oz. cartridges: apply using a caulking gun
• For 5-gallon pails: use bulk-loading caulking guns or grout bags
• Smooth to ensure a tight bond to the sides of the joint
Application Temperatures
• Surface and air temps of 40° to 90°F (4° to 32°C)
To avoid washout, do not expose to freezing temps during application and for 2-4 days after application
Dry time
• Skins over in 30-60 minutes, depending on temperature and humidity (longer in cooler temps and/or 50%+ humidity)
• Full cure in 1 to 4 weeks, depending on joint size, temperature, and humidity
• Protect from rainfall both during application and for 48 afterwards
• While fresh, clean hands and tools with water. Once cured, use citrus-based cleaners or mineral spirits to remove

Backer Rod, Grip Strip, and Log Gap Cap all help you create the ideal joint design for a long-lasting, durable seal. Sealants and chinking do not adhere to the backer rod –only to the surfaces of the joint – allowing for movement so the caulking and chinking won’t crack or lose adhesion.
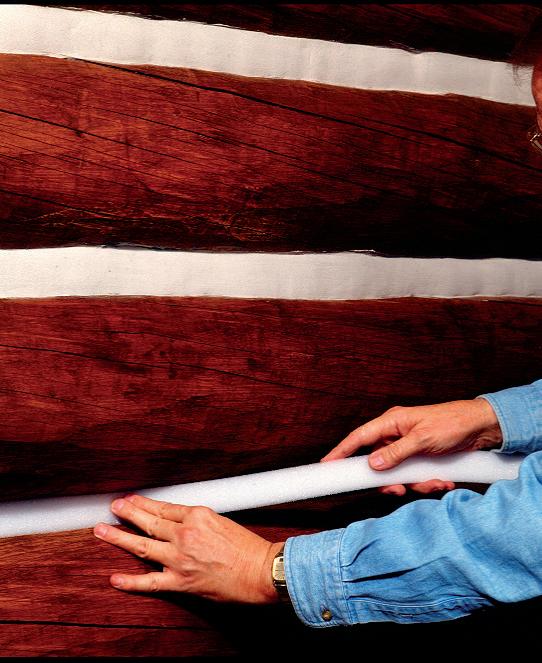

Round backer rod is the product you need prior to caulking horizontal joints between your round logs or inside cracks and checks. It acts as insulation, repels moisture, and provides a bit of structure against which you can apply and smooth your chinking and caulk more uniformly.
Grip Strip is a closed-cell trapezoid-shaped product ideal for use under wide chinking lines. The unique design provides an excellent fit with both flat Appalachian-style logs or wider joints between full-round logs.
The triangular-shaped Log Gap Cap is exactly what you need to seal between dimensional lumber window frames and round logs. Its shape fills that triangle gap perfectly. Simply seal over top with Log Builder or Conceal and know you’re protected from moisture and insect infiltration.
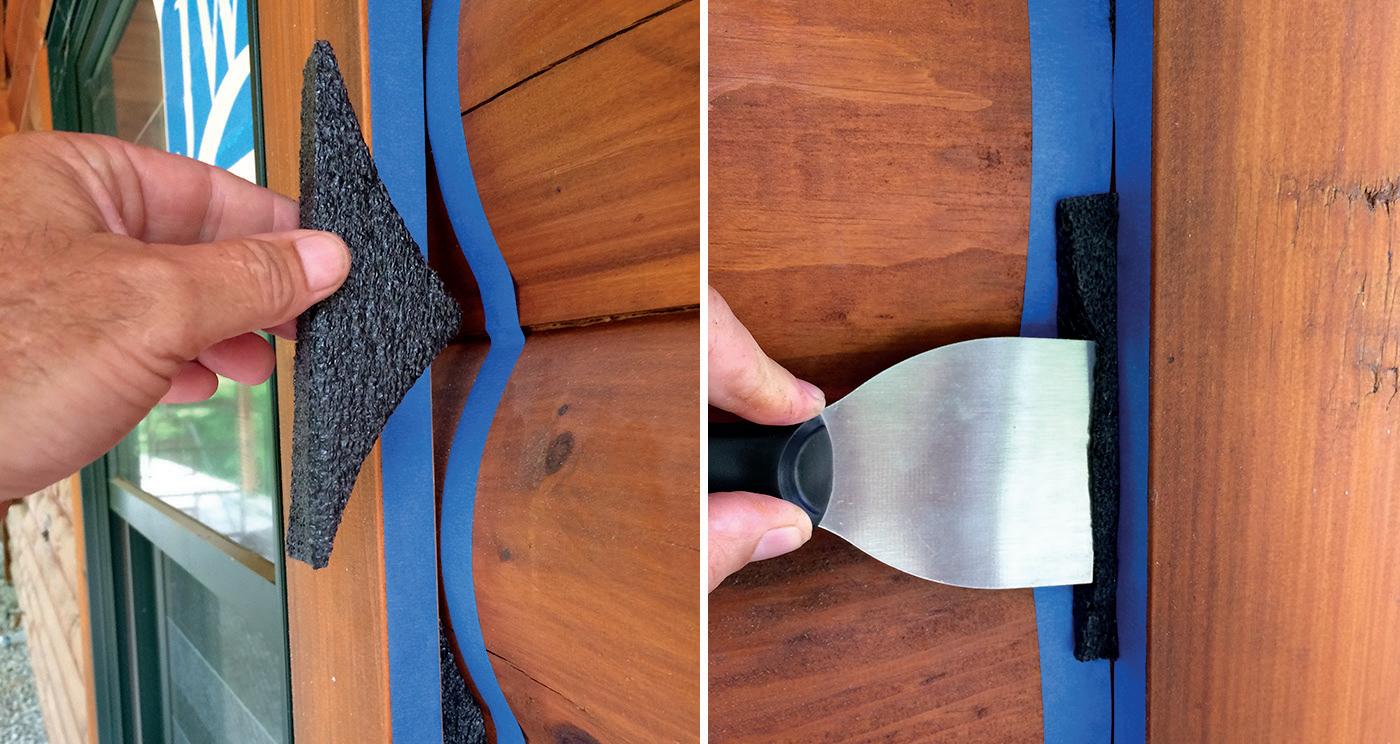
Wide variety of sizes and shapes accommodate most any joint that needs sealing on a log home
Closed cell to repel water, should a joint open up down the road
Interior and exterior wood behind sealants used in:
• Cracks and checks
• In between log courses
• Around windows and doors
• In butt joints
• Anything less than ¼” wide. Instead, thoroughly flood those cracks and checks with stain and keep your eye on them for future maintenance needs.
Method of application
• Press into any gap ¼” wide x ¼” deep or more.
• If necessary, use a staple gun or other mechanical means to ensure backer material stays in place during application.
Yes, a plea might seem a bit dramatic, but it’s necessary. Without backer rod or a bond breaker of some kind, sealants can’t stretch properly. The result? Split caulking or chinking, allowing in water, insects, and air, and a whole lot of repair work. Boo.
So, do us and yourself a favor and heed the plea: use a backer material behind your chinking and caulking.


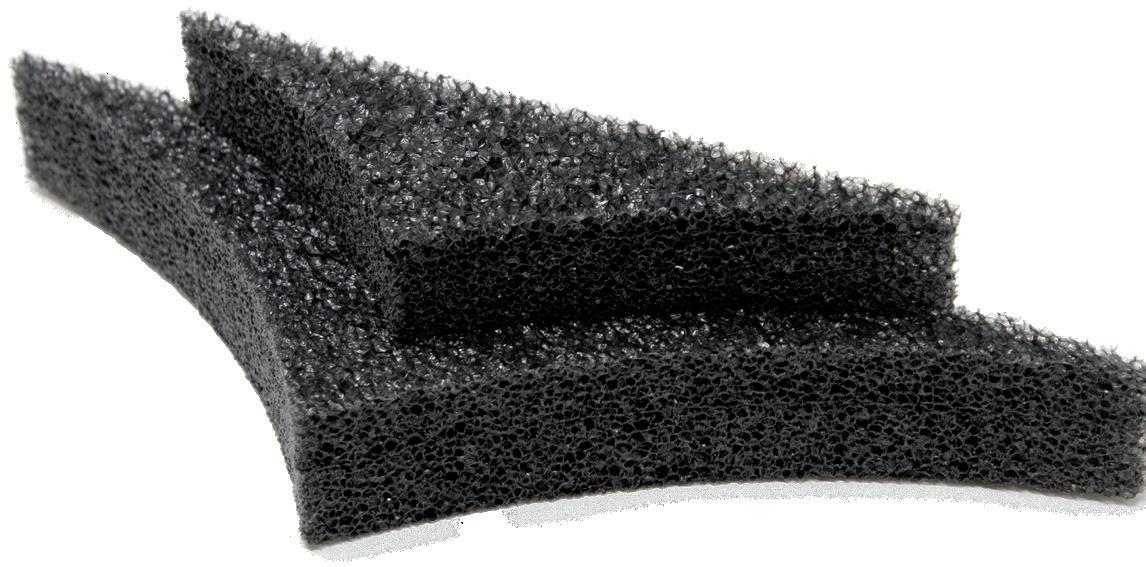

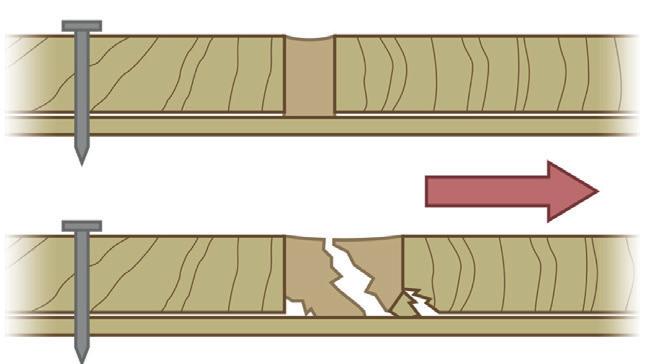

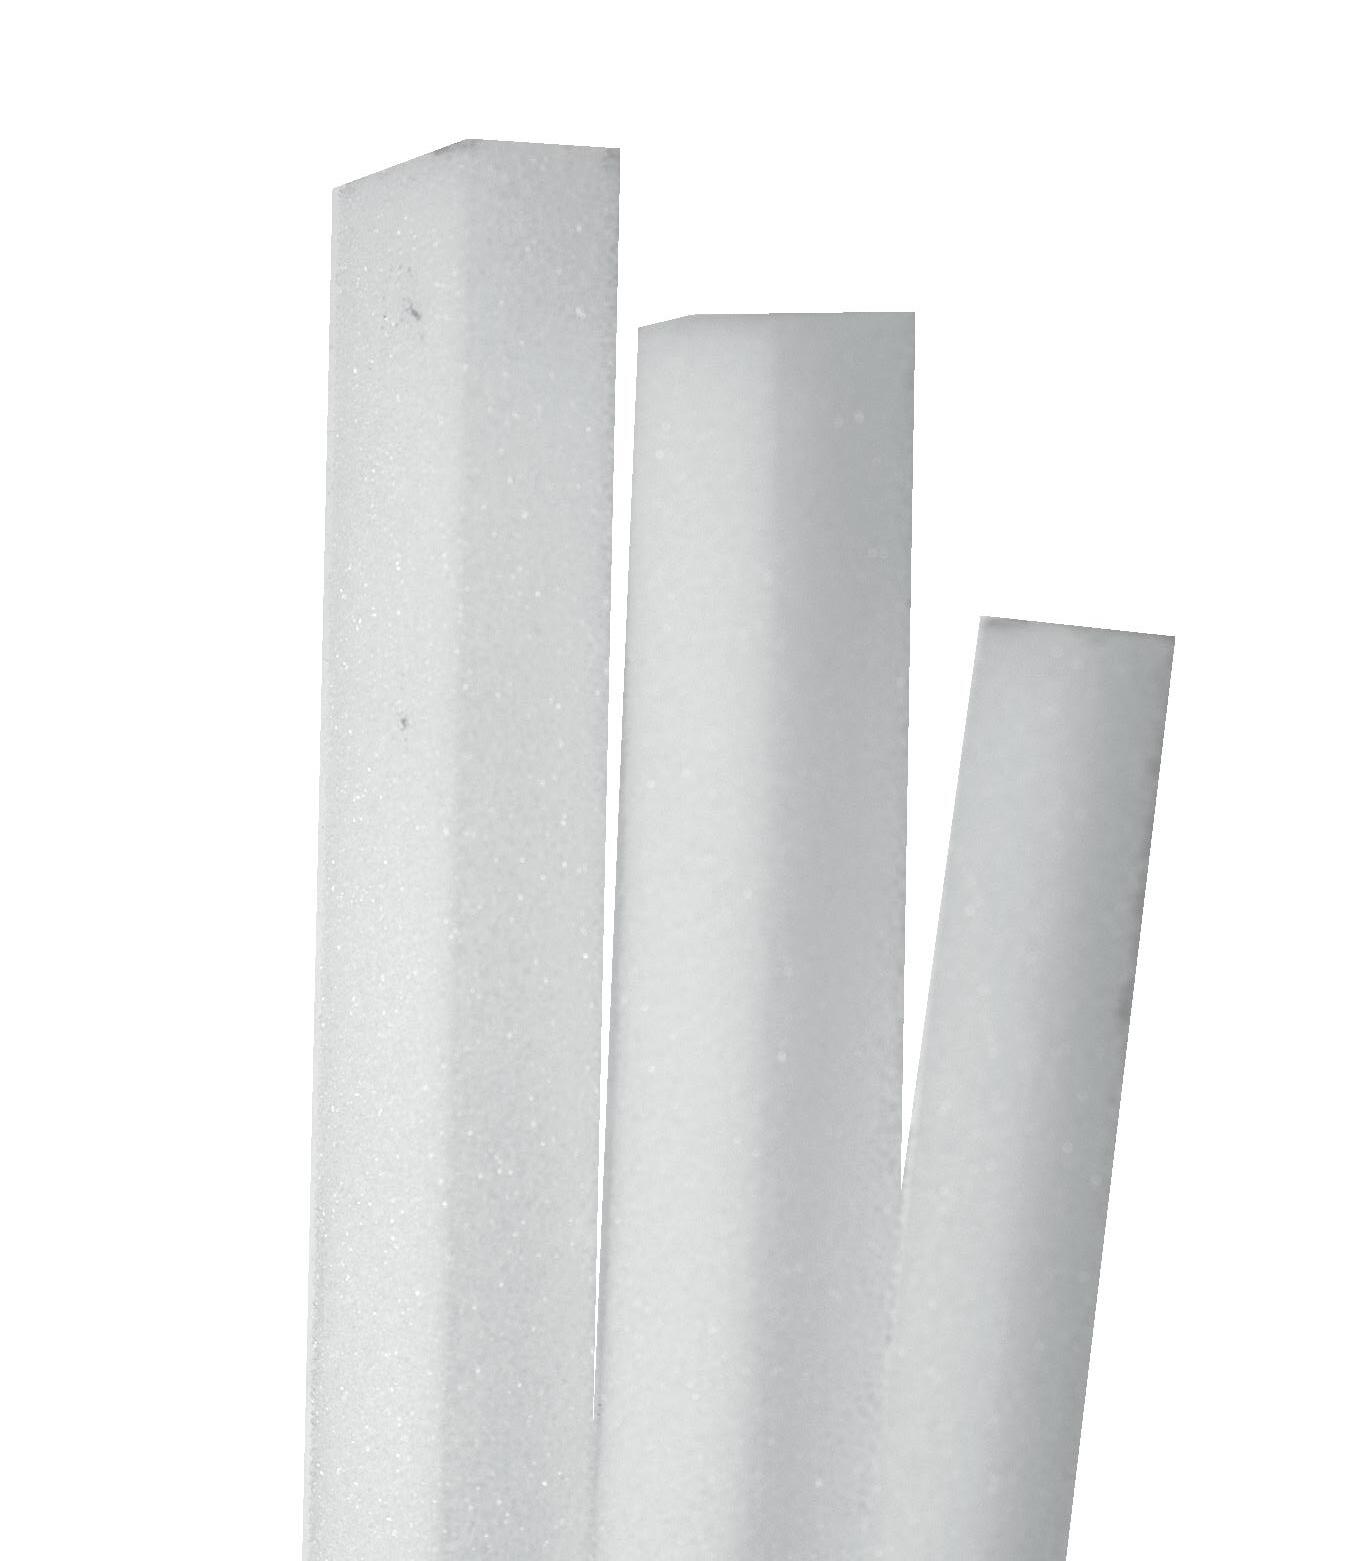

Sealing checks and cracks
Between log courses to be blend, smooth with a low sheen
Between log courses to blend, textured to match grain
Between log courses to look like mortar
Around windows and doors
Between wood walls and chimney
Logs/timbers/wood siding stained with Sashco stains
Logs/timbers/wood siding stained with other brands
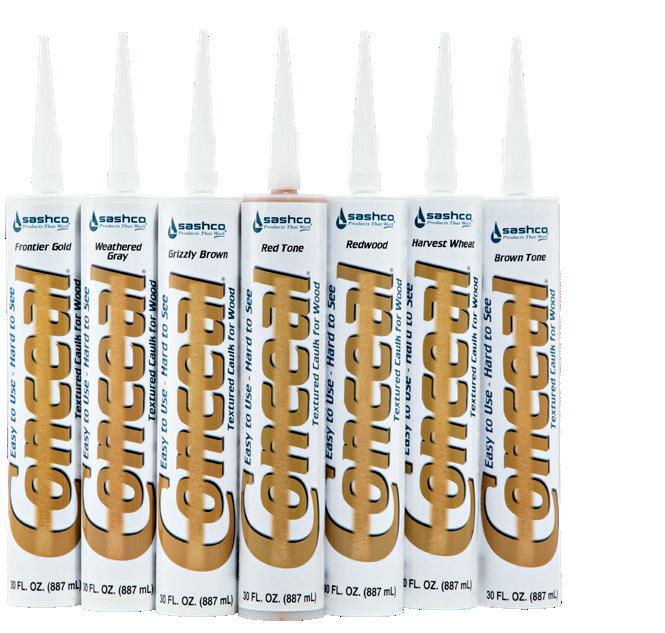
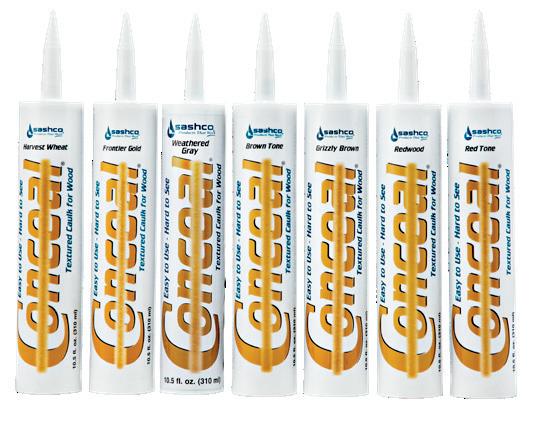
Frontier Gold | Harvest Wheat Brown Tone | Red Tone | Redwood Grizzly Brown | Weathered Gray


10.5 oz. cartridges, 30 oz. cartridges, 5 gal. pails

Check with Sashco first
