THIRD QUARTER 2014 I VOLUME 8
THE HOBBY’S
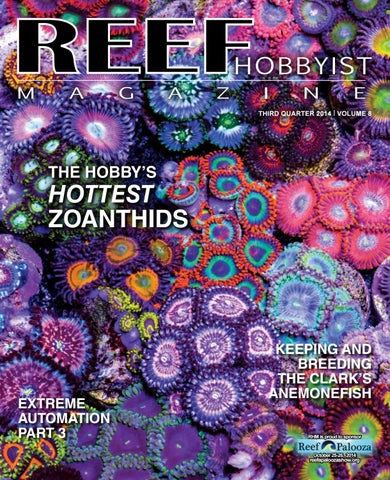
HOTTEST ZOANTHIDS
EXTREME AUTOMATION PART 3
KEEPING AND BREEDING THE CLARK’S ANEMONEFISH RHM is proud to sponsor
October 25-26, 2014
Reef Hobbyist Magazine reefapaloozashow.org
1
THIRD QUARTER 2014 I VOLUME 8
THE HOBBY’S
HOTTEST ZOANTHIDS
EXTREME AUTOMATION PART 3
KEEPING AND BREEDING THE CLARK’S ANEMONEFISH RHM is proud to sponsor
October 25-26, 2014
Reef Hobbyist Magazine reefapaloozashow.org
1