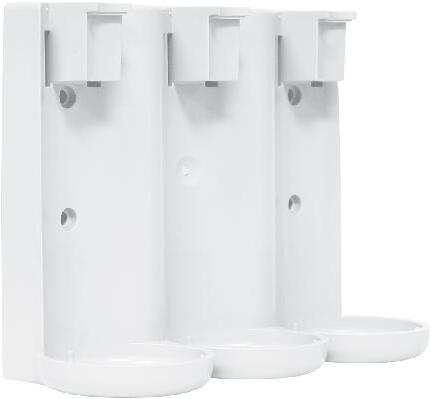
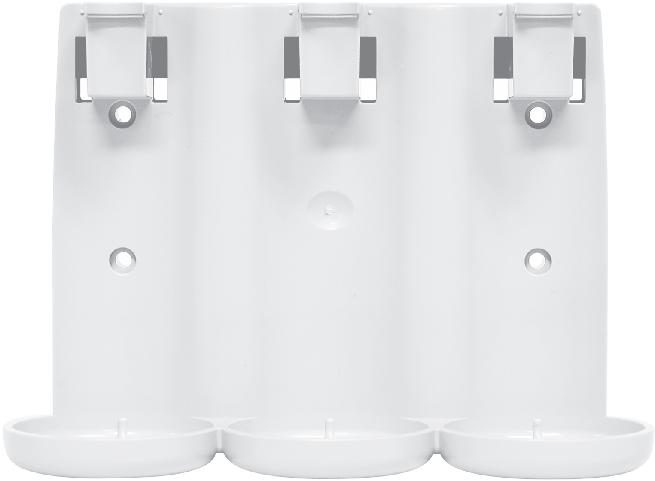
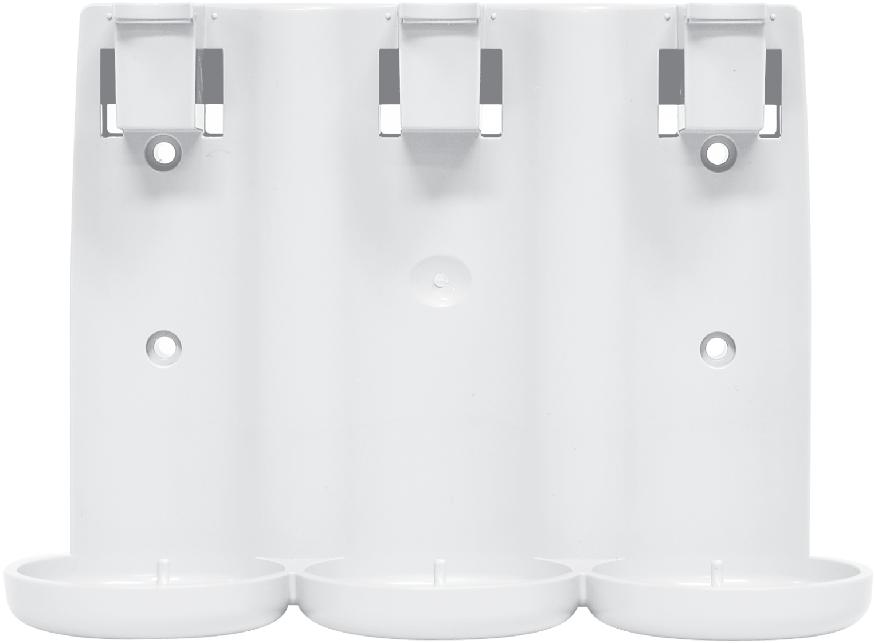
FOR SINGLE & TRIPLE ECOECLIPSE
The EcoEclipse shower or vanity dispenser you recently purchased is a time-tested system that has been used in bathrooms of hundreds of properties around the world.

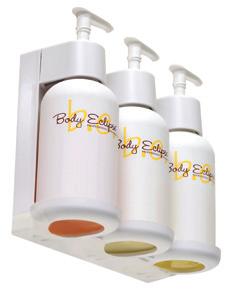


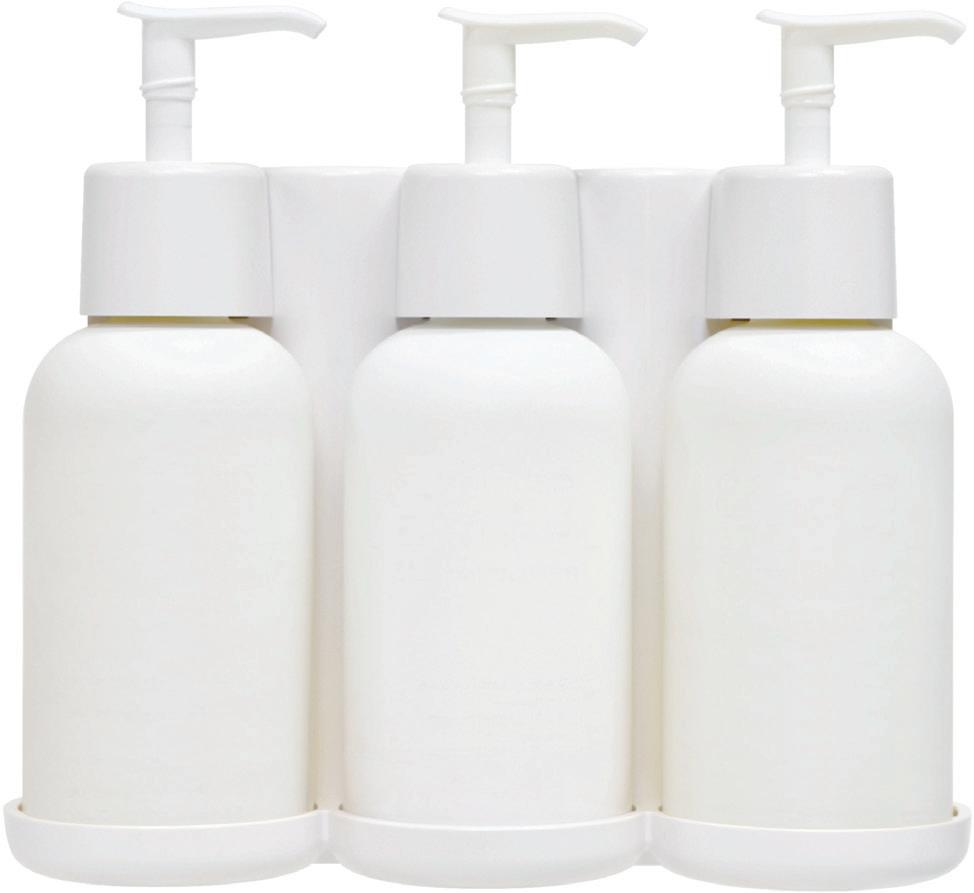
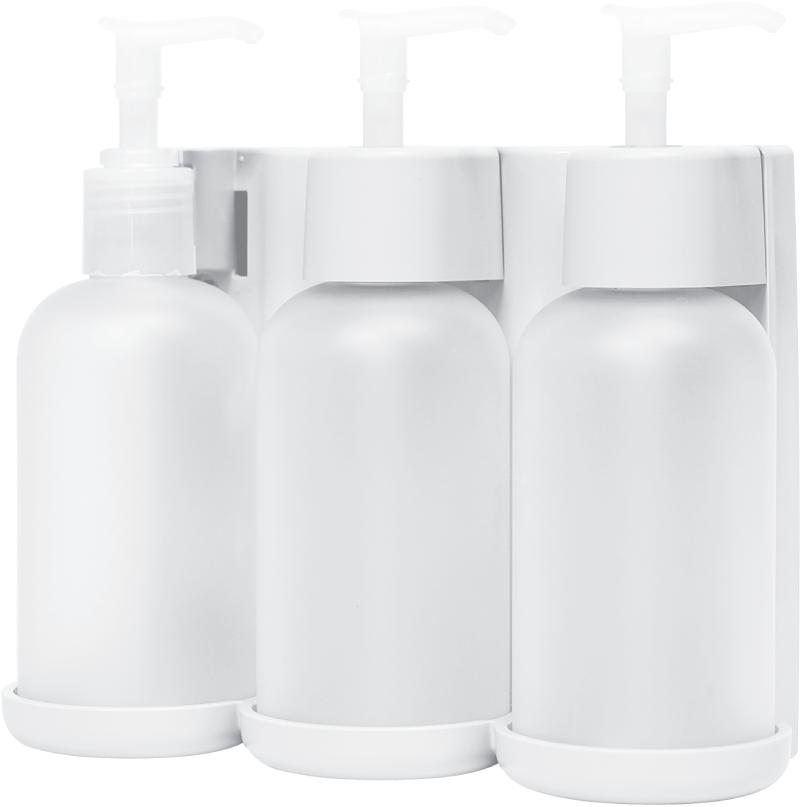
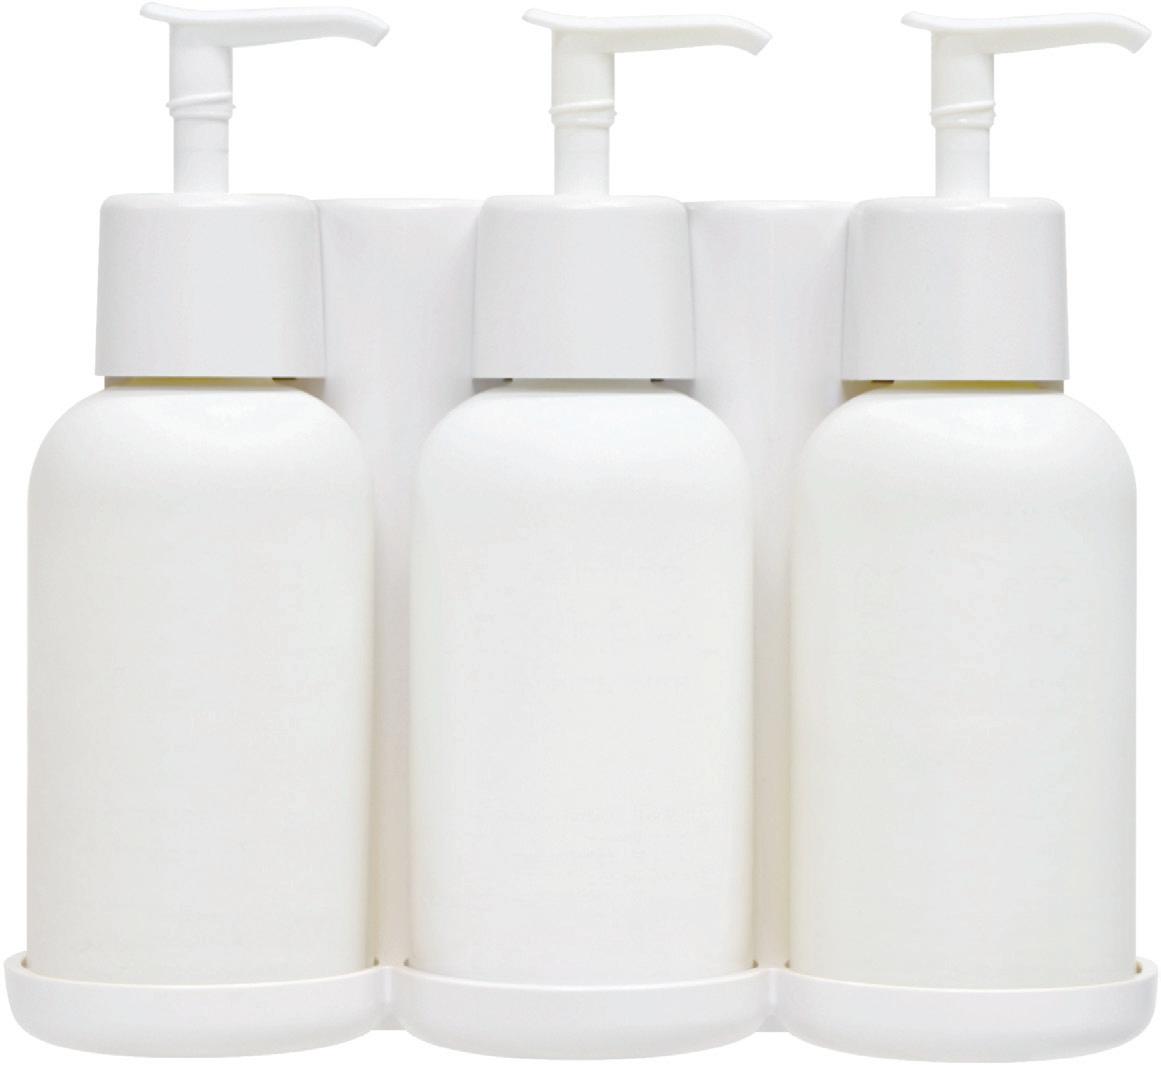
The system helps deliver a great guest experience by conveniently displaying 8 oz. bottles of shampoo, conditioner & shower gel, while helping properties reduce their bottle waste and manage their costs.
Now it’s time to get your dispenser installed properly to achieve maximum benefit.
Questions: (800) 477-4283


• Read these instructions thoroughly before starting your installation.
• You will need clear adhesive silicone gel, rubbing alcohol or window cleaning solution (with alcohol), a level and masking tape or a dry erase marker.
• Be sure to remove the bottles before installing. For bottle removal instructions, see Step 9.
• After installation, wait a minimum of 24 to 36 hours before inserting filled bottles into your EcoEclipse dispenser.
• Don’t worry. Hundreds of properties have successfully installed our EcoEclipse dispenser, and you will too.

Decide how high up you want your dispenser. The recommended height is 52” to 55” from the floor to the base of the dispenser.
To comply with ADA standards, check with your state or city regulations for correct ADA heights.
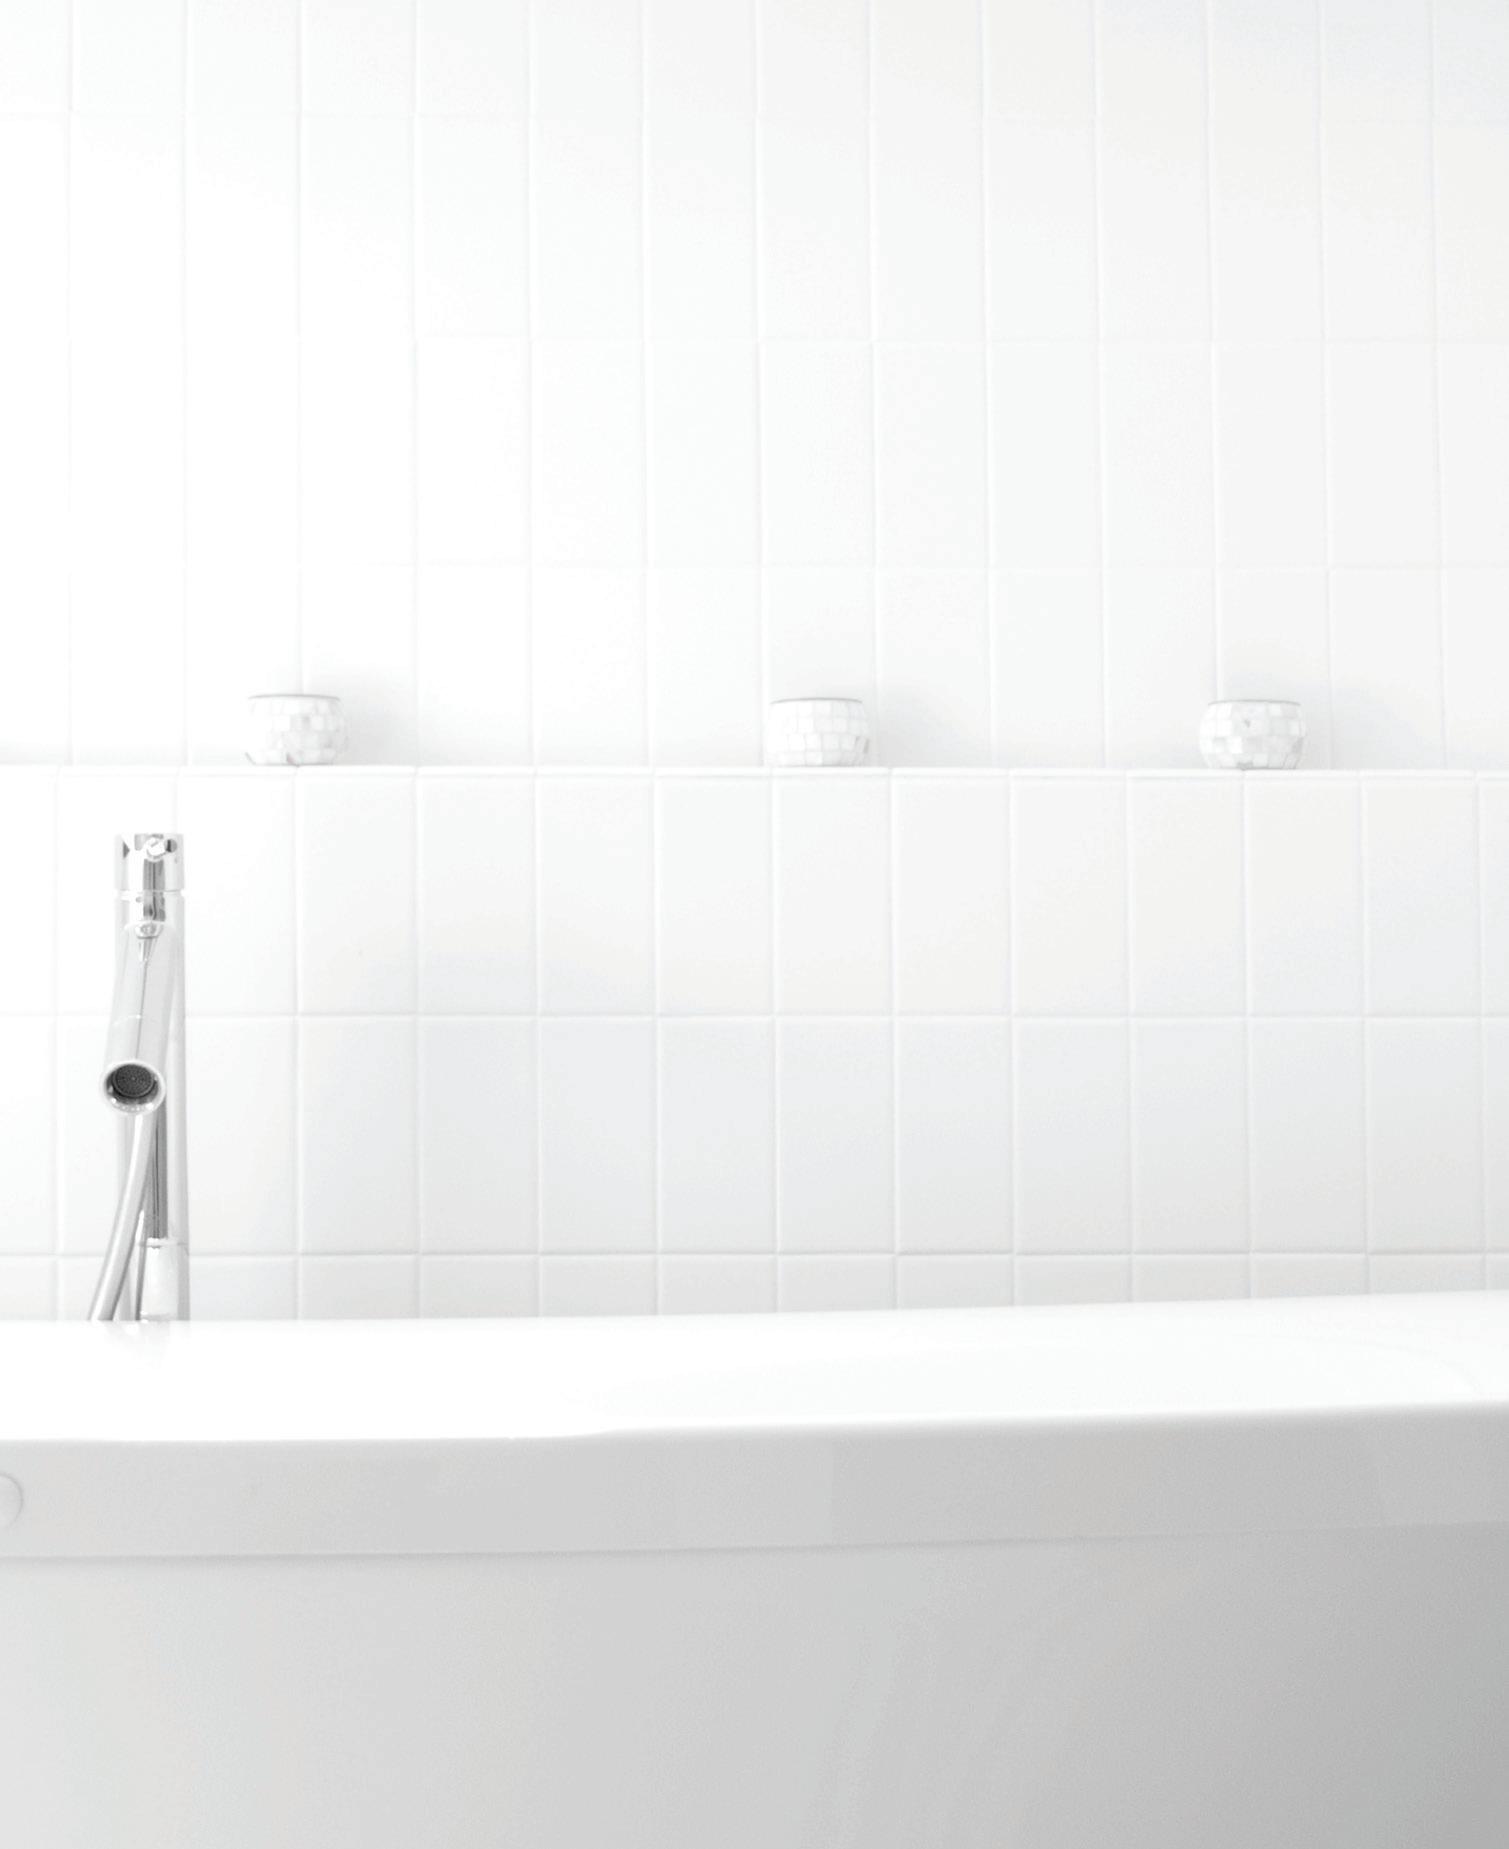
Showers will have grout or tile lines around recommended height (52” to 55”). Using an existing tile line will make your installation easier and will look more uniform in your shower. See example A above.
If you can not use an existing tile or grout line, use a level to make sure your dispenser is level. Then use masking tape or a dry erase pen to mark the upper or lower corner. See example B above.
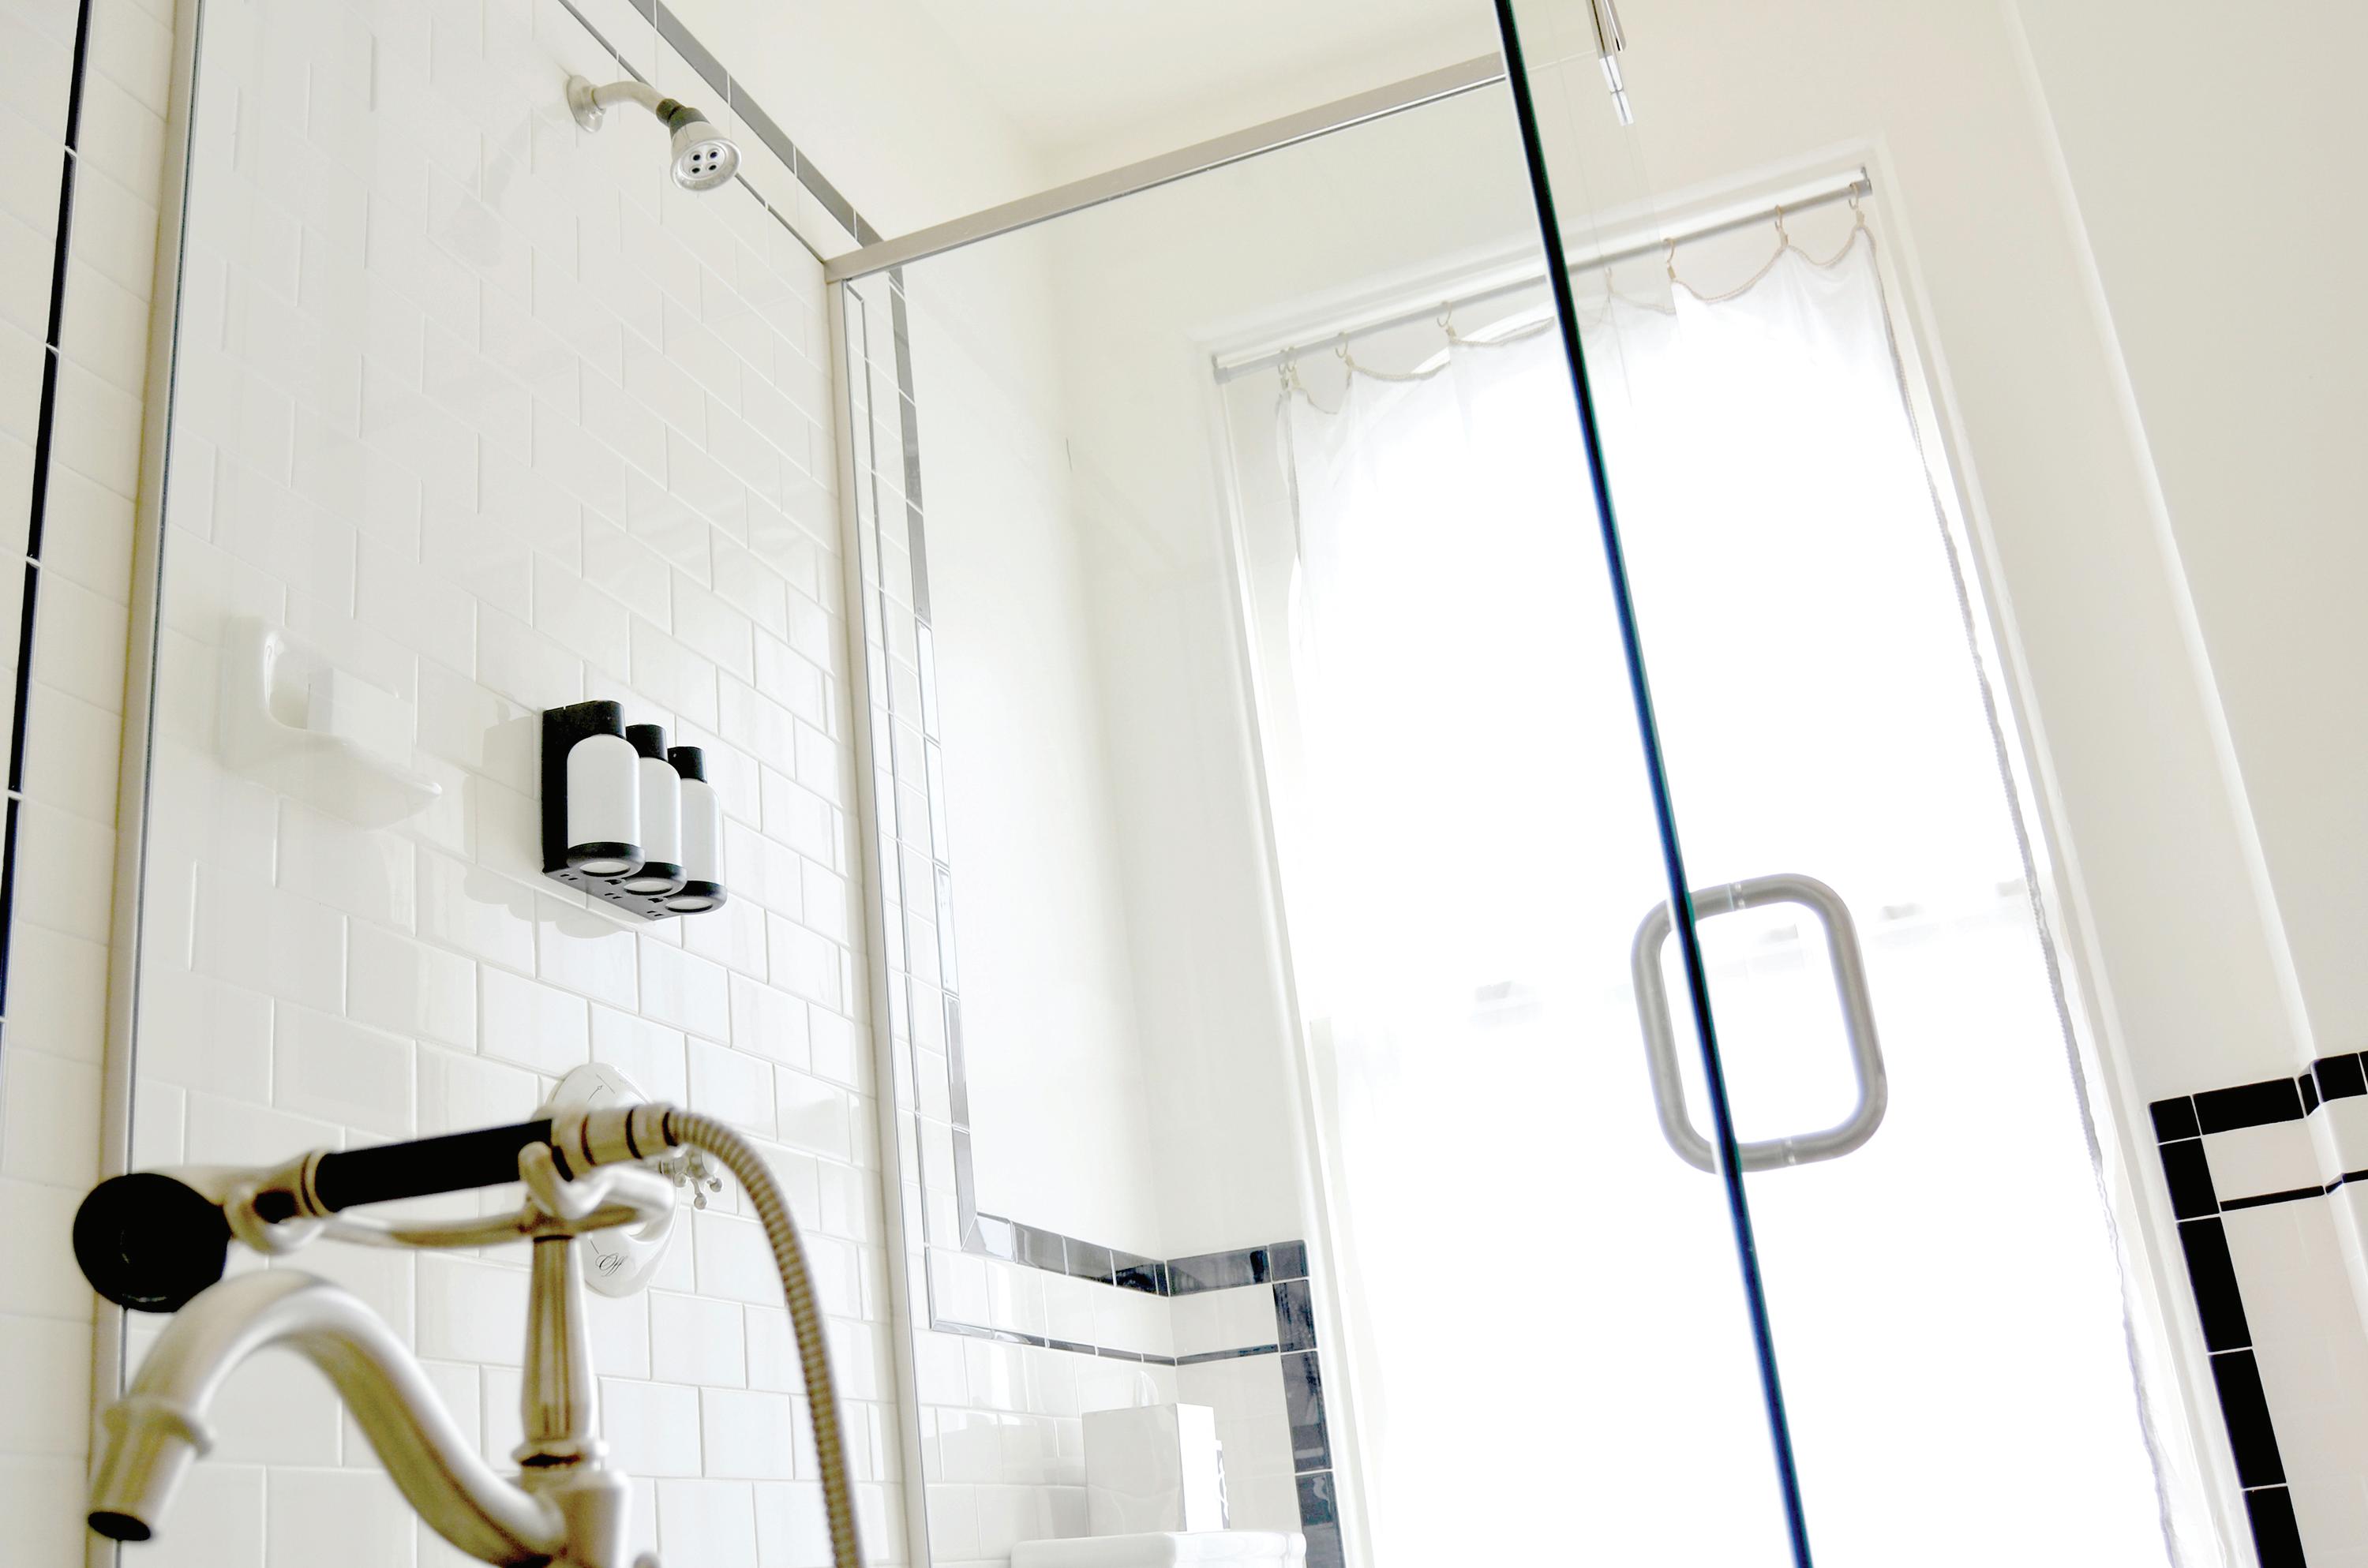
Make sure the dispenser’s location won’t interfere with using the shower. Recommended location is on the back wall opposite of the shower head. See illustrations on the following page.
Also make sure the installation surface is clean and dry. Grime or soap scum will decrease the effectiveness of the adhesive and could cause the dispenser to not adhere properly. Use rubbing alcohol or window cleaning solution for final prep and wait for surface to fully dry before applying adhesive.
WALL OPPOSITE OF SHOWER HEAD


Our recommended brands of adhesive.
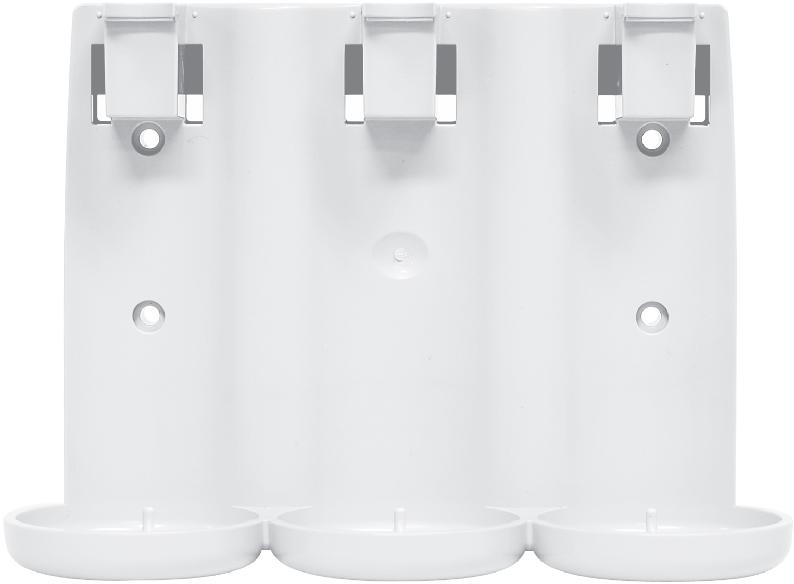
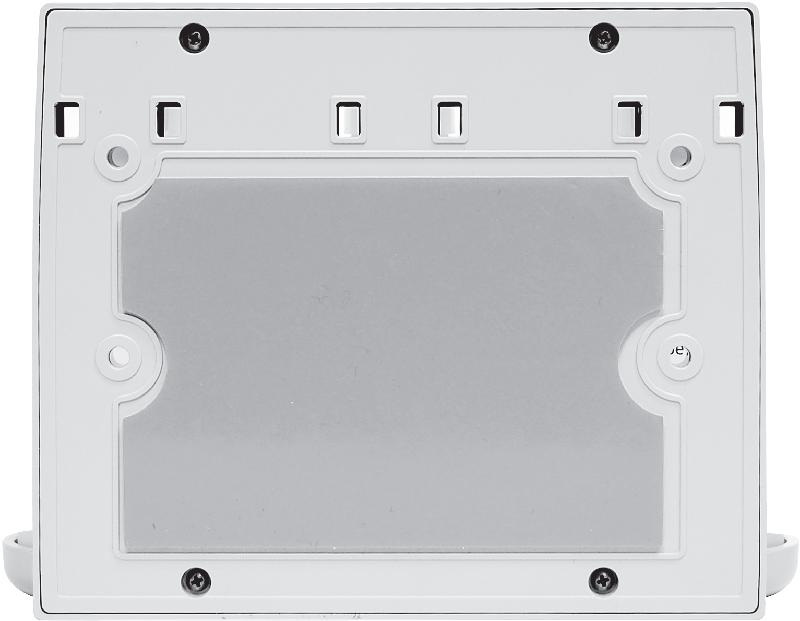
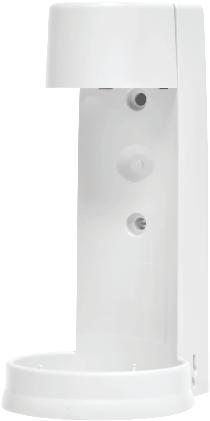
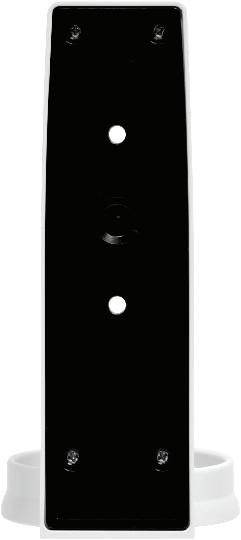
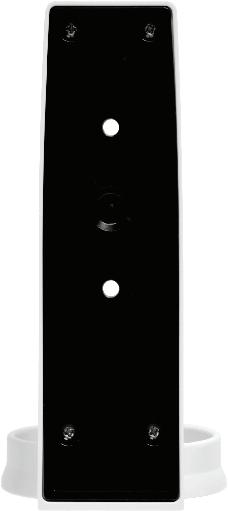
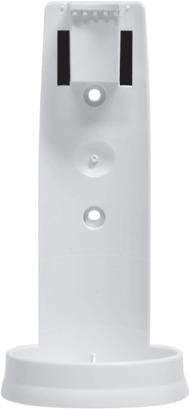
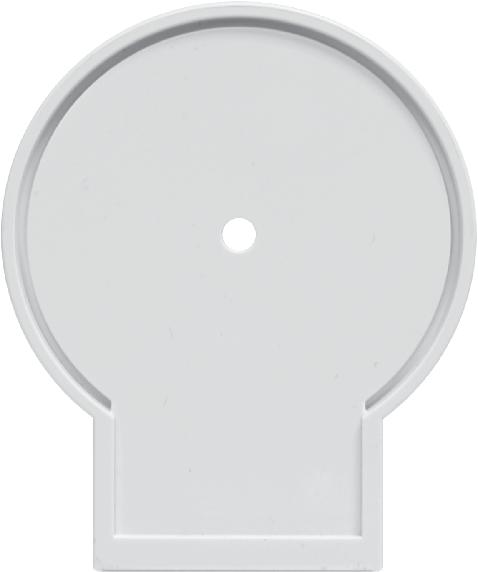
Be sure to avoid slots for locking clips and screw holes.

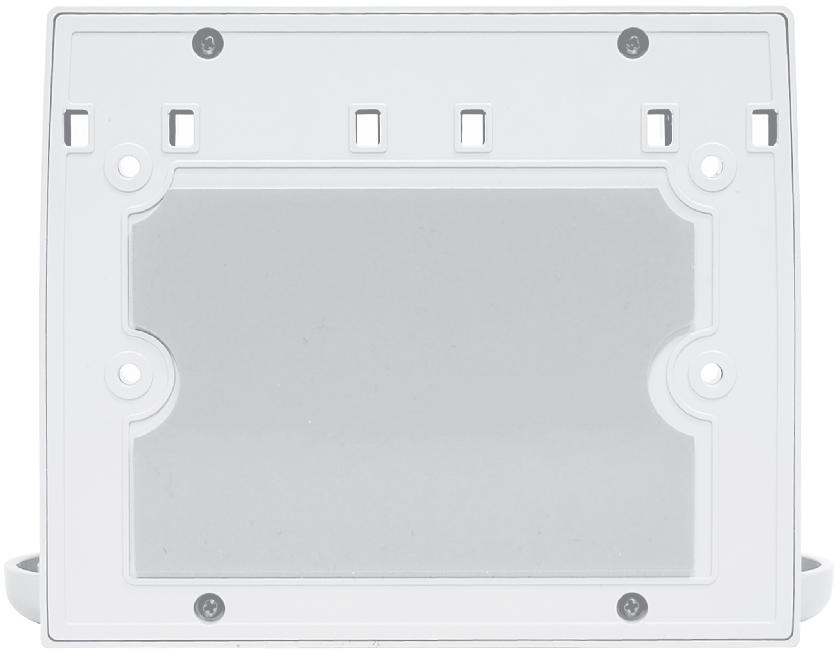
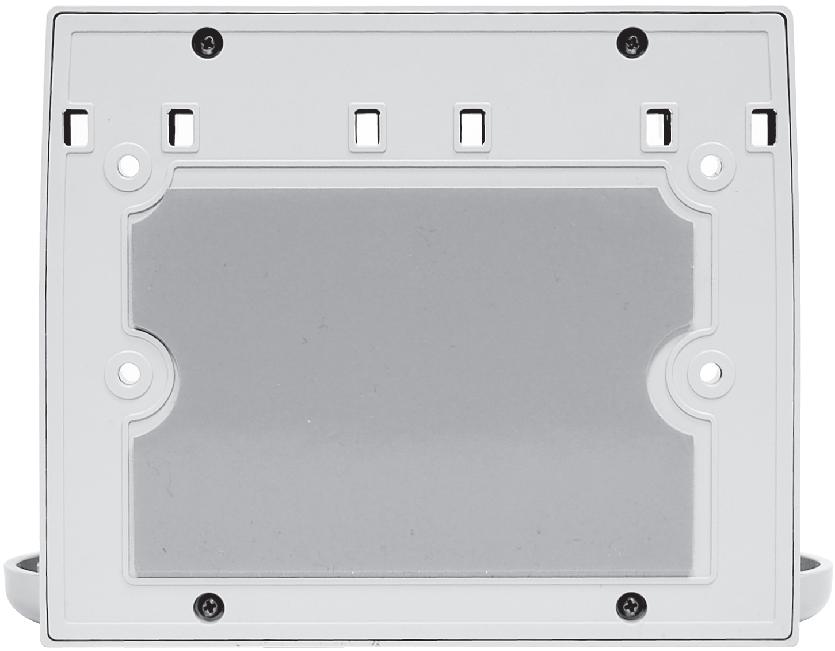
Before removing the blue tape, use clear silicone gel and lay a generous bead around the outside of the back plate as shown in the graphics above. Avoid contact with the six square cutouts near the top of the bracket.

3a. 3b.
Make sure you know exactly where you are going to place the unit before removing the tape. Remove tape carefully as the tape can be very sticky. Also try to avoid smearing your lines of clear adhesive caulk over tape area.

4a. 4b. 4c. 4d.
Hold the unit with both hands.
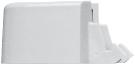
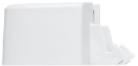
Tip the bottom of the unit toward you so only the top edge will hit the wall if you are using marked lines on the top. Or, tip the top edge toward you so the bottom edge is flush if using the grout line.
Once you are ready to mount, slowly push the bracket against the wall.
Now take both hands and push bracket firmly against the wall for 15 to 30 seconds.

We recommend placing a bead of clear or white adhesive caulk around the outside edges of the dispenser. This will prevent water from getting behind the dispenser and also add extra adhesion to the dispenser.

6) TAKE A BREAK
Now that the unit is on the wall, wait a minimum of 24 to 36 hours before inserting your bottles.
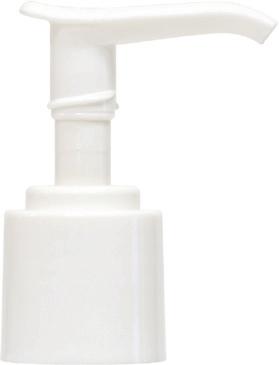
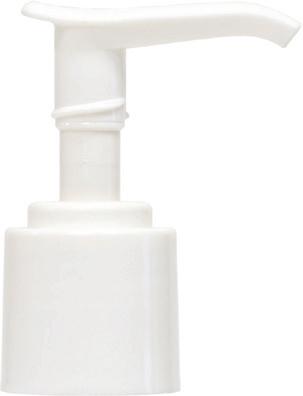
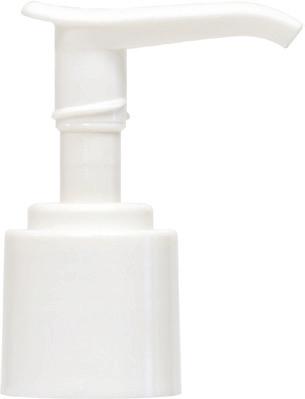


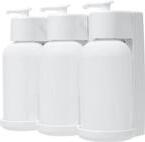
Now load the filled bottles. From left to right, they should be loaded as Shampoo, Conditioner & Shower Gel. Bottles will go in easier if you insert them bottom first.


Place locking clip over pump top. Put bottle & clip into bracket, push bottle in place then snap in locking clip.


Do not turn or twist the bottle release tool as this may break it or the locking clamps. 9a. 9b. UNLOCKING YOUR UNIT FOR REFILLING
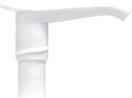
To remove the locking clamps to replace or refill the bottles, place the bottle release tool in bottom of unit and PRESS UPWARD as you pull off the locking clamp.


• • • •
•
Read instructions thoroughly.

Using the bottle release tool, remove the retainer clip that holds the bottle to the unit. Be sure to remove the bottle from the bracket.
Determine whether you’ll be mounting on the wall or vanity.
After installation, please wait a minimum of 24 to 36 hours before inserting a filled bottle into the bracket. Don’t worry. Hundreds of properties have successfully installed our EcoEclipse dispenser.

•
• Be sure to leave space for the bottle release tool access which is located on either side of the unit for convenience.
Position your dispenser in its desired location & mark the location with tape or a dry erase marker.
Make sure the dispenser’s location is accessible and won’t interfere with any bathroom fixtures.
•
• •
Vertical/Wall Mount
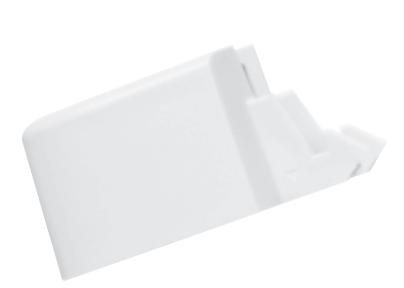
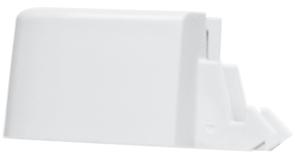
Horizontal/Counter Mount (A)
Horizontal/Counter Mount
Vertical/Wall Mount
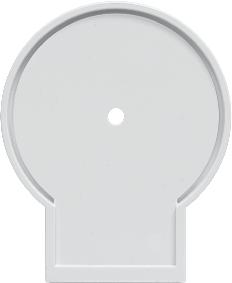
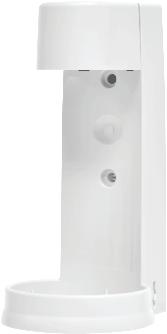
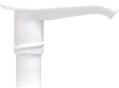
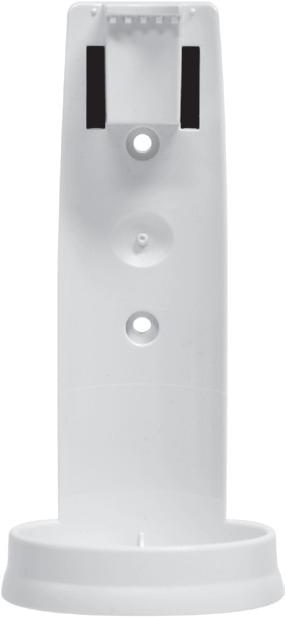
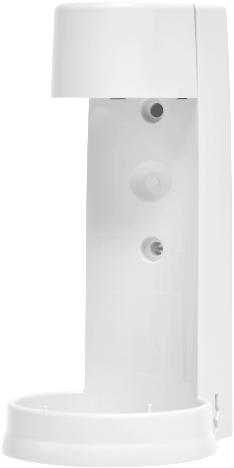
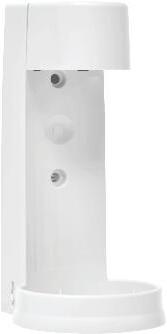
Your dispenser should arrive with blue adhesive tape already applied to the bracket back and/or bottom based on your request. See image A
Ensure the surface is clean & dry. Grime & soap scum will decrease the effectiveness of the adhesive. Remove blue tape carefully as the tape can be very sticky. This will expose the adhesive surface.
Hold the unit with both hands.
Align with the positioning marks you made with masking tape or dry erase marker. Push dispenser hard against the wall or counter and hold for 15 to 30 seconds.
If you decide to add screws, we recommend #8, 1½ inch stainless steel screws with an anchor. We recommend placing a bead of clear or white adhesive caulk around the outside edges of the dispenser. This will prevent water from getting behind the dispenser and also add extra adhesion to the dispenser.
DISPENSER - VANITY AREA WITH WALL MOUNT
Wait 24 to 36 hours for the adhesive to set before adding a filled bottle. • (B)

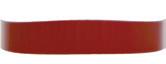
Use bottle release tool to release the locking clamp. See image B.
Insert your filled bottle.
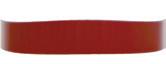
Bottle will go in easier if you insert it bottom first. See image C.

Snap the tamper-resistant locking clamp back into place over the filled bottle. See image C. • • • •


Be sure to leave space for the bottle release tool access which is located on either side of the unit for convenience.
•
•
•
Be sure to leave at least 5 inches on either side of the bracket to ensure access for the bottle release tool. Bottles can be pre-filled and placed into brackets prior to installation on counter mounts. Remove double sided tape from bottom of bracket.
STEP
•

Ensure the surface is clean & dry. Place firmly on vanity in desired area.