

All design’s, drawings and the specifications depicted therein are the confidential and/or proprietary intellectual property of Marietta Corporation and may not be shown, reproduced or otherwise used in any manner unless authorized in writing beforehand by Marietta Corporation. No right is given or implied to reproduce or distribute these designs, drawings and specifications, in whole or part, without the express, prior written consent of Marietta Corporation.


• Read these instructions thoroughly before starting your installation.
• You will need clear adhesive caulk, rubbing alcohol (isopropyl), a level ruler and masking tape.
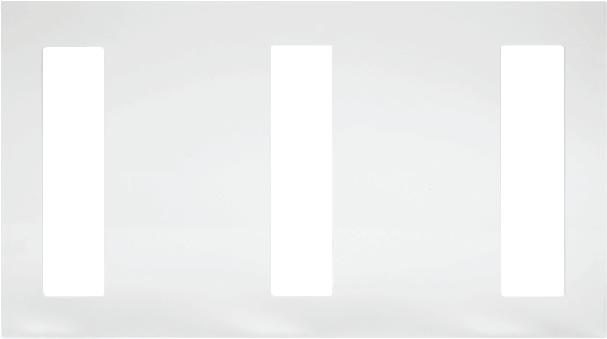
• You will need the approved INSTALLATION TEMPLATE.
• Inspect the shower tile, the double sided tape and adhesive caulk will work great for most surfaces.
• ReadyCare recommends DAP Adhesive Caulk.
• For uneven, porous, or rough surfaces a small bead of waterproof construction adhesive may applied around the edges of the bracket (not over the tape) prior to mounting. Once cured the bracket should be caulked to prevent water contact to adhesion points.
• Mount a set of brackets in a test room to make sure adhesion is strong before full installation.
• Every shower cubicle is different. Consult designer if it is a new build.
• Develop an installation plan with a room list and installed date & time, have it approved by GM.
• Important: You must allow the tape to cure a minimum of 24 hours preferably 36 hours depending on type of surface, before inserting filled bottles.
• Obtain approval from installer or installation coordinator before inserting filled bottles.

Accessible Guest Rooms:
37in (94cm) from shower/bath tub floor to the base of the installation template.
Standard Guest Rooms:
44in (112cm) from shower or bath tub floor to the base of the installation template.
Identify and confirm best installation location in shower/tub area. The recommended height for standard guest rooms is 54in or about 137cm from the floor to the top of the dispenser. For showers/tubs in accessible guest rooms please refer to local code of the country (e.g. 48 from floor to top of the dispenser in US/Canada. To achieve these heights hotels must measure from the bottom of the shower/tub to the bottom edge of the installation template.
Also make sure the installation surface is clean and dry. Grime or soap scum will decrease the effectiveness of the adhesive and could cause the dispenser to not adhere properly. Use rubbing or isopropyl alcohol for final prep and wait for surface to fully dry before applying brackets.
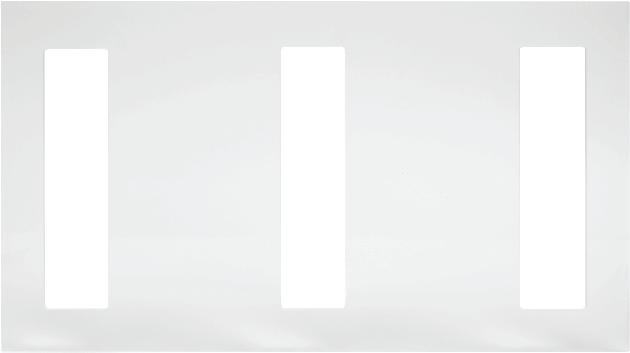
2) MAKE SURE TEMPLATE IS LEVEL.

3) TAPE TEMPLATE CORNERS.

• Use the approved installation template to determine best position, have sufficient clearance, ensure installed bottles will not block the shower faucet or other shower fixture.
• Do not obstruct the swing of the shower door.
• Make sure bottle view strips are visible to monitor liquid levels.
• After confirming the template location, use a level ruler & masking tape to attach the bracket template to the wall.
• Bottles should be positioned in a location that is easily accessible for cleaning.
Attention:
• Do not mount brackets over wall tile joints or uneven surfaces if possible.
• Do not mount brackets on glass panel or shower screen where the back of bracket would be visible to guests.


4) REMOVE DOUBLE SIDED TAPE BACKER.
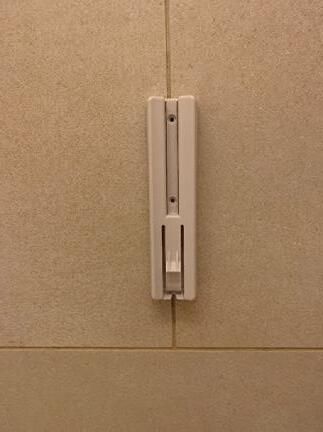
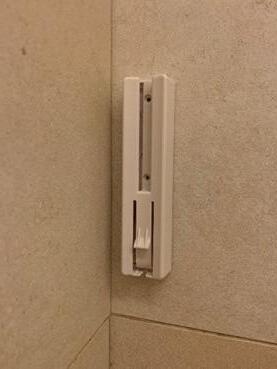

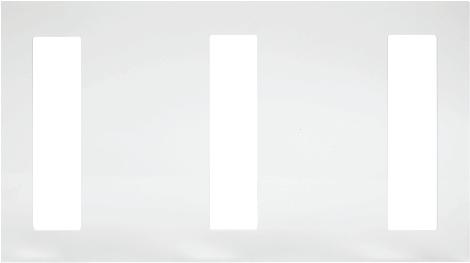
5) PLACE BRACKET IN SLOT TWO/MIDDLE SLOT OF TEMPLATE (STARTING BOTTOM FIRST).
• Begin with slot 2 (middle slot).
• Make sure bracket is right side up (latch at the bottom) when placing the bracket.
• Try a dry run first to familiarize handling of template and bracket before actual installation. Bottom Top
6) PRESS FIRMLY FOR 30 SECONDS TO ENSURE DOUBLE SIDED TAPE ADHESION.
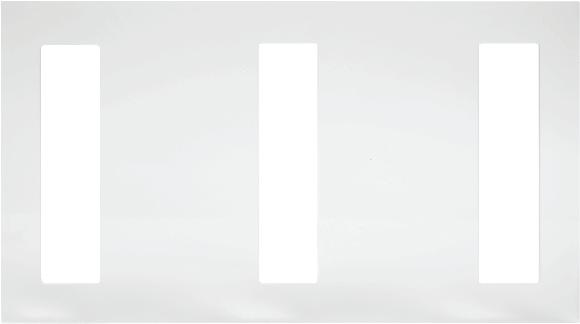

(A) FOR NARROW SETUP (B) FOR WIDE SETUP (A) FOR NARROW SETUP (B) FOR WIDE SETUP


7) REPEAT PROCESS FOR SLOTS AS SHOWN ABOVE.
Notes: bracket position in these wider slots:
• Properties wanting a narrow setup should mount the left and right brackets on the innermost edge of the installation template openings. Reference image (A) for direction.
• Some properties will be mounting only two brackets. In this case, the center position will be used as well as the innermost edge on either the left or right slots.
• Properties wanting a wide setup should mount the left and right brackets on the outermost edge of the slots. Reference image (B) for direction.
IMPORTANT: Due to the unique shape of amenity bottles and available wall space for brackets, distance between brackets could vary. Mounting the brackets in the appropriate template location will provide better access for cleaning and for aesthetic.
8) REMOVE TEMPLATE.
Lift from bottom and remove template from around the brackets.


Apply a bead of adhesive caulk around the top and sides of bracket. Press into sides of brackets, this will stabalize the bracket. Do not apply to bottom of bracket. Wipe away any excess caulk on the bracket and wall.
• Use only adhesive caulk with a narrow nozzle or sharp tip for better application.
• Wait for at least 24 hours to 36 hours for tape and caulk to cure depending on type of surface, before inserting bottles. Refer to instructions that came with caulk product or consult your engineer if in doubt.
• Each room should not take more than 10 to 15 minutes for installation.


Bottles should only be inserted after brackets have cured for a minimum of 24 hours. Insert bottles. Insert bottles and release the pump by holding the top of the bottle collar and turning the pump counter-clockwise. Press the pump and fill the nozzle with amen ity, get ready for guest use.
No Caulk


STEP 1) Place key flush with wall and at the center of the dispenser.


STEP 2) Push upward to release locking mechanism.


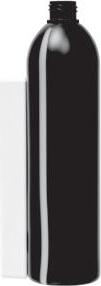
STEP 3) Pull bottle straight up to remove
STEP 4) Disposal and recycling of empty bottles.
Empty the bottle, separate the pump from bottle using appropriate tool or tool provided by the amenity company. Bottles should be recycled or disposed of in accordance with local law.
