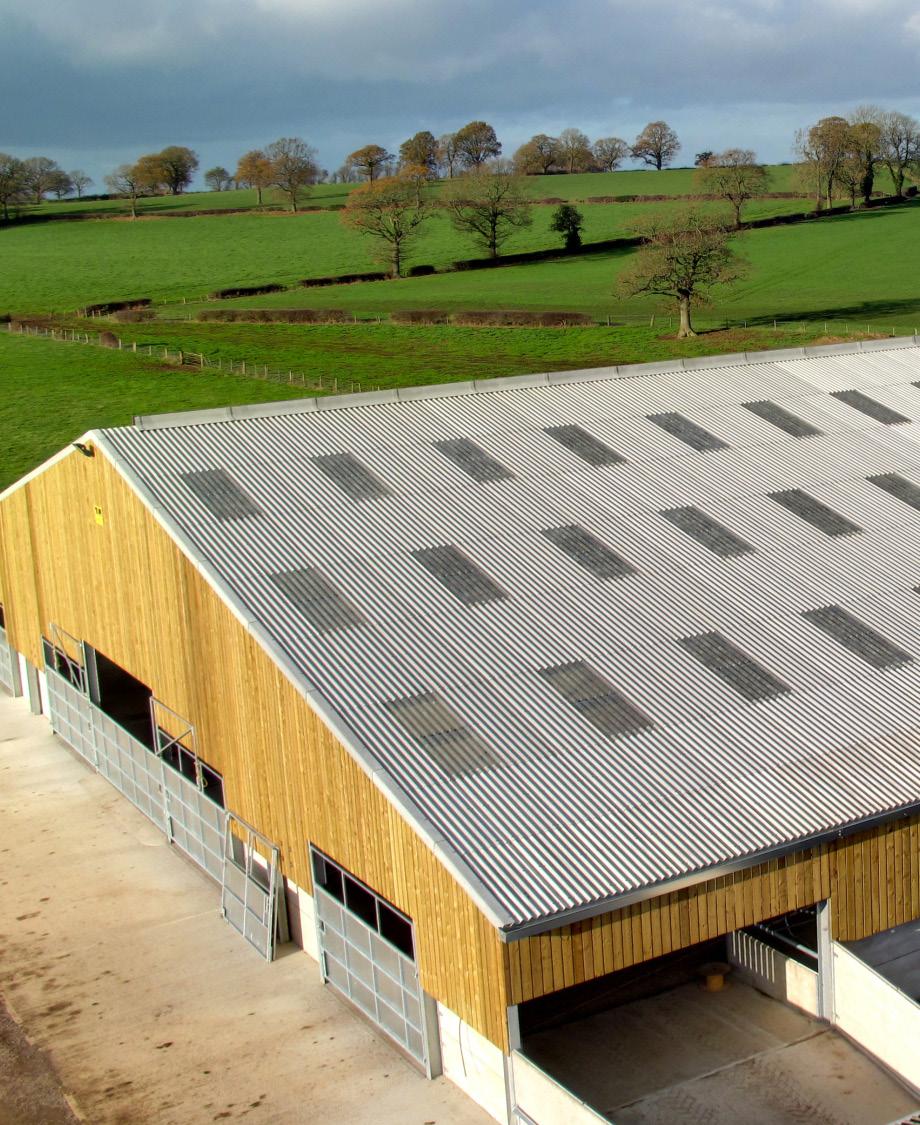
FIBRE CEMENT PROFILED SHEETING

outstanding local service
Our Partnership with Eternit Applications Colour Range E-Luminate Profile 3 Profile 6 Tanslucent Sheets Accessories Exposure Installation 10 Easy Steps to Fixing Working with Eternit Fibre Cement Roofing Sheets 4 - 5 6 - 7 8 - 9 10 - 11 12 - 17 18 - 23 24 25 - 27 28 - 29 30 - 31 32 - 33 34 - 35 CONTENTS
FIBRE CEMENT PROFILED 3 & 6 SHEETING
Roofbase has partnered with Eternit to offer our customers the best in Fibre Cement Profiled Sheeting. Eternit are the UK’s only manufacturer of fibre cement roofing and cladding solutions, having been producing profiled sheeting for over 100 years.

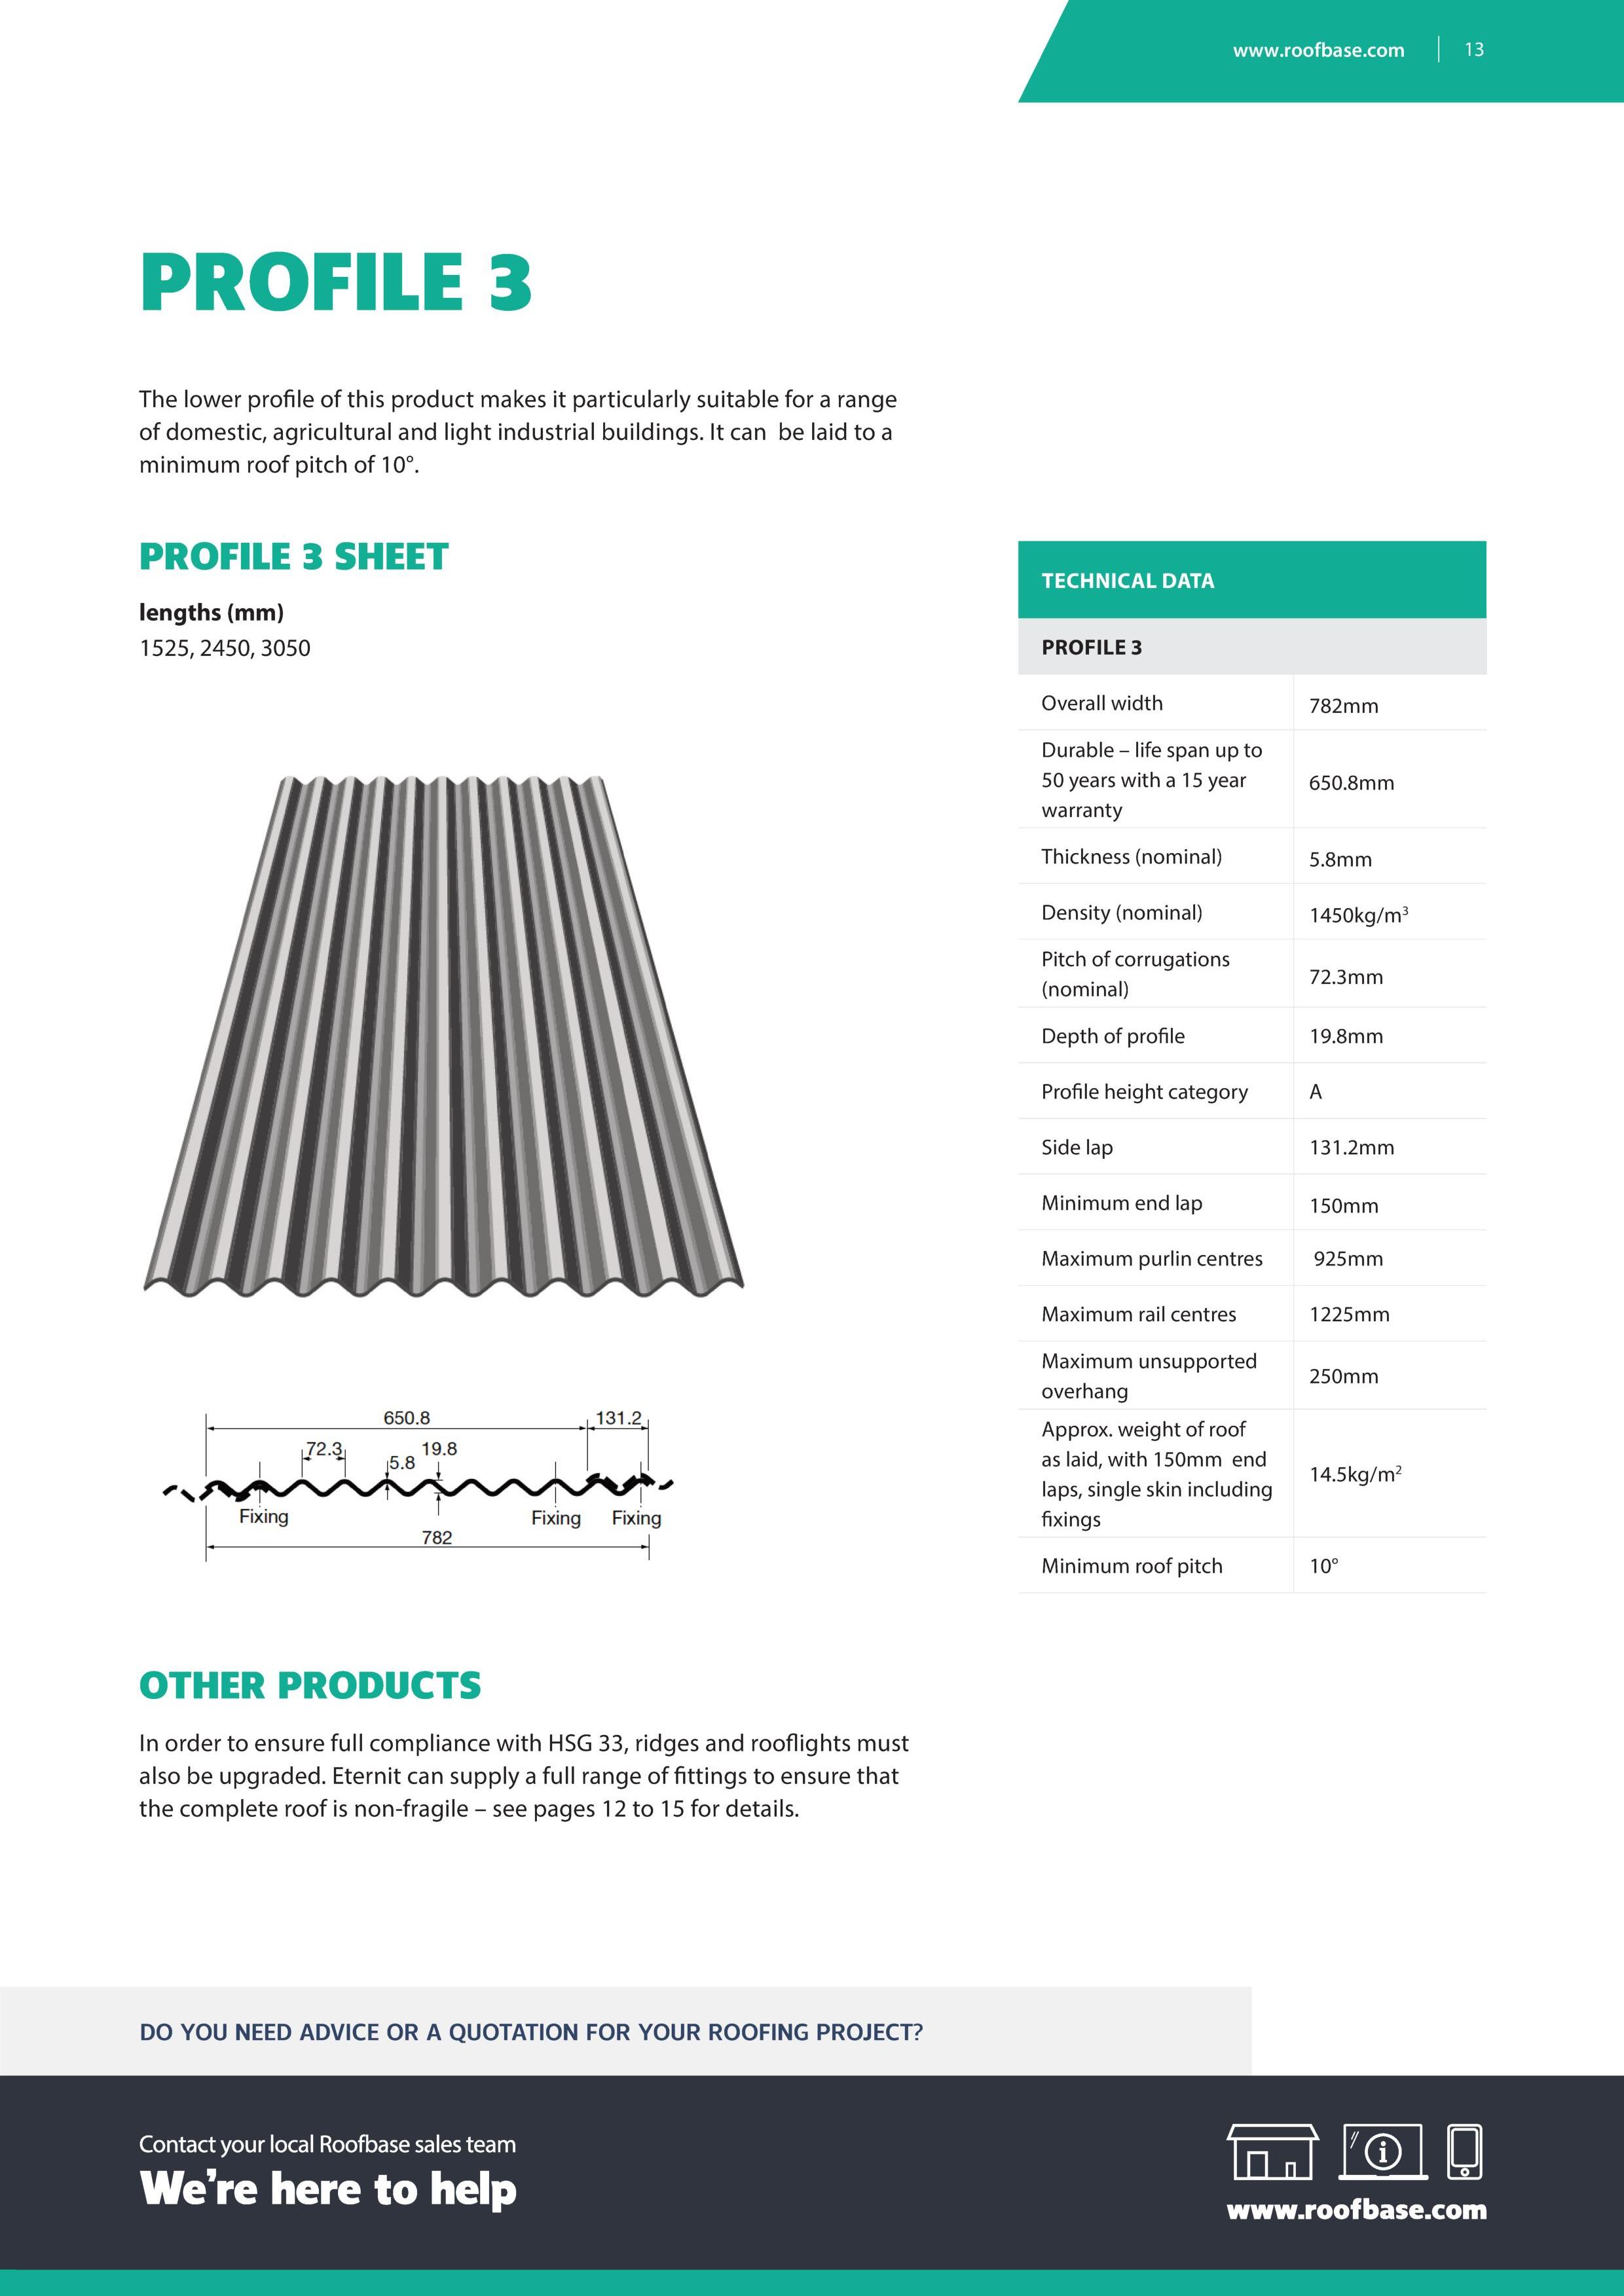
Roofbase merchants now stock two ranges of Eternit profiled sheeting - Profile 6 and Profile 3 – to customers throughout the UK. The products are differentiated by the size of corrugation in the sheets; Profile 6 having larger corrugations than Profile 3. Both types of sheet are manufactured from a selected blend of Portland cement and water, reinforced with a mixture of both natural and synthetic fibres.
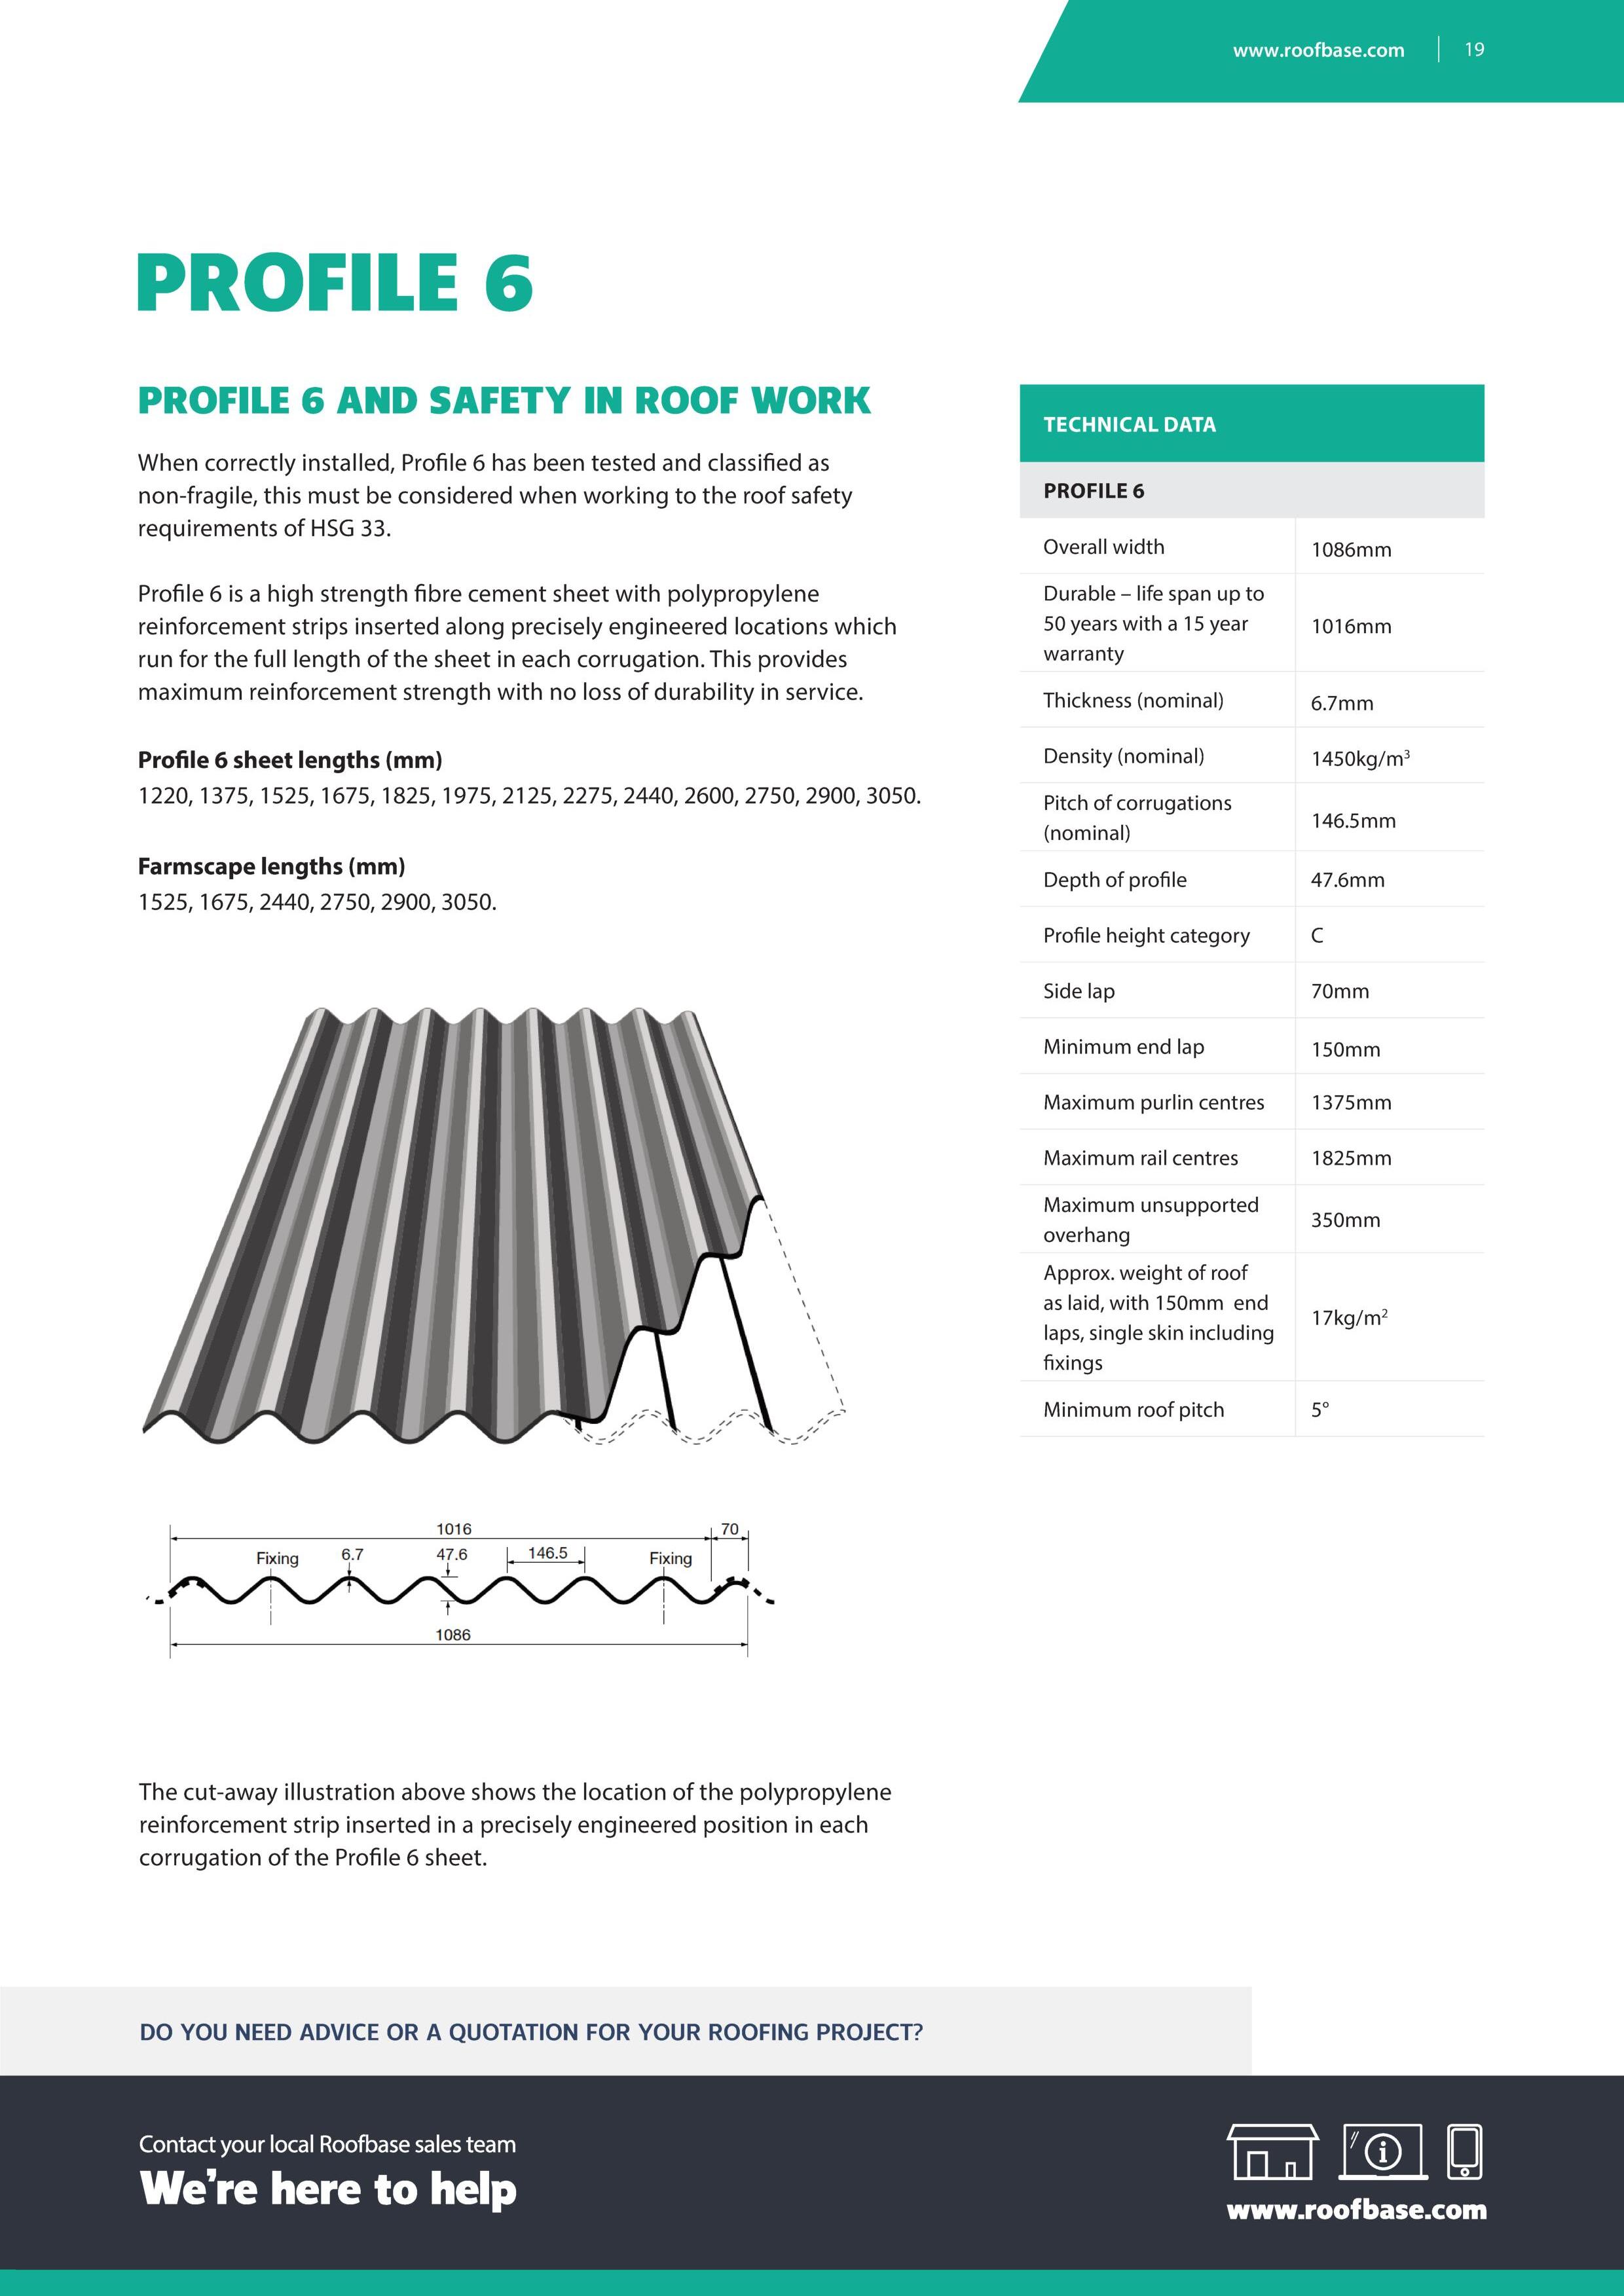
Eternit has always worked to improve safety when using their range of roofing and cladding products. Building on over 100 years’ experience in the UK roofing industry Eternit has developed a purpose designed, reinforced fibre cement sheet – Profile 6 – that meets the high standards of safety in roofing work set out in the Health and Safety Executive document ‘Health and Safety in Roof Work’ (HSG 33). In addition to the Profile 6 sheet, we are proud to be able to offer a complementary range of accessories that meet the same high standards of safety.
Eternit fibre cement profiled sheeting is manufactured in accordance with a quality system registered under BS EN ISO 9001.
5 www.roofbase.com
WHY CHOOSE ETERNIT FIBRE CEMENT PROFILED SHEETING?

Low maintenance
No rust, rot or corrosion
Quick and easy to install and fix
Highly cost effective weatherproofing
Resistant to chemical attack
Vapour permeability reduces condensation
Excellent noise and thermal insulation
Wide product and colour range
WHICH PROFILE?
The decision to use Profile 3 or Profile 6 sheets will depend largely upon the following four criteria:
The scale of the building in question.
Compatibility with any existing materials.
The distance from centre to centre of the horizontal fixing rails or purlins.
Whether or not the roofing material is to be classified as non-fragile.
Reference should therefore be made to the sheet sizes, fixing details and product data provided in this brochure.
1 2 3 4
COLOUR RANGE
PAINTED COLOUR RANGE
Experience gained over many years has shown that the Eternit colour range will meet the wide ranging design requirements in both rural and urban areas.
All the colours have been chosen for their ability to harmonise with the most commonly used building materials – brick, slate, stone, concrete and timber.


For more information on products and product codes, please download the Parts List brochure from www.marleyeternit.co.uk/ps-products.


 BLACK
BROWN
SLATE BLUE
VAN DYKE BROWN
CLOUD GREY
LAUREL GREEN
GUNMETAL GREY
TAWNY BROWN
BLACK
BROWN
SLATE BLUE
VAN DYKE BROWN
CLOUD GREY
LAUREL GREEN
GUNMETAL GREY
TAWNY BROWN
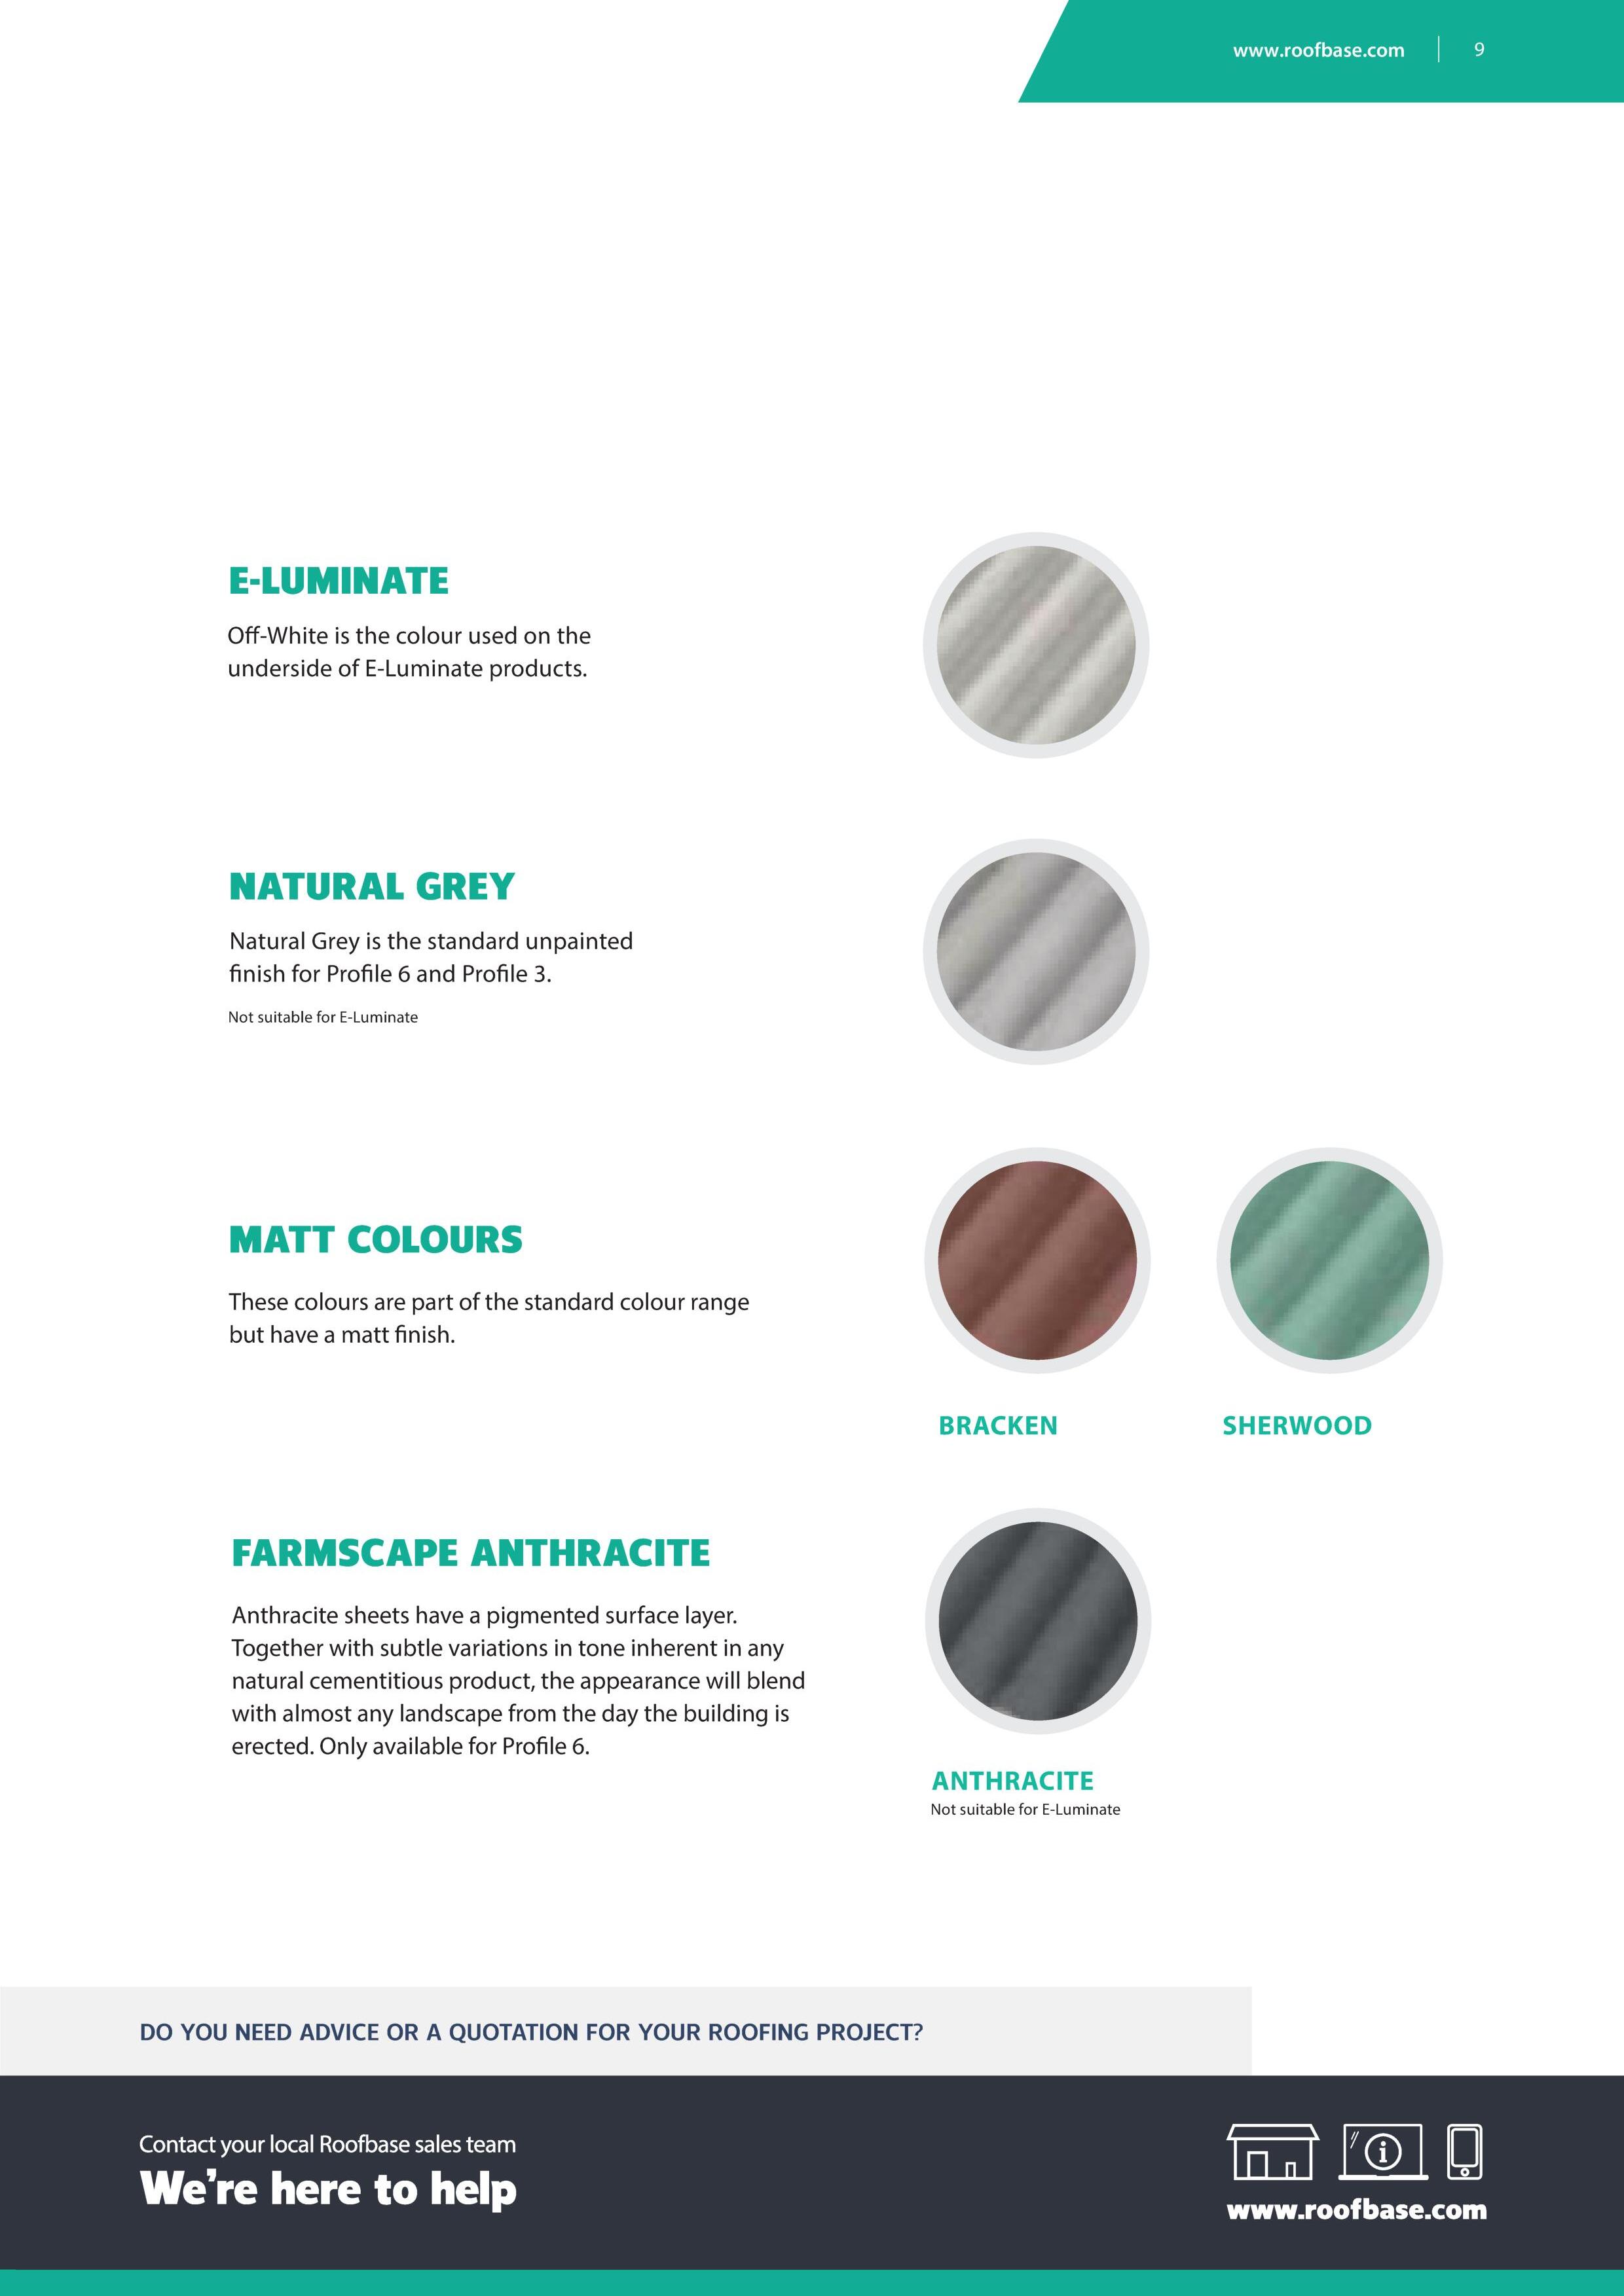
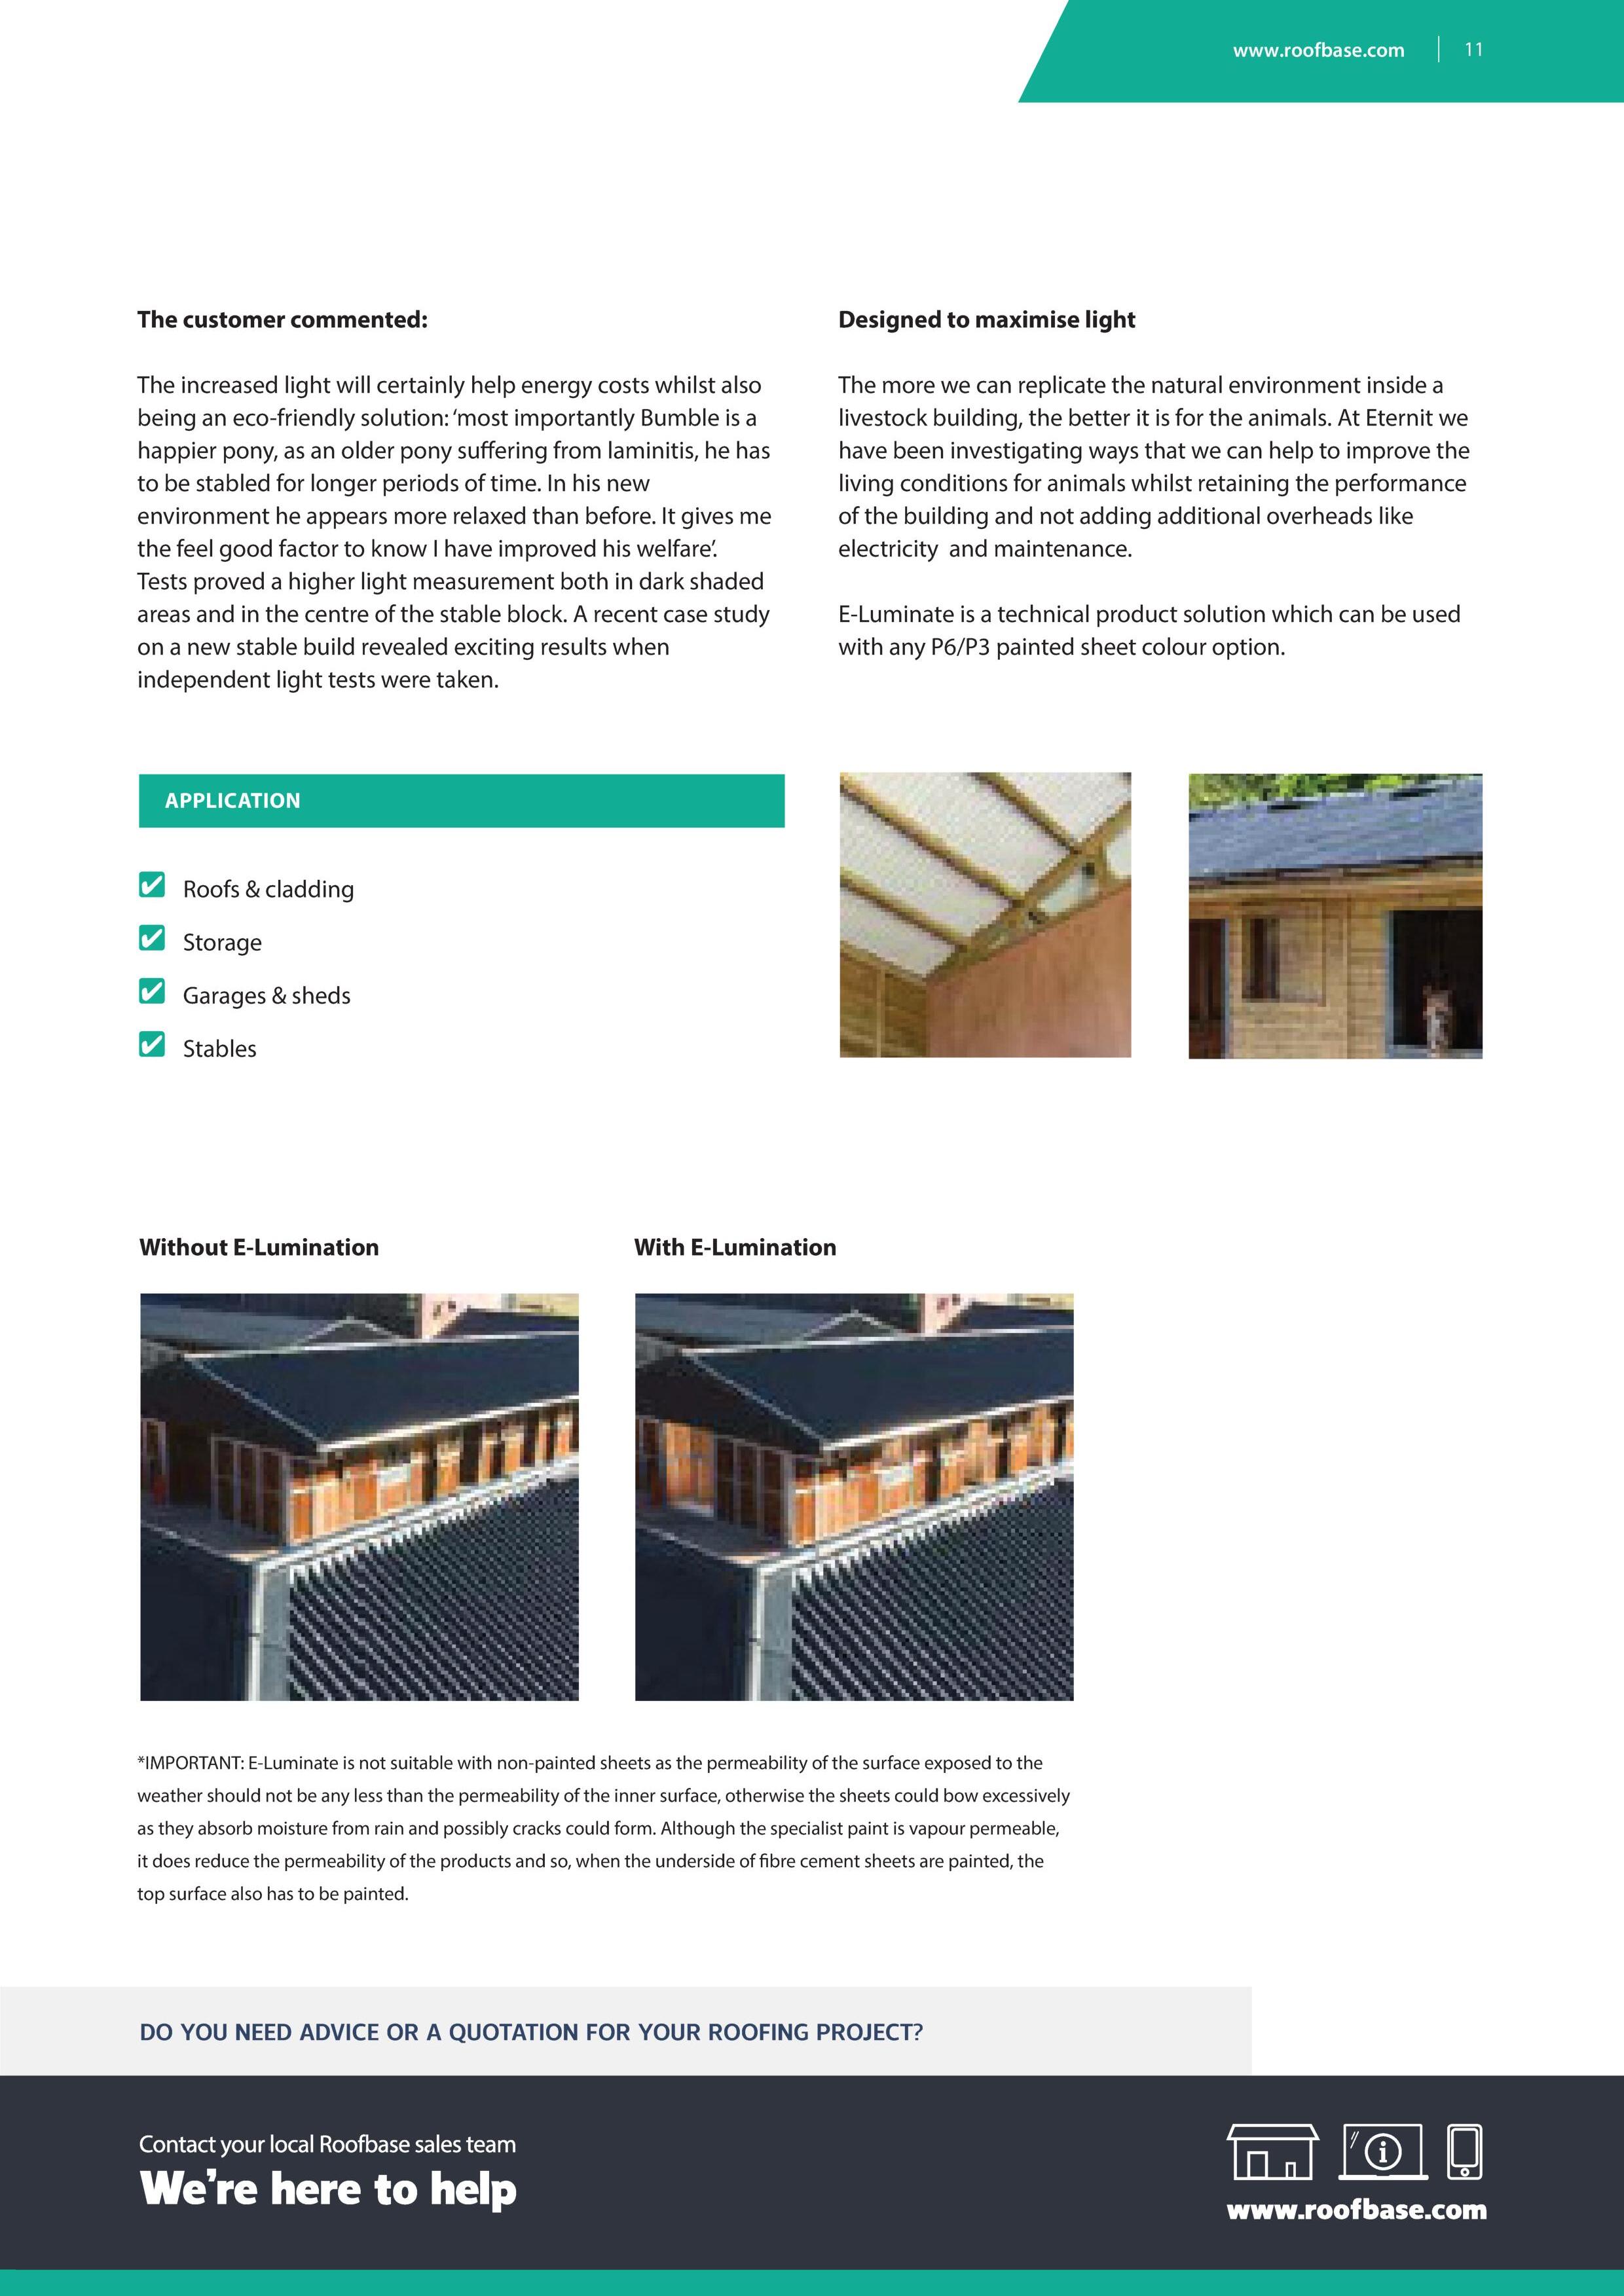
New E-Luminate
Making a brighter future
E-LUMINATE IN ACTION
E-Luminate* products feature a special off-white paint coating to a painted sheet underside, researched and designed to increase light to internal livestock areas or agricultural buildings. Standard P6 and P3 painted sheets are now available with E-Luminate (POA). Supplying outstanding and long-lasting quality since the 1960’s.
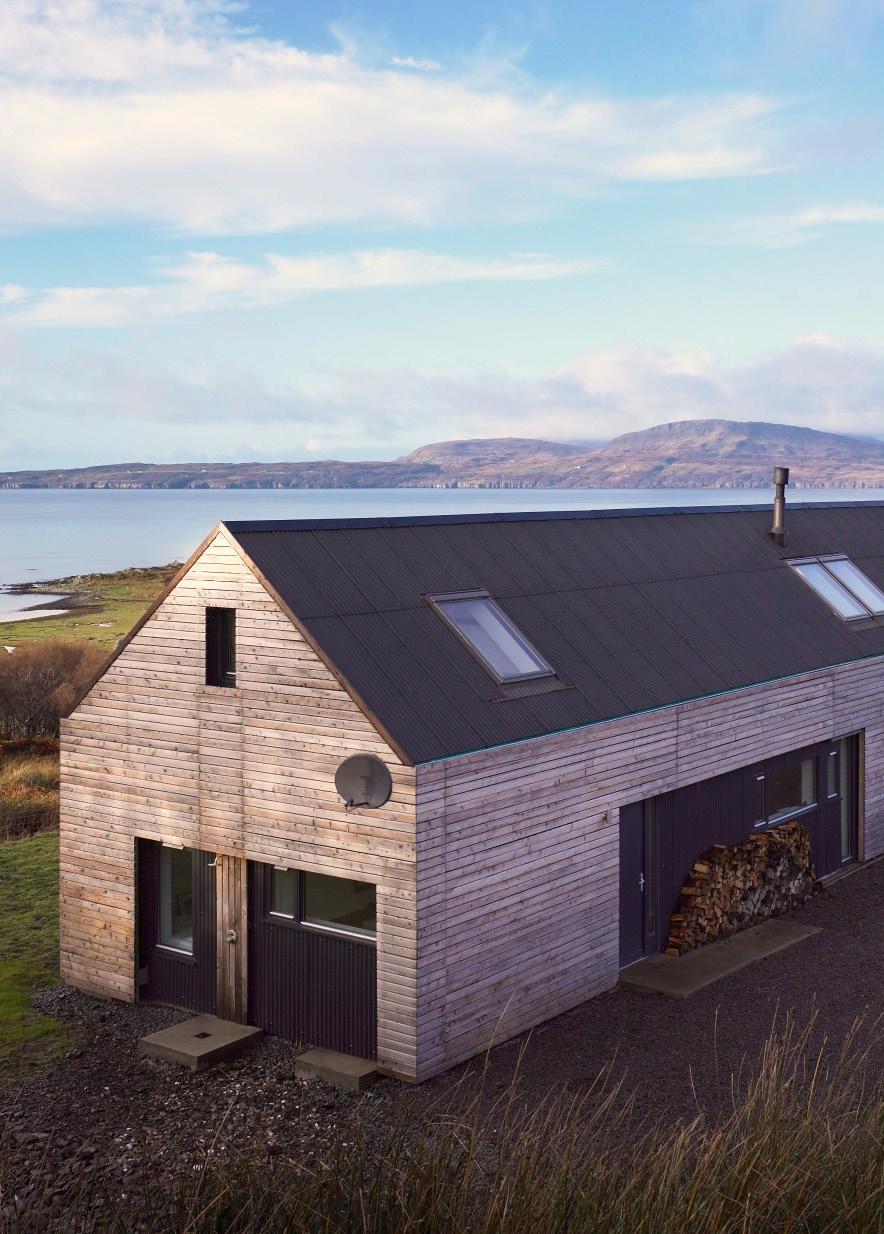
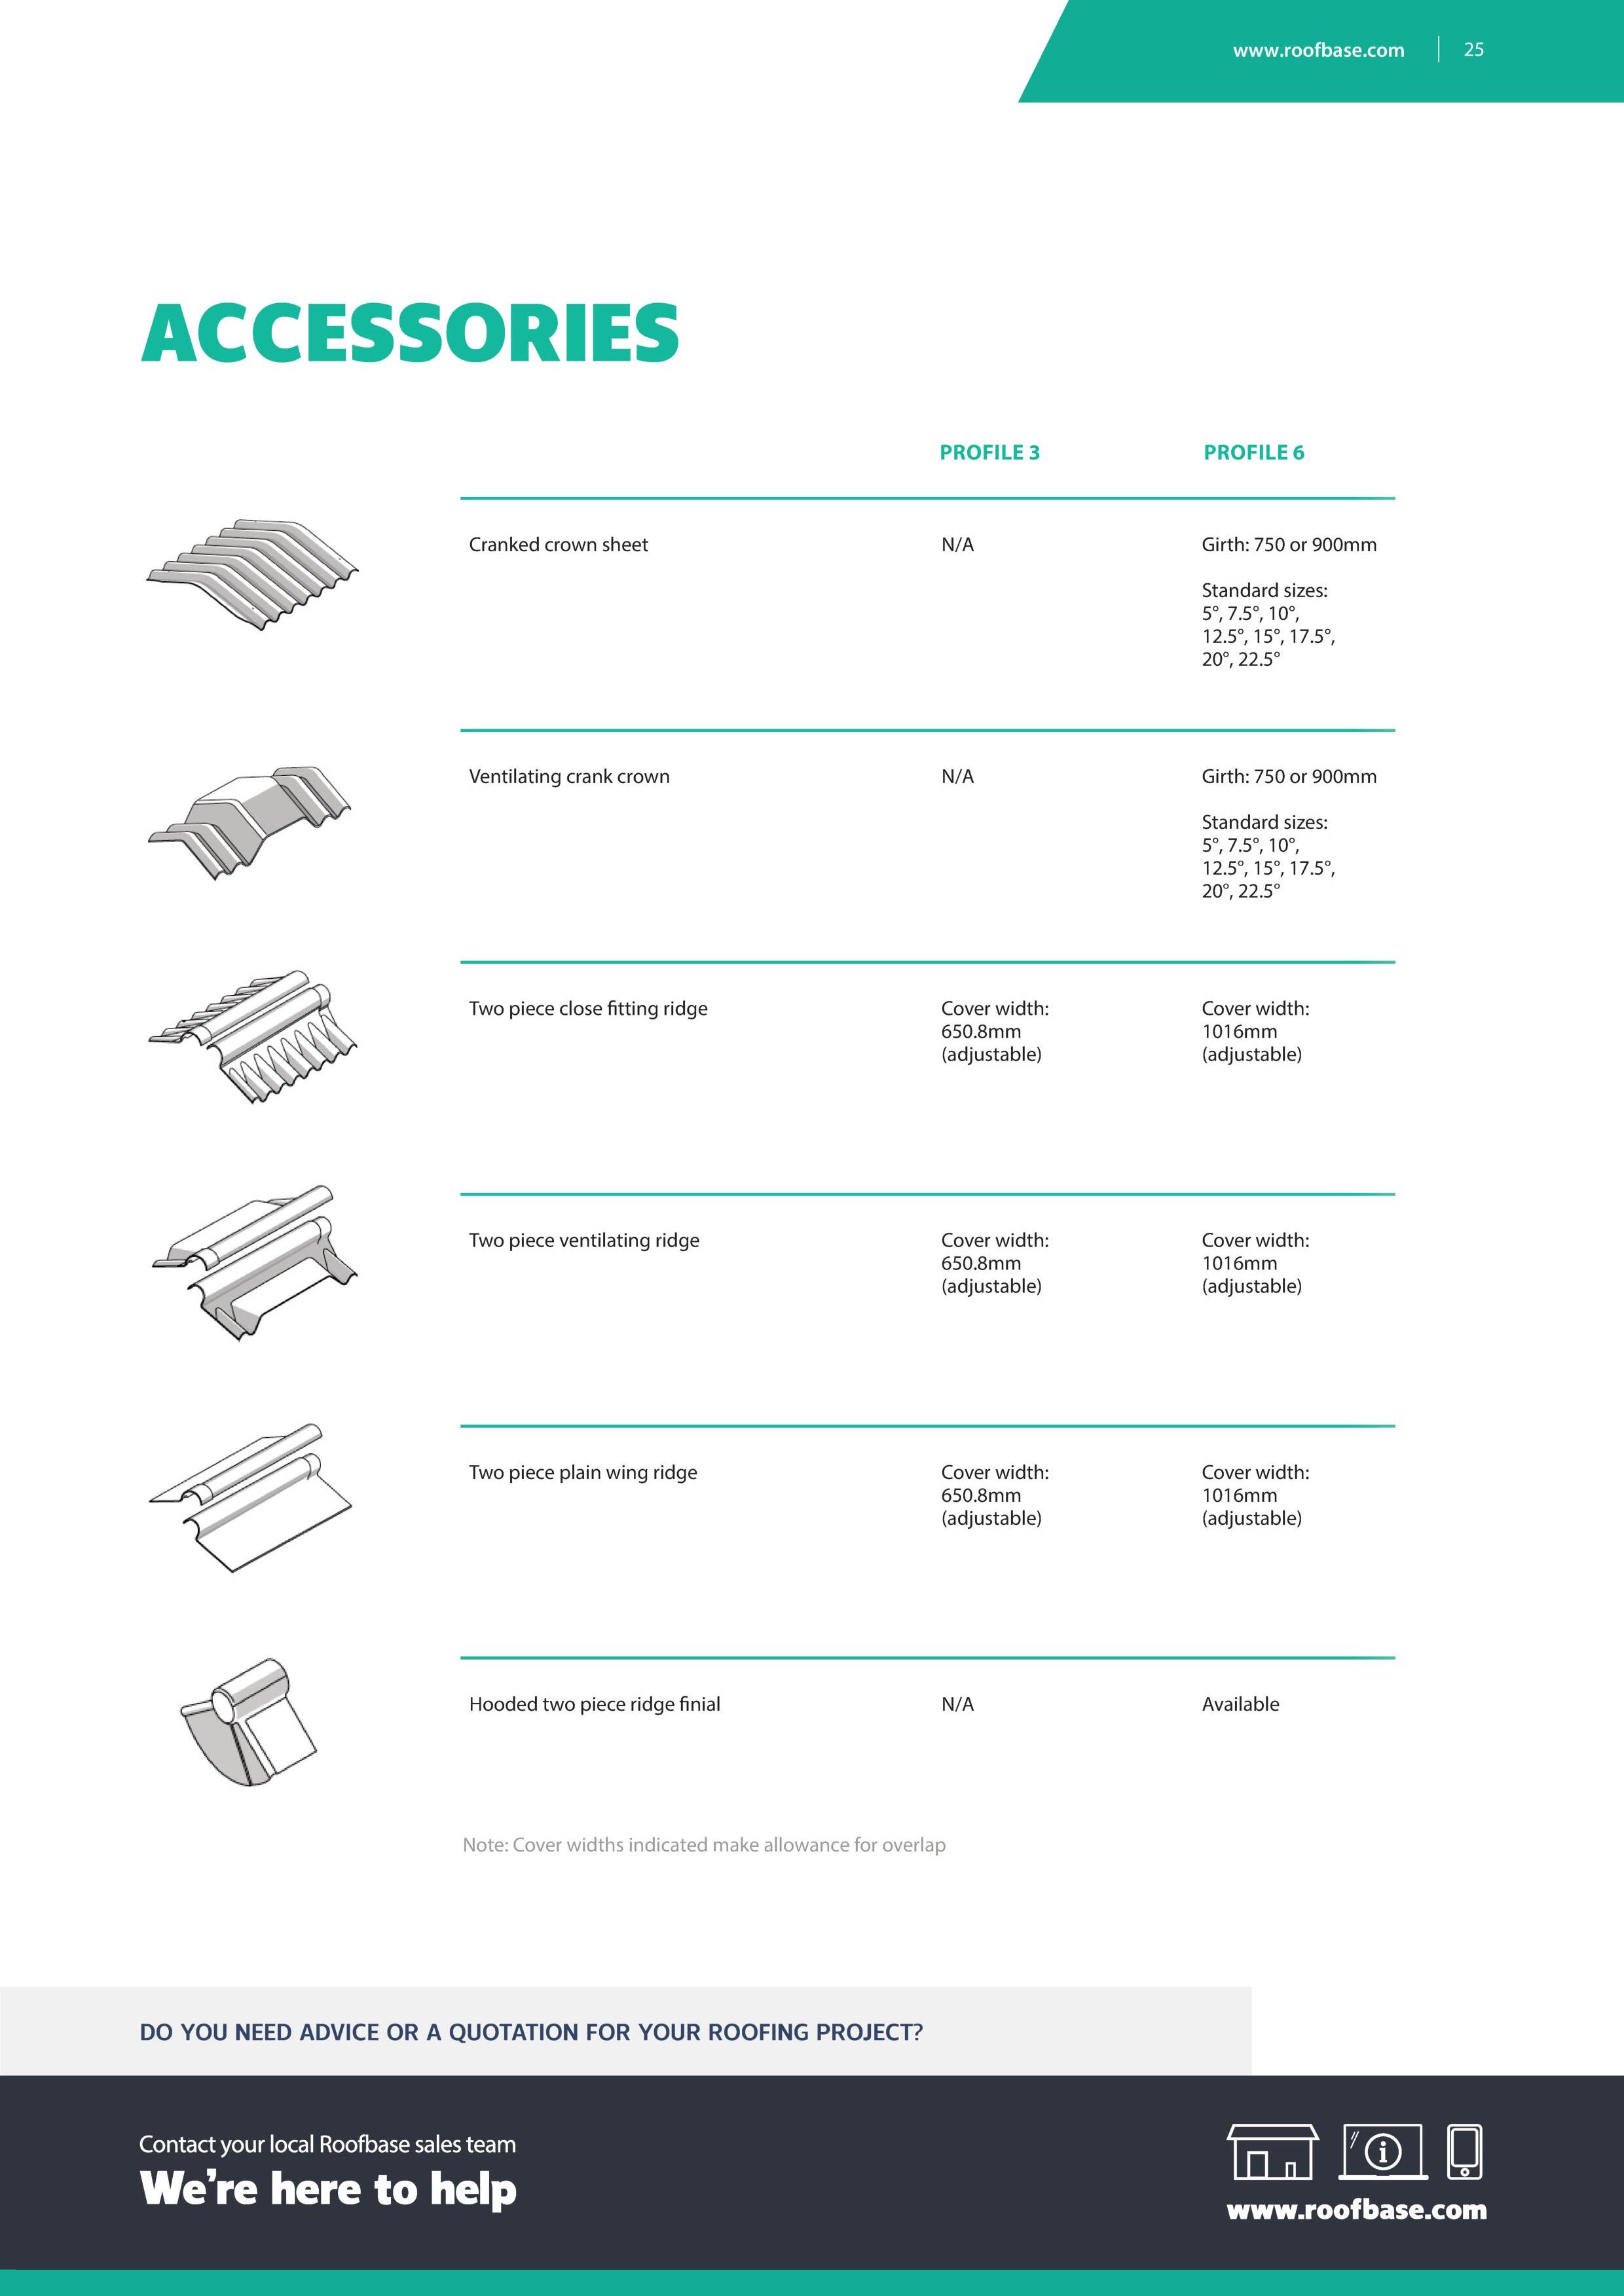
PROFILE 3
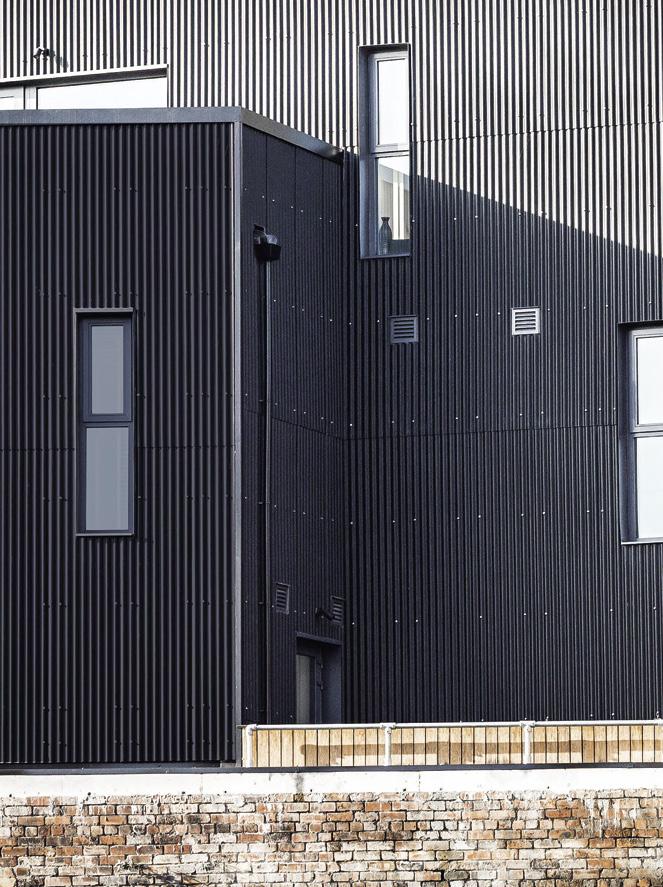
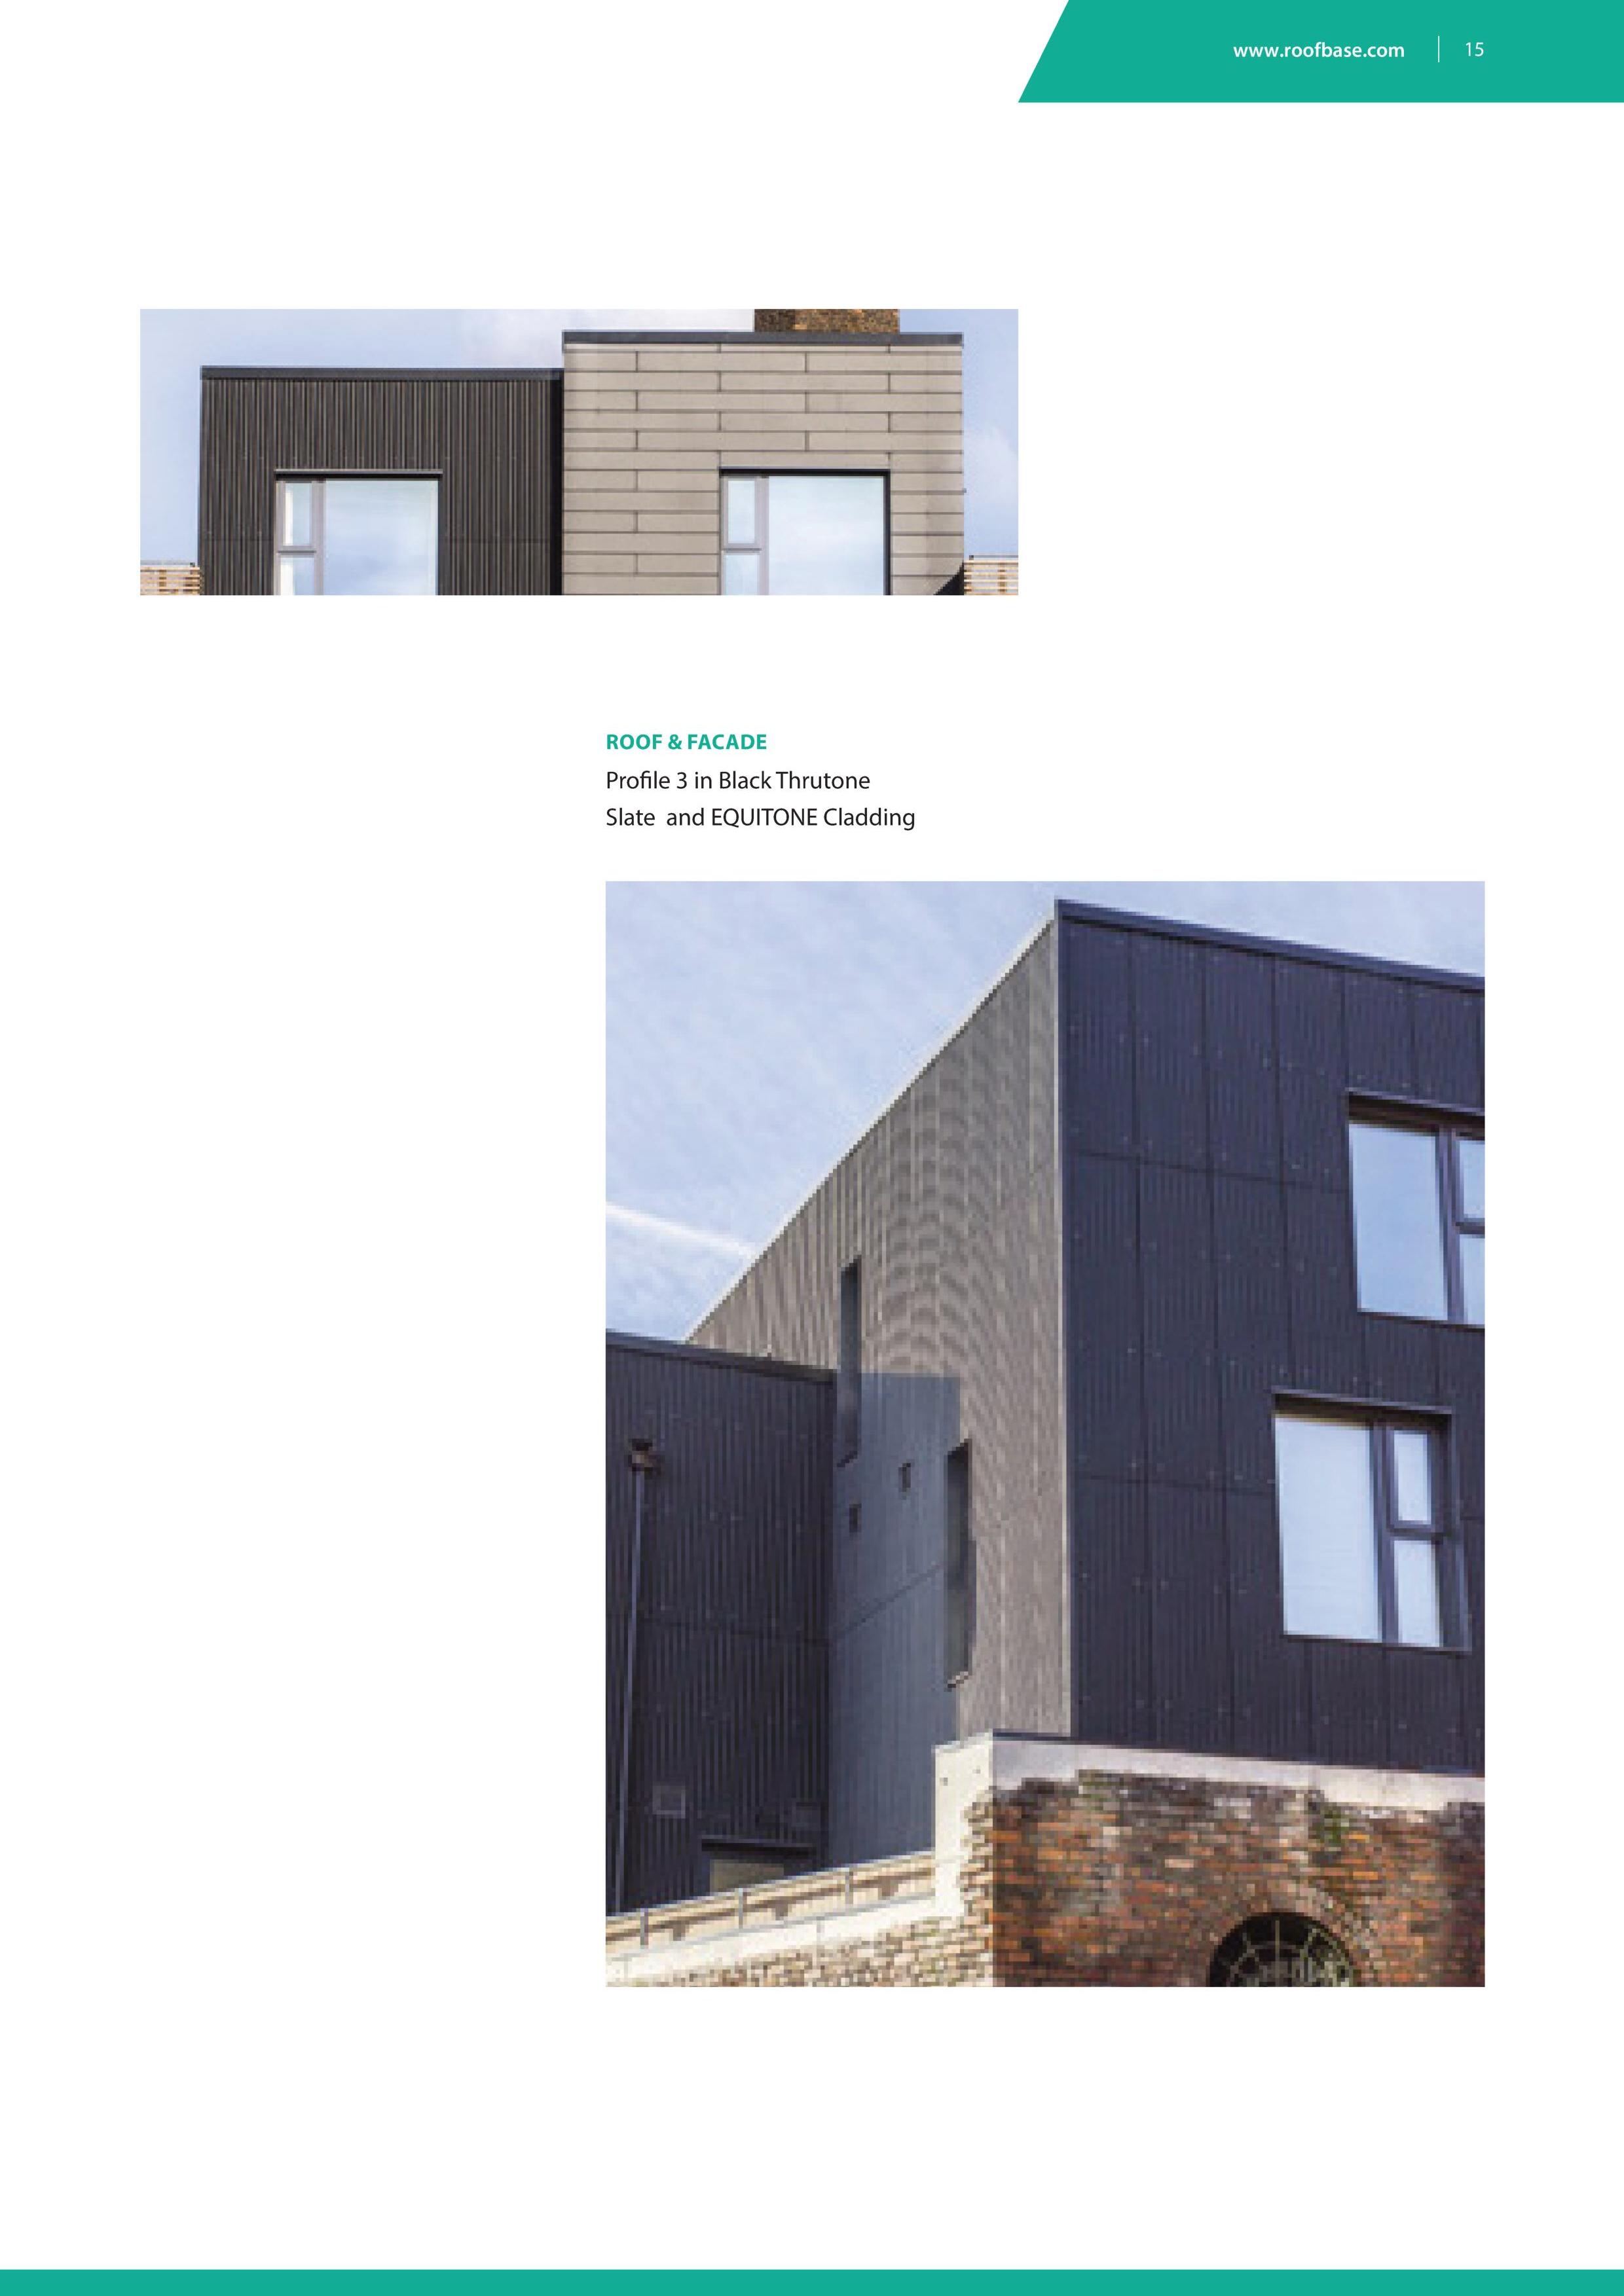
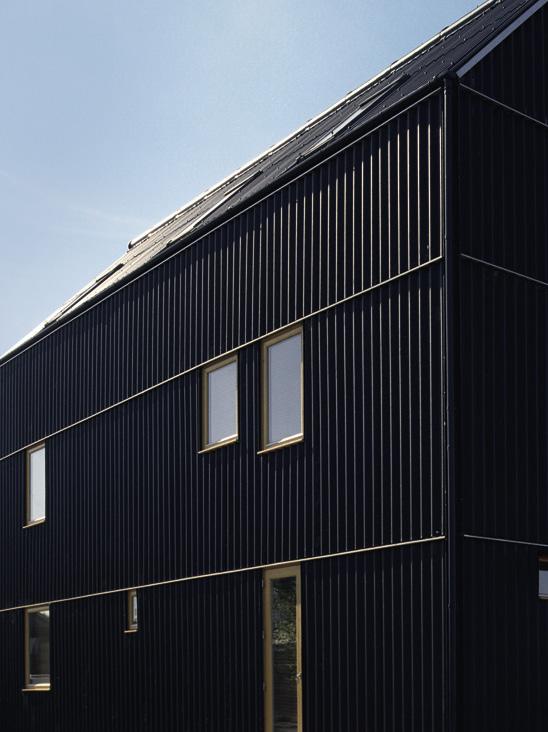
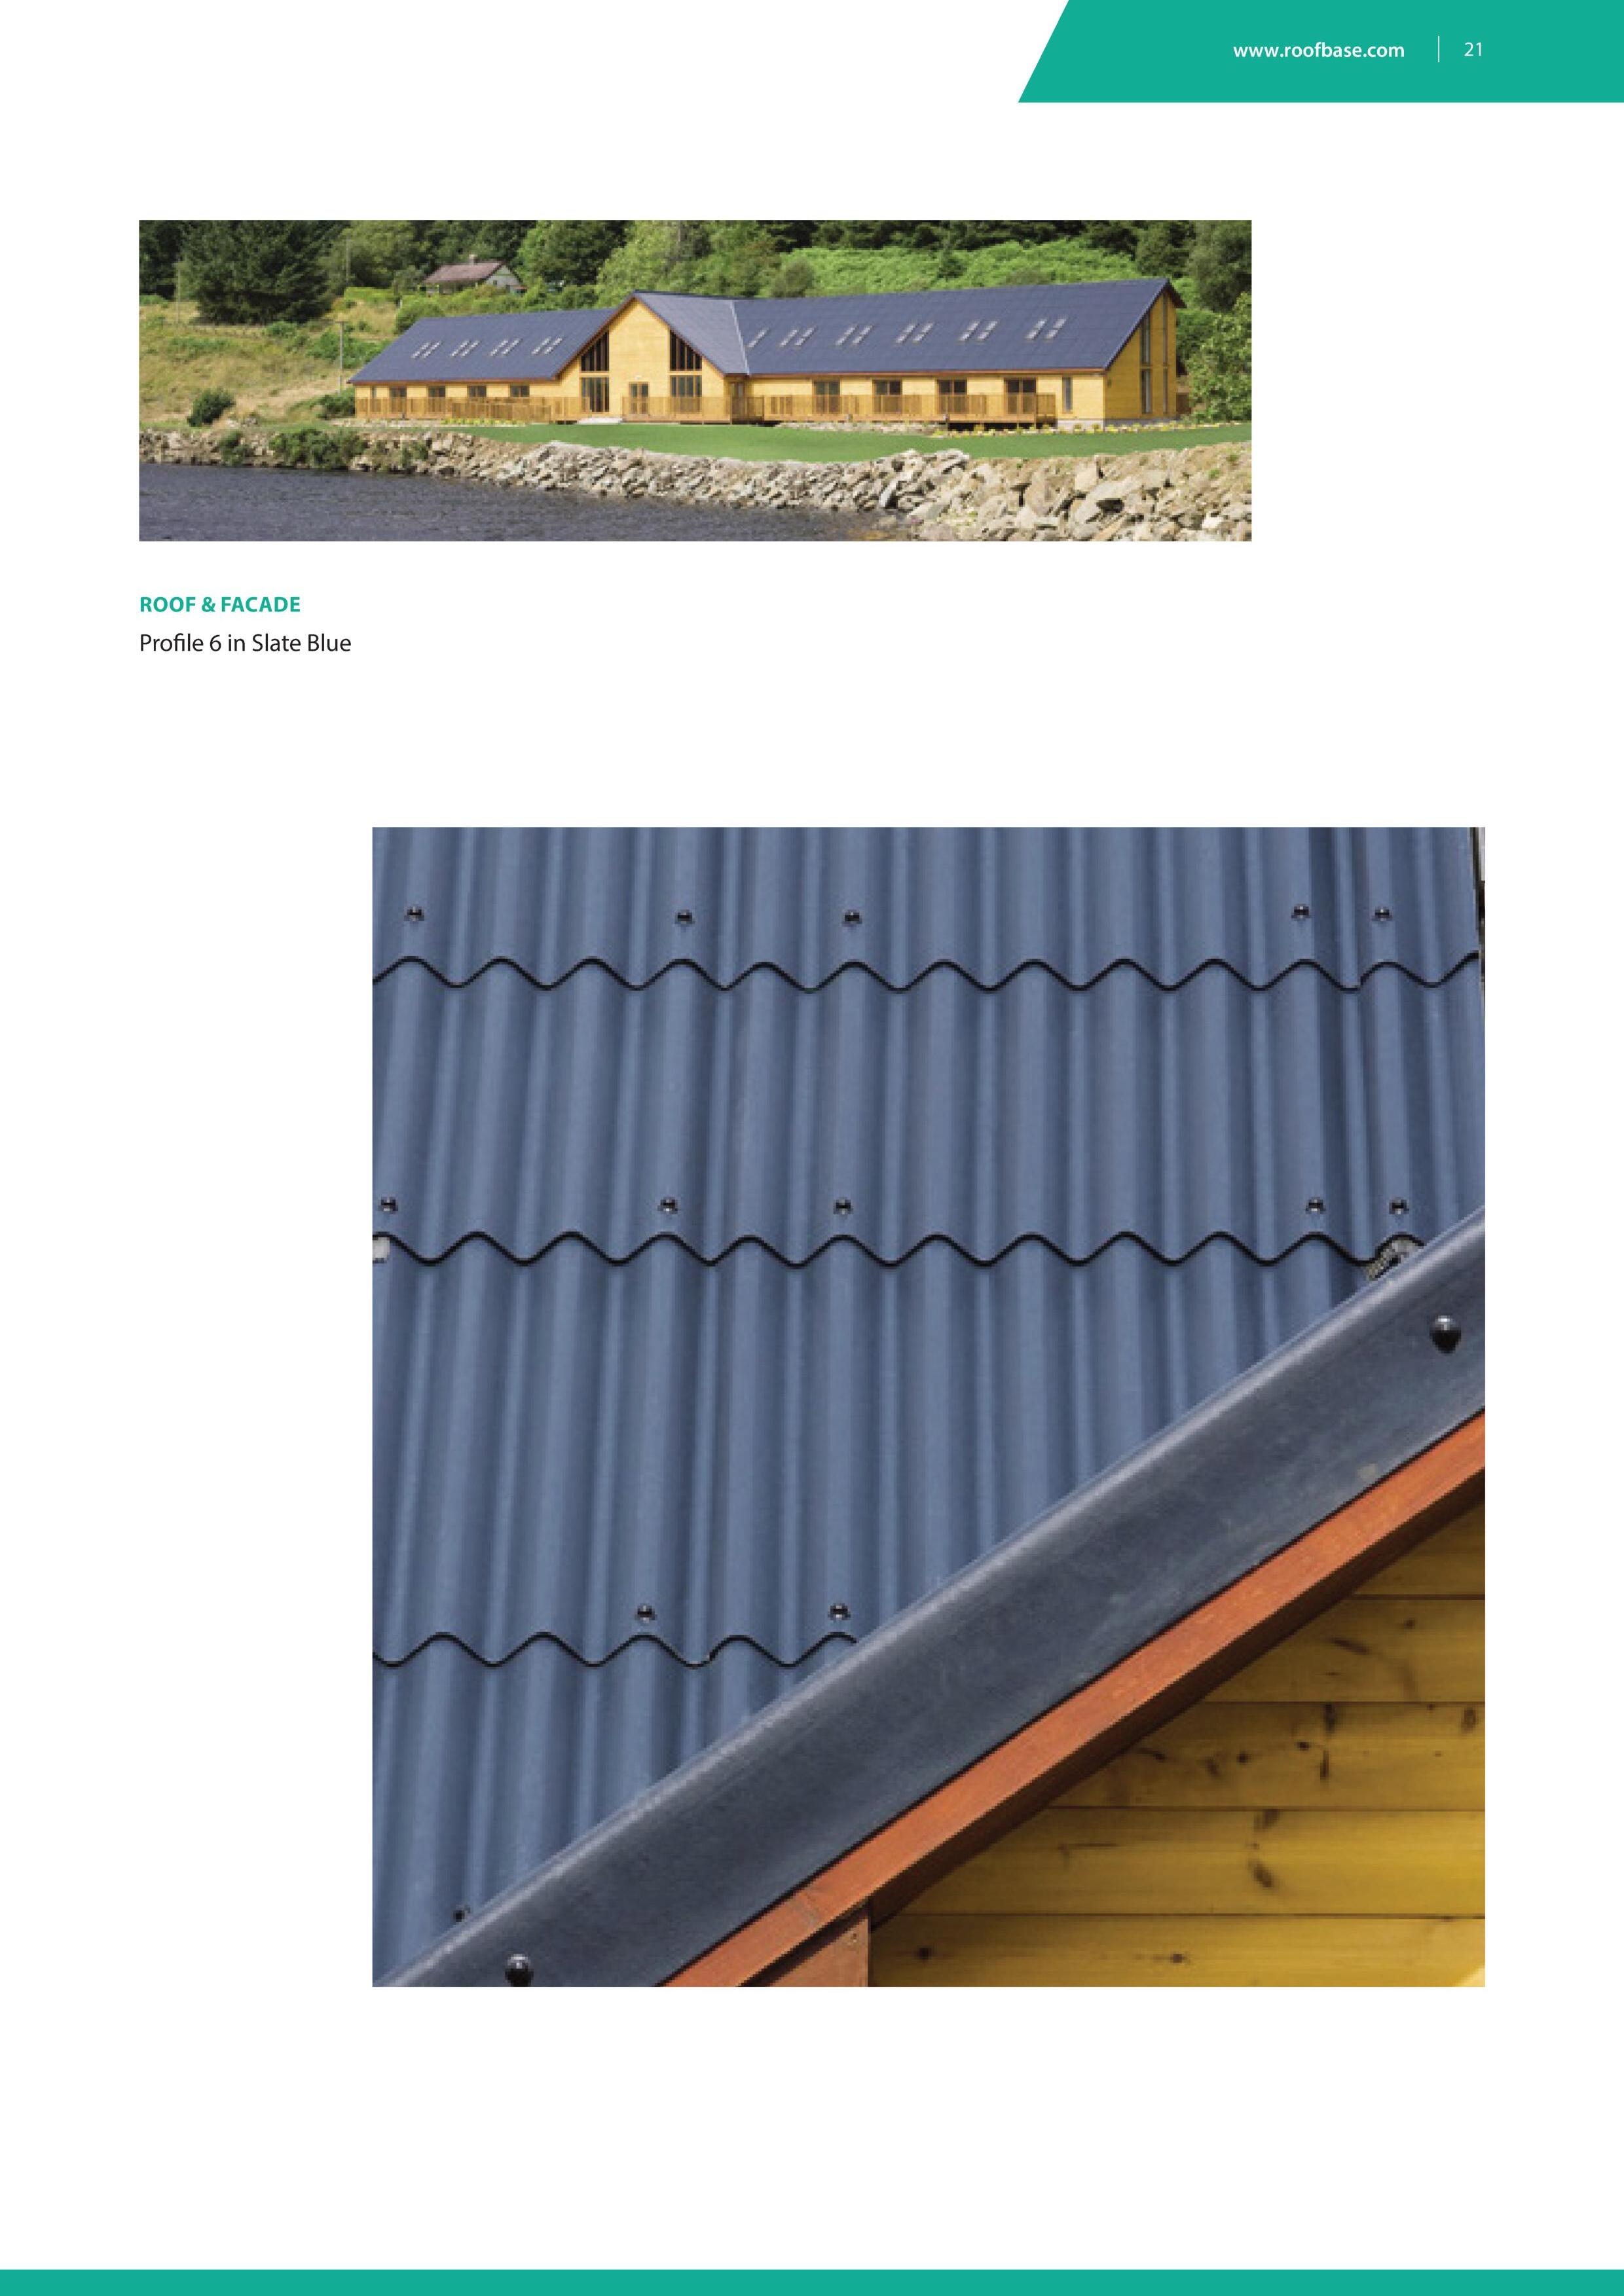
 ROOF & FACADE
Profile 3 in Cloud Grey Farmscape in Anthracite
ROOF & FACADE
Profile 3 in Cloud Grey Farmscape in Anthracite
PROFILE 3
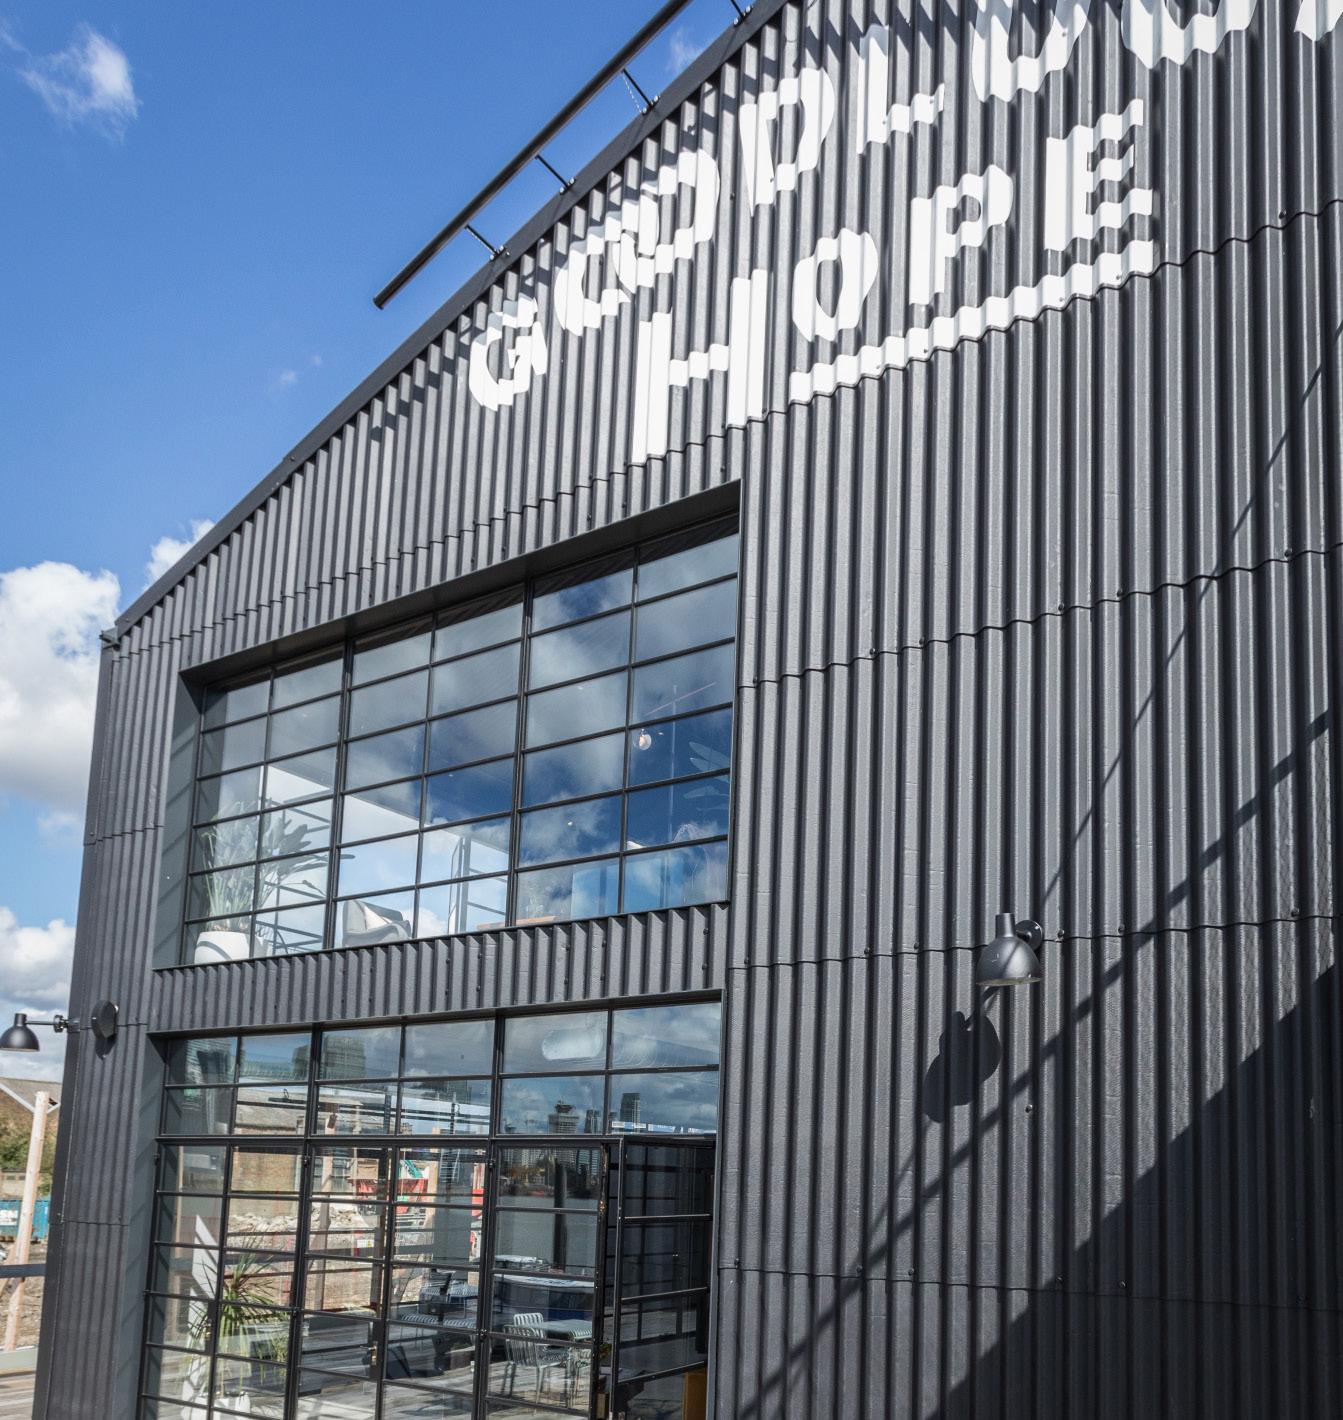
PROFILE 3 & 6
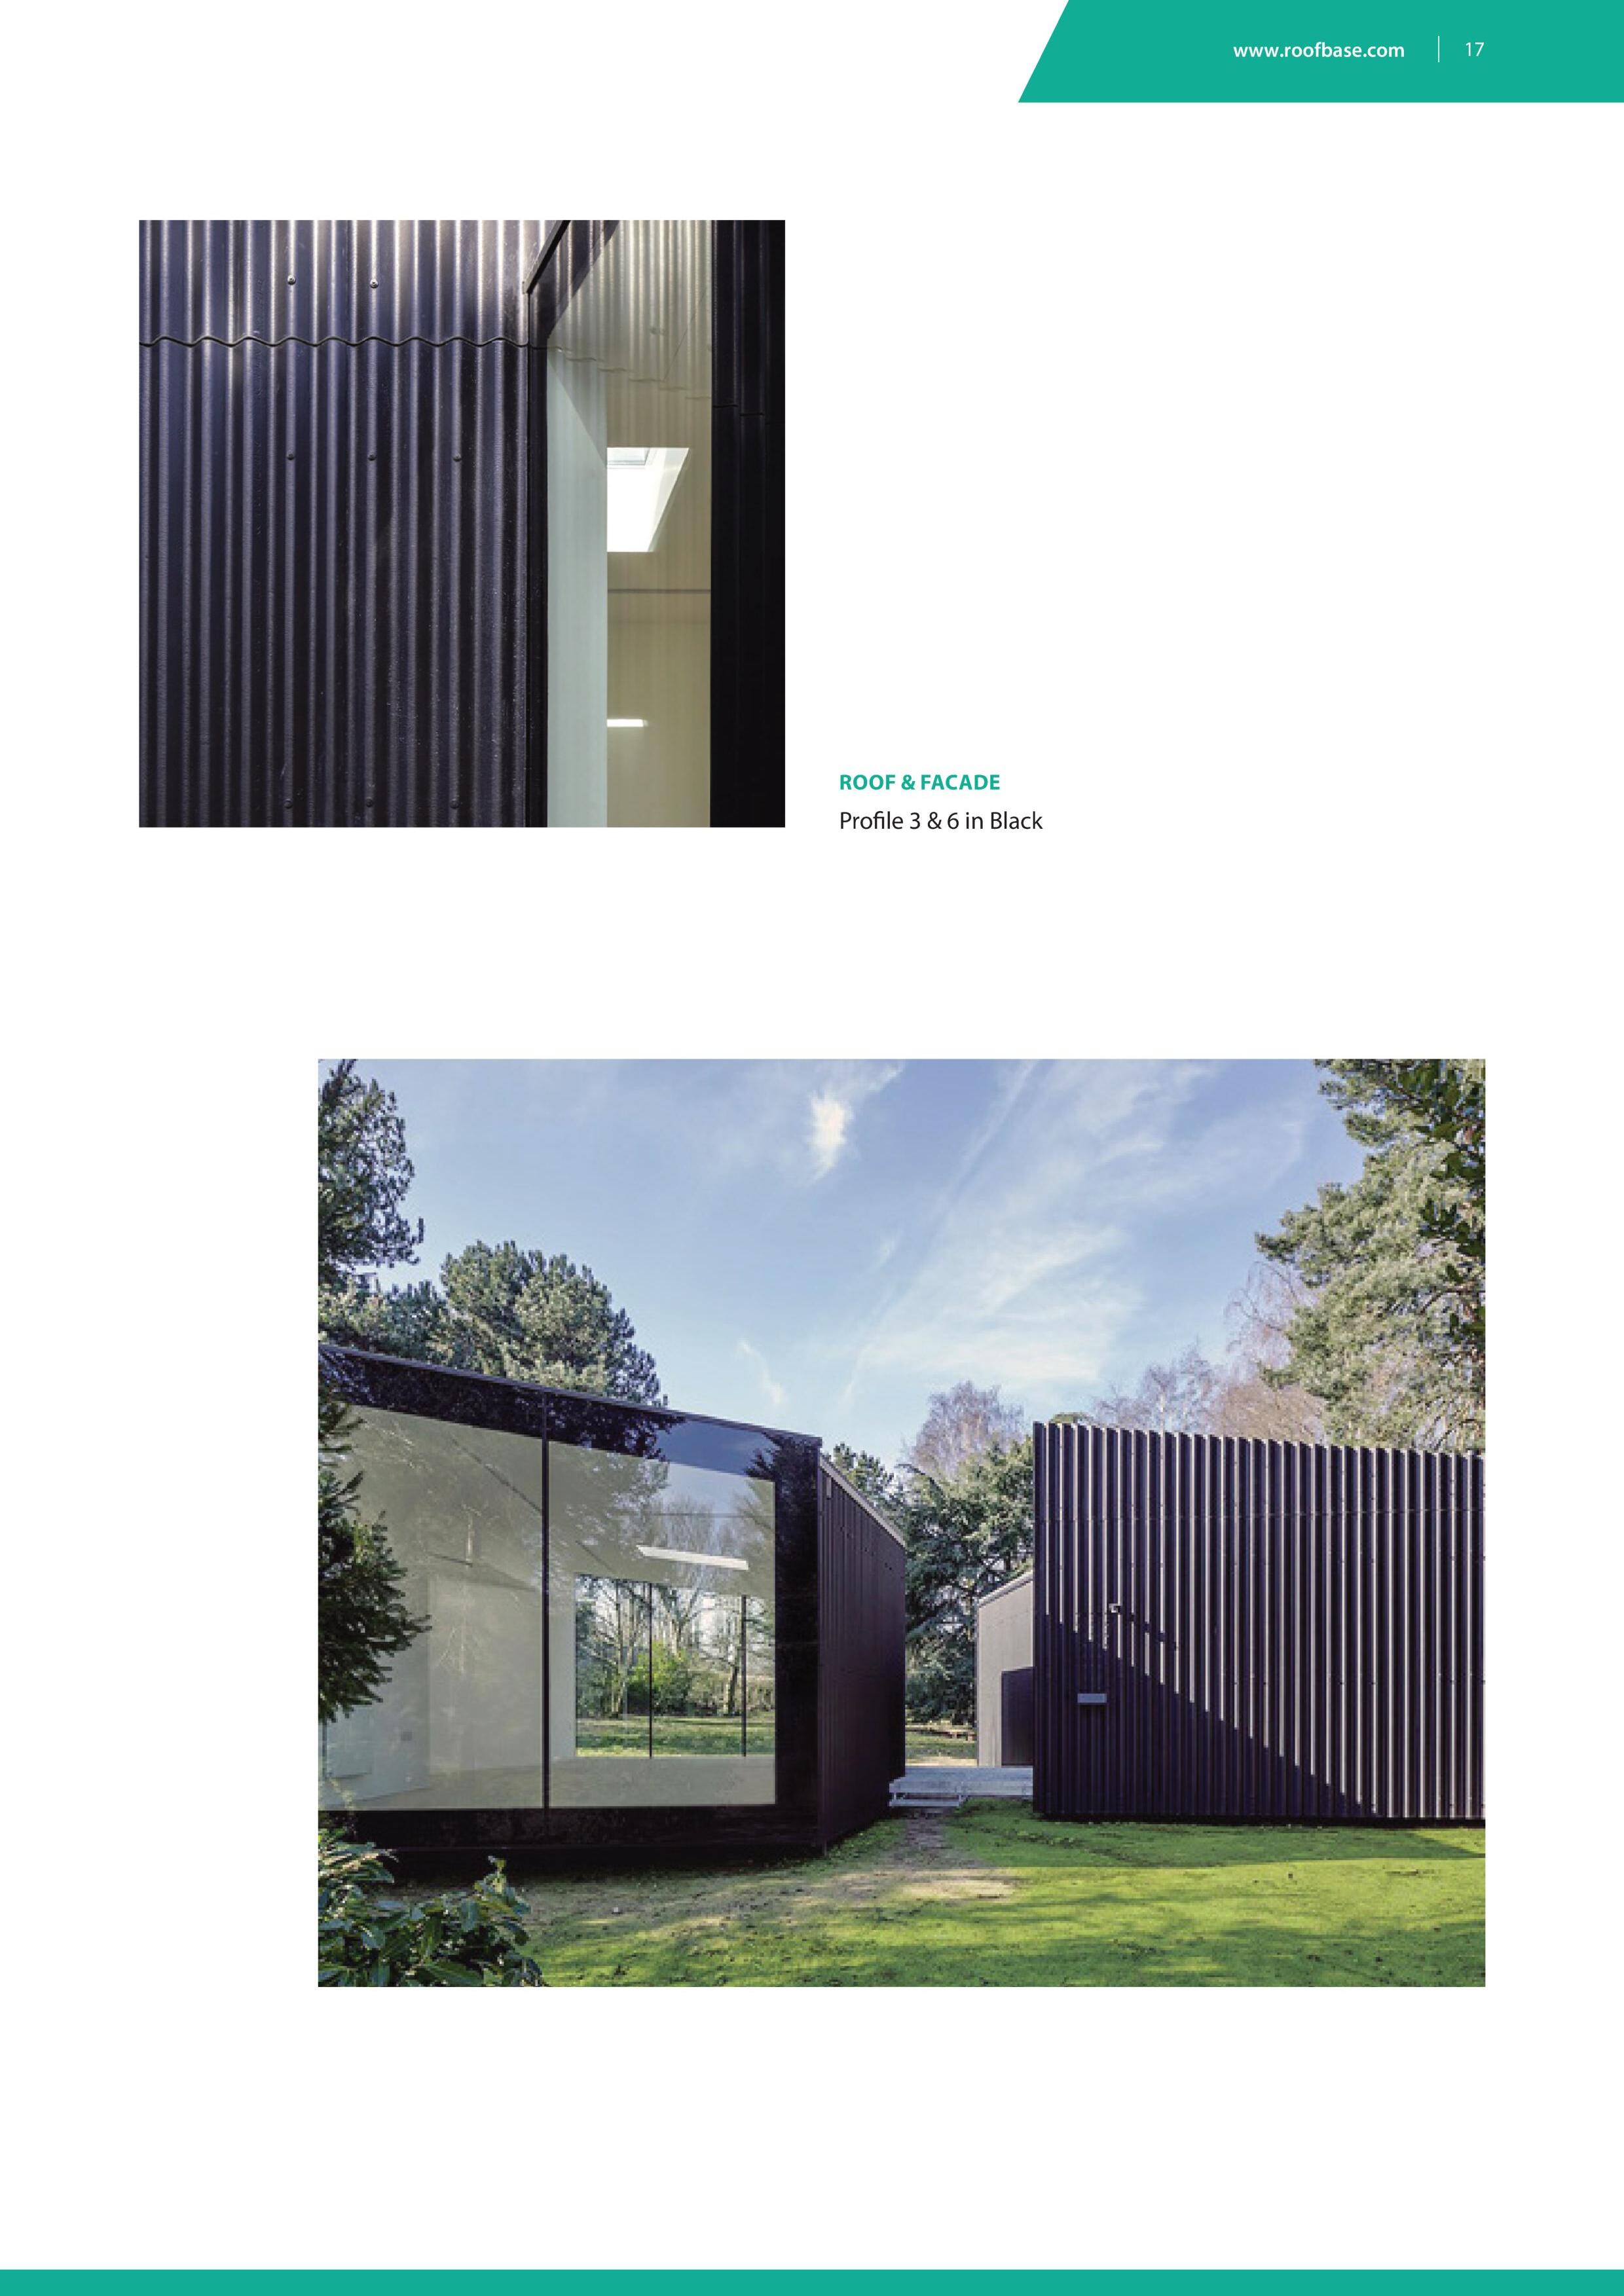
PROFILE 6
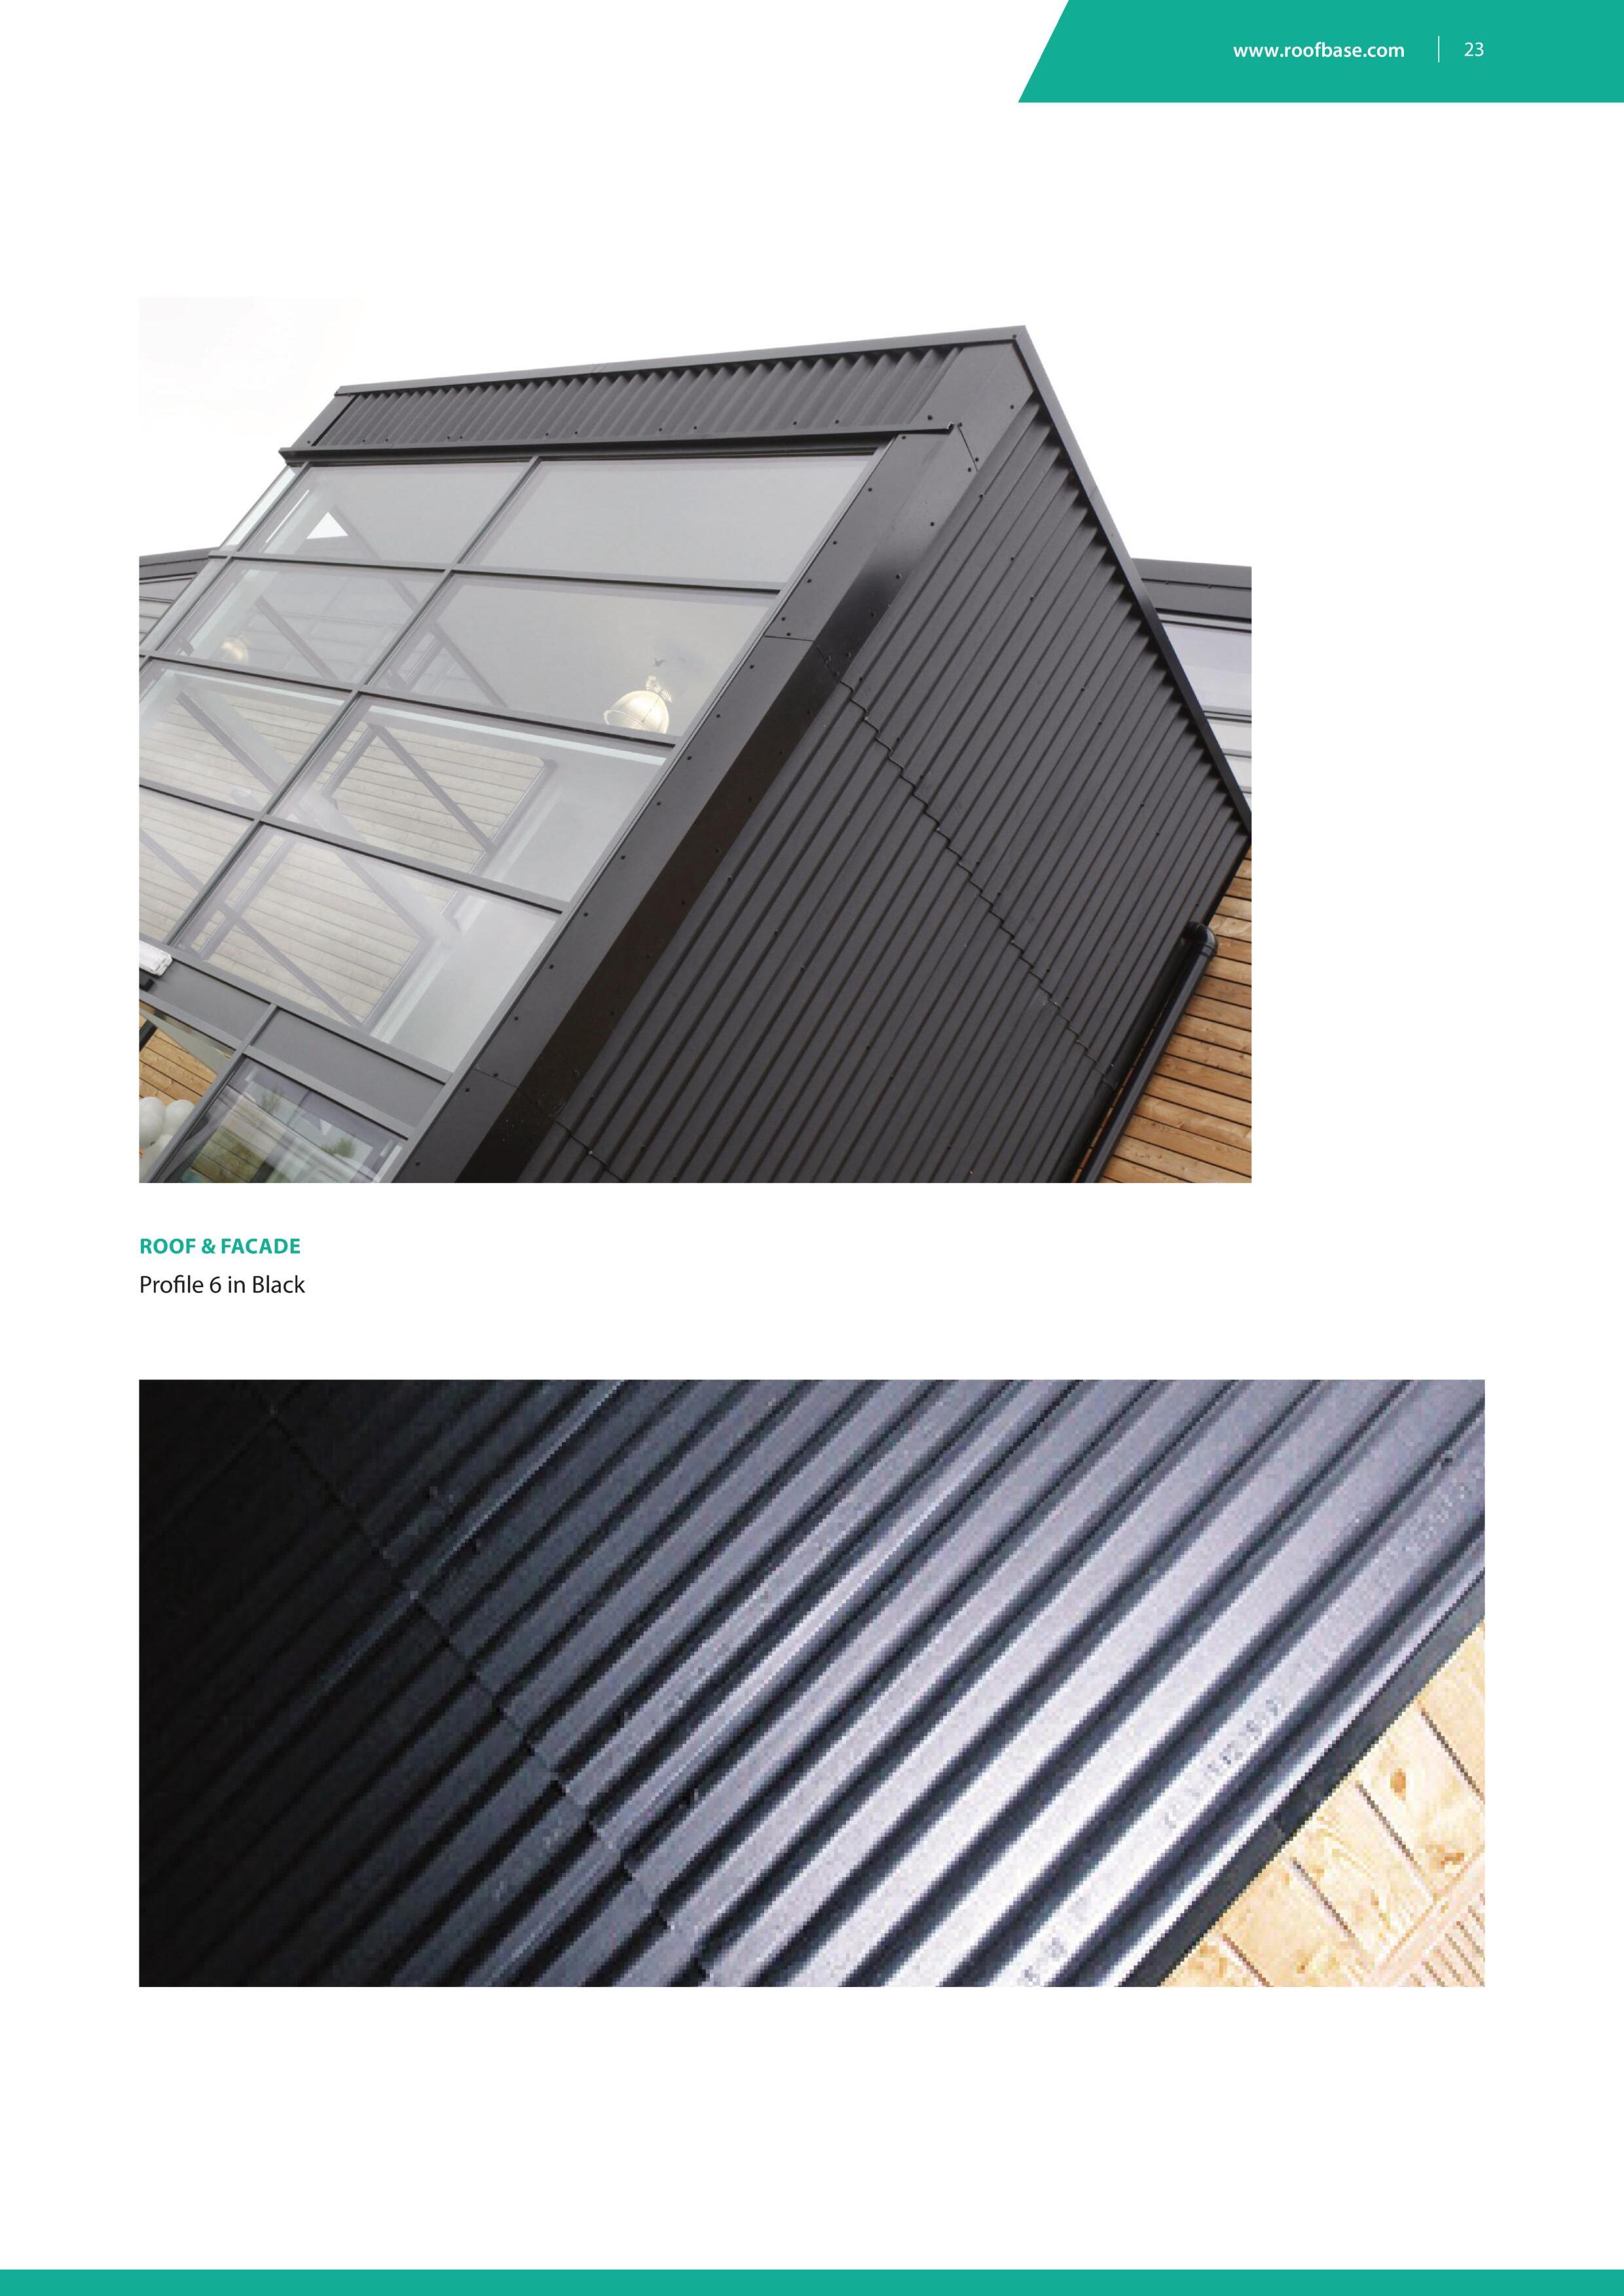
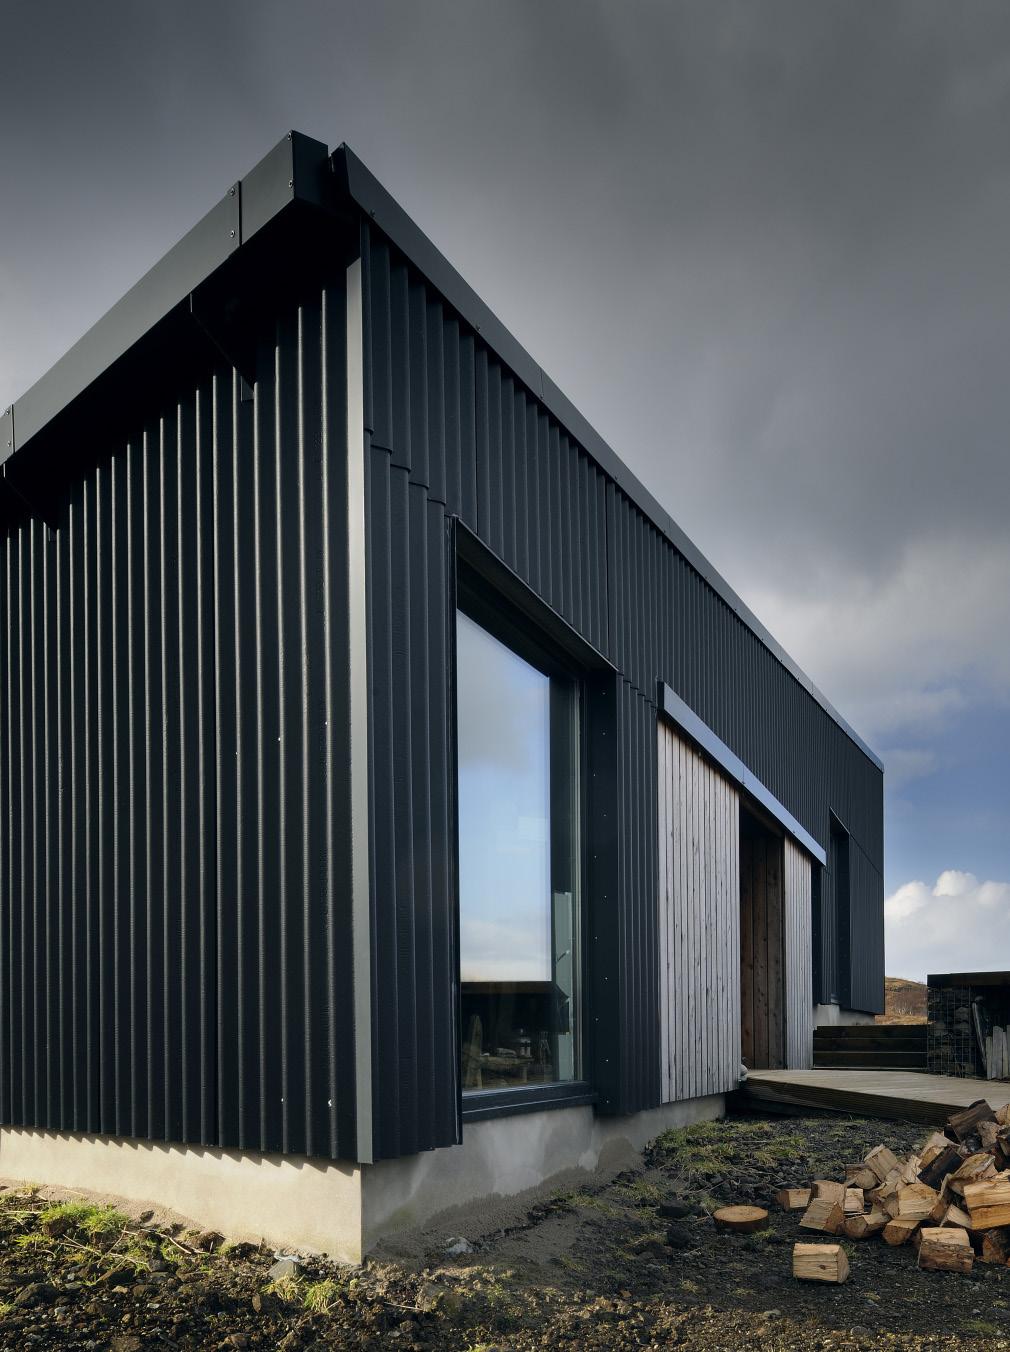 ROOF & FACADE Profile 6 in Black
PROFILE 6
PROFILE 6
GRP TRANSLUCENT SHEETS
Good light transmission
High impact resistance

Easy installation
Low levels of expansion and contraction Resistant to chemicals
SAFETY AT WORK
TYPICAL GRP CONFIGURATIONS


1 2 12 1 5 2 6 3 7 8 4
Profile 6
Profile 3
GRP translucent sheet*
Two piece plain wing ridge cover
Cranked crown sheet
Ventilating
Apron flashing
Roll top bargeboard
Adjustable over range of roof pitches.
For covering apex of roof. cranked crown. For weathering top of mono-pitch lean-to roofs.
Decorative trim for corner junction of roof and gable end wall.
*For p6 only.
off

Adjustable over range of roof pitches providing natural ventilation.

With profile wings adjustable over range of roof pitches.
1 5 9 6 10 11 13 14 3 8 4 9 10 11 13 12 14
External corner
Eaves corrugation closer
Eaves filler
Two piece ventilating ridge cover
Hooded two piece ridge finial
Two piece close fitting ridge cover
Plain wing cover trim for wall-to-wall and roof to gable end wall.
For blanking
corrugation voids at eaves of roof.
For blocking corrugation voids at eaves of roof.
To suit roll top bargeboards with two piece adjustable ridge only. Profile 6 only.
EXPOSURE
When using profiled sheeting the windloadings of a location are critical to ensure the optimal sealing requirements.
Exposure Zones
Approximate wind driven rain (litres/m2 per spell)
less than 56.5
Equal to or greater than 56.5
Contact the Eternit Technical Advisory Service
This
This describes the degree to which the
Step 1: Exposure
Determine the expected degree of exposure by examining the adjacent map.
Step 2: Centres of support
Purlin centres for Profile 6 should be a maximum of 1375mm for a superimposed loading up to 1.89kN/m2. For Profile 3, the purlins should be at 925mm maximum centres for loadings up to 1.8kN/m2. There should be two fixings per sheet, per purlin. Where windloadings exceed this level, please contact the Eternit Technical Advisory Service for advice before proceeding.
Step 3: Lap and seal
Establish requirement for lapping and sealing by reference to the exposure zones map of the UK and the table below. See page 19 for sealing details.
Note: Map taken from BS 8219. When buildings stand above their surroundings or are situated in open country with no windbreaks, including sites on or near the coast, or on hill tops, they must be considered subject to severe exposure.
describes how much one sheet overlaps another at either the end (end lap) or the side (side lap).
roof slopes.
LAP PITCH
GUIDANCE PROCEDURE
SHELTERED AND MODERATE SITES
LESS THAN 56.5 L/M2 WIND DRIVEN RAIN PER SPELL
MINIMUM ROOF PITCHEND LAP (MM)END LAPSSIDE LAPS
22.5° and over150UnsealedUnsealed
15° and over300UnsealedUnsealed
15° and over150SealedUnsealed
10° and over150SealedSealed
MODERATE AND SEVERE SITES
MORE THAN 56.5 L/M2 WIND DRIVEN RAIN PER SPELL
MINIMUM ROOF PITCHEND LAP (MM)END LAPSSIDE LAPS
25° and over150UnsealedUnsealed
17.5° and over150SealedUnsealed
15° and over150SealedSealed
10° and over300SealedSealed
On roofs over 10° pitch where parapets might allow snow build up, 300mm double sealed end laps and single seal side laps are recommended. The minimum pitch for Profile 6 is 5°. Where slopes are between 5° and 10° the maximum slope length should be 15m with double sealed end laps and single sealed side laps.
DO YOU NEED ADVICE OR A QUOTATION FOR YOUR ROOFING PROJECT?
29 www.roofbase.com
INSTALLATION
Whilst Eternit profiled sheeting is easy to install, the following guidelines should be observed:
The sheets should be installed smooth surface up.
The sheets should be cut with a hand saw or slow speed reciprocating power saw.
All fixing holes should be drilled, not punched, and should provide adequate clearance for the fastener shank (mini mum 2mm).
FIXING
The correct fixing of a sheet is important in order to avoid premature failure, corrosion or leaks in a roof. Many factors influence the fixing of a roof, such as the purlin or rail type and the nature of the roof in question. Particularly important is the type of fastening system used and compliance with the manufacturer’s recommendations.
There should be two fixings per purlin or rail covered at the fixing points shown on pages 10 and 11.
When using power tools in a confined area, dust extraction equipment is advisable.
The dust and swarf generated when working with the sheets does not require any special handling requirements other than normal good housekeeping to maintain a clean working area.
Topfix fasteners are generally used to fix Profile 6 sheets on a roof as they provide a quick and effective one step fixing operation. Follow the recommendations of the fastener manufacturer regarding maximum roof pitch, minimum purlin thickness etc. Topfix fasteners should be installed using the recommended depth setting power tool to ensure the fasteners are correctly tightened.
Where topfix fasteners are not used, 8mm diameter fasteners are used for Profile 6 and 6mm diameter for Profile 3. The fibre cement sheet must be pre-drilled with a 2mm clearance hole. If using drive screws, the holes must be located centrally on the purlins, if using hook or crook bolts, the holes should be 4mm upslope of the back edge of the purlin. In all instances, Sela washers and caps should be utilised to ensure adequate weather protection.
Butyl strip
150mmmin. 50mm 50mm
OVERHANGS
Sufficient overhangs must be allowed at the eaves to ensure that rainwater discharges into the gutter. Verges must be overhung by one complete corrugation unless a bargeboard is used.
Sealing:
Where appropriate, butyl strip sealant should be positioned as shown. Use 8mm diameter butyl trip for Profile 6 and 6mm butyl strip for Profile 3
The minimum end lap for either Profile 3 or Profile 6 is 150mm, fixed as shown in the section below.
Where double sealing is necessary with 300mm endlaps, the second butyl strip should be positioned 100-200mm below the fixing.
DO YOU NEED ADVICE OR A QUOTATION FOR YOUR ROOFING PROJECT?
31 www.roofbase.com
END LAPS SIDE LAPS 8mm butyl strip Profile 6 6mm butyl strip Profile 3
10 EASY STEPS TO FIXING
The fixing of a fibre cement roof can be accomplished by most people if they follow these ten easy steps in conjunction with the illustrations opposite. In order to weatherproof the roof, the butyl strip must be installed as described on page 21, and mitres cut to avoid having four thicknesses of sheeting in the same plane at the junctions of side and end laps.
Lay sheet number 1 at the eaves without mitring.
Lay sheet number 2, mitring bottom right hand corner as per the illustration opposite.
Lay sheet number 3, mitring as per step 2. Continue up the roof slope to complete the first tier.
Lay sheet number 4 at the eaves of the next tier, mitring the top left hand corner as per the illustration opposite.
Lay sheet number 5, mitring both top left hand and bottom right hand corners as per illustration opposite, and continue up the slope until ready to lay sheet number 6 at the ridge.
Lay sheet number 6 at the ridge, mitred as per step 2.
Repeat the procedure from and including step 4, working across the roof from eaves to ridge, until there is room for only one more tier to be laid, on the right hand edge.
Lay sheet number 7, mitring the top left hand corner. If necessary, reduce the sheet width by cutting down the right hand edge. All subsequent sheets in this final tier should be cut accordingly.
Lay sheet number 8 as per step 7, continuing up the roof slope until ready to lay the final sheet at the ridge.
Lay sheet number 9 at the ridge without mitring to complete
1 6 2 7 3 8 4 9 5 10

WORKING WITH MARLEY ETERNIT FIBRE CEMENT ROOFING SHEETS
PREPARATION
Prior to sheeting, a responsible person should check that all purlins and rails are connected securely. Measurements should be taken to ensure that the structure and purlins are true and level to receive the sheeting. In particular, a check should be made that the purlins are spaced correctly for the right end lap, and that the eaves purlin provides an overhang into the gutter not exceeding 350mm (Profile 6) and 250mm (Profile 3). When the sheeting layout is being planned, care should be taken to ensure that the verge sheets are cut so that the outside edge coincides with a crown rather than a trough in the corrugations. This enhances the weather protection and can reduce the width of the flashings.
SAFETY AT WORK
The recommendations of HSG 33 should be followed at all times:
A safe place of work should be provided.
Health and Safety Provisions should comply with current regulations and be suitable for working at height. The use of safety nets as fall arrest equipment should always be considered.
Profile 6 sheets, when new and first installed in accordance with our recommendations, can be classified as a non- fragile Class C roof assembly in accordance with ACR[M]0. Once the roof has been completed and the netting/ scaffolding removed, if any subsequent access is required on the roof, the sheets should be treated as a fragile assembly.
CDM REGULATIONS
Specifiers have an obligation under the Construction (Design and Management) Regulations 2015 to identify and evaluate the health and safety implications of all products and construction methods required by their design.
INSTALLATION
The following guidelines should always be observed:
Sheets should be installed smooth surface up.
All fixing holes should be drilled, not punched, and adequate clearance (2mm minimum) provided for the fixing shank.
There should be two fixings per sheet per purlin or fixing rail at the point shown on pages 10 and 11.
Always lay the sheets in vertical tiers from the eaves to the ridge.
Always fix sheets fully before moving on.
To minimise dust, cut sheets with a handsaw or slow speed reciprocating power saw. The use of angle grinders is not recommended.
Avoid deflecting a sheet whilst attempting to force a bearing.
Do not step on side lap corrugations.
Where regular access is required to reach roof lights, ventilation and service ducts, properly constructed walkways should be provided.

outstanding local service
