
THE CERAMIC LOG (GB) VISIO 70 F VISIO 70 LC VISIO 70 RC VISIO 70 3S
VISIO GAS ARRANGING

When arranging the ceramic logs and the embers layer in the combustion chamber, it is important that they do not cover the pilot flame and its thermocouple, and ember material must not be placed under the pilot guard.
Both thermocouples must be kept free of the embers layer. Do not cover the holes in the main burner (see the circles).

When commissioning or servicing the fireplace, it must be ensured that the cross ignition (from the pilot flame to the main burner) functions, and that ignition occurs easily with the secondary burners.
WARNING!


It is very important that you follow this manual when positioning ceramic logs and the embers layer in the fireplace. Failure to carry this out correctly will result in a flame profile that is less than optimal. Incorrect placement of the logs can lead to a dangerous situation.
NOTE!
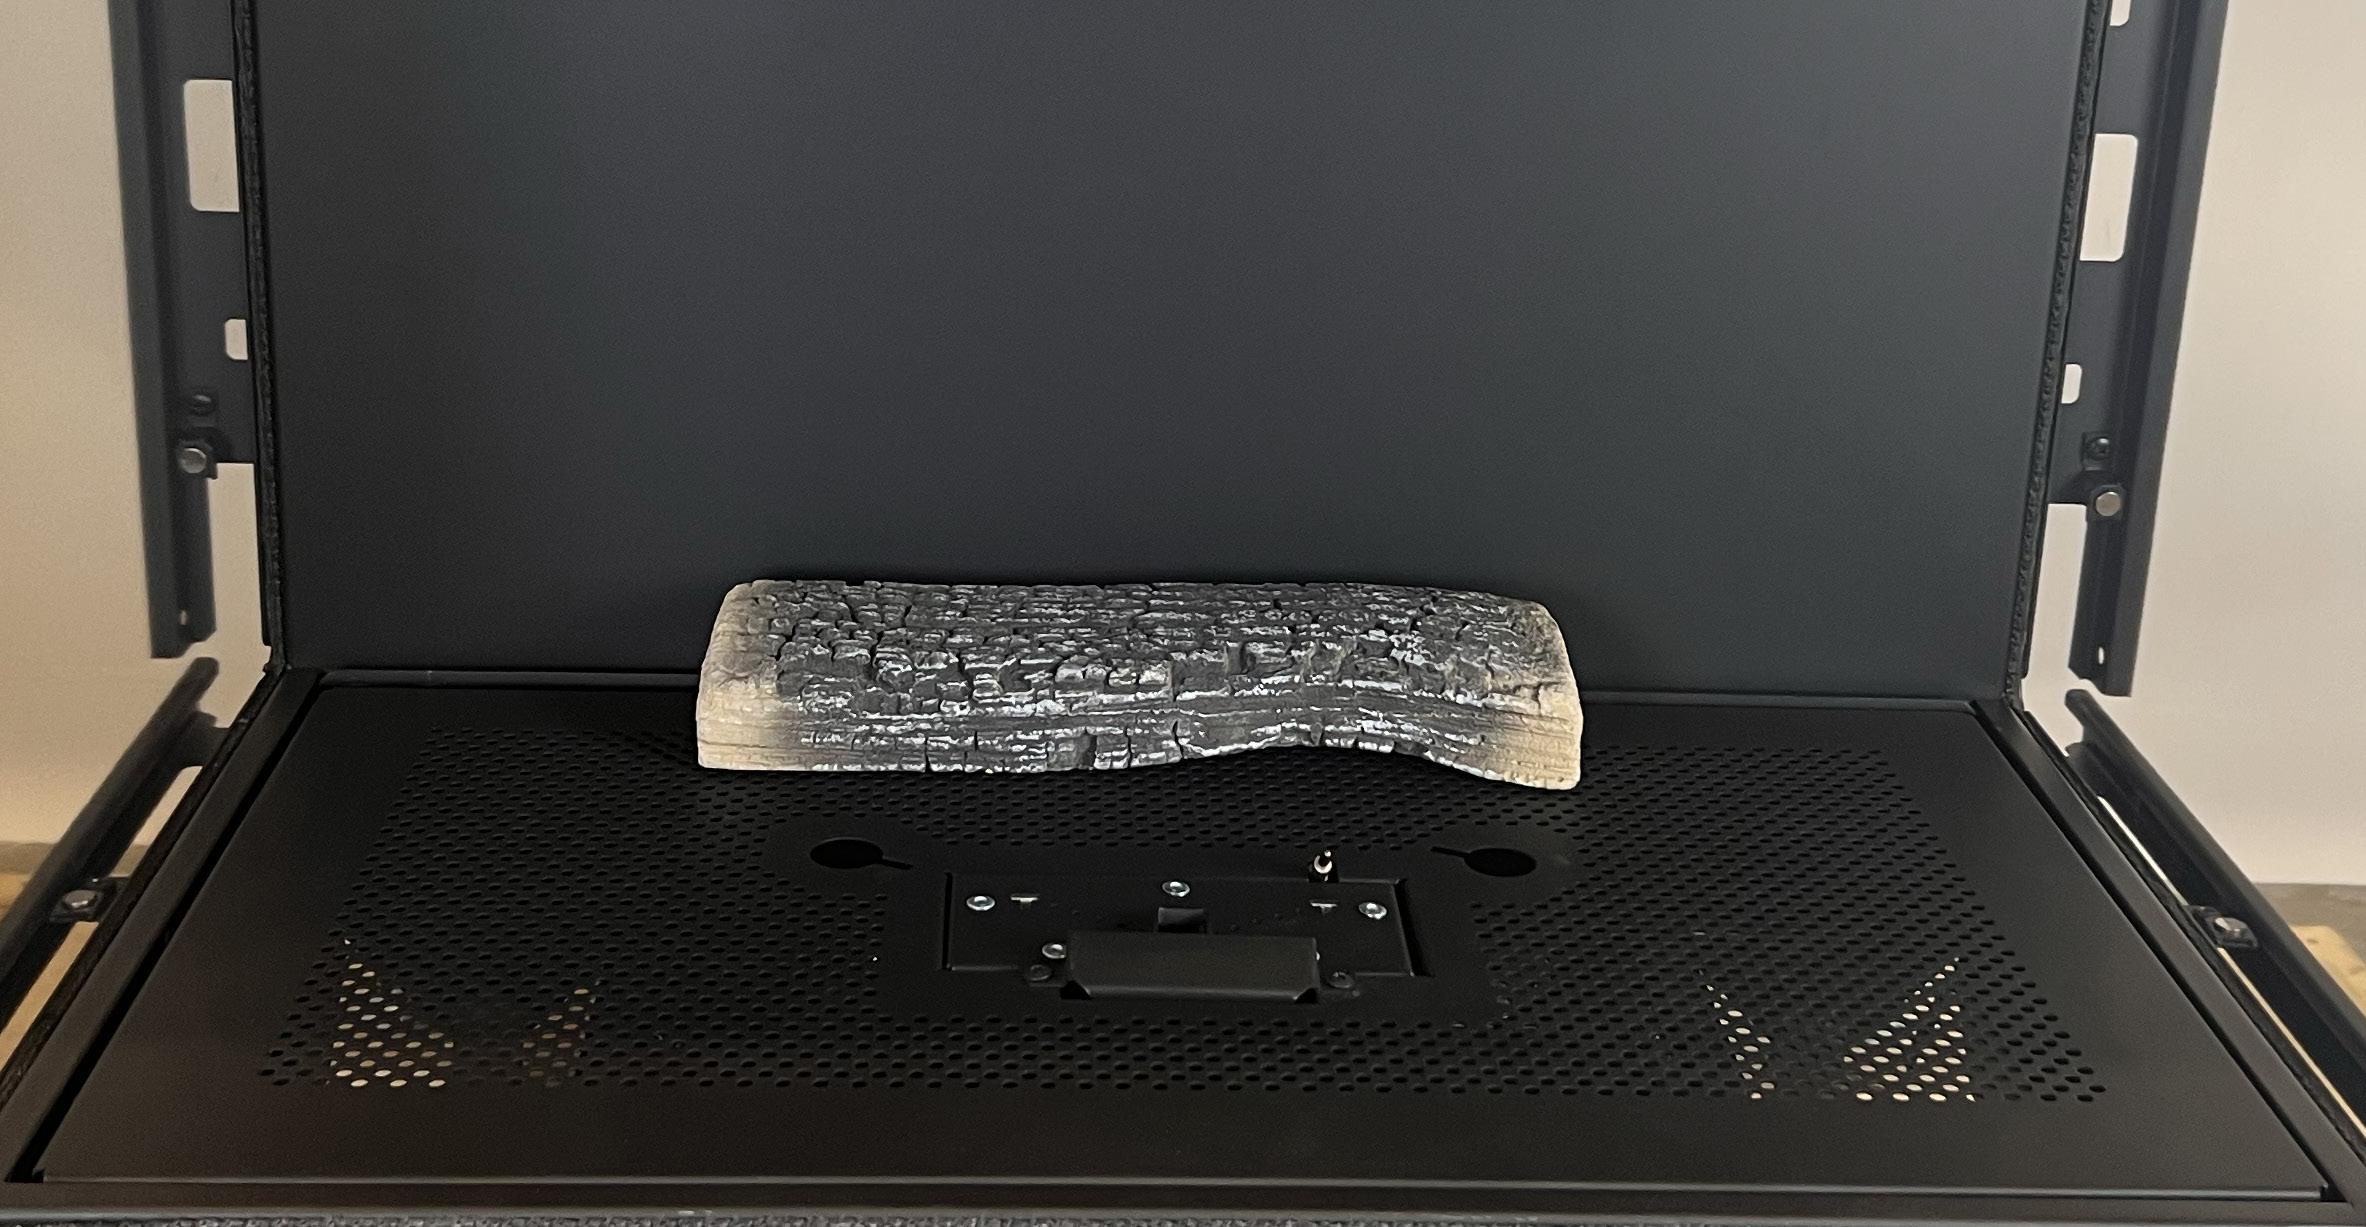
The measurements on the following photos are taken from the edge of the base plate. See photo below.

LOG PLACEMENT – VISIO 70 F, VISIO 70 LC, VISIO 70 RC AND VISIO 70 3S
The following ceramic logs must be used.


NOTE!
The tip of the


must be twisted as far from each other as possible.


8. Distribute the glass pieces (8 dl in total) on both sides of the gas fireplace – over the LED lights. It is important that the pieces of glass are distributed in a thin layer that just exactly covers the holes in the bottom of the fireplace.

NOTE!
Turn on the LED light to secure the best decoration of the glass pieces.
9. Now measure 1.5 L of the ember chips (a mixture of the grey and the black chips).


WARNING!

Be aware that the main burner and pilot flame are kept free of all ornaments.


