Step-by-Step Guide to Asphalt Shingle Roof Installation
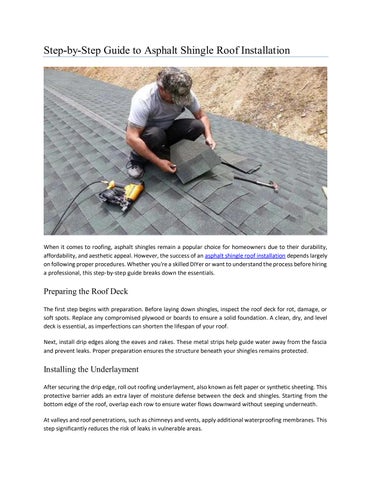
When it comes to roofing, asphalt shingles remain a popular choice for homeowners due to their durability, affordability, and aesthetic appeal. However, the success of an asphalt shingle roof installation depends largely on following proper procedures. Whether you're a skilled DIYer or want to understand the process before hiring a professional, this step-by-step guide breaks down the essentials.
Preparing the Roof Deck
The first step begins with preparation. Before laying down shingles, inspect the roof deck for rot, damage, or soft spots. Replace any compromised plywood or boards to ensure a solid foundation. A clean, dry, and level deck is essential, as imperfections can shorten the lifespan of your roof.
Next, install drip edges along the eaves and rakes. These metal strips help guide water away from the fascia and prevent leaks. Proper preparation ensures the structure beneath your shingles remains protected.
Installing the Underlayment
After securing the drip edge, roll out roofing underlayment, also known as felt paper or synthetic sheeting. This protective barrier adds an extra layer of moisture defense between the deck and shingles. Starting from the bottom edge of the roof, overlap each row to ensure water flows downward without seeping underneath.
At valleys and roof penetrations, such as chimneys and vents, apply additional waterproofing membranes. This step significantly reduces the risk of leaks in vulnerable areas.
Laying the Starter Shingles
Starter shingles create a secure base for the first visible layer. Install them along the eaves to provide extra adhesive grip and prevent wind uplift. Align them carefully, as any misstep at the base will affect the rows above.
Once in place, use roofing nails to secure the shingles, keeping nails just below the tar line. Precision here guarantees a cleaner finish and stronger hold.
Installing the Main Shingles
Now comes the heart of the project: installing the main shingles. Begin with the first course, aligning it directly above the starter row. Work your way upward, staggering joints to avoid creating vertical lines where water could penetrate.
Each shingle should overlap the one below, maintaining consistent spacing and alignment. Secure them with four to six nails per shingle, depending on manufacturer recommendations and local building codes.
Continue layering row by row until you reach the roof ridge. Always double-check alignment as you go; slight adjustments can prevent uneven rows from becoming noticeable.
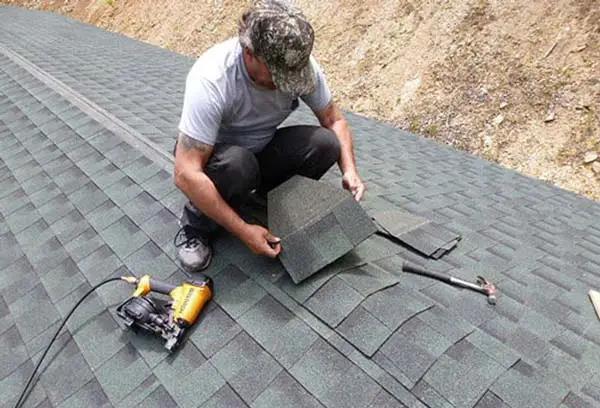
Finishing with Ridge Caps
The final touch is adding ridge cap shingles along the peak of the roof. These specialized shingles overlap from both sides, sealing the ridge while providing a polished look. Proper nailing and overlapping are crucial to withstand high winds and maintain long-term durability.
At this stage, inspect the entire roof for exposed nails or misplaced shingles. Addressing minor issues immediately can save costly repairs later.
Final Inspection and Maintenance
After installation, perform a thorough inspection of flashing around chimneys, skylights, and vents to ensure watertight seals. Clear any leftover debris from the roof and gutters. Routine maintenance, such as keeping gutters clean and trimming overhanging branches, extends the life of your roof.
A successful asphalt shingle roof installation involves careful preparation, precision, and attention to detail at every step. From laying the underlayment to securing the ridge caps, each phase plays a vital role in protecting your home from the elements. While professional contractors can handle the process efficiently, understanding these steps empowers homeowners to make informed decisions and appreciate the craftsmanship behind a durable, reliable roof.