


Many people take to the great outdoors to escape the increasingly techdriven daily grind. Though that’s an understandable perspective, gardeners who aren’t deploying tech in their home gardens could be missing out on a host of benefits that could help their plants, flowers and vegetables thrive.
Devices like smartphones and tablets have made many aspects of life easier and more efficient, and various tech products can do the same when working in the garden.
• Plant monitor: Plant monitors are sensors that can keep tabs on the health of plants and deliver that information to gardeners. Plant monitors often connect to smartphones via Bluetooth and can deliver information on the amount of heat, light and water a plant is getting. Sensors vary in price, and some will provide more information than others. But these sensors are ideal for gardeners who love their plants but often forget to check up on them each day.
• Garden camera: Crit-
ters and insects are the bane of many gardeners’ existence. Determining just what is nibbling away at flowers and plants isn’t always so easy, as many animals are savvy enough to restrict their dining to the middle of the night and insects are so small they can be hard to spot. Garden cameras can serve as the watchmen of a garden and gardeners can review footage to determine just who is compromising all of their hard work. They can then use that knowledge to remedy the situation and give their plants a better chance to thrive.
• Weather station: Even the most seasoned gardeners cannot document the conditions outside as effectively as a good weather sensor. Weather sensors track conditions such as temperature, relative humidity and air quality. This information can then be paired with irrigation devices to ensure plants get all the care they need to thrive throughout the season.
• Garden hub: Avid gardeners have traditionally
had to arrange for neighbors or loved ones to tend to their plants when they leave home for vacation or weekend getaways. Garden hubs can take care of that by pairing with smart irrigation systems that ensure plants are watered even when no one is home. Certain hubs even gather and analyze local weather conditions to develop a watering schedule to ensure
plants thrive. These hubs aren’t just handy when on vacation, as they can be great for gardeners who want to know things about their plants that are not apparent to the naked eye. People may see their gardens as welcome respites from their devices. But garden gadgets can help plants thrive and make time in the garden that much more enjoyable.
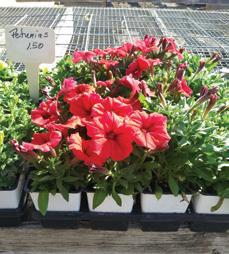
New plants can add much to a landscape. Whether they’re replacing plants that are no longer thriving or being added to supplement an existing landscape, new plants are an affordable way to give a home’s exterior a whole new look.
Much consideration is given to which plants to add to a landscape. That’s understandable, as homeowners want to choose plants that will thrive and won’t compromise the health of surrounding plants and trees. Before planting or even choosing plants, it’s important to plan for new additions to a landscape. Preparing the landscape can inform homeowners about which plants to purchase and can ensure they thrive after planting.
• Document sunlight exposure. Plants have different needs, and one of the biggest differences between species is the amount of sunlight they need to thrive. According to Penn State Extension, plants characterized as “full sun” require six or more hours of sunlight per day, while those considered “partial sun” need between four and six hours of sunlight per day. Plants designated as “partial shade” need two to four hours of sun per day, while “shade” plants need less than two hours of sunlight a day. Documenting sunlight exposure in advance gives homeowners an idea of which plants should be planted and where they should be planted. Jot down these observations in a journal over several weeks and then choose plants that will thrive in each area.
• Test the soil. A soil pH test is a simple and quick way to determine the acidity of soil. Soil pH levels will
indicate how likely a plant is to thrive in a given spot. High levels won’t necessarily mean an area should be avoided, as some plants thrive in acidic soils. Additional soil tests can determine other characteristics, such as the nutrient levels of soil and the amount of organic matter it contains. Each of these variables can help homeowners make the right choices as they introduce new plants to their properties.
• Consider local wildlife. If local wildlife makes its presence known on a property, homeowners may want to take proactive steps prior to planting anything new. A new fence might prevent animals like deer from getting in, but that likely won’t do much to repel smaller animals like squirrels, rabbits or foxes. If wildlife is a concern, homeowners can seek advice at their local garden center about which plants certain animals are likely to ignore. Homeowners who want to attract wildlife can do the same in reverse, choosing plants wildlife will be drawn to. Homeowners who want to deter wildlife should erect fencing or other barriers prior to planting.
• Clear space if necessary. Plants grow up and out, and cramped quarters can make it hard for new plants to thrive. Some may thrive but only at the expense of other plants. If necessary, clear space prior to planting to ensure plants have ample space to grow. Some pre-planting landscape preparation can ensure new plants thrive.

Homeowners enjoy gardening for many different reasons. In addition to adding beauty to a property, gardens can offset grocery costs by yielding tasty produce. They also offer important habitats and food sources for both insects and animals.
3. Arm yourself with knowledge.
Do you know how deeply to plant seeds and how far apart to space plants? Are you aware of the sunlight needs of certain flowers or plants?

While growing a vegetable or flower garden can turn into a rewarding hobby, or even a passion, gardening also can be overwhelming — particularly when the results are less than stellar. Novice gardeners have scores of resources at their disposal, including the advice of gardeners who have made mistakes and learned from them. The following guidance can make home gardens that much more successful.
1. Start small.
You may have visions of an expansive garden growing rows of crops or acres of flowers. But it is smart to start small and build on what you find successful, which includes plants that thrive in your lawn and garden.
This also is beneficial if you are unsure of vegetable yields. Several blooming plants producing bushels of crops can be overwhelming, especially if you can’t get to harvesting or cooking them in a timely fashion.
2. Assess the soil.
If not, read the packaging and do your research so your plants have the best chance of not only sprouting, but also surviving. Many people prefer to start seedlings indoors in late winter and then transfer those plants outdoors when they are stronger and more established.
4. Sit in your yard and observe.
Watch the way the sunlight dances over areas of your landscape. Take note of which areas get the most sun and shade. This will help you plan what to plant and where to plant it. Vegetable gardens tend to need ample sunlight to bear pick-worthy produce. You can give plants a leg up by growing them in optimal conditions.
5. Choose hardy varieties.
Certain plants have been bred to thrive in your climate, including heat-tolerant plants for climates with sweltering summer sun. Consult with a local gardening center to figure out which plant zone you are in and which plants will do best within that zone.
6. Use rainwater.
Rainwater contains fewer contaminants and additives than tap water, which can benefit garden plants. Collect rainwater in rain barrels and use irrigation systems to deliver it to the garden.
Home gardens can yield many gifts, from flowers to fruit. Beginners can utilize some time-tested strategies to increase their chances of planting a successful garden.
Plants need nutrientrich soil to encourage extensive root systems and produce strong, hardy plants, according to the gardening resource GrowVeg. Nourish soil with organic matter, such as manure, compost, shredded leaves, and natural mulch. Add this organic matter in the offseason to give it enough time to be incorporated into the ground before spring. You can have your soil tested for pH and other characteristics that make it friendly or averse to plants at a local garden center.

Cricket Holland
The Patio Garden Club of Marlow, a local gardening group, is inviting anyone who is interested in learning how to truly enjoy and enhance their garden areas, flower beds and yards to join them in monthly club meetings held In various homes and other facilities. The next meeting scheduled for the group is Thursday, April 14 when they will assemble at 9 a.m. at the Catholic Church in Marlow and carpool to Medicine Park Aquarium and Natural Science Center and Wildflower Walk. Lunch will be enjoyed at the “Old Plantation” Restaurant in Medicine Park.
An active group for the past 65 years, the following is a brief history of the club:
The Marlow Council of Garden Clubs was organized in 1957 by Mrs. Lera Talley. The council began as two different groups: the Iris Unit and Patio Gardeners Unit. (The units existed until sometime in the 1980’s when the Iris unit disbanded.)
The names of former and current members serving as club president include: Mrs. Penn Rabb, Mrs. Don Hurley, Mrs. Clyde Ferguson, Mrs. C. N. Talley, Mrs. R. G. Edwards, Mrs. Opal Gray Mrs. A. L. Derby, Mrs. Fred Laminack, Mrs. John Mitchell, Mrs. Sam Whitaker, Mrs. Noland Hubbs, Mrs. Doug Alsup, Mrs. Russell Stone, Mrs. Kay Turner,
Mrs. Randy Oldham and Mrs. George Cooper (current president).
Notable projects the club has accomplished include the planting of 40 Pin Oak and Slash Pines, lining Memorial Road into Marlow Cemetery; landscaping at the Marlow Public Library and Marlow Grade School; the planting of trees in Miller Park; Crimson Clover and Bluebonnets along Hwy 81 and south to the Y on Hwy 7 (which are still enjoyed and admired by travelers today); Crepe Myrtles and the Blue Star Memorial Marker and Flag area, a tribute to all the Armed Forces of the United States of America, located in Red Bud Park.
The official name of the local group, as stated in the club’s constitution, is “The Patio Gardeners of Marlow Garden Club”. Over the years, when speaking about the club or articles written for the local paper, they are simply known as members of the Patio Garden Club of Marlow.
The club Constitution, which was established in 1957, states the object of the club is to: “Promote good gardening, to assist the projects of State and National aims and in so doing may have closer fellowship with one another.”
Officers established to be elected yearly included: President, Vice President, Secretary, Treasurer, Parliamentarian, His -
torian and Reporter. (Office of Chaplain has been added.)
Members are required to pay $20 for yearly dues. A small portion of those dues go to help fund Oklahoma Garden Clubs Inc. and National Garden Clubs Inc.
The club meets the second Thursday of each month at a designated home or other specified meeting place. Roberts Rule of Order is followed during all meetings to insure the business portion proceeds correctly.
There is always an interesting program given by one of the members. The club attempts to keep up with current events, planting schedules, migration of different insect species, gardening tips and other informative materials that will help local gardeners to have beautiful, and healthy spaces to enjoy.
The Club’s Conservative Pledge states: I pledge to protect and conserve the National Resources of the planet earth and promise to promote education, so we may become caretakers of our air, water, forest, land and wildlife.
Patio Garden Club extends an invitation to anyone who loves to garden, study the environment, or just wants to learn more about caring for their flower beds, gardens and yards to join them. Anyone interested may call Mrs. Cooper at 580-641-1350 for more information.


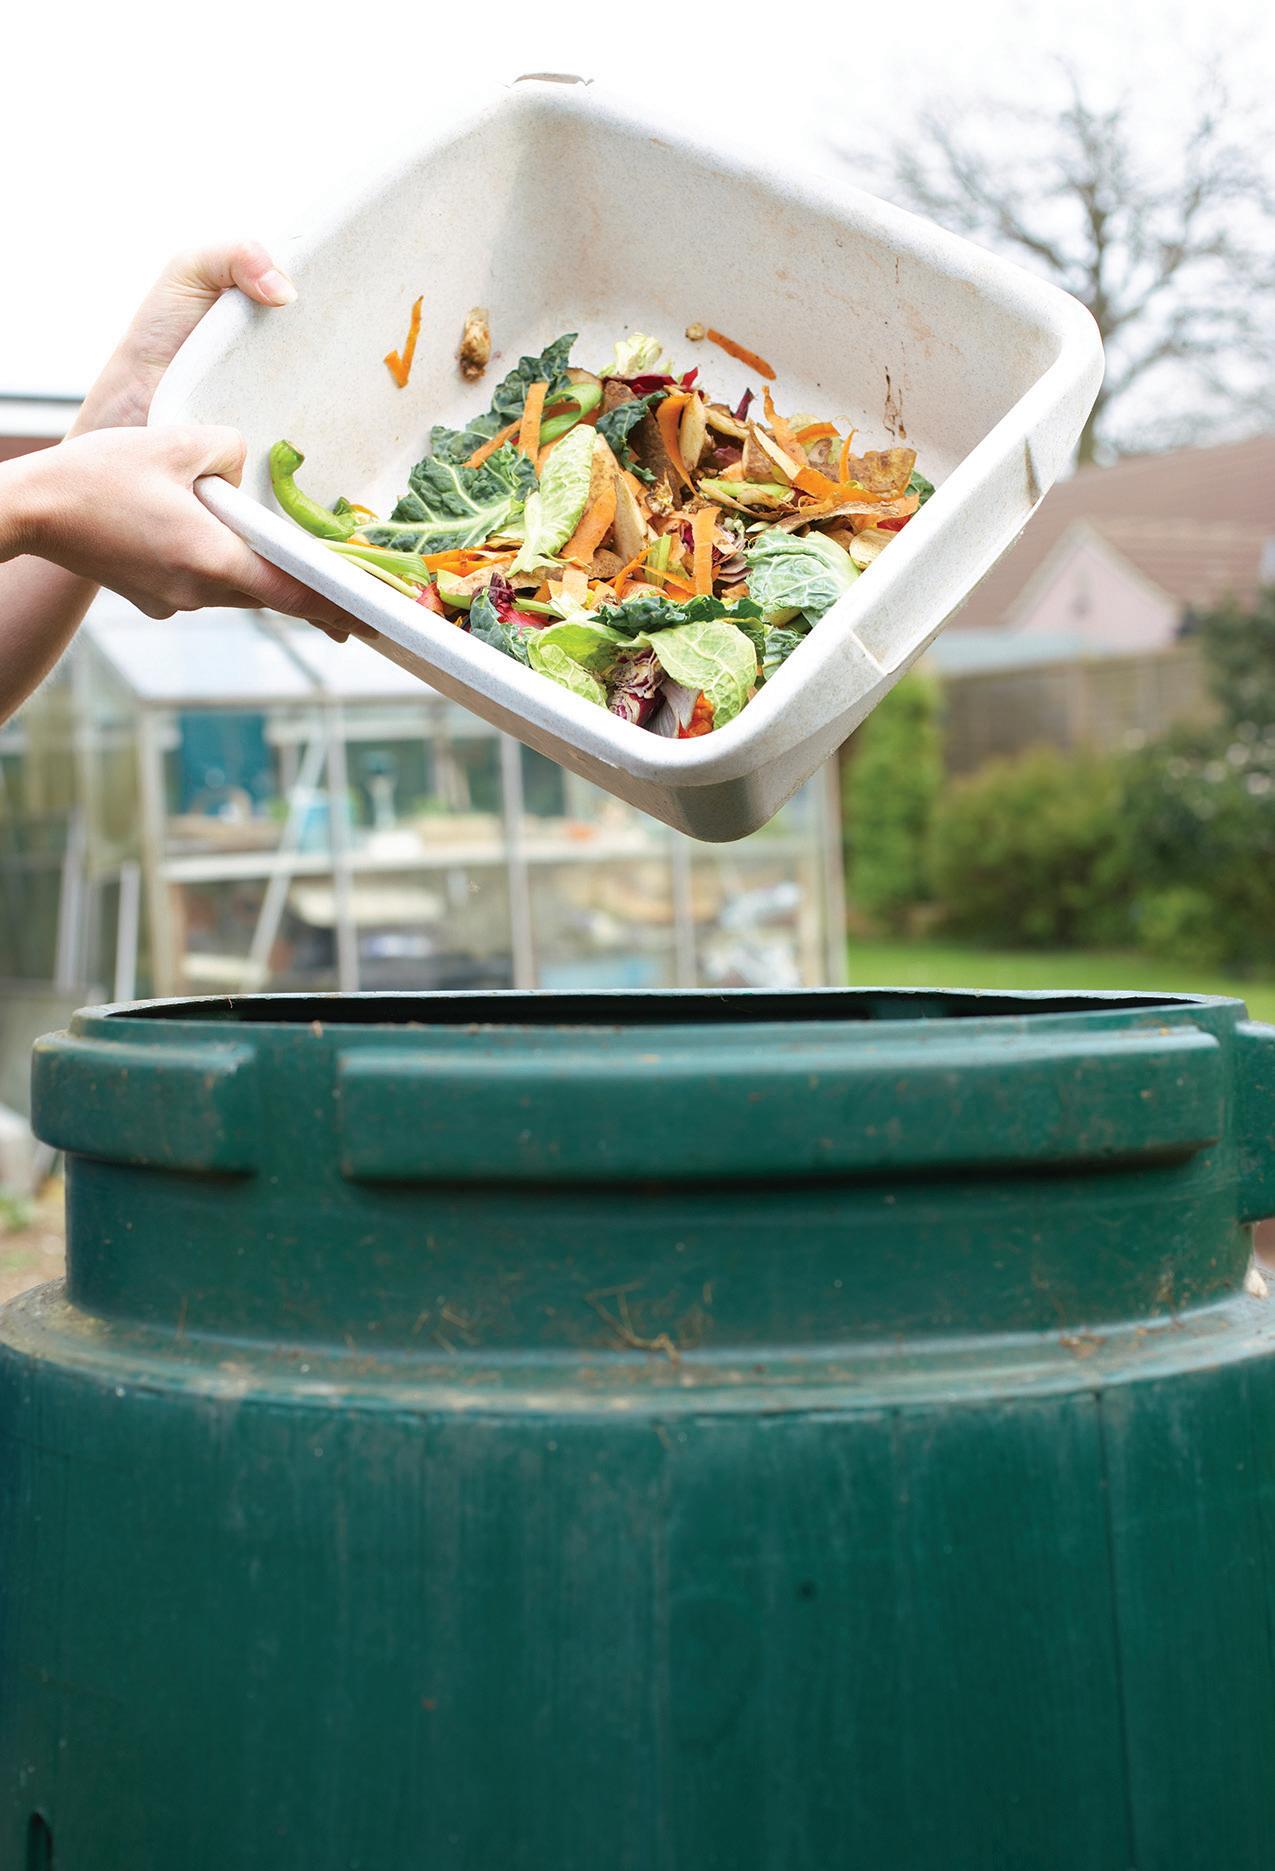
Avid gardeners know that compost can add vital nutrients to soil used in gardens, container plants and lawns. The fact that compost is so versatile and nutrient-dense may not even be its most admirable quality. Made from items used in and around the house, compost costs just about nothing to produce.
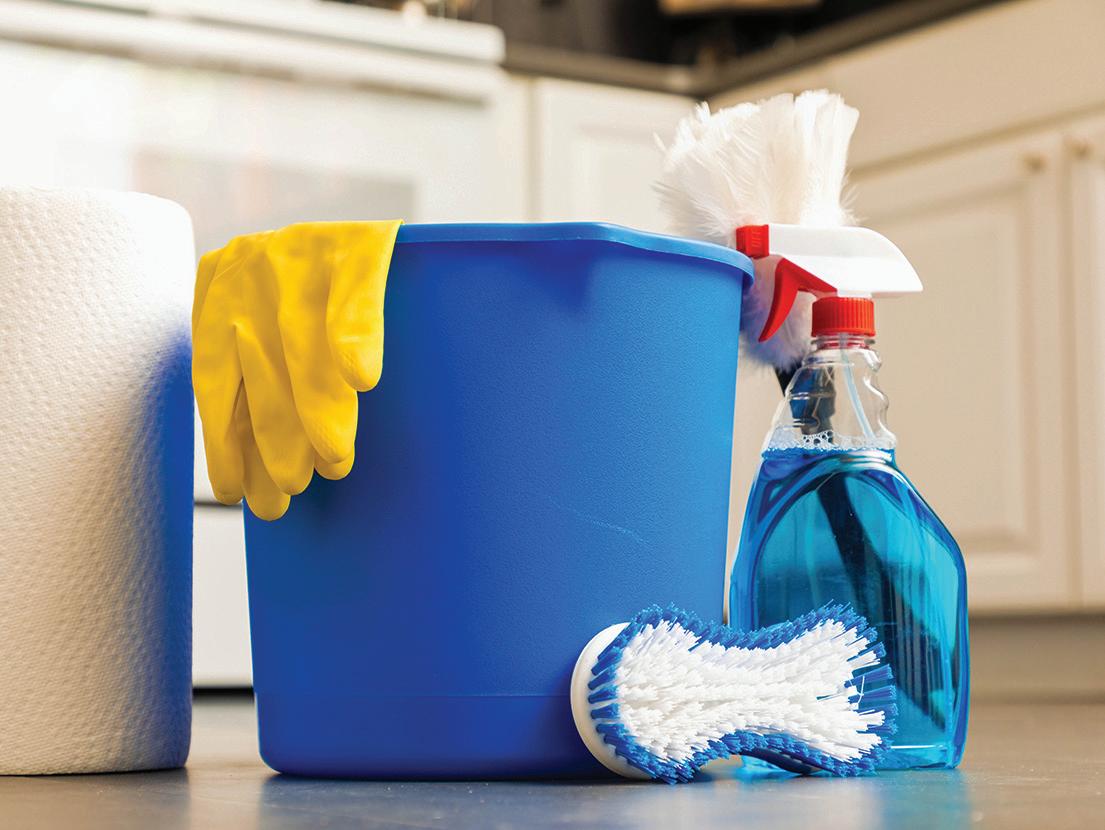
Safety may not be on the minds of people when they gather equipment and cleaning supplies to clean their homes, but even seemingly innocuous items can be dangerous. The National Safety Council warns that accidents and deaths often occur when least expected — including when doing chores around the house.
The online safety advocate SafeWise says that more than 160,000 Americans die as a result of an accident every year, and household injuries account for 75 percent of those deaths. It’s important to be careful when cleaning around the house, and part of that caution includes recognizing where hazards may be lurking. Here are ways to prevent cleaning and organizing accidents.
Never mix cleansers
Cleaning chemicals are often effective because they employ bases or acids to produce cleaning actions. By themselves, many of these products are generally safe to use provided users adhere to the usage instructions and precautions. However, when mixed together, certain cleaning products can be extremely hazardous. According to Velocity EHS, an environmental, health, safety, and sustainability advisement company, users should never mix products containing acids and bases. Common cleaning products containing acids include tub and tile cleaners, vinegar and mold removers. Products containing bases include, bleaches, glass cleaners, and drain cleaners. Mixing these products can produce toxic gases, intense heat or even explosions.
Avoid falls Falls are a major contributor to home injuries. Be especially careful when climbing ladders, and do not lean too far to either side. If possible, have someone hold the ladder steady. Wear nonskid shoes and go slowly. Do not climb on furniture or stack items to reach high spots like top shelves, as this can create a precarious situation.
Lift with care
Moving furniture or rearranging storage boxes can strain the back and other muscles. Use proper lifting techniques, which include lifting with the legs while keeping the back straight. If the item is too heavy, wait and ask for help.
Wear masks and safety gear
Whether dusting off the ceiling fan, cleaning out the crawlspace or removing debris from gutters and downspouts, protect the eyes, hands and lungs by wearing the right gear. Safety goggles, durable gloves and a dust mask are must-have cleaning supplies.
Remove supplies promptly
The NSC says about 10 people die from drowning every day in the United States. Children between the ages of one and four are at greatest risk. Do not leave cleaning buckets filled with water unattended, and make sure to clean up any supplies used right after cleaning to prevent injuries.
Cleaning and maintenance keep homes looking great. Homeowners should always keep safety in mind when cleaning around the house.
The raw materials that make up compost come from organic waste. These can be disposables from the garden and kitchen, as well as other areas around the house. According to the United States Environmental Protection Agency, yard trimmings and food scraps add up to 20 to 30 percent of the municipal solid waste in the United States. Turning waste into compost not only helps the landscape, but also the planet.
Compost is relatively easy to make, and there are scores of materials that can be put into compost. But it is just as essential to know which ingredients cannot be used in compost.
Okay for compost
Most organic materials, or items that were once living, can be used in compost. Plant-based items used in cooking, such as potato peelings, carrot skins, banana peels, cocoa hulls, coffee grounds and filters, corn cobs, apple cores, egg shells, fruit peels, kelp, and nut shells, can be added to compost.
Should not be used in compost
Inorganic and non-biodegradable materials cannot go into compost. These are items like plastic, glass, aluminum foil, and metal. Pressure-treated lumber, although a natural material, is treated with preservatives and often pesticides that can be harmful if they leech into the garden.
Other items from around the house, like unused kitty litter, hair, shredded newspapers and cardboard, leaves, flowers, paper, pine needles, ashes, and sawdust, can be successfully added to compost. Stick to items that are not treated heavily with chemicals.
The small-gardening resource Balcony Garden Web indicates coated or glossy printed papers, such as those from catalogs, magazines, wrapping paper, marketing materials, and business cards, should not be added to compost piles because of the chemicals and inks used in these pages. Planet Natural Research Center says to avoid pet droppings from dogs and cats. Animal products like bones, butter, milk, fish skins, and meat, may decompose and start to smell foul. Maggots, parasites, pathogens, and other microorganisms can form in the compost. These materials also may attract flies and scavenger animals. Plus, they decompose very slowly.
Any personal hygiene products should be avoided because they are tainted by human fluids and that can pose a health risk. While weeds are not harmful in compost piles, there is the risk that seeds can germinate and then infiltrate garden beds when the compost is used. The same can be said for tomato plants and some other hardy fruits and vegetables. Compost is a winner in the garden and around the landscape. Learning which ingredients can and can’t be added to compost piles is useful for any gardener.
Once the days begin to grow a little bit longer and the numbers on the thermometer creep a tad higher, outdoor entertaining season is right around the corner. Homeowners may be anxious to once again return to the comforts of their backyards. However, their patio furniture may not be ready for lounging just yet. Some simple cleaning strategies make it easy to brighten outdoor furniture made of metal, glass, wood, and plastic. Before homeowners know it, their backyards will be ready for outdoor entertaining season.
Proper storage
Storing outdoor furniture during the colder months of the year is a great way to protect items from the elements. This may involve careful shrink-wrapping and keeping items outdoors, or by moving furniture indoors to a shed or garage. Cleaning the furniture one last time before storing it also can be handy. Remove stuck-on debris
Inspect furniture and be prepared to remove any stuck-on debris, such as bird droppings, sticky food residue or even cobwebs and insect nests. Be sure to use a cleaning tool that is safe for the material you are cleaning. Test an inconspicuous area of the furniture first to ensure your tools don’t damage the furniture. For example, many scrub brushes can scratch glass or aluminum.
Make a thorough cleanser
Clean stains off of furniture with a versatile cleanser. A mild cleaner can be made by mixing 1⁄2 cup baking soda with 1 gallon of warm water, according to the experts at Better Homes & Gardens. Regular dishwashing detergent also can be mixed with water, as it has a mild bleaching agent. This cleanser can be used on plastic resin furniture or metal furniture, which are popular patio furniture materials.
Patio fabrics
Check the cleaning instructions of outdoor fabrics, as there might be
specific instructions on the tags. In some cases, fabric may be removed and washed in a washing machine on a gentle setting. A solution of dish soap and warm water also is a gentle way to clean outdoor fabrics. Once items are clean, HGTV advises applying a water-repellent fabric protector to minimize staining and maintenance.
Strip or sand
Wood furniture may need specialized care. If stains cannot be removed with a mild cleanser, then hard woods like teak can be surfacesanded to restore items’ original look.
Pressure washers can often do more harm than good to patio furniture, so it’s best to look for an alternative way to clean them. Usually a bit of elbow grease and a cleanser is all that’s needed. Give the cleaning product time to work. Wipe down and dry the furniture thoroughly to prevent the growth of mildew.
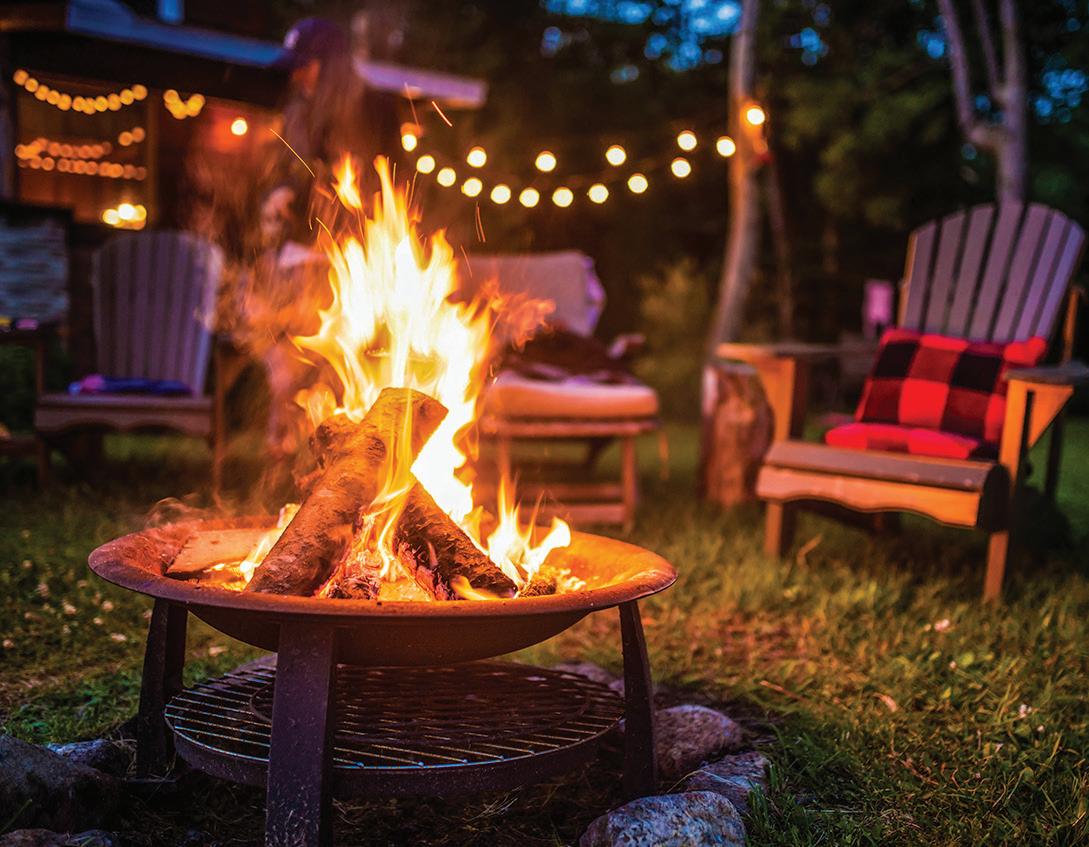
Many homeowners relish any opportunity to retreat to their back yards, where they can put up their feet and relax in the great outdoors. That retreat-like escape is made even more relaxing when sitting around a fire pit.
Fire pits can be found in millions of suburban backyards across the globe. Fire pits have become so popular that a 2016 survey of landscape architects conducted by the American Society of Landscape Architects revealed they were the most sought after outdoor design element. Fire pits remain wildly popular a half decade after that survey. Homeowners who are only now joining the fire pit revolution can keep these dos and don’ts in mind as they plan their summer s’mores sessions.
DO keep the fire pit a safe distance away from the home. Fire pits should be located a safe distance from the home at all times, but especially when they’re in use. Home design experts recommend keeping fire pits a minimum of 10 to 20 feet away from a house or other structure, such as a shed or a detached garage. The further away the fire is from houses and other structures, the less likely those structures are to catch on fire.
DON’T place the fire pit beneath trees or next to shrubs. Though fire pits should be kept safe distances away from a house and other structures, it’s important that they’re not placed beneath trees or next to shrubs. Shrubs and low hanging branches
Do you still have an avocado green kitchen? Is your living room dank and dark? Perhaps there is only one bathroom for a family of six? Answering yes to any of these questions could serve as the catalyst for a home renovation project. Home improvement projects come in all shapes and sizes — some with huge budgets and others that are more cost-conscious. Regardless of what homeowners hope to achieve with their renovations, a common goal across any price point is a desire to save as much money as possible. Home renovations can be expensive, but there are ways to cut costs.
• Assess the merit of the project. Remodeling magazine annually publishes a “Cost vs. Value Report” that lists the average cost and return on investment homeowners can expect of various types of projects. If you’re planning to sell your home soon, it may be best to focus on repairs and renovations that will generate the most substantial ROI.
• Hire a contractor. Even avid do-it-yourselfers can sometimes benefit from a contractor’s expertise, particularly for complex tasks. Don’t waste money by try-

can easily catch embers and be lit ablaze, so make sure fire pits are not placed in locations that increase that risk.
DO clean out seasonal debris. It can be tempting to let seasonal debris resting inside the fire pit burn away during the season’s first s’mores session. But burning
debris poses a serious safety risk, as embers can easily be blown out of the fire pit and catch nearby trees or shrubs or even a home on fire. The National Fire Protection Association advises homeowners that embers blowing from a backyard fire pose the same threat to homes as if they are
from a wildfire.
DON’T let fire pits burn near flammable materials. Store firewood piles a safe distance away from the fire pit while it’s in operation. It may be convenient to keep firewood right next to the fire pit while the fire is burning, but that increases the risk that embers will land on firewood and start a fire outside of the pit.
DO check the weather report prior to starting the fire. Windy weather increases the risk of embers blowing around and potentially landing on the house, other structures around the property or trees. If the weather report is calling for gusting winds, burn a fire on another night.
DON’T leave a fire pit fire burning. Unattended recreational fires are illegal and incredibly dangerous. Homeowners should never leave fire pit fires burning unattended or allow fires to slowly die out overnight. Always extinguish the fire before going inside and stop adding wood to the fire roughly one hour before you plan to go inside. Water or sand can be poured on ashes to extinguish the fire. Once homeowners are confident a fire has been extinguished, ashes can be spread around to ensure there are no hot spots still burning. If there are, start the extinguishing process over again.
A night around the fire pit is a summertime tradition in many households. Safety must be as much a part of such traditions as s’mores.
ing tough jobs yourself; rely on an experienced contractor who can get supplies for less money and will do the job right the first time. Compare bids from several different contractors and figure out the best value.
• Refurbish existing features. Rather than a complete gut and rebuild, figure out where you can revitalize existing fixtures and more. For example, refinishing existing cabinets can save you up to 50 percent compared with the cost of new cabinetry, according to Angi (formerly Angie’s List), a cost comparison and business review resource.
• Choose midgrade materials. Certain materials may be all the rage but they come with a higher price tag. Angi reports that granite counters could be $60 to $100 per square foot. However, a composite or laminate that looks like granite and wears well may be $10 to 40 per square foot. Figure out where you can choose middle-of-theroad materials for maximum value.
• Avoid peak seasons. You’ll pay more to install a deck or a pool right before the outdoor entertaining season. There also may be a premium to get work done right before a major holi-
day. Therefore, consult the calendar to find an off time for a renovation and book it then to save.
• Do some prep work. You might be able to save by doing some of the demolition and preparatory work yourself. For example, you can tear up old carpeting before the installation of new tile floors. Perhaps you can mend and patch up walls before a paint job.
• Buy a display item. Former showroom kitchens and baths often are sourced at a fraction of their recommended retail prices, according to Real Homes, a home remodel guide based in the United Kingdom. Retailers often update their displays and you may score existing showroom items at a discount. Renovations can be expensive, but there are many different ways to cut costs.


Home renovation projects can pay numerous dividends. Renovations can have a positive effect on resale value, make homes more livable for residents and, in some ways, make homes more affordable.
Renovation projects that aim to conserve energy can save homeowners substantial amounts of money. Such projects don’t often require considerable effort or even sizable financial investments, which can make homeowners skeptical as to just how much they can save after completing the project. But the scale of a project may have little to do with how much homeowners will save. For example, the U.S. Department of Energy notes that a relatively effortless task like turning back a thermostat between 7° and 10° F for eight hours per day can save homeowners as much as $83 per year. A more labor-intensive task like planting shade trees saves homeowners an average of between $35 and $119 per year.
When looking for ways to conserve energy around the house and save money, homeowners need not necessarily commit to expensive projects. The DOE notes that the following are some energy-saving projects and details what homeowners can expect to save after completing them. While each individual project may not result in jaw-dropping savings, homeowners who follow many of these recommendations may end up saving more than $1,000 per year.
Project: Install exterior low-e storm windows. What is it? Low-e windows reflect infrared heat back into a home. Such windows are coated with an ultra-thin layer of metal that improves the window’s insulation ability.
How much can I save? Homeowners who install low-e windows can save between 12 and 33 percent on their annual heating and cooling costs.
Project: Seal uncontrolled air leaks.
What is it? Air leaks let cool air in during winter and warm air in during summer. Caulking, sealing and weather stripping all cracks and large openings can cut back on air leaks that are costing you money. The DOE recommends hiring a contractor to seal any leaks on heating and cooling ducts.
How much can I save? Homeowners who seal
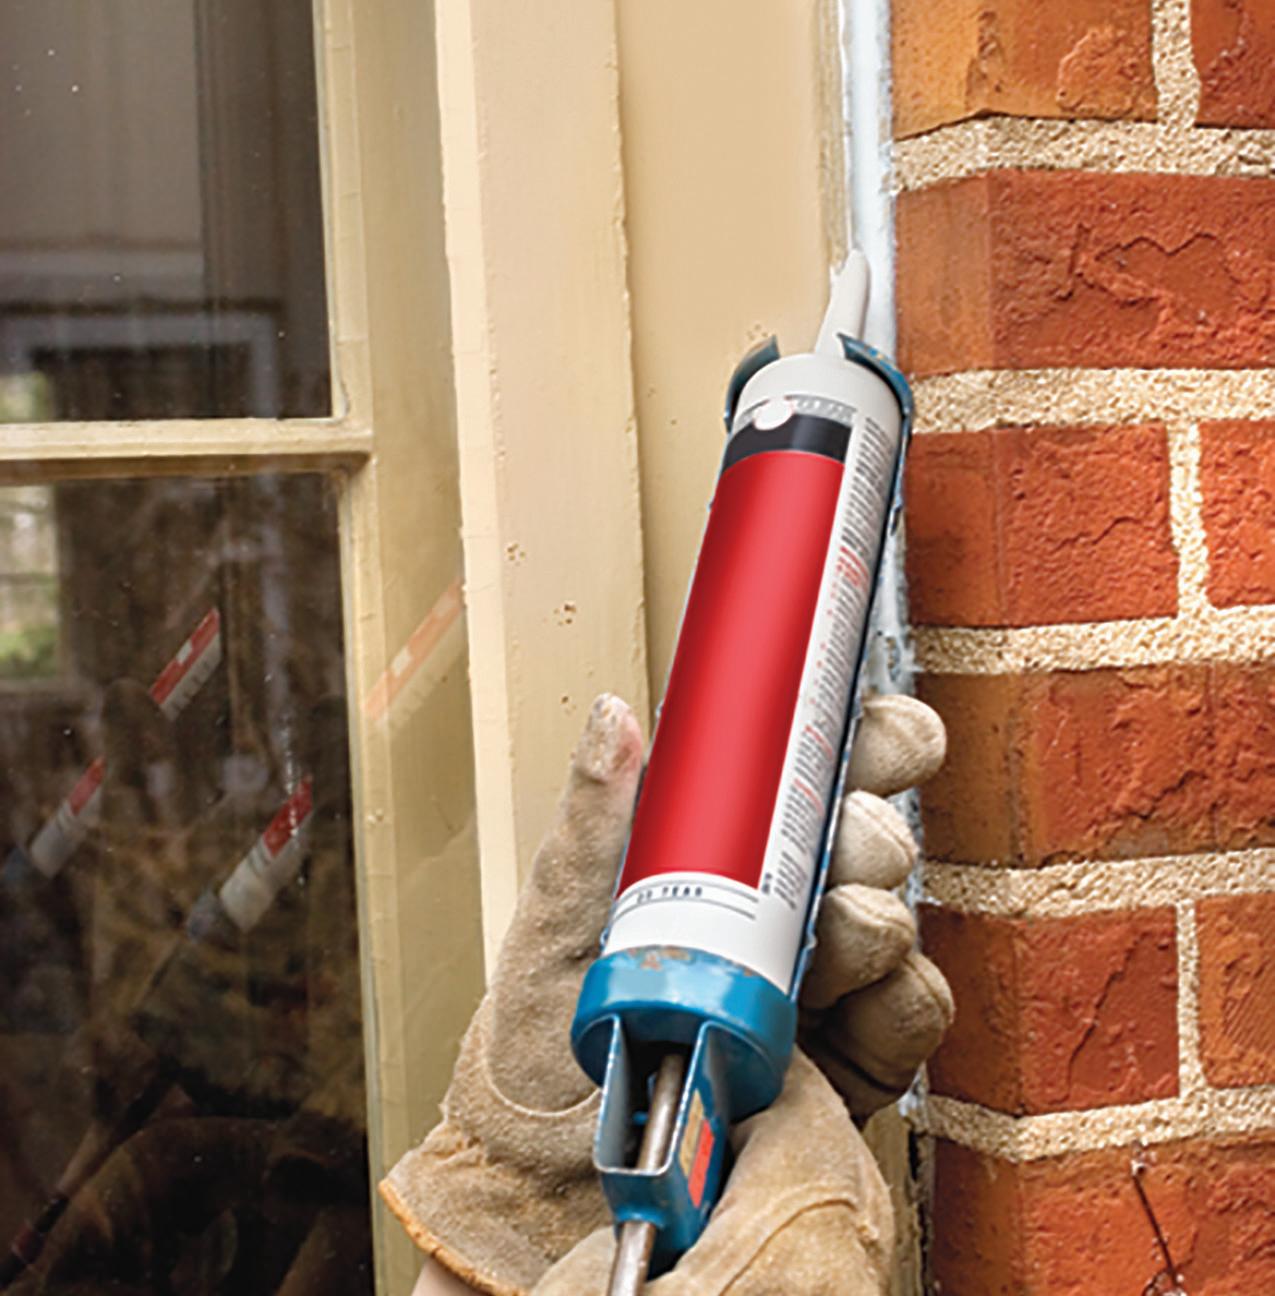
uncontrolled air leaks can save between 10 and 20 percent on their annual heating and cooling bills.
Project: Plant shade trees.
What is it? If you plant a deciduous tree between six and eight feel tall near your home, it will begin to shade your windows within a year of being planted. Depending on the species of the tree and the home, the shade tree will begin shading the roof within five to 10 years. The DOE notes that shading is the most cost-effective way to reduce air conditioning costs.
How much can I save? Properly planted shade trees can reduce air conditioning costs by anywhere from 15 to 50 percent.
Project: Insulate the water heater tank
What is it? New water tanks are likely already insulated. But homeowners with older hot water tanks can insulate their tanks with a water heater insulating blanket kit.
How much can I save? Insulating a water heater tank can save homeowners as much as 16 percent on their annual water heating bills.
Even the smallest DIY projects can produce big savings. More information about energy-saving home improvement projects can be found at www.energy.gov.
Should I DIY?: 3 questions to determine if it’s best to renovate on your own
A do-it-yourself mentality has taken hold in millions of households across the globe. Popular television channels like HGTV and DIY Network as well as accessible home improvement content on apps like YouTube has inspired many homeowners to tackle renovation projects around their homes. Taking such initiative is admirable, though it also can prove costly if homeowners end up biting off more than they can chew.
Home improvement videos and television shows have a tendency to oversimplify renovation projects, potentially giving homeowners a false sense of confidence in their DIY abilities. A concerted effort on the part of homeowners to determine if it’s best to renovate on their own or hire a professional should always be the first step of any renovation project. No two homeowners are the same, but the following three questions can help homeowners determine if DIY is their best option.
1. Can I afford to DIY?
Professional home improvement projects are costly for a variety of reasons. Materials can be costly, but so are the tools and labor necessary to do the job right. Homeowners may not have the tools necessary to complete complicated projects. Specialty tools can be expensive to purchase or even rent, and the cost of acquiring such tools should be included in any DIY project cost estimates. Labor also factors heavily into professional projects, and for good reason. Talented contractors have unique skills that have been developed and perfected over many years. Those skills can ensure projects are completed quickly and cor-
rectly. Labor may seem costly, but such costs may ultimately prove to be a bargain compared to the cost of fixing DIY mistakes. Projects that are minor in scope and don’t require the use of potentially costly specialty tools may be better suited for weekend warriors than more complicated renovations.
2. Do I have the time?
Homeowners must determine how much time they have to complete a project before deciding to do it themselves. No one wants to spend months staring at an unfinished renovation project. Homeowners who are already pressed for time may not be able to complete projects in a timely fashion, which can make homes less comfortable and even less safe.
3. Can I pull this off?
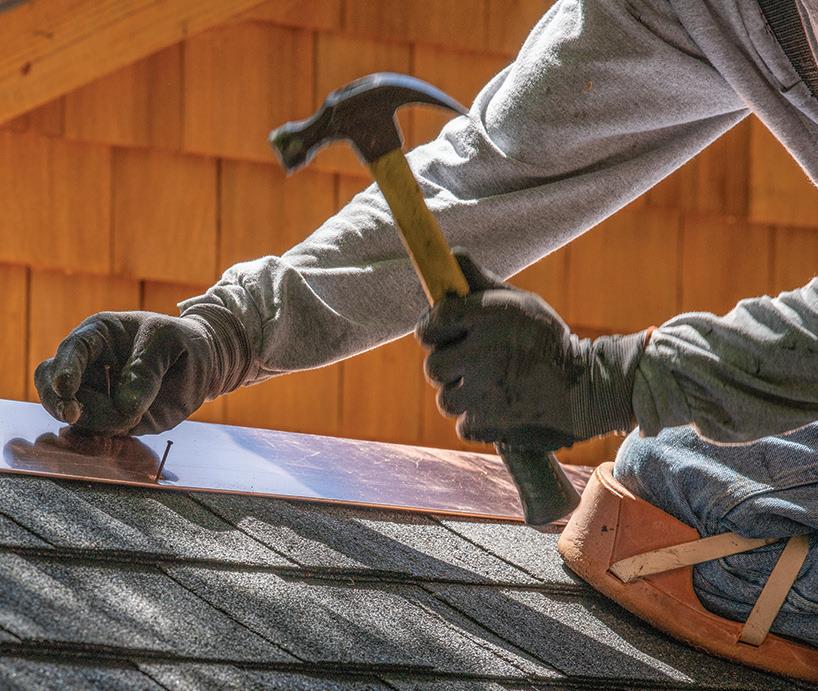
DIY projects can instill homeowners with a sense of pride in their homes, but it’s imperative that homeowners considering the DIY option conduct an honest assessment of their skills. A lack of renovation experience does not necessarily mean a homeowner cannot successfully complete a DIY project. But in such instances, it may be best to start with small, straightforward projects and then gradually move up to bigger, more complicated projects as skills are fine tuned. And homeowners who have never been at their best with a hammer in hand should not be ashamed to leave the work to the professionals.
Television shows and online tutorials can make renovations appear easier than they actually are. Homeowners considering DIY renovations can ask themselves a handful of questions to determine if they’re ready for the challenge of renovating their homes on their own.


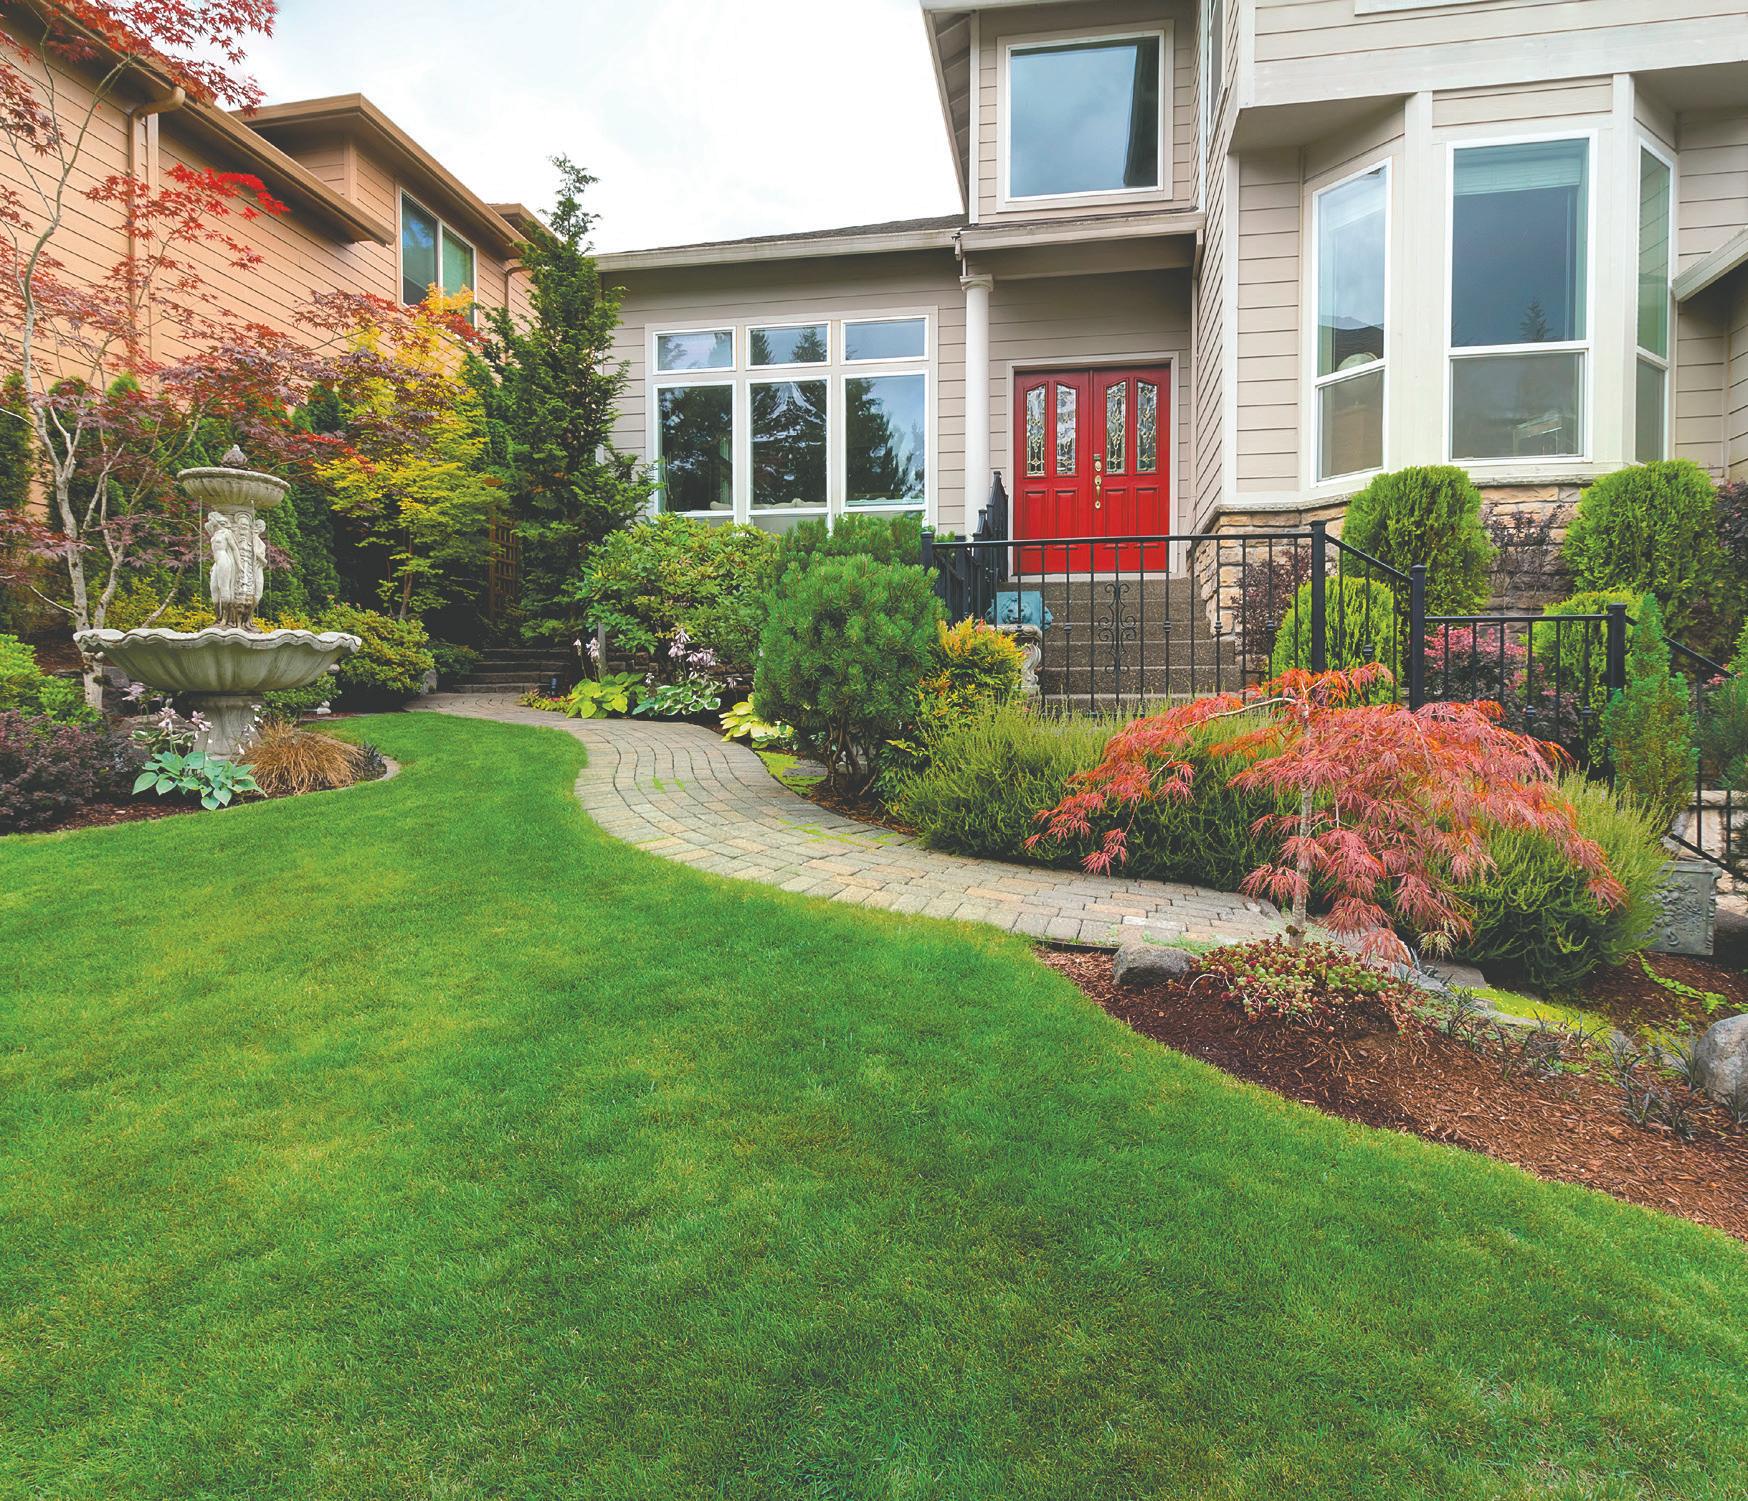
A well-manicured lawn adds undeniable curb appeal to a property. Homeowners who take pride in their lawns should know that they can take that pride all the way to the bank, as investing in a pristine lawn can provide a significant return at resale.
A 2019 report from the real estate experts at HomeLight found that a $268 investment in lawn care service can add $1,211 at resale. That’s a 352 percent return on investment.
Homeowners can capitalize on a pristine lawn even further by tending to their own lawns. Crabgrass is one lawn problem that can compromise the look of an otherwise lush lawn. Thankfully, crabgrass can be controlled without much effort.
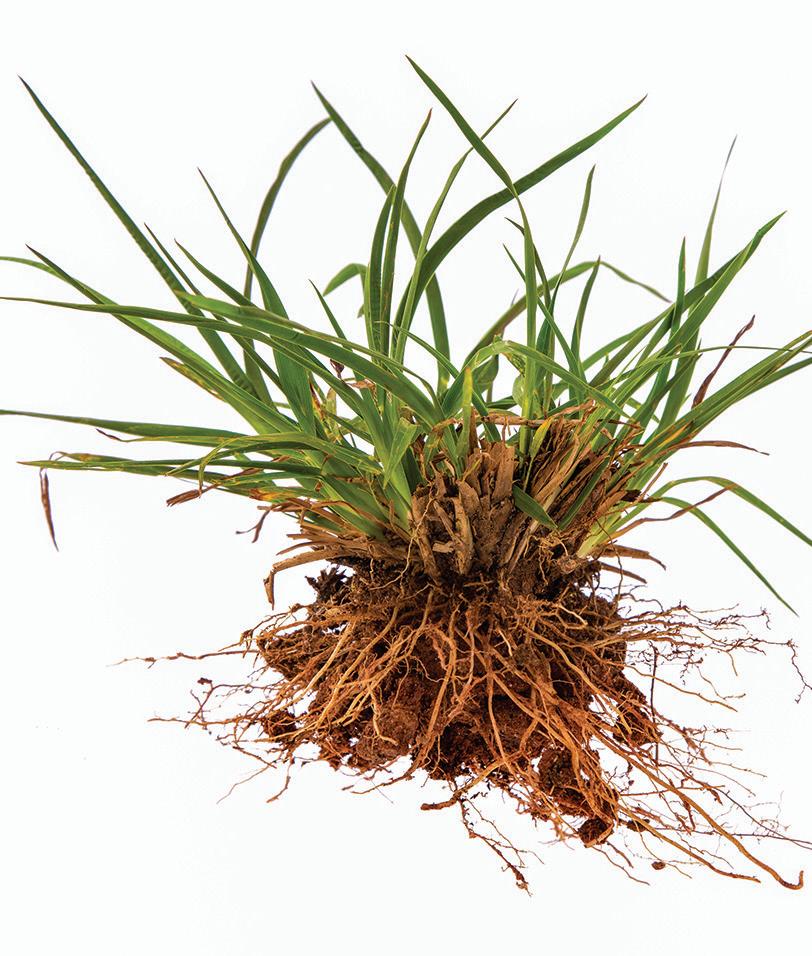
Identifying crabgrass
Crabgrass is a weed that grows in areas of a lawn that are bare or where the grass is thin. Crabgrass gets its name from its appearance, as it grows from the center outward and mimics the look of crab legs emerging from the center shell.
The growth of crabgrass
The University of Minnesota Extension notes that crabgrass is an annual plant. That means a crabgrass infestation that’s problematic once the mercury rises in the summer will die out in late fall or early winter. But crabgrass germinates in the
spring, so homeowners will want to take steps to prevent it long before it becomes an eyesore in summer.
How to corral crabgrass
The UME notes that application of a pre-emergent herbicide before crabgrass seeds can germinate is an effective way to eliminate it. The timing of that application can be tricky, as jumping the gun and applying the herbicide too early can prove fruitless. The same goes for applying herbicides too late. Crabgrass will likely still grow if the herbicide is applied too early or too late. UME recommends applying a pre-emergent herbicide when soil temperatures approach 55 F.
Home Depot notes that a chemical treatment may be applied after crabgrass has already grown in, but this option requires careful application to avoid killing surrounding healthy grass.
Crabgrass can be pulled out by hand, but such an approach can be physically daunting. That’s especially so because crabgrass thrives when the weather is hot and dry. So homeowners who intend to pull crabgrass by hand can decrease their risk of dehydration or heat-related illness by drinking plenty of water and pulling the grass during early morning or evening hours when the sun is lower and temperatures are more mild.
Homeowners should give due consideration to whether or not plants are considered invasive species before introducing new plants on their properties.
According to the National Ocean and Atmospheric Administration, invasive species of plants can lead to the extinction of native plants and animals. Invasive plant species also can reduce biodiversity and cause significant fundamental disruptions to local ecosystems. Though non-native plants are often cherished for their unique looks, homeowners plant-
ing new gardens or supplementing existing gardens with new plants are urged to plant only native species. Such an approach benefits plants and also local wildlife that depends on native plant species for food and cover.
Homeowners choose plants for their properties based on a number of variables. Some may be into growing their own foods, while others desire their gardens to be an awe-inspiring mélange of bright colors and alluring scents. There’s no wrong reason to plant a fresh garden, but some plants offer extra benefits, such as repelling insects.
Insects can be a nuisance and a threat to individuals’ overall health. According to the American Academy of Family Physicians, insect-borne diseases are viral and bacterial illnesses that develop from insect bites. Mosquitoes, sand flies and fleas are some examples of insects that can pass on disease. Fever, chills, headache, and muscle soreness are just a few of the more common symptoms linked to insect-borne diseases.
The good news for avid gardeners is that certain plants can help repel insects and provide the additional benefits like fresh food and aesthetic appeal that so many people love.
• Basil: The aroma of fresh basil is enough to

compel any gardener to make a place for it in their garden. But there’s more to fresh basil than its scent, as the Farmers Almanac notes it can be used to repel mosquitoes and moths.
• Lavender: Fleas, flies, mosquitoes, and moths are not fans of this aromatic and colorful member of the mint family. Bees tend to be drawn to lavender, a durable plant that many garden centers recommend in areas prone to drought or hot summers without much precipitation.
• Mint: Mint is another plant that is instantly recognizable for its aroma. But mint lovers may not realize that it’s also great for keeping ants at bay. Mint also can be used to repel mosquitoes, but gardeners with no experience planting mint should plant it in pots. That’s be-
cause the Farmers Almanac notes mint is an especially aggressive spreader that can quickly take over a garden. Separating mint in pots can prevent it from bullying its way into other plants’ domains.
• Lemongrass: Lemongrass is a tropical grass that’s so fragrant it’s often used in perfumes. Lemongrass contains citronella, which many people associate with repelling mosquitoes. A potted lemongrass plant can repel these unwanted guests, keeping them away from decks, porches and/or patios all summer long.
• Chrysanthemums: The Farmers’ Almanac® recommends using chrysanthemums, which repel a range of insects from bedbugs to fleas to ants, as border plants around a home. That’s because they contain the natural insecticide pyrethrin, which can serve as something of an insect-repelling boundary around a home. Insects are unwanted guests around a home each spring, summer and fall. Certain plants can help repel insects and serve as an eco-friendly alternative to insecticides.
A do-it-yourselfer is only as good as his or her tools. Without the proper tools, even the handiest men and women may struggle to complete jobs well within their abilities. It doesn’t take a seasoned do-it-yourselfer to recognize when hammers and screwdrivers need to be replaced. And such tools are generally so affordable that replacing them, even when they still have some utility, won’t affect too many DIYers’ budgets. However, power tools are considerable investments that do not necessarily need to be discarded when the first signs of trouble pop up. In fact, sometimes power tools just need some TLC to become useful once again. The following are some common symptoms of power tool problems, and what may be behind those problems.
Difficulty starting A power tool that won’t start can delay a project. But a tool that won’t start should not be immediately written off, especially not before DIYers employ a multimeter. The cost of digital multimeters varies widely, with some retailing for less than $20 while
others sell for hundreds and hundreds of dollars. Serious DIYers who spend every weekend working on one project or another may find the more expensive multimeters more to their liking, but many weekend warriors can get by with less expensive alternatives. Multimeters are useful because they can measure voltage on a power tool to determine if power is effectively moving through the tool. Dust and dirt also can compromise power tools. This may be especially likely in spring, a time synonymous with home renovations, when many homeowners pick up their tools for the first time in months. Inspect a power tool that’s not starting to see if dust or dirt is the culprit. If so, clean the tool and then try to start it again. Loss of power
Some power tools may start but still lack the extra muscle that make power tools more beneficial than manual tools. In such instances, the carbon brushes might need to be replaced. The online resource ereplacement.parts.com notes that heat damage to brushes can reduce the overall
conductivity of the brush, resulting in less power reaching the tool’s motor. In such instances, replace the carbon brushes. In addition, chipped or damaged brushes can result in inconsistent power output. Replacing the brushes in such instances may be all that’s necessary to restore a tool to its powerful self.
Burning smell
Many a DIYer has dealt with a power tool that emits an odor of burning. The power tool experts at Grainger notes that tools like sanders contain drive belts, and these belts should be the first place to look when tools produce a burning smell. When the drive belt is to blame, the tool will typically stop working even when the motor is running. Capacitors may be behind the burning smell when using tools without drive belts. Sometimes tools have simply overheated. Whenever DIYers get a whiff of that burning smell, turn off the tool immediately and let it sit for 30 minutes before trying to diagnose the problem. Replacing these parts can restore them to full usefulness and get rid of that unwelcome aroma.