KITCHEN BUYING GUIDE

Your step-by-step planning companion

Your step-by-step planning companion
This is your time to dream and explore. Think about how you cook, entertain, and live in your kitchen. Do you lean toward modern minimalism or traditional charm? Whether it’s the clean lines of Nobilia’s modern collection, or the tactile warmth of Antares’ Italian design, we have a solution that’s distinctly yours.
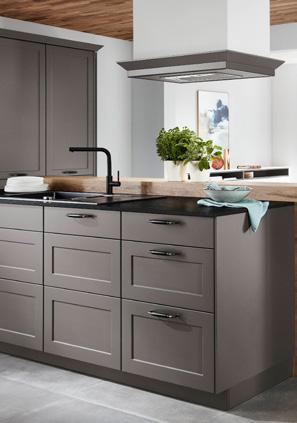
Love tradition?
Discover kitchens with visible drawers, panel detailing, and warm wood textures.
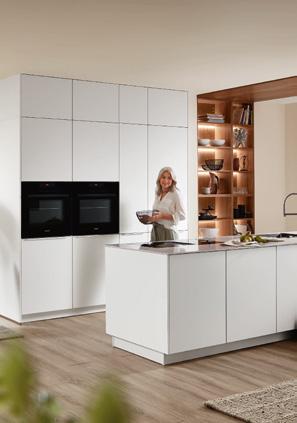
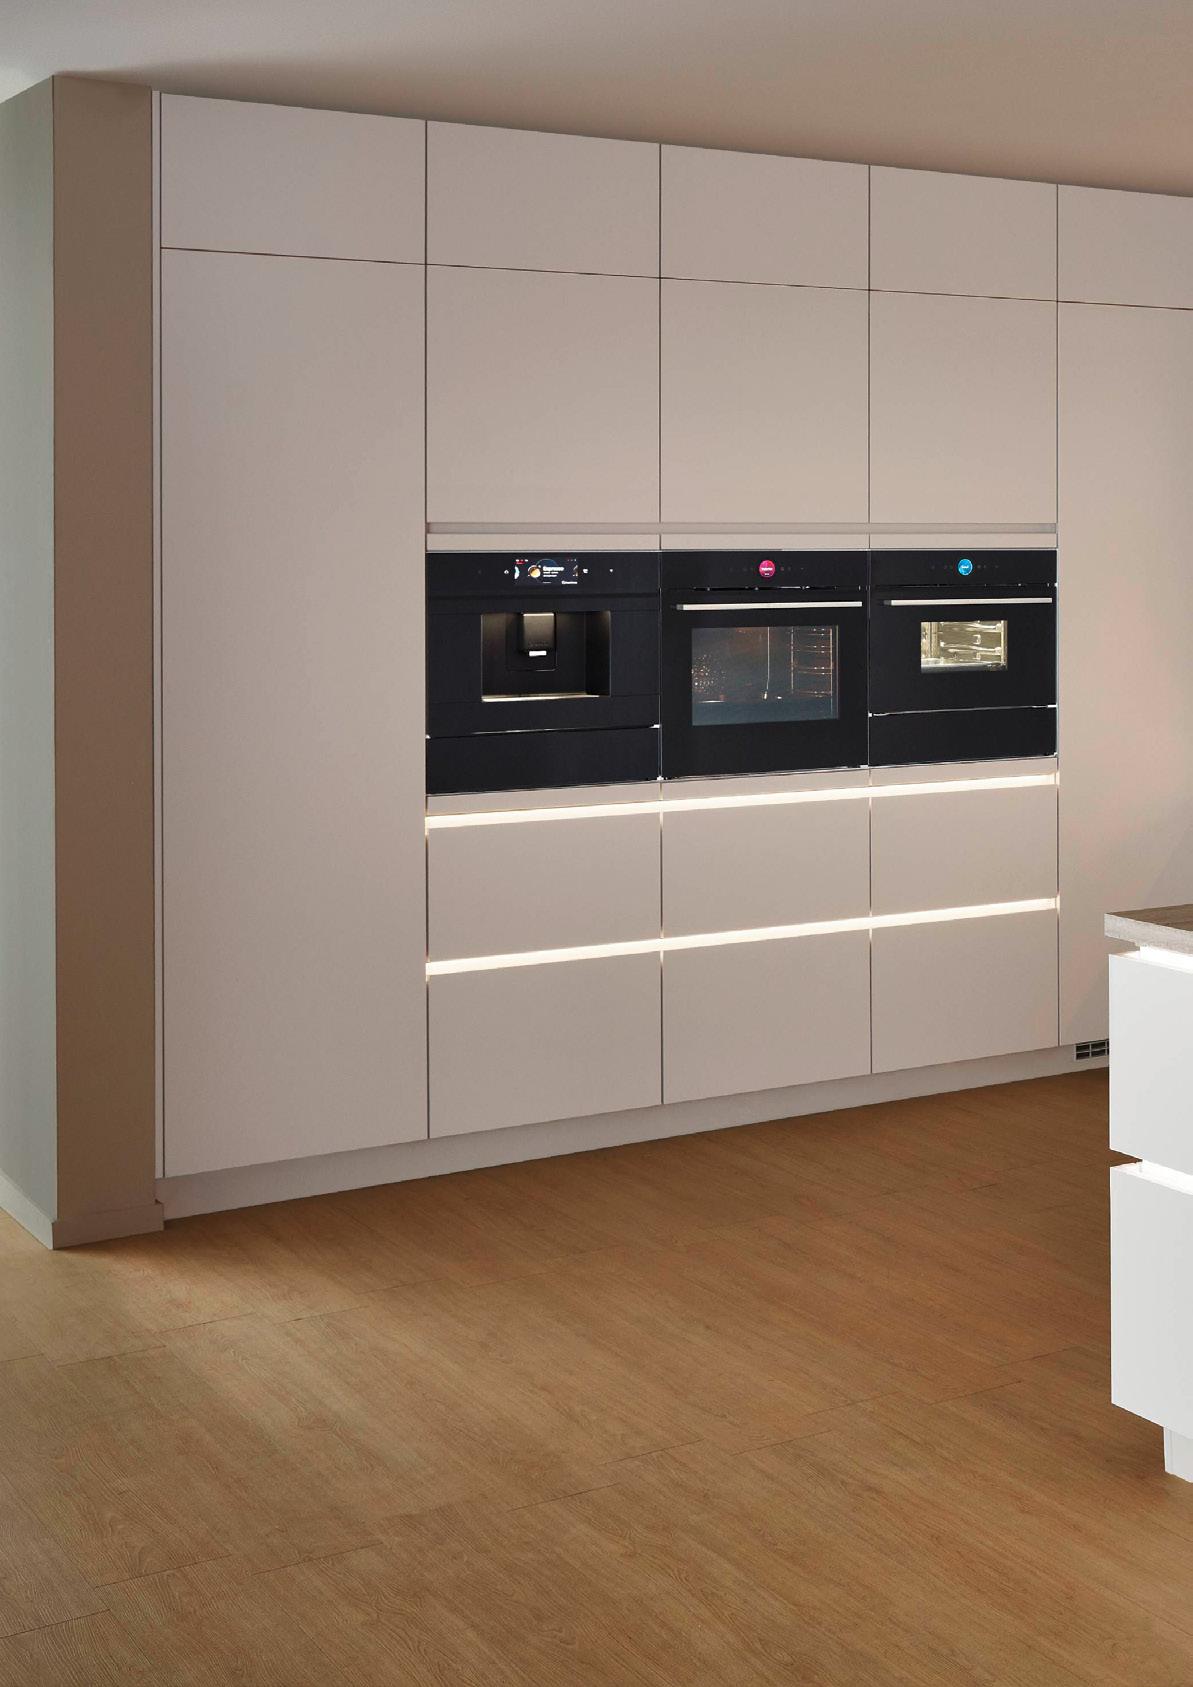
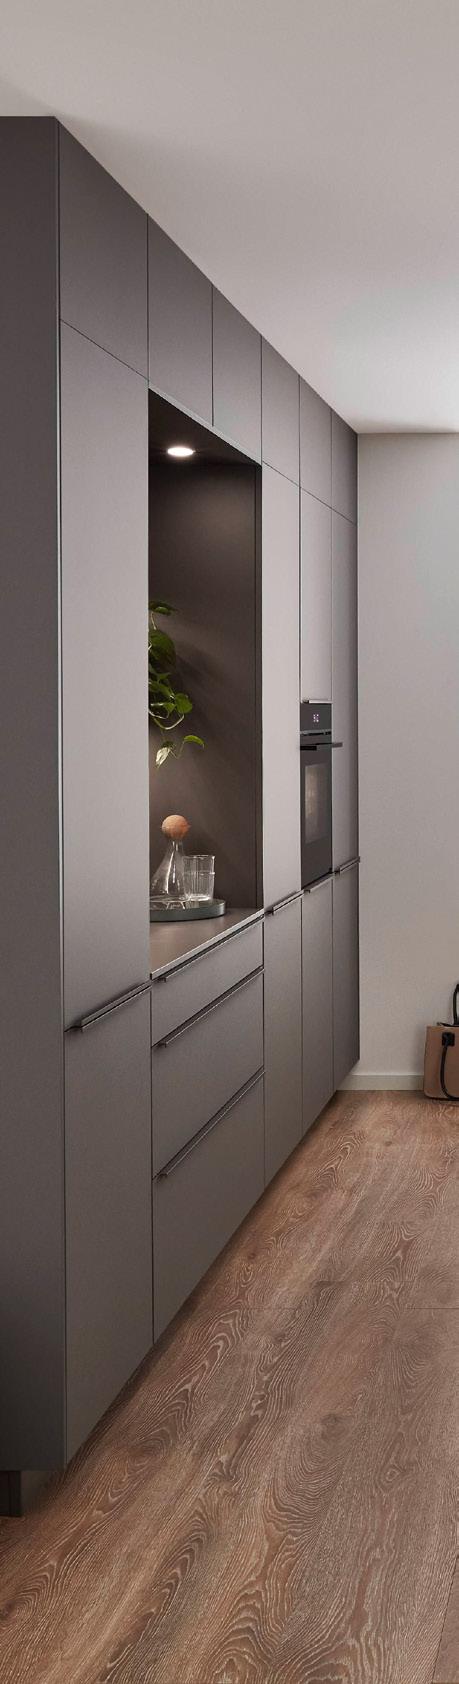
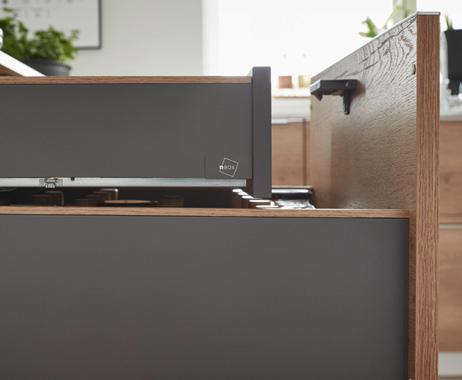
Prefer modern? Go sleek with seamless cabinets, push-to-open drawers, and integrated appliances.
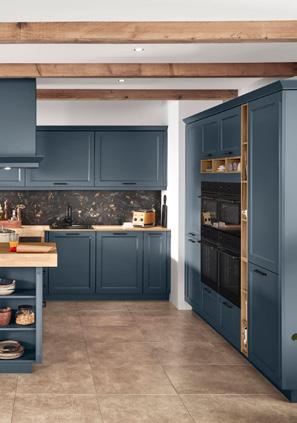
Want both? Combine classic layouts with modern finishes for a timeless look.
At Oxford House, we bring together German craftsmanship with contemporary Italian style, offering you the complete kitchen solution with Nobilia and Antares furniture, paired with premium Bosch and Neff appliances.
Whether your space is large or small, our expert-curated ranges cater to every style and need. With full-service planning and optional professional installation, creating your dream kitchen has never been easier.
We know that planning a kitchen can feel overwhelming. From choosing layouts to selecting appliances, surfaces, and finishes. That’s why our experienced kitchen and appliance consultants are here to guide you through every step, helping reduce stress and simplify the process.
Accurate measurements are the foundation of a successful kitchen plan. What you’ll need: measuring tape, notepad (or phone), and a helper. Take photos to support your measurements, they help our designers understand your space.
Tip: Measure in millimetres to avoid conversion errors.
Step 1: Measure floor-to-ceiling and wallto-wall dimensions.
Step 2: Record windows and doors including frames, and how far they are from corners, ceilings, and the floor.
Step 3: Note all fixtures that stick out: ACs, beams, sockets, switches, and water points.
1. Place your main prep zone between the sink and the hob.
2. Ensure opposing cabinets allow both doors to open comfortably.
3. Install extractor hoods at the correct height for best performance.
4. Add a 50mm filler between the wall and cabinet sides.
5. Keep hob and sink on the same run to avoid carrying hot items.
6. Reserve space for heat mats near cooking areas.
7. Wall units should never block your view or workspace.
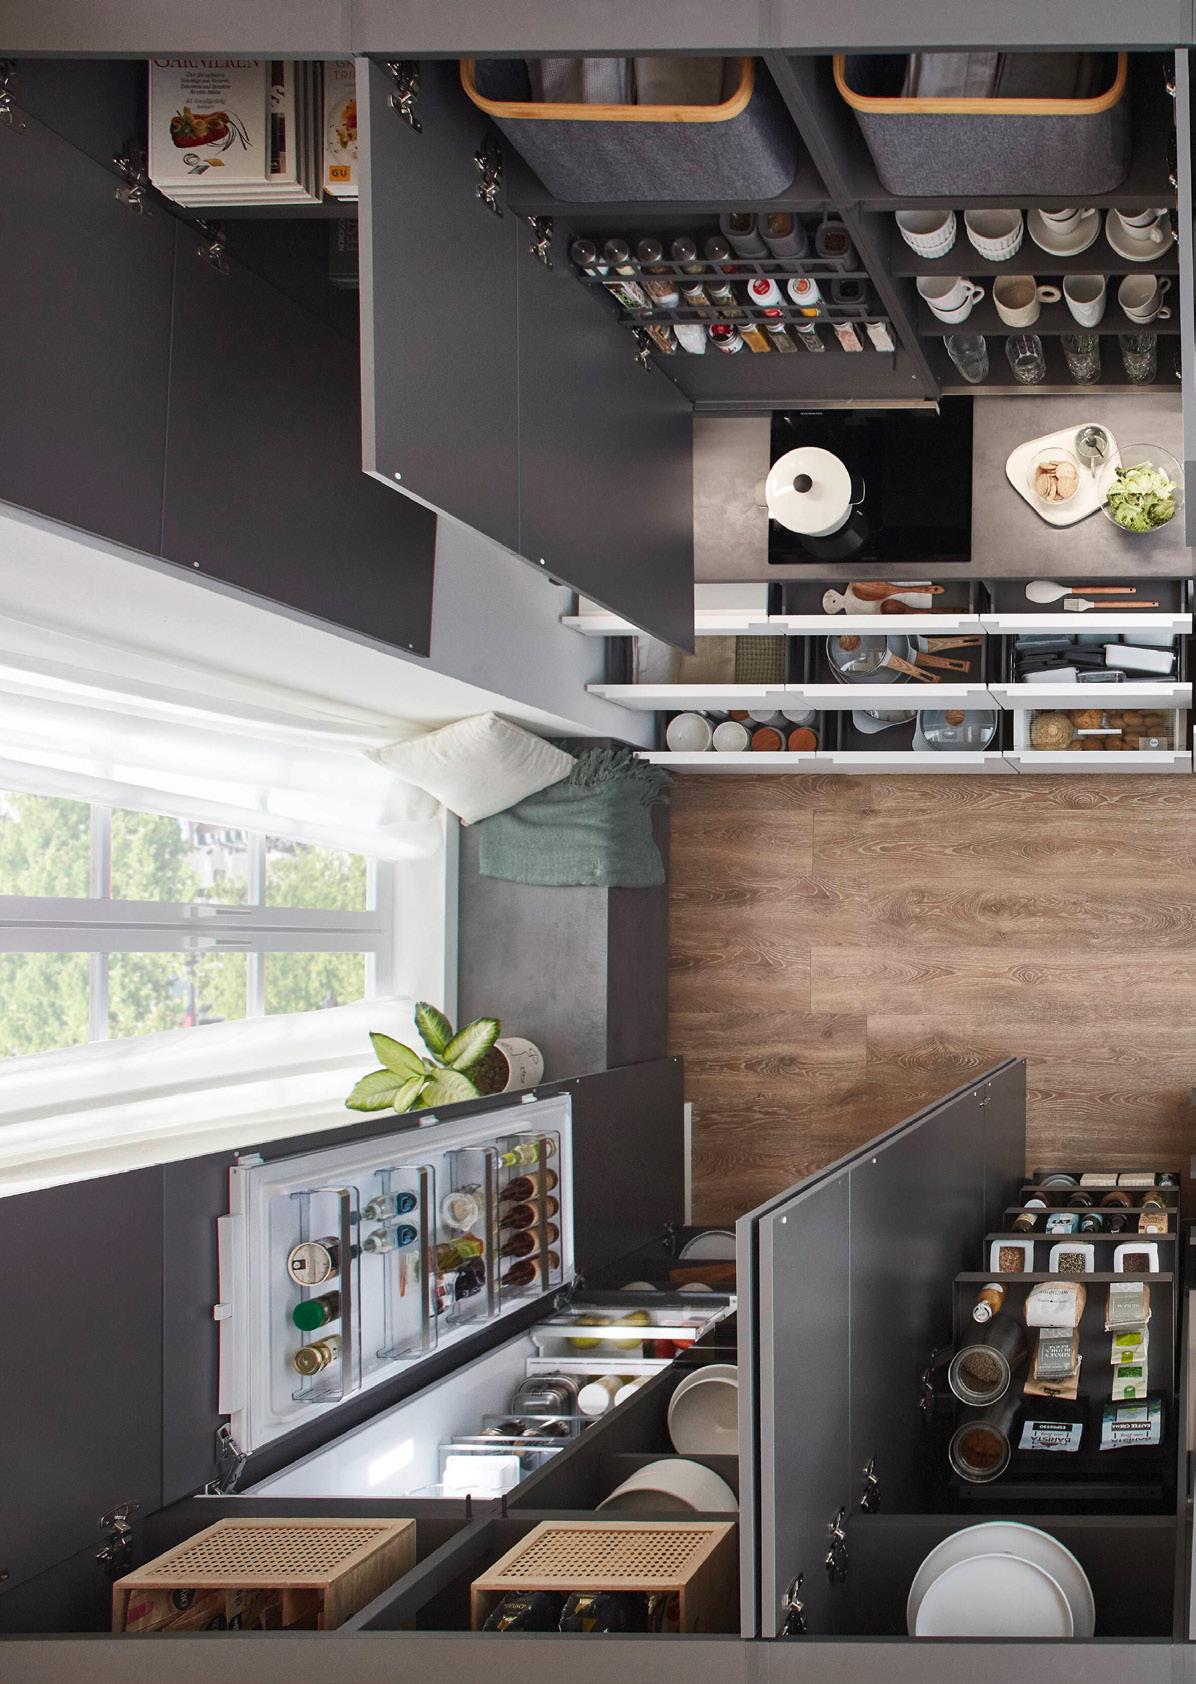
These smart kitchen tips are designed to enhance your daily routine, combining function, comfort, and convenience. Whether you’re an avid cook or simply enjoy a well-organized space, small design decisions like lighting, layout, and storage can make a big difference in how your kitchen feels and performs.
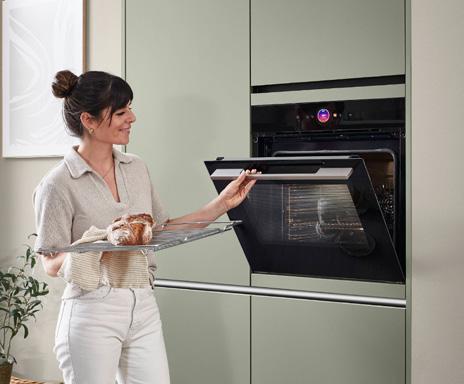
Raise your oven to eye-level for better access.
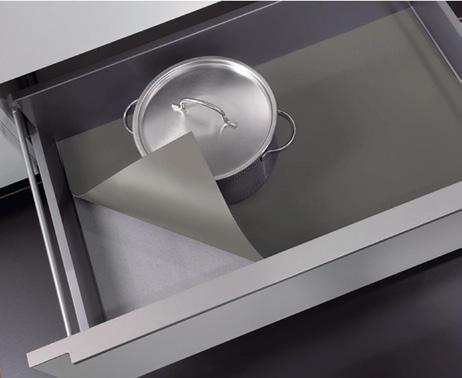
Use drawer mats to reduce noise and protect items.
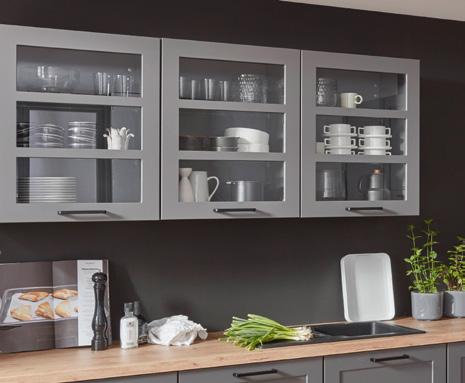
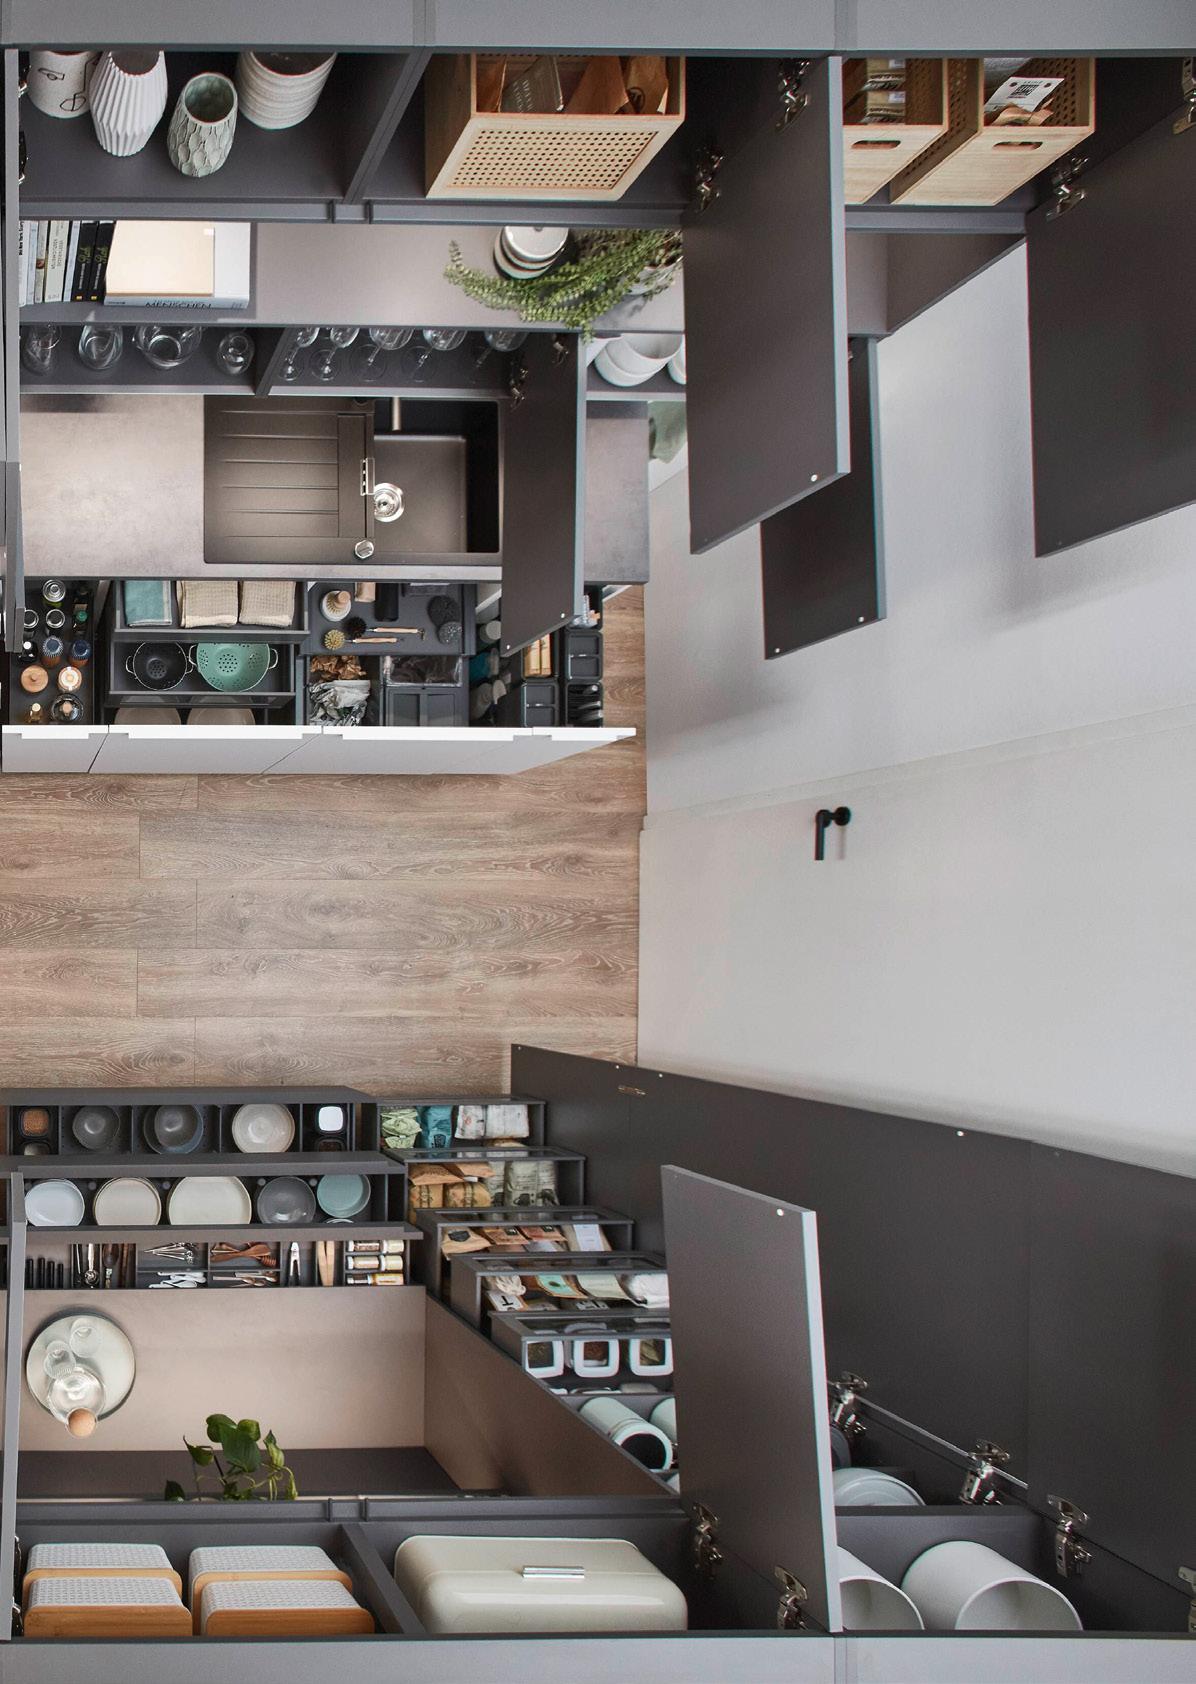
Use glass doors to showcase glasses and lighten up the room.
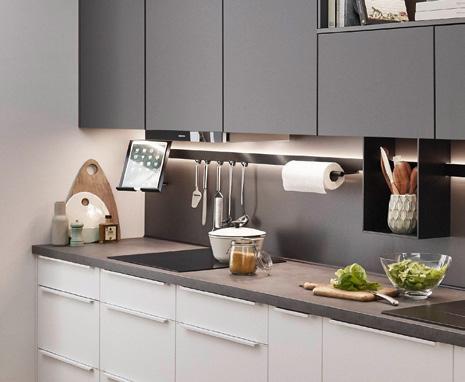
Install wall rails for utensils and spices to keep surfaces clear.
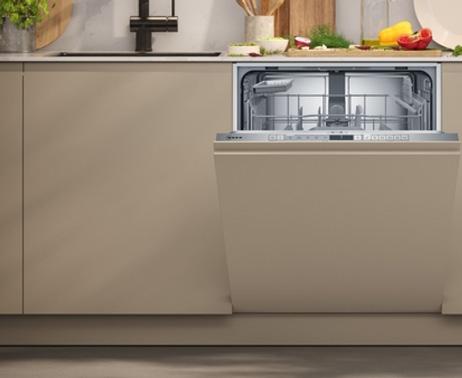
Place the dishwasher next to the sink for easier loading.
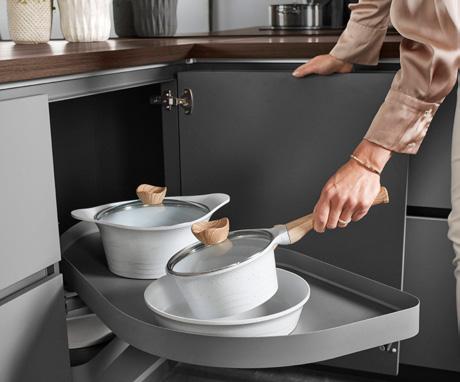
Use pull-out base and corner units to access every inch.
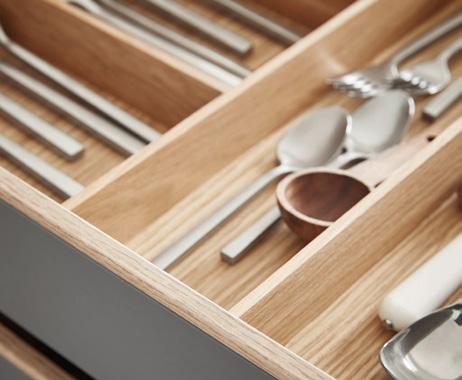
Store cooking tools near your hob and sink.
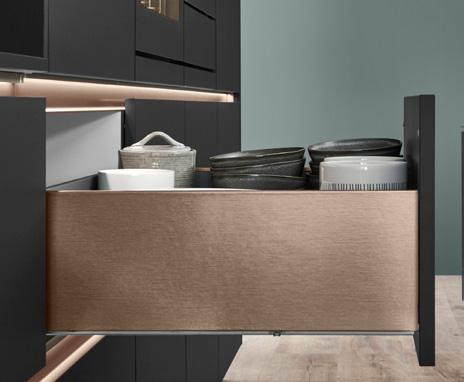
Add drawer and cabinet lighting for ambiance and function.

Keep waste sorting bins under or next to the sink.
Hide clutter with internal drawers behind sleek fronts.
Remember to bring your plan and measurements to your kitchen consultation.
2. Layout: Linear
Galley with island
with island 3. Units and storage require:
9. Type of hob:
10. Type of hood: Wall-mounted Ceiling
11. Type of oven:
12. Type of refrigerator:
13. Type of dishwasher:
8. Target installation date: Built-in Semi-integrated Free-standing
Sink type:
15. Mixer type: Built-in
16. Do you have any existing appliances that you would like to include? Yes No
WHEN SPACE IS LIMITED, SMART DESIGN MAKES ALL THE DIFFERENCE.
Choose a compact sink that fits a 600mm cabinet.
Use wall space to maximise storage options and free up your worktop.
Maintain at least 400mm between hob and sink. Leave 200mm space between the hob and the wall.
Distribution box equipped with over and under voltage protection
Always consult with a certified electrician.