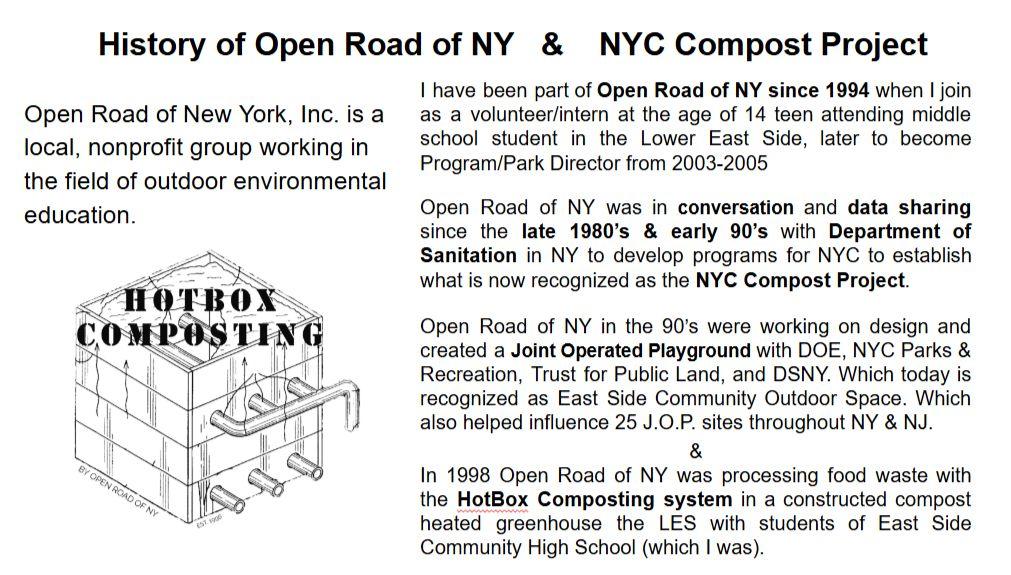
HotBox Composting

By Paula Hewitt and Nando Rodriguez with 5,000+ youth

By Paula Hewitt and Nando Rodriguez with 5,000+ youth

The Process (Interviews by Paula of people in the community)
Overview of a participatory design process for how a HotBox may (or may not) fit into your goals for environmental justice, learning, growing and eating food, composting waste, and completing the circle.
Organizing
Fact Finding
Generating Design Ideas
Creating a Design
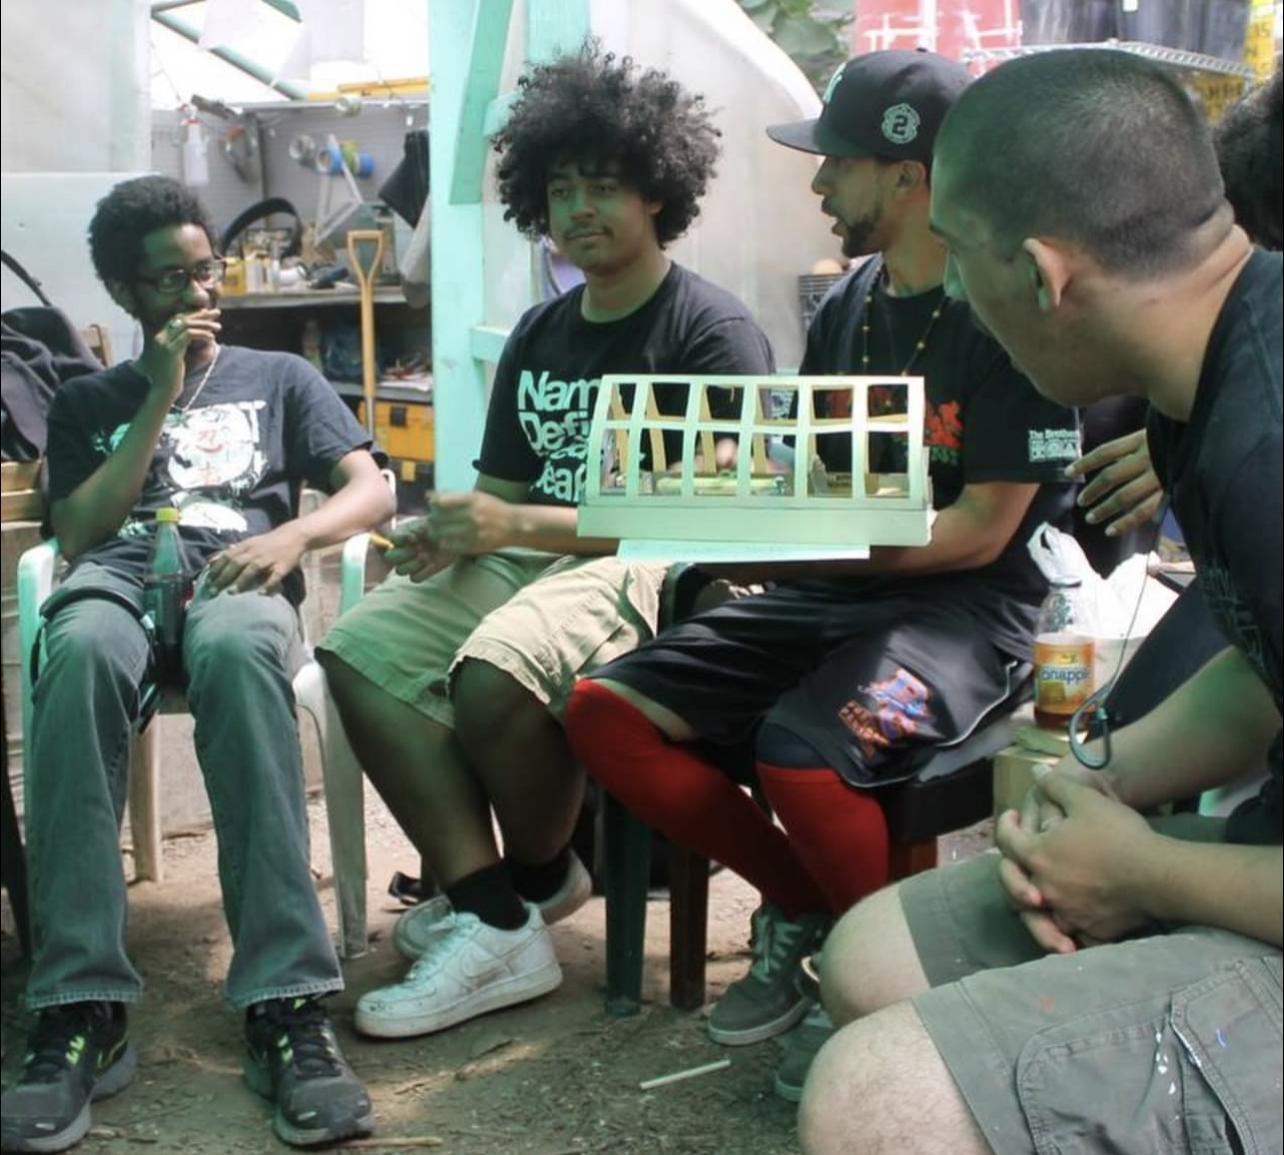
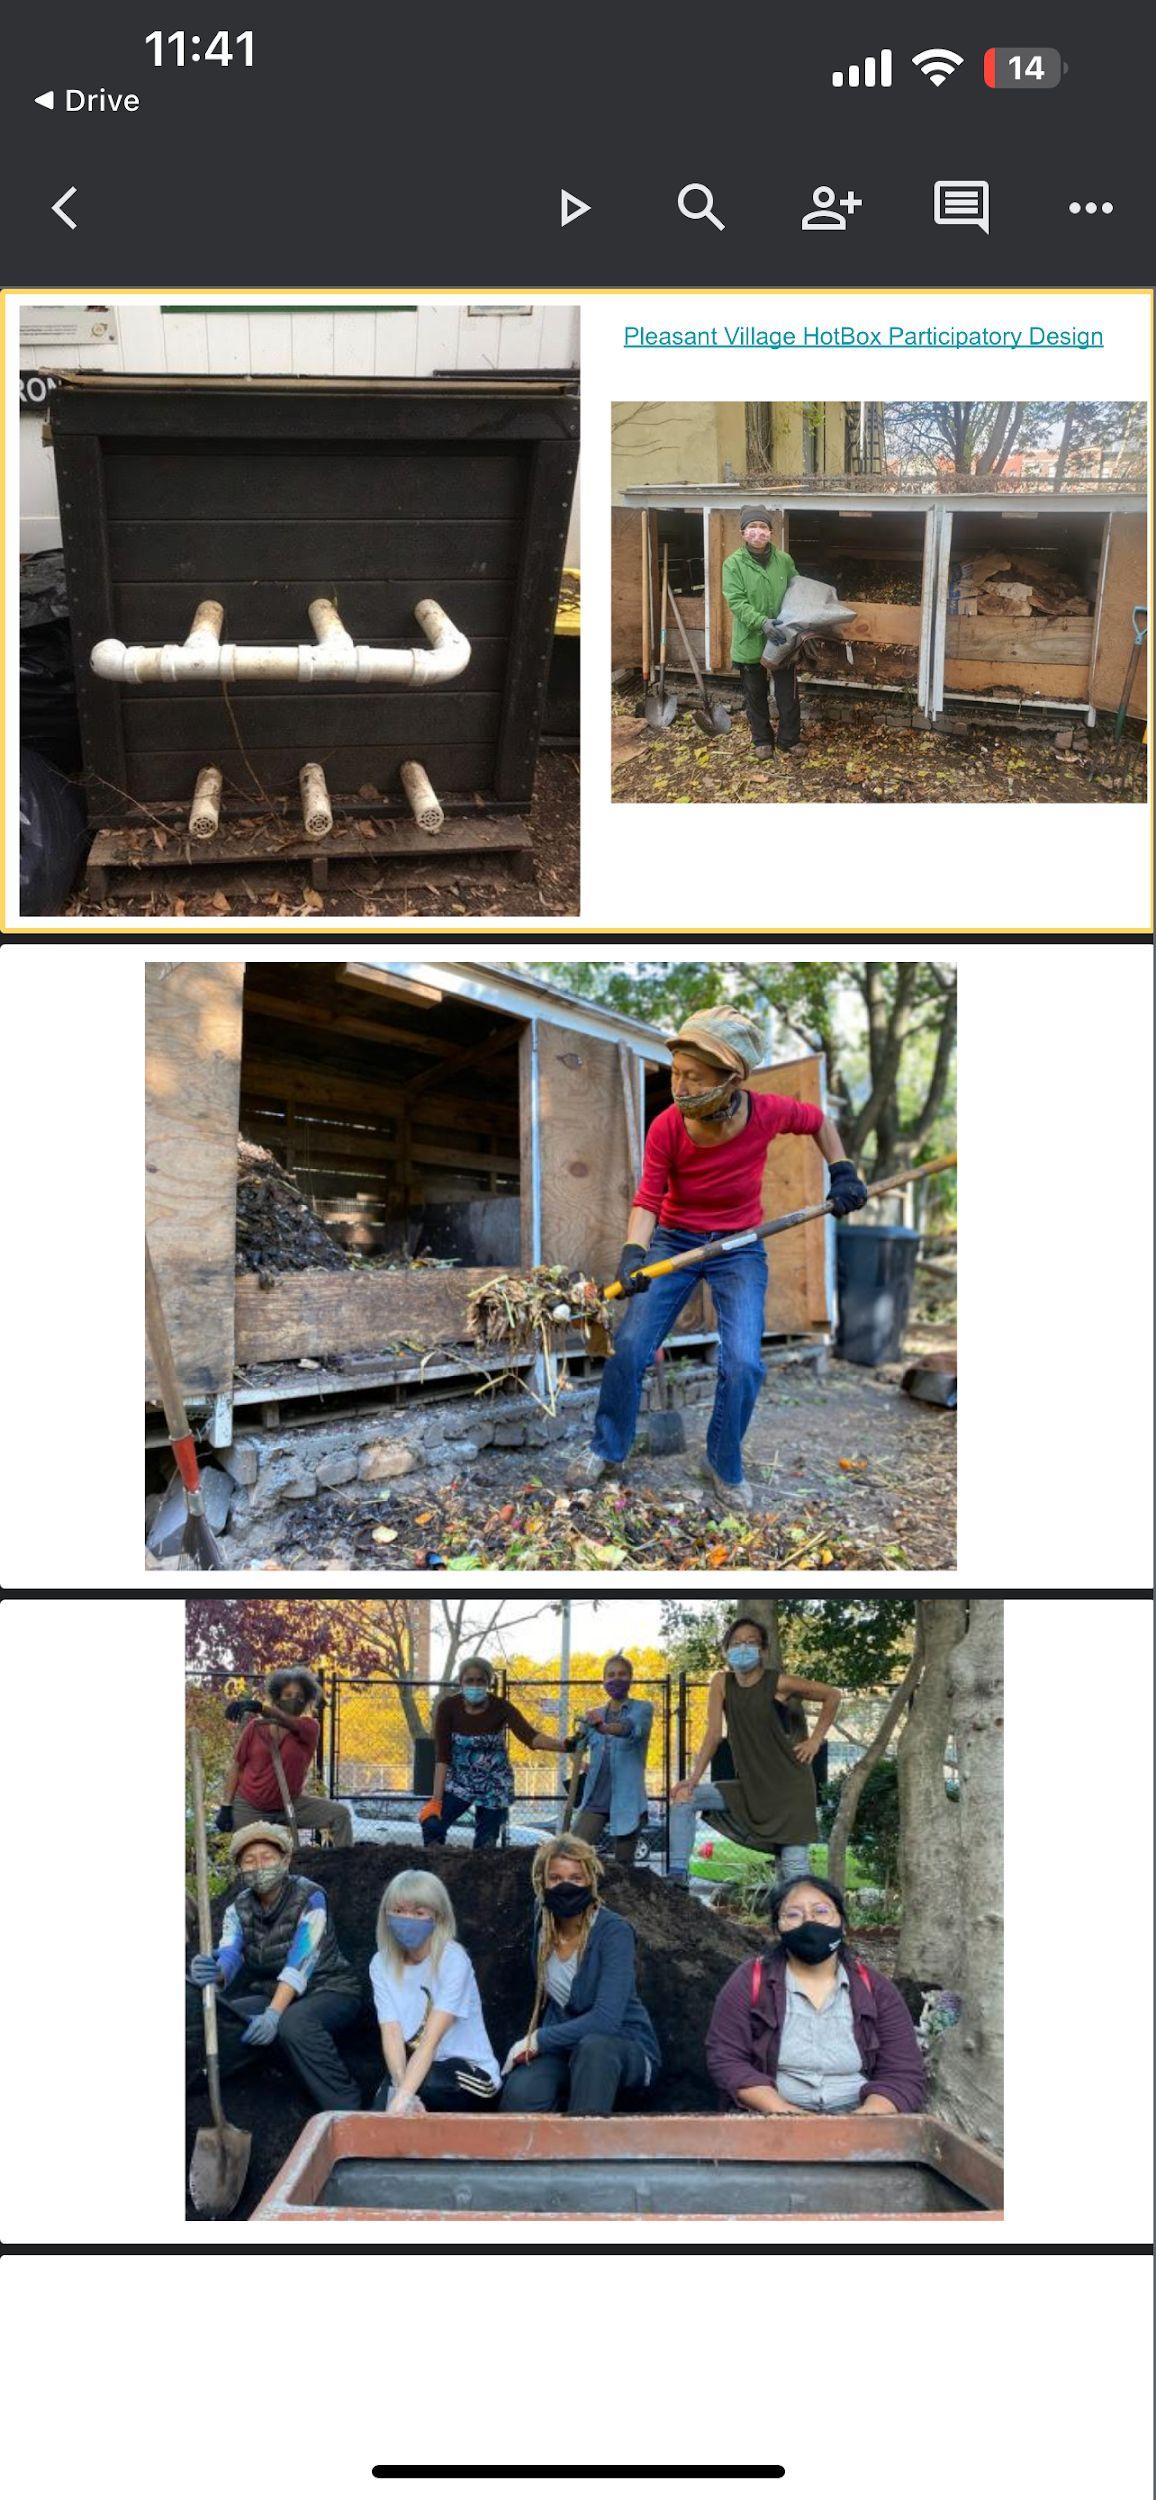
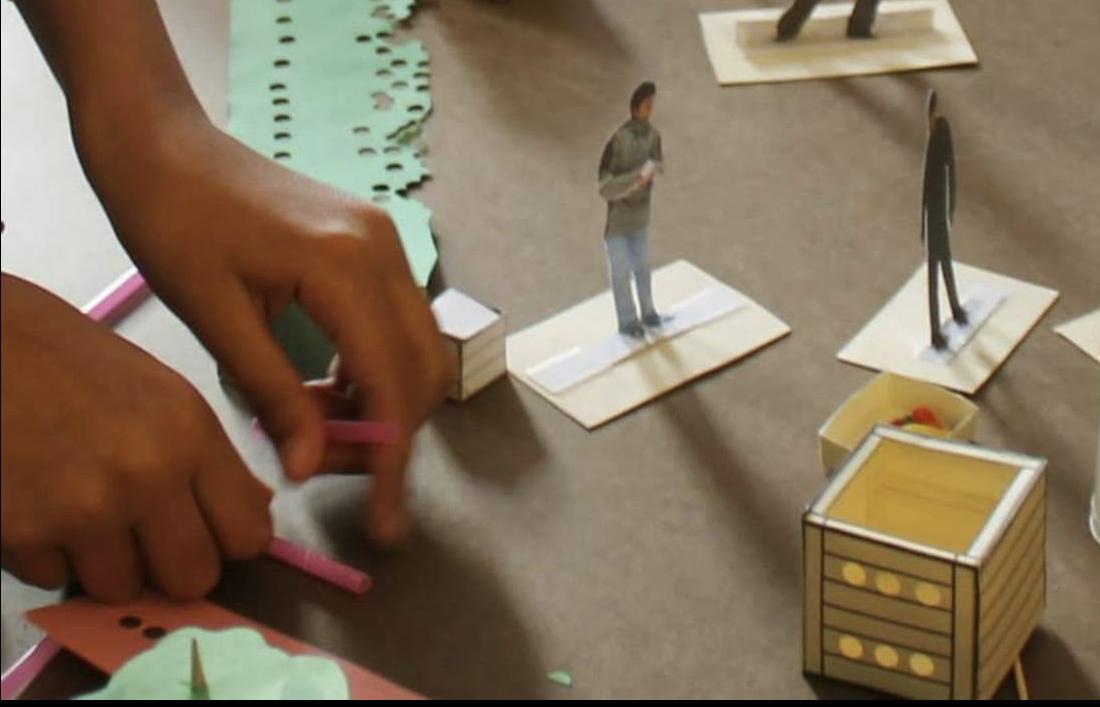
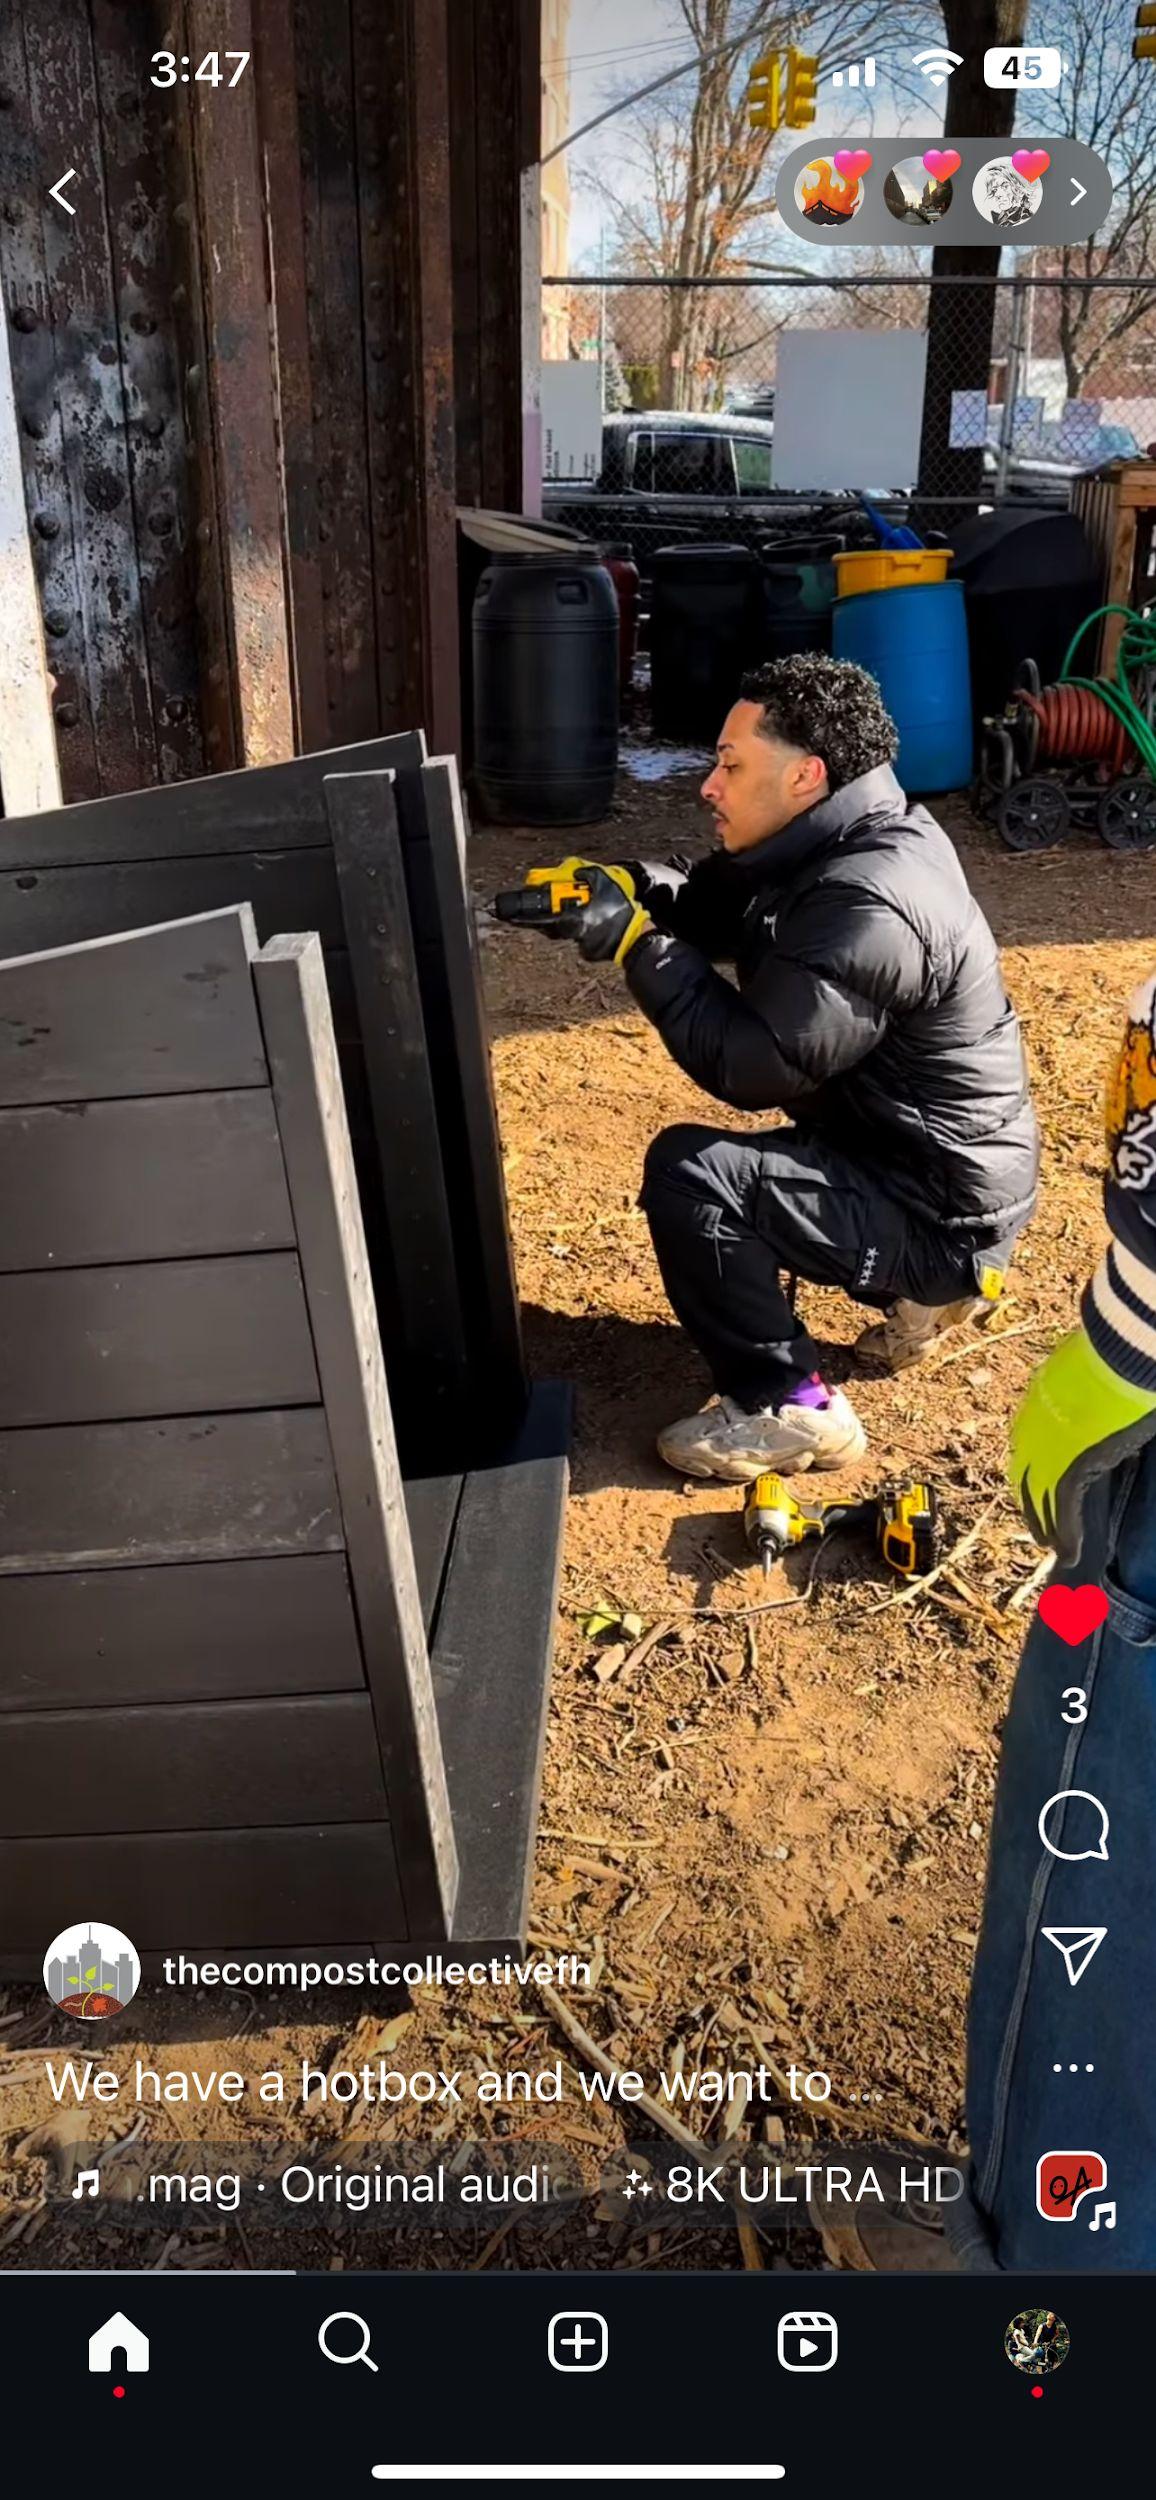
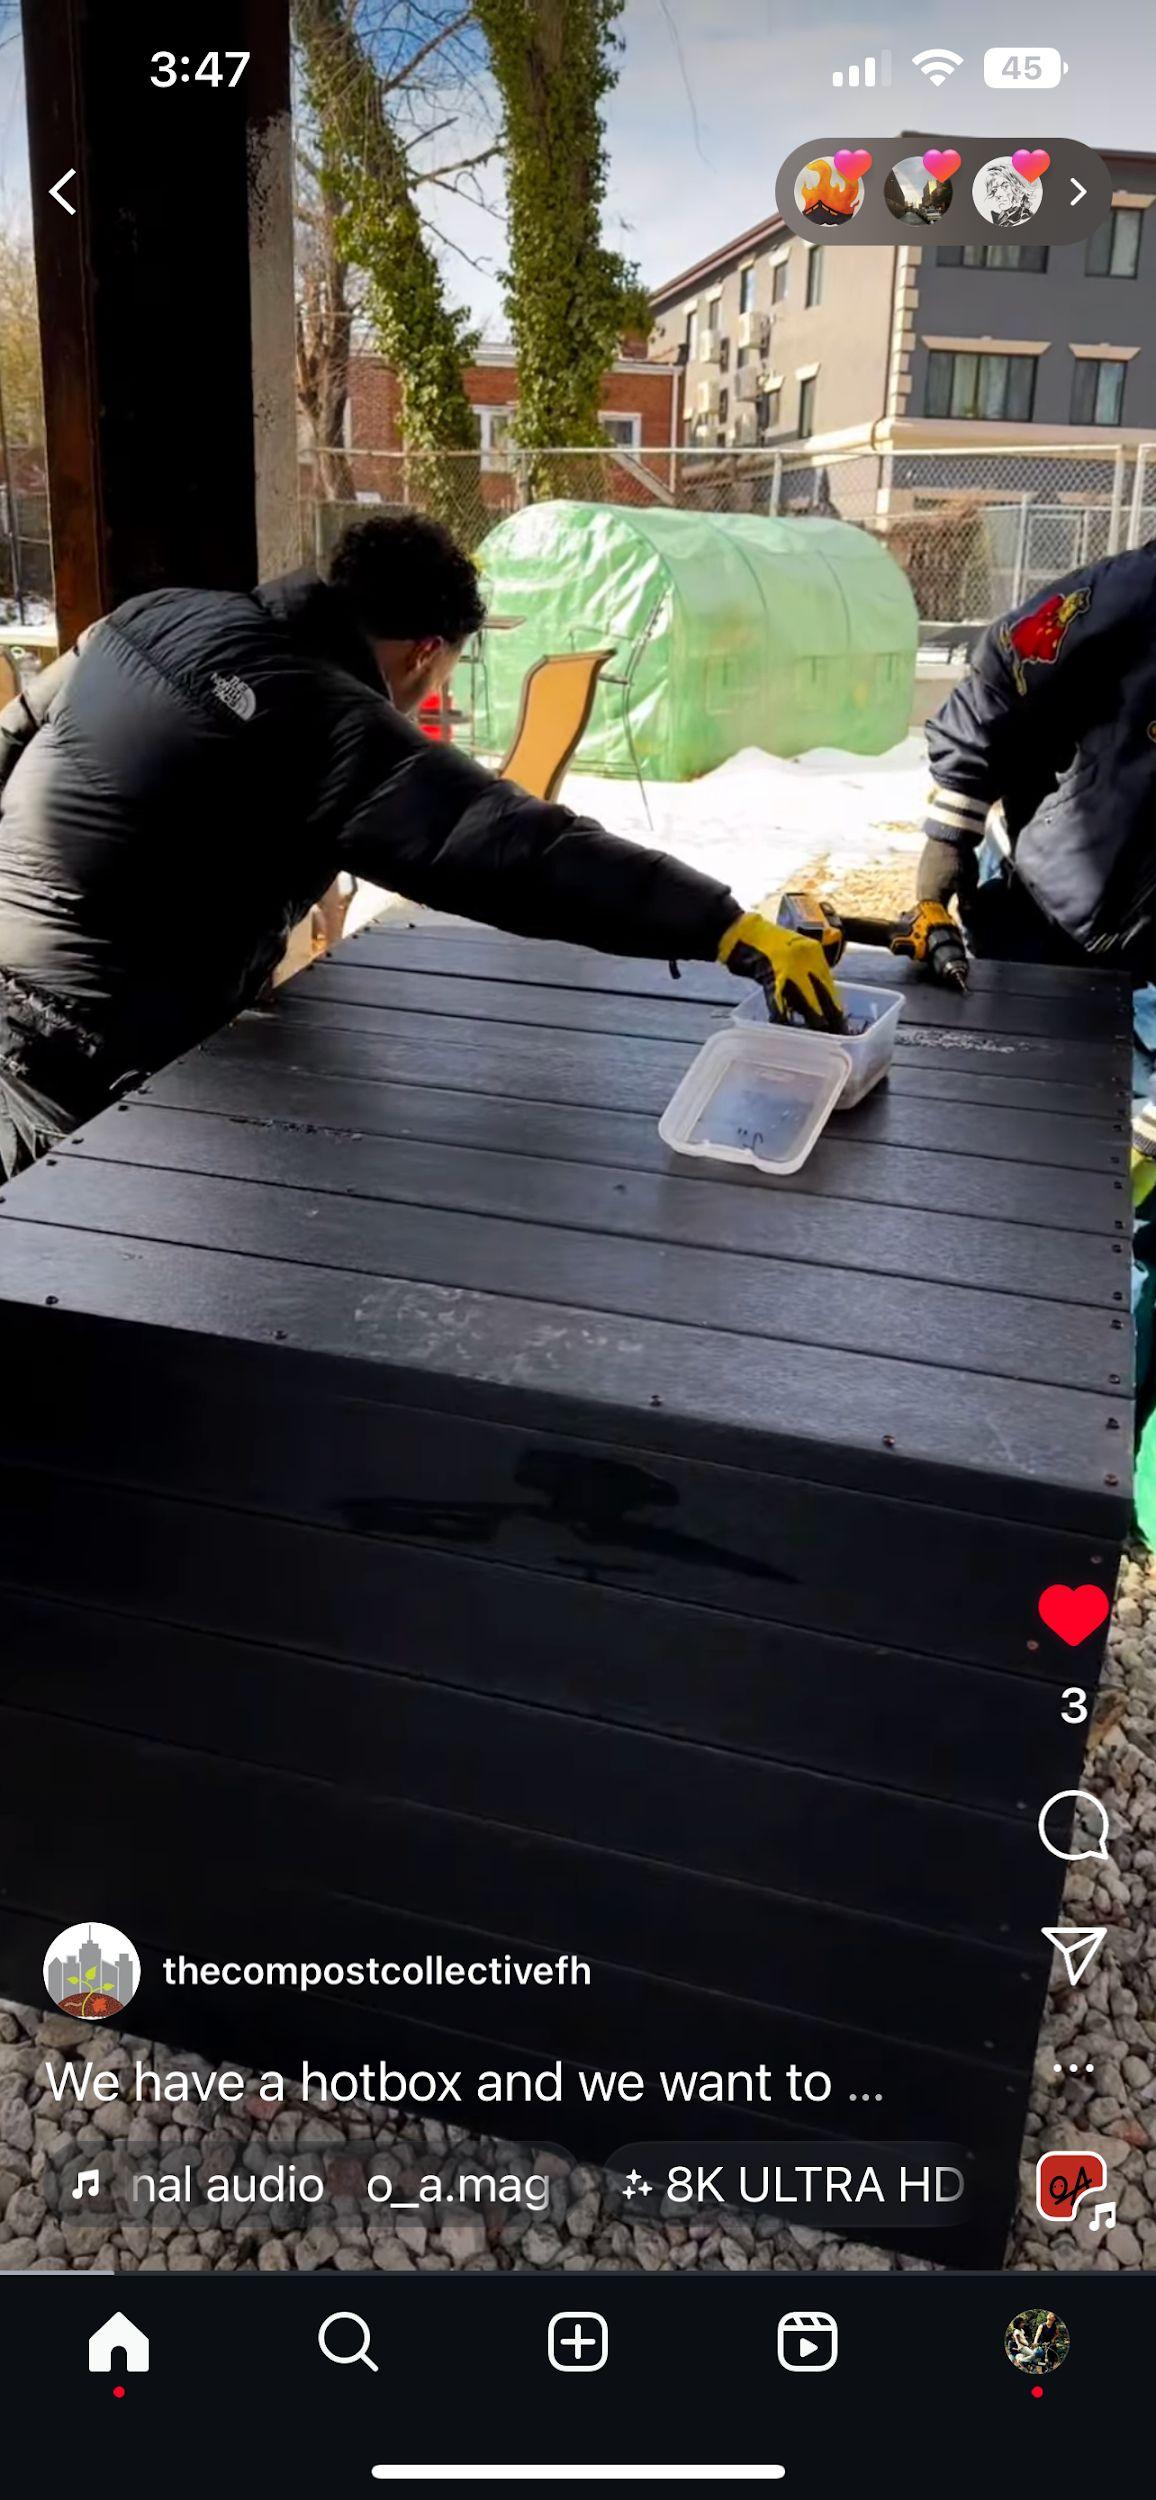
Building your Project
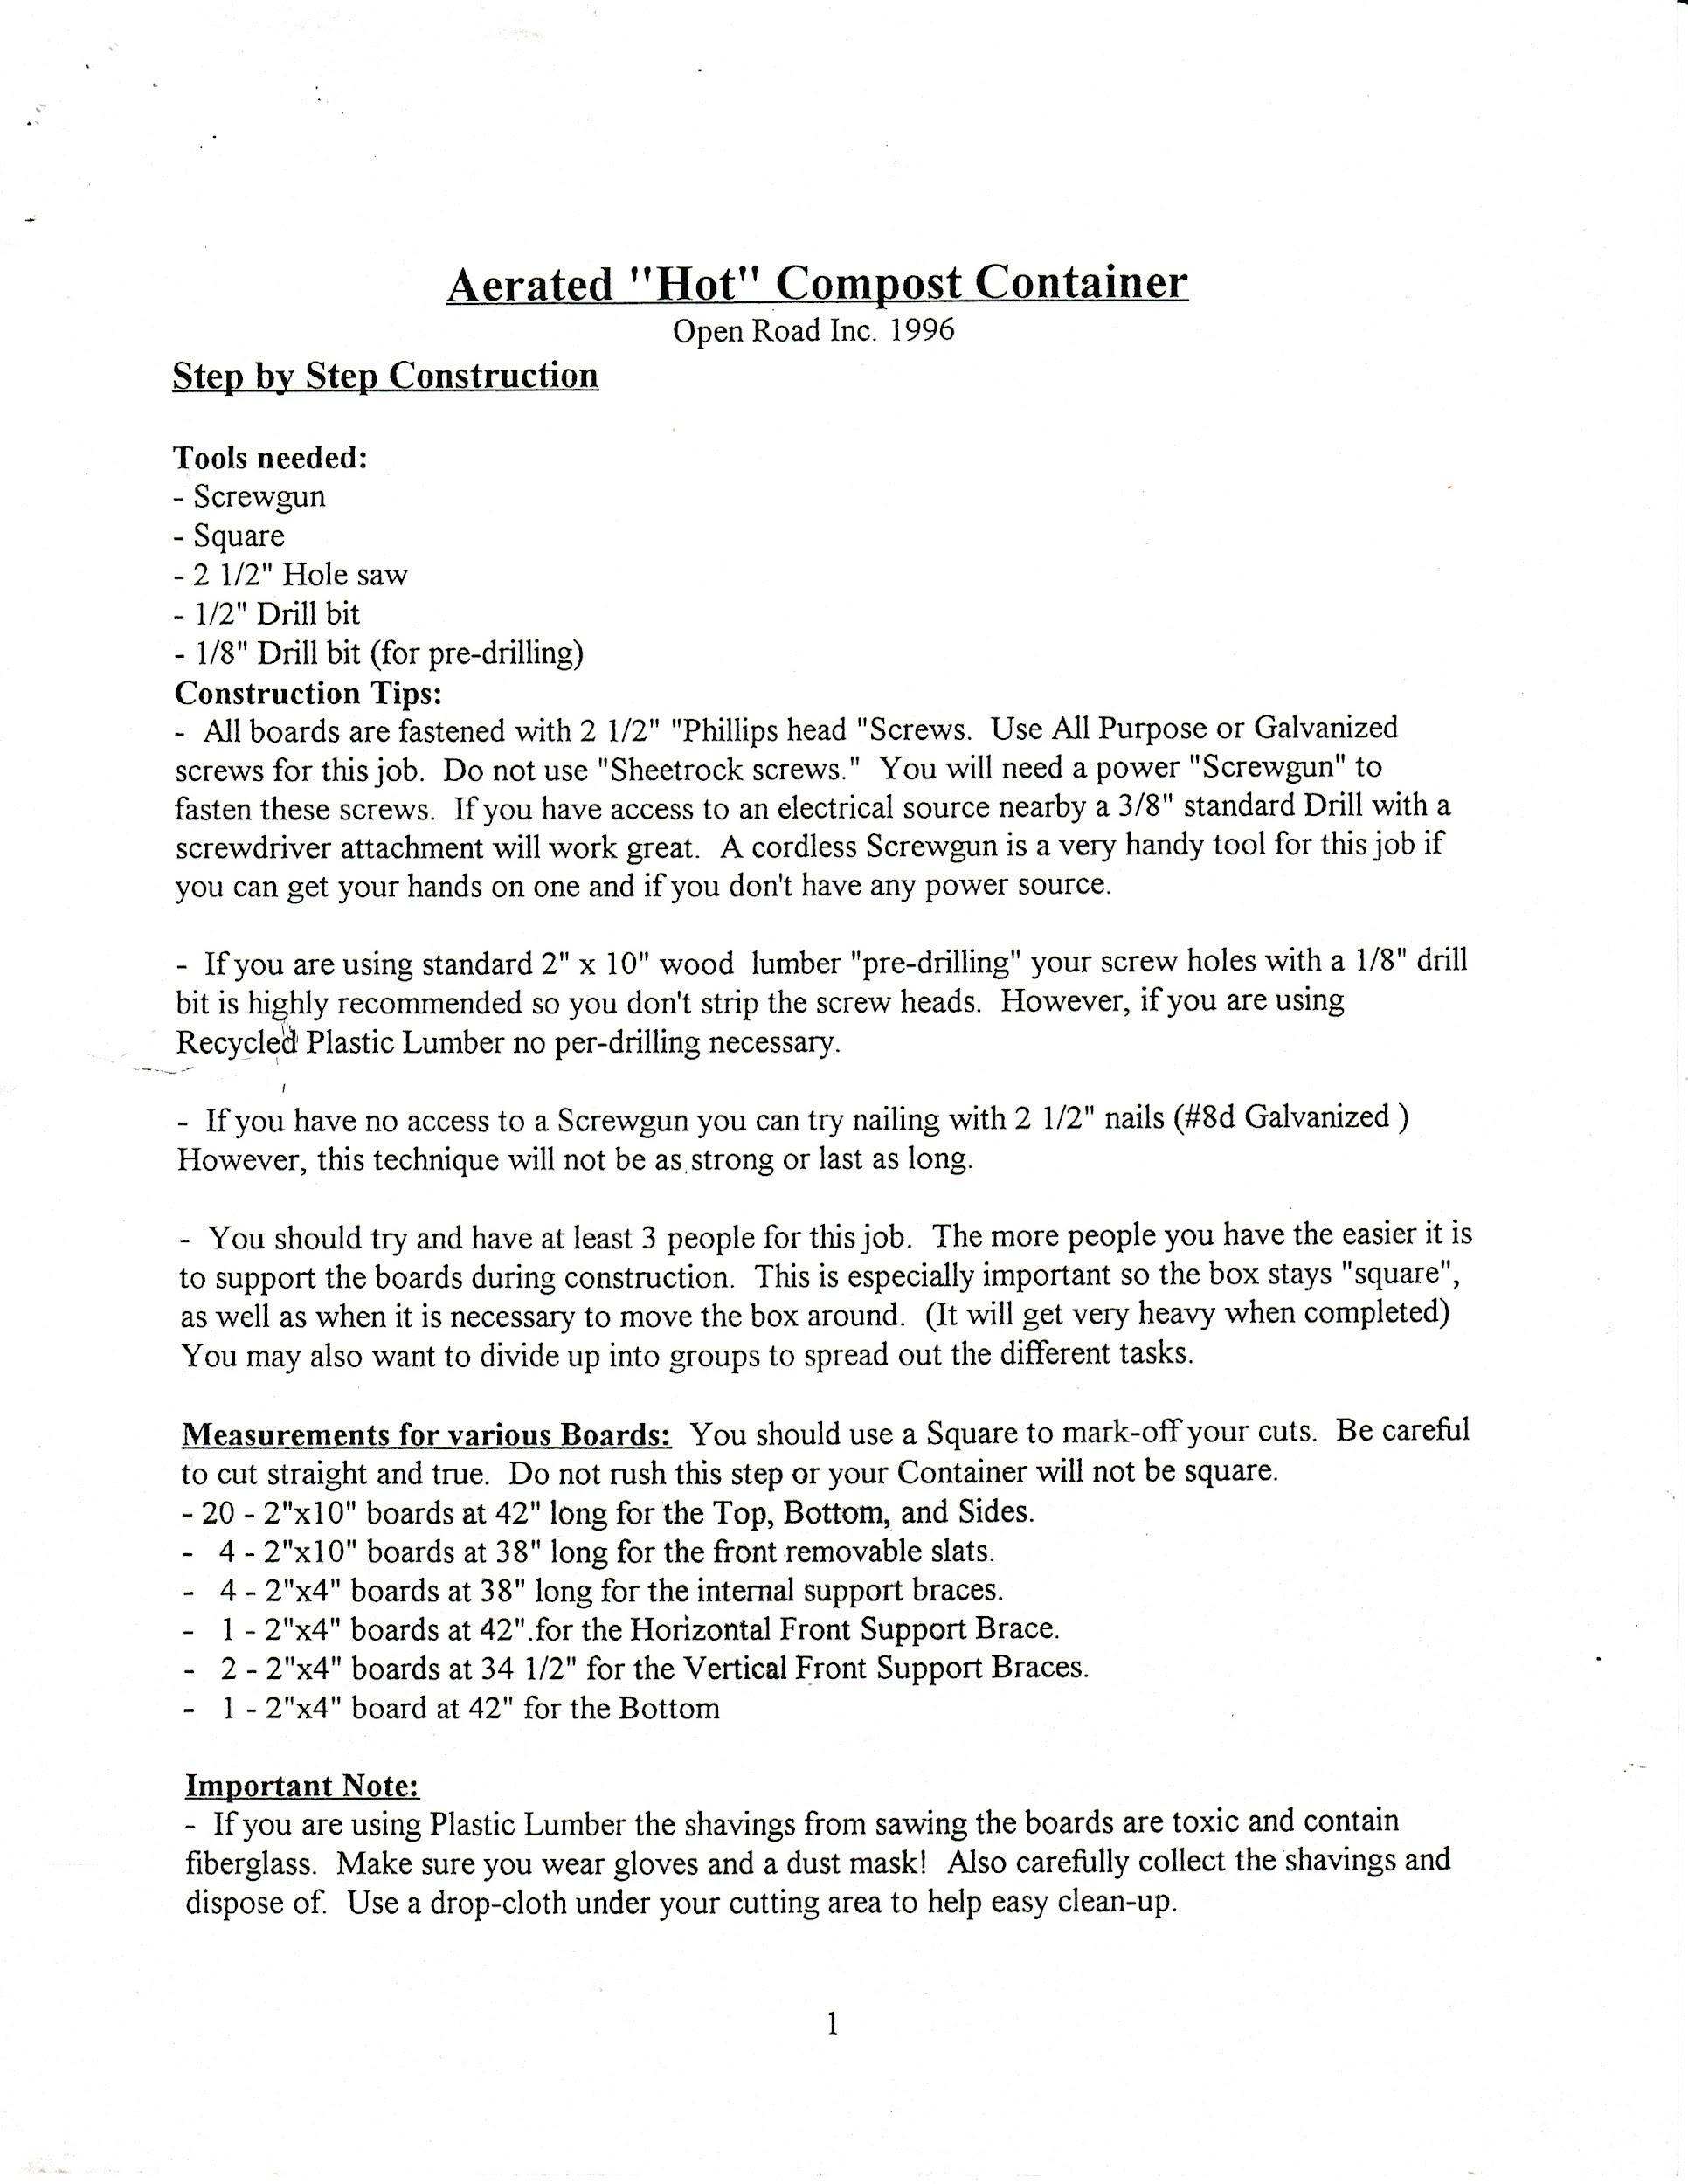
How to build a HotBox (and support a team building it)
Completing the Circle
A brief history of HotBox Composting (environmental justice, art, science, math, leadership by young people, green jobs)
The Product (Interviews by Paula of people in the community)
Ongoing troubleshooting and redesign of your HotBox systems
Creating compost recipes in your HotBox
Examples from the field (by youth and adults in NYC + beyond)
Growing food indoors and out with HotBox compost
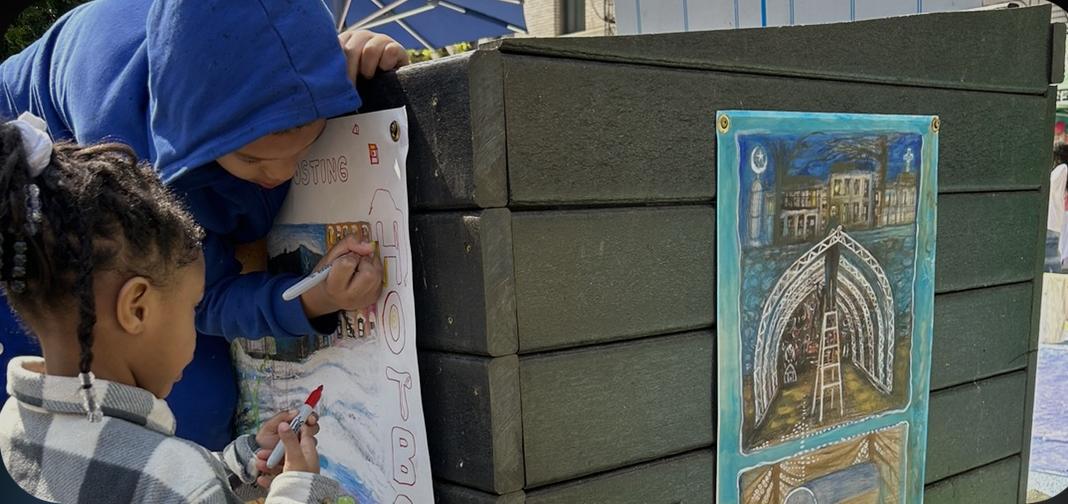
Art Gallery
Science Gallery
K-12 curriculum, college and adult education curriculum
Youth leadership, green jobs, and environmental justice

Interviews by Paula with community youth and adults about their environmental justice goals for the future
Interviews by Nando with people about their community partners and HotBox participatory design process
by Nando Rodriguez

Interviews by Paula with community youth and adults about their organizing process and their HotBox goals for the future.
Interviews with youth and adults about why the systems they used before didn’t work


with community youth and adults about HotBox composting data, systems of equations, algebra and geometries of air flow


1. Chapter 1: Garlic Chives ✓
2. Chapter 2: Black Beans, black bean sprouts ✓
3. Chapter 3: Carrots
4. Chapter 4: Flax ✓
5. Chapter 5: Wheat
6. Chapter 6: Marigolds ✓
7. Chapter 7: Oxalis Clover ✓
8. Chapter 8: Tomatoes ✓
9. Chapter 9: Chia Cook the food grown in your HotBox compost
10. Recipe one 11. Recipe two
12. Recipe three
13. etc
How to get Seeds and Supplies
You can collect these seeds yourself: ___ These seeds you may need to buy: ____
Check your local farmer’s market for __ These Seed companies sell open pollinated

How food growing, harvesting, cooking, sharing and food waste fits into design process and product.
hotbox composting system,
growing indoors and outdoors
Cooking
Art science, and community of
-participatory design process
-hotbox composting process
And how it fits together with:
-food growing and cooking process
Youth leadership, green jobs, and environmental justice
-
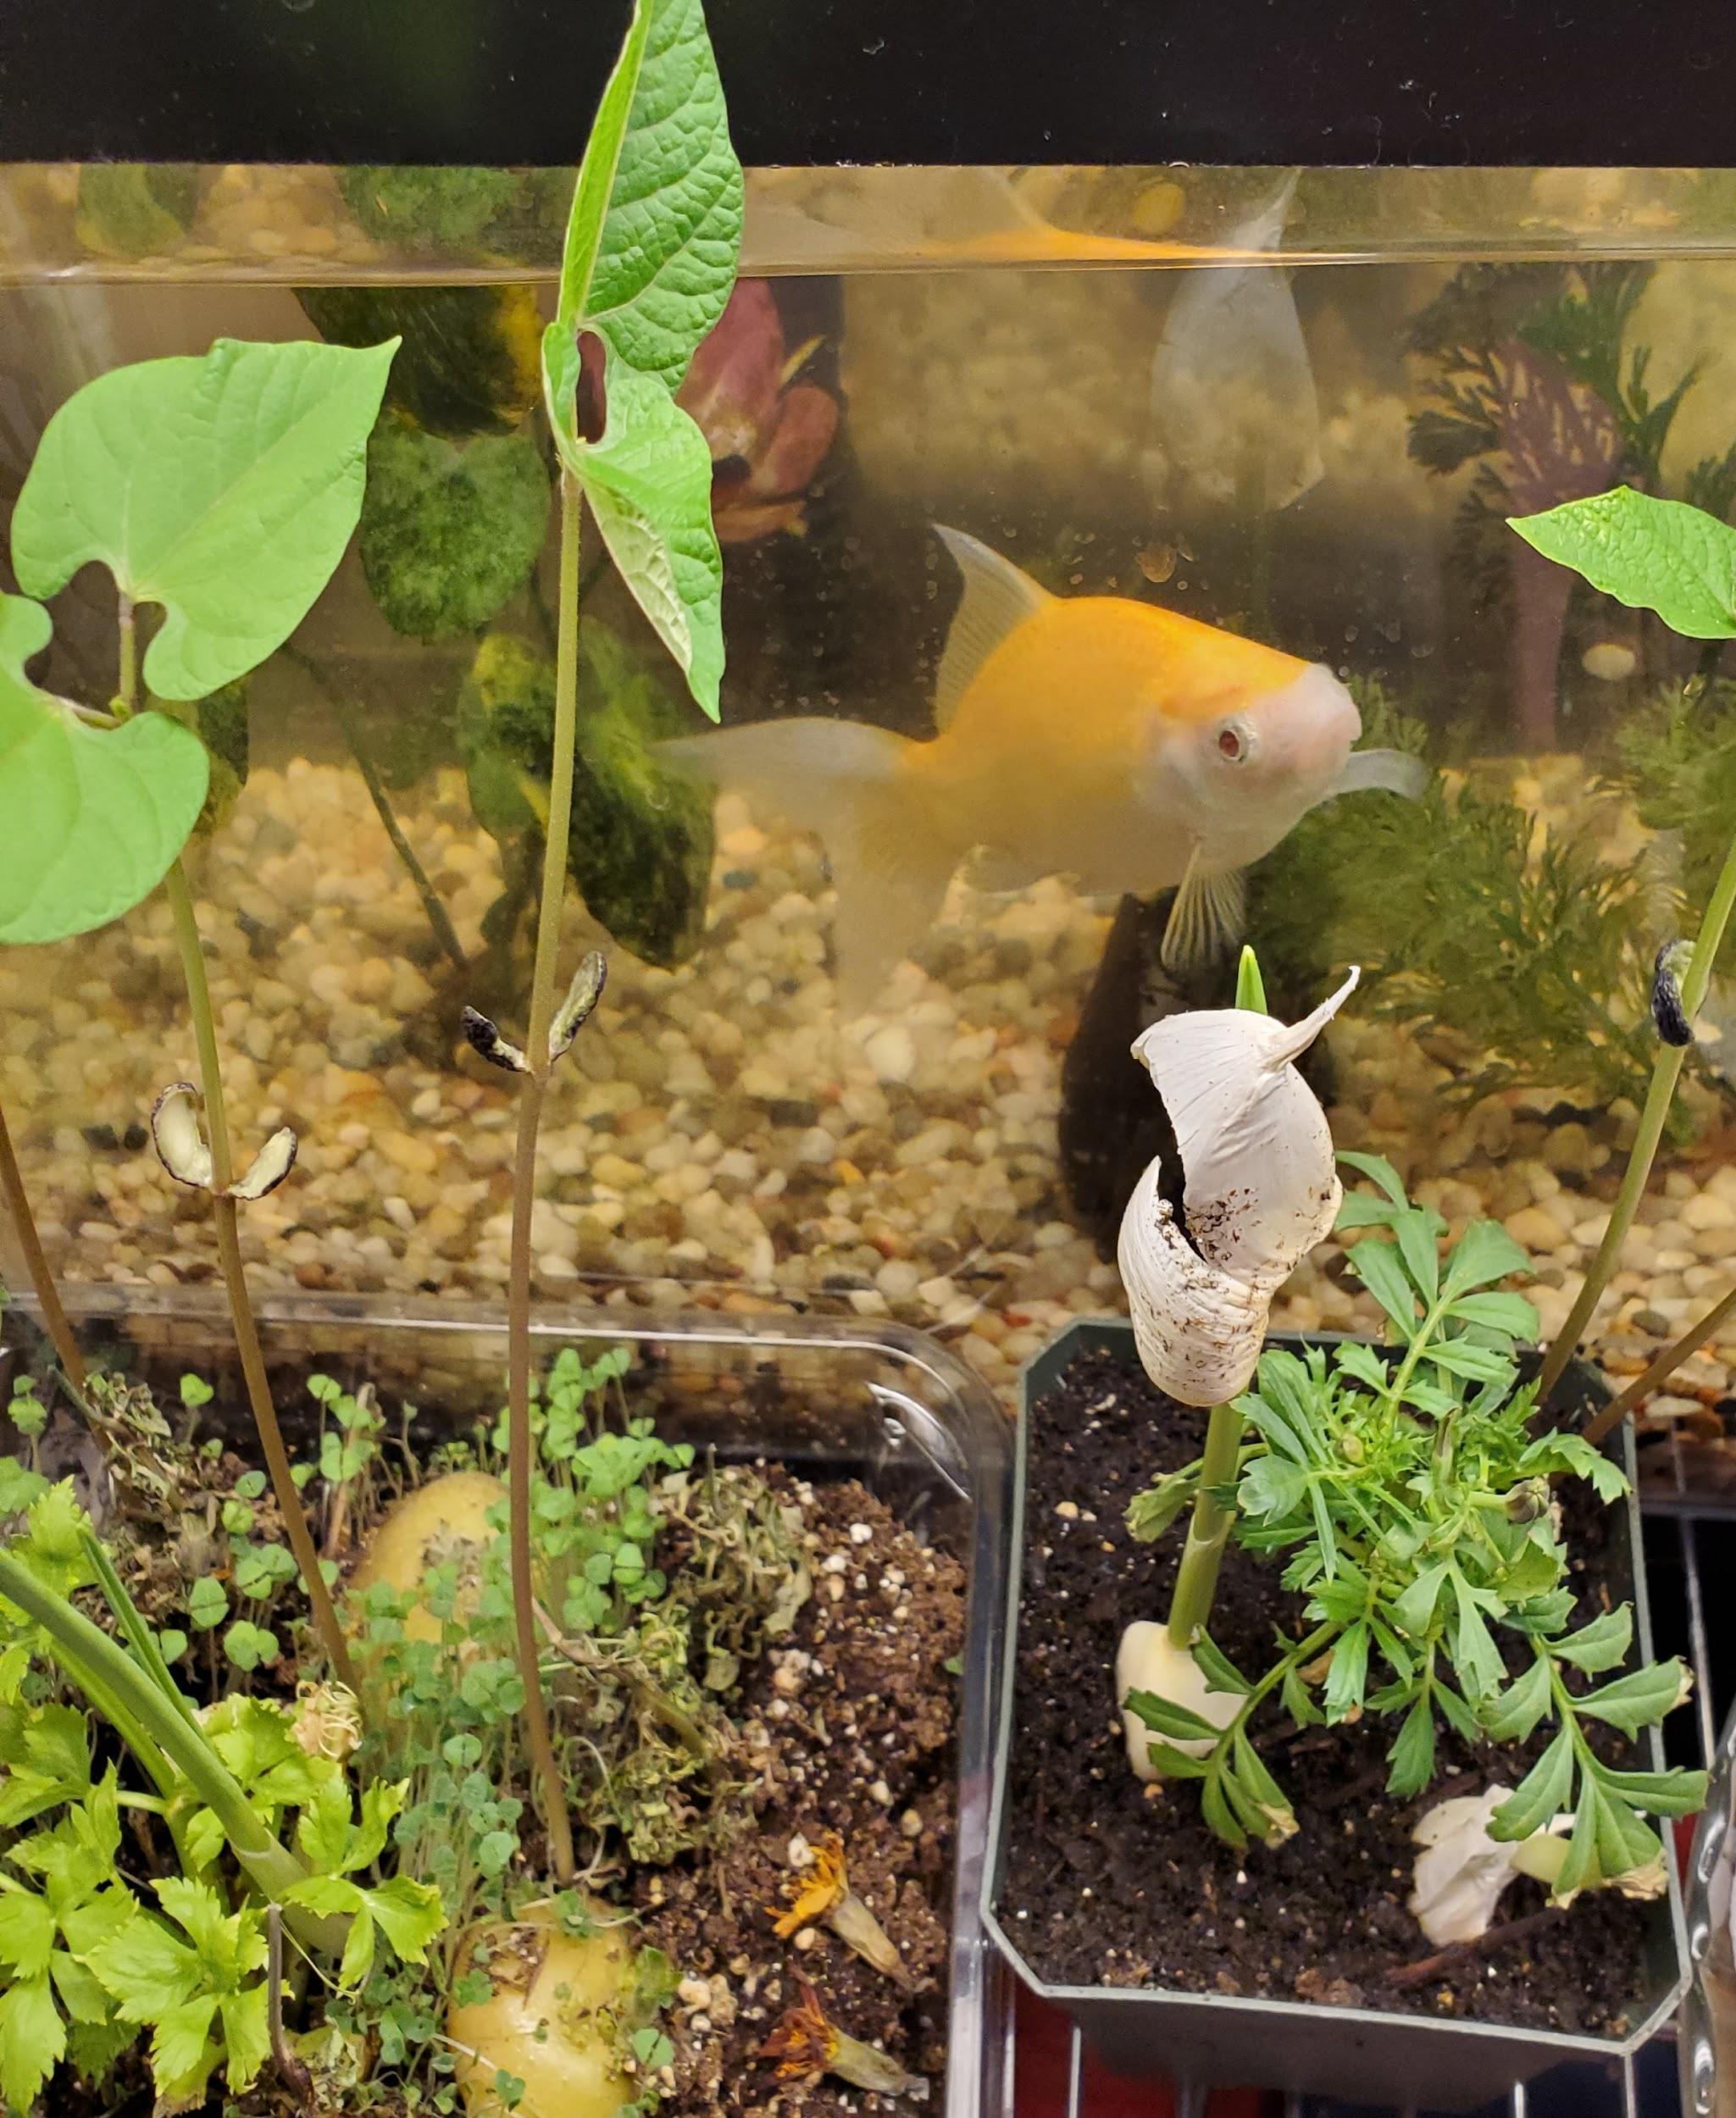
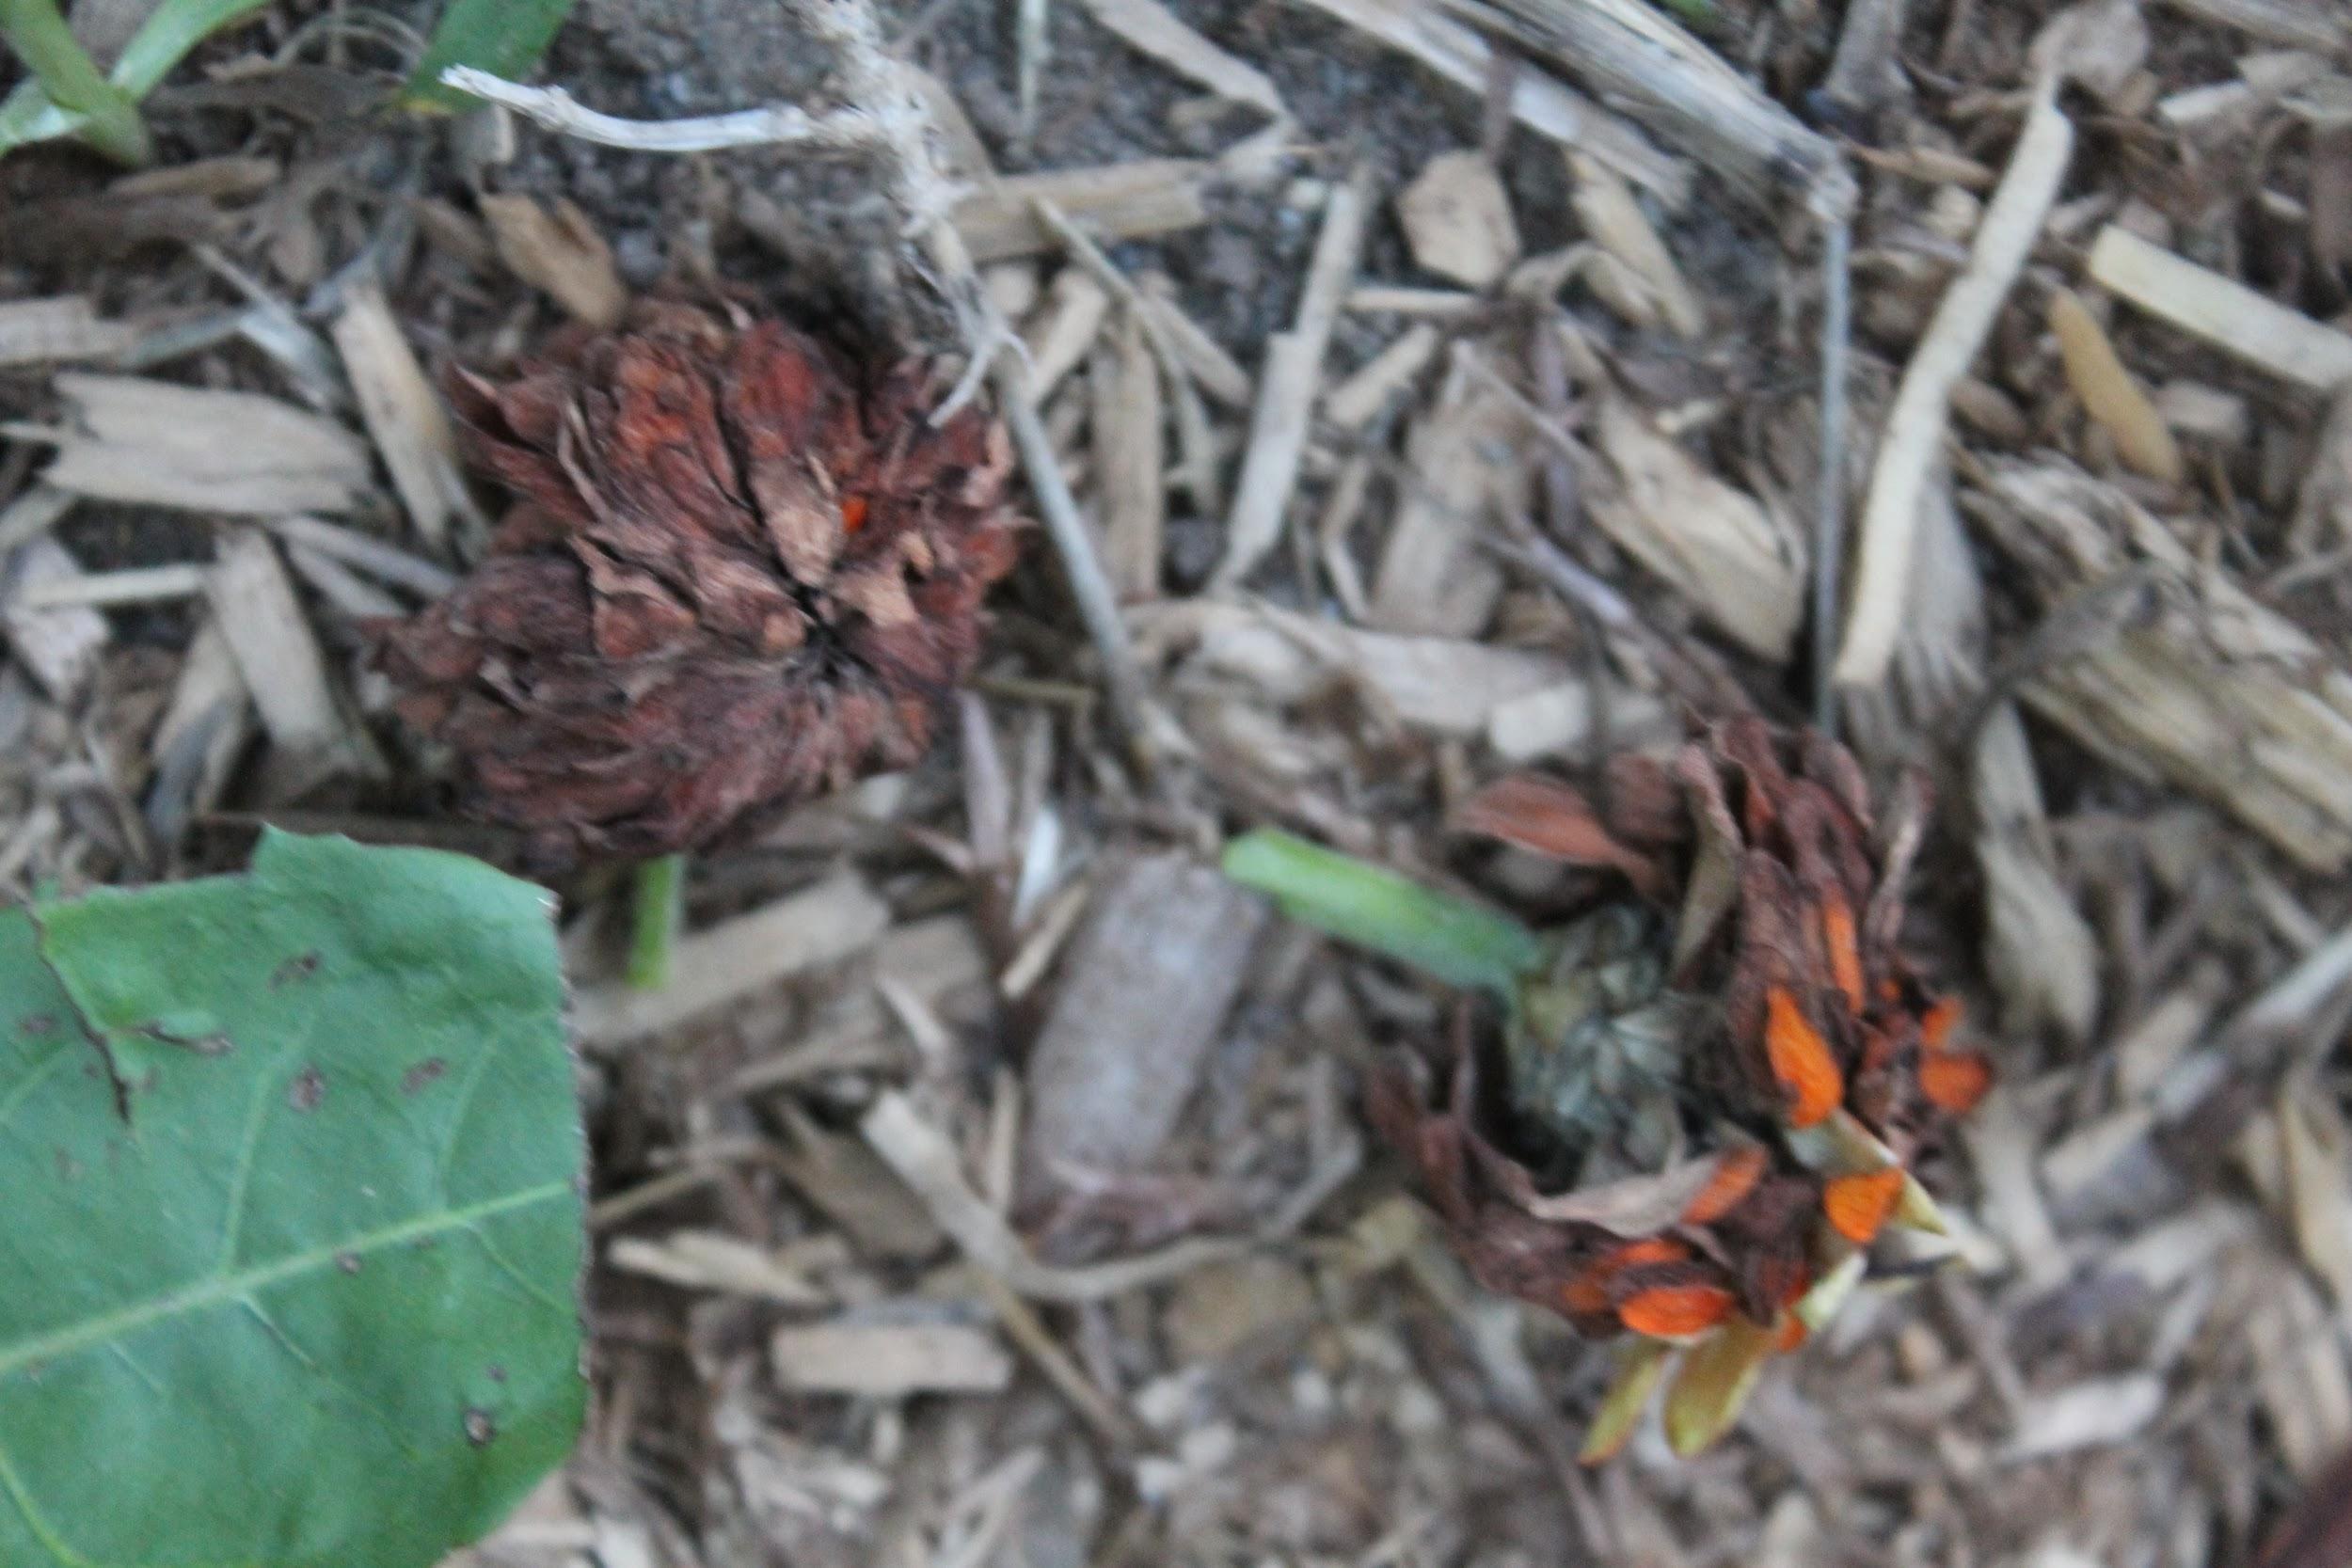
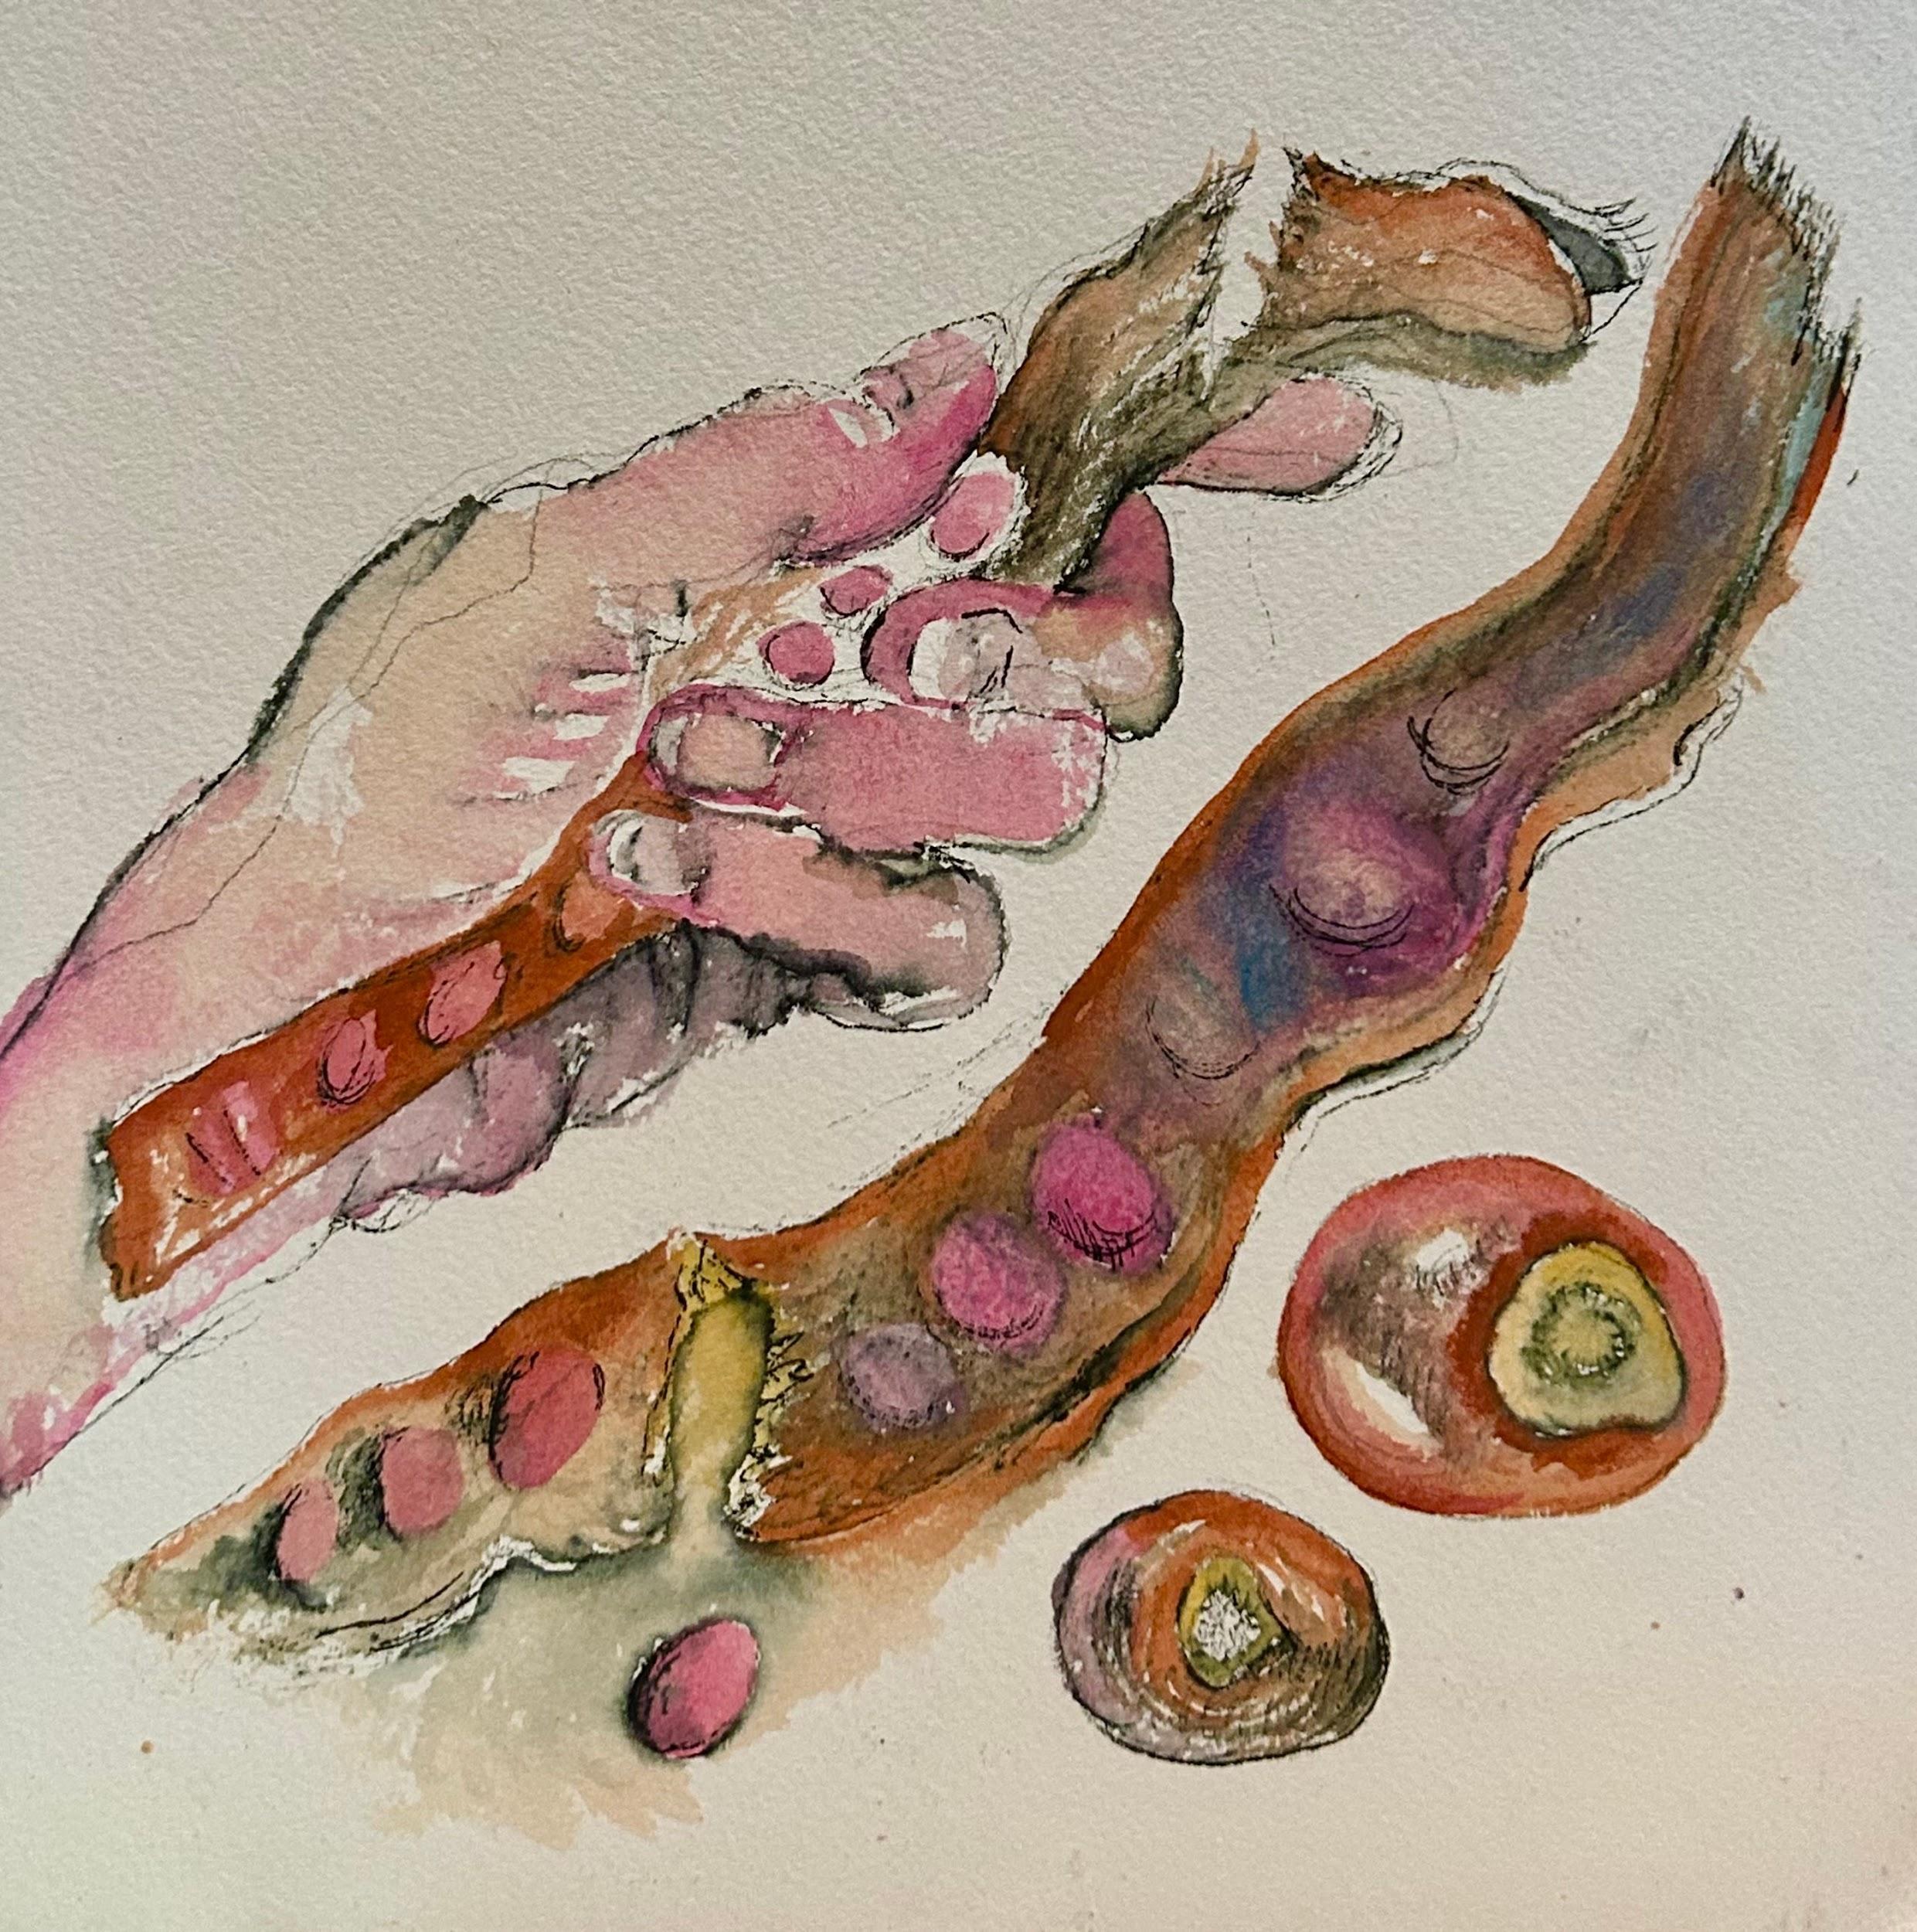
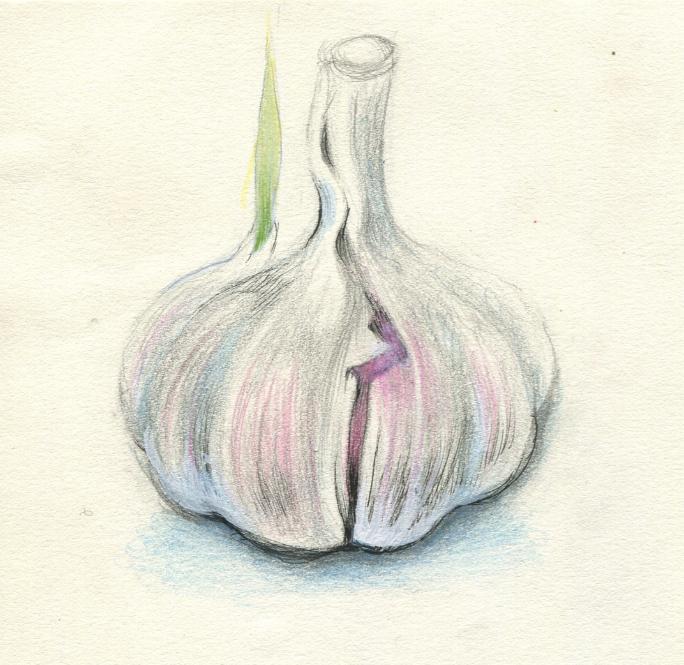
Chives are so simple to grow indoors that sometimes they grow themselves.You might find garlic already growing in the store: small green shoots sprout easily from each individual clove, or section, of a garlic head. If you simply help the cloves along and place them in the right conditions you can harvest tender, green, delicious Garlic Chives.
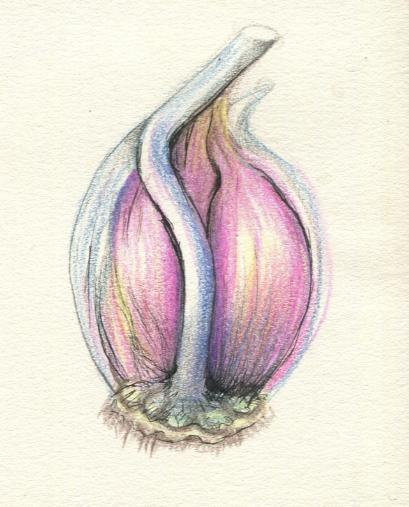
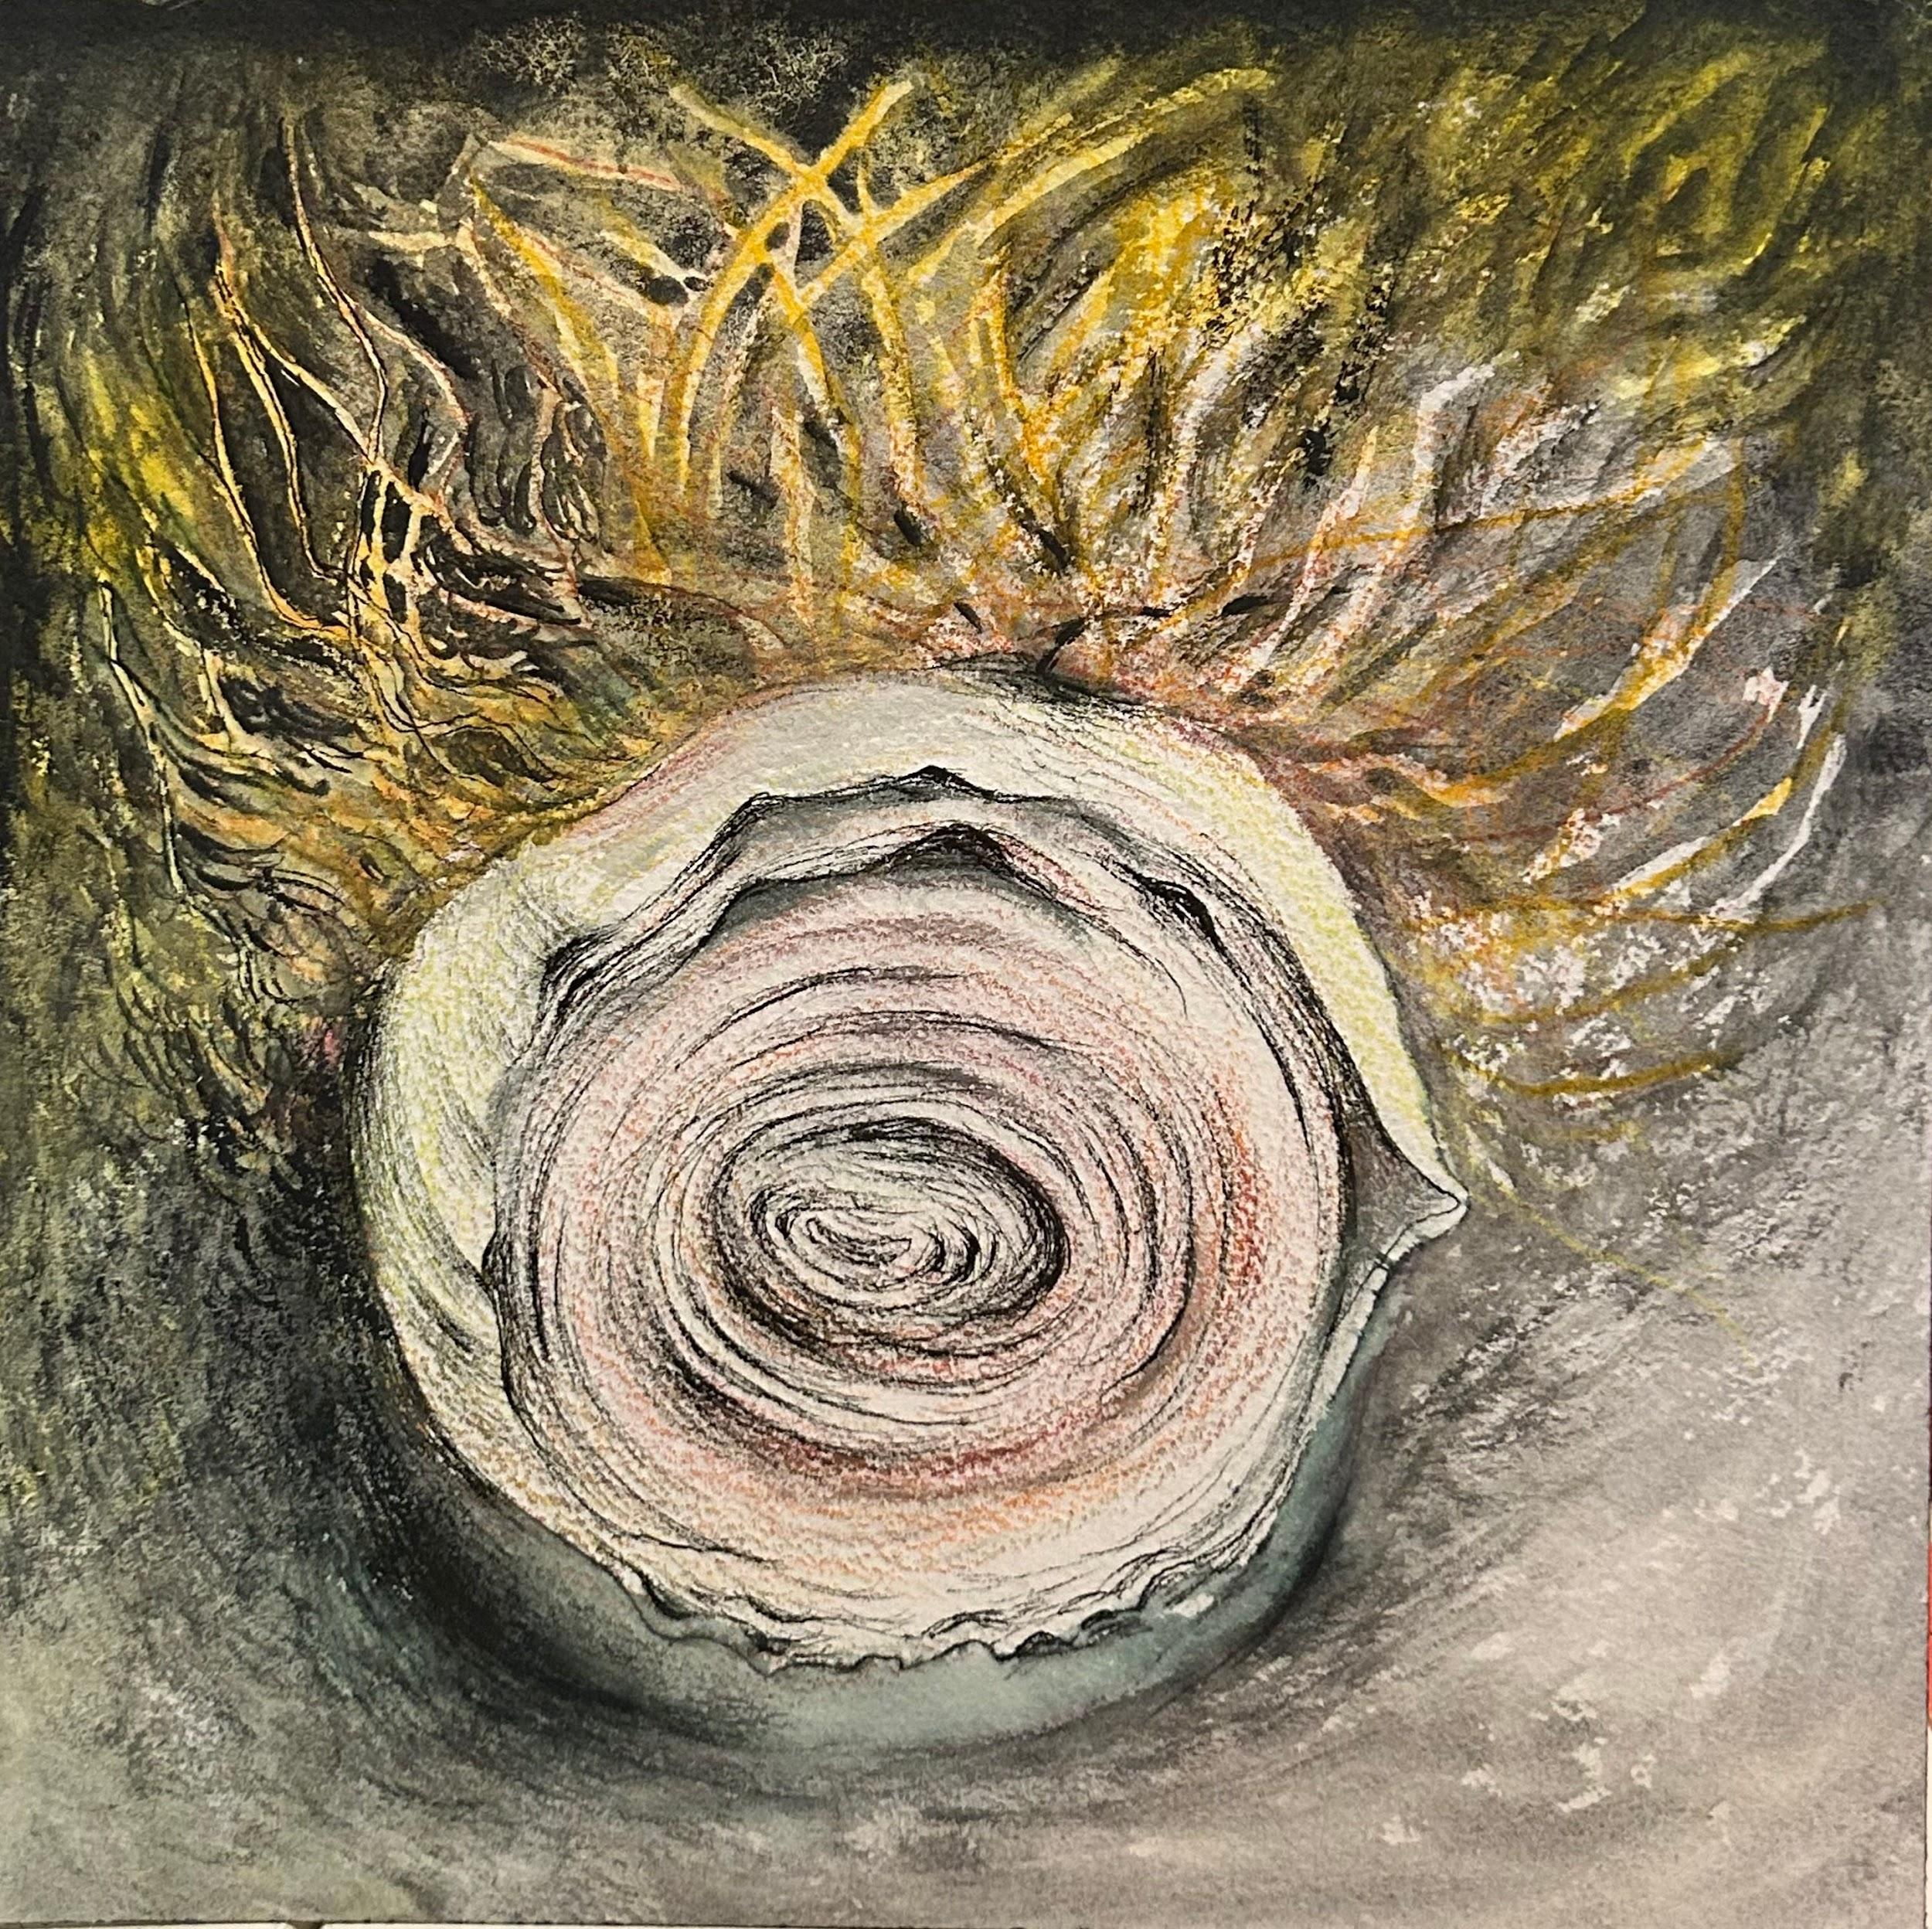
Step 1. Choose firm garlic with no soft spots. If you plant soft garlic it may rot below the soil and grow no chives. Press the garlic with your finger; it should hold firm. The garlic skin should be smooth and beautiful. (Fig. 1)
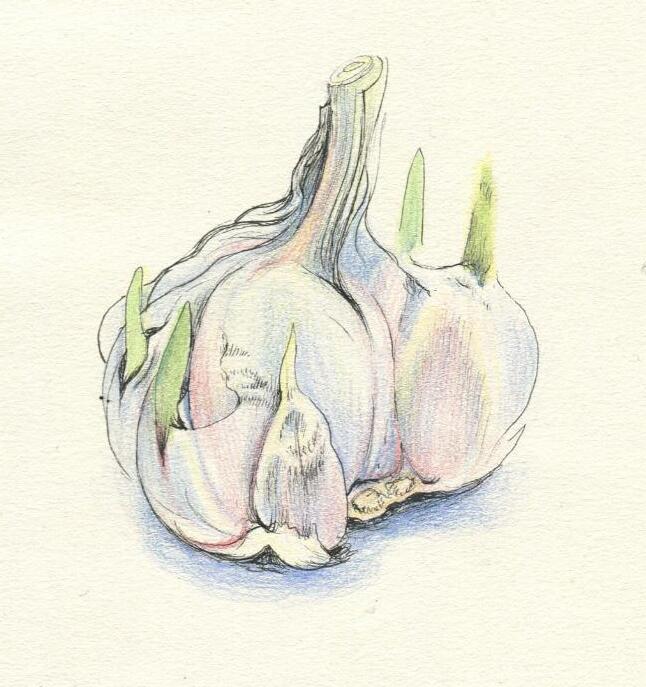
Step 2. Gently pull a clove away from the garlic head. There’s a base the cloves are connected to. Look under the base and see the very small, dried roots. Look at the clove you pulled off, including the small, flat, round spot where it used to be attached to the garlic head. Now, carefully pull each clove off the head of garlic. (Fig. 2)
Step 3: Fill an egg carton with soil and place one clove in each egg space.The clove’s flat round spot goes down, the pointy side up.You can use any container at least an inch deep. Water whenever the soil’s dry, or every other day. If you give them sun they’ll be extra green and nutritious, but you will get tasty chives even with no sun at all. (Fig. 3)
Step 1. Choose firm garlic with smooth skin.
Step 2. Break cloves off the head of garlic.
Fill an egg carton with soil and plant one clove in each egg space
Day 1, plant your garlic. Day 2-5 still the same

Step 1. Start from black beans you buy at the store. The beans should be whole, not cracked
Step 2. Plant twice the depth of the bean. Cover the bean with a half and half mixture of HotBox compost and potting soil.
Step 3. Planting beans in sunlight is helpful, but if you don’t have access to sunlight, shade works.
Step 4. Water your bean plants every couple days
Step 5. If you would like to cut your sprouts (they should be ready at day 7), take a pair of scissors and cut down to about ½ inch above the soil level. Then you can collect them and rinse them very gently. Once they are rinsed and dried, they should be cooked before eaten. They can be gently sauteed and used in a recipe.
Step 6. If you decide not to cut your bean sprouts, you could harvest the actual beans in about 6 months. To do this, pick one pod off of the plant and open it at the crease. You can do this by sticking your nail or a butter knife into the crease and popping it open. You can take out the beans and rinse and dry them.
Day one: nothing yet (draw pictures in the margins of this paper)
Day two: Small sprouts (picture)
Day seven: Bean sprouts are ready to cut and use for a recipe. (picture)
Two months: flowers develop (picture)
Three months: bean pod begins to grow (picture)
6 months: Bean pods are ready to harvest and use in a recipe. (picture)
Marigolds are easy to grow, and the bright flowers are tasty, mildly spicy and nutritious.You’ll need a sunny spot to grow marigolds from seed and they’ll take 2 months to bloom.
Step 1. If you have dried marigold heads you can break them open to find the seeds (see Step 4). Otherwise, open your seed packet and look at the long, thin delicate seeds.
Step 2. Plant 3 seeds ½ inch deep in a 3 inch deep pot filled with soil. Put it in a sunny spot and water it every couple of days.Your seeds should sprout within a week.
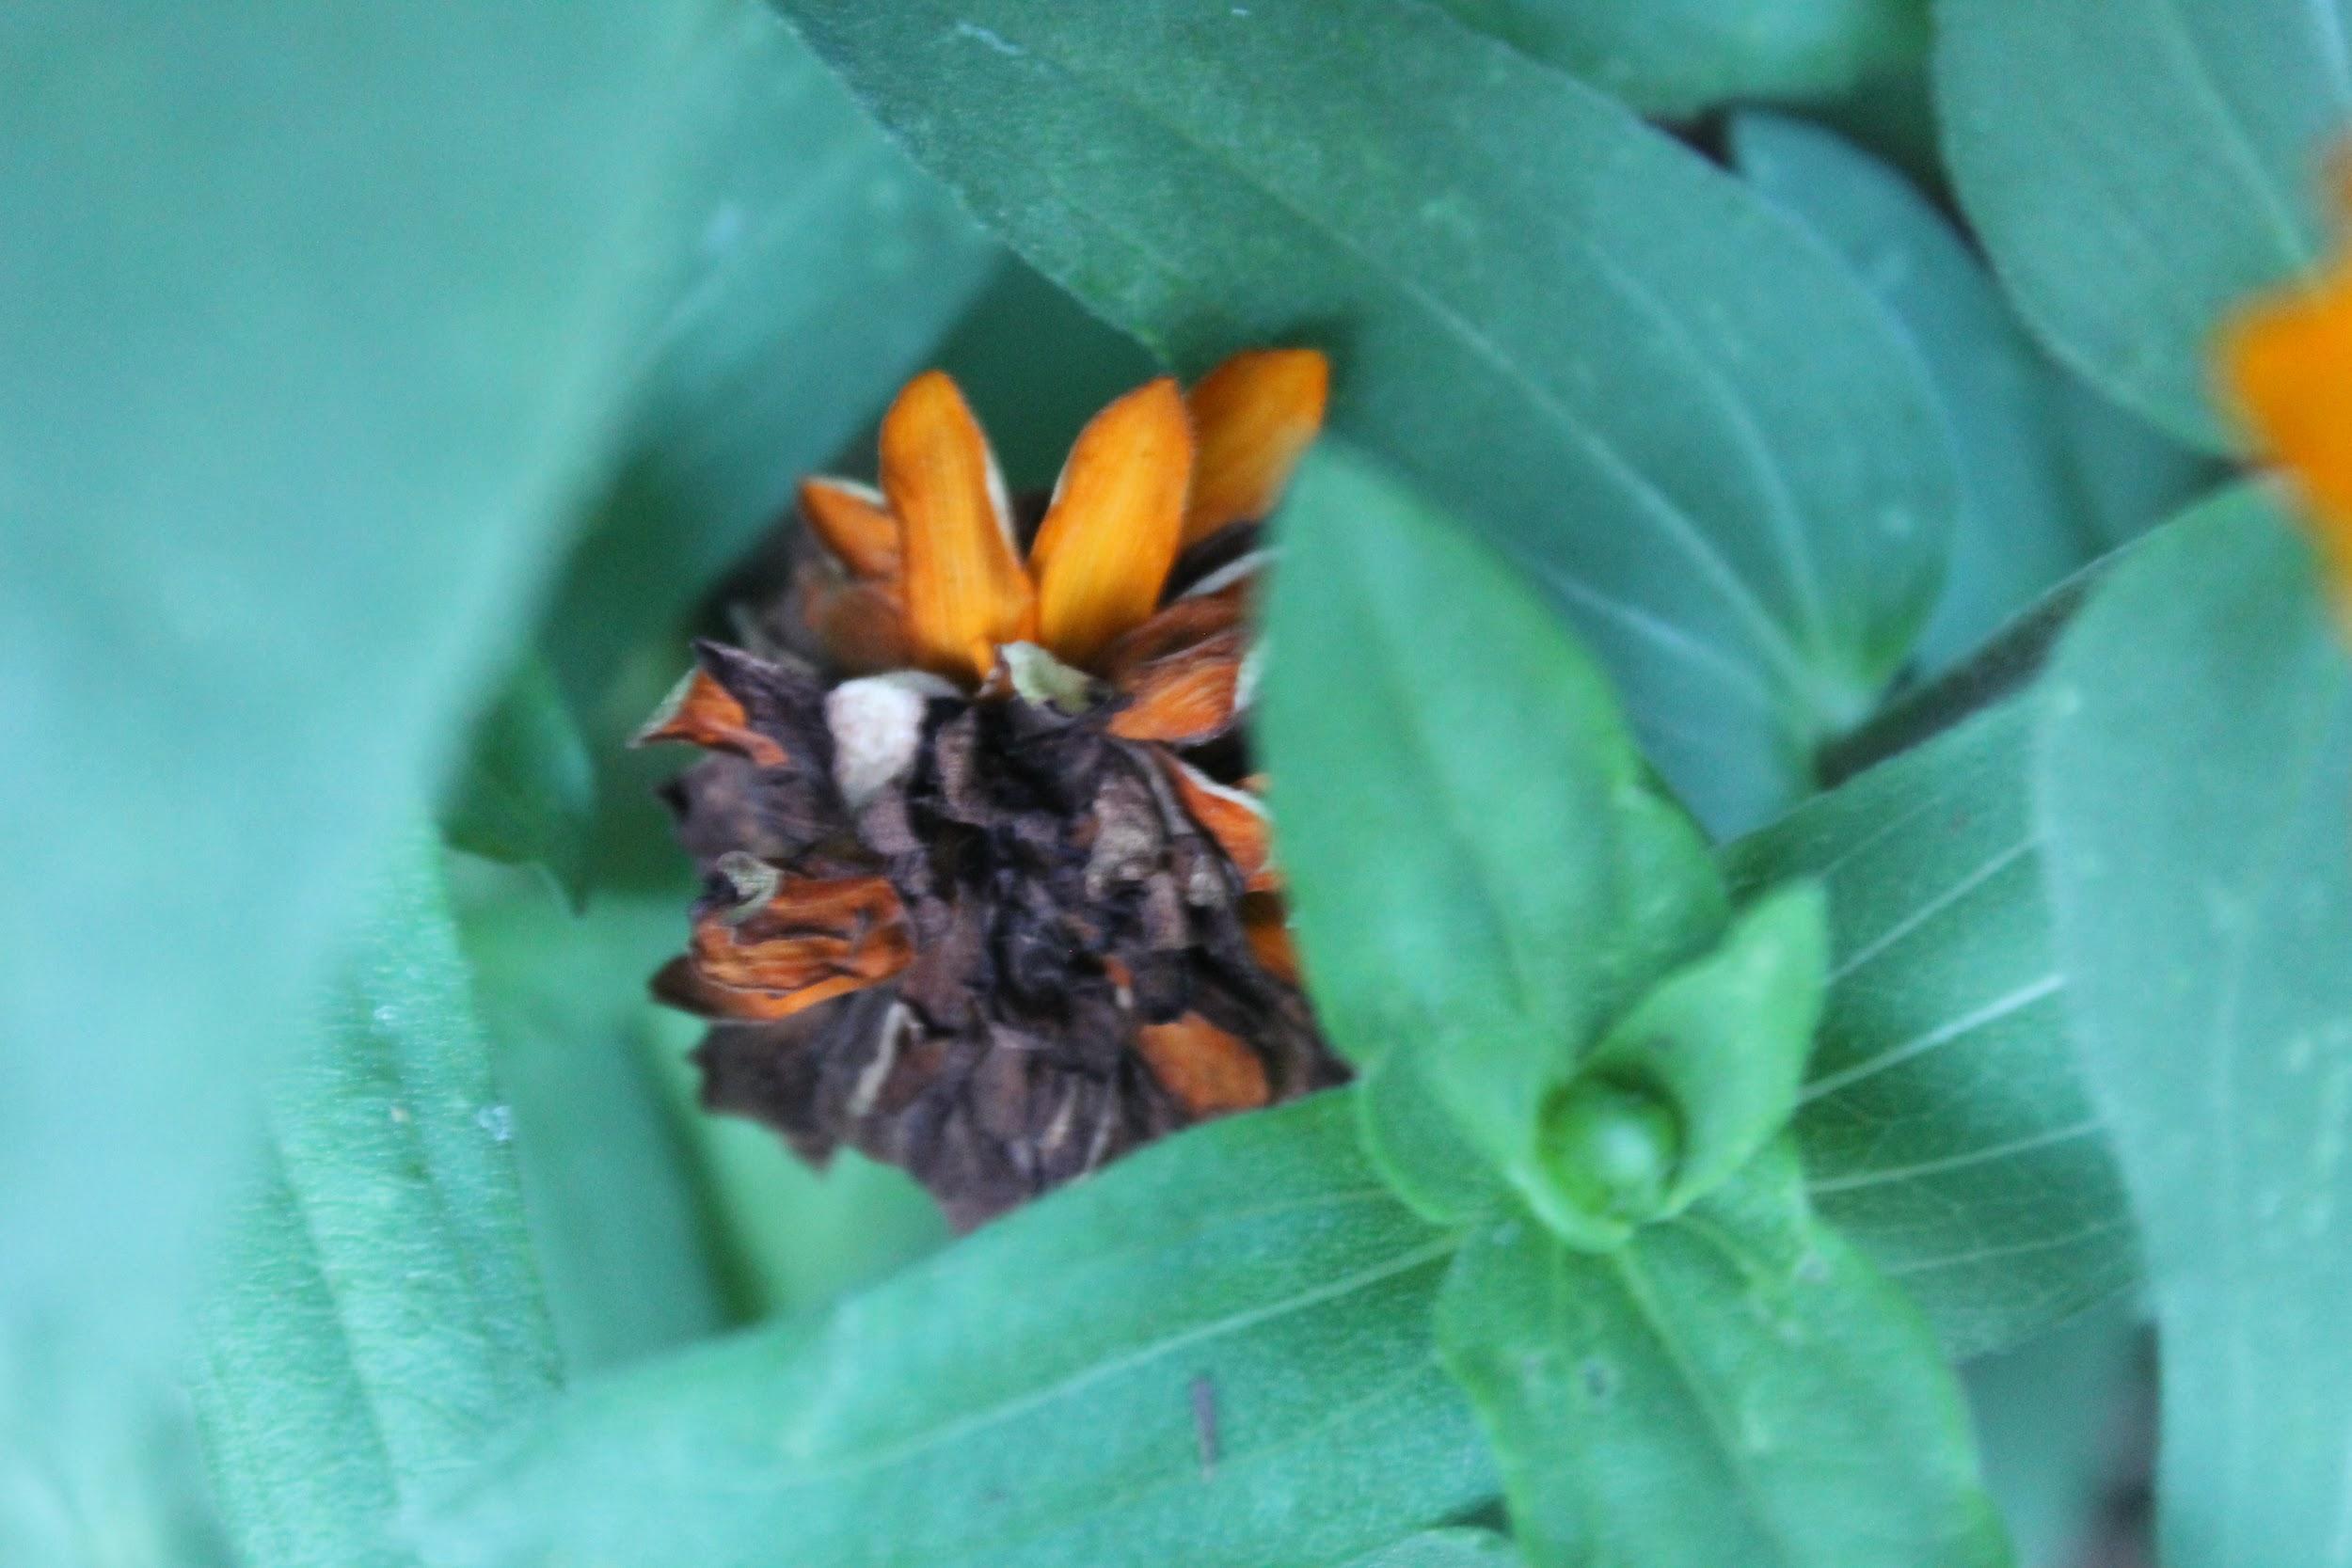
Step 3. In 2 months you will have marigold flowers growing. Leave some flowers on the plant for seeds (see Step 4) and pick some of the flowers to eat. Harvest the petals by pulling them off the flower one by one. (Fig. 2) Use the individual petals right away while they are fresh to add color, nutrition and a mild spicy flavor to your food.
Step 4. Harvest the marigold seeds when the flower head is completely dry and drooping. Snap off the whole head of the flower and break the plump ovule open where the seeds are clustered inside. (Fig. 3.)
Step 5. Plant these seeds to complete the life cycle! (Fig 4)
1. Take an egg carton or pot and fill ⅚ of the way with soil. Gently place each seed so that they are equally distanced from one another. If you are using an egg carton, then place 3 seeds per egg cup. Sprinkle a small amount of HotBox compost and soil on top of the seeds, just enough so that you cannot see any of the seeds.
2. Pat down the soil lightly using your fingertips or the back of a spoon.
3. Place in sunlight. Spray with a mist bottle every day until the soil is moist, but not so much that there is a puddle of water in the pot.
4. When the oxalis have grown to a larger size, they can be harvested.To harvest, use a pair of scissors to cut the clovers.
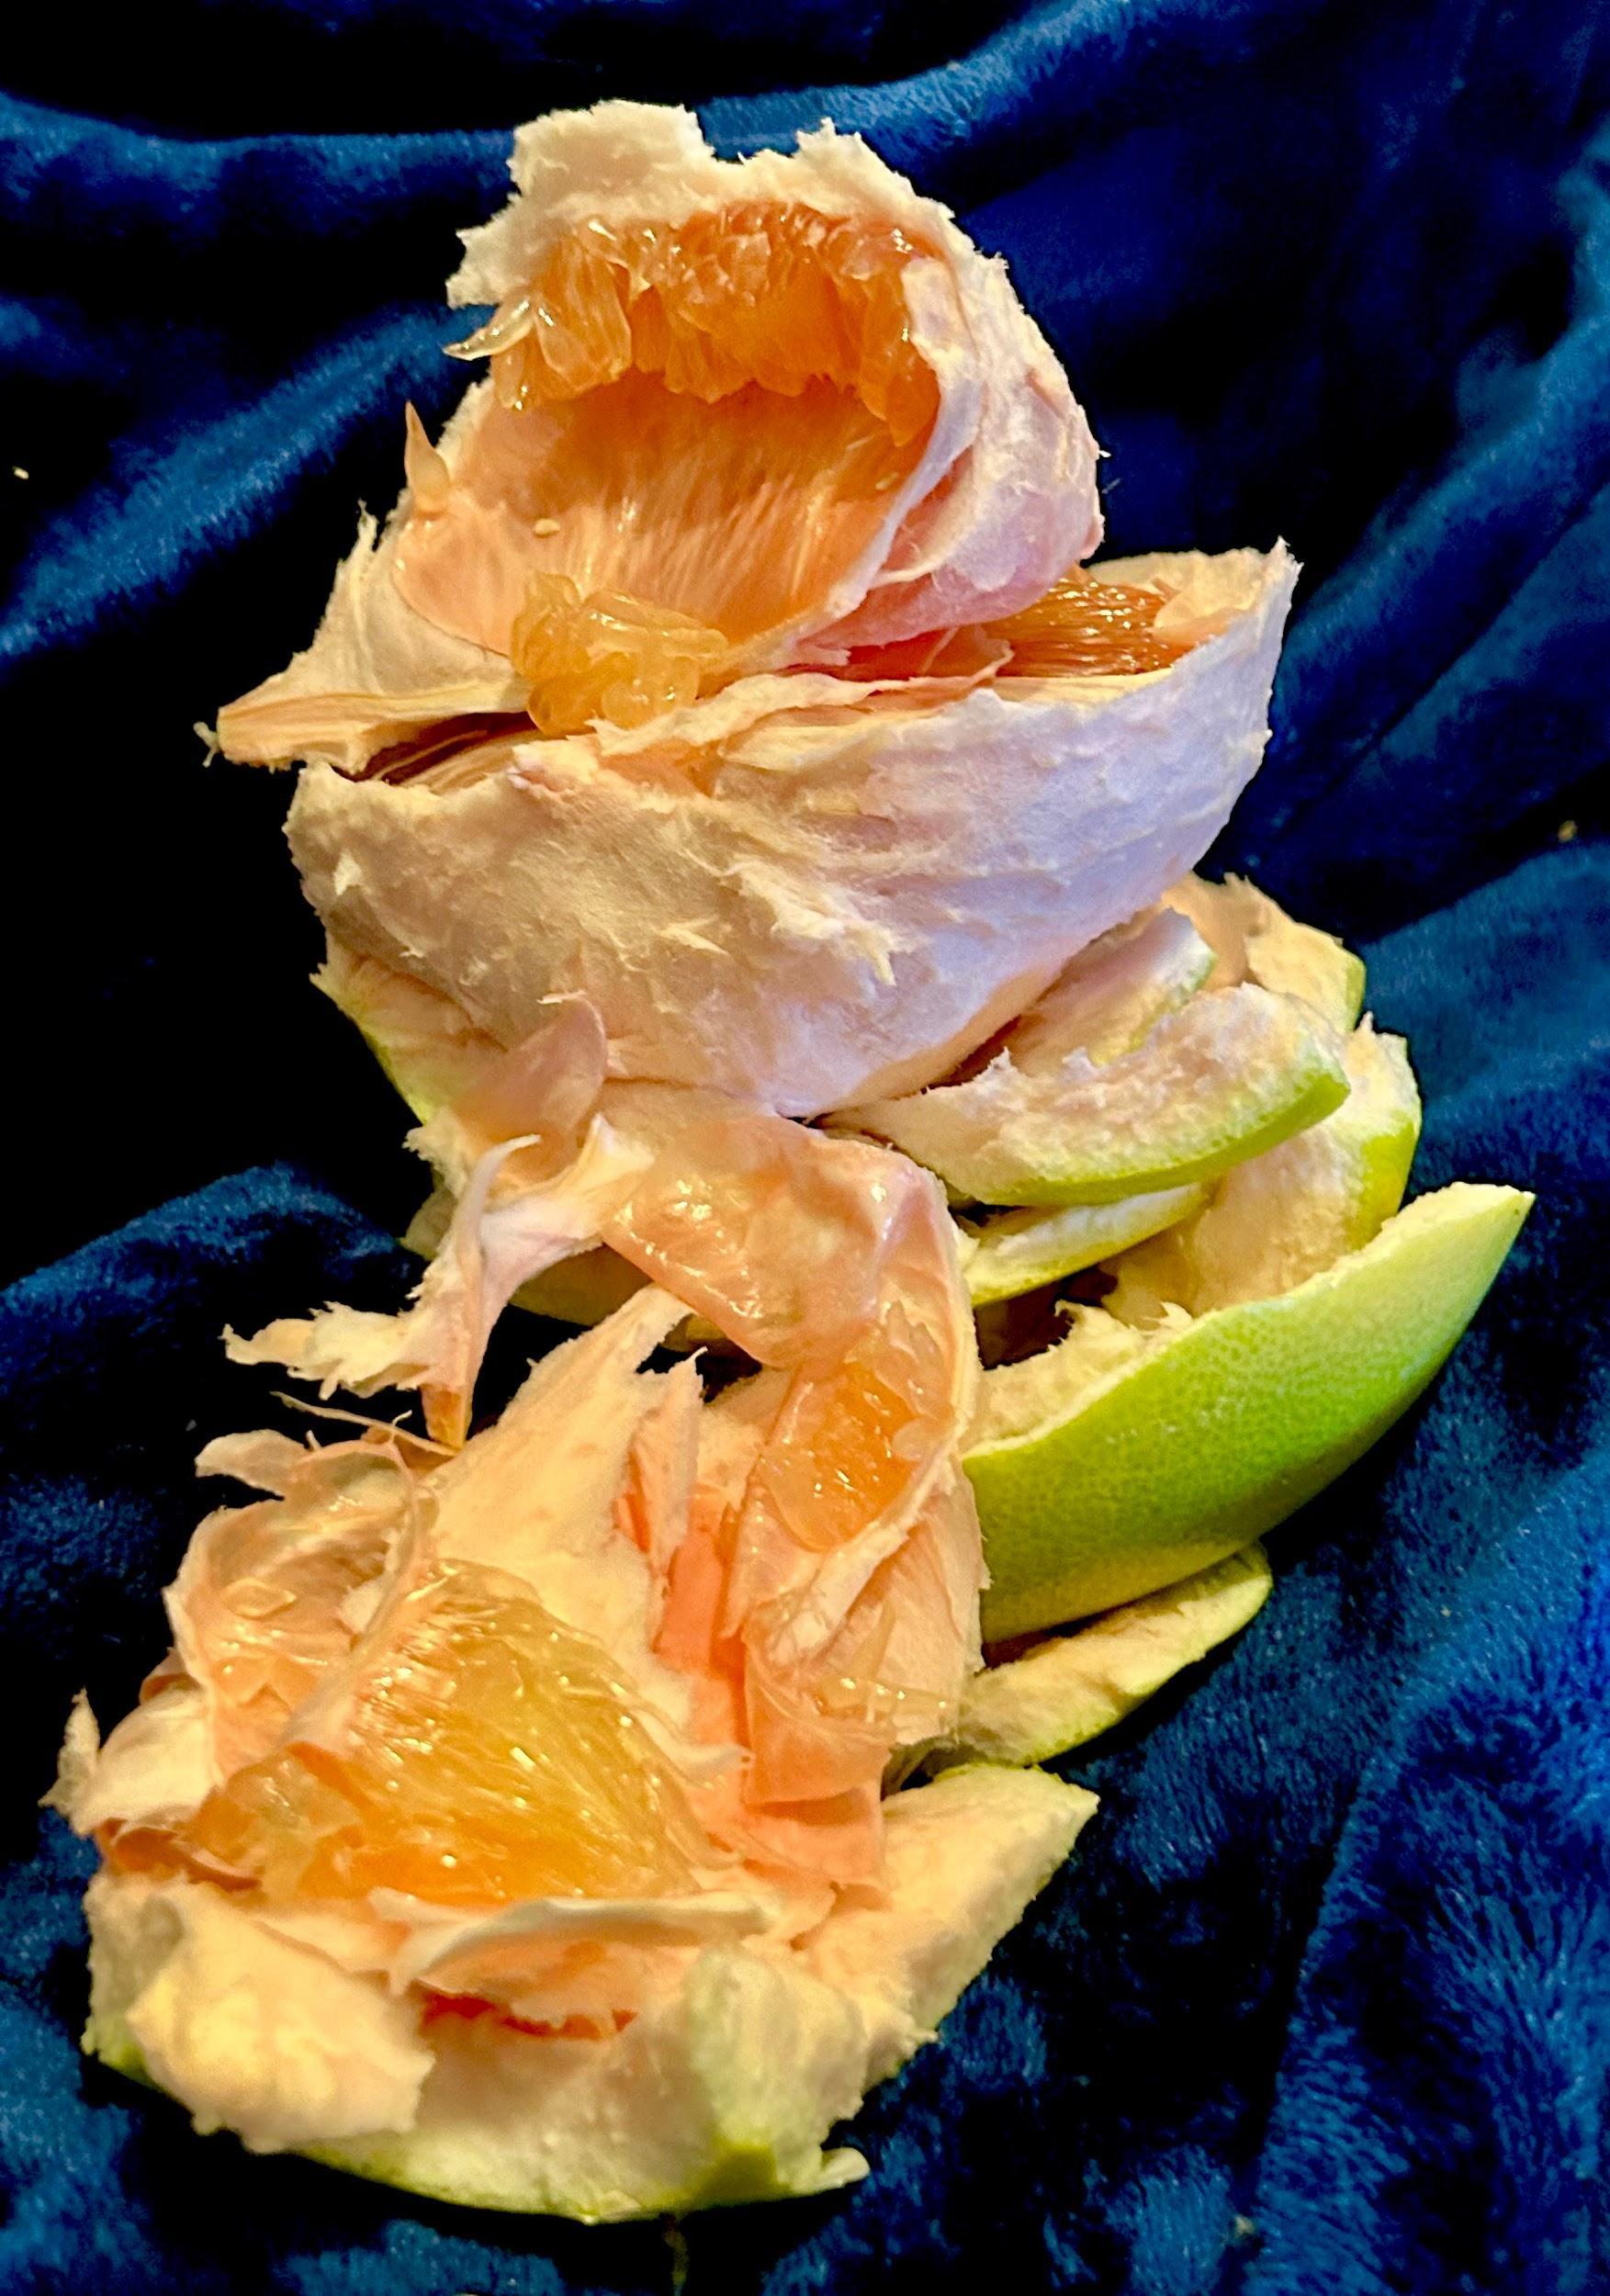
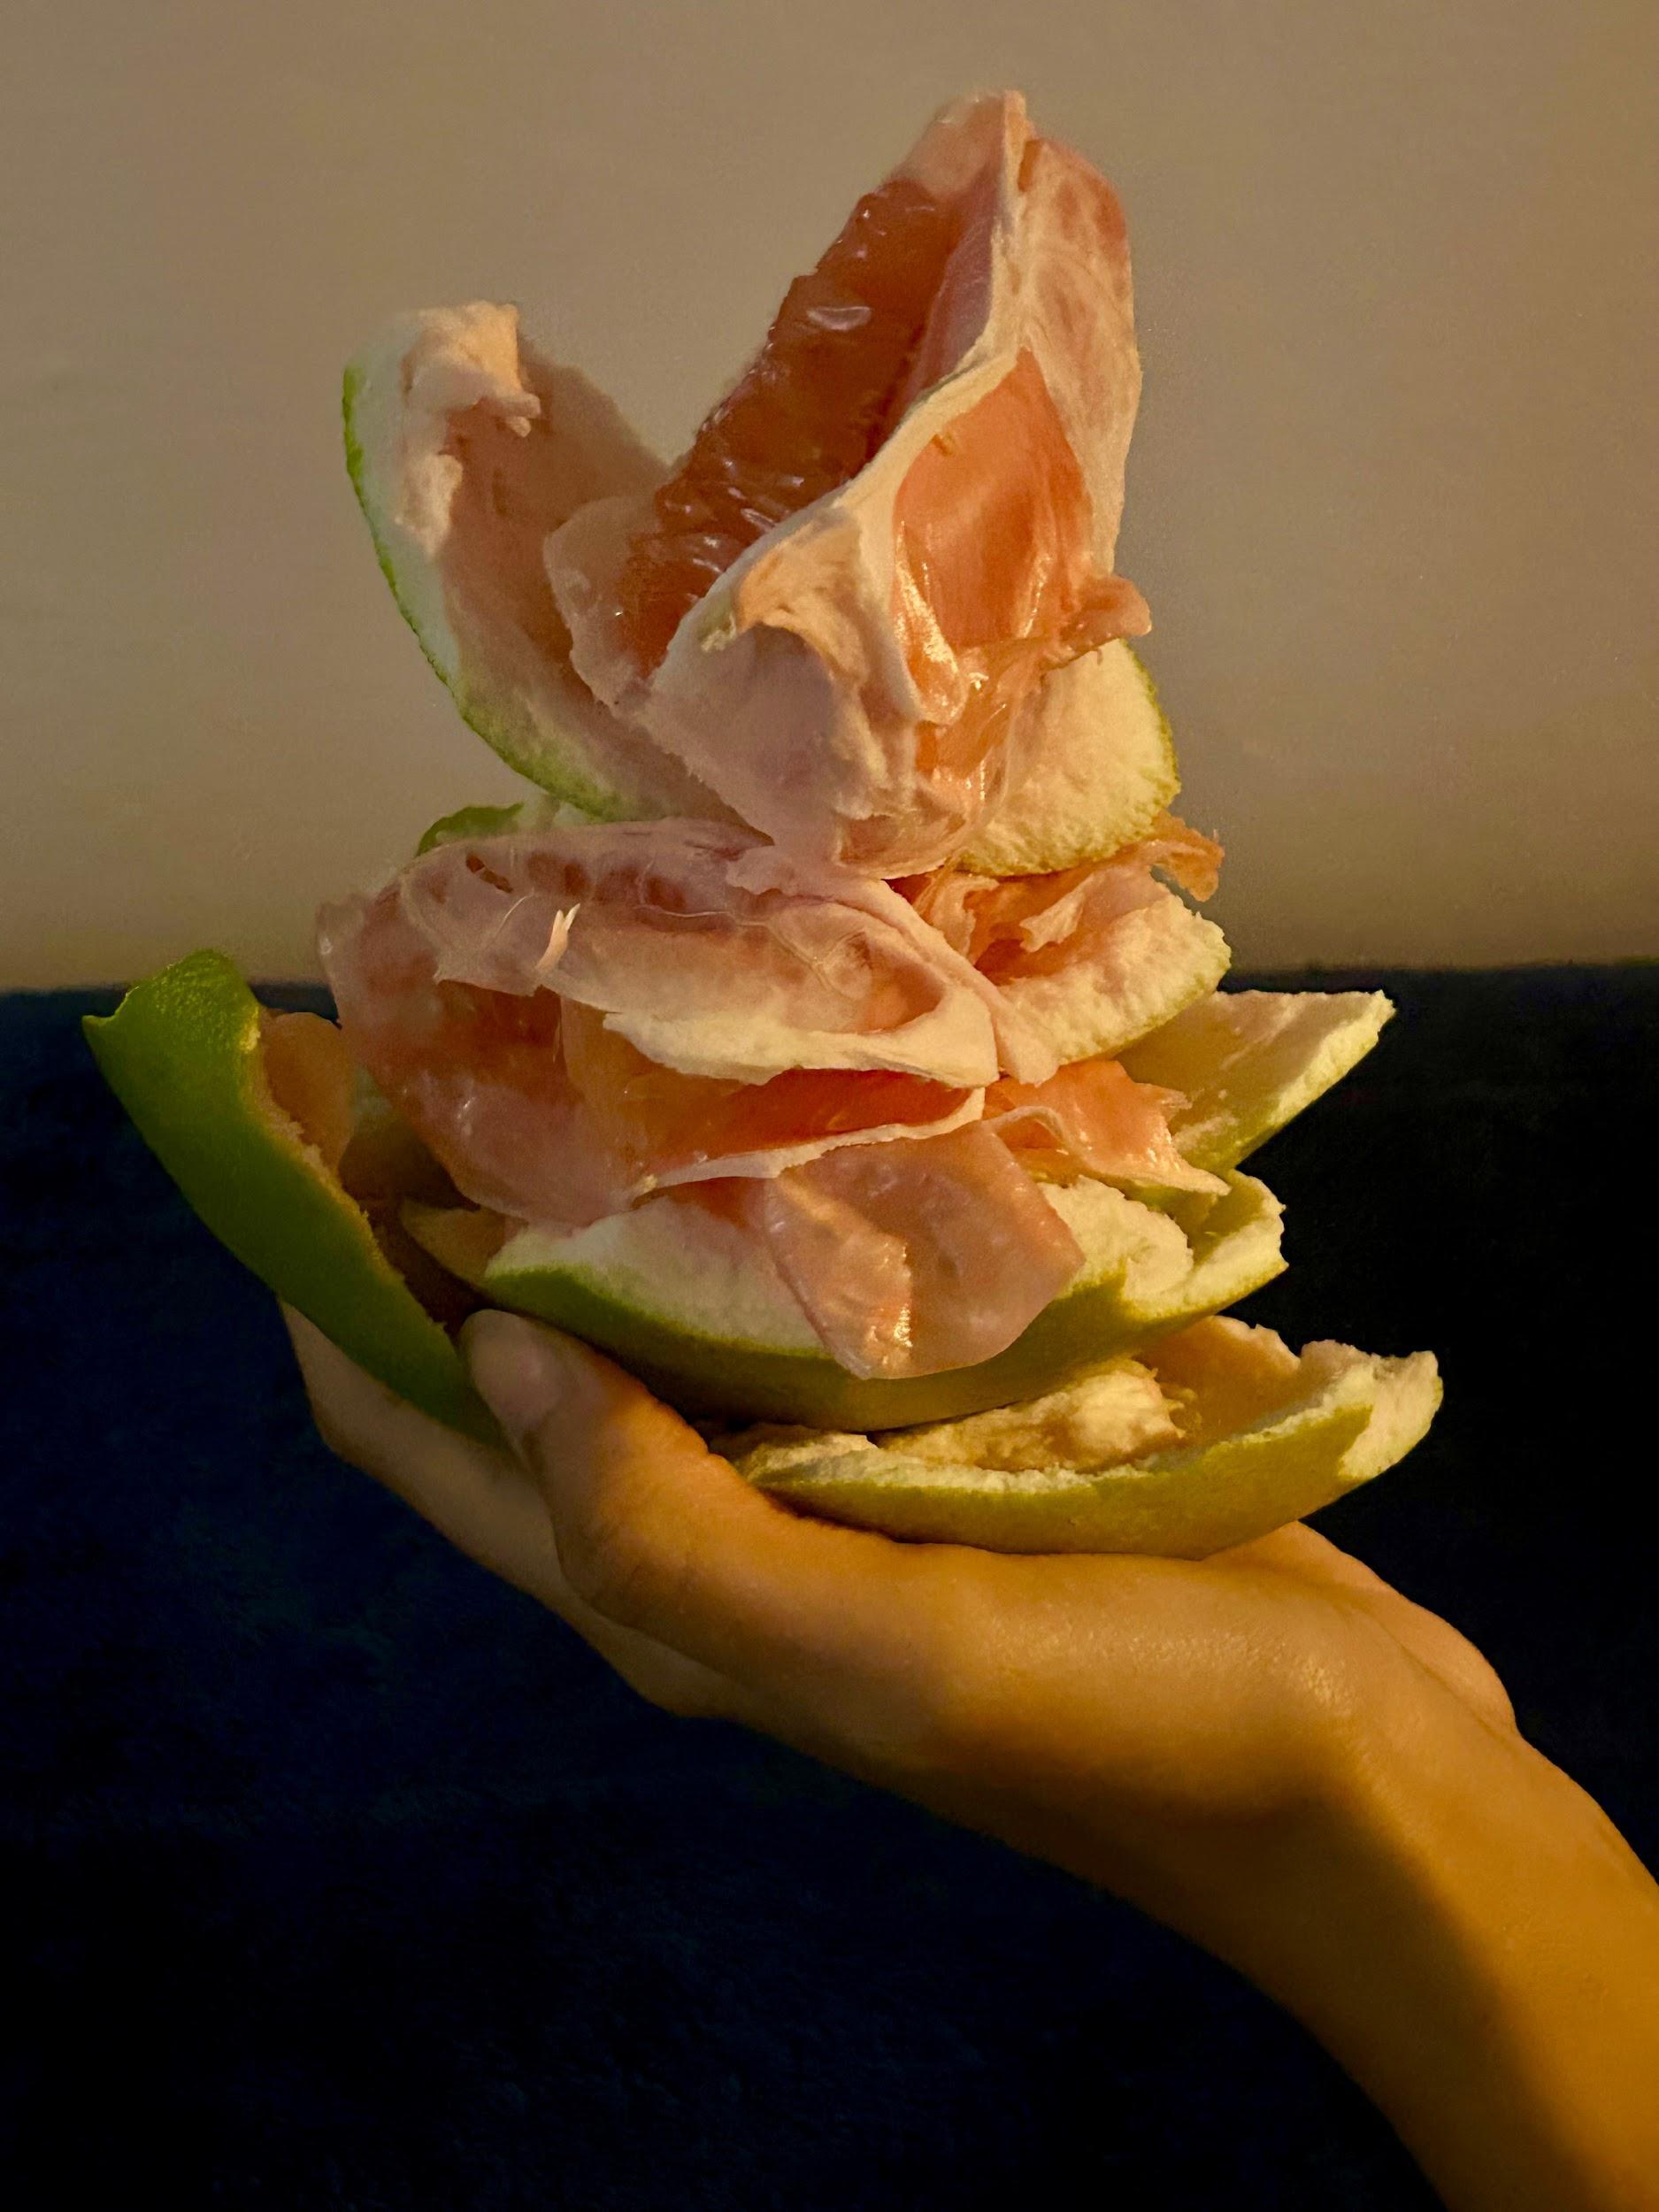
Step 1: Slice 1- 4 large tomatoes. It does not matter what way you slice them, as long as there are 45 half inch thin pieces per tomato.
Step 2: Find a pot or bucket that could fit all the tomato slices next to each other on the top surface of the pot.You can use multiple pots if you would like, or if all the slices won’t fit in just one pot. Fill the pot ⅚ of the way with dirt or soil.
Step 3: Place the tomato slices on top of the soil, without too much overlap.
Step 4: Sprinkle just enough soil on top so that you can not see any tomato. Pat down the soil lightly so it is compact.
Day 1: No sprouts yet.
Day 9:Afew very very small sprouts.
Day 14: Quite a few
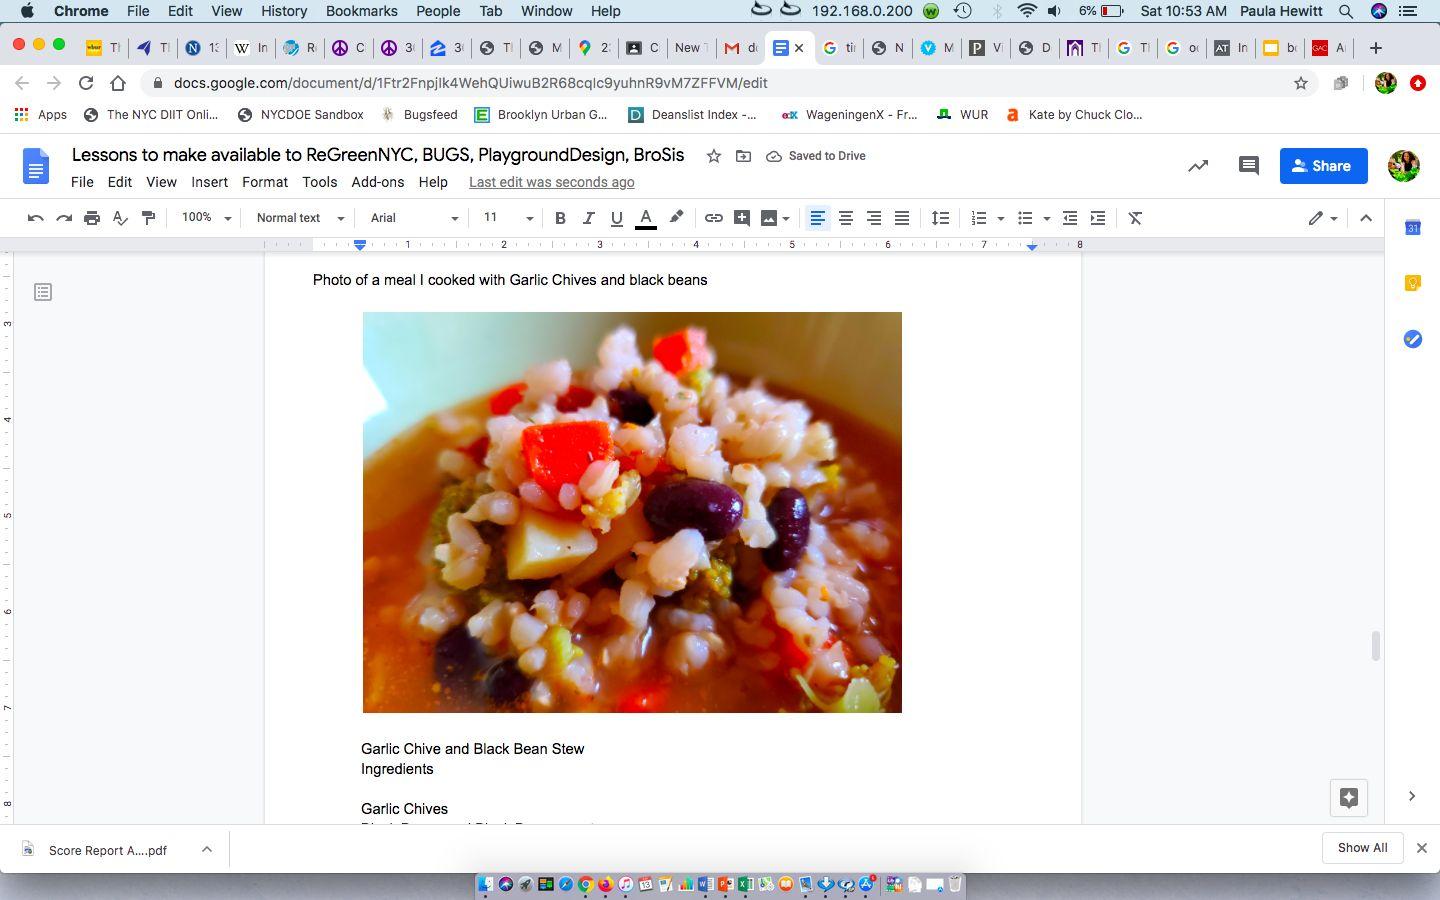
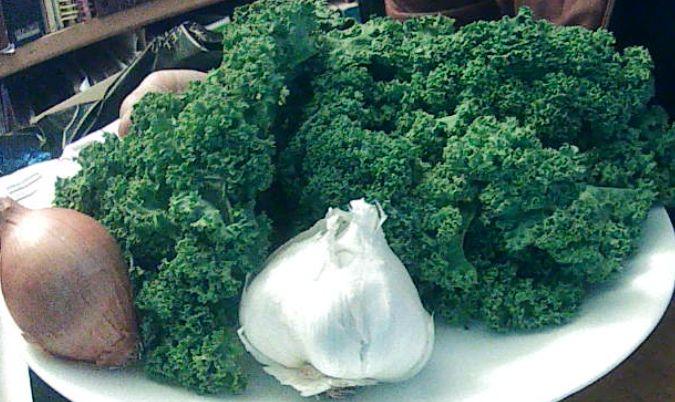
Ingredients
Garlic Chives
Black Beans and Black Bean shoots (sprouts)
Tomatoes
Carrots
Broccoli
Potatoes
Celery
Rice or Whole Grain Wheat Seed
Cook one cup of Rice or Wheat Seed for 20 min, with Black Beans, potatoes, and carrots.
Add tomatoes, celery,and broccoli in the last 3 minutes of cooking.
Lightly cook the garlic chives over a low flame for 1 minute.You may use oil, you don’t need to.
Add to the Black Bean and Vegetable mixture.
Put the Garlic Chive and Black Bean Stew in a bowl and serve it warm.