The Glow Recipe


This site is dedicated to empowering lighting designers, from beginners to experts, with practical advice and creative ideas Whether you’re looking for design inspiration, tips on how to illuminate your spaces, or detailed guides on lighting design, you’re in the right place .
lighting design began , where the unique blend of modern architecture and rich cultural heritage inspired me to explore the art of lighting I remember my first project, a residential villa where I had the freedom to experiment with different lighting techniques . Seeing the impact it had on the space and the people who lived there solidified my passion for this field . Now, I want to share that passion with you .


Welcome to The Glow Recipe, your comprehensive guide to achieving beautiful and functional lighting in every space. Whether you are decorating a cozy nook, designing your dream home, or simply looking to enhance the ambiance of your current living space, this eBook is here to help you navigate the world of lighting design.

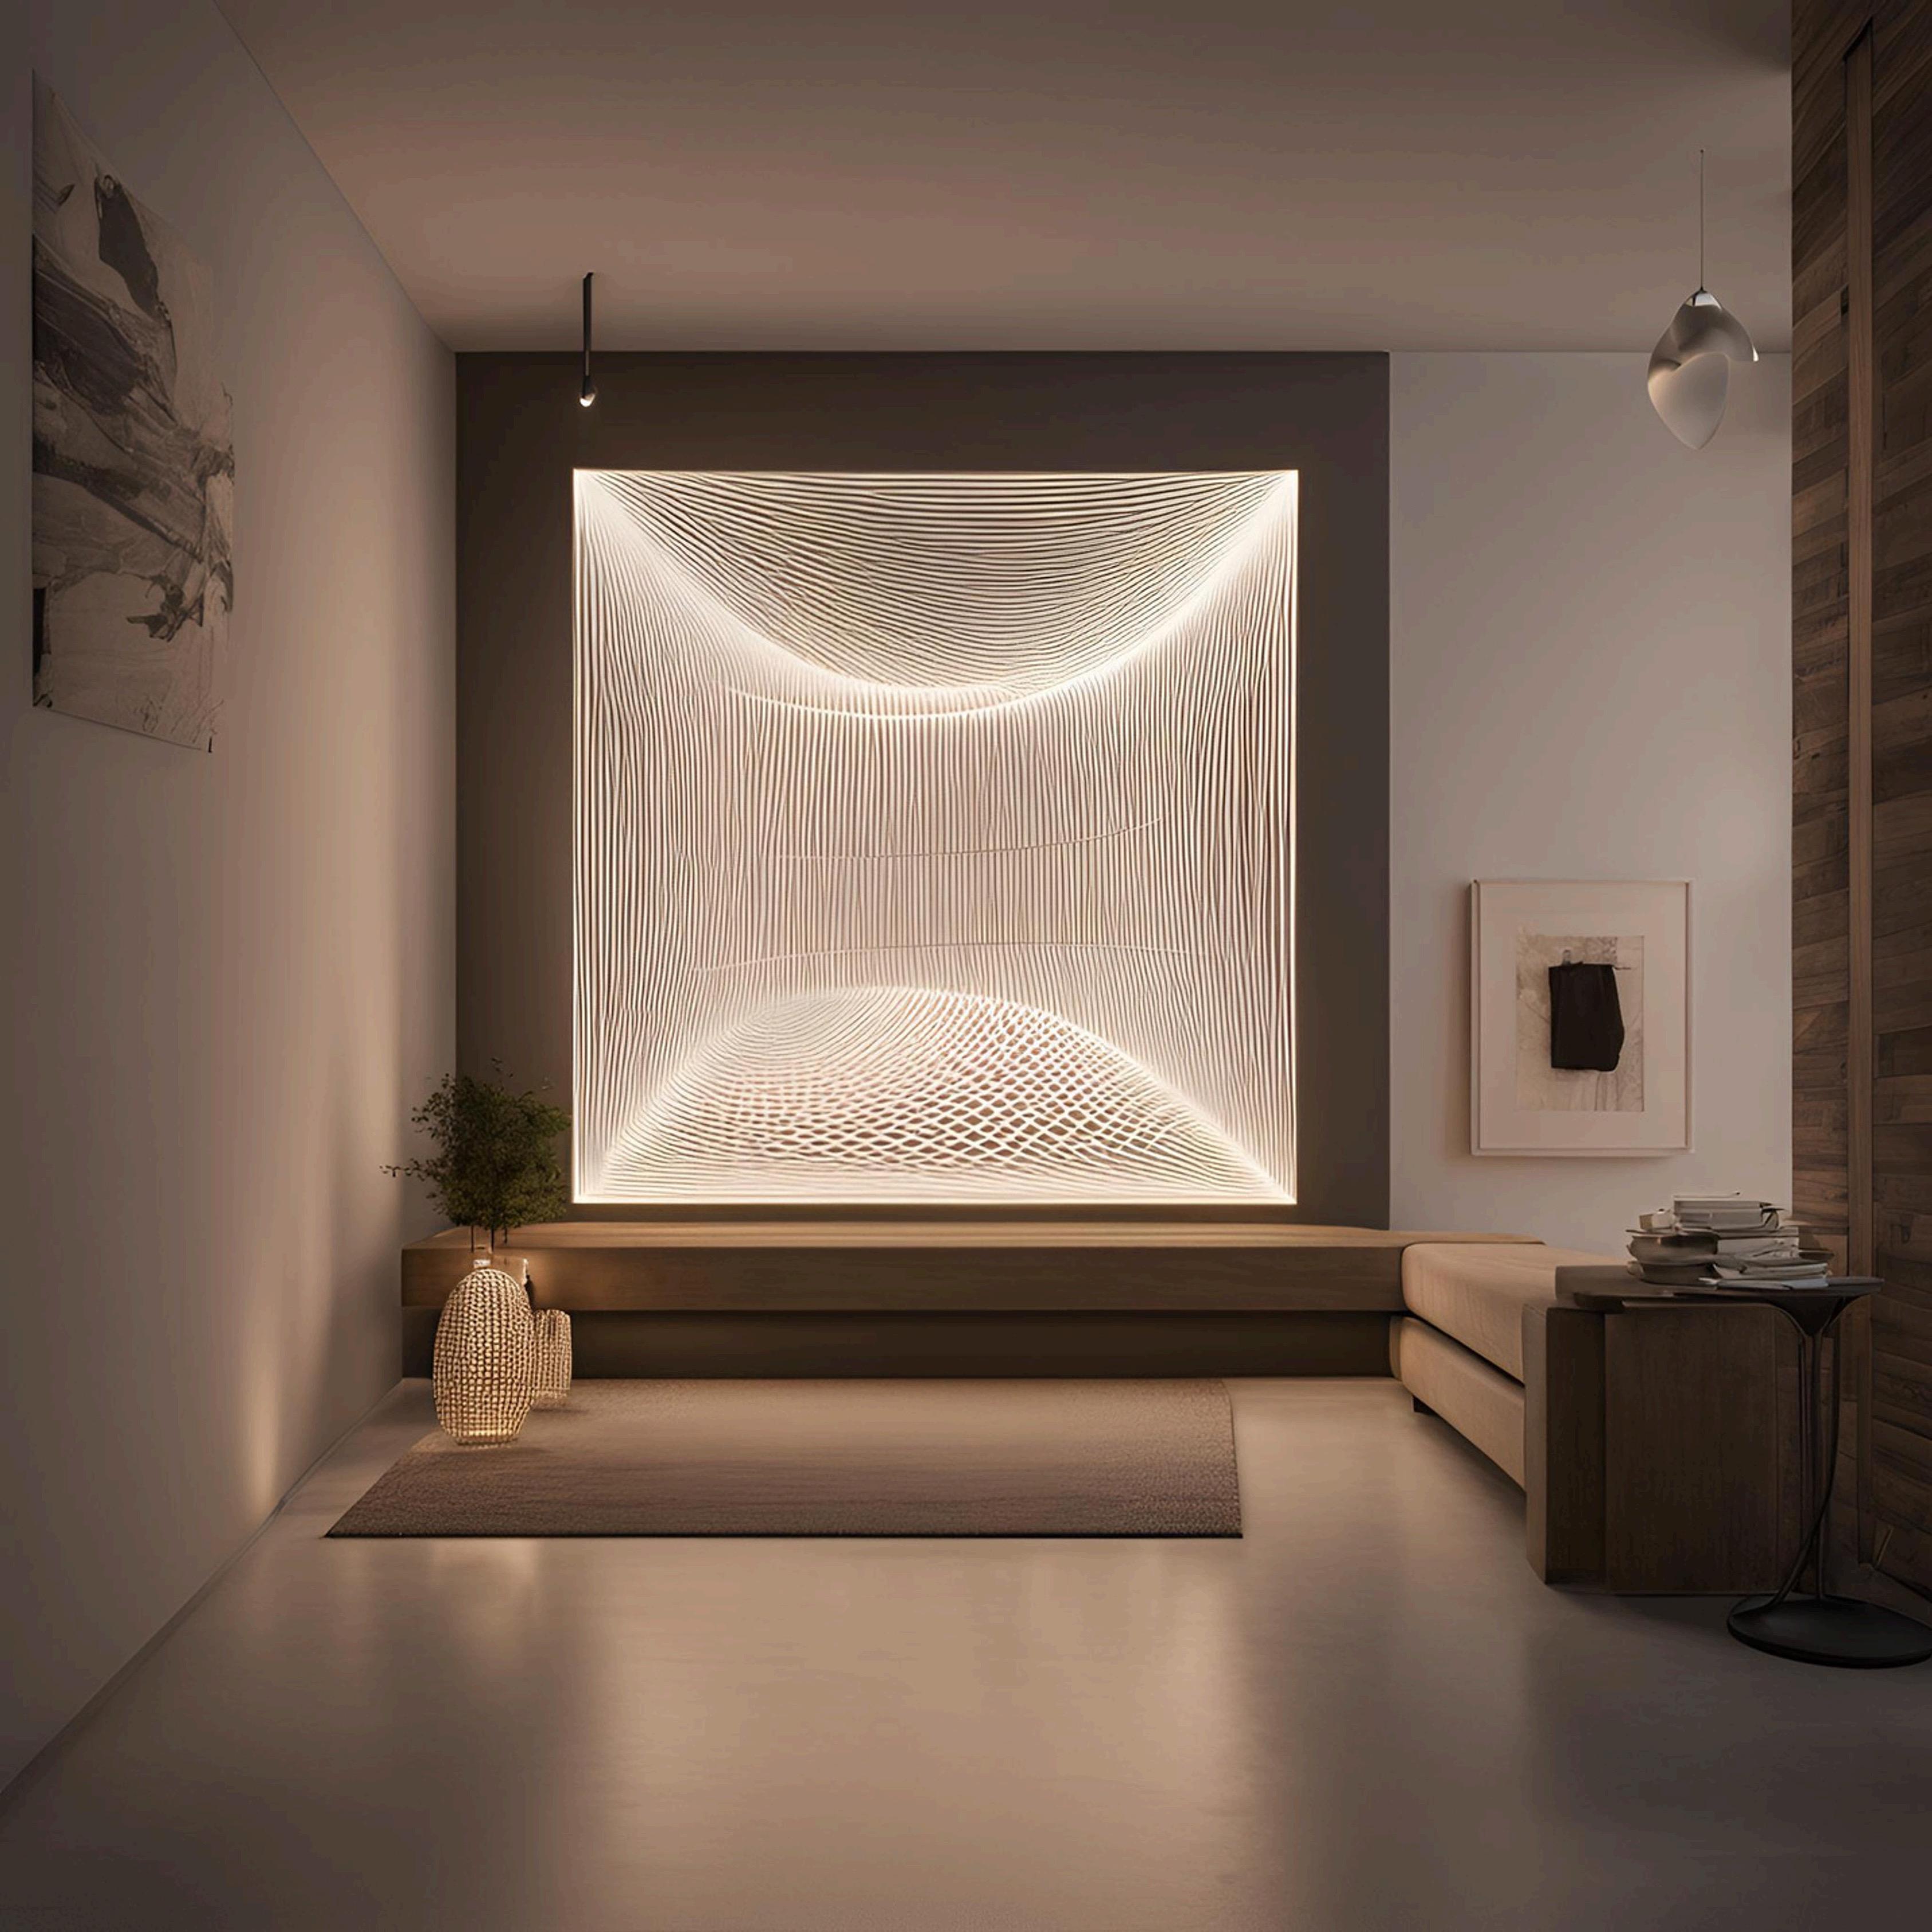
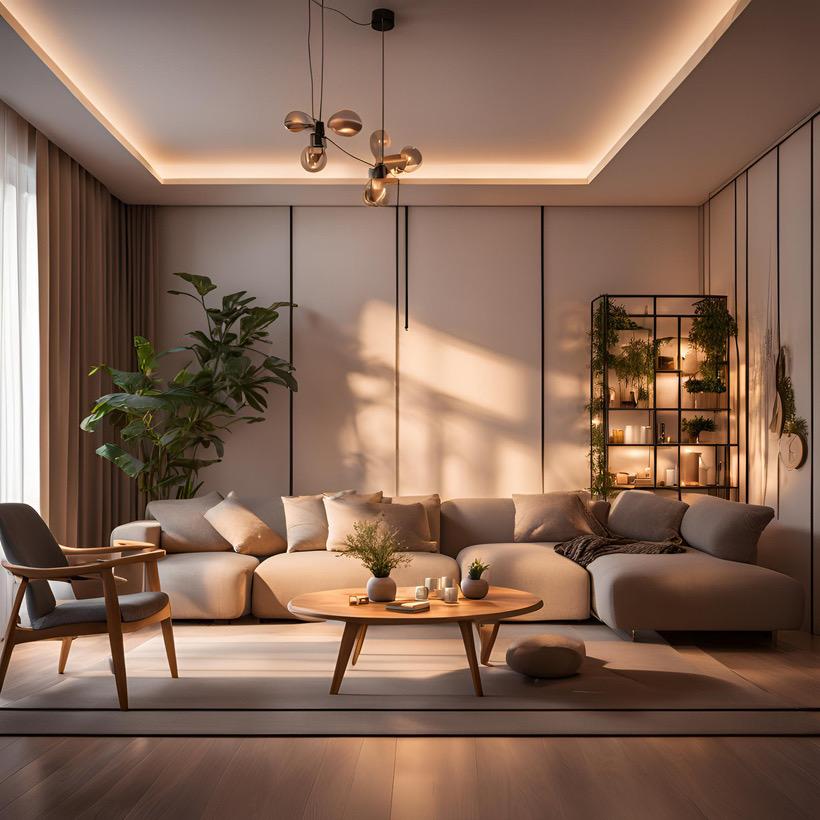
Lighting is more than just a necessity; it is an art form that can transform any space into a warm, inviting, and functional environment. From the soft glow of a lantern in a living room to the bright task lighting in a kitchen, each type of lighting serves a purpose that goes beyond mere illumination. It sets the mood, enhances aesthetics, and improves functionality.
Lighting design is the process of planning and implementing light sources to enhance a space's functionality, aesthetics, and mood It’s not just about brightness it’s about creating harmony and balance between light and shadow, direct and indirect lighting, and different color temperatures. A well-designed lighting plan transforms spaces into functional, visually appealing, and emotionally engaging environments.


• Ambient Lighting
• Accent Lighting
• Task Lighting
• Light Meters
• Lighting Design Apps
• DIY Lighting Kits
• LED Bulbs
• Incandescent Bulbs
• CFLs
• Wattage
• Lumens
• Color Temperature
Ambient lighting or general lighting means to illuminate a particular area equally. It is the first layer of lighting and sets the tone for an area thus ambient lighting is usually soft and dimmable to suit the day and night settings. Ambient/general lighting is im portant in hallways and stairs for optimal visibility. It is also useful to have general lighting in kitchen and home offices. Ambient/general lighting is either artificial lighting or a combination of artificial and natural lighting.
• Ceiling mounted lighting that direct light downwards
• Wall sconces and floor lamps
• Cove lighting that reflects light off ceilings and walls.
• Retail - General lighting is used with accent lighting to highlight specific products.
• Colour rendering properties work - General lighting is used with task lighting to provide higher light levels.
Accent lighting is used to highlight or focus an object using light. Often used by businesses and artist that wish to highlight their product. Accent light is typically three times brighter than general/ambient lighting to create a contrast. As mentioned abov e, it is paired with general lighting as the background while accent lighting will be used to draw the viewers attention. Adjustable lighting is usually used in these types of lighting, as they allow precision on smaller areas.
• Wall lights
• Recessed spotlighting
• Track lighting
• Wall-mounted picture lighting
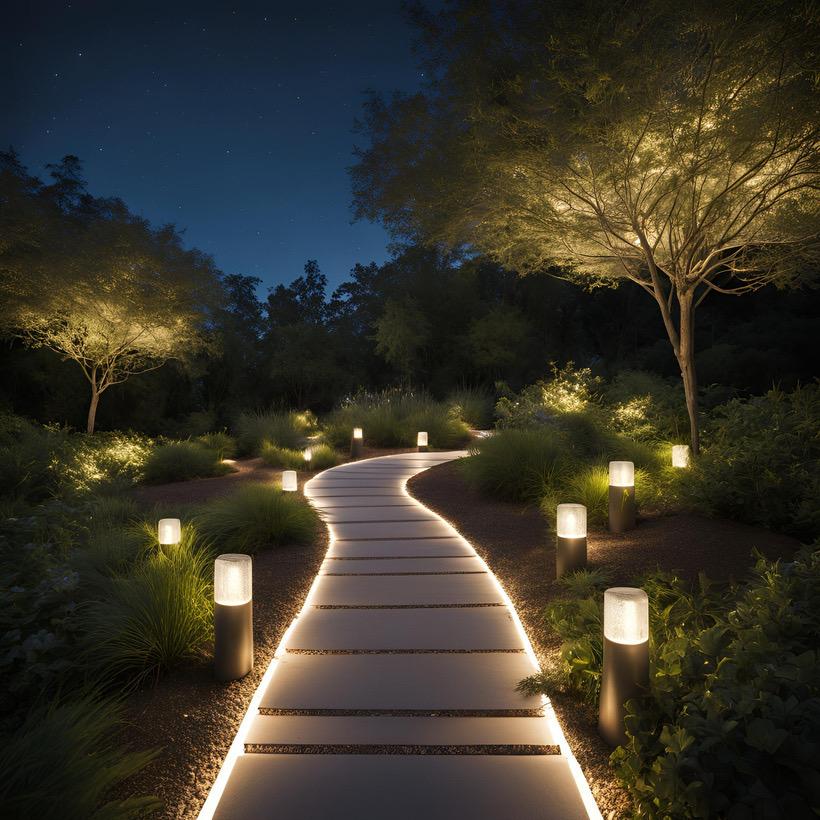
• Outdoors: Guides for pathways especially during nighttime
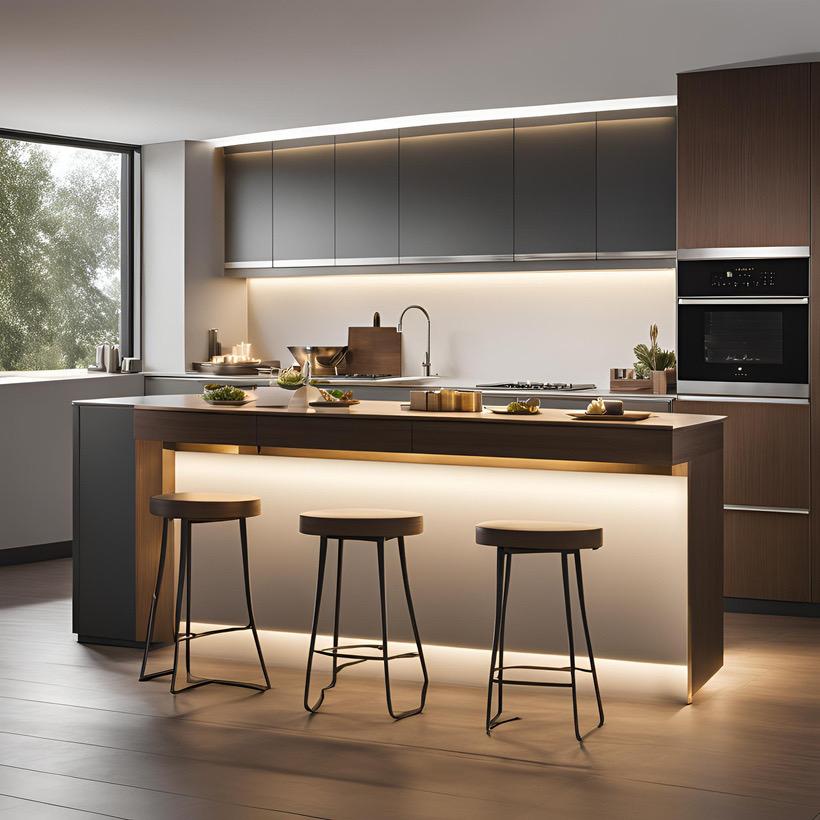
Task lighting as it names imply is a light to help users to achieve specific goals or task. It focuses on the area where the task will be performed. They are usually used to aid a user in poorly lit areas. Task lighting can help greatly improve a kitchen experience especially with the use of under-cabinet lights. Also, it should be noted that effective task lighting is glare-free and can prevent eyestrain.
• Under-cabinet lights
• Guidance lights
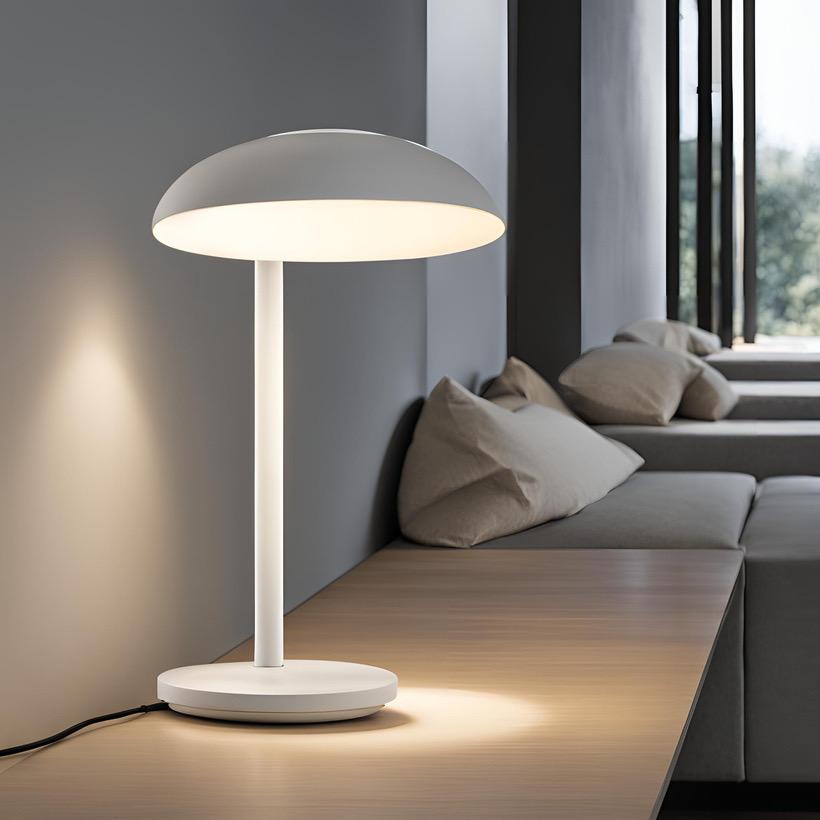
• Table lamps
• Bollard lights
• Reading and writing at a table with the use of table lamps
• Searching for specific objects in a cabinet will be made easier with the use of under cabinet lights
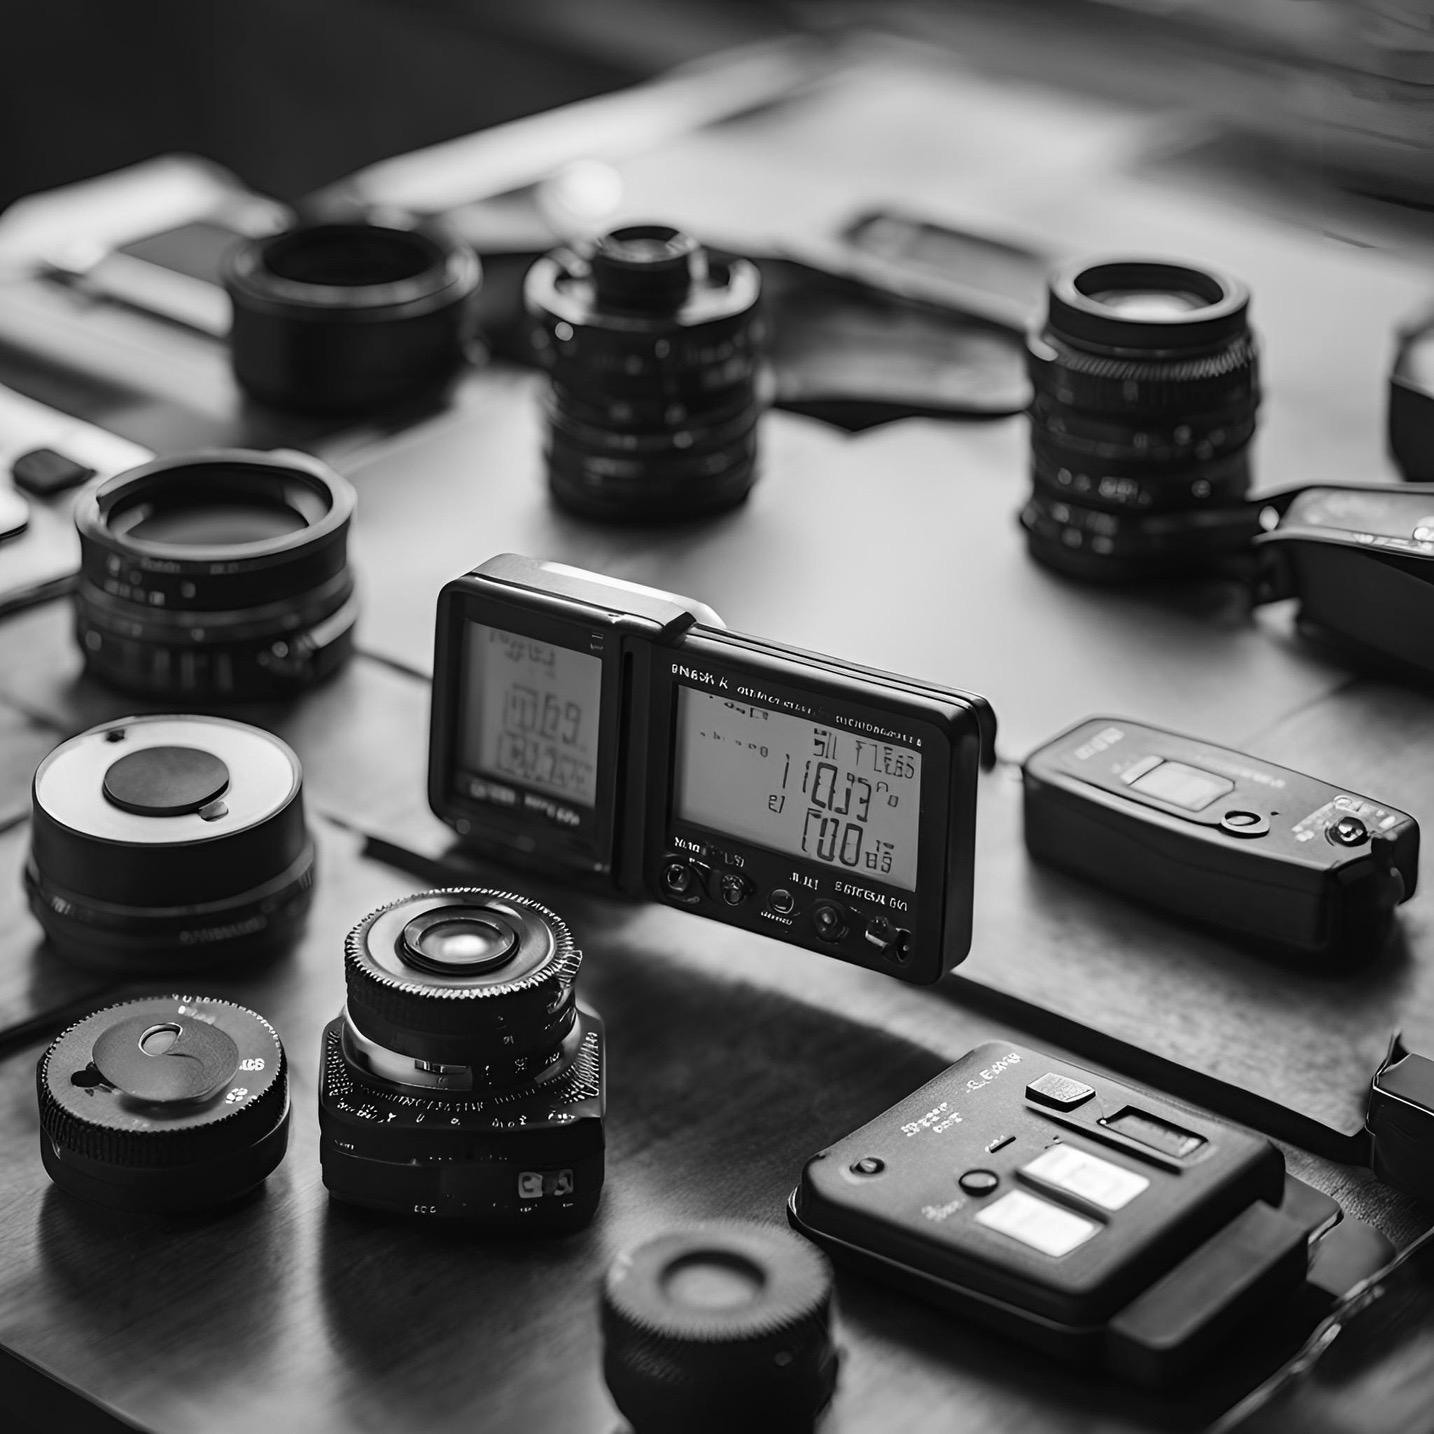
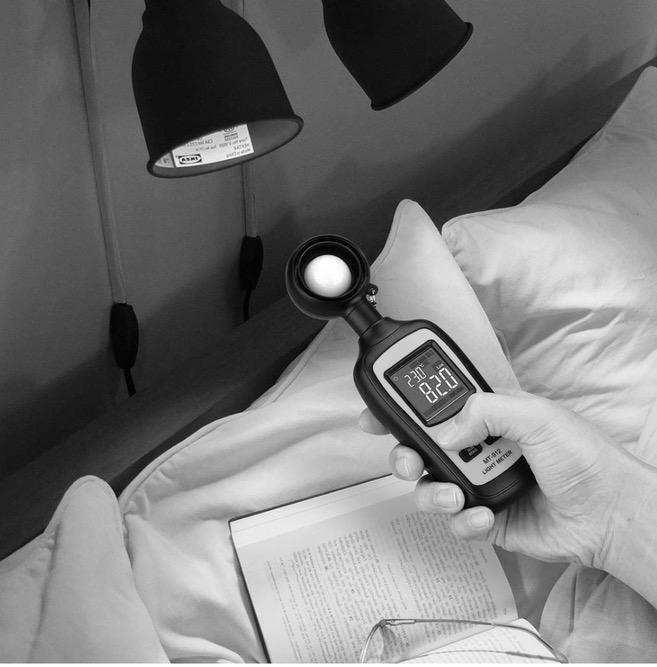
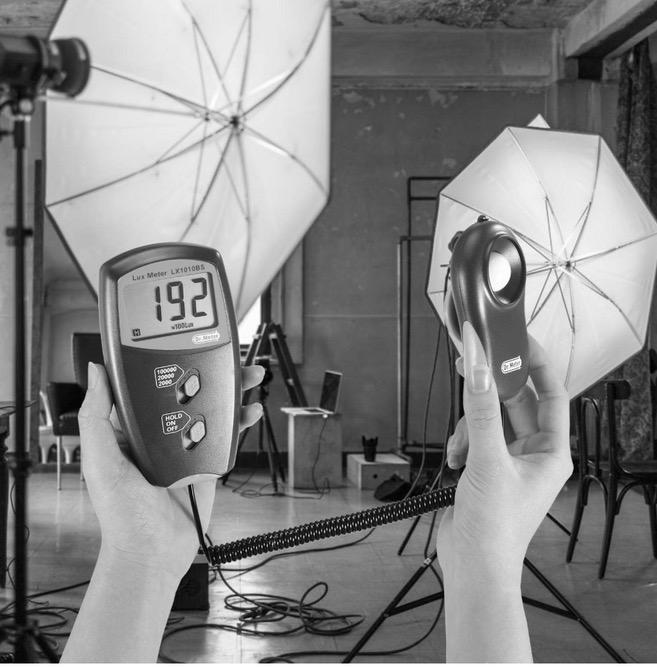
A light meter helps you measure the amount of light in different parts of a room, ensuring that no area is too bright or too dim. Proper light balance creates a comfortable environment for occupants and avoids strain on the eyes
Excessive lighting can lead to glare, increased energy costs, and an overwhelming atmosphere. A light meter identifies areas where brightness exceeds functional or aesthetic requirements, allowing adjustments to be made.
Insufficient lighting can make a space feel gloomy and can negatively impact tasks requiring precision, such as reading or cooking. By using a light meter, you can detect dim areas and strategically add lighting to enhance functionality and aesthetics.
Different activities require varying light levels. For example:
• Reading or detailed work may need 300-500 lux.
• General living spaces might need around 150-300 lux.
• A light meter ensures that lighting matches the specific needs of the space and its purpose.
For lighting designers, light meters are indispensable tools They ensure precision when layering lighting types (ambient, cohesive and intentional designs.


RECOMMEND AFFORDABLE LIGHT METERS FOR BEGINNERS

What It Is:


• AutoCAD is a premier drafting software used by architects and designers to create precise 2D and 3D plans.
Features for Lighting Design:
• Allows you to create detailed floor plans with exact dimensions.
• Add lighting fixtures to your designs to see how they fit within a space.
• Export plans for collaboration or further visualization in other software.
Why It’s Useful:
• Ideal for detailed architectural planning.
• Helps ensure accuracy in lighting layouts, making it perfect for professionals.
Who Should Use It:
• Designers and architects with experience in CAD software.
What It Is:
• Revit, another tool by Autodesk, is a Building Information Modeling (BIM) software used to create 3D models and manage building designs.
Features for Lighting Design:
• Integrates lighting design into comprehensive 3D models of buildings.
• Simulates lighting effects, including daylighting and artificial lighting, for precise planning.
• Provides energy analysis to optimize lighting systems for sustainability.
Why It’s Useful:
• Perfect for large-scale projects that require coordination across multiple design elements.
• Offers advanced simulation features to visualize lighting in realistic settings.
Who Should Use It:
• Professionals or advanced users working on large-scale architectural or interior design projects.
What It Is:
• Lumion is a visualization software that specializes in rendering 3D models with stunning realism.
Features for Lighting Design:
• Add and adjust lighting effects like ambient light, spotlights, and shadows to your designs.
• Create photorealistic images and videos of spaces with accurate lighting simulations.
• Simulate natural lighting conditions like sunlight and weather effects for outdoor designs.
Why It’s Useful:
• Brings your lighting designs to life with realistic textures, reflections, and lighting.
• Excellent for presentations and client pitches
Who Should Use It:
• Anyone looking to create high-quality visuals of their designs, from beginners to experts.
What It Is:
• Adobe Photoshop is a leading software for photo editing and digital visualization.
Features for Lighting Design:
• Edit and enhance photos of spaces by adding or adjusting lighting effects.
• Simulate different lighting scenarios to visualize how a space will look under various conditions.
• Combine lighting plans and rendered images into polished presentations.
Why It’s Useful:
• Perfect for creating mood boards or tweaking images to showcase your ideas.
• Helps communicate design concepts to clients or collaborators.
Who Should Use It:
• Beginners and professionals alike, especially those focusing on photo-based lighting visualization.
DIALux evo is advanced, free software for creating detailed lighting plans, perfect for architects, designers, and enthusiasts. It simulates real-world lighting effects, ensuring designs are both functional and visually appealing.
Key Features
•Lighting Simulation: Visualize lighting effects for indoor and outdoor spaces.
•Built-In Fixture Libraries: Access real-world fixtures from top manufacturers.
•Customizable Spaces: Adjust floor plans, textures, and furniture for realistic designs.
•Daylight Analysis: Simulate natural light based on location and time.
•Lux and Lumen Calculations: Ensure proper illumination using precise measurements.
•Standards Compliance: Evaluate designs against international standards like EN 12464-1.
Why Choose DIALux evo?
•Free and accessible for all skill levels.
•Professional-quality outputs, including 2D plans and 3D visuals.
•User-friendly interface with regular updates.
Getting Started
1.Download: Get it free from DIALux's official website.
2.Learn: Explore online tutorials to master the basics.
3.Experiment: Test various fixtures, lighting types, and designs.
4.Analyze: Use lux calculations to perfect your layout.
These kits are cost-effective and flexible, allowing you to explore and refine your lighting ideas without committing to permanent installations. By testing various setups, you’ll gain hands-on experience and confidence in creating your ideal lighting design.


1 3 5 2 4 6
• Focus on one room or corner to experiment with different setups.
• Test a single type of lighting (e.g., task, accent) before combining them.
• Use bulbs with varying wattages, color temperatures (warm white to cool daylight), and beam angles.
• Place them in different fixtures to see how they alter the mood and function of the space.
• Use temporary hanging cords or clip-on fixtures to test overhead and accent lighting.
• Experiment with heights and angles to highlight key features like artwork or furniture.
• Install dimmable bulbs or use plug-in dimmer controls to adjust brightness levels.
• Observe how different brightness levels impact ambiance and utility.
• Take photos of each setup under various lighting conditions (daytime and nighttime).
• Note which combinations work best for the mood or task in the space.
• Combine ambient, task, and accent lighting to create depth.
• Use LED strips, floor lamps, and overhead fixtures in unison to visualize the final look.
Lighting design begins with understanding the types of bulbs and fixtures available, along with the terminology that defines their performance. This section breaks down the most common bulb types, key terms like wattage, lumens, and color temperature, and how they impact your space.
Benefits:
• Extremely energy-efficient, using up to 80% less energy than incandescent bulbs.
• Long lifespan (up to 25,000 hours), reducing replacement frequency.
• Available in a variety of shapes, sizes, and color temperatures.
Applications:
• General Lighting: Ceiling fixtures, lamps, and outdoor floodlights.
• Task Lighting: Desk lamps, under-cabinet lighting.
• Accent Lighting: Highlighting artwork, architectural details, or decorative pieces.
Why Choose LEDs:
• Their versatility and efficiency make them a go-to choice for almost any application, from creating cozy living rooms to lighting up functional workspaces.
Characteristics:
• Produce a warm, yellowish light.
• Less energy-efficient, with a shorter lifespan (about 1,000 hours).
Applications:
• Best for spaces where ambiance is a priority, such as living rooms, bedrooms, or dining areas.
• Often used in decorative fixtures like chandeliers or sconces
Why Choose Incandescents:
• Although less efficient, their warm light creates a welcoming, classic atmosphere.
Characteristics:
• Energy-efficient and longer-lasting than incandescents but shorter lifespan than LEDs
• Limited in aesthetics and warm light options; some can produce a slight flicker.
Applications:
• Ideal for functional spaces like garages, basements, or laundries where efficiency is key.
Why Choose CFLs:
• A budget-friendly option for low-priority aesthetic areas.
What It Is:
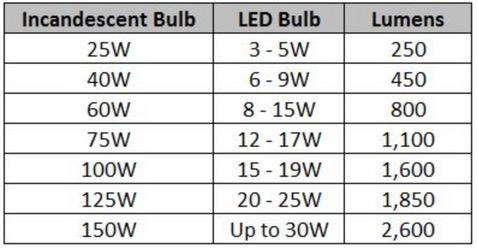
Wattage measures the amount of energy a bulb consumes, not its brightness.
Why It’s Less Relevant:
• With energy-efficient bulbs like LEDs, you can achieve the same brightness with far less energy.
Example:
• A 10-watt LED bulb produces the same light as a 60-watt incandescent bulb.
Key Takeaway:
• When shopping for bulbs, focus on lumens for brightness rather than wattage.
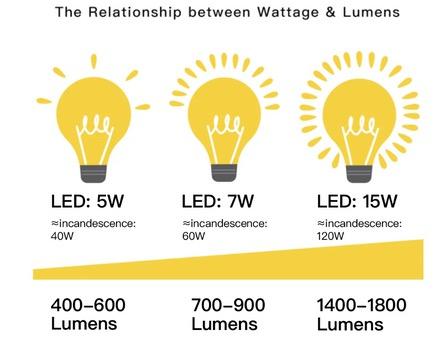
What It Is:
• Lumens measure the total amount of visible light a bulb emits.
How It Affects Brightness:
• Higher lumens = brighter light.
Example:
⚬ 450 lumens: Suitable for accent lighting or cozy areas.
⚬ 800 lumens: Ideal for general room lighting.
⚬ 1,600 lumens: Perfect for task lighting in kitchens or offices
Key Takeaway:
• Match lumen levels to the purpose of the space for the right balance of light.
What It Is:
• Measured in Kelvin (K), color temperature indicates the hue of the light:
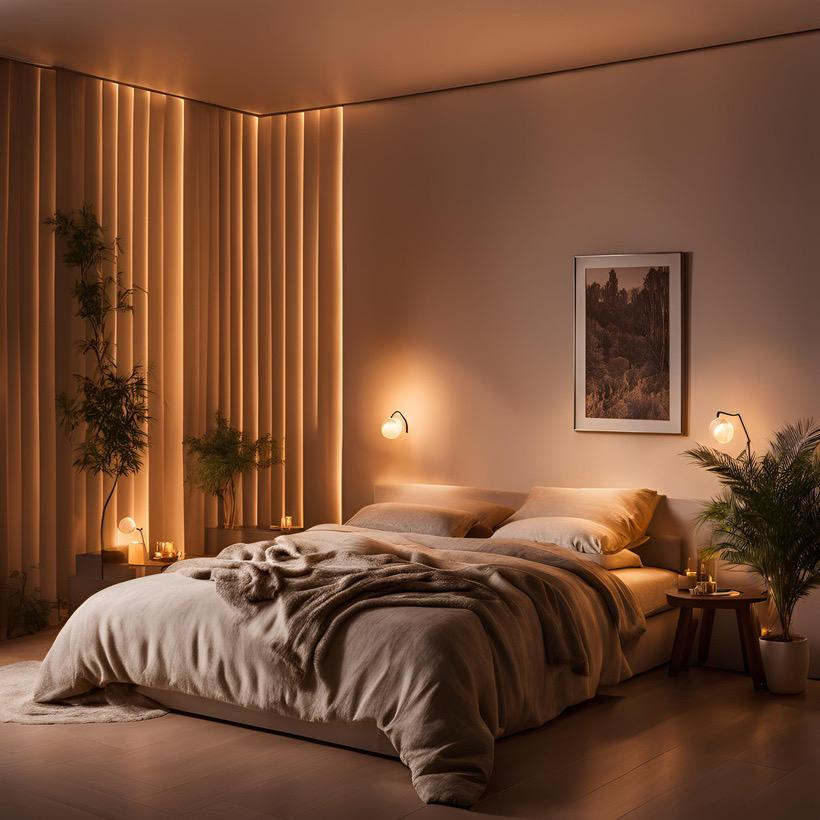
• 2,700K–3,000K: Warm, yellowish light for cozy spaces like living rooms and bedrooms.
• 3,500K–4,000K: Neutral white light for kitchens and bathrooms.
• 5,000K–6,500K: Cool, bluish light ideal for workspaces or task-oriented areas.
Psychological and Aesthetic Impacts:
• Warm light creates a relaxing, inviting atmosphere.
• Cool light promotes focus and alertness but can feel stark.
Key Takeaway:
• Use warm light for ambiance, neutral light for balance, and cool light for productivity.

Thank you for and functional Visit the Glow to our newsletter We’d love to the hashtag enthusiasts. Let’s light up the world together!
Your Recipe For Radiant Lighting Design

