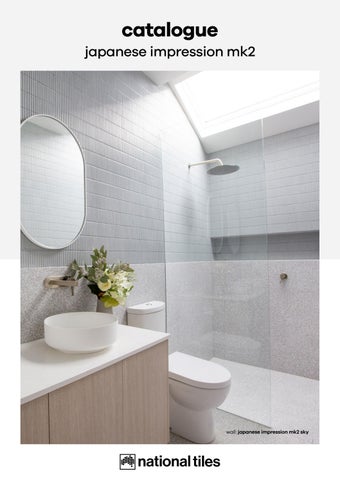
japanese impression mk2


Product Specifications
Material: Porcelain
Edge: Pressed
Surface finish: Gloss
Nominal sizes: 284x298mm
Application: Wall
Shade variation: V2

wall: japanese impression mk2 snow design and fit out: totalfitouts_southsunnycoast photographer: alynemedia
Important Notice
This product is manufactured using a reactive glaze, which results in inherent variation in colour, shade, and finish. Variation between batches and shipments may be greater than that of standard tile production and is an expected characteristic of the product, not a defect.
Customers must inspect all tiles prior to installation to ensure they are satisfied with the variation. By proceeding with installation, the customer is deemed to have accepted the product in its current condition.
No claims will be accepted for variation in colour, shade, or finish, including differences between supplied product and any in-store samples or displays.
available colours:


available format:
Colour disclaimer: Due to monitor settings, we cannot guarantee that the colour you see on your screen as an exact colour of the product. We strive to make our colours as accurate as possible, but screen images are intended as a guide only and should not be regarded as absolutely correct. All colours are approximations of actual colours. For more accurate consideration of your tile choices, we recommend taking advantage of our sample service.


Japanese Impression MK2 Mosaic Installation Guide
General
Dry lay your mosaic tiles prior to installation. Any quality issues should be brought to our attention prior to fixing. Delivered product may vary from showroom samples; fixing of the product constitutes acceptance of the product. Please refer to National Tiles Customer Care Instructions.
Cutting
Cut mosaics with a wet saw using a diamond blade. Cut mosaics slowly using multiple passes, increasing the depth with each pass.
Grouting
• Apply a premium grade thin set mortar using a 4mm V-notch trowel for small mosaics and/or a 6–8mm square-notch trowel for larger mosaics.
• Set tiles, applying pressure or tapping the surface with a rubber grout float to ensure all tiles are bonded and aligned properly. Use a level periodically to check the grout joints.
• Mix and apply grout. For mosaic tiles with a metallic glaze finish, use unsanded grout to prevent surface abrasion.
• Clean all excess grout immediately with a damp sponge.
• After 12 hours, polish any remaining grout haze with a clean, dry cloth.
Cleaning and Maintenance
Please note: Not suitable for high traffic areas or water submersion such as swimming pools.
• Do not use abrasive cleaners or harsh chemicals.
• Use an all-purpose cleaner recommended and safe for use on your mosaics.
Important
This product is manufactured using a reactive glaze (also known as variegated or mottled glaze), which creates unique colour variation and movement across the surface under different lighting and viewing angles.
This tile is classified as V2 shade variation. To ensure a consistent and satisfactory appearance, tiles must be laid out, inspected, and approved by the customer prior to installation. No claims will be accepted after installation.
Disclaimer
No claim will be accepted after installation of the product. All tiling must be undertaken in accordance with AS 3958.1: Guide to the Installation of Ceramic Tiles.