10 minute read
Flatpack Buildings For Delivery


• If you are going with a concrete slab foundation, please do not pour any concrete until we give you the specifications. We would always recommend that this work be carried out by professionals. Where concrete is being used, we will need to apply an armoured damp proof membrane to protect the underneath of your cabin, and attach the subframe to the slab using express nails, the cost for this is €10.00 per m2
Advertisement
• As our buildings are made of wood, concrete is not usually necessary as we are not dealing with the weight of a block built building. It would only be required if the area is soft, boggy or liable to flood. An affordable middle ground would be to apply a layer of hardcore rock (called 804 in the trade) and compact it, this is available from all builders’ providers and is something many people install themselves. Please call us for dimensions and some labour saving tips if you are undertaking this yourself. This would be more than sufficient (and more cost effective) in most cases, for our fitters to install a timber frame and block pad foundation. Installing a hardcore layer may raise the site somewhat and extra foundation, step(s) and/or coverup may be required at additional cost, depending on what is required.
• If you are building on a sloped site, like the picture below, there are ways to remedy this. The site can be excavated or levelled by a contractor, but this can be expensive, depending on how sharp the incline on the site is. Please note, getting a contractor to install hardcore does not equate to levelling the site, it needs to be specifically quoted for. Alternatively, our timber frame and block pad foundation can be adjusted to cope where there is a slope, fall off or undulation. We use shorter foundation legs where the ground is higher and extend the foundation legs as the ground gets lower. As mentioned above, extra steps and/or coverup may be required at additional cost, depending on the incline.
• All pipes for water waste and electricity need to be in place before your building arrives. It is preferable to have these utilities coming up through the foundations and floor rather than through a wall, this will help prevent the opportunity for water ingress.
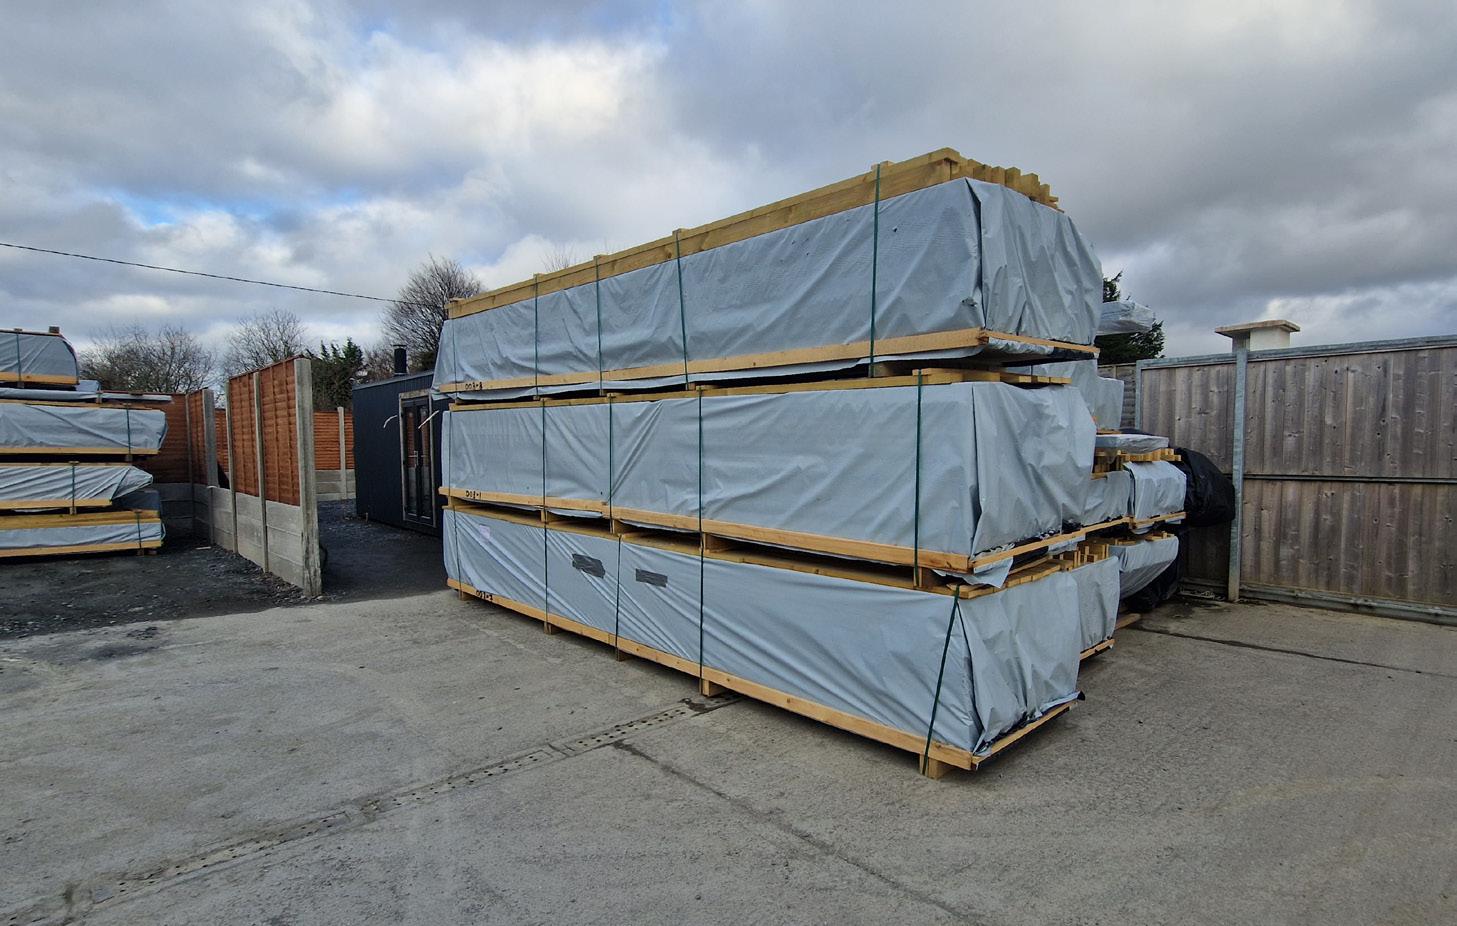
Deliveries
We would strongly recommend that you have someone on site when your cabin is being delivered and throughout the installation, where possible. There can be a considerable amount of materials to be delivered, we don’t want to cause unnecessary obstruction to your site/residence. Points to bear in mind are:
• As mentioned above, your cabin will be delivered on a large flatbed truck, please ensure that there is sufficient access for the truck to get in and out of your site.
• Sufficient space is required for the materials to be offloaded.
• The delivery drivers only unload the materials from the truck, using a crane, they do not bring the materials from the drop off point to the site. This is done on the day of installation by the fitters, they bring the materials through as required during the build.
• Where there is a side entrance, ensure there is a clear run through to get the materials to the site.
• Where no side access is available e.g. mid-terrace homes, materials will need to be brought through the house. Please ensure that you have informed us, as additional labour will be required. You will need to secure a clear walkway through your house, cover floors, moving any obstructing objects out of the way. This is to avoid damage while bringing the materials through. MyCabin cannot accept responsibility for issues that arise from this process.
• The delivery truck cannot drive across fields; where the truck cannot easily access close to the build site, the client may need to organize interim transport for the materials to be brought closer to the site.
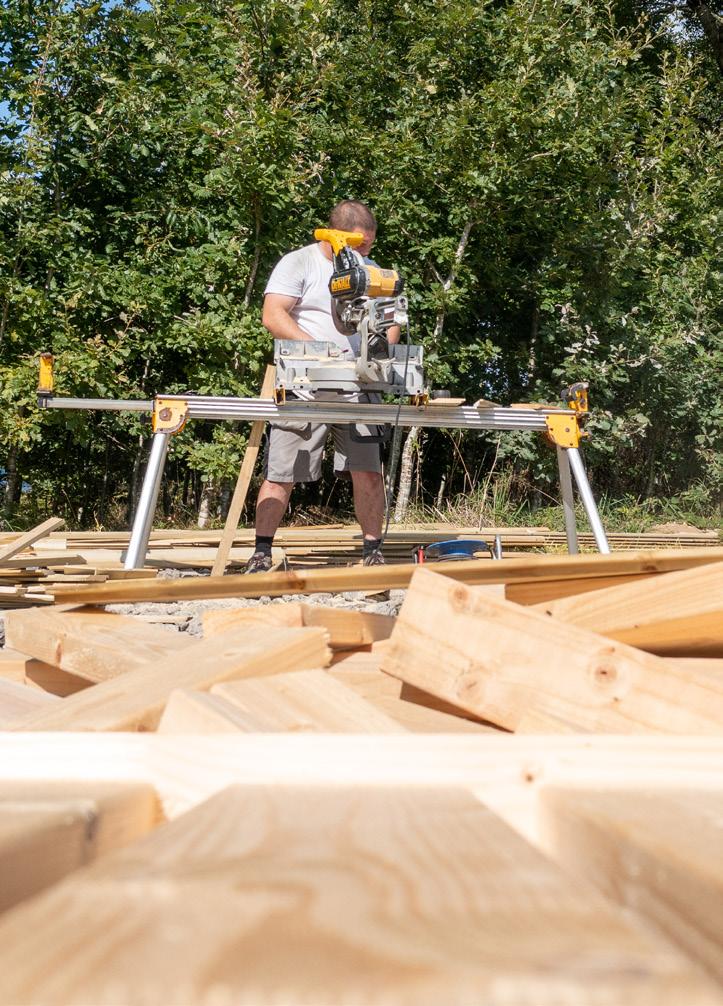
During The Build
The big day has arrived, the fitters are on site and ready to commence installation. The best feedback we get is for our fitters, they are trojan workers and we are lucky to have them. They are skilled craftsmen and experts in their field, please allow them the time and space to do an excellent job for you. They work hard and fast, or even faster if you give them coffee! Access to a bathroom would also be greatly appreciated.
• We highly recommend that you have someone present during the build, to ensure access. The fitters are friendly and approachable, feel free to ask them if you have any questions, they may also have some questions for you.
• If you have any queries during the build, you can always call us on 01 564 1964 also.

• Access to an electrical outlet within 30m is required to charge tools and run a compressor. If this is not possible, please inform us and we can arrange for a generator to be brought with the fitters.
• As the location will now become a building site, things can get a little messy, particularly if it is wet or raining. Our fitters do their best to keep the area tidy and will remove leftover building materials when the job is complete.
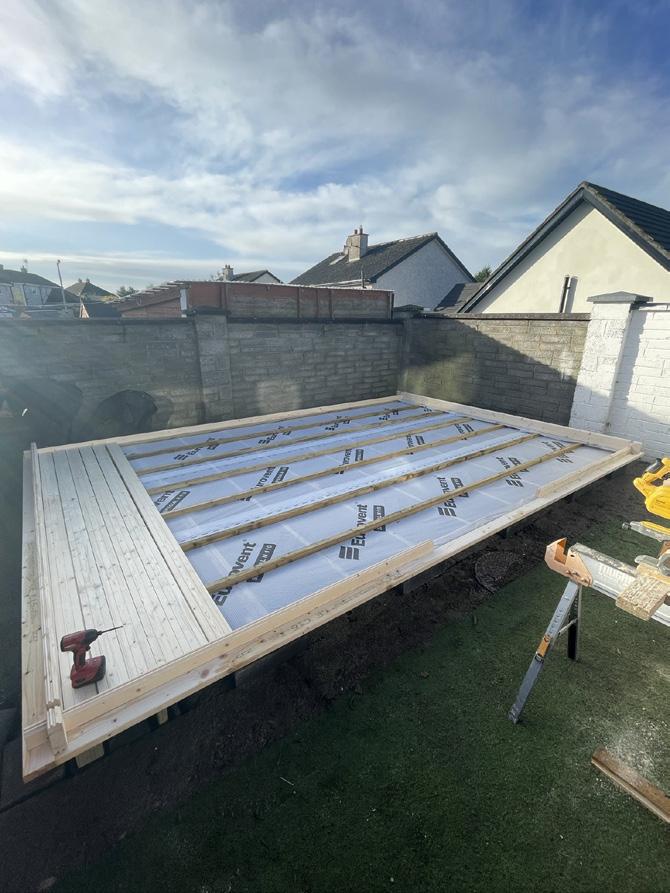
• Contractors’ works will include first fix, which happens during the build and second or final fix, which happens after the build. It is vital that the contractors are there during the build so they can hide the first fix for wiring and plumbing under the floor, inside the walls and above the ceiling boards. It is a good idea to have a plan prepared for plumbing and electrics prior to the build, so that your contractors will know where to locate lights, sockets, switches, taps, waste etc. Below is a photo of when the first fix is being installed.
• On completion of the building, the fitters will show you how to adjust windows and doors. It is important to know how to do this in order to maintain your building properly.
• Before leaving the site for the final time, the fitters will go through the building with you and complete a sign off form for you to sign. It is important that you be present on completion to clarify any queries you may have and check that you are satisfied with the installation.
• Please note, do not access the building until we have completed the build. Building sites can be dangerous, MyCabin cannot take responsibility for accidents or accidental damage due to accessing the site before completion.
About Windows and Doors
We supply three types of windows and doors, standard, premium and uPVC. Standard glazing has simple levers for closing the windows and barrel locks for the doors.
Premium glazing has three-point locks for the windows and five-point locks for the doors. They are 24mm double glazed with solid wood frames and are more secure and better insulators than standard glazing, suitable for year-round living. The windows also have tilt and turn opening (inwards) with a ventilation lock position. Premium glazing is optional on garden rooms but is included with all residential buildings.
uPVC glazing comes in white or a variety of colours. Prices on our website and in our brochure are for white, colour costs a little more. They would be superior insulators to both standard and premium glazing as they are 24mm double glazed, with Argon gas filled between the two panes. Argon is an inert gas, inert gases do not allow heat to transfer across the gas, so they will help reduce heating bills even further. An additional benefit of uPVC is that the frames do not need to be painted, reducing your maintenance costs. uPVC windows are turn only (outwards), they do not have a tilt position.
As your cabin is made of wood, it will expand or contract slightly with the seasons and changes in temperature and humidity. As such, windows and doors may occasionally get sticky or not feel right. This is natural and nothing to worry about. It is easily remedied as our window and door hinges are all fully adjustable.
Adjusting windows and doors is required randomly, but it is not difficult. Our fitters will show you how to do this as part of the sign-off process when your building has been completed. Please see the link below for a handy instructional video on how to do the adjustments. Window and door adjustments are a maintenance task and as such, are not covered by your warranty: https://www.youtube.com/watch?v=L1lux2QMd14 or read our blog post: https://mycabin.ie/adjusting-log-cabin-windows-and-doors/
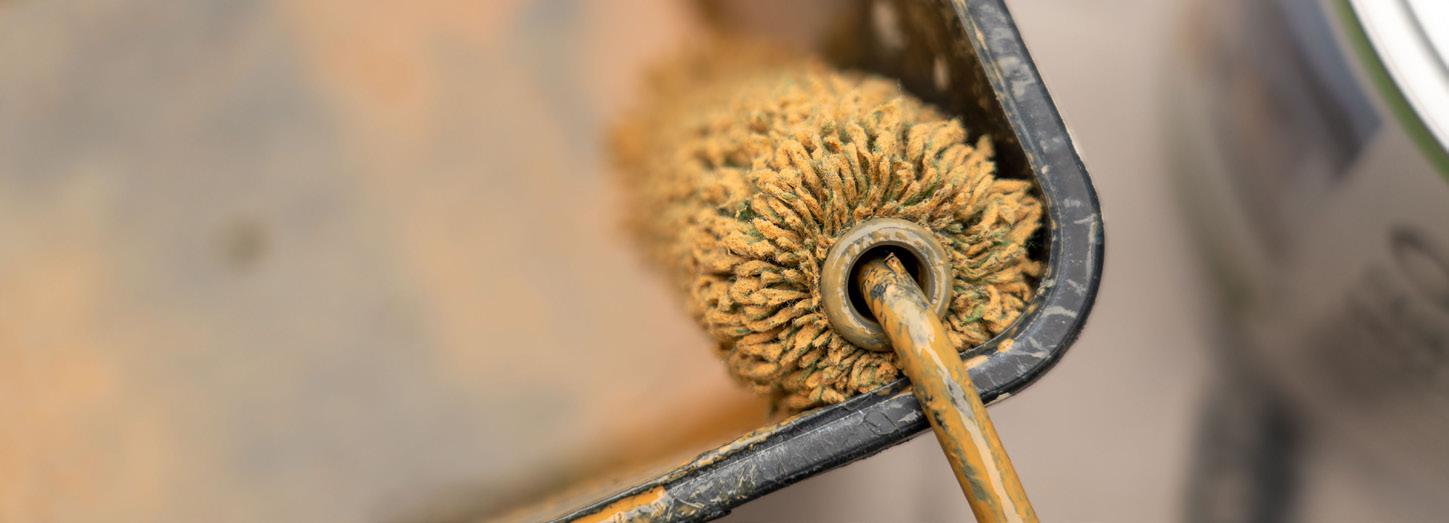
Painting
Now that your beautiful new log cabin has been installed, it is a good idea to protect your investment by protecting your building from the elements. Your building will need to be painted and sealed externally within four weeks of assembly for your warranty.
We would highly recommend getting the first painting service done by our in-house painting team. They do an excellent job and will give your new cabin a sleek, professional finish.
Buildings with wall insulation get a ten-year warranty. Single skin (non-wall insulated) buildings have a two-year warranty.
We recommend and supply Tikkurila paints and Osmo stains. External paint or stain as well as primer and sealant are included with all of our off-the-shelf designs, so you don’t need to find out what products or quantities you need to purchase. These products are not included with custom built cabins, but we can supply these for you at cost-effective prices.
Please see the link below for our in-house paint manager’s blog. It has plenty of valuable tips and advice on how to achieve a fantastic finish. If you are going to do the painting yourself, please take the time to research the blog to make sure it gets done correctly. Water damage caused by incorrect painting is not covered by your warranty.
Most importantly, do not use varnish-based products, as they do not allow the wood to breathe and can lead to difficulties.
https://www.paintlab.ie/blogs/guide/exterior-log-cabin-painting
In relation to the interior finish, there are a wide range of finishes to choose from. Popular finishes include paint, boiled linseed oil and wood wax finish.
How often you need to paint or stain the exterior really depends on how sheltered or exposed the site is, for example, is it in a walled back garden or on a clifftop in Donegal? You will know by looking at your building, if it looks like it needs to be painted, it really should have been done already.
However, in 20 or 30 years down the line, if the exterior is looking tired, the external pressure treated shiplap cladding can be stripped and replaced and your building will be back as new.
Flooring
Industry standard floors are 19mm tongue and groove planks. At MyCabin we use 28mm planks, meaning our floors are 50% thicker than most suppliers, making them harder wearing.
We also supply and fit a wide range of quality laminate flooring in 8mm and contoured 10mm. These are even harder wearing and are easier to keep clean than a tongue and groove floor.
Please see the link below for laminate options on our website –https://mycabin.ie/product-category/laminate
Getting Started in Your New Cabin
Some things to look out for now that you are finally in your new cabin! As mentioned earlier, your new cabin is made of wood which can expand and contract. It is also likely to settle as gravity gets to work and your building finds its resting position. This may lead to windows or doors getting sticky or not quite opening or closing properly.
This is easily resolved and not an issue to be concerned about. Please refer to the link above in the ‘About Windows and Doors’ section. Please do not forcibly open or close windows and doors if they become misaligned, you can damage the mechanisms or burst the seals, requiring repairs with costs for parts and labour. If in doubt, please call us for advice, we’ll be happy to assist.
Occasionally, mold can develop in a log cabin, particularly if it was assembled in damp weather or if it has not been heated and ventilated properly. Again, this is easily remedied by taking the following steps:
• Run a dehumidifier inside the building with the windows and doors closed, and heating turned on periodically. Running the dehumidifier for a few days, ensuring to empty it regularly, will help your building to dry out quickly.
• Using a bleach solution (water with bleach added) or a fungicide product and a nail brush, give the effected area a scrub to remove the mold. This will kill the parasitic fungi and its spores.
• Occasionally, sanding the affected area down with sandpaper will also be required.
• Once clean and dry, immediately apply paint,wood vax finish or boiled linseed oil, but never a varnish based product.
• If you have used a varnish based product and mold appears, it is because the wood cannot breathe and the mold will be trapped beneath the varnished outer layer. You will need to sand the area right back to the raw wood and treat it as above.
Once the wood has been protected, the mold should not recur, as long as the building is heated and ventilated properly. Remember, your premium windows will have a ventilation lock position to keep the air circulating in your cabin when engaged.
Maintenance
Now that you have spent a significant amount on building and fitting out your cabin, you need to look after it. There are three main areas for maintenance that you should be aware of.

• Protecting your cabin – you should paint/stain and seal the exterior of your building within four weeks of assembly to avail of your warranty. Keeping your cabin treated and sealed regularly, depending on how exposed your site is, will have a big impact on the durability of your building.
• Gutters & Downpipes – it is important to keep your gutters and downpipes clear and in good working order. This will help prevent water damage. We do not recommend locating your cabin under trees or close to foliage, as fallen material gives water a place to lodge on the roof as well as block your gutters. Overgrown foliage can hold water against the walls.
• Window and door adjustments – never force a door or window open or closed, you can easily damage them. As soon as you are aware that they need an adjustment, take the necessary steps shown in the video linked above. This will ensure your windows and doors function properly and will avoid drafts developing.
Your cabin should last for decades and give you many years of pleasure. Like any other expensive piece of equipment, how well you look after it will have a big influence on its longevity. Taking the steps above will greatly extend the lifespan of your building.
MyCabin would like to wish you the best of luck with your new cabin, please call us if you have any queries, we are here to help.