
Mould Sample Testing: Key Steps for Accurate Detection
Introduction
Mould growth in homes and commercial spaces can lead to various health risks and structural damage. When mould becomes visible or when there are signs of moisture intrusion, accurate detection through Mould Sample Testing becomes essential. Mould Sample Testing involves scientific procedures to identify mould species and assess their concentration, helping you determine the appropriate remediation methods. This comprehensive guide will outline the key steps for accurate Mould Sample Testing, explore various testing methods, and emphasize the importance of professional evaluation.
1. Understanding the Need for Mould Sample Testing
Mould can lead to respiratory issues, allergies, and other health complications, especially in sensitive individuals. Common indicators of mould growth include musty odors, discoloration on surfaces, and visible colonies. However, not all mould is immediately visible, which makes testing an important step in identifying hidden mould and assessing the extent of the contamination. By employing Mould Sample Testing, homeowners and building managers can take the necessary measures to maintain a healthy environment.
2. Preparing for Mould Sample Testing
Before initiating the testing process, it’s essential to conduct a visual inspection and review the history of the affected area. Key steps in preparation include:
Identifying Moisture Sources: Mould thrives in moist environments, so identifying leaks, humidity sources, or water damage is crucial.
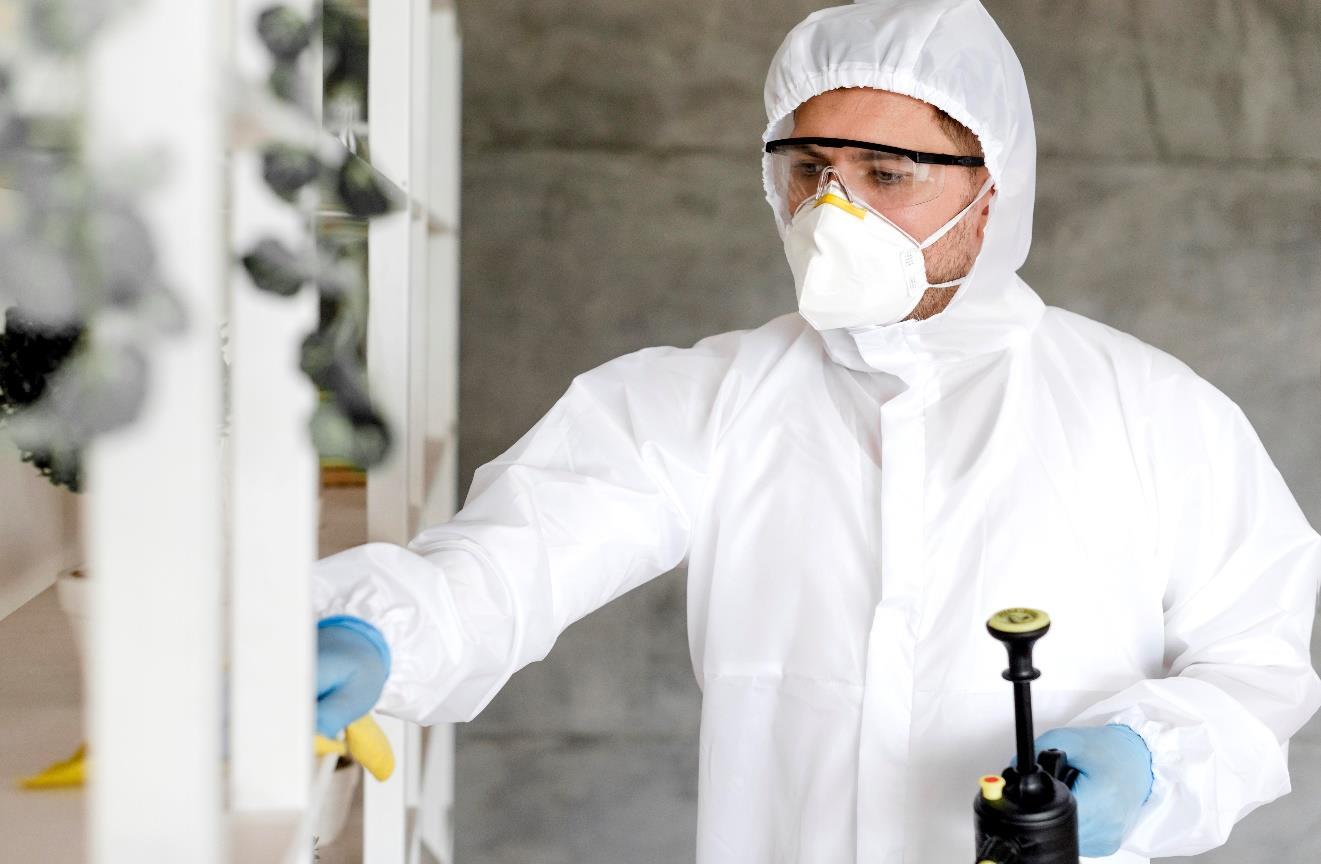
Wearing Proper Safety Gear: Testing involves potential exposure to mould spores, which can be harmful. It’s advisable to wear masks, gloves, and protective clothing during testing.
Containing the Area: Prevent the spread of mould spores by isolating the area, particularly if the testing is conducted indoors.
3. Key Methods of Mould Sample Testing
Several Mould Sample Testing methods are available, each suited to different situations. Selecting the right method ensures accurate results.
4. Air Sampling
Air sampling tests the presence and concentration of mould spores in the air, providing insight into the potential spread. Commonly used methods include:
Spore Trap Sampling: In this method, air is drawn through a spore trap that collects spores on a sticky surface, which are then analyzed in a lab.
Culture-Based Air Sampling: This method involves collecting air samples onto a culture medium, allowing mould spores to grow. It is particularly useful for identifying live mould species.
Air sampling is ideal for detecting invisible mould spores that may not be visible on surfaces but are suspended in the air.
5. Surface Sampling
Surface sampling is effective when visible mould colonies are present. Types of surface sampling include:
Swab Sampling: A sterile swab is used to collect samples from a mouldy surface. This technique is particularly useful for irregular or hard-to-reach surfaces.
Tape Lift Sampling: In this method, adhesive tape is used to lift mould spores from the surface, capturing them for lab analysis. Tape lift sampling is ideal for smooth surfaces like walls and tiles.
Surface sampling provides insights into the types and levels of mould present on various materials.
1. Bulk Sampling
Bulk sampling involves physically removing portions of the affected material, such as drywall or carpet, for lab analysis. This method is ideal for situations where mould has deeply penetrated materials, making surface or air sampling insufficient.
2. Sample Collection Techniques for Accurate Mould Sample Testing
Effective sample collection is vital for accurate mould testing results. Here are the key techniques to follow:
Selecting Appropriate Sample Sites: Choose representative areas, such as visible colonies or high-moisture zones, to capture accurate results.
Ensuring Clean Equipment: Sterile, uncontaminated equipment is essential to avoid cross-contamination.
Labeling Samples Properly: Clearly label each sample with the date, location, and method to ensure clear identification in the lab.
3. Laboratory Analysis of Mould Samples
Once collected, mould samples are sent to specialized laboratories for analysis. Lab technicians use advanced methods, including microscopy and culturing, to:
Identify Mould Species: Knowing the specific type of mould present, such as Aspergillus or Penicillium, helps determine the best treatment.
Assess Mould Concentrations: Quantifying mould spore levels are important in determining the severity of contamination and potential health risks.
4. Reporting and Interpreting Mould Sample Test Results
Lab reports provide detailed information about mould species and concentration levels. Key components of a report include:
Mould Species Identified: Lists of the types of mould detected.
Concentration Levels: Indicates the severity of mould presence, categorized by low, moderate, or high concentration.
Health Risk Assessment: Suggests potential health implications, especially for high-risk species.
Understanding these results can help in deciding on necessary remediation measures and guide the follow-up steps.
1. Professional vs. DIY Mould Sample Testing
While DIY mould testing kits are available, professional testing offers more accurate and reliable results. Professionals are trained in handling samples, choosing appropriate testing methods, and interpreting results, which minimizes errors. They also follow industry standards, ensuring safe and thorough procedures.
DIY kits, on the other hand, may offer basic information but lack the precision needed for comprehensive mould analysis. For those facing significant mould issues, professional testing is strongly recommended.
2.
Implementing
Remediation After Mould Sample Testing
Once testing is complete, appropriate mould remediation can begin based on test results. Key steps in remediation include:
Source Removal: Fixing leaks, dry areas, and removing contaminated materials to eliminate the source of moisture.
Cleaning and Disinfecting Surfaces: Using mould-specific cleaning agents and HEPAfiltered vacuums to clean affected areas safely.
Using Dehumidifiers: Reducing humidity levels to prevent future mould growth.
Remediation is a vital part of ensuring that the mould does not return and maintaining a safe indoor environment.

Mould Sample Testing is a critical step for anyone dealing with mould contamination on their property. By following the proper procedures for collecting, analyzing, and interpreting mould samples, you gain a clear understanding of the mould’s severity and species present, which are essential in planning effective remediation efforts. Professional testing offers the precision and reliability needed to manage mould effectively and keep your environment healthy and safe. For accurate mould detection and a secure living space, investing in comprehensive Mould Sample Testing is an essential and prudent choice. Contact Us
Phone No: - 08 7081 6985
Read More: - https://www.mouldadelaide.com.au/testing/ Mail- info@mouldadelaide.com.au