

Techniques
Stencil Impressions™ are a whole new pattern concept from Royal Design Studio. They are designed to allow you to create interesting inlaid pattern effects with reusable mylar stencils. These stencils are cut from sturdy 10mil mylar, which is both highly durable and easy to clean.
Stencil Impressions™ are sold both as single elements and in sets of multiple patterns, allowing you to easily reposition them as you are working around a room to create repeat patterns including random, allover and repetitive border designs.
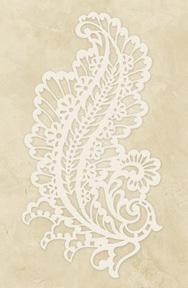
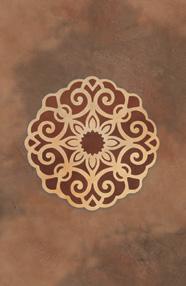
• You can use the Pattern Detail layer by itself to create inlaid pattern looks with paint, plaster, stain, metal leaf, and metallic foils.
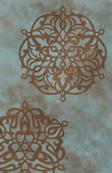
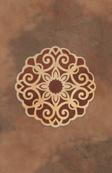
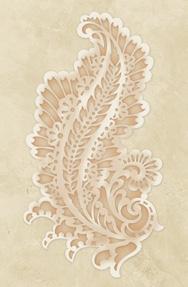
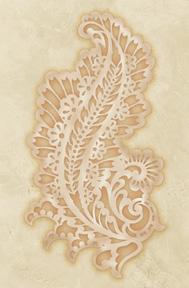
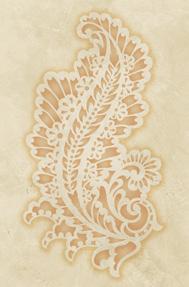
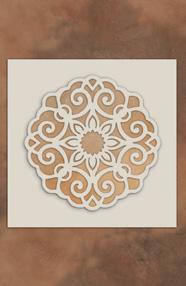
Stencil Impressions™ Motifs are two-part stencils that consist of two layers

• You can use the Pattern Detail layer in conjunction with the Silhouette Shape to create multi-color looks and multi-level embossed effects.
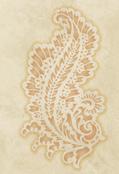
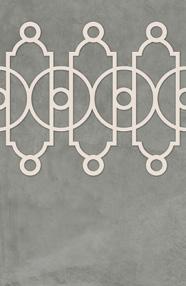
• Stencil Impressions™ Borders come in one layer, the Pattern Detail, which can be repeated to create inlaid pattern looks.
• We have developed a series of simple techniques that you can creatively incorporate with paint, stain, plaster, and gilding mediums of your choice!

To learn more about using Stencil Impressions™ patterns in 8 unique, custom finishes take our new Stencil Impressions online Virtual Workshop. Class dates are scheduled throughout 2009/2010
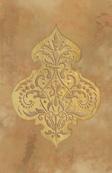
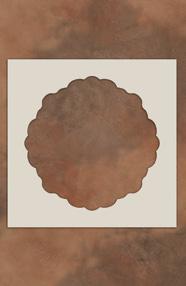
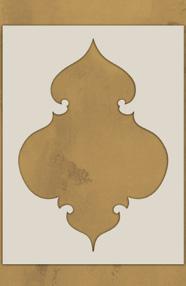
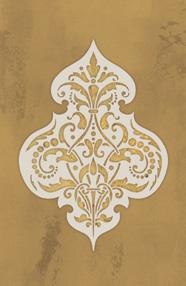
Silhouette Shape
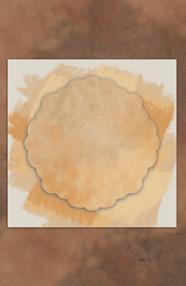
Pattern Detail
Techniques
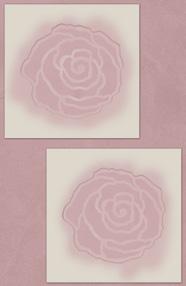
Technique 1 - Painting a graphic image with the silhouette shape and pattern detail
This technique can be used over painted, glazed, and smoothly plastered surfaces
Step 1 Step 2
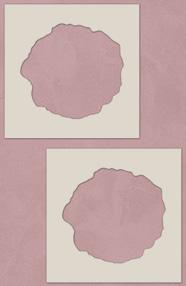
Use spray adhesive to affix your Silhouette Shapes to your surface in a random pattern.
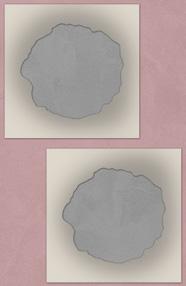
Use a small, short-nap roller or a stencil brush to apply a contrasting color in a uniform manner through the Silhouette Shape.
3
4
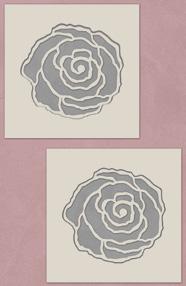
Use spray adhesive to affix the corresponding Pattern Detail within the Silhouette Shape. Stencil through the Pattern Detail area in the same color that was used on your background, OR use a different color of your choice.
5
Remove the stencils and enjoy your 2-color graphic motifs!
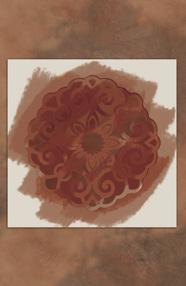
Technique 2 - Troweling over the Pattern Detail for an Inlaid Effect
This technique can be used with any medium-bodied plaster material, or even joint compound, that will “bridge” the thickness of the 10mil mylar.


Step 1 Step 2 Step 3 Step 4
Paint or trowel the color of your choice over your background. This color will become the outline of the design.
Use spray adhesive or tape to affix your Pattern Detail shapes to your surface in a random pattern, or to create a repeated border.
Trowel over the entire surface and the Pattern Detail shapes with the color (or colors) of plaster of your choice.
Remove and reposition the Pattern Detail shapes as you move around the room. Finish off with glaze, stain, or wax to further accentuate the inlaid motifs, if desired.
Techniques
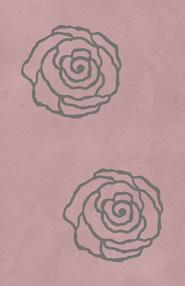
Technique 3 - Stencil Shading in and Around the Pattern Detail
This technique can be used over painted, glazed, and smoothly plastered surfaces.
Paint or trowel the color of your choice over your background. This color will become the outline of the design.
Use spray adhesive to affix your Pattern Detail shapes to your surface in a random pattern, or to create a repeated border.
Use a stencil brush with the color of your choice to stencil/shade in through the open areas of the Pattern Detail.
Use a stencil brush with the same color to stencil/ shade around the outer edge of the mylar of the Pattern Detail shape. Leave “as is” or further tone with glaze, stain, or wax.
Techniques
Technique 4 - Troweled Inlaid Effect with Color Accenting
Stencil Impressions™ can be repositioned after creating a troweled inlaid effect to further accent and customize the design with additional color.
Step 1 Step 2 Step 3 Step 4 Step 5
Paint or trowel the color of your choice over your background. Use spray adhesive or tape to affix your Pattern Detail shapes to your surface in a random pattern, or to create a repeated border.
Trowel over the entire surface and the Pattern Detail shapes with the color (or colors) of plaster of your choice.
Your background color will now show through as the outline of the design.
Clean and replace the Pattern Detail. Use small stencil brushes and the paint colors of your choice to color and accent the different areas of your stencil design.
Leave “as is” or further tone with glaze, stain, or wax.
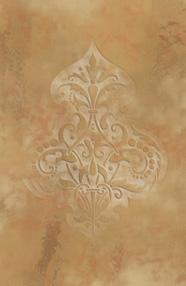
Technique 5 - Multi-Level Embossing with Stencil Impressions™ Motifs
Stencil Impressions™ Motifs can be embossed in two layers for a unique look with dramatic dimension. This is a great technique to combine with Technique 2-Troweling over the Pattern Detail for an Inlaid Effect.
Step 1
Paint or trowel the color of your choice over your background. Use spray adhesive or tape to affix your Silhouette Shapes to your surface in a random pattern.
Step 2 Step 3 Step 4 Step 5
Trowel/emboss through the Silhouette Shapes with a colored plaster of your choice. Allow to dry.
Replace the Silhouette Shape and add in the Pattern Detail layer.
Trowel/emboss or stencil through the Pattern Detail layer with a colored plaster of your choice. Allow to dry.
Leave “as is” or further tone with glaze, stain, or wax.
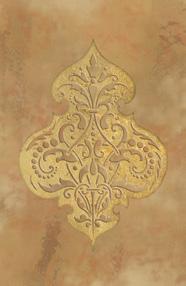
Technique 6 - Inlaying a Stencil Impression™ Motif over a Metal Leaf or Metallic Foil Silhouette
Incorporate gilding or Metallic Foil with an embedded design to create more color, contrast, and drama.

Paint or trowel the color of your choice over your background. Use spray adhesive or tape to affix your Silhouette Shapes to your surface. Use a Velour Roller to roll on 1-2 layers of Wundasize. Allow to come “to tack”.
Apply metal leaf or Metallic Foil over the sized area.
Use spray adhesive to affix the Pattern Detail layer over the colored Silhouette Shape. Trowel/emboss over and through the Pattern
Detail layer with a colored plaster of your choice. Allow to dry.
Tone and seal with stain or wax (metal leaf), or the topcoat of your choice (Metallic Foil).
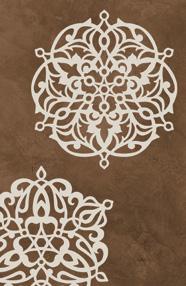
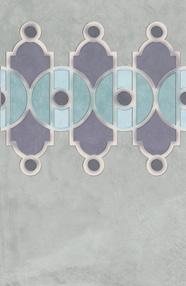
Repeating Stencil Impressions™ Motifs on a Wall
Techniques
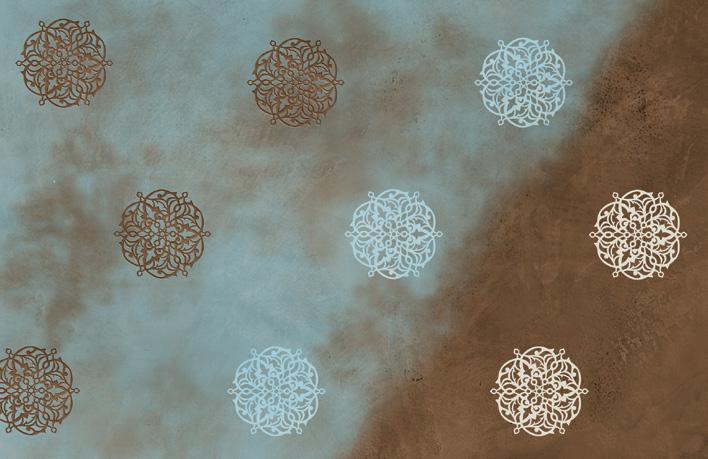
Stencil Impressions™ Motifs are sold in various sets containing multiple repeats of the same design. This allows you to begin a pattern at one edge of the wall by laying out your designs, then removing them and repositioning them elsewhere on the wall as you work across it with your paint, glaze, or plaster.
Use 3M Super 77 Spray Adhesive to lightly mist the backs of the stencils to keep them in place, or simply use tape. The tape can be removed once you begin plastering over the patterns, as this will hold them well in place.
Repeat 1
Repeat 2
Remove and Place Repeat 1
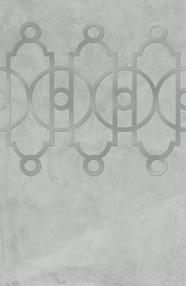
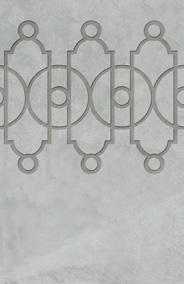
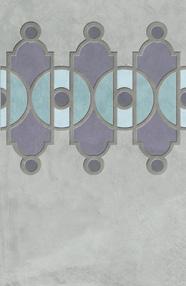
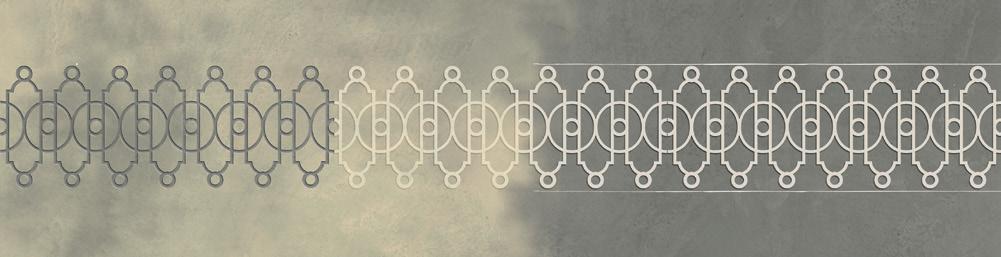
Stencil Impressions border designs are sold in sets of 2 (minimum). This allows you to repeat them across a wall surface by removing the border stencil on the left and replacing it on the far right as you go around the room with your paint, glaze, or plaster finish.
Snap or mark a chalk line or lines on your background to help you align the border repeats perfectly.
Repeating Border Impression Stencils