
n the tapestry of life, mothers are the threads that weave love, strength, and endless support. As Mother's Day approaches, it's time to celebrate the extraordinary women who have shaped our lives with their unwavering devotion and boundless affection.
Whether you're honoring your own mother, a maternal figure, or a cherished friend stepping into the role, this guide is your compass to crafting a day as special and unique as she is.
From heartfelt gestures to meaningful moments, join us as we embark on a journey to express gratitude and shower the maternal figures in our lives with the love they so wholeheartedly deserve.
Let's make this Mother's Day an unforgettable celebration of the extraordinary women who have shaped our world with their nurturing spirit and immeasurable love.


I
Creating an At-Home Spa Experience for Mom on Mother's Day
Set the Scene: Begin by creating a tranquil ambiance. Dim the lights, play some soothing music, and light fragrant candles or diffuse essential oils to set the mood.

Prepare Pampering Treatments: Gather spa essentials such as bath bombs, luxurious body scrubs, face masks, and
Draw a Relaxing Bath: Fill the tub with warm water and add a splash of indulgent bath salts or bubbles. Encourage your mom to sink into the soothing waters and let her worries melt
Treat your mom to a blissful massage to release tension and promote relaxation. You don't need professional training—just gentle hands and a willingness to
Serve Refreshments: Prepare a selection of refreshing beverages and healthy snacks to keep your mom hydrated and nourished throughout the day. Think fruit-infused water, herbal teas, and light, nutritious bites.
Encourage Mindfulness: Incorporate mindfulness practices such as deep breathing exercises, meditation, or gentle yoga stretches to help your mom center herself and find inner
Finish with a Spa-Inspired Beauty Treatment: Complete the experience with a rejuvenating facial or manicure using highquality skincare products. Encourage your mom to embrace her natural beauty and feel radiant from the inside out.
A DIY Wine Tasting Experience for Mom on Mother's
Day
This Mother's Day, treat your mom to a delightful and personalized wine tasting experience right in the comfort of your own home. Explore the world of wine together and create lasting memories as you savor different varieties, learn about tasting notes, and indulge in delicious pairings.

Select a Theme: Choose a theme for your wine tasting to add an element of fun and intrigue. Whether exploring wines from a specific region, discovering new varietals, or focusing on a particular grape variety, tailor the theme to your mom's preferences and interests.
Curate a Selection of Wines: Visit your local wine shop or winery to select a diverse range of wines that align with your chosen theme. Include a mix of reds, whites, and rosés, as well as sparkling wines if you're feeling celebratory.
Prepare Tasting Notes: Create tasting cards or sheets for each wine, providing information on the grape varietal, region, tasting notes, and suggested food pairings.
Set the Stage: Create an inviting ambiance for your wine tasting by arranging a beautifully decorated table with tasting glasses, water glasses, and palate cleansers.
Pair with Delicious Bites: Elevate the tasting experience by pairing each wine with complementary snacks or small bites. Consider serving a selection of cheeses, charcuterie, fruits, nuts, and chocolates to enhance the flavors of the wines and tantalize the taste buds.

Crafting the Perfect Mother’s Day Picnic
Choose the Location: Select a picturesque setting for your picnic that reflects your mom's preferences and personality. Consider a tranquil park, a sandy beach, a lush garden, or even your backyard adorned with flowers and decorations.
Plan the Menu: Prepare a delicious picnic spread featuring your mom's favorite foods and drinks. Opt for a variety of finger foods, sandwiches, salads, and snacks that are easy to pack and enjoy outdoors. Don't forget refreshing beverages like lemonade, iced tea, or sparkling water, as well as sweet treats for dessert.
Pack the Essentials: Gather picnic essentials such as a blanket or tablecloth to sit on, reusable plates, utensils, glasses, napkins, and a picnic basket or cooler to transport your food and drinks. Consider bringing along a portable speaker for some background music and a camera to capture special moments.
Set the Scene: Arrive early at your chosen picnic spot and set up your picnic area with care. Lay out your blanket or set up a table and chairs, arranging the food and drinks attractively for easy access. Add decorative touches such as fresh flowers, candles, or fairy lights to create a charming and inviting ambiance.
Enjoy the Feast: Once everything is set up, invite your mom to join you for a leisurely feast in the great outdoors. Take your time to savor each delicious bite, sip refreshing drinks, and bask in the beauty of your surroundings. Engage in meaningful conversation, share laughter, and create cherished memories together.
Bring Entertainment: Keep the fun going with activities and entertainment that your mom will enjoy. Bring along a deck of cards, a book to read aloud, or a favorite board game to play together. Alternatively, go for a leisurely stroll, fly a kite, or simply lie back and cloud-gaze.
Express Your Love and Gratitude: Take a moment during your picnic to express your love and gratitude to your mom for all that she does. Share heartfelt words, give her a handmade card or gift, and let her know just how much she means to you on Mother's Day and every
Lemon Scones
Ingredients
• 3 cups all-purpose flour white sugar

baking powder
baking soda
cold butter, pieces
milk
lemon juice
lemon zest
vinegar
Glaze
• 2 cups confectioners' sugar
• ⅓ cup butter, melted
• 2 ½ tablespoons lemon juice
• ½ teaspoon vanilla extract
• 2 tablespoons water, or as needed
Preheat the oven to 350 degrees F (175 degrees C).
Make the scones: Whisk flour, sugar, baking powder, baking soda, and salt together in a large bowl. Cut in cold butter with 2 knives or a pastry blender until mixture resembles coarse crumbs. Whisk milk, lemon juice, lemon zest, and vinegar in a small bowl; stir into flour mixture until dough is moistened.
Turn dough out onto a lightly floured surface and knead briefly, 5 or 6 turns. Pat or roll dough out into a 1-inch-thick round. Cut into 10 wedge-shaped pieces; arrange 1 inch apart on a baking sheet.
Bake in the preheated oven until bottom edges are golden brown, 12 to 15 minutes. Cool scones on a wire rack for 15
5. Meanwhile, make the glaze: Stir confectioners' sugar, melted butter, lemon juice, and vanilla together in a bowl until smooth. Stir water into sugar mixture, 1 tablespoon at a time, to make a glaze; drizzle glaze over warm scones.
Banana Pudding
Ingredients
• 1 (14-oz.) can sweetened condensed milk
• 1 1/3 c. whole milk
• 1 (5.1-oz.) package instant vanilla pudding mix
• 3 c. heavy cream
• 1 tsp. pure vanilla extract
• 1 (12-oz.) box vanilla wafer cookies
• 4 bananas, sliced into coins
• 2 tsp. granulated sugar
• 1 (3-qt.) trifle dish
Directions
1. In a large bowl, whisk condensed milk, whole milk, and pudding mix, breaking up any lumps. Refrigerate until set, about 5 minutes.
2. Meanwhile, in another large bowl, using a handheld mixer on medium-high speed, beat cream and vanilla until stiff peaks form, 2 to 3 minutes. Set aside half of whipped cream for serving. Fold remaining whipped cream into milk mixture.
3. Cover bottom of a 3-quart trifle dish with wafers. Top with onethird of pudding mixture. Cover with another layer of wafers. Top with an even layer of banana slices. Continue to layer pudding, wafers, and bananas until you reach the top, ending with a final layer of pudding. Set aside remaining wafers for serving.
4. Refrigerate at least 3 hours or up to overnight.
5. Add granulated sugar to reserved whipped cream and stir to combine. Dollop on top of banana pudding. Crumble reserved wafers, then sprinkle over pudding.

Chicken Piccata
Ingredients
• 4 boneless, skinless chicken breasts (about 2 lbs.)
• 1 tsp. kosher salt, plus more to taste
• 1/2 tsp. black pepper, plus more to taste
• 1/3 c. all-purpose flour
• 2 tbsp. butter, divided
• 4 tbsp. olive oil, divided
• 3/4 c. dry white wine
• 1/2 c. low-sodium chicken broth
• 3 tbsp. lemon juice
• 1/2 c. heavy cream
• 1 tbsp. chopped fresh parsley, plus more for serving
• 2 tbsp. capers, optional
• 8 oz. angel hair pasta
Directions
1. Have a pot of water simmering on the stove for the pasta.
2. If the chicken breasts are overly thick, pound them until slightly flattened. Sprinkle both sides of the chicken with the salt and pepper, then dredge in the flour.
3. In a large skillet, heat 1 tablespoon of the butter and 2 tablespoons of the oil over medium heat. Fry 2 chicken breasts at a time until golden brown on both sides, about 3 minutes on each side (a little longer if the breasts are thicker; a little shorter if the breasts are thinner). Remove the chicken to a plate. Add the remaining tablespoon of butter and remaining 2 tablespoons of olive oil. Repeat with the remaining chicken breasts, monitoring the oil/butter mixture to make sure it doesn't burn and decreasing the heat as needed.
4. After removing the chicken, lower the heat to medium-low. Pour in the wine, chicken broth, and lemon juice. Whisk the sauce, scraping the bottom of the pan. Increase the heat to medium and allow the sauce to cook, bubble, and thicken until reduced by about half or two-thirds. Sprinkle in a little salt and pepper as it's cooking.
5. Reduce the heat to low and pour in the heavy cream. Whisk the sauce together and allow it to cook until the sauce thickens and coats the surface of a spoon, 1 to 2 minutes. Taste and adjust the seasonings or other ingredients. Expect the sauce to have a real tang to it; counter it with a little more broth and cream if it's too strong! Sprinkle in some parsley and capers and stir.
6. Right at the end, cook the pasta until al dente do not overcook!
7. Using tongs, place a medium-sized mound of pasta on a plate. Place a cooked chicken breast beside it, then spoon the sauce over the chicken and the pasta. The sauce is strong, so no need to drown it. Sprinkle a little more parsley over the top.
DIY Shower & Aroma Bombs
Materials Needed
• Baking soda
• Citric acid
• Cornstarch

• Essential oils (lavender, eucalyptus, peppermint, etc.)
• Water or witch hazel
• Food coloring or natural colorants (optional)
• Silicone molds or ice cube trays
Step - by - Step Instructions:
1. Mix Dry Ingredients: In a mixing bowl, combine 1 cup of baking soda, 1/2 cup of citric acid, and 1/2 cup of cornstarch. Mix well until thoroughly combined.
2. Add Essential Oils: Add 20 - 30 drops of your chosen essential oils to the dry mixture.
3. Add Water or Witch Hazel: Slowly add water or witch hazel to the mixture, a little at a time, while stirring continuously. Aim for a consistency similar to damp sand that holds its shape when squeezed together.
4. Color (Optional): If desired, add a few drops of food coloring or natural colorants to the mixture and stir until evenly distributed.
5. Fill Molds: Press the mixture firmly into silicone molds or ice cube trays, ensuring they are tightly packed to hold their shape.
6. Let Dry: Allow the shower bombs to dry and harden in the molds for at least 24 hours.
7. Remove from Molds: Once completely dry, carefully remove the shower bombs from the molds and package the shower bombs in airtight containers or decorative bags.
* To make a DIY candle, purchase the items here .
Materials Needed:
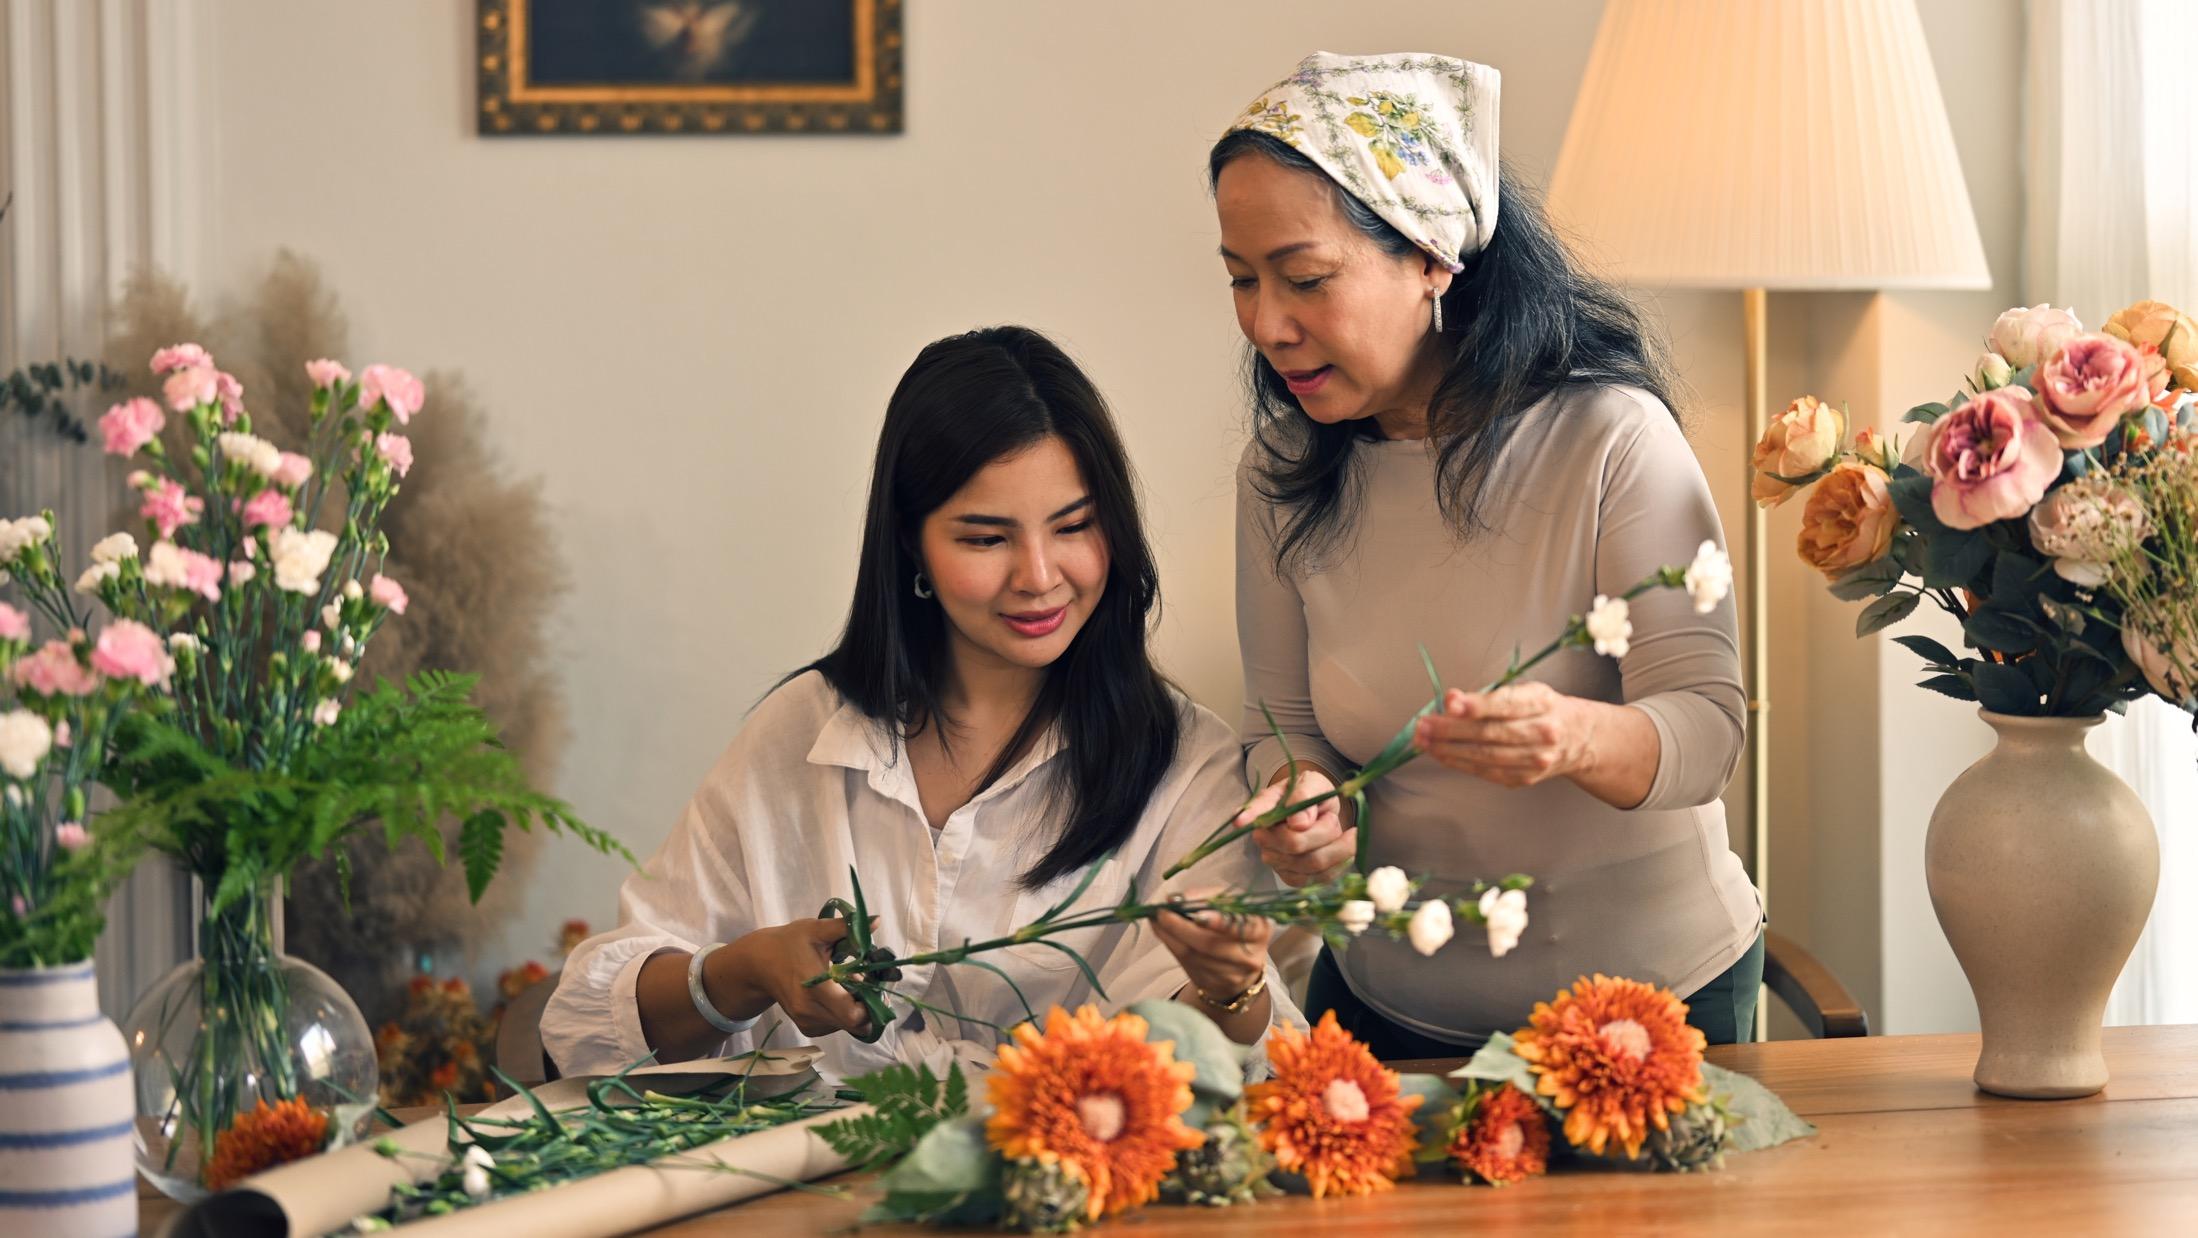
DIY Flower Bouquets
• Fresh flowers (choose your mom's favorites or seasonal blooms)
• Greenery (such as ferns, eucalyptus, or baby's breath)
• Floral tape
• Ribbon or twine
• Scissors
• Vase or decorative container (optional)
Step - by - Step Instructions
1. Prepare Flowers: Begin by trimming the stems of your flowers at an angle, removing any excess foliage or thorns. Fill a clean vase with water if you plan to arrange the flowers immediately to keep them fresh.
2. Create a Base with Greenery: Start building your bouquet by adding greenery to create a base. Arrange the greenery in your hand, creating a rounded shape and allowing it to cascade slightly.
3. Add Flowers: Once you're satisfied with the greenery base, begin adding flowers to the bouquet. Place them strategically among the greenery, varying the colors, shapes, and sizes for visual interest.
4. Layer and Rotate: As you add flowers, rotate the bouquet in your hand to ensure even distribution and balance.
5.Secure with Floral Tape: Once you've arranged all the flowers and greenery, carefully hold the bouquet together with one hand. Use floral tape to wrap around the stems, starting at the top and working your way down. Finish it off by tying a ribbon or twine.
* To make DIY flower bouquets, purchase the items here .
DIY Homemade Candles
Materials Needed:
• Candle wax (soy wax, beeswax, or paraffin wax)
• Wick
• Container (such as jars or teacups)
• Fragrance oils or essential oils (optional)
• Color dye blocks or crayons (optional)
• Double boiler or microwave - safe container
• Thermometer
• Stirring utensil (such as a wooden spoon)
• Adhesive (such as hot glue or wick stickers)
• Wick trimmer (optional)
Step - by - Step Instructions:
1. Prepare the Containers: Clean and dry the containers you'll be using for the candles. Ensure they are heat - resistant and suitable for candles.
2. Prepare the Wick: Cut the wick to the desired length, leaving a few inches extra to trim later. Secure one end of the wick to the bottom center of the container using adhesive.
3. Melt the Wax: Using a double boiler or microwave - safe container, melt the wax according to the manufacturer's instructions. Use a thermometer to monitor the temperature and prevent overheating.
4. Add Fragrance and Color (Optional): Once the wax is melted, add fragrance oils or essential oils for scent and color dye blocks or crayons for color. Stir gently to distribute evenly.
5. Pour the Wax: Carefully pour the melted wax into the prepared containers, ensuring the wick stays centered. Leave some space at the top of the container to prevent overflow.
6. Let the Candles Set: Allow the candles to cool and set completely, typically for several hours or overnight. Avoid moving or disturbing the candles during this time.
7. Trim the Wick: Once the candles have set, trim the wick to about ¼ inch above the surface of the wax using scissors or a wick trimmer.
8. Decorate (Optional): Get creative and decorate the containers with ribbons, labels, or other embellishments to personalize the candles for Mother's Day.
9. Package : Once decorated, package the candles in a gift box or bag with tissue paper for a beautiful presentation.
* To make a DIY candle, purchase the items here .